
This post may contain affiliate links, which means I get a small percentage of the sale at no extra cost to you. I only recommend items I love and have had a positive experience with. Thank you!
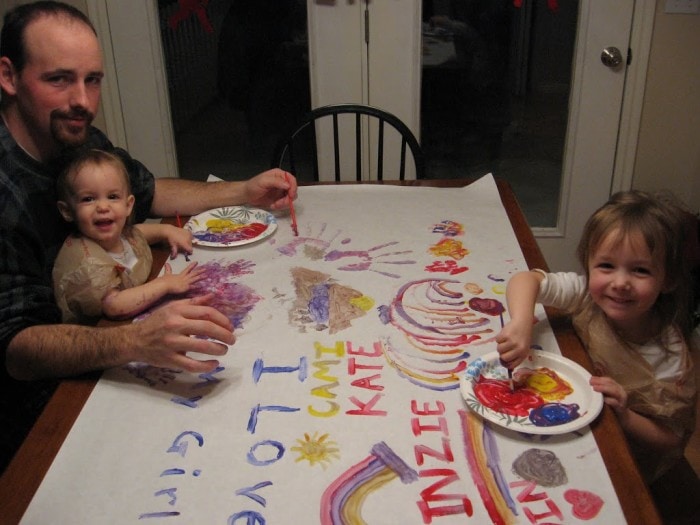
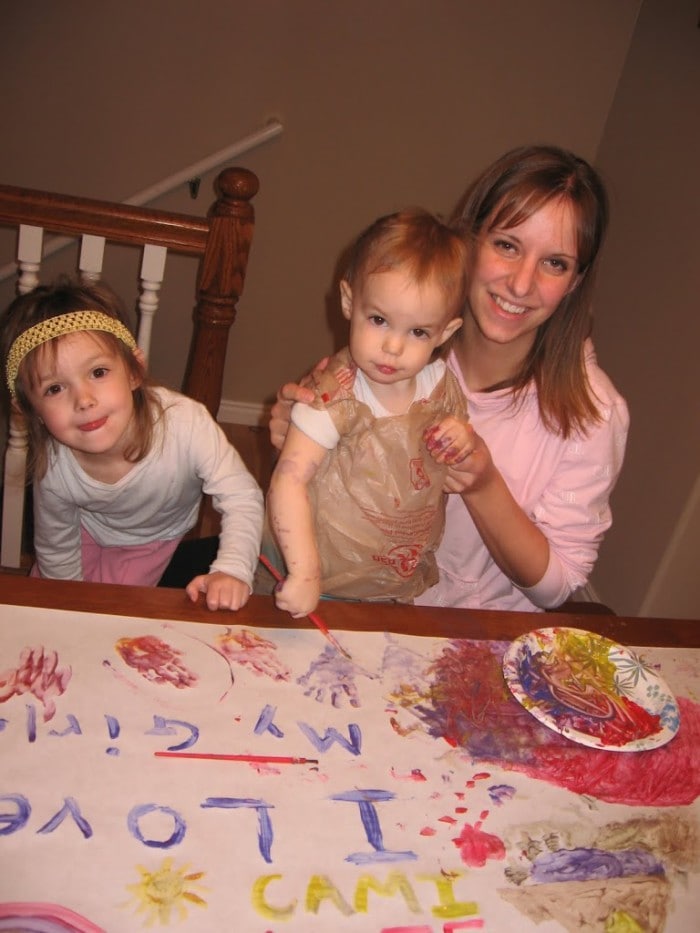
My in-laws live 12 hours so we try to think of fun things we can send to them. Kinz wanted to paint a picture for Grandma and Grandpa so we rolled out some butcher paper and let the girls go to town with some finger paint.
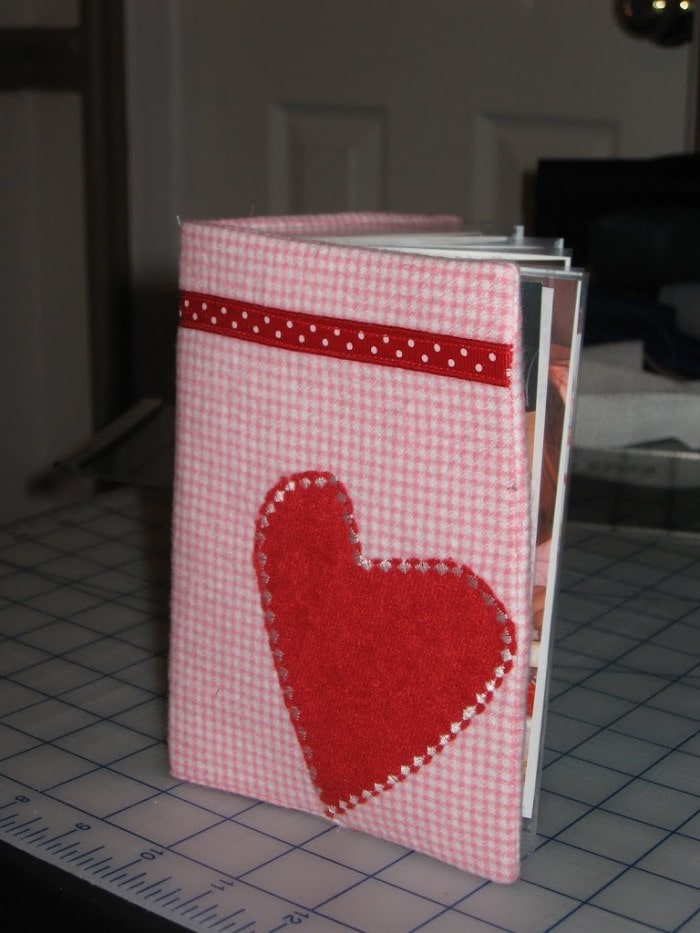
It happened to be Valentine’s day just around the corner, and if you ask my mother-in-law what she wants for gifts, she will just say pictures. So I have to come up with some creative ways to send her pictures. I say creative because we are also on a tight student living budget. So I pulled out some handy dandy fabric scraps, sheet protectors, and came up with this. All we ended up paying for was the 10 cent prints and shipping.
Here’s how I did it, if your interested:
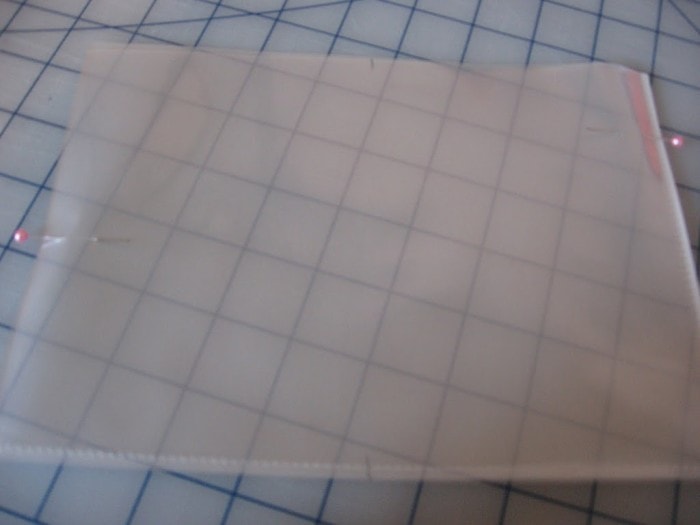
First, cut off the edge of the sheet protector, being careful not to slice the sealed part.
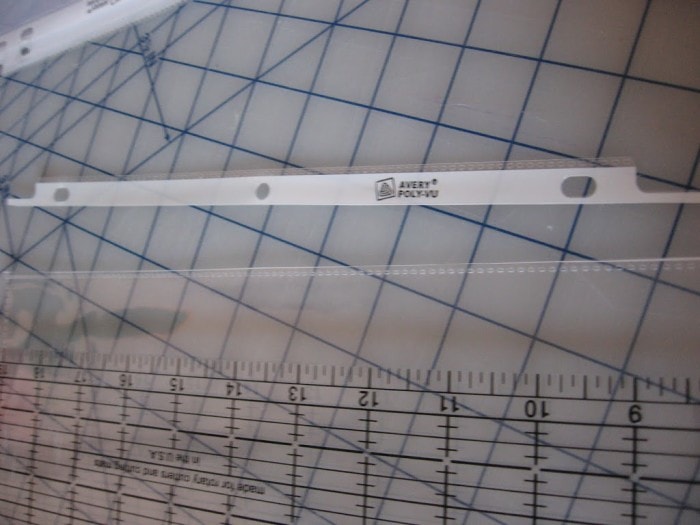
Slide your pictures into the sheet protector, as you want them to fit, and cut off the remaining part. The excess may not fit more pictures so save it for another album in the future.
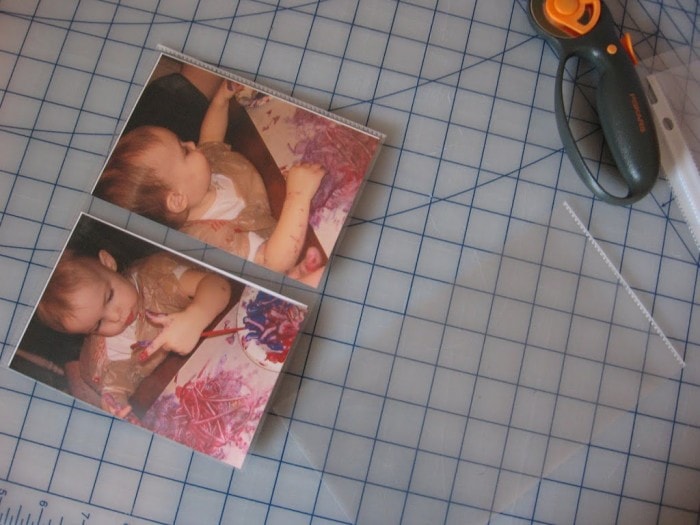
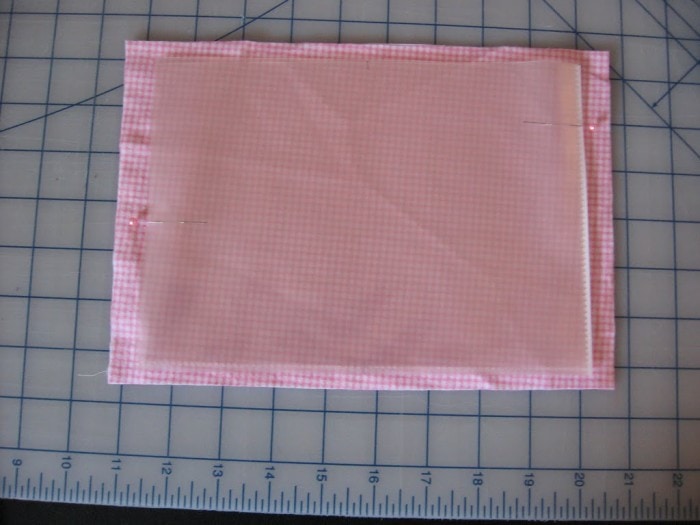
Figure out how many sheet protectors you will need, and cut them the same size as the first. Pin them together, and mark the center.
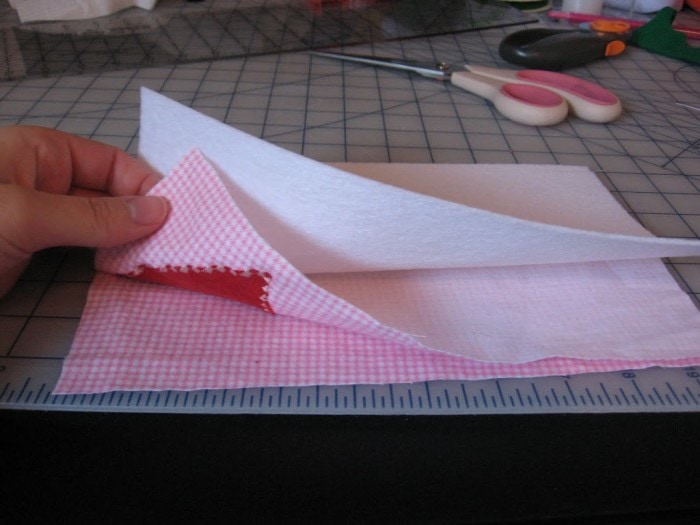
Cut two pieces of fabric just slightly bigger than your sheet protectors.
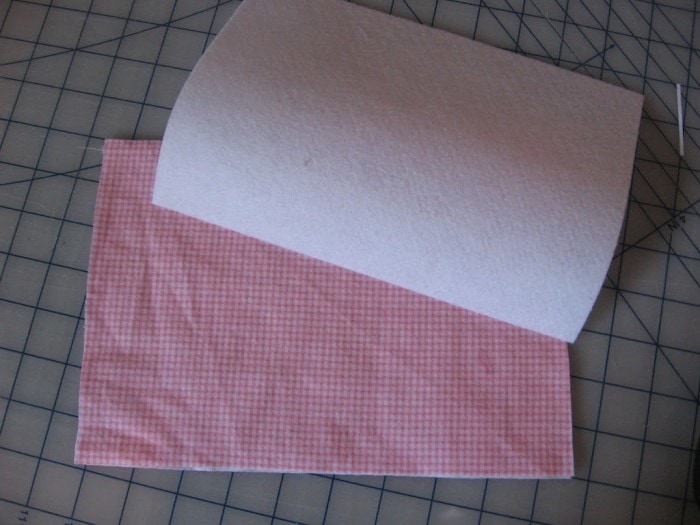
I also cut a piece of stiff pelon for the inside to make the photo album sturdier.
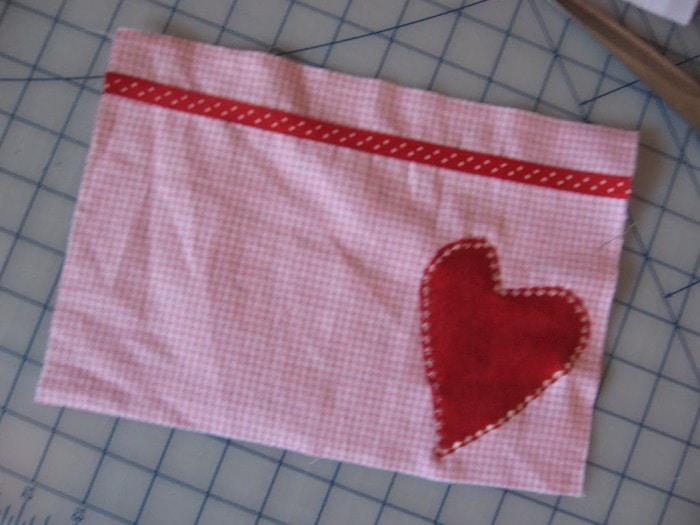
Jazz up the front piece to personalize your cover.
Put rights sides together, with the Pelon on top, and sew together, leaving an opening for turning. This was an after thought, but it would be cute to sew in some ribbon, or a fabric tab at this point to use for a closure. Had I not been trying to whip this up fast, I would have done that.
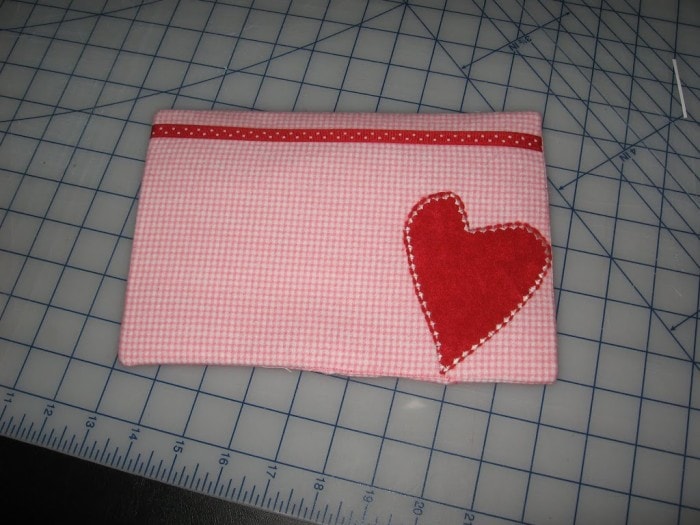
Press it, and top stitch if you would like.
Lay the cover open and place your picture protectors in the center of the inside. Sew a line down the middle where you marked the protectors. Before you put your pictures in, I would press it as you want it folded. Then insert your pictures.
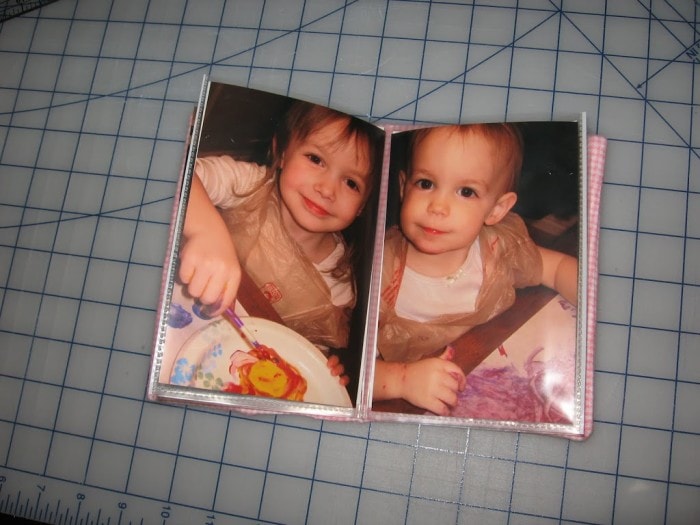
Taa-Daa!


Free Printables!
Get instant access to the TIDBITS subscriber library full of free printables for the keeper of the home.
Discover more TIDBITS
Love this article? Make sure to connect with me on your favorite social platform below, and leave a comment so we can chat!