
This post may contain affiliate links, which means I get a small percentage of the sale at no extra cost to you. I only recommend items I love and have had a positive experience with. Thank you!
 I received a lot of comments about my fabric covered idea storage books on my craft room post. So I thought I might give a tutorial on how I covered them. First I’ll warn you, I just made it up as I went, so there might be better tutorials out there.
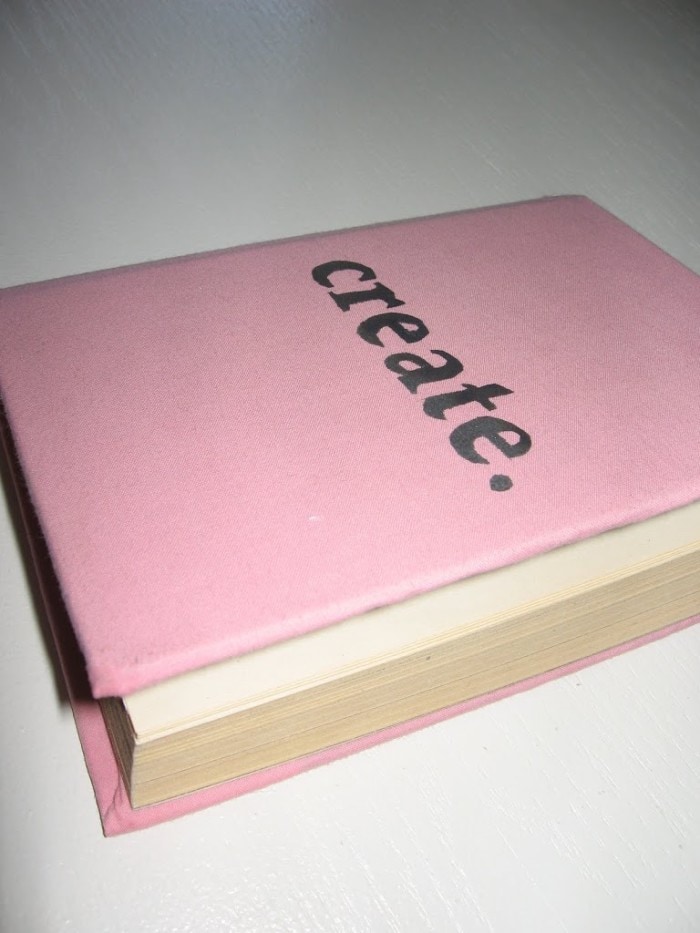
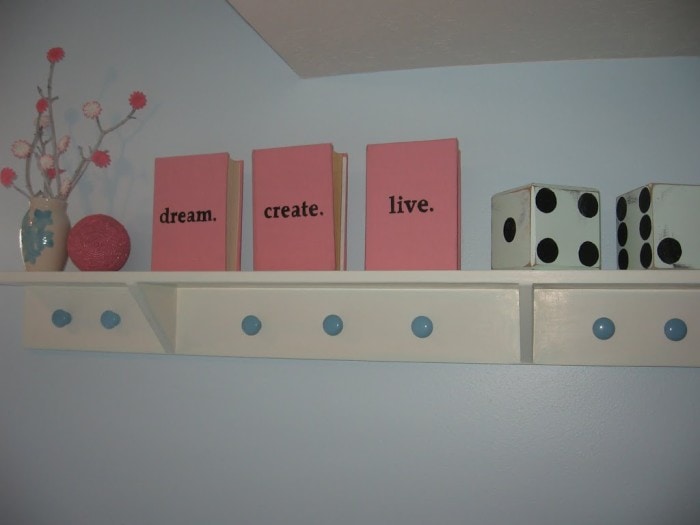
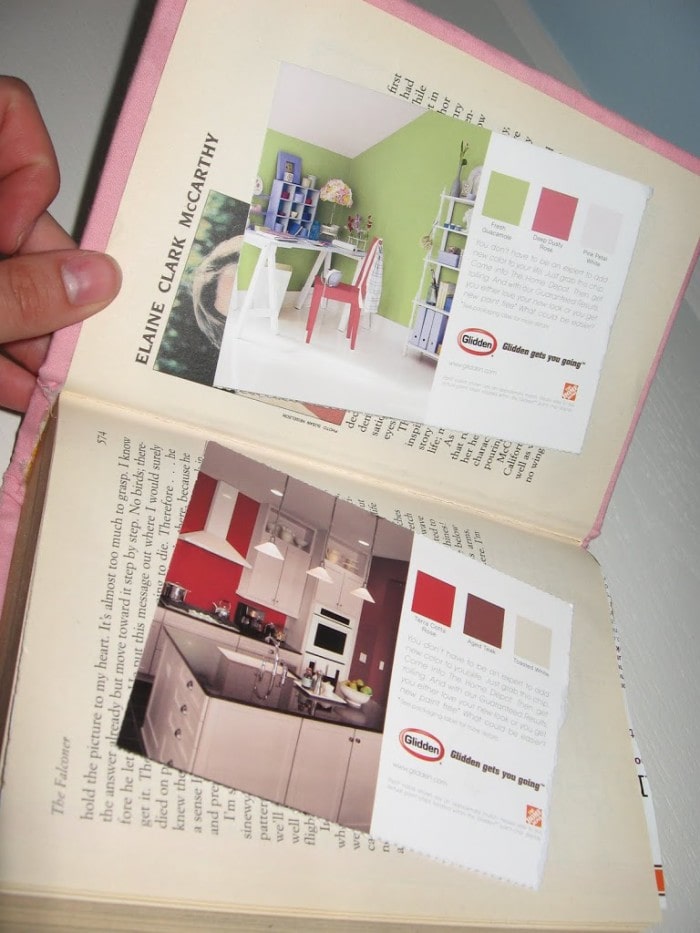 I use my fabric covered books in my craft room to cut and paste magazine clippings or anything else that inspires me. I have one for sewing projects, another for home decor, and another for crafts.
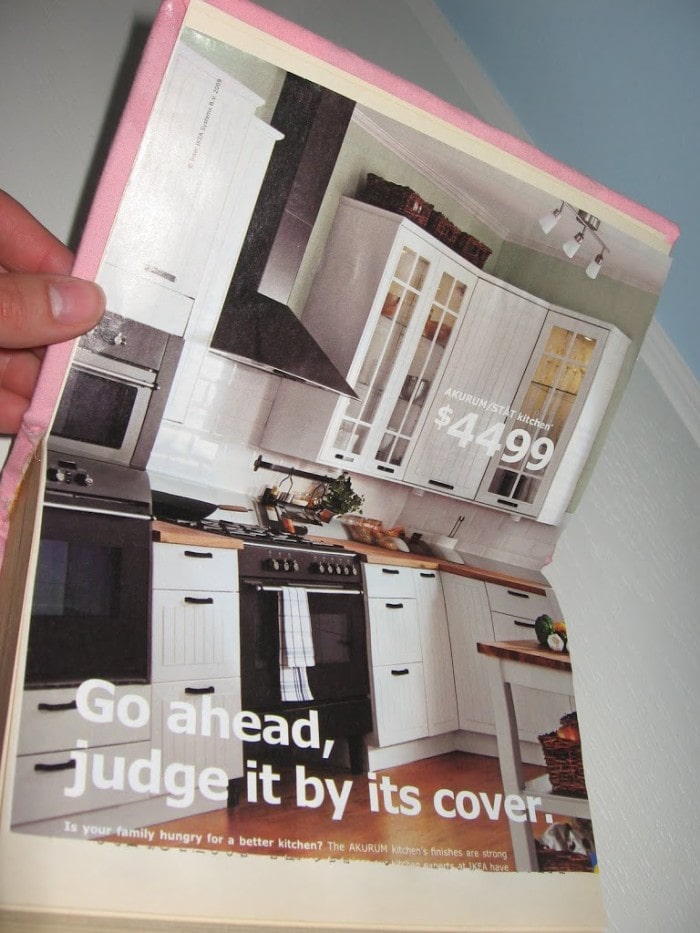 But here is how I did it.
 You will need an old book you don’t read. I went to the thrift store and found my books for pennies.
First I measured the amount of fabric I would need. I did this by laying the book flat on the fabric, and leaving a couple of inches extra around the book. Then I cut out the fabric.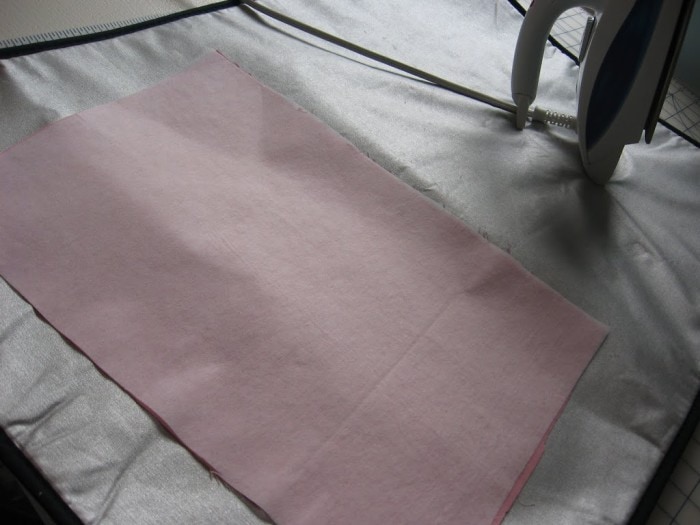 I cut the same measurements out of fusible interfacing, and ironed it on the fabric. This gives it more stability which makes it easier to work with and look better. I imagine if you have really thick fabric, you might not need to do this.
 Then I placed the book in the center again and cut into the fabric where the book binding is. Cut all the way up to the book on both ends.
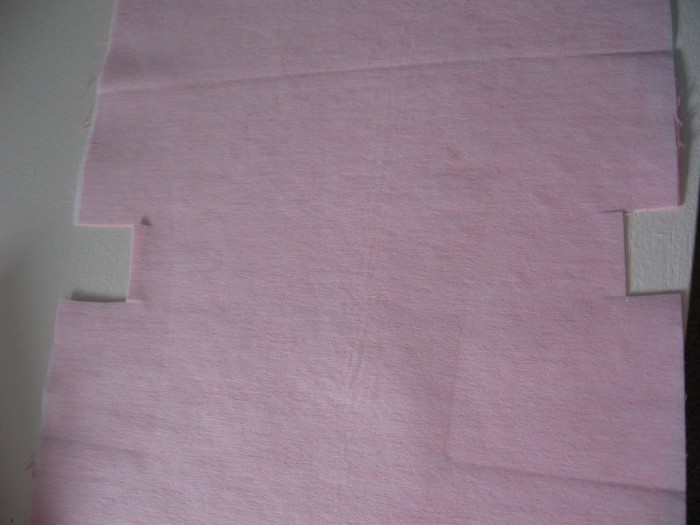 Leaving about a 1/4 of an inch, I cut off that excess fabric.
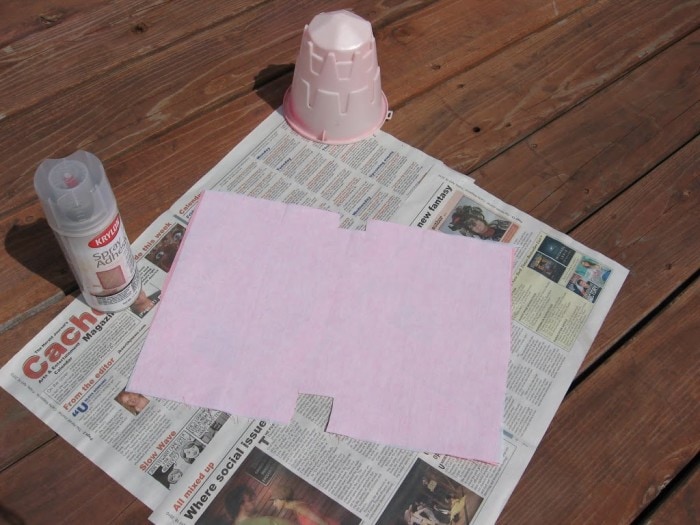 Then I took it all outside, with my spray adhesive. With fabric side down, I sprayed the interfacing completely.
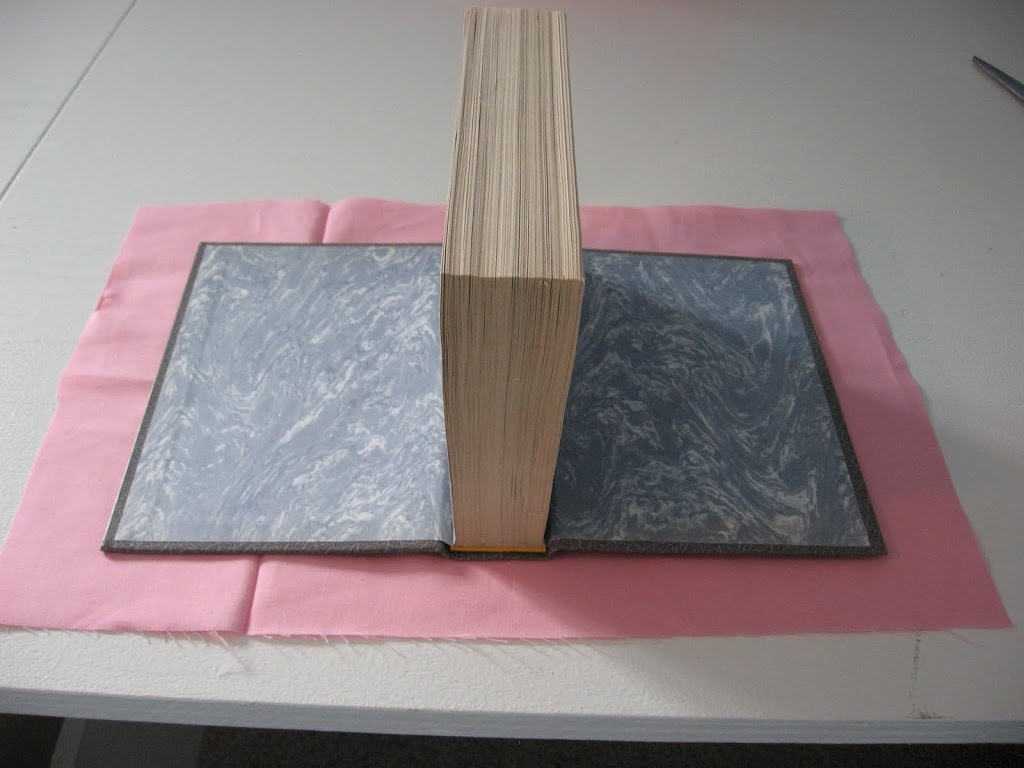
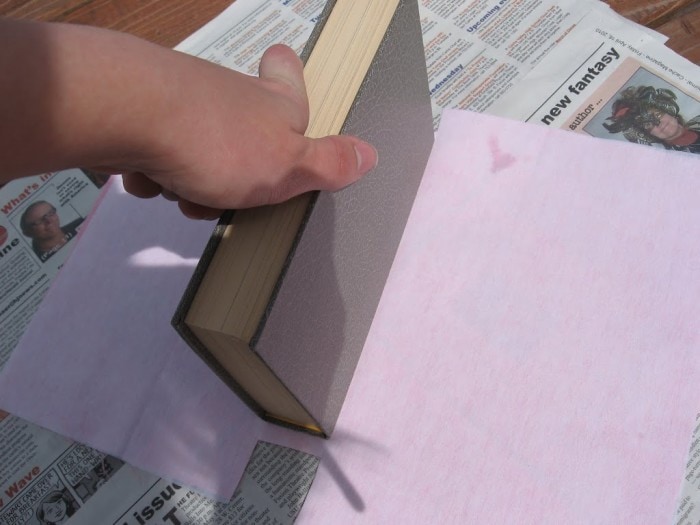 Then I set the book binding in place. If you don’t already know this, spray adhesive works best if you wait at least 30 seconds after you spray before you stick it. The wetness evaporates and it will stick a lot better.
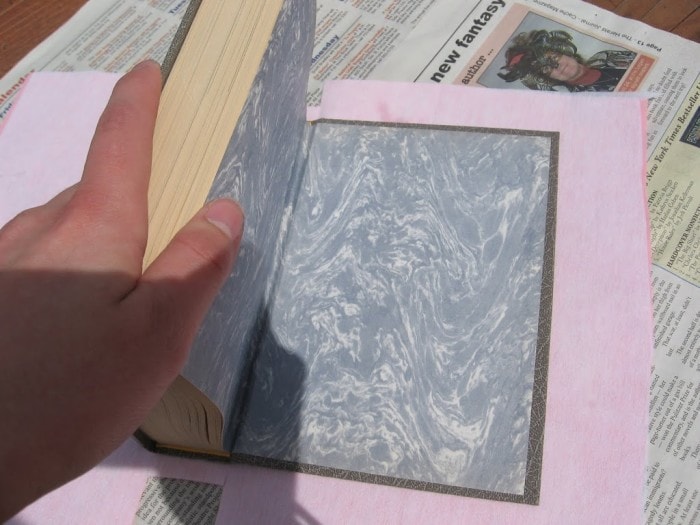 Then I laid the covers down onto the sticky fabric, pressing firmly.
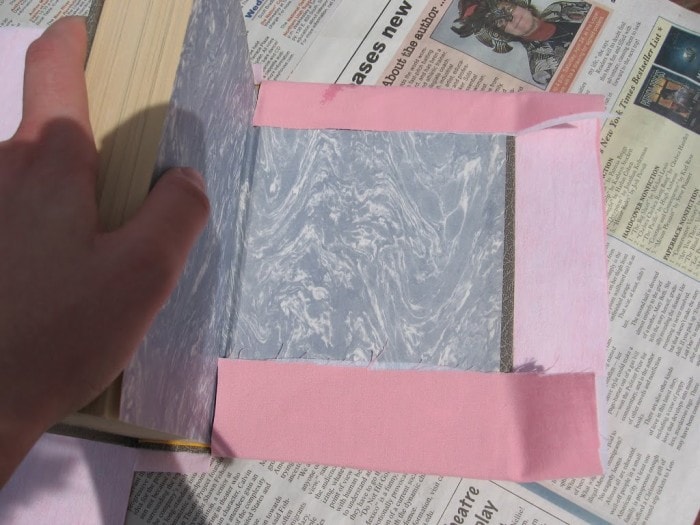 Starting with the top and bottom of the books, I folded the extra fabric up to stick onto the book cover.
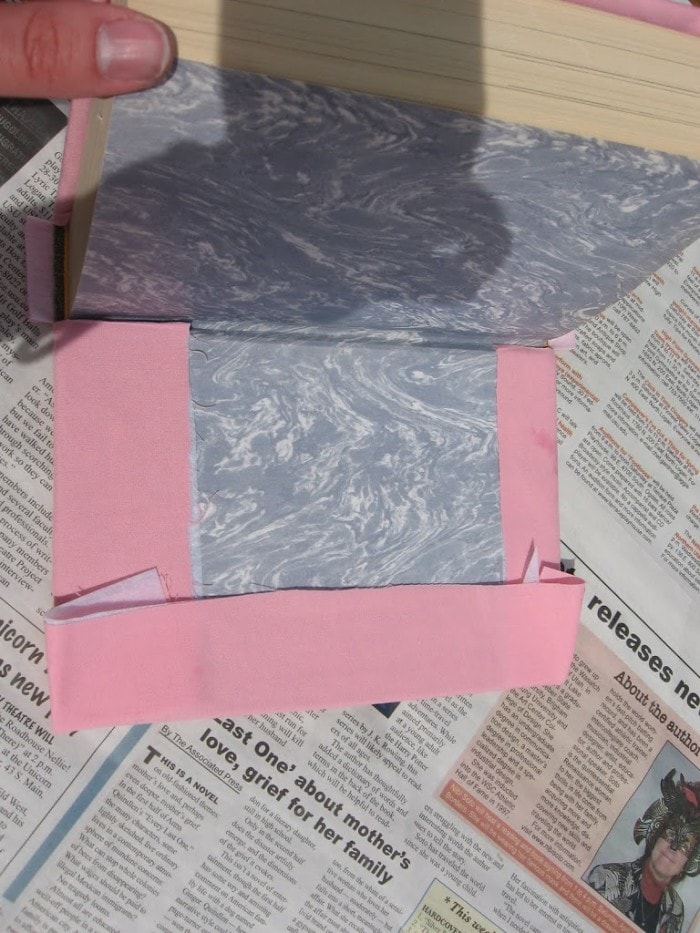 Then I did the same with the end.
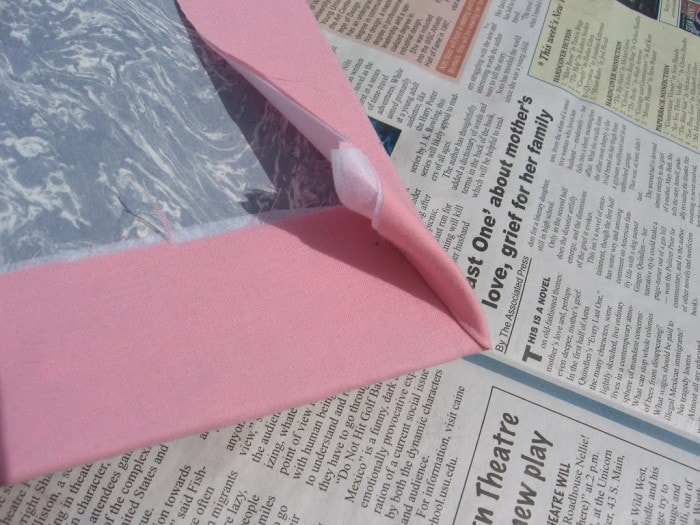 I then folded the corners like seen in the picture and sprayed them down. This will all be hidden so don’t worry about it too much. It just needs to be stuck onto the cover with clean edges on the ends of the book.
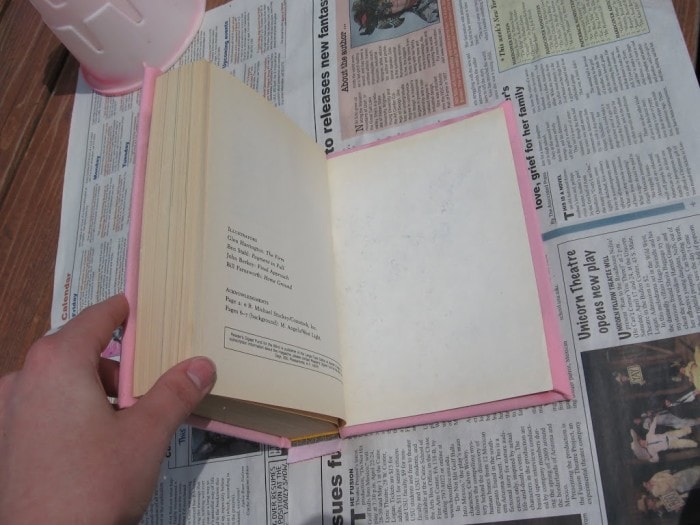 Then I glued the cover page onto the book cover, to encase all the fabric folds.
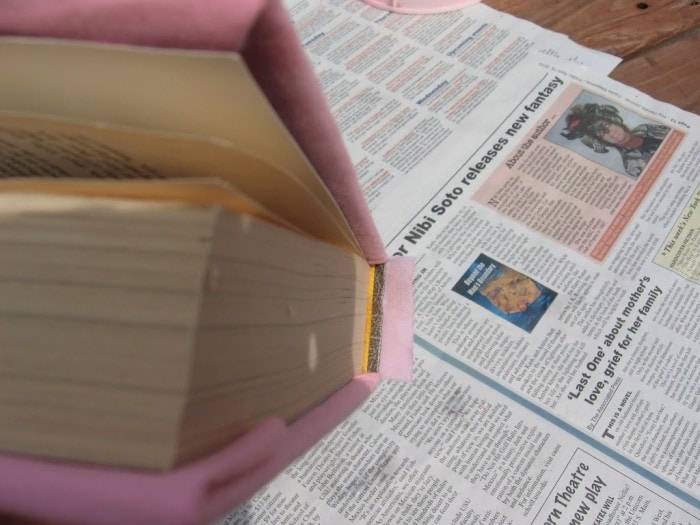 The final part was to deal with the binding ends. I took that flap on the bottom and sprayed some more glue.
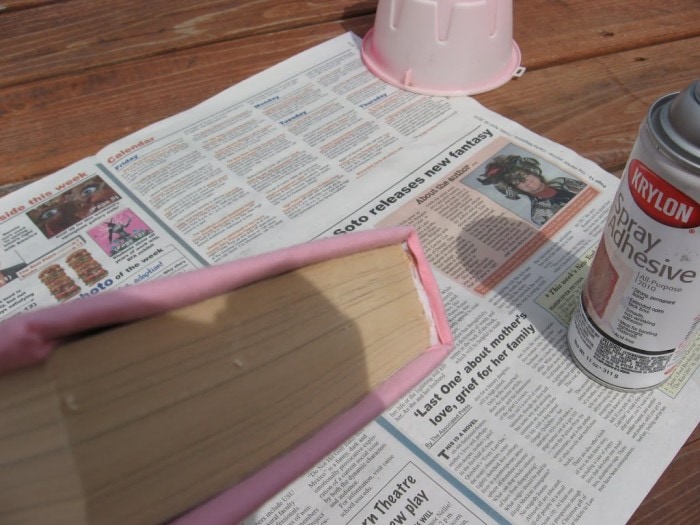 Then you squish it onto the binding. I did more squishing after I took this picture.
This completed my book covering.
Then I took it in and did some freezer paper stencil lettering on the cover. Don’t know how to do that? Click here. She explains it all. It’s that easy!


These are such a great idea. I love how they turned out. Thanks for sharing at 'Look at me, I'm SO Crafty!' at Fun to Craft.
This is such a great idea. I think I might have to do this. Thanks so much for linking on Favorite Things Friday!
What a great idea!!<br /><br />I'm having a blog party tomorrow and I'd love it if you linked up!<br />http://www.iamalongfortheride.blogspot.com
This is great idea!!!Love your new craft room and these books are so cute! TFS!
How unique. Jane F.
That is such a great idea. Way better than my messy folder of clippings!<br /><br />Thanks for sharing at My Backyard Eden!
That's wonderful! I have to do this too… you've inspired me. So simple!
Hi! I just found your blog. I love your great ideas. I also covet your craft room 🙂
Love it!<br />*hugs*deb
Just wanted to let you know we featured you so come on over and grab a button!!!
They look so stinkin cute!! I think I will do this for my daughters room, just to have some cute books on the book case! Love it!!! Thanks for linking up!!
oh such a great idea. Love the simple streamlined look of the stencil. thanks for sharing!
That is so clever and cute! What a great idea!<br />I'm a new blogger and would love to have you stop by.<br />Joy @<br /><br />thriftyparsonageliving.blogspot.com<br />Have a great day!
I am so doing this, too- but I think with craft paper and a pearly writing pen, and freehanding the font!<br />TOO TOO cute!<br />Thanks for the tutorial- I hadn't seen this yet!<br />Thank you for coming by my home and your sweet comments about my master bedroom!<br />You know what I love?<br />Your craft room!<br />And I super love the fact that you made a place for your girls to be- that
Cute & good way to make use of an old book. It's so nice to have an idea book – I've been using a journal, but this is much more artistic:)
Clever clever! I would love to do this! Thanks for the tutorial.
What a great idea, I love it!
Oh. I am so doing this. Love it. simple and practical.