
This post may contain affiliate links, which means I get a small percentage of the sale at no extra cost to you. I only recommend items I love and have had a positive experience with. Thank you!
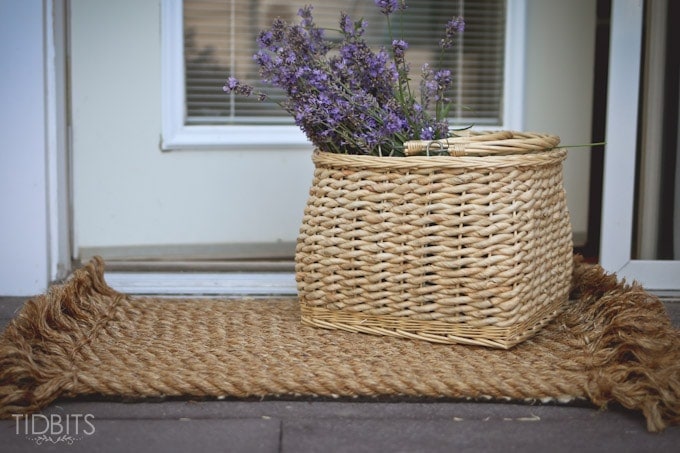
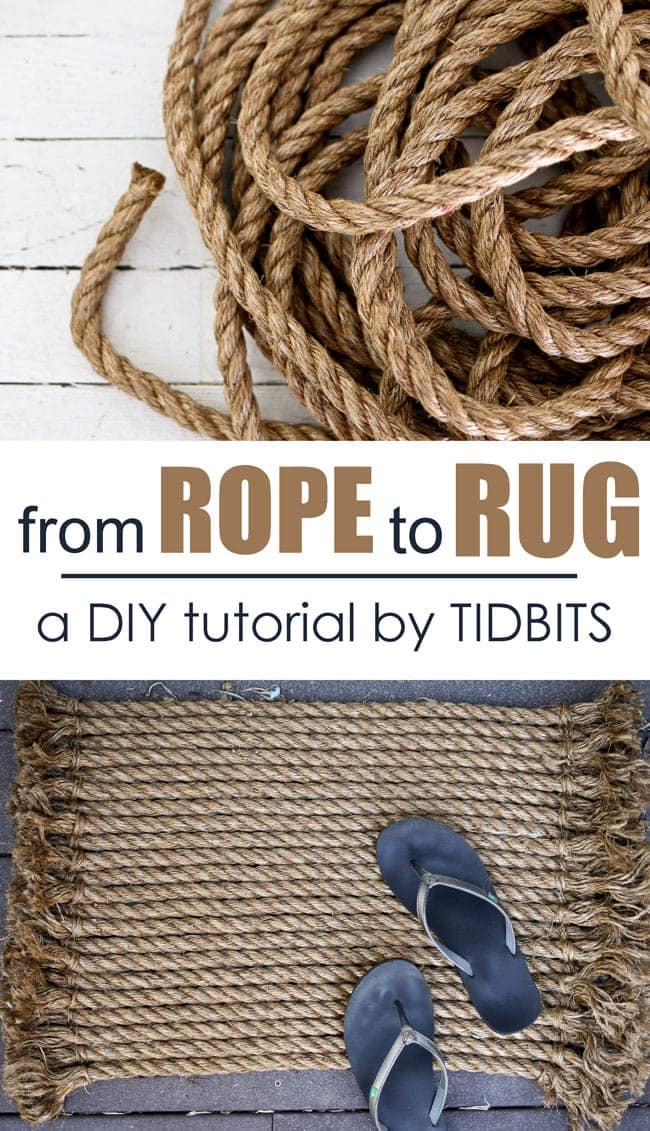
From rope to rug – this DIY tutorial will show you how to create a stunning outdoor accessory that rivals the look of an expensive jute rug.
I’m supposed to be working on our master bedroom makeover.
But when an idea sparks your brain in your sleep, you know you just have to go with it – ASAP.
So – I would like to show you how to take a boring rope, and magically turn it into the most charming rug (or floor mat) you have ever seen. (Zero sewing, by-the-way).
At first, I was a little skeptical of my “brilliant midnight revelation”. Those kinds of ideas don’t always work out, ya know. I’d seen rugs made from rope in a circular fashion, but never DIY’ed like I had dreamed.
I was simply going on the faith of a half awake thought.
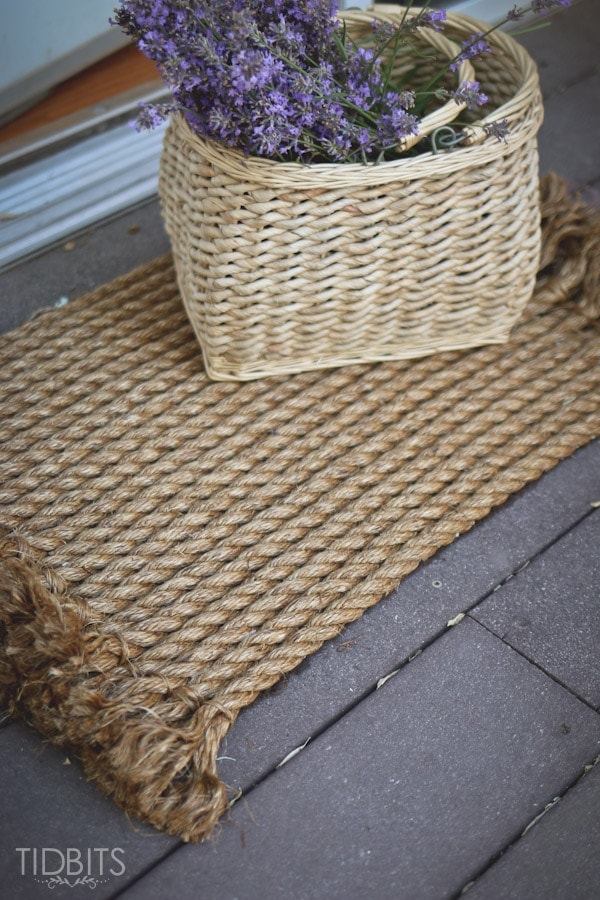
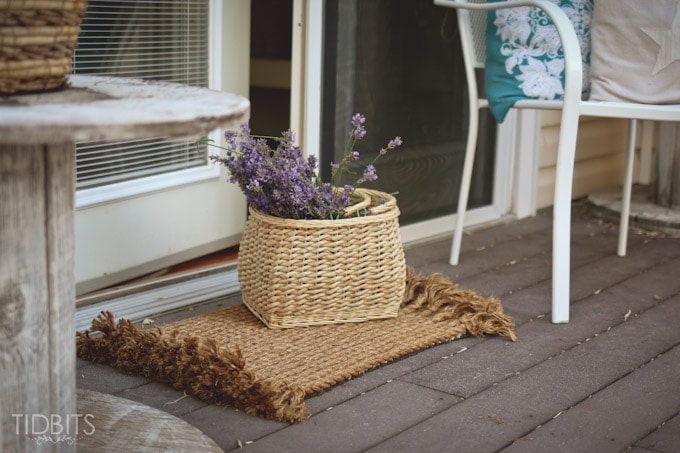
I was hoping in the end, it would rival an expensive jute rug – mini sized.

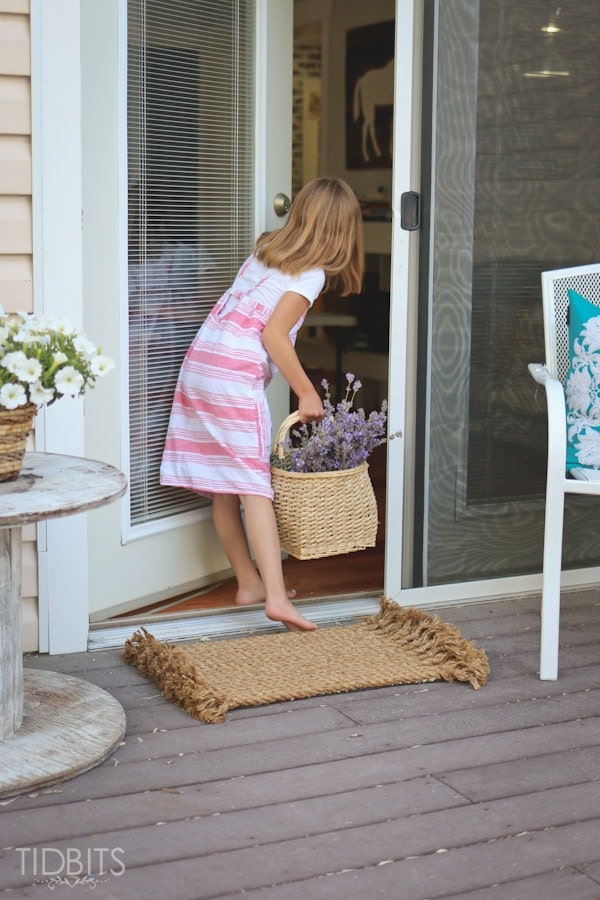
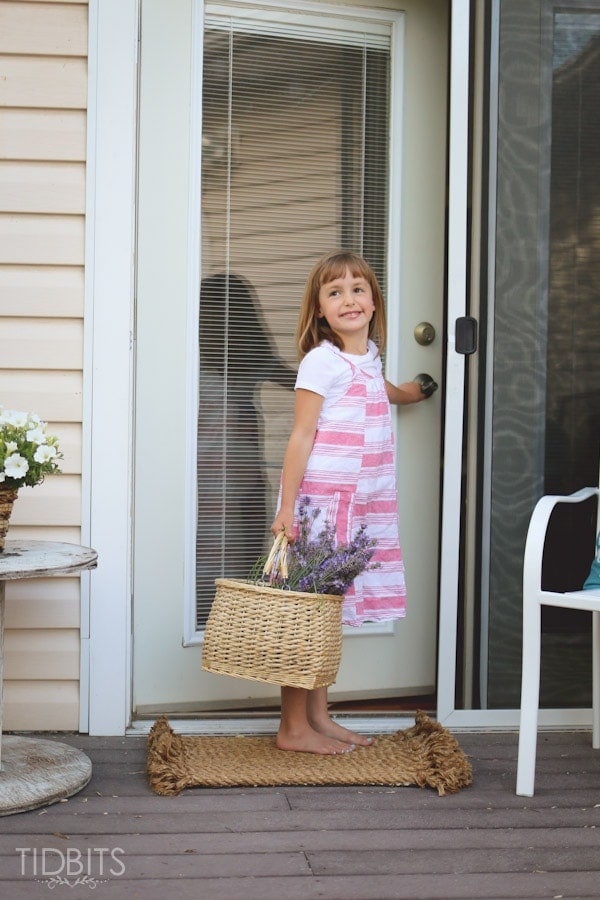
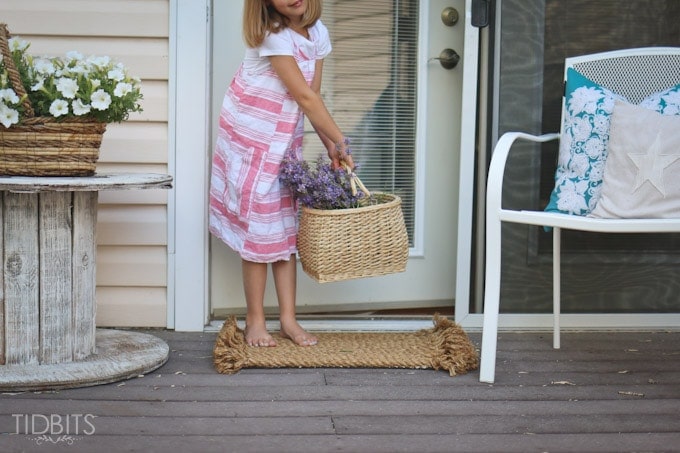
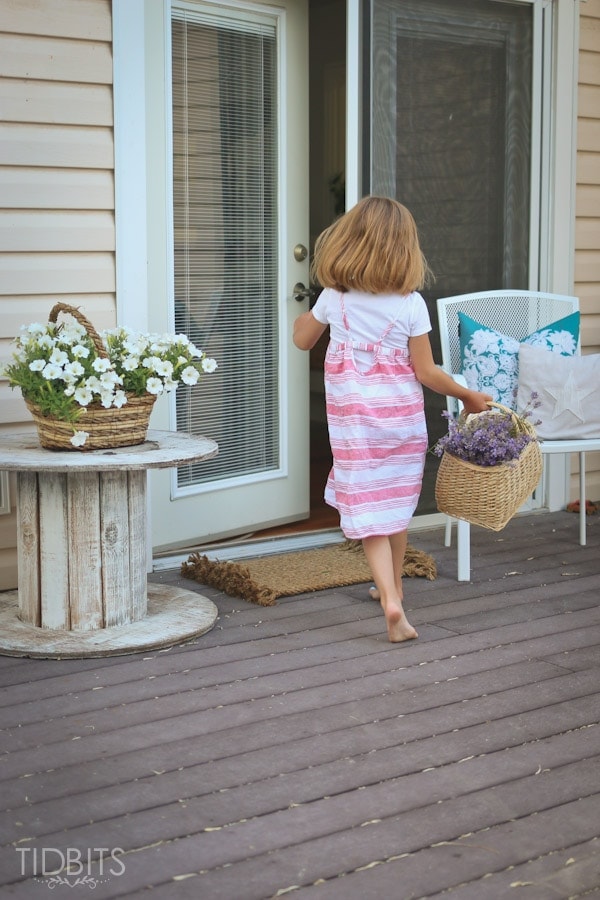
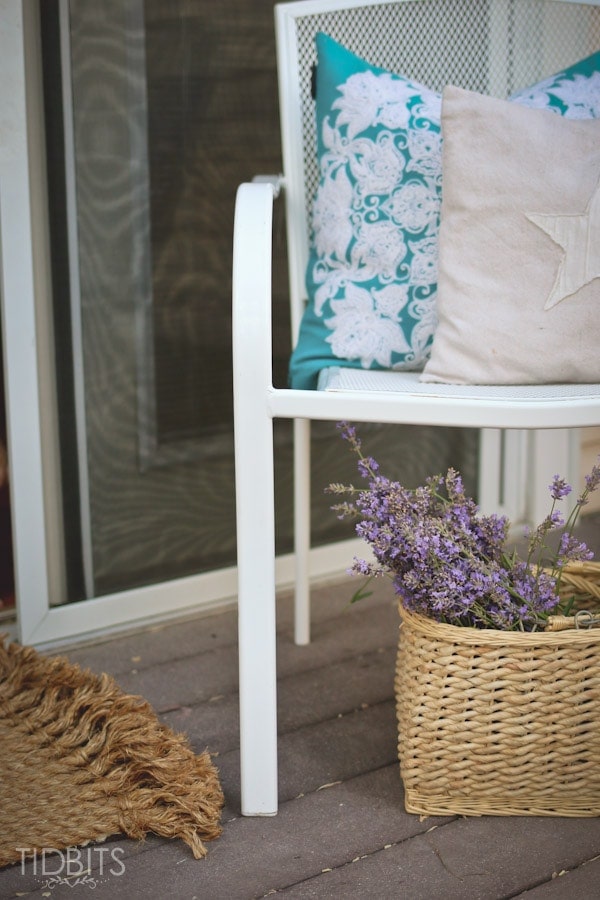
I imagined it would make the perfect rugged outdoor floor mat, and would grab all the dirt from little ones toes before they entered my house.
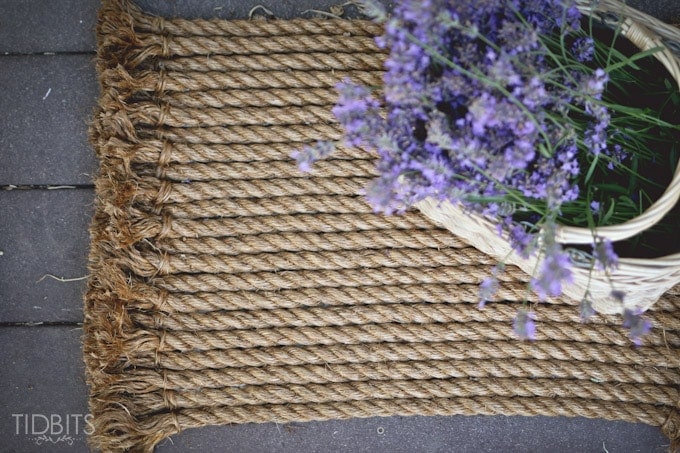
I knew I would love the color, lines and texture of rope lined up nicely in a row.
So the next morning, I set off to the local hardware store to buy some rope that would suit my fancy. (Here is the exact rope I bought, but from Amazon – click HERE)

After a little trial and error, I managed to duplicate the rope rug from my dreams.
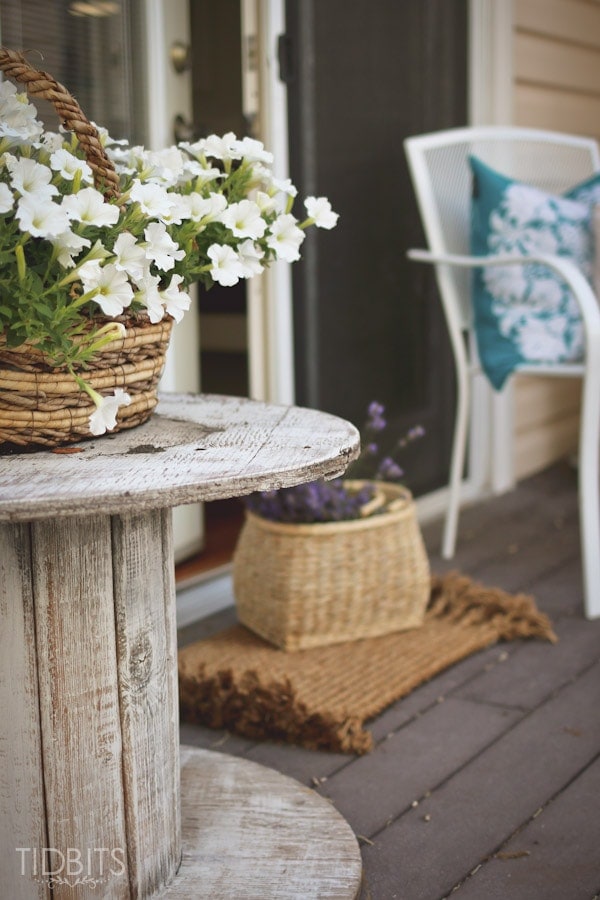
We love this new addition to our home so much . . .
. . . I almost can’t wait to fall asleep again in hopes of another vision of loveliness.
I will certainly let you know if that happens 🙂
In the meantime, I wish to assure you that dreams do come true.
And that is a wonderful thought.
If you love this little floor mat as much as I do, I wanted to be sure to show you how to make your own.
So let’s first talk about the supplies you will need and then I’ll show you step-by-step how to recreate your own rope rug with fringed edges.
Materials:
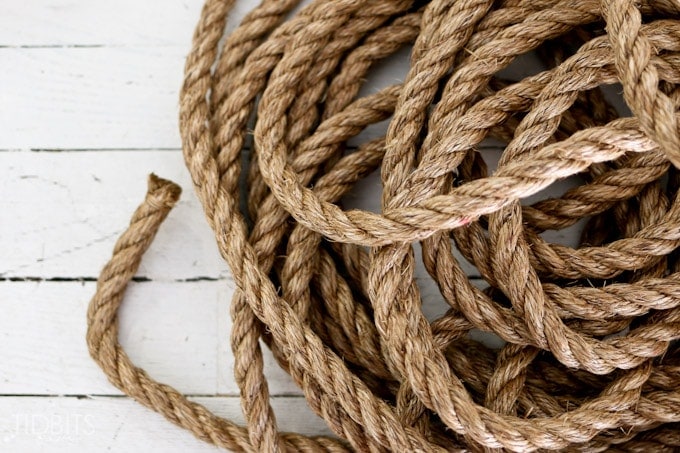
- Rope
- Right. That’s kind of obvious. The type and variety is so flexible. You can choose from natural fibers or synthetic, all depending on the look you desire. You can also select a variety of thicknesses. I opted for a natural fiber rope which was 5/8 inch in diameter. (HERE is the exact rope I bought, but from Amazon).
- How much do you need? This is a super tough question to answer. It really depends on the size of rug you want to make and how much you want to spend. You may need to sit down and do a little math. I did this to kind of ballpark how much I would need. I determined how long of strips I would want and then used a measuring tape to mark 5/8 inch markings down to the size I decided. My rope cost .58 cents per foot so the rope cost around 30 dollars. I ended up buying 60 feet of rope, which ended up being slightly too much. Not bad for a rug you could see at Pottery Barn, am I right?
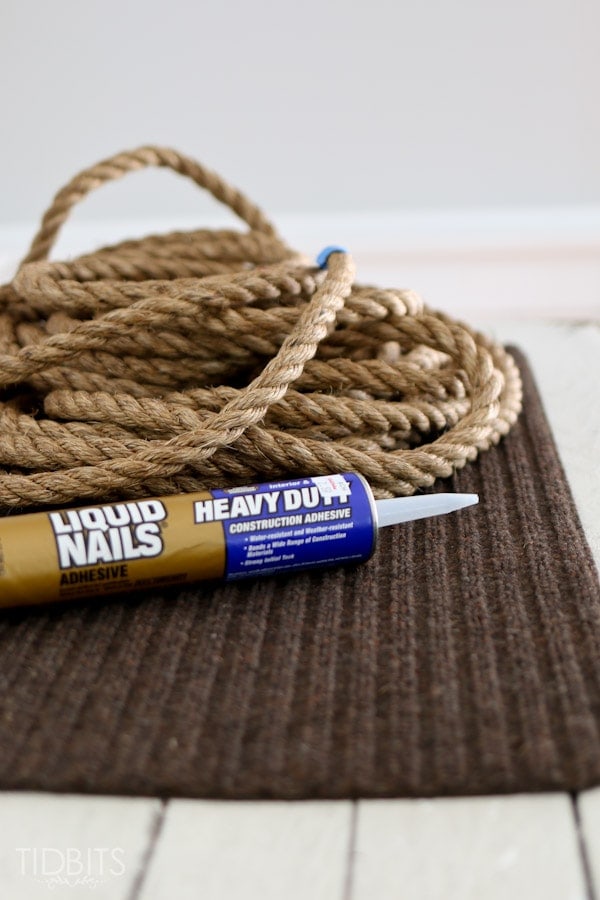
- An inexpensive outdoor mat
- This is to glue your rope onto, to give it the structure it will need.
- I found a 3 dollar door mat from wal-mart which worked great.
- This mat I found was way larger than I planned to make, because I would have needed twice as much rope to fill the surface (and I had already spent more than I wanted to for a rug). I wasn’t concerned about that because I picked a mat I could easily cut to the size I planned.
- Heavy Duty Liquid Nails (with caulk gun)
- If it says indoor/outdoor use that is all the better.
- My husband and I debated on the best type of glue for this project, and after it is all said and done – I feel like this glue was perfect for the job. The rope is very secure.
The first thing you’ll want to do is cut all your rope pieces to size. I measured them up to the length of the mat, and then added a few inches extra to each end, for the fraying effect. To cut the rope quickly, we used a sharp razor blade cutter thing from my husbands pile of tools.

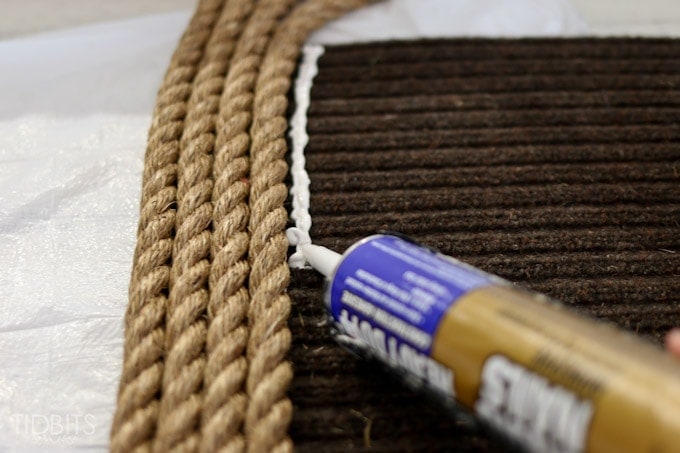
Then I just began spreading glue in rows and laying my rope directly on top of the glue and pushed as closely together as possible.
Some things I did learn, was that this process took longer than hoped. Because the liquid nails does not dry quickly, your rope may shift from where you place it down.
I found it best to lay a few rows down, place heavy books on top of those rows for a couple of hours or so – and then the glue was dry enough on those previous rows to be added to.
But once that glue was completely dry, the rope feels like it will never move.
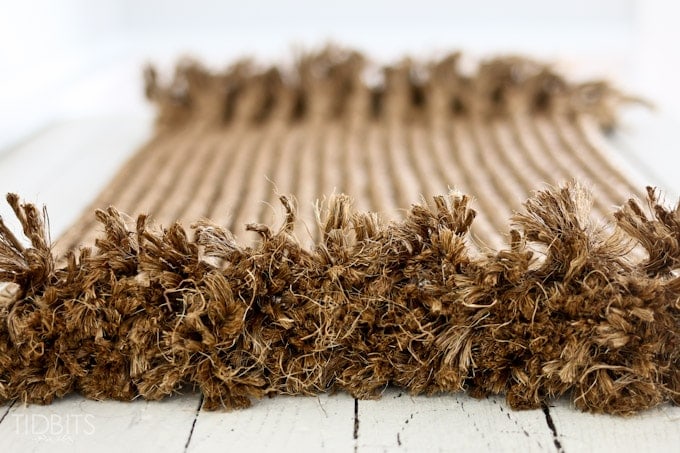
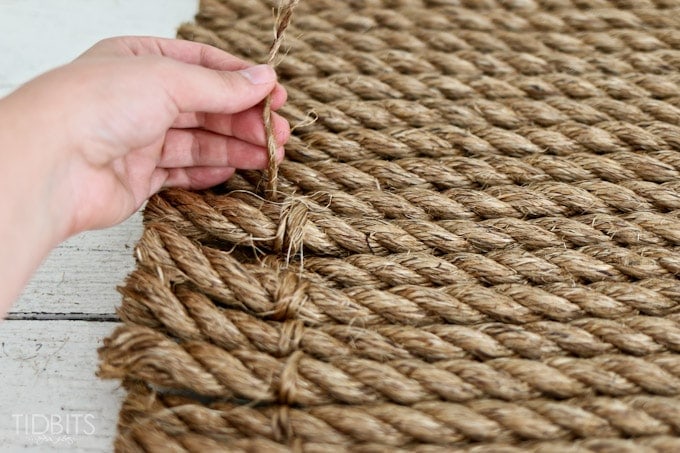
After my door mat was completely covered with the rope, I took some extra rope and unwound the coils so I had some smaller threads to work with on the ends.
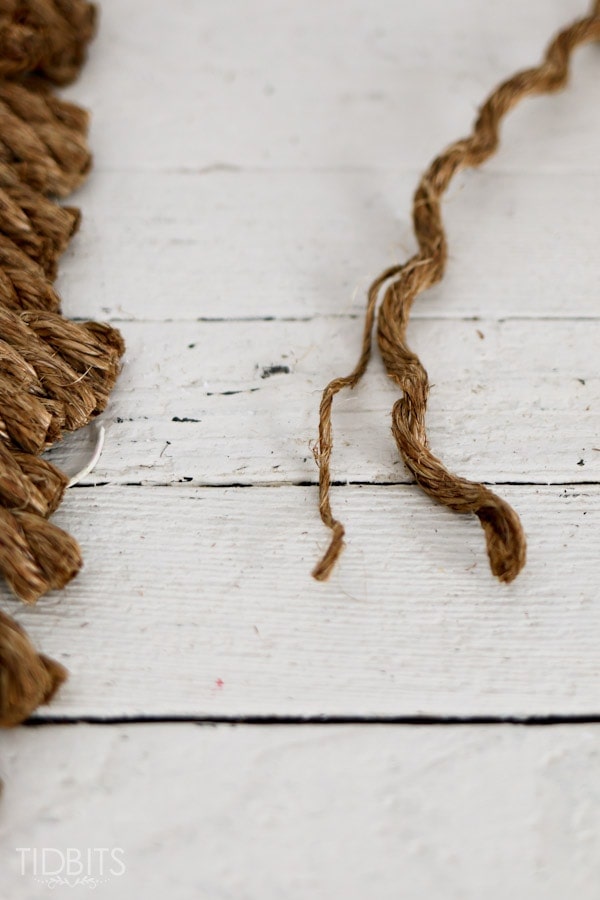
I simply wove the threads through and around each open rope on the ends.
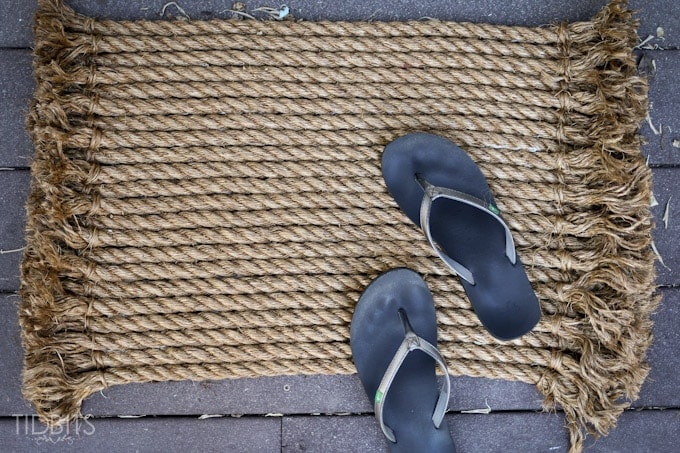
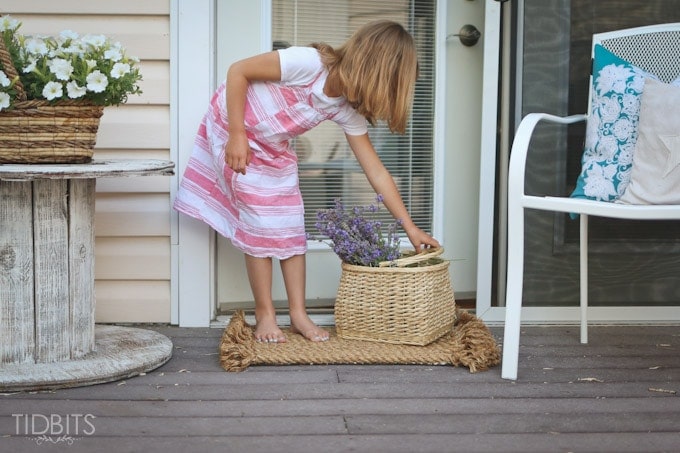
Then I put my 8 year old daughter to work to help me unwind and fray each end piece. This did get a little messy.

But the results looked fantastic.
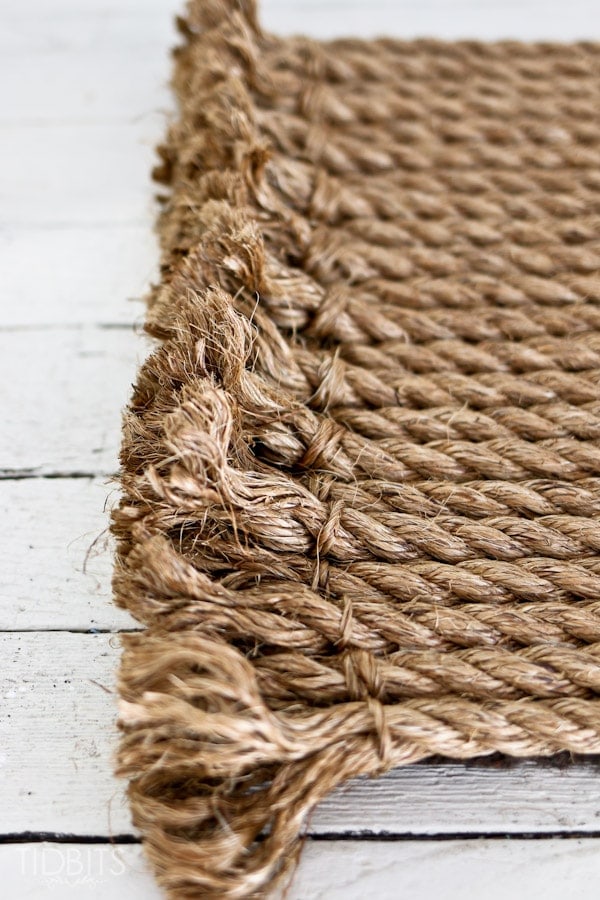

And that was really all there was to it.
A very quick and rewarding project.
Feel free to pin an image to your boards so you don’t forget where to find this tutorial!
I would love to hear if you like the look or not, and if you give it a try!
*Linking up to these parties, HERE.
**This article contains affiliate links – but you can rest assured I only recommend products I use and love.


I am making this using an old rug that’s lost it’s colors….Really sturdy…. I’ll post a pic when it’s finished ok!!
Thank You for your inspiration!!!
I love this! I have an awkwardly shaped powder room. I can use this concept to customize the rug. I’ll go with 6mm hemp. Similarly, I’m using rope to make a rug for the bedroom hallway with rope circles of various sizes because it’s also a very awkward shape. Bravo!
Can you use that in a bathroom? Not sure if i care for the ‘frills’ on the end.
Brilliant ideas. I love to create a DIY rug for my house. Decorating my house gives me a relaxing feeling when I see my creation in an overlooking way.
I am a bit confused you glued the rope the width if the rug not the length I am very literal so is there a reason you did it seems it would be too short
I saw your rug and fell in love with it instantly. I’ve been wanting a unique rug for my living room for ages. Much larger than the one you made though. But you got me to thinking. I began trying out different background to see what I could use without the cost going through the roof. In the end I used a very heavy canvas drop cloth which I’d glued a non-skid rub backing to the add durability, liquid nails as you suggested and of course the rope. It took me 2 weeks to complete my rug but now I have a stunning unique 8×10 living room rug. Truly, it’s absolutely gorgeous and so unique I get compliments on it constantly. The best part is I can vacuum it! I just have to take care to not catch the loose ends. The only downside is it weighs an absolute ton but it rolls nicely to allow me to clean underneath. All said and done my rug cost me $108.00
Wow! What a brilliant idea! And what a labor of love I bet it was! If you ever think to send me a photo, I’d love to see the finished product!
Hi, I was.planing to make a big rope rug in living room, just like u did. Can u please send a picture of theone you made, I would.like to see how it looks.like in room. Since my living room is way too big, I.want to make a rug 12 sqare meters, but I have no idea how many meters of rope I need?! Thank you very much!!!
I love it all, the pictures, the colors, the model etc… The rug is a fantastic idea, I am pinning it for a future project. I just love the look. Thank you for sharing.
Beatrice
Thank you very much! She is a good little model for me 😉
I love this rug! My middle-or-the-night ideas have never turned out this gorgeous.
Haha! Mine rarely do! Thank you for the sweet comment!
So cute! I’m thinking of making one for our boat dock. Hopefully, it’s comfortable enough for bare feet. Great idea!
This would be adorable for a boat dock – however – I feel I should mention the rope is not all that comfortable on bare feet. It bothers my kids to stand on it without shoes. Perhaps if you used synthetic rope it would ware better with water and not be as prickly. Just some thoughts!
I absolutely love this doormat. I can’t wait to try this myself. Thanks for such clear instructions.
Awesome Rope Rug, Cami! And it’s such a great DIY ~ really easy to follow! I’m due a change just about now, so many thanks for posting this! I may want to try Holiday versions later, somehow “weaving” in Fall & Christmas imagery! Perhaps you could have a dream or two, as well, about those!!!
This is a fabulous tutorial!
Oh my!! I just found your blog via your feature on Craftberry Bush, and I absolutely love the.whole.thing.! Your styles is impeccable!! Thanks for the inspiration!
Love it! I love anything natural looking and this is so perfect. Gotta get me some rope! Keep a pen and pad handy by your bed…don’t want to miss any fantastic ideas! LOL Found you at The Shady Nest.
What a sweet comment! Thank you! This rug has been holding up great and I too love the natural look of it. Thanks for coming by!
This is a beautiful rug! I will most definitely be making a similar one in the near future. Thanks for sharing! Visiting you via the Creative Spark link-up.
This is so brilliant! Love this idea. I have a mat that isn’t the prettiest after the winter we’ve had. maybe its time for a makeover. Thanks so much for linking up at Creative Spark Link Party. I am happy to tell tou that you are featured this week! Stop by and check it out! http://weekendcraft.com/journal/creative-spark-link-party-64
Sow your post on craftberrybush ….and looks too cute. Going to pin for a later time as school projects come first..
Thanks for sharing.
Oh my gosh….you are brilliant! Absolutely LOVE the look of this rug and your photos are so charming!
So clever! I am thinking my back door needs one for my dog to wipe her feet on!
Oh yes, I do like it…a lot. I’m going to pin it so I can make one in the (hopefully near) future. It’s way cool! And your daughter is a great blog model. She’s adorable!
Excellent! I have an old mat made from lobster trap ropes and I love it. Although, I don’t love the bright colors as much as I love the muted look your mat has.
That sounds really lovely though! Rope adds such a wonderful texture to everything. Thanks for always supporting me Liv!