
This post may contain affiliate links, which means I get a small percentage of the sale at no extra cost to you. I only recommend items I love and have had a positive experience with. Thank you!
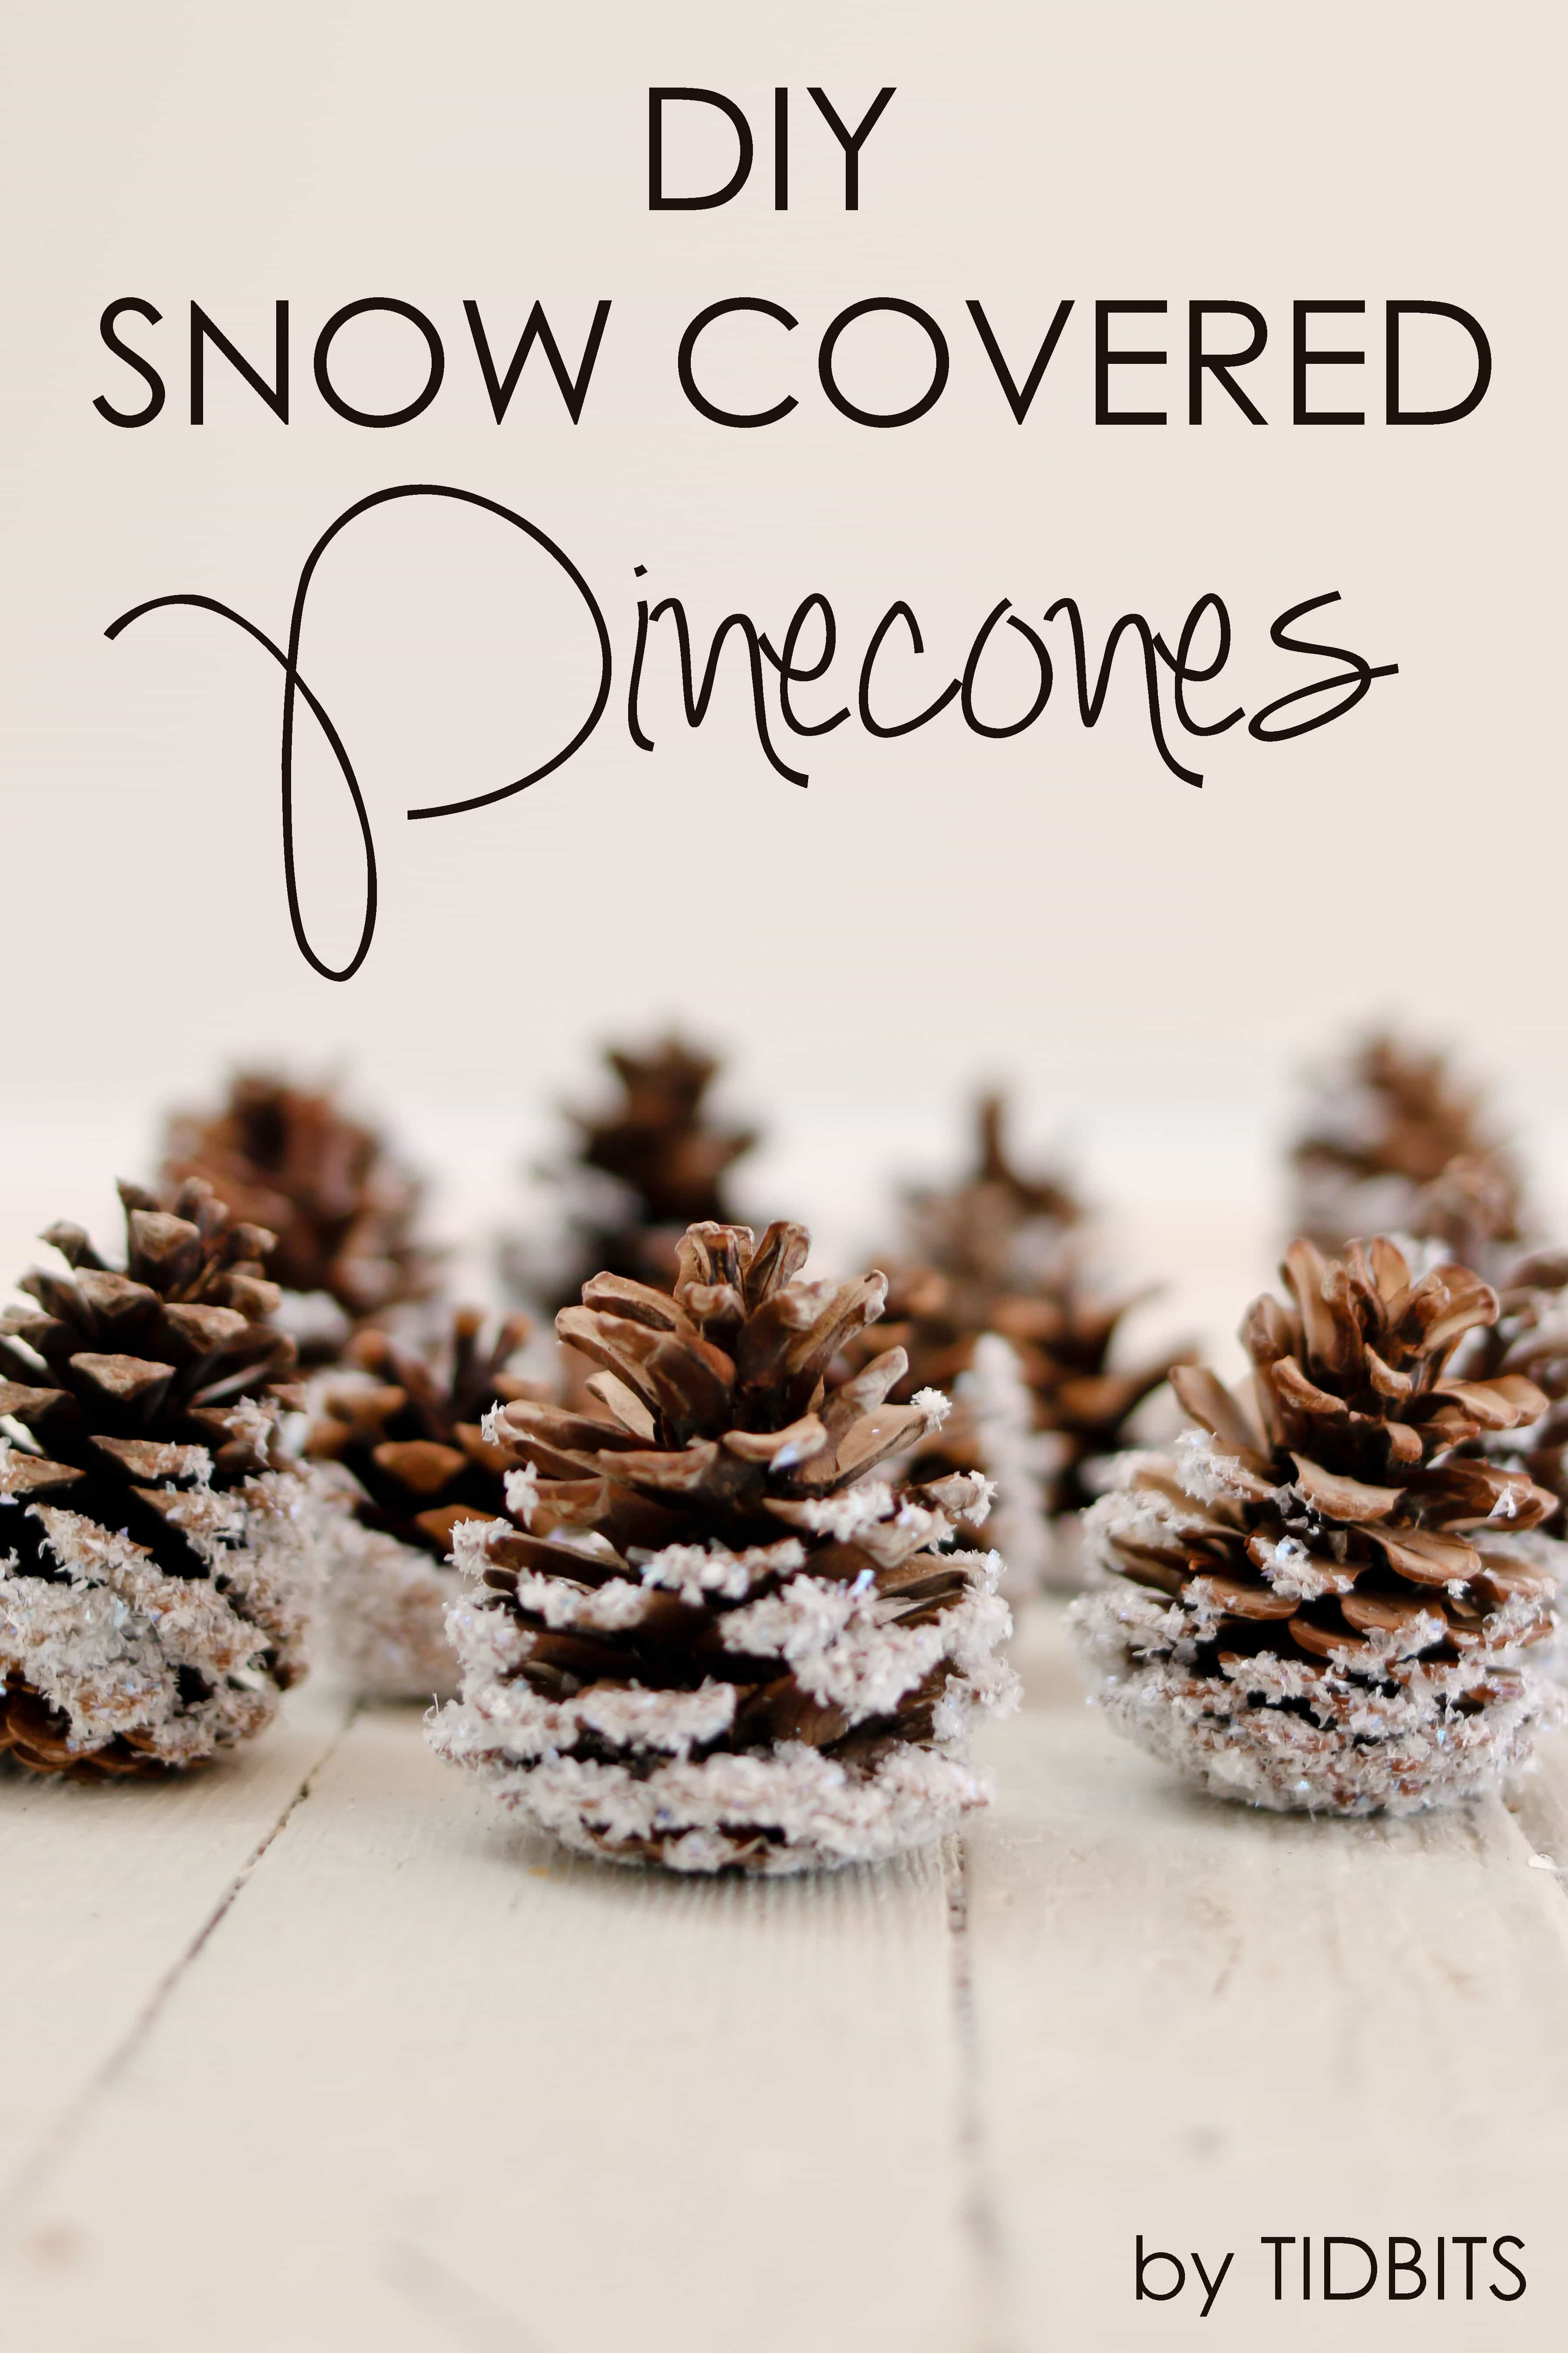
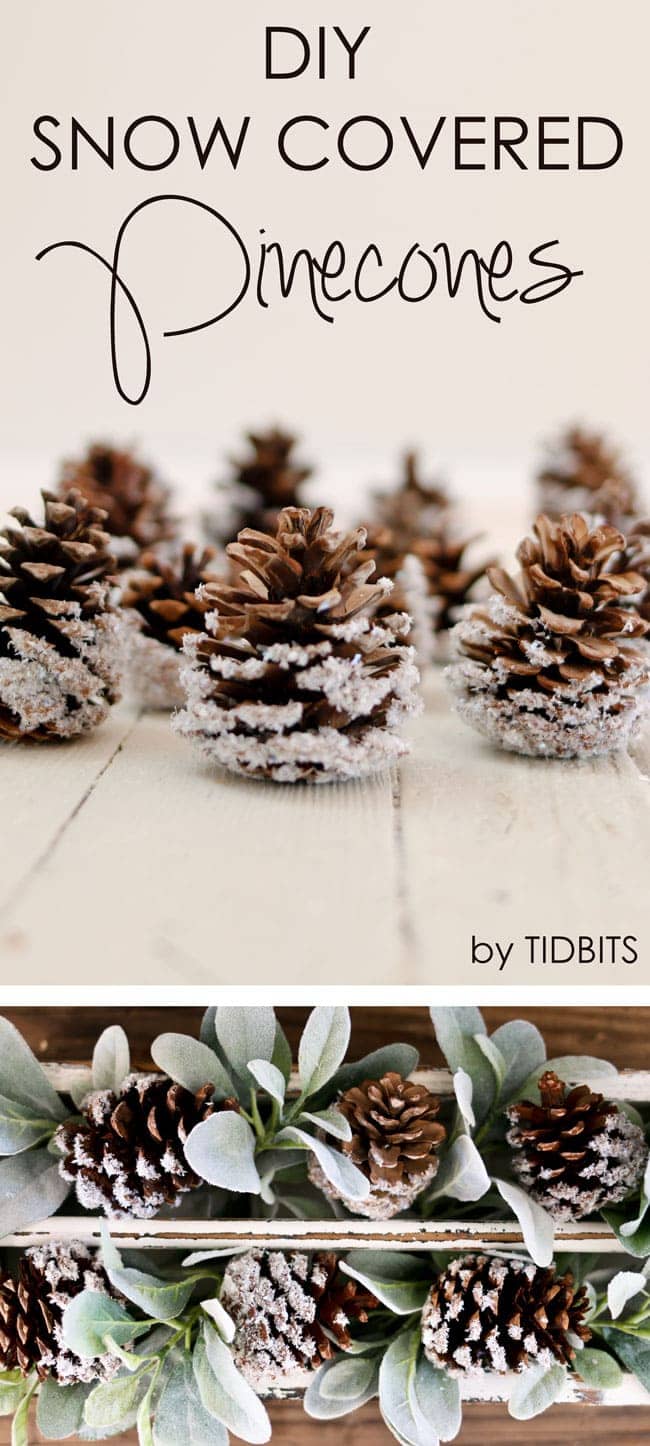
These DIY Snow Covered Pinecones are simple enough for the whole family to make, and can be used in a variety of ways in your home decor all winter long.
(This post was originally seen on Ella Claire.)
I love projects and home decorations that can be enjoyed all through the Holidays and into winter. Our home always feels so empty when all the Christmas decorations come down, and it’s nice to be able to leave some of them up for a couple of months longer.
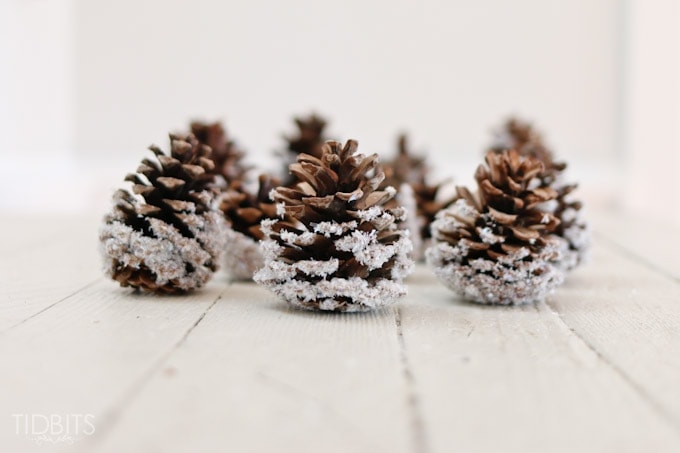
These DIY snow covered pinecones are simple enough for the whole family to help make, and can be enjoyed all winter long.
They can be used in a variety of ways.
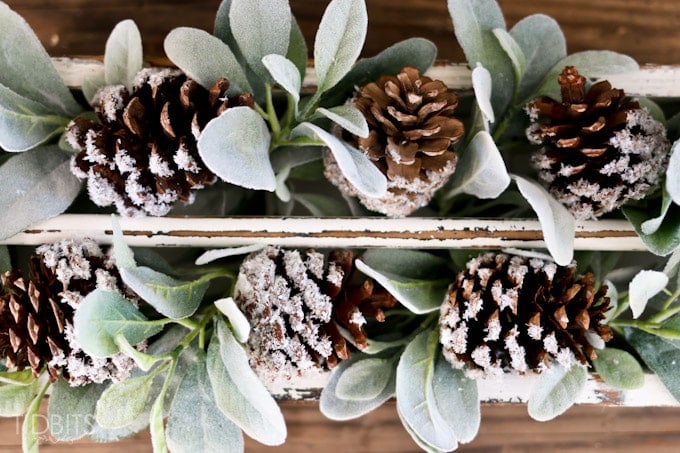
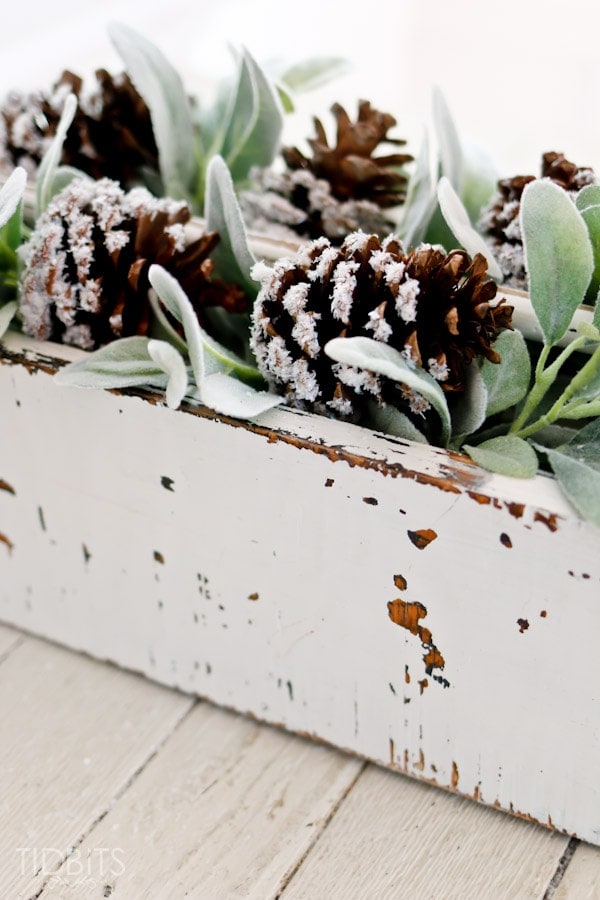
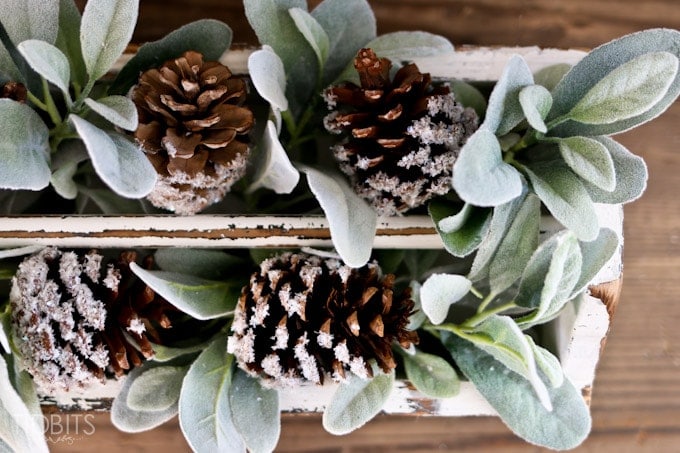
Here I’ve tucked them in a vintage style tool box with some faux foliage.

I’ve also added them to our Christmas tree this year and several other places where a little something more was needed.

Let me show you how easy and affordable it is to make these DIY snow covered pinecones.
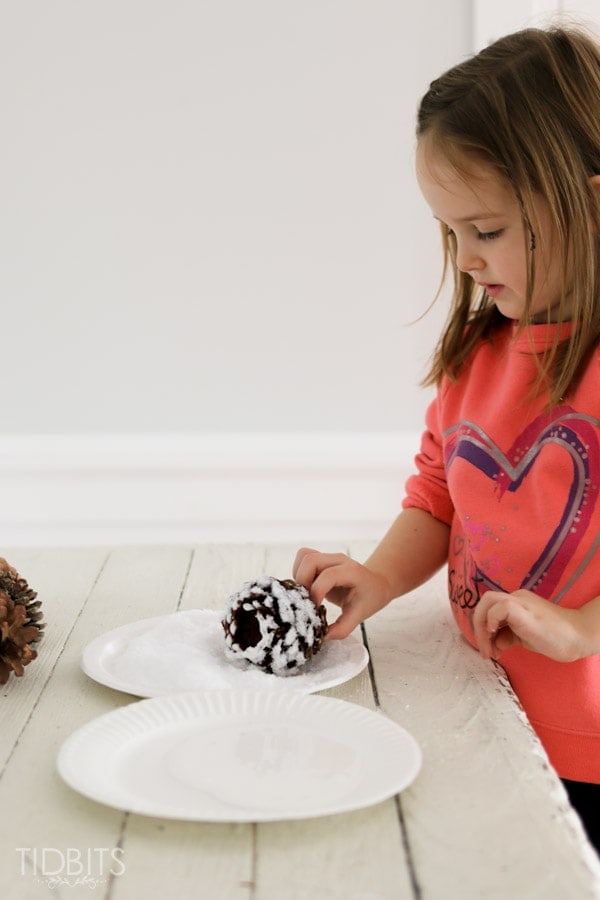
If you have a little one handy – this is the perfect mom and kid friendly kind of project. She was a perfect little demonstrator for me as well 😉
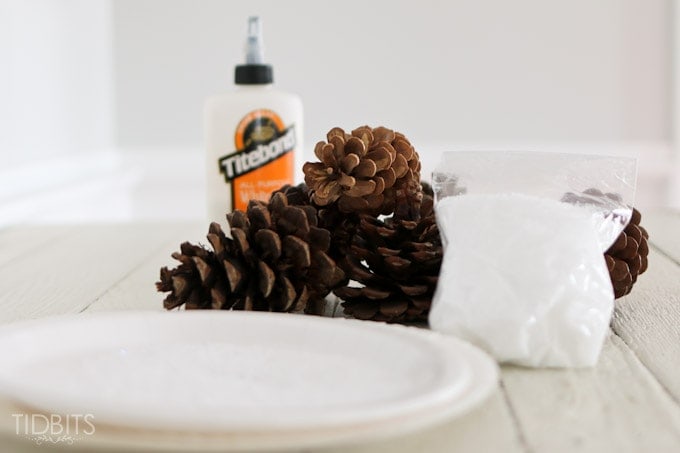
Supplies:
- Pinecones
- As many as you need. I found a large bag for $1 at my thrift store, but this time of year you can usually find them around trees for free.
- Glue
- I had Titebond on hand, but Elmer glue or modge podge would work just as well.
- Fake snow
- I grabbed a small bag at Hobby Lobby for cheap, and it gave me plenty to work with.
- 2 paper plates
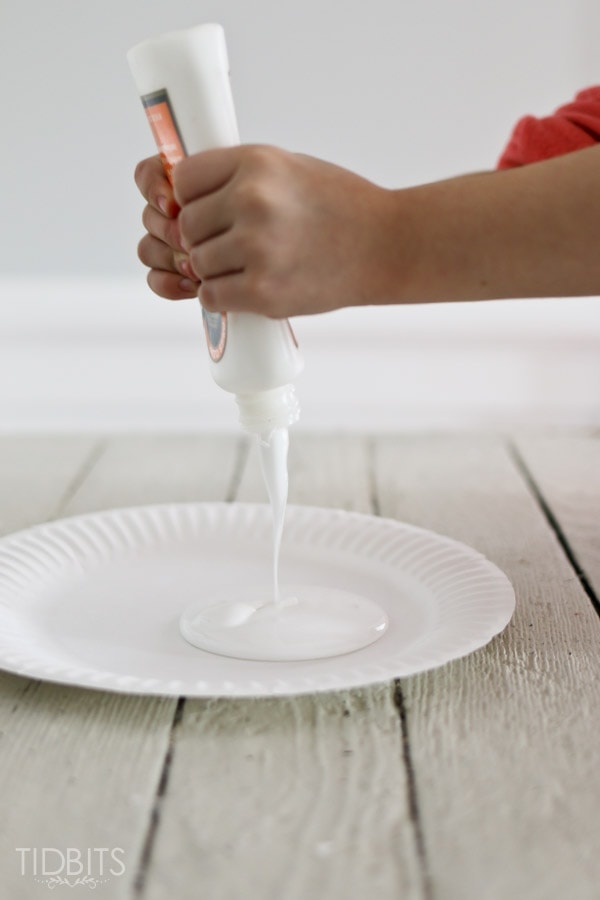
First, pour a generous amount of glue onto one paper plate.
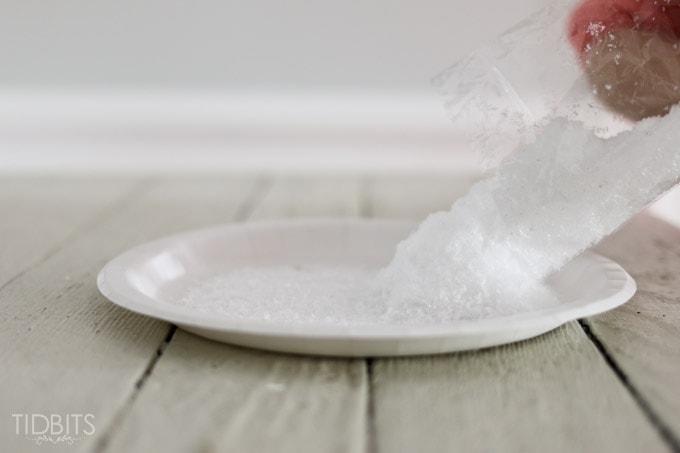
Then pour the snow on the other paper plate.
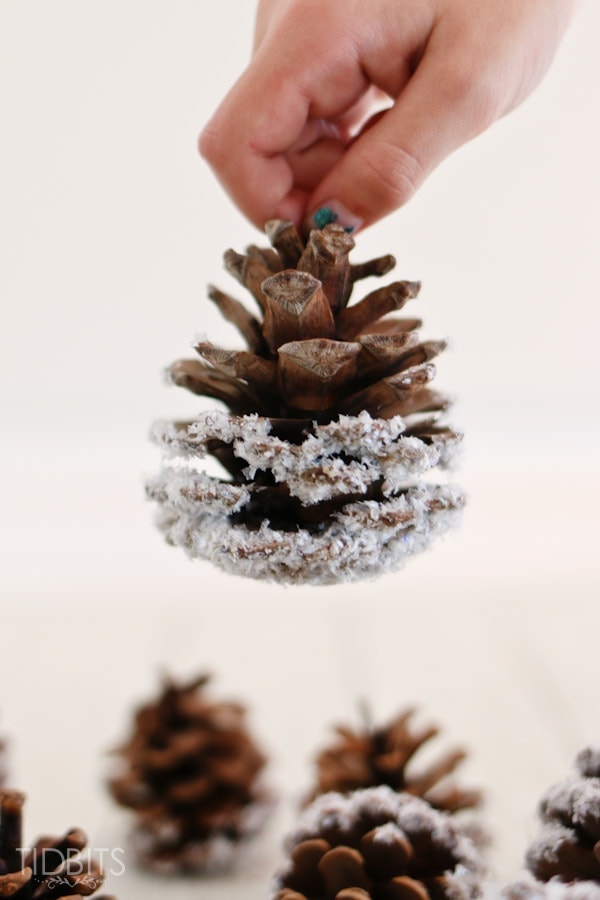
First dip the pinecone in the glue where you would like the snow to stick.
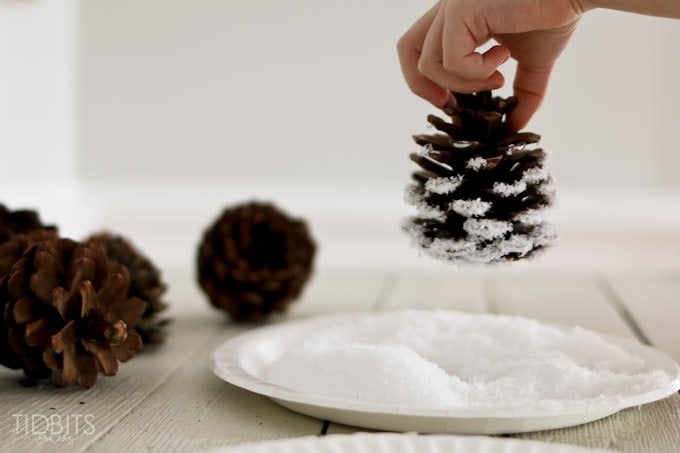
Then roll the glued pinecone around in the snow. Place the pinecones on a protected surface to dry.
And it really is as easy as that. Once they are dry, you can shake or tap them to let the excess snow fall off, and then use them around your home as needed.
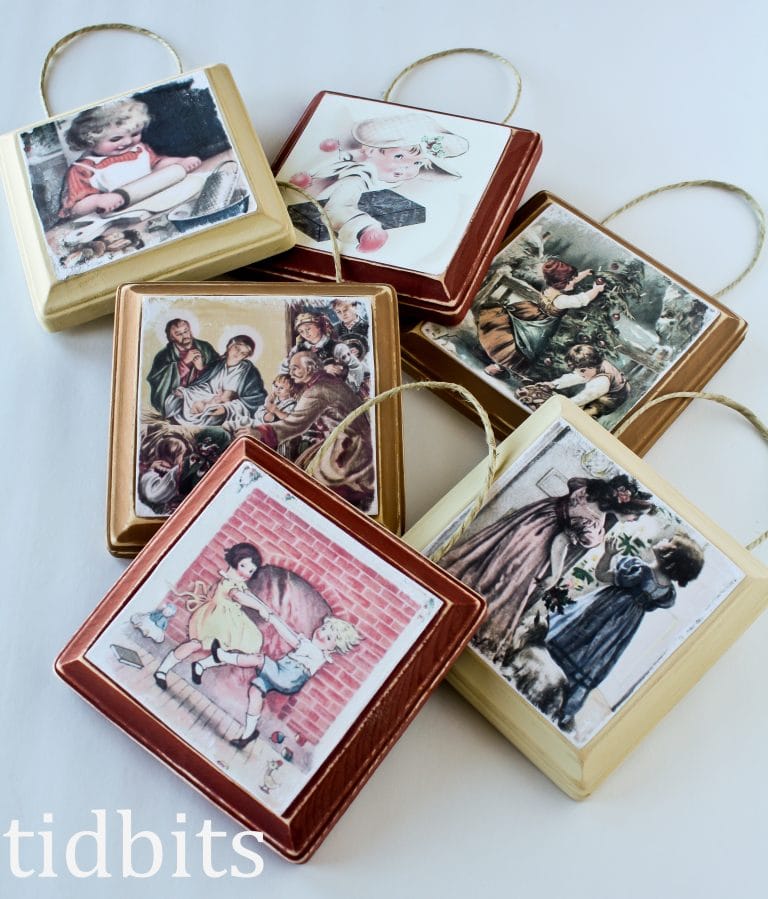
Before I go, if you love projects that you can do for yourself, while letting the kids help – here was another great one for me and my little sweetie.
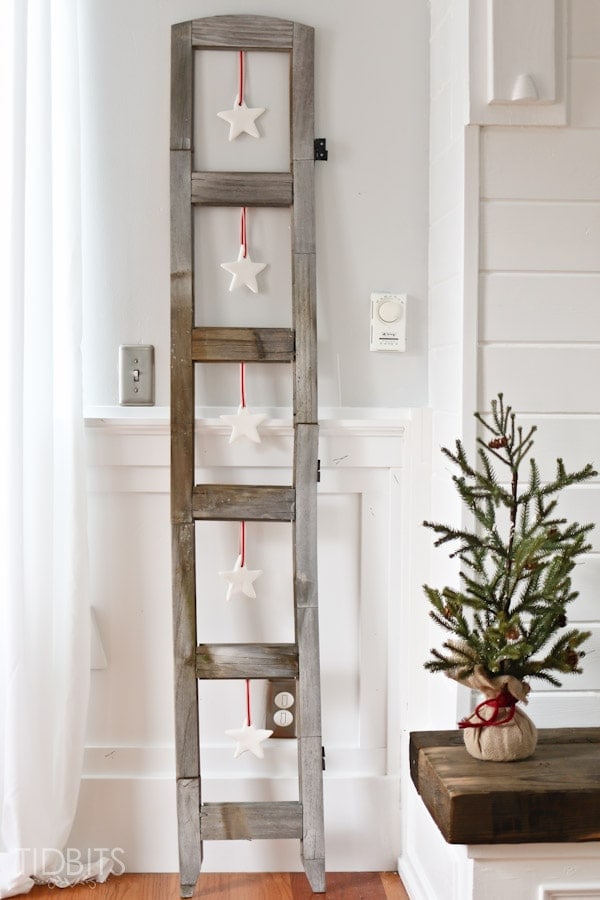
These hanging clay stars look beautiful and were enjoyable to make with my daughter. That’s a double win! Find the tutorial, HERE.
Thanks for reading and have a wonderful day!
*Linking up to these parties, HERE.


These are so pretty, Cami!
Oh I just love the ideas!! SO pretty!
So glad! Thank you!