
This post may contain affiliate links, which means I get a small percentage of the sale at no extra cost to you. I only recommend items I love and have had a positive experience with. Thank you!
So glad you are here today!
I am thrilled to share some lovely, dreamy and cozy things with you! First up, I have the step-by-step tutorial for my linen ruffle pillow sham – which many of you have asked for.
I actually thought I lost the pictures for this, but they miraculously showed up in a folder one day 😉
And then – I’m excited to be sharing this as part of a new series of inspirational farmhouse goodies, which will be a monthly event for you to enjoy.
The sweet and talented gal over at Town and Country Living has rounded up some blogger friends who share a love for all things home, vintage, and farmhouse. I am so excited to be a part of this and I hope you’ll enjoy seeing this progress each month.
This month we are sharing ways we make our homes feel “farmhouse cozy”.
Be sure to make it to the end of this post, where I’ll have the complete project line up and so you can see what these ladies have been up to.
YOU DO NOT WANT TO MISS THIS!
BE SURE TO MAKE IT TO THE END OF THE POST!
YES, I AM YELLING!
Any way –
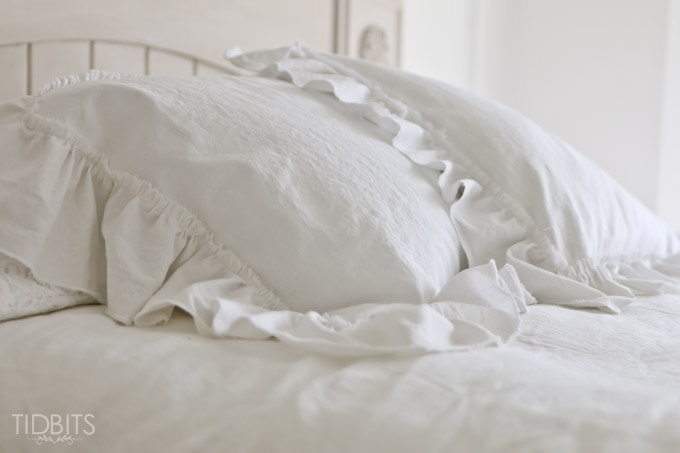
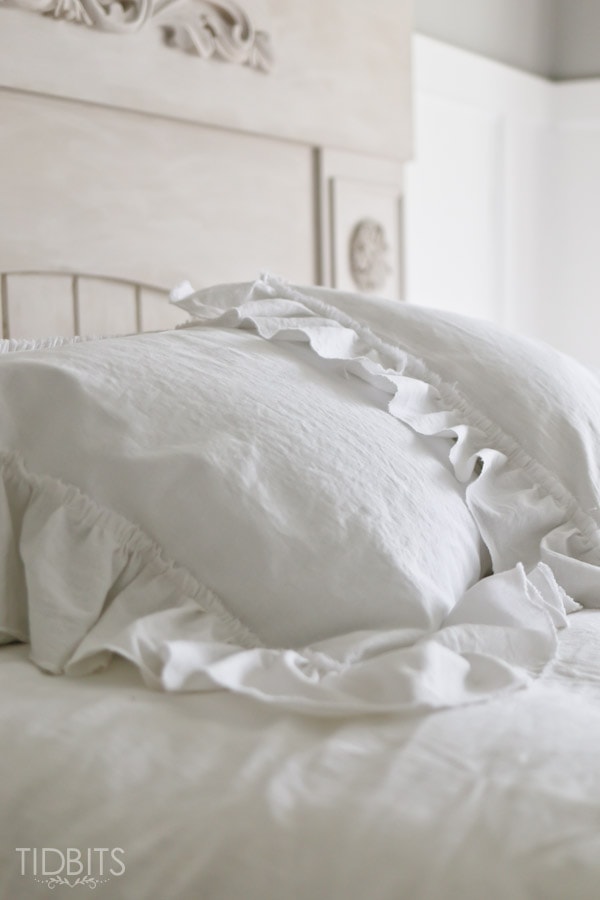
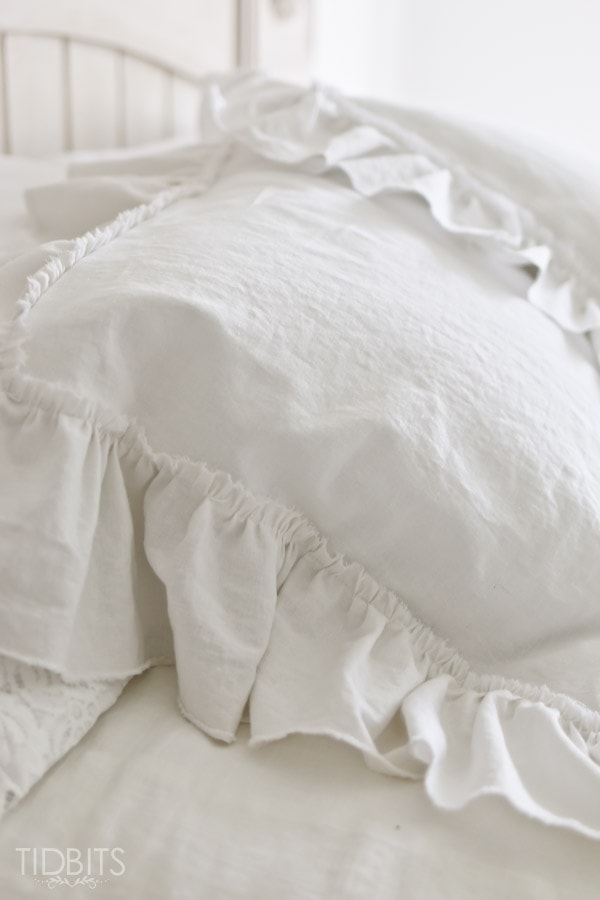
For me – nothing says “cozy” more than white linen fabric and ruffles.
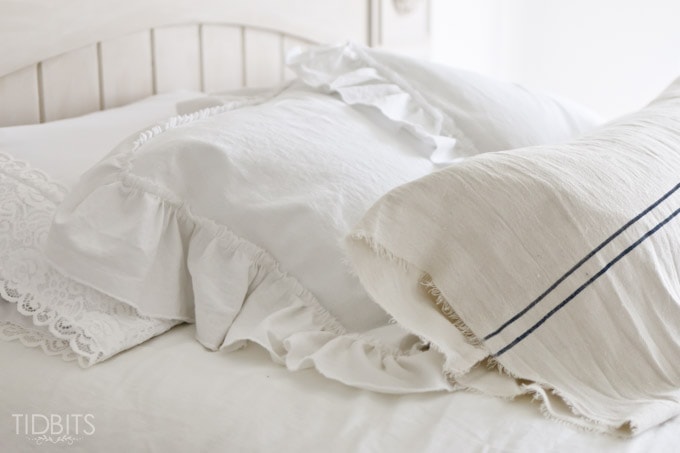
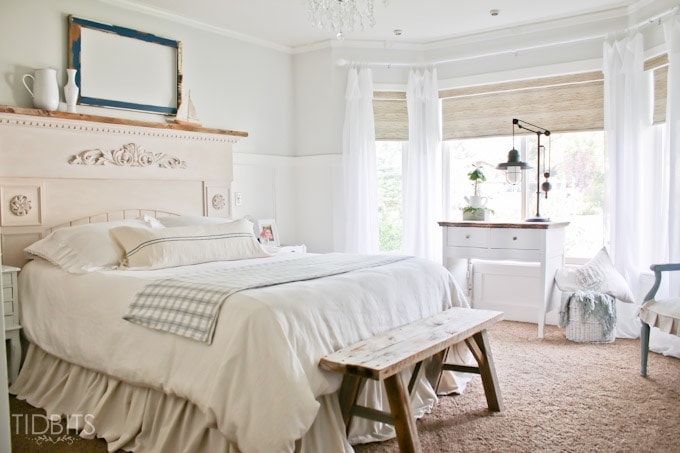
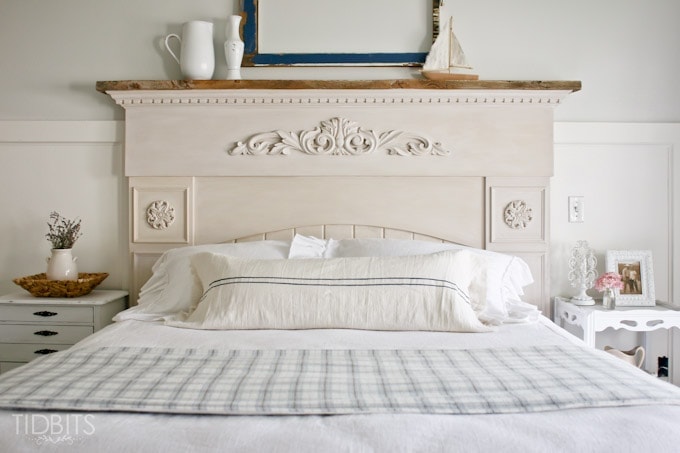
I made these ruffle pillows shams during our master bedroom makeover, and they add such a dreamy cozy factor to the bedding. I’ve actually been toying with the idea of making a few more and have the bed just layered in white cozy ruffles.
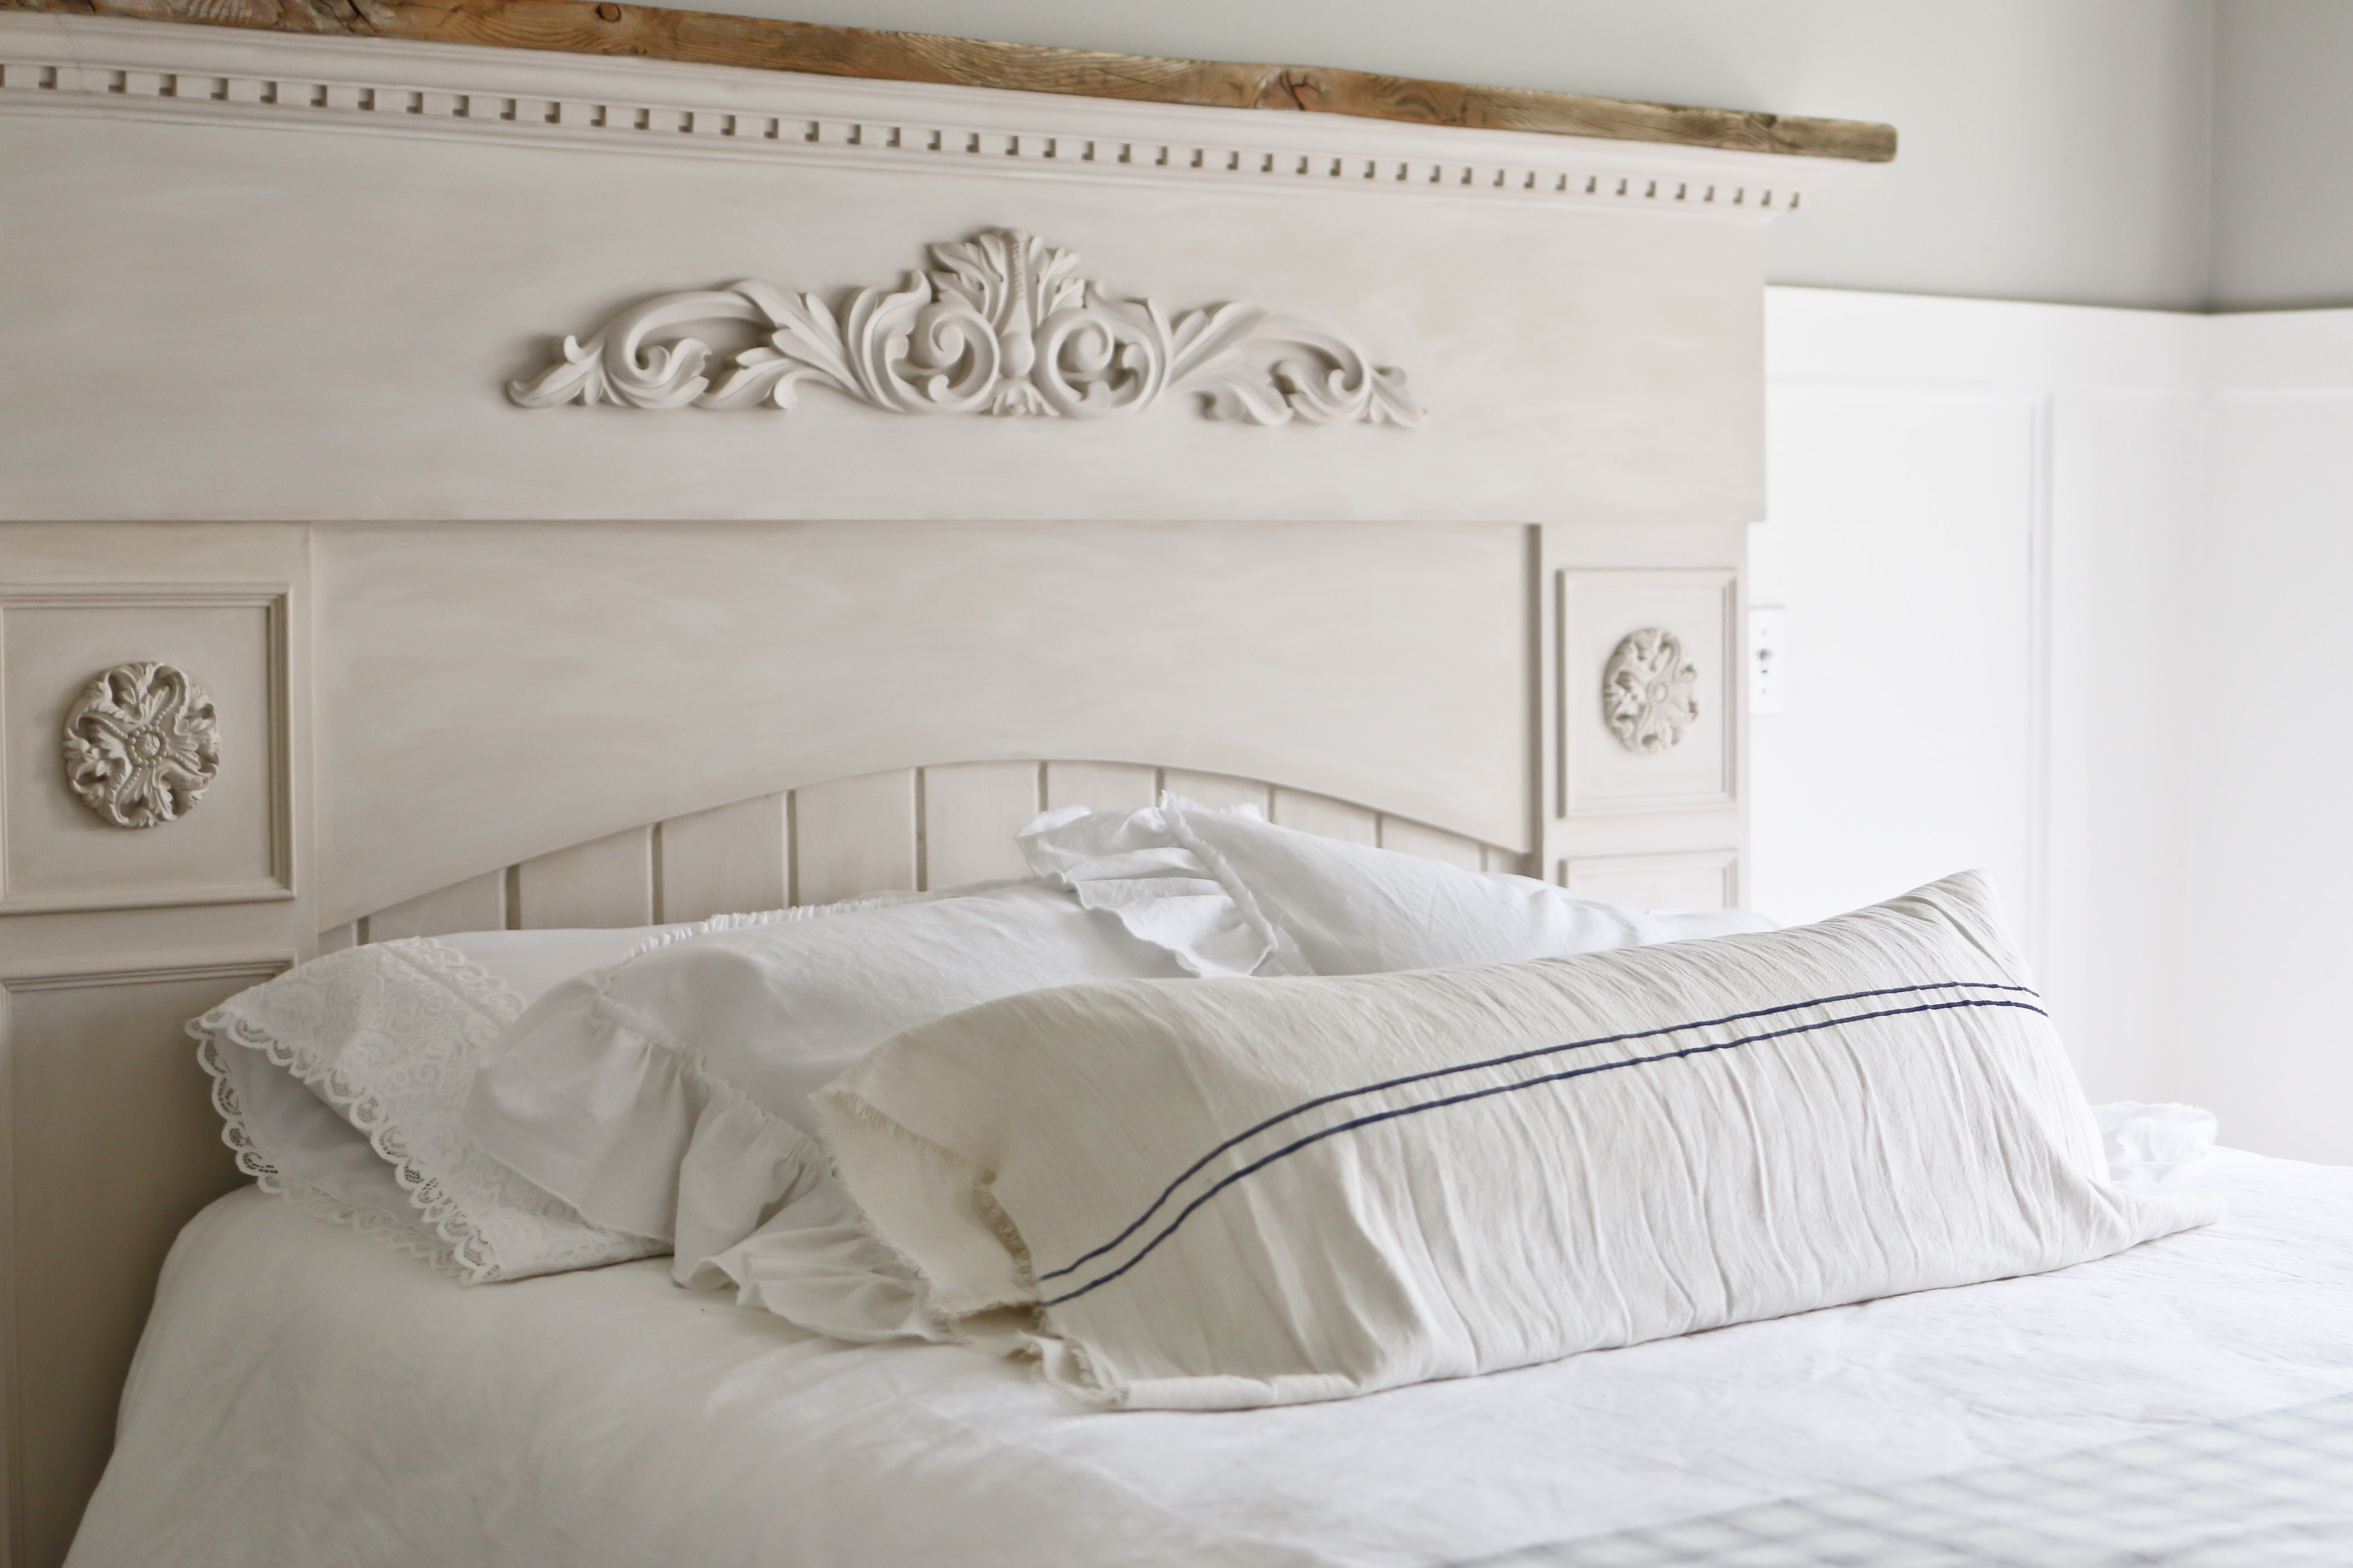
I don’t want to get too sidetracked from the ruffles – but a grain sack pillow is also a great way to add some cozy to your farmhouse. Tutorial for that one, HERE.
These pillows were a whole lot easier to make than they may look. I have a neat little ruffle trick to show you, so those ruffles gather evenly and easily.
My fabric of choice was white linen from Joann’s – but you can really make these with any woven fabric you imagine.
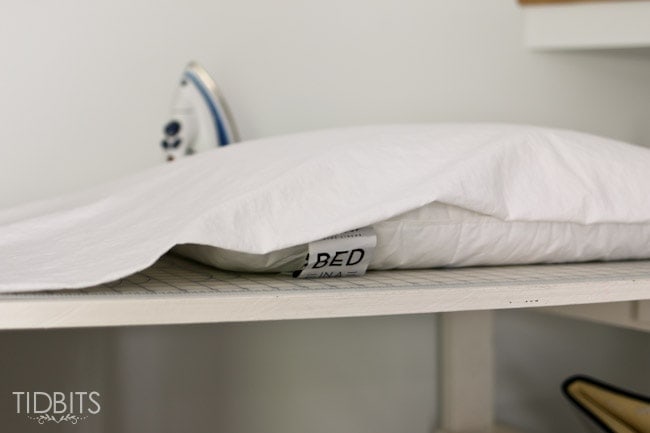
You first need your pillow insert of choice. I can’t say enough good about these sink-your-head-into-a-cloud pillows that came in my “Bed in a Bag” from Linenspa. In fact – I can’t say enough good about Linenspa. They are my bedding company of choice and our beds are literally covered in their products.
I’m actually going to show you how to make this sham for any size of pillow. I’ve come to find it’s better to fit your pillow to the fabric, rather than give you standard fabric measurements – which is why I suggest you have your pillow insert first.
I’ll show you how to do this, but make sure you have the supplies below.
Supplies for 1 pillow sham:
- 2 Yards of Fabric
- This may give you extra – but I would prefer you have plenty of fabric to work enough ruffles in, rather than being low on fabric.
- Pillow insert
- Standard, queen, king – or even small decorative pillow.
- All sewing supplies and thread to match
Instructions:
To begin, you are actually going to make a simple envelope back pillow cover, and then you stitch the ruffles on. This particular ruffle design embraces frayed edges, but we’ll stitch them – so they don’t actually fray all over the place.
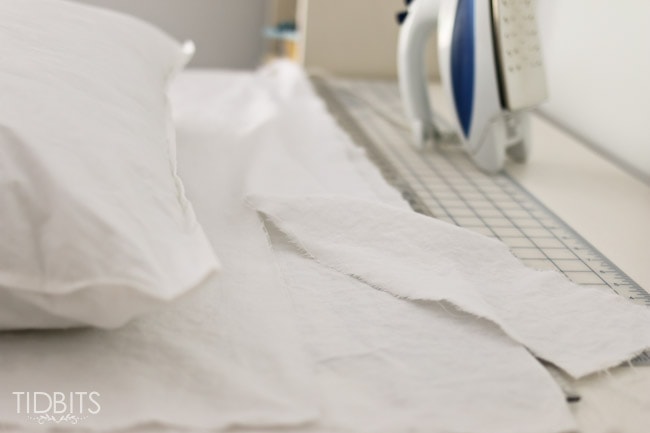
First things first, we’ve got to cut our fabric to size.
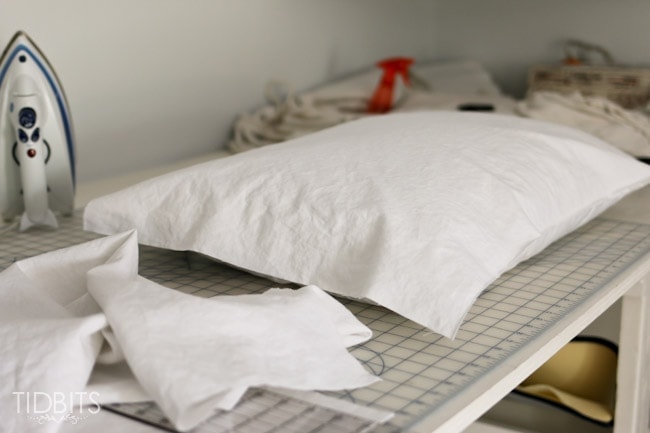
To do this, you are simply going to lay your fabric over the top of the pillow insert and determine what size to cut the fabric. This tailored method will give you a much better fit and look.
You’ll see my fabric folded below, but I was making 2 covers at the same time, so for ease I folded it over. If you are only making 1 sham, you can unfold your fabric.
You’ll first need a complete rectangular (or whatever shape your pillow is) piece for the top of the pillow. Allow about 1 1/2 inches around the edges of the pillow for your seam allowance.
At this point, you can set your pillow insert to the side. You will now cut the back pillow cover pieces.
They are going to be in 2 separate pieces which need to be the same width as the top piece you just cut, but each back piece will be 3/4ths the length of the top piece.
That’s a bit confusing, so I drew up this graphic to help a bit.
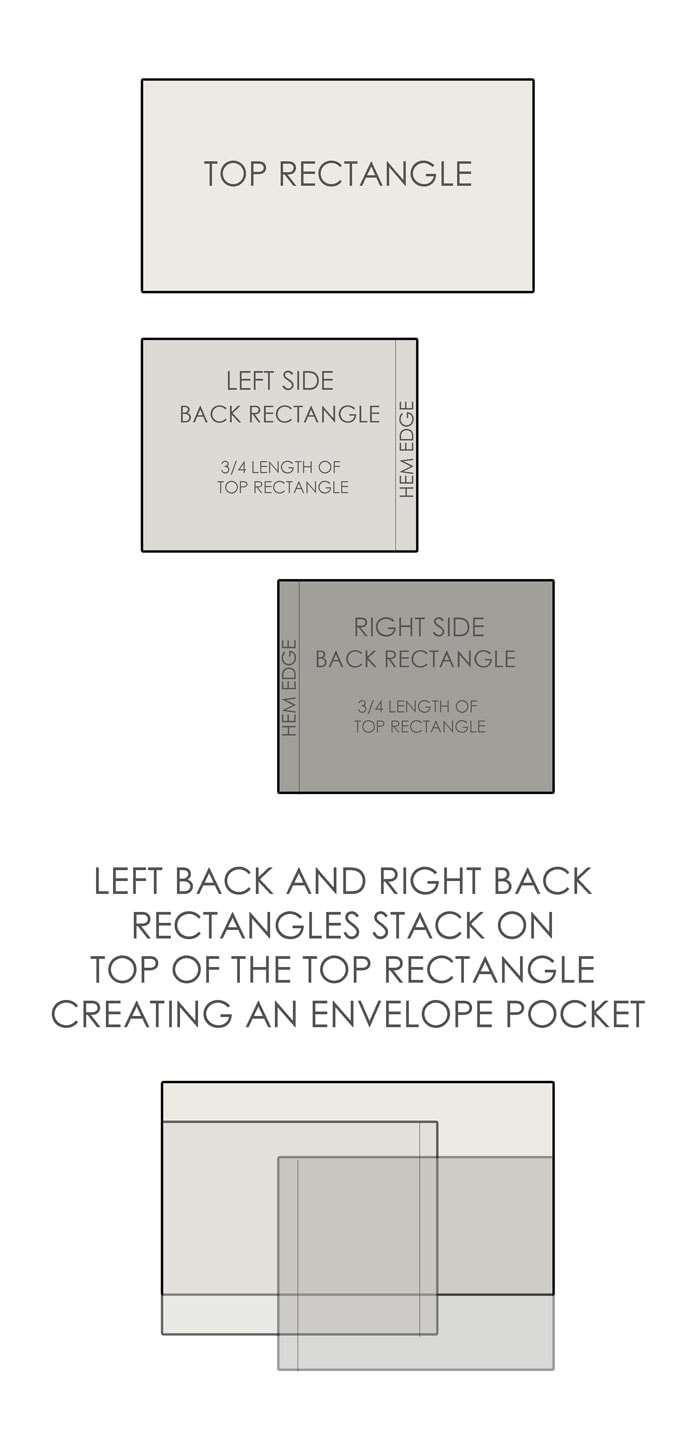
Did that help make sense of it? I hope so.
Once you’ve cut all 3 of those pieces, you are ready to sew.
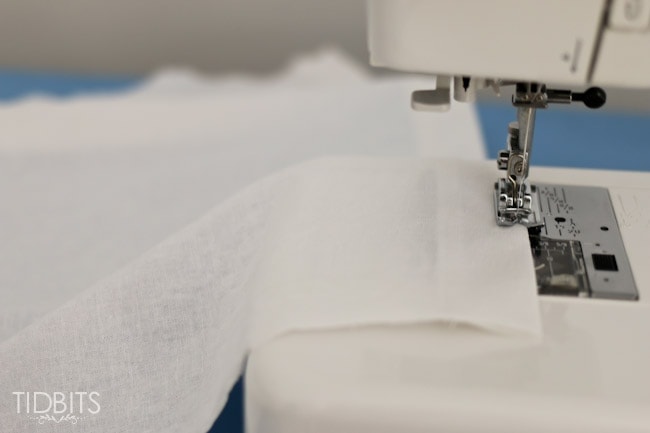
The first step is to hem the 2 back pieces on the open inside edges only. Refer to the diagram to see which edge I am speaking of. I folded my edge over twice and stitched it closed for my hemming method.
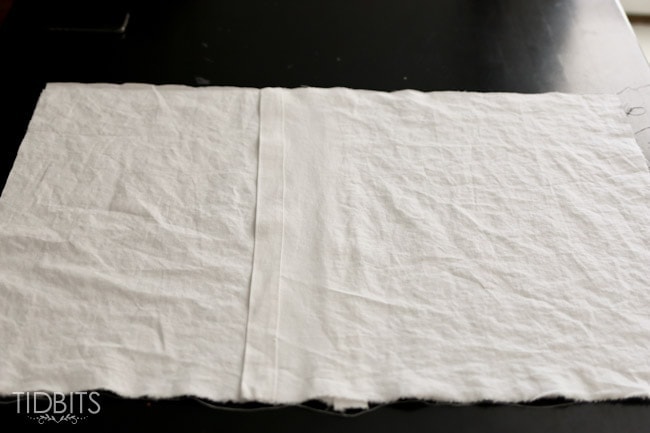
Next you will sew the pillow cover together, front piece to the back pieces.
Lay your top rectangle down on a table with the right side facing up at you. Then lay your left side piece down on top of the top rectangle – right side facing down. Finally, lay the right side back piece down, right side down as well. Make sure all your corners and edges are lined up and pin all the way around.
The next step is to sew all the way around the edges, with at least 1/4 inch seam allowance. For added seam strength and to finish your seams, you can surge this edge or sew a zig zag all around the seam allowance.

At this point, it is best to press all your seam as best as you can and turn your pillow cover right side out and press as flat as you can.
Next, you’ll tackle the ruffles.
The width of your ruffle is entirely up to you. Mine is probably a good 5 inches wide. The length of fabric you’ll need will be about double the length of the measurement around your entire pillow cover. If you don’t have a continuous length that is totally fine. You can either seam them together, or just slightly stack the ruffles on top of each other at the ends, like I did. I’ll show you that in a bit.
To create a beautiful frayed edge, I made sure to rip my ruffle strips, rather than cut them.
I also took advantage of the beautiful frayed selvage edge on this particular linen fabric, because it was already sporting a frayed look, but didn’t actually fray. I do suggest to stitch 1/8-1/4 inch away from your frayed edge to avoid further fraying which you wouldn’t want.
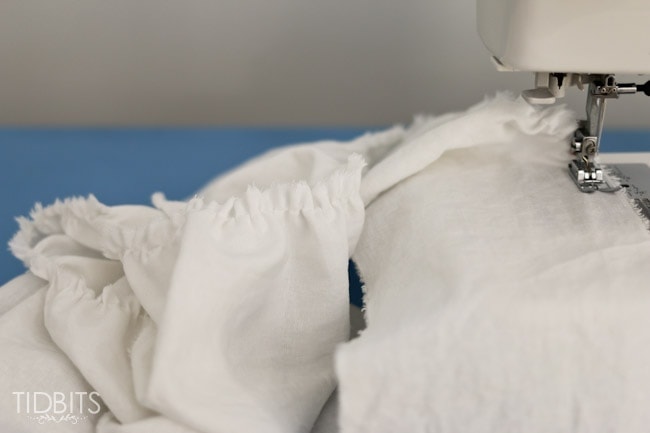
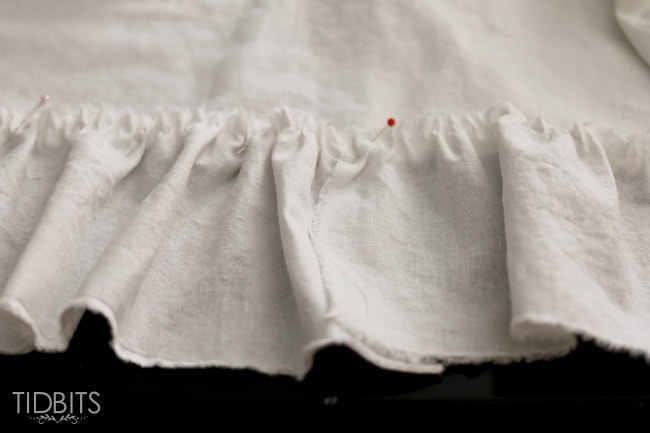
Now here is my quick and easy ruffle trick!
To have your machine make even, beautiful ruffles (with no special foot or thread pulling), first raise your machines tension as high as it goes. Next, increase your stitch length as high as it goes.
While you sew on the top edge of your ruffle piece, you will hold the thread that is coming out of the spool between your thumb and index finger and give it just a tad bit of resistance. Don’t try to yank or resist completely, but make the machine fight a bit for that thread. I promise, this will not break your machine. Unless it hates you – but it shouldn’t.

With those dials set as I instructed you, and your fingers pulling just a bit, that fabric will feed through the machine with the most perfect little gathers or ruffles you’ve ever done. No need to tug on threads to gather, but you still have the option of loosening the gathers if need be. Pretty cool, huh?
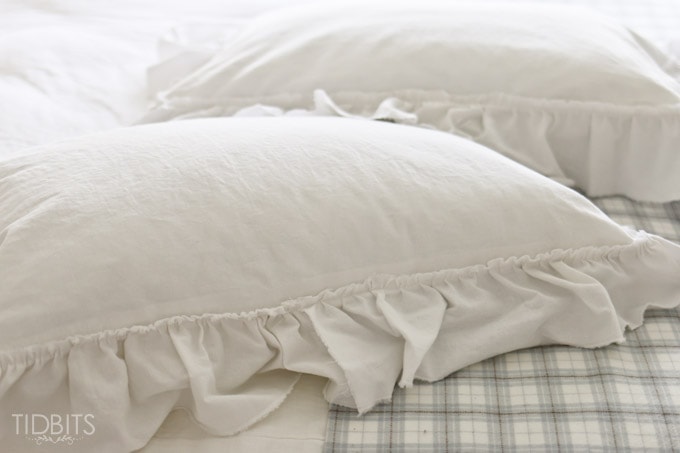
Next step is to sew on the ruffles to the pillow cover. I’m doing this method with my ruffle edge exposed on the top, which I think is just lovely.
With the pillow cover laying flat on the table, front side up – pin the ruffles all the way around the cover. Pin a lot!!!
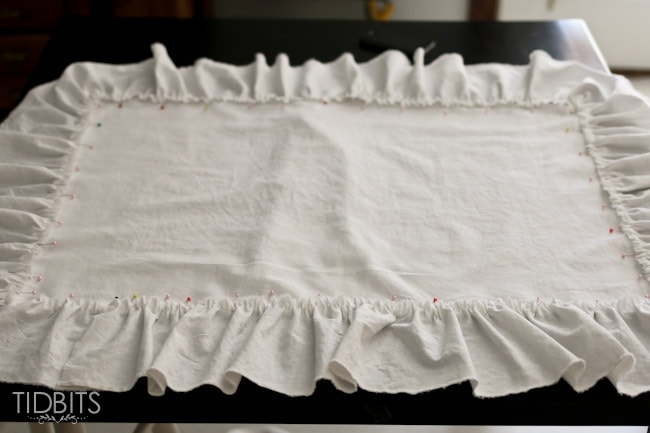
If you come to a ruffle end piece, simply overlap the next edge.
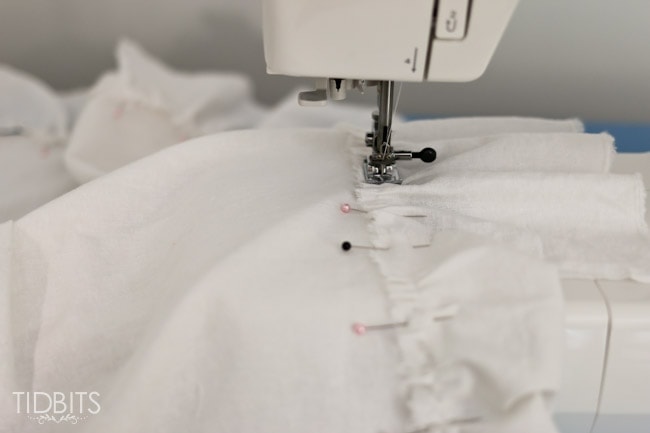
Finally, you’ll stitch those ruffles down in place. Be sure to fix your machine settings before you go!
I stitched this seam right on top of my gathered stitch, and I believe I even stitched over everything twice so those ruffles wouldn’t go anywhere.
Press those ruffles down, for an even nicer look.
And that is all there is to it!

I hope you’ve enjoyed this tutorial, and I really hope you’ll give it a try! A pillow like this is so farmhouse lovely and would add so much cozy to your bed or couches.
And now – be sure to head over to all my friends and grab all of their “cozy farmhouse” ideas!
[inlinkz_linkup id=595508 mode=1]
*Linking up to these parties, HERE.
**This post contains affiliate links – but rest assured, I only recommend products I use and love.


Love love these !!! Can’t wait to try to make some!!
Thank you for this tutorial. It’s great I’m going to give it a try. I was wondering when you sew the ruffle on to the pillow. It’s sewn on the right side. Is it sewn through both layers of the pillowcase along the edge seam? Or is it somehow sewn onto the seam? Thank you for any help
Great .. Thanks for sharing
Love this so much! Gosh, I wish I had the patience to sew.
Your bedroom is gorgeous! What a room to wake up to every day 🙂 The pillows are adorable! Thanks for linking up to The Creative Circle, XO
What a great tutorial! I normally stay away from making ruffles because I thought they were too complicated, but you made them look easy! Now I’m off to find my sewing machine!
I am in love with your bedroom! And I love linen – I have linen pillows on my couch!
Your bedroom is drop dead gorgeous! Thanks so much for sharing the ruffled sham tutorial! Pinning it for future reference. Love having you join us for Farmhouse Friday!!
super sweet! i love ruffles!