
This post may contain affiliate links, which means I get a small percentage of the sale at no extra cost to you. I only recommend items I love and have had a positive experience with. Thank you!
This post was originally seen on Craftberry Bush.
Hello, Hello!!
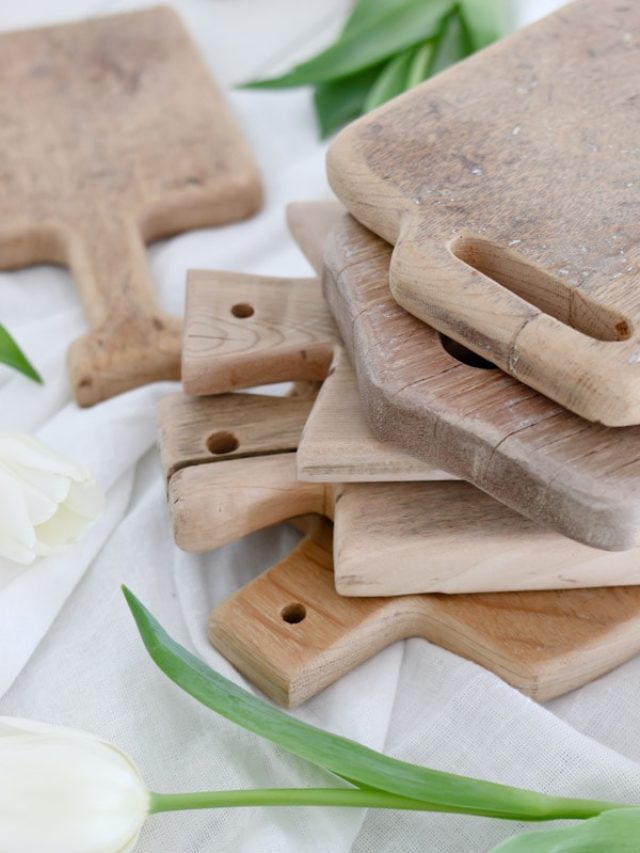
I’m pretty excited about the project I’ve prepared for you today. I will be sharing how you can take a piece of old wood and create a vintage cutting board that looks like it’s been loved for centuries.
Actually, if we are getting technical – my husband will be showing us how you can take a piece of old wood and turn it in to a vintage-looking cutting board.
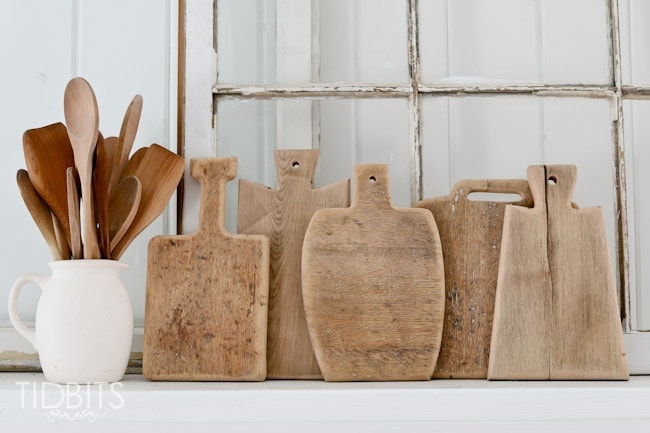
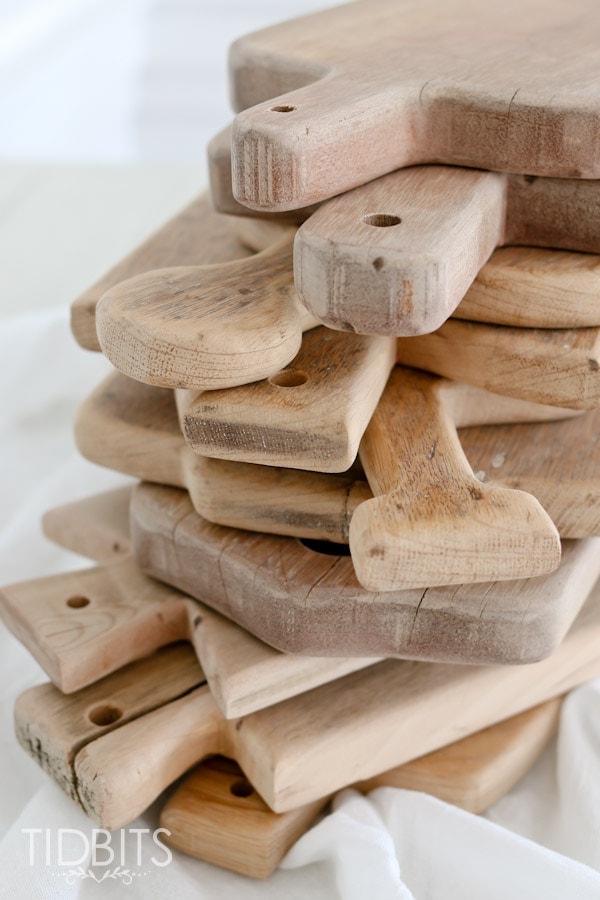
My husband, Mr. TIDBITS, has collected quite a stash of old, weathered and aged wood. We wanted to use this wood to make something really meaningful that we could gift to our friends and family on special occasions. Enter: the DIY vintage cutting board!
Table of contents
What Makes a DIY Vintage Cutting Board So Great
If you’ve tried to purchase antique boards before from places like flea markets or Etsy sellers, you’ll know that it can be difficult to find a true antique cutting board for sale at a reasonable price. Luckily, these homemade cutting boards are just as lovely and can be made to fit your personal style.
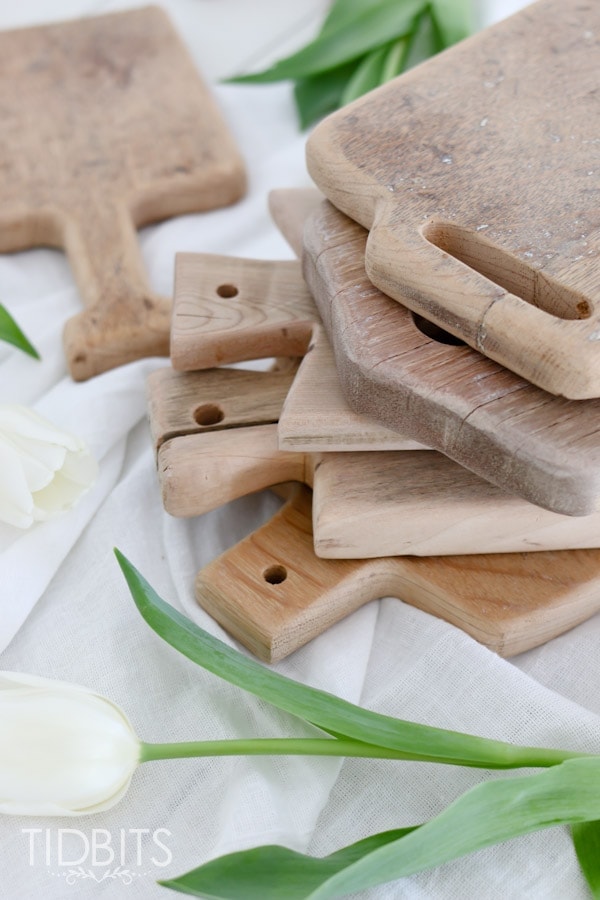
I’m so excited to have something unique and beautiful for when weddings and housewarming gifts are needed. These vintage cutting boards/bread boards/serving boards/cheese boards – whatever you want to call them – are the perfect gift!
If you would like to make your own cutting boards, you can use new wood if you prefer and stain it any way you would like. But if you happen to have some old wood on hand, these can really give the appearance of century-old cutting boards.
Step-by-Step Instructions for Making Your Own Vintage Cutting Board
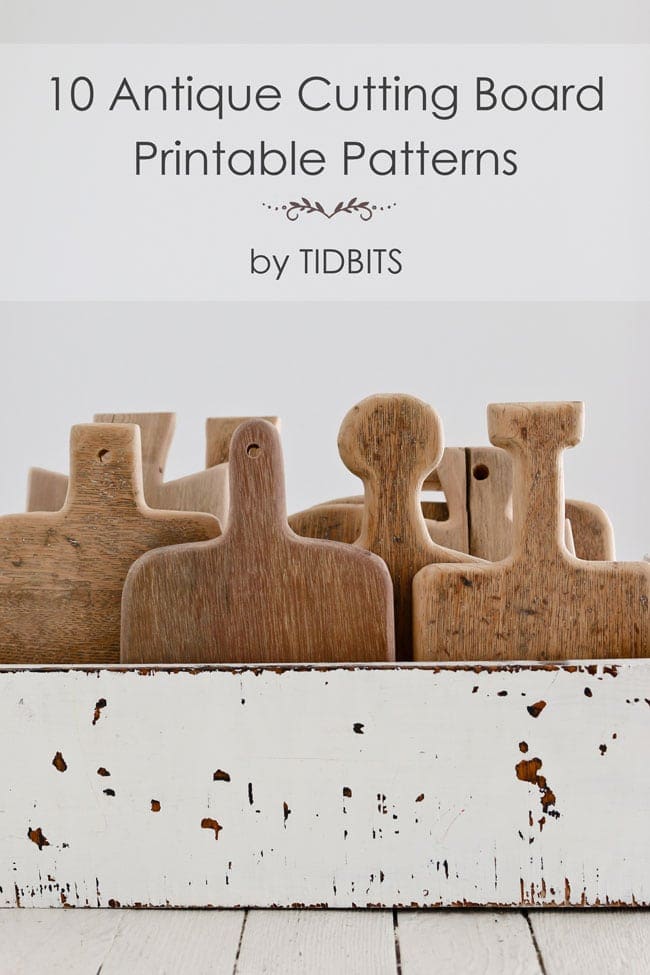
I’d like to show you the steps to making a cutting board as quick and as easy as it gets, and the tools that can help you do that. But I’m excited to also share that I’ve provided 10 printable patterns or templates that will help you trace and cut-out a cutting board that you will love, with plenty of shapes to choose from.
Step 1 – Choose a Vintage Cutting Board Pattern
Go to my 10 Cutting Board Printable Patterns blogpost to choose your favorite cutting board design.
Once you’ve chosen your pattern and printed it out, follow these instructions for making your antique cutting board.
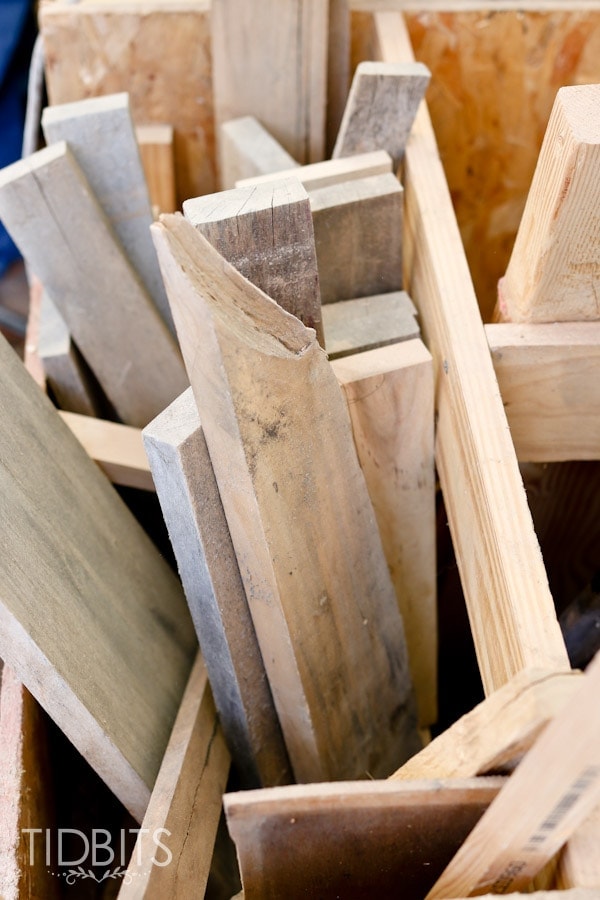
Step 2 – Choose Your Wood
Next, you’ll choose a piece of wood to make into your cutting board.
Hard woods – such as maple, birch, oak, walnut, mahogany and beech wood- are great for cutting boards. But you could use pine or another soft wood if you plan to use your vintage board for decorative purposes only.
If I plan to actually use a cutting board from old wood, I make sure to give it a really good cleaning with hot water and soap before sealing with a food safe mineral oil. If your cutting board will be decorative, you may want to consider leaving the wood in its raw and natural state so that you can enjoy its natural patina.
Step 3 – Trace Your Pattern
Now that you have your pattern and wood selected, you’ll want to trace your pattern onto the wood.
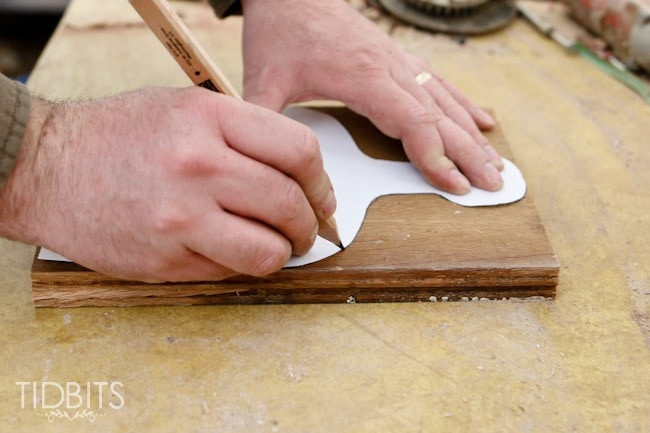
A pencil will do just fine.
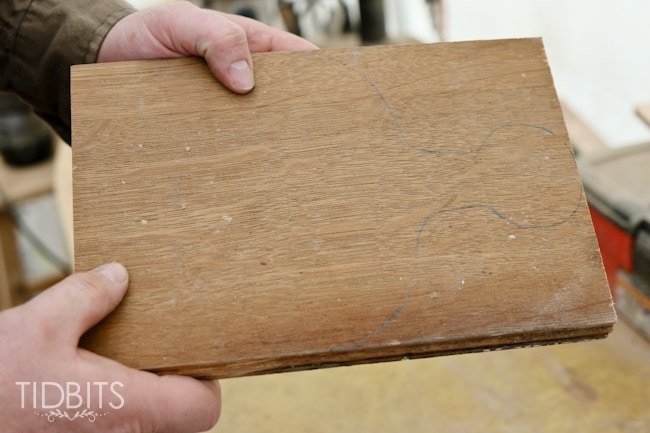
Step 4 – Cutting Out the Board Pattern
Next you will cut out the pattern for your vintage cutting board. My husband’s power tool of choice is a scroll saw, but he says a jig saw will work as well.
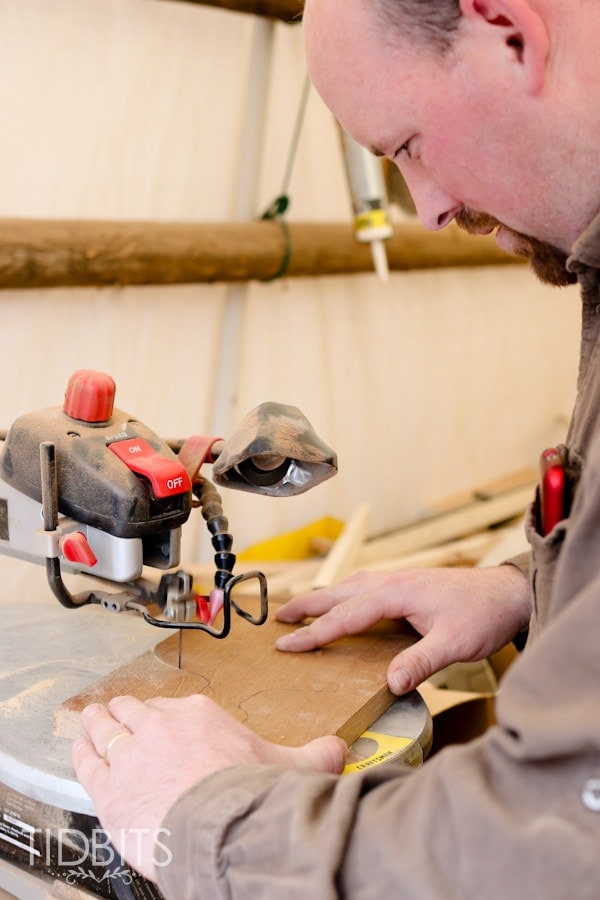
At this point you’ll have a nice shape, but you’ll probably want to work on the edges.
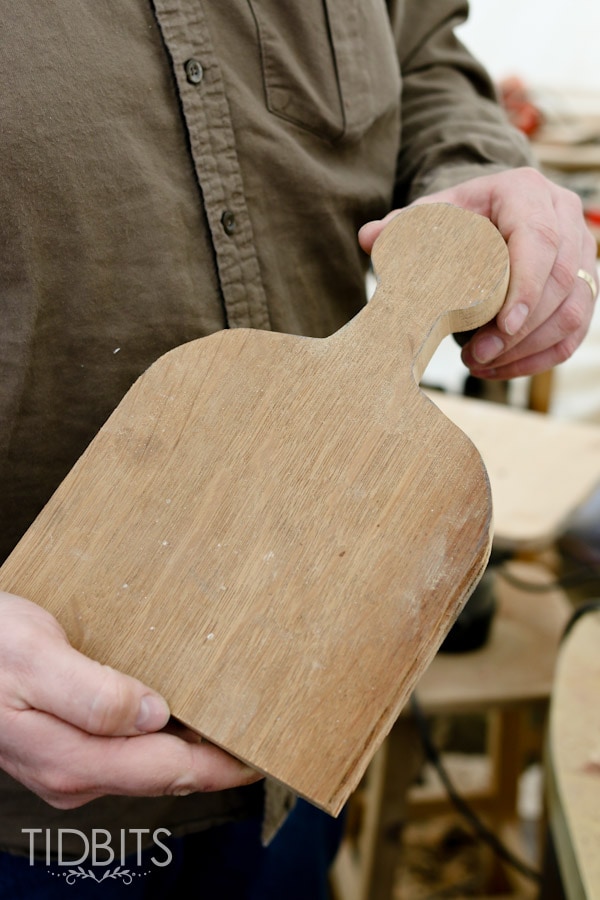
Step 5 – Round the Cutting Board Edges
To get a nice, rounded edge, Mr. TIDBITS used a router.
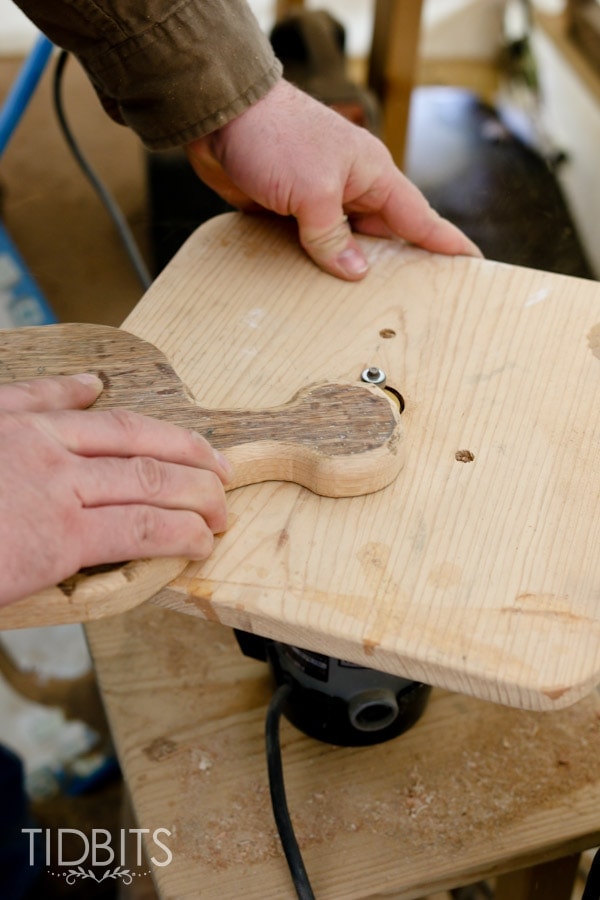
Before he had a router, he always just used an orbital sander to round the edges a bit. How curved you make those edges depends entirely on you and the look you are going for.
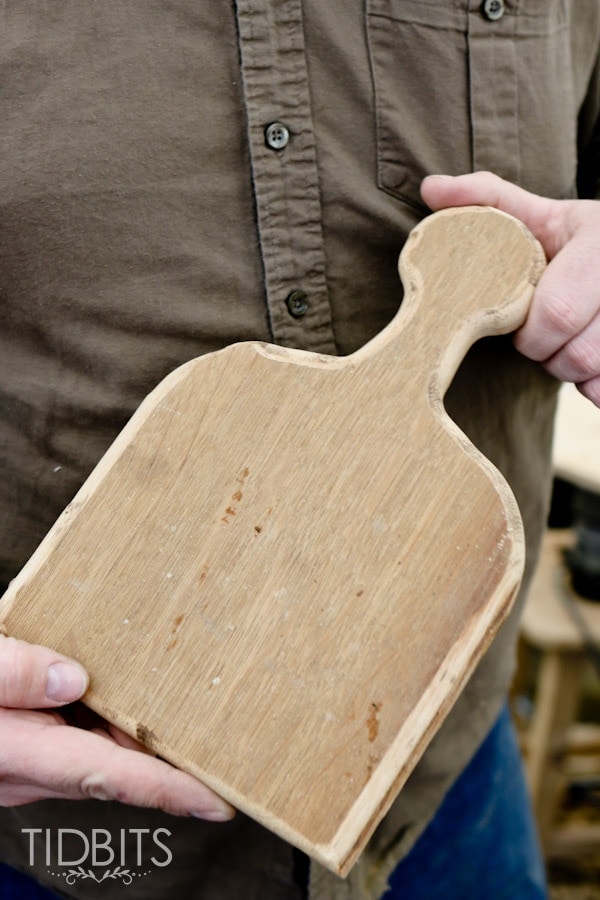
Step 6 – Sanding
Finally, you’ll want to take and sand the entire surface of your cutting board. This step really helps to clean up the old wood and refresh it a bit.
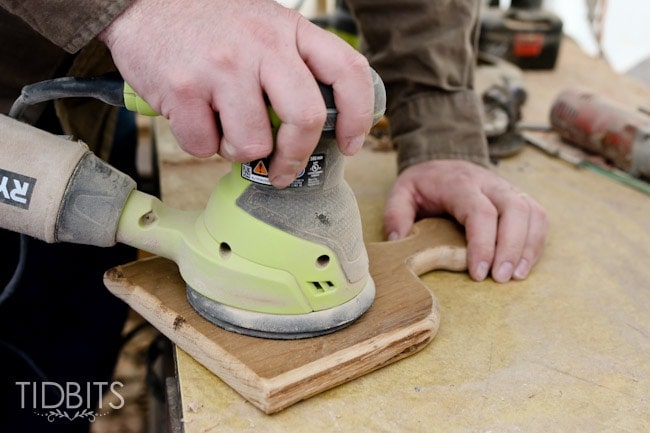
Even after all these steps, you’ll still have the lovely character only an old and worn piece of wood can bring.
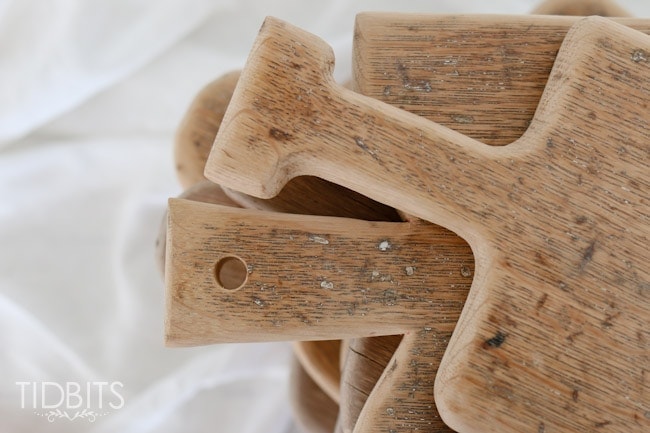
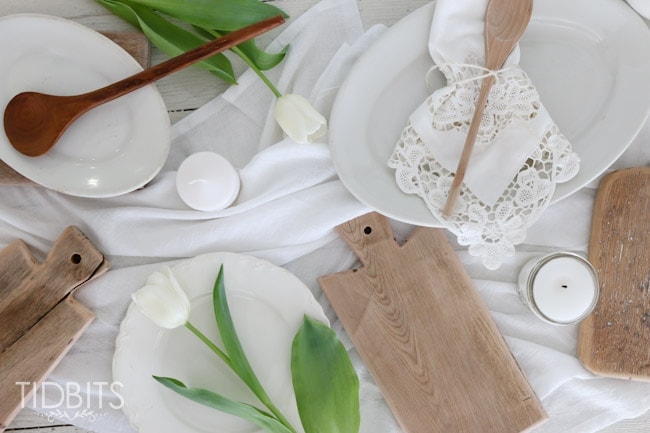
And there are so many decorative purposes for an old cutting board.
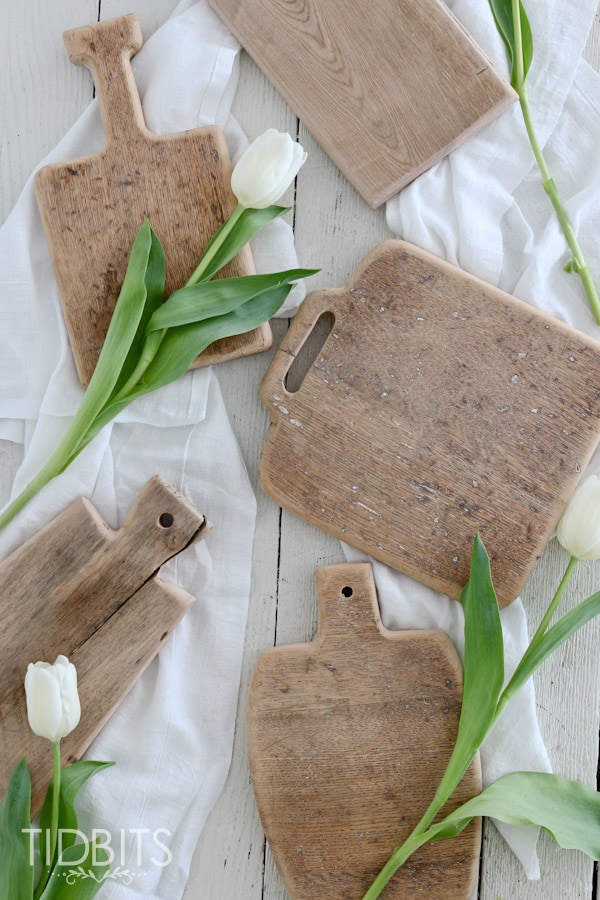
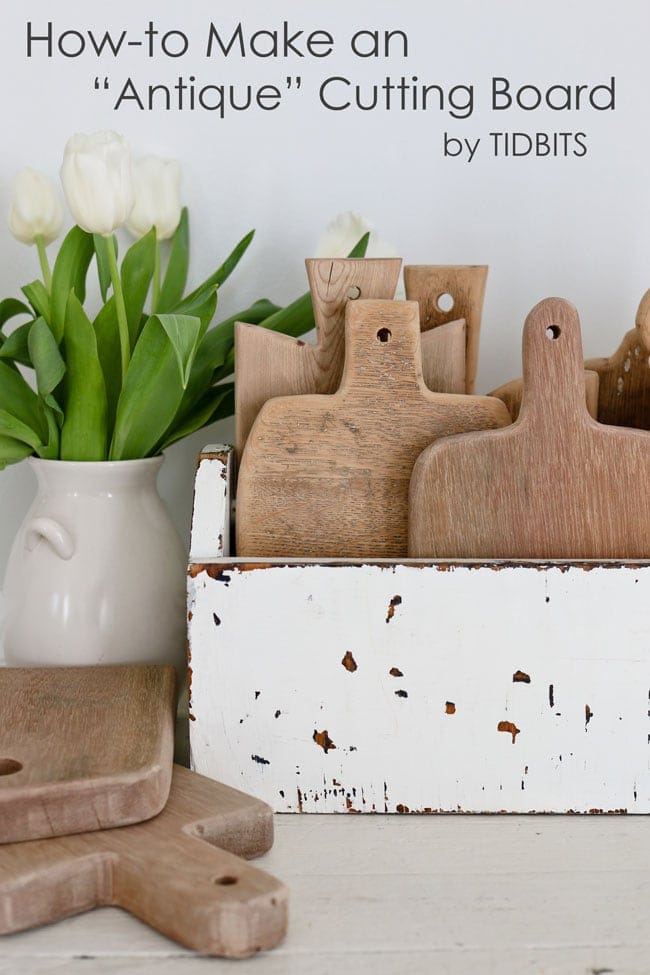
I love to place them here and there against our white walls to bring in some added warmth and contrast. These vintage cutting boards look so good that they can stay out on the kitchen counter and act as a piece of decor themselves.
I hope you’ve enjoyed this tutorial and I hope it has been helpful for you!
Other Projects You Might Enjoy
My husband, Mr. TIDBITS, really enjoys a good woodworking project. Here are a few of his projects that I have loved:
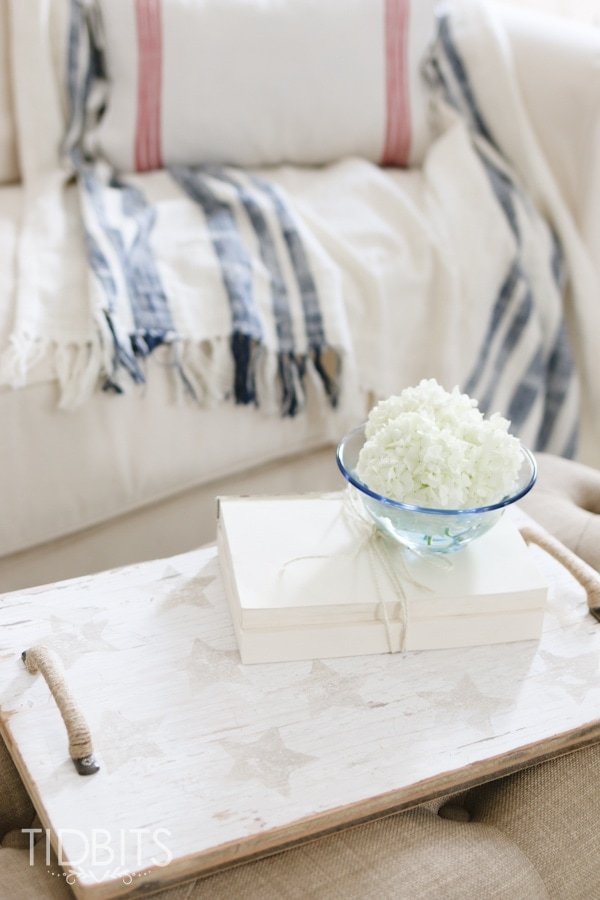
- Star Spangled Wood Tray
- Slim Entry Table Building Plans
- DIY Large Framed Chalk Board – In Any Color!
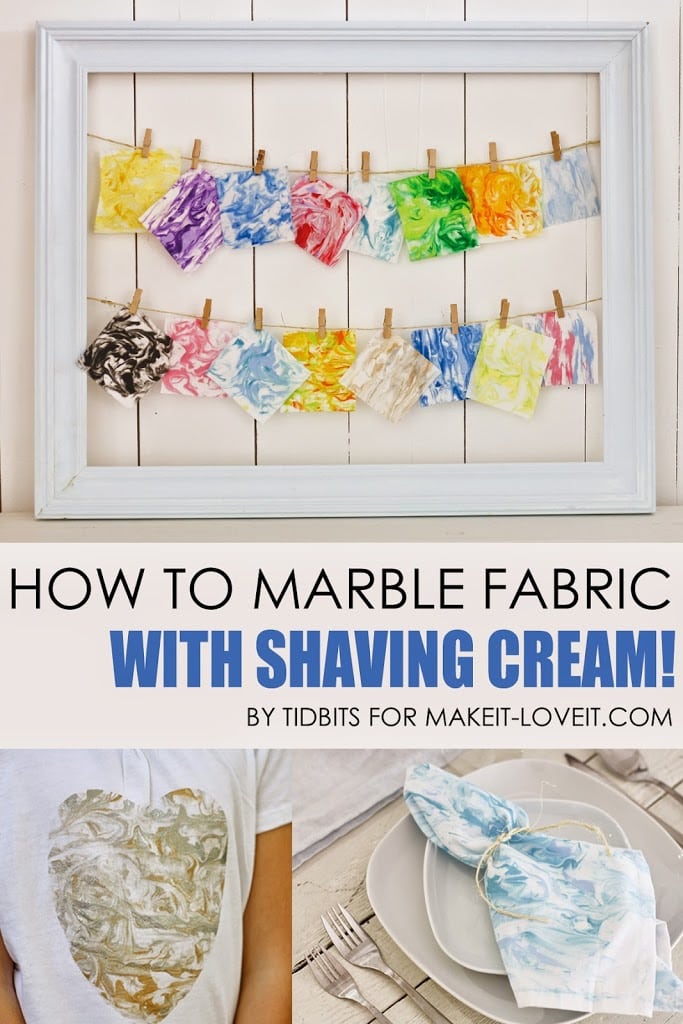
I tend to favor fabric projects. Here are a few that might interest you:
Thanks for being here with me and we will see you soon!


Love this how to. So interested in making my own cutting boards! 🙏
I was hoping for a list of wood that is save to use as an actual chopping board for actual use. Why would you have a chopping board that you cannot use?
The idea is lovely and the boards are pretty but why can’t things be beautiful and useful?
Hello Cami, I absolutely LOVE these. I was wondering how i can get all the cutting board templates to print. I can only seem to click on #1 and print it. All the others I cannot open to print. Thank you for your time.
I would love to print the 10 antique cutting board shapes, however, I am only able to print #1. The others will not download. Could you please help me. Thanks.
These are lovely….and what a story old pieces of wood could tell. I can’t believe I came across your pin, as I just purchased a week ago a jigsaw, table and other items needed (now I need the router) as I’ve been wanting to make my own boards. I’ve been designing boards with paint and epoxy, but the boards themselves can be expensive. QUESTION for you: How and where does one ‘not-in-the-know’ pick out wood – old or new? I have spent time at Home Depot and Lowe’s but I have no clue what to buy, or if there are off-the-wall and better places to find scraps big enough for boards. Any advice would be appreciated. Thanks and best of luck on future projects.
That’a beautiful idea, my compliment. May I Know the model of jigsaw? Thank you so much for the answer
Great idea! Now, if only I had the saw, the man and the wood! Actually, I probably do have the wood in my garage somewhere, so I only need two out of the three. A saw would be pretty easy to come by, but the stickler is the man!
Haha! I love it Naomi! One down is better than none 😉 . I still love these boards and gift them when I feel like they would go to the right person who would appreciate them.
These are beautiful!!
Cami, the cutting boards are beautiful! Great idea for gifts!
Just sad we can’t do them because we have no equipment or place to do that in our apartment…
But thanks for sharing! Maybe one day…
kisses ML