
This post may contain affiliate links, which means I get a small percentage of the sale at no extra cost to you. I only recommend items I love and have had a positive experience with. Thank you!
This day has been a long time coming.
For the past 8 months my sister and I have been slaving away at our very first digital publication together. We kind of had an inkling that we could accomplish greater things if we combined our sisterly super powers – hers being tasty food and recipe creation, mine being photography and design. And now that launch day is here, we are both beaming with excitement . . . and incredibly exhausted.
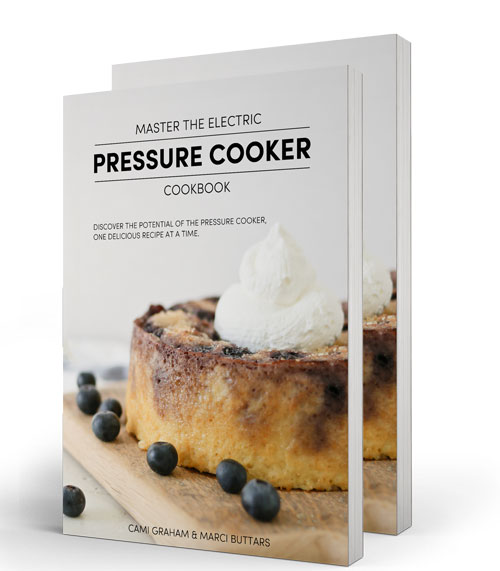
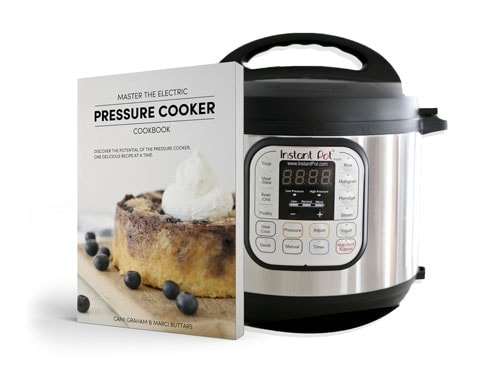
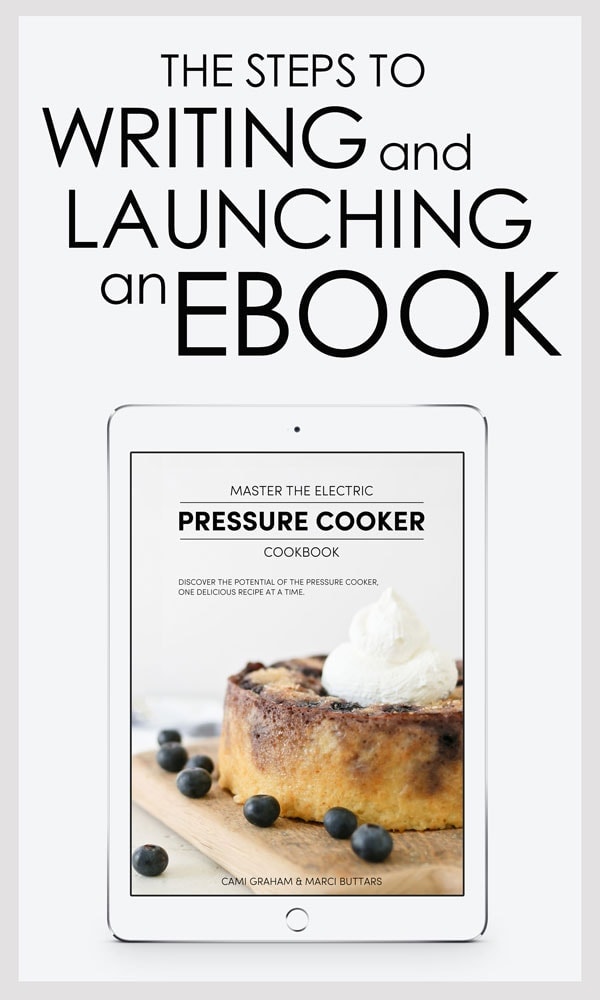
So while I write this post to announce the opening day of “Master the Electric Pressure Cooker Cookbook”, I also feel a desire to share the process we’ve been through while creating this ebook. It ended up taking way more time, energy, and effort then we ever imagined – but the results are better than we could have ever hoped for. I hope this will serve as a guide for many who may be adventuring into ebook territory, or an eye-opening experience for those who are curious.
First things first – head over to our “Master the Electric Pressure Cooker Cookbook” sales page, where I’ve put my best foot forward in trying to convince you that you need this ebook in your life. (wink, wink)
Then you can continue to read about our journey.
*(I’ve provided affiliate links where applicable for programs or services I’ve used in creating and launching our ebook. Thank you in advance for your support!)
The Idea:
Long story short – while conversing over Sunday dinner at moms, we had a big idea to create a little ebook. Yes, it was going to be a mini book with some of Marci’s favorite electric pressure cooker recipes. It was going to take maybe a month or 2 to write. We thought it would be a good idea based on the popularity of the few electric pressure cooker recipes we had already posted on my blog.
But staying true to our over-achiever, perfectionist selves, it became a much bigger deal once we dove in face forward.
The idea refined itself as we went through the process of preparing for it and creating it. Probably a backwards approach to writing a book, and we’ll probably refine our idea better next time before we jump in. (Did I just say “next time”? . . . somebody stop me please).
But mostly it was a matter of brainstorming, sketching on paper, outlining, and chatting together.

Preparation:
I kind of had an idea of what it would take to make an ebook happen . . . until I discovered BookBoss. Then I realized I didn’t have a clue. But thankfully, my dear friend Abby and her husband Donnie, from Just a Girl and her Blog, put together an A-MAZ-ING course on writing ebooks. They did such an incredible job walking through each step of ebook creation and sharing invaluable resources. Going through this course was hands down, the best thing I could have done in preparing to write and launch our ebook.

During the preparatory stage, we also began gathering and pitching to sponsors about our book and gauging interest for any outside support. We really worked hard to gather the companies that we use and love frequently, and we were so pleased to land the interest of some of our favorite brands.
Gathering an Audience:
The biggest worry I had about writing a cookbook was the interest of my readers. My passion and blog has been centered around DIY and home decor. That’s really what I am good at – not necessarily cooking. But two things drove me to the decision to go forward with this idea. One being, I really thought it would be fun to work with my sister on something and I hoped it would be a great blessing for both of us. Two – I knew there was a market for electric pressure cooker recipes. A big one. Without wanting to change my niche entirely, I felt I had to gather an audience from scratch. I needed an email list of pressure cooking enthusiasts. Basically, I needed a list of potential buyers to make this whole thing worth our time.
We started this process by writing a free email ecourse called “Unleashing the Potential of the Electric Pressure Cooker”. Visitors are prompted to sign up to this course when they land on my already popular pressure cooker recipe posts, as few in number as they were. This allowed me to start a list of people who were really interested to know more about pressure cooking.
Two of my favorite online services made this possible – Convertkit and Optinmonster. Couldn’t have done it without them.
Convertkit – An email service provider so much different from the rest. Their approach to email marketing is run by lists not necessarily subscribers, meaning you segregate your subscribers by lists based on what they have signed up for and are interested in. Once you can wrap your head around the method, it works amazingly well. Their customer service is top notch as well. When I feel less than smart for asking them a question I think I should be able to figure out, they make me feel brilliant for asking it!
Optinmonster – This online service allowed me the ability to make customized sign up forms and embed them on my site, as well as really annoying, yet high converting popups. I’m able to sync convertkit and optinmonster together so when they sign up through an optinmonster form they get put on the appropriate email list.
So now, with all that in place, it was time to get people to my site to visit our pressure cooking posts to see the signup forms.
Contribute – We wrote a few new recipe posts here and there, but I tried not to do too many, since I began to notice a rise in unsubscribers on my post updates list. Evidence that the people who have followed me for home decor and DIY ideas weren’t that interested in pressure cooking. We needed to branch out to find that interest, and we did that by taking a monthly contributor job to “Pressure Cooking Today”, an extremely popular pressure cooking site run by our dear friend and supporter, Barbara. Her willingness to let us do this has made all the difference.
Doing all of this, we were able to gather over 2000 subscribers for launch day, just to our pressure cooking ecourse and pressure cooking updates list. The perfect audience to pitch our book to. It’s amazed me how really targeting a specific niche gets you a list of loyal fans and very low unsubscribe rates.
Content Creation:
Now the fun part.
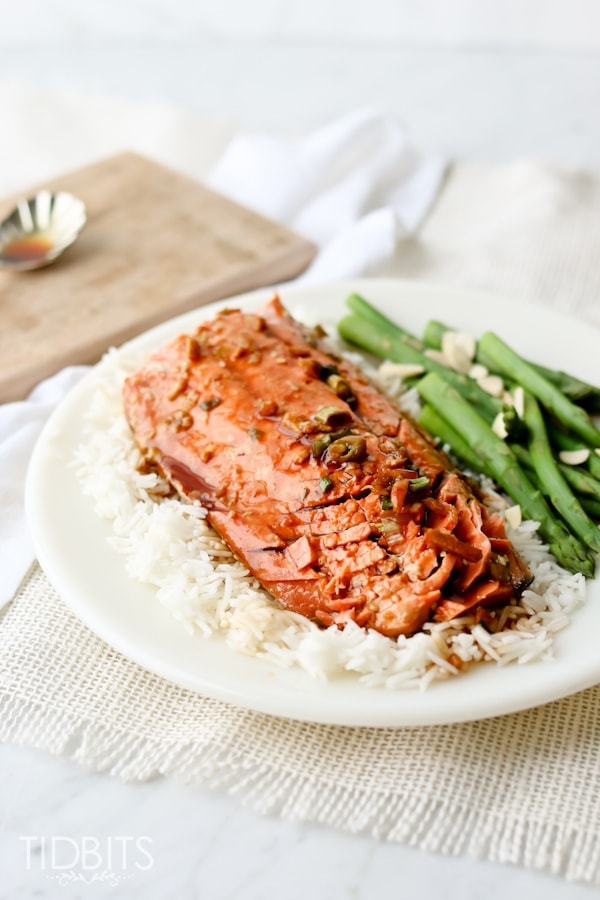
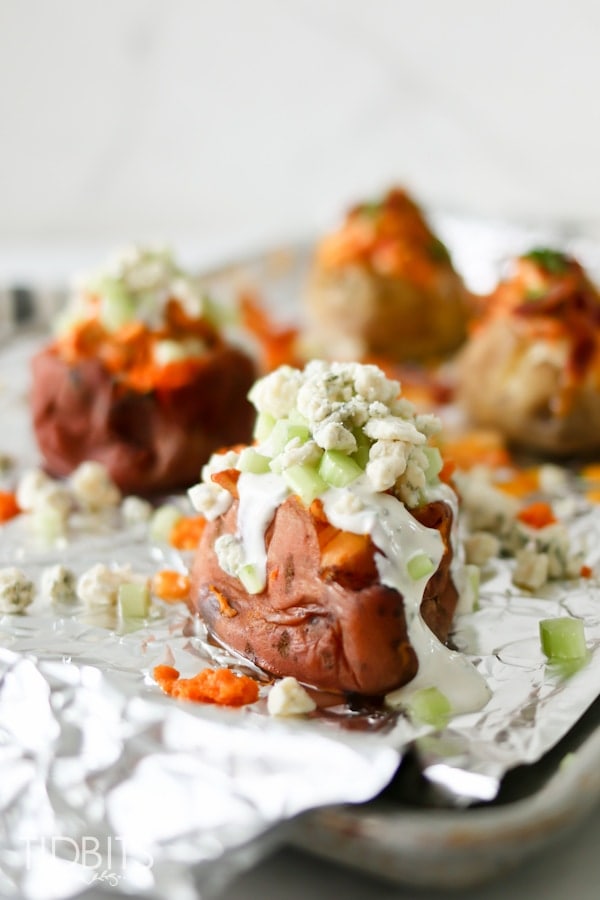
All that technical mumbo jumbo aside, it is creating the actual content that drives our passions. My sister cooked up a storm testing her recipes. Then when she had them just right, we would squeeze in whatever time we could find for photo shoots – between being moms, housewives, running a blog and being a nurse practitioner.
It was INSANE.
But good fun.
She would bring over food batches at a time, filling my kitchen, while I tried to find my creative juices to make pretty pictures in the midst of 7 children running around. Then I would get to taste test everything after the images were done. Can I just say – that was the best part of this whole thing! My sister has a way of making healthy food taste sooo good!
Besides using a lot of pressure cookers through all this (I think we have 7 between us!), these are the main products we used.
Canon 70D DSLR – this camera was my best friend for capturing the mouth watering food.
Canon 35mm f/2 Lens – I always used this lens for food. I’d love to play around with a Macro lens, but this works great for food photography as well as my home interior shots.
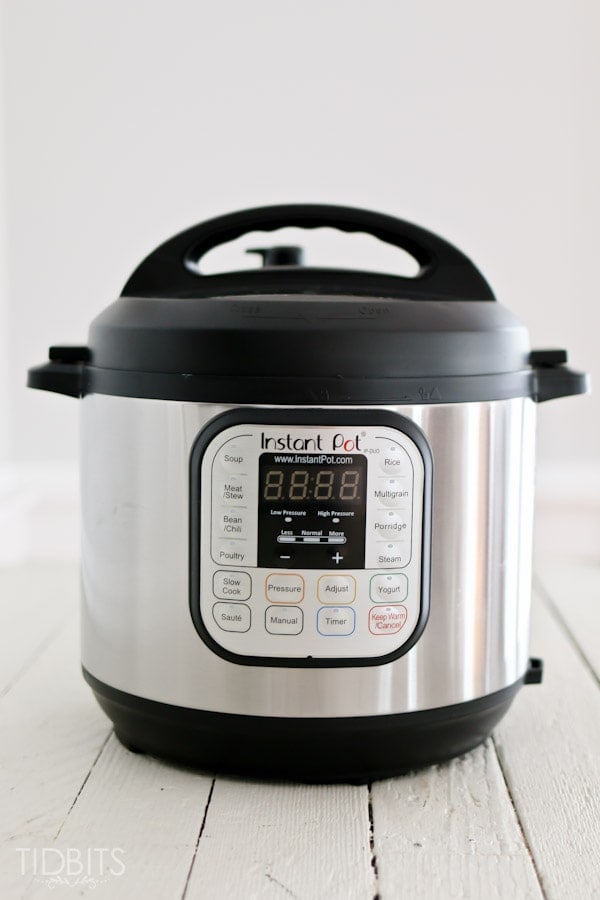
Pressure Cookers – Our go to pressure cookers were our Instant Pot and Fagor Lux multi-cooker. These bad boys worked hard during those 2 months.

Finally, my sister went to work typing up the introductions and recipes. This is where she discovered what we termed “brain fog”. That floating, spacey feeling you get when you’ve starred at a screen for way too long, and get super grouchy towards little children. It just happens.
Content Design:
With all the images taken and recipes written, it was my turn with the brain fog. I sorted through the thousands upon thousands of images I took, picked my favorites, and edited them in my software of choice, Adobe Lightroom.
Lightroom – The best photo editing software I’ve yet to come across, especially if you are working in batches and trying to create a similar look to all your images. You can edit an image and sync those same settings across all the images piled up. It’s a real life savor!
Adobe Photoshop Elements – Once all the images were ready, I decided I would try to tackle the page design myself. I knew I wanted a simple design so I figured I could handle it. But the only program I had was Adobe Photoshop Elements. I’d heard other ebook writers use Microsoft Word or ibooks author, but I wanted more creative liberty with my design.
I had done years of scrapbooking in Elements so I felt comfortable with it. From what I’ve heard, Photoshop CC or InDesign packs more punch, but I didn’t have time to learn a new program.
After a 3-4 months working on the process as often as I possibly could, I was ready to merge all my files together to create the book. To do that I had to purchase Adobe Acrobat Pro.
Adobe Acrobat Pro – This program is pretty user friendly, but still comes with a bit of a learning curve. But what it enabled me to do was take all separate PDF files created in PSE and merge them into one big PDF file where I could add links and page numbers. Then I could export the final PDF file out of Adobe, and WALLA! I have an ebook.
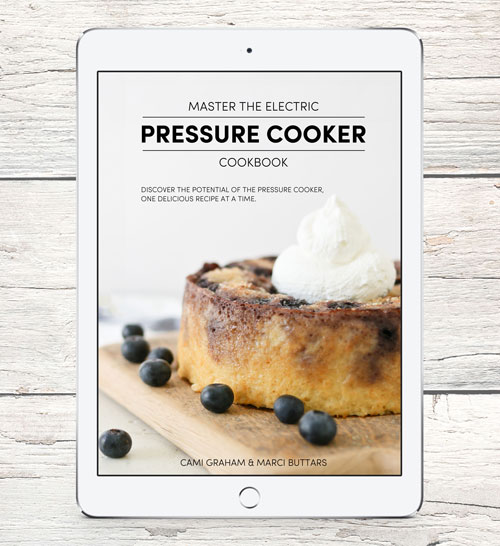
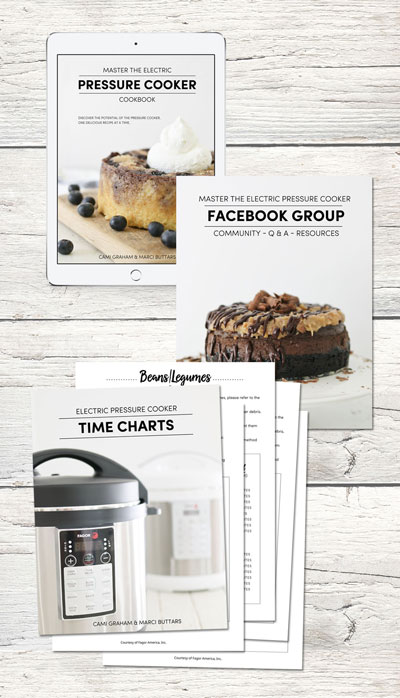
Professional Designer – A couple of bumps along the road happened when I was running out of time and couldn’t quite get my cover images looking right. I spent hours playing around but nothing felt right. That’s when I turned to my web designer, Kendra from Key Lime Digital Designs for help – and discovered I should have called on her a long time ago! She spit out the perfect cover images for us and made digital mock-ups that were better than anything I could do. I was so relieved she was willing to help us. I also employed her to design our time charts. I was not only super burnt out, but was up against a deadline and needed help. The cover is so important, I really advise hiring help unless you are confident in your own digital design abilities.
My Fonts – I also found out that I needed to buy commercial font rights for the Century Gothic font I was using in my ebook. I turned to myfonts.com for the best prices and packages for this purpose. I love that they have options and different prices for specific projects, rather than paying out the nose for a complete commercial license.
Organization:
Working through all the processes above, we needed a way to organize and share between each other. Here are some of the services or products we used to keep things safe and organized.
Google Docs – After a crash course lesson for my sister, we were all organized to share our recipes and files between each other. That way when she had a recipe ready for me to throw into the book design, it was just a few clicks away to get the text.
External Hard drive – I’m super paranoid about loosing all my hard work and tend to distrust technology, so I keep lots of back ups. When I finish a big project, I’ll save in on an external hard drive. This is the one I have and it works great.
Carbonite – I also use a service called Carbonite to make real time backups of my computer. That way if my computer crashes, I won’t loose weeks or months of work and memories of my children. This is truly affordable peace of mind.
Dropbox – I just upgraded to the larger 1T of storage, but even the free version of dropbox is extreamly useful. I transfer the images from my fancy camera that I want to share on instagram into dropbox. Then I have access to them on my phone for easy sharing. I’ve also used shared dropbox folders a lot with companies who want large images for magazines and such. I’ve also used it to share images with my sister.
Pretty Links – Pretty Links is a wordpress plugin I discovered and I’m so thrilled about it. It has already come in handy. It takes any links you want to add to posts (or in my case, an ebook) and redirects them into a pretty link with your site URL. For example, you could have a really long and ugly affiliate link, but by using pretty links plugin, you can set up a specified link such as “tidbits-cami.com/affiliatelink” and it redirects to that affiliate link. The huge benefit of this is if you need to change your links within a book. Rather than redoing the links in your book, you can just change the original link in pretty links and it will automatically update wherever you have that specific link. This came in handy when a sponsor set me up with an affiliate program, after I already had a generic link in my book. It was just a few clicks in pretty links, rather than changing the link in Adobe Acrobat and uploading my book again in my payment processor.
Launching:
When it came time to ready the launch, there were a few online services which made that possible. The first thing to do was set up a sales page where customers could buy our ebook.
Instapage – I opted to use Instapage because of its fully customization option. They have several pre-made templates for you to use, but templates never seem to work with my vision or images. I was pleased they had a blank slate option for me to insert the text and images how I pleased. It was super easy (even though time consuming), to get this set up. It is a very user friendly program and adds a nice level of professionalism to the ebook. Here is our sales page if you want to take a peek again 😉
Gumroad – We also needed a way to accept payment and deliver the product. After a lot of research I ended up going with Gumroad and I’m so pleased I did. I watched a few tutorials online, and assumed nothing could be that easy because nothing is ever as easy as YouTube makes it look. However, it WAS that easy. I was set up on there in no time, and accepting payment and delivering the ebook flawlessly.
I was also able to set up affiliates for my book in gumroad. I first typed up an instruction sheet to deliver to any bloggers who are interested in being an affiliate, and walked them through the process of setting up a gumroad account and getting their link. Gumroad makes it totally painless. I also provide a file full of images for affiliates to use for promotional purposes.
What’s even better about Gumroad, is the ability to sync it with Convertkit. That way when someone purchases a book, Gumroad tells Convertkit to add them to my “Purchased Cookbook” list. I can then automatically send them a thank you email with some instructions and helpful resources. I can also ask them if they want to optin to recipe post updates on the blog. Now that is marketing power!
I apologize for the extra wordy and long post, but I hope it was a helpful overview of what it takes to write an ebook. Only time will tell if it was worth it – but I have high hopes!
Thanks so much for reading, and if you need any clarification please ask in the comments below.
*This post contains affiliate links. If you click on my links and make a purchase, I will get a small percentage of the sale at no extra cost to you.


Free Printables!
Get instant access to the TIDBITS subscriber library full of free printables for the keeper of the home.
Discover more TIDBITS
Love this article? Make sure to connect with me on your favorite social platform below, and leave a comment so we can chat!