
This post may contain affiliate links, which means I get a small percentage of the sale at no extra cost to you. I only recommend items I love and have had a positive experience with. Thank you!

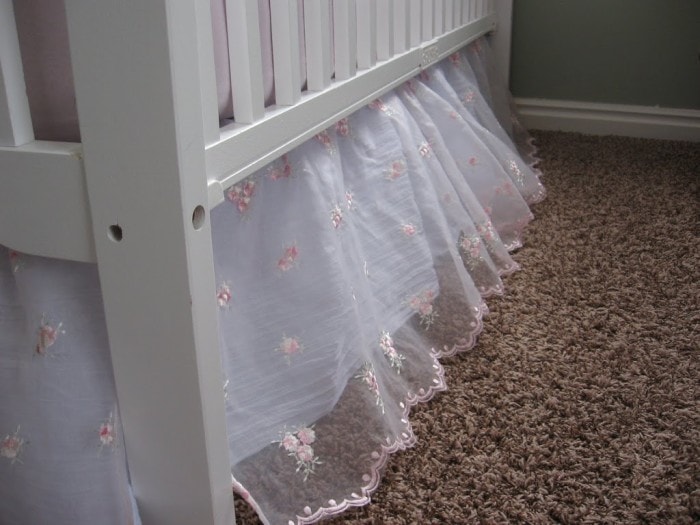
If you are a regular reader of mine, you might recall this post about some sewing I did before my baby arrived. I thought it was high time I share the tutorial of how to make this crib skirt with you. It is so easy and a great way to spruce up a crib, and great for hiding the stuff you stash under the crib.
First you need to measure your crib’s length and width for the mattress support. Mine measured 50 1/2 by 27 inches. You can easily adapt the fabric measurements you need with the measurements of your crib, but I imagine these will be pretty common measurements.
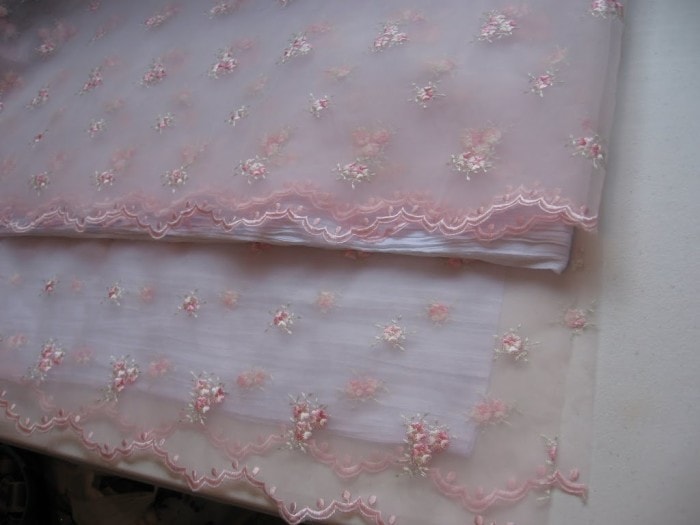
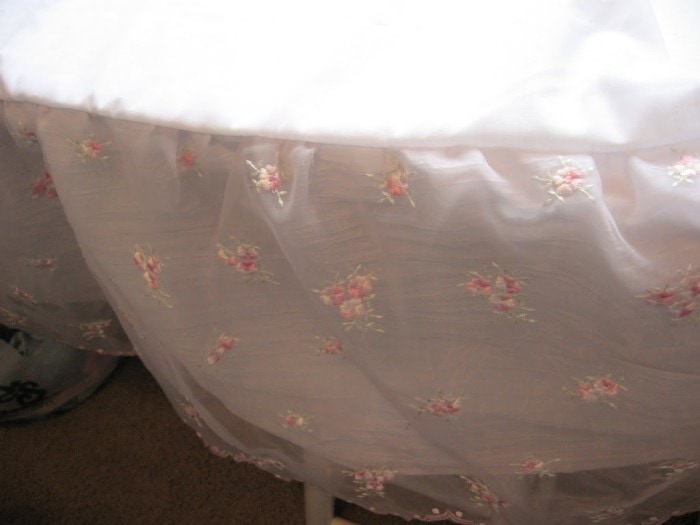
You will need to have some cheap fabric like muslin (or an old sheet) for the structure of the skirt. Then pick some nice fabric for the skirt itself. I found a sheer fabric I really liked so I then picked a pre-pleated white fabric to use as a backing for the sheer.
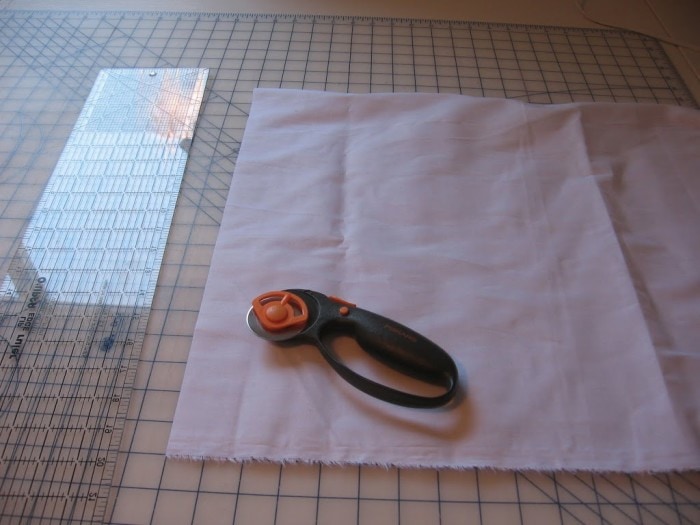 I cut my muslin piece at 50 x 27. Almost the exact size of the crib measurements.
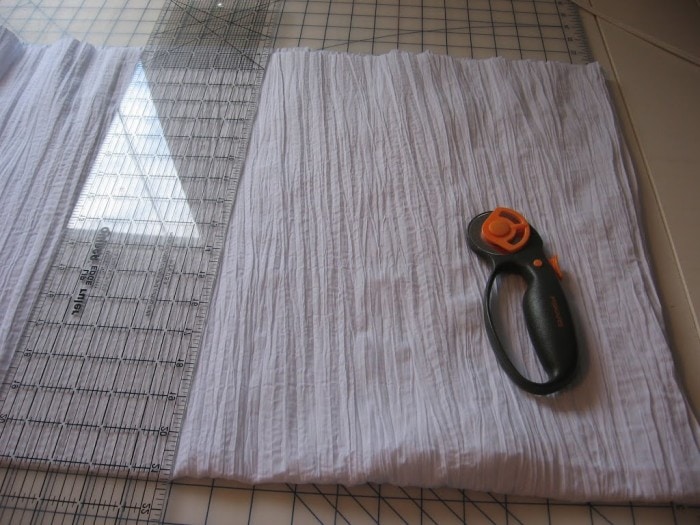
I then cut 4 panels each of the pleated and the sheer fabric. I wanted to be able to gather them slightly so they are longer than the actual measurements of the crib.
Also, from the crib bottom to the floor measured 10 inches, so I added inches to my fabric width so it laid on the floor a ways. My exact measurements are as follows.
Sheer Fabric:
Front and Back panels (cut 2) – 63 x 14
Side Panels (cut 2) – 35 x 14
White Pleated Fabric:
Front and back panels (cut 2) – 63 x 13
Side panels (cut 2) – 35 x 13
If you want more gathers than I have shown, you may want to cut more on the length. I was pushing my limits on the fabric I had on hand which is why I didn’t gather it as much as I would have liked to. If you want to gather, I would recommend doubling the amount of the length. That would make it much fuller.
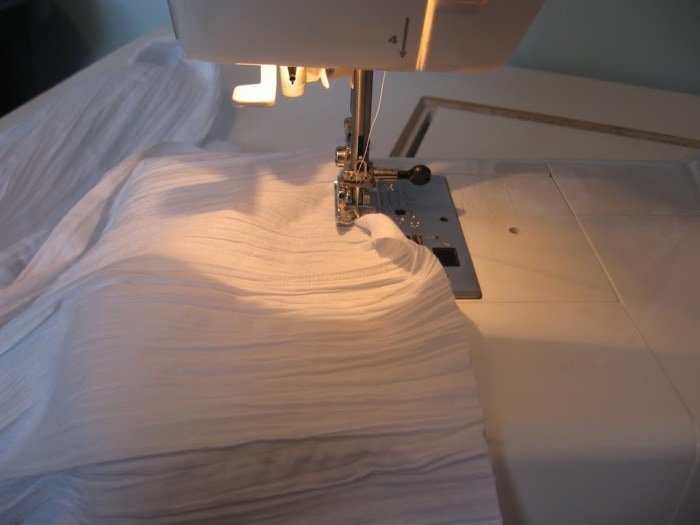
The next step is to hem or finish your edges. I folded all my edges on all 8 panels by folding it over twice as I sewed.

Lucky for me, I bought fabric that didn’t need to be hemmed on the bottom. This made it go much quicker. If you are planning to hem your fabric, make sure you account for that in the length of each panel and adjust accordingly.
I missed a picture of the next step, I apologize. I put the sheer and pleated fabric together at raw edges and sewing them together with a gathering stitch (adjust stitch length to your machine’s max), 1/4 inch from the top. I did this for all 4 panels.
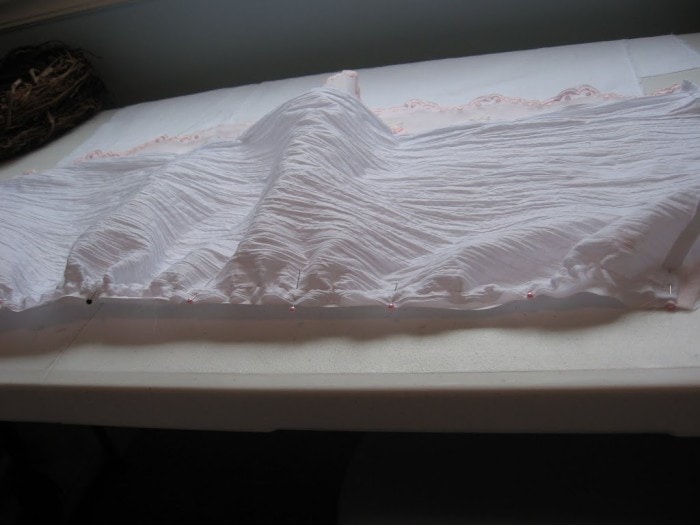
Then I placed the right side of 1 of my skirt panels, to the right side of the muslin piece and sewed using 1/2 inch seam allowance. You have the option here to finish this raw edge. I have a serger so I quickly serged the edges. However, you could easily zig zag the edge or use some pinking shears.
Once you’ve done this for all 4 panels you are finished.
You don’t want to sew the panels together on the sides because it would prevent it from laying correctly on the crib.

And since I really hate bumper pads on my cribs, this is a super easy and fun way to pretty up a crib! Let me know if you have any questions. My brain seems to be a little short circuited these days and I’m not sure I made any sense with this tutorial 🙂 Do you think I can still blame this on having a new baby?


This is adorable, I just love it!<br />Thanks for sharing with us!<br />XO<br />Kristin
Very cute! I just made a super-girly crib skirt and blogged about it too! And I, too, don't like bumper pads. Your crib skirt is adorable!
That is so beautiful. I love it. I'm your newest follower. I'm having a party over at http://diyhshp.blogspot.com/ I would love if you stopped by and linked up your project.
This is so pretty. I really need a baby girl so I can do this
This is so cute! Very girly 🙂 Love it<br /><br />PS: Today is the last day to enter my first ever giveaway on my blog, and I'd love if you'd stop by and enter! Check it out: http://mygirlishwhims.blogspot.com/2011/02/my-first-giveaway-and-introducing-your.html
I happen to be making a bedshirt for my grandsons crib today..hope mine turns out as nice as yours.
This bedskirt is beautiful, you did such an amazing job!<br /><br />Jodie<br /><br />www.lovelaughteranddecor.blogspot.com
This is so sweet and pretty! Beautiful work. Found you through tt&j link party.
Just a quick note to let you know that a link to this post will be placed on <a href="http://www.craftcrave.net" rel="nofollow">CraftCrave</a> today [04 Mar 12:00am GMT]. Thanks, Maria