
This post may contain affiliate links, which means I get a small percentage of the sale at no extra cost to you. I only recommend items I love and have had a positive experience with. Thank you!
 You can make a lot of fun projects using this faux (fake) chenille method I’m about to show you. I’ve done cute little girl purses, and wanted to try this cute pillow. I think making faux chenille is also great for new sewers, because of the basic skills and repetition they are exposed to. Any way, here’s how you make it.
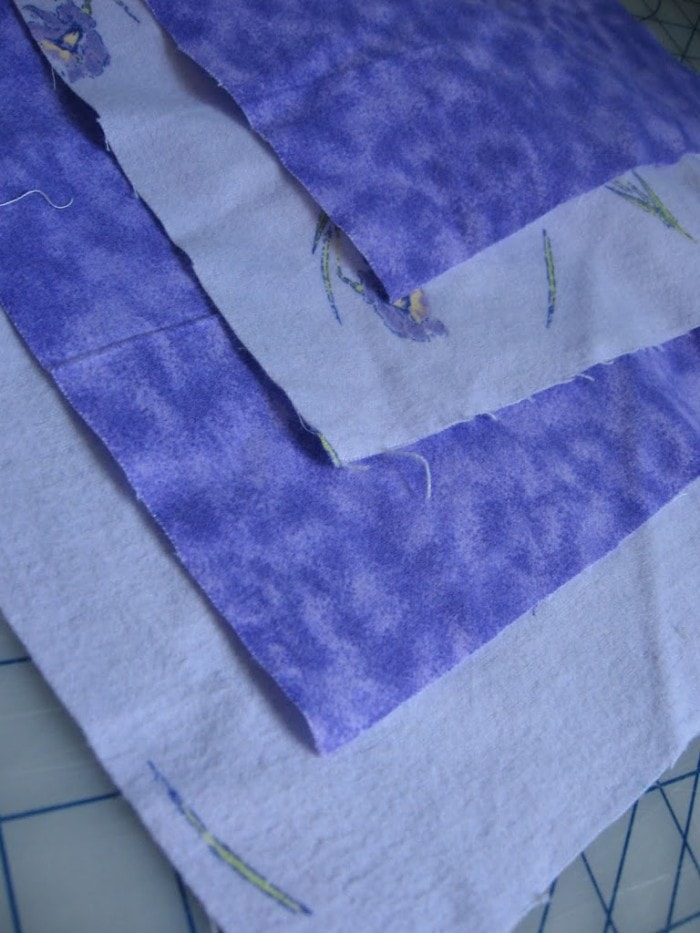 First you need 4 layers of flannel fabric, cut the same sizes. It looks best if you pick high contrasting fabrics, like light and dark colors. I used 2 different fabric prints, and alternated them, like shown above. I forgot my measurements for this pillow, but you can choose any measurements you want.
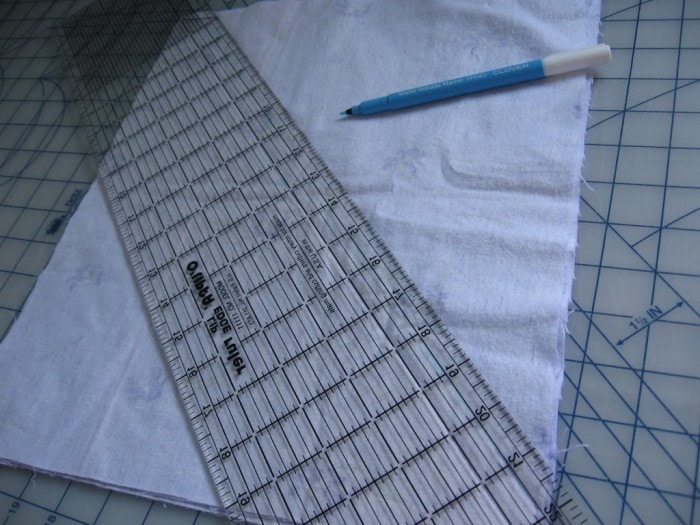 Once you have those all stacked, with all right sides up, turn it to the back and begin marking your lines. It’s up to you how you mark the lines, but I wanted mine to be diagonal, so I started by marking my first line from corner to corner. Using my clear ruler, I measured and marked every half inch.
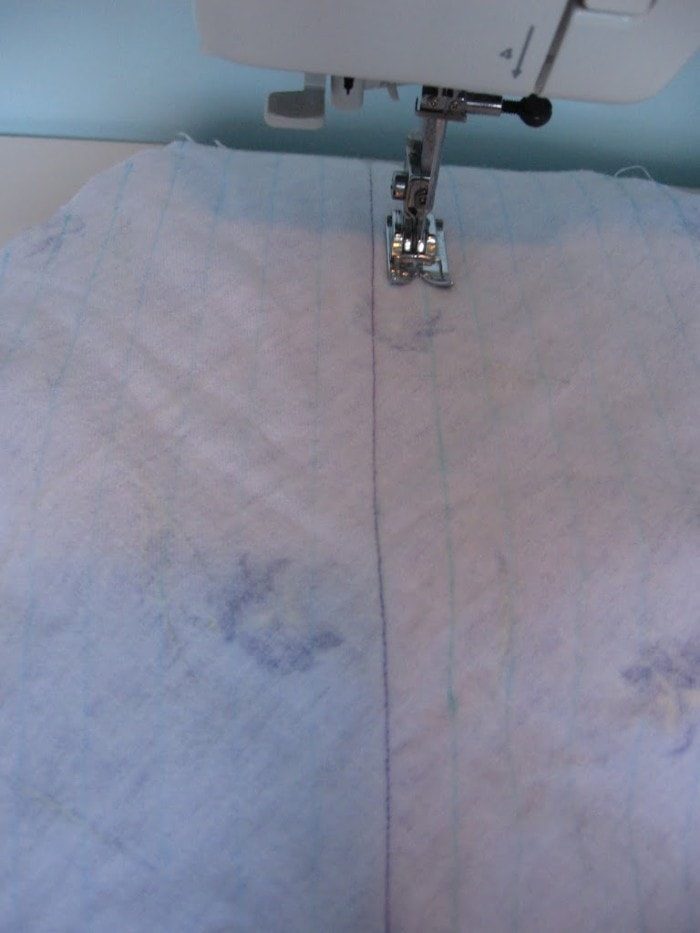 Then begin sewing on those marked lines, starting in the middle, so your fabric doesn’t shift when you’re sewing.
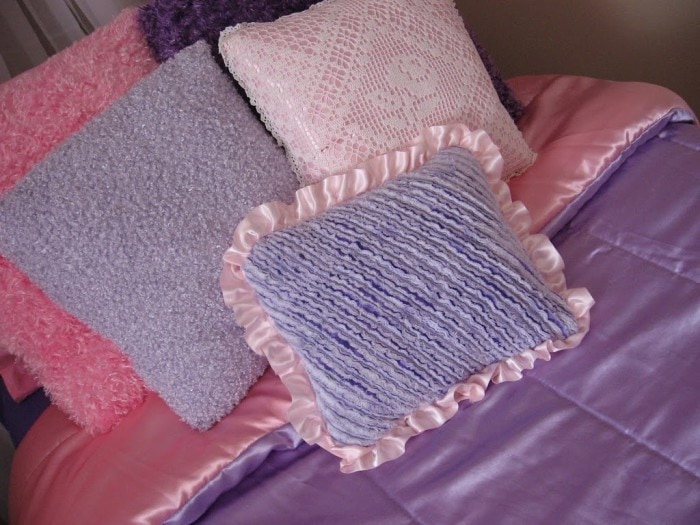
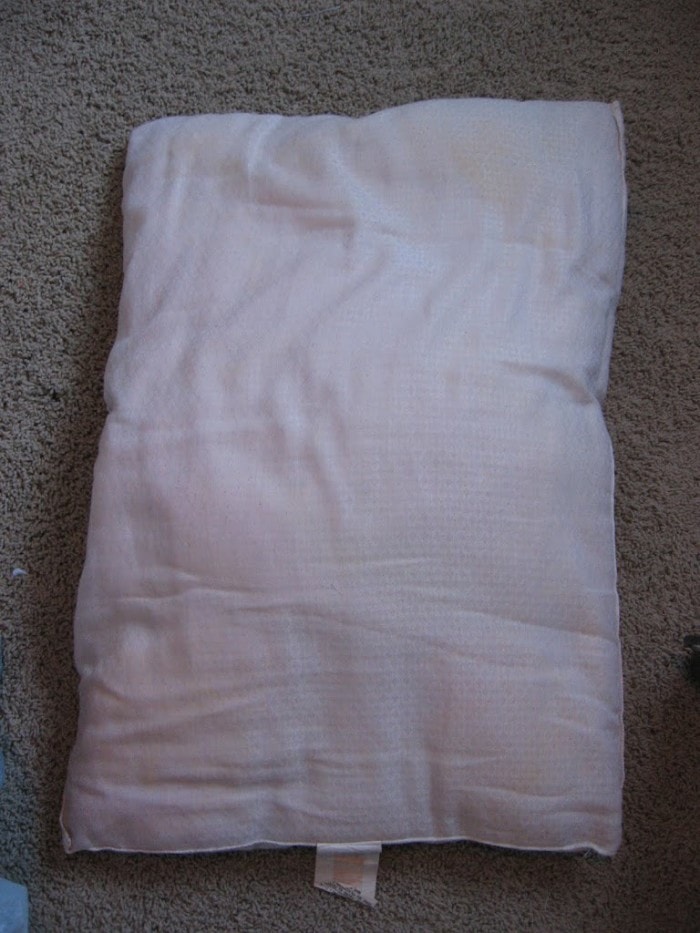
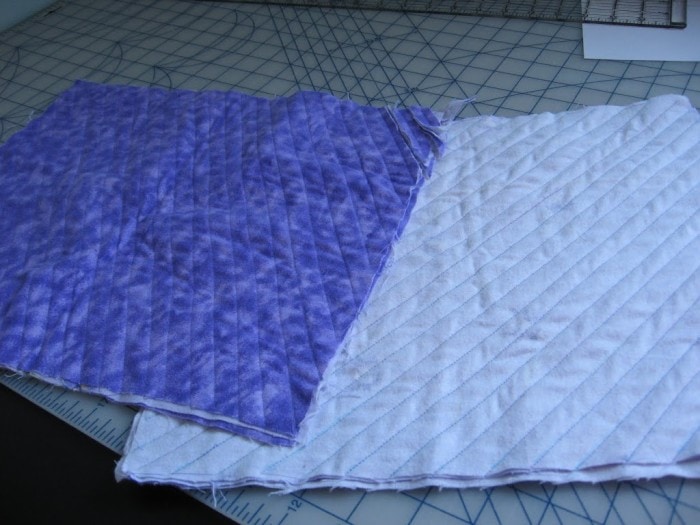 It will look like this, front and back. I have two, because I intend to make 2 pillows.
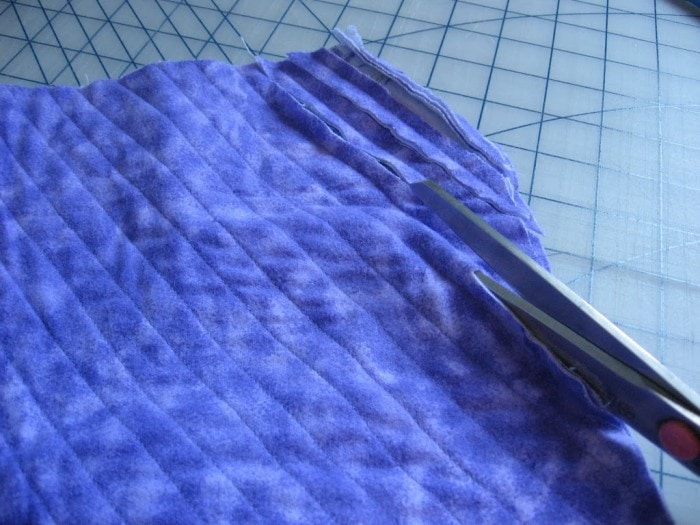 The next step is to cut. But don’t be to hasty, you don’t want to cut it all! Only cut the first 3 layers, leaving the 4th and last layer whole.
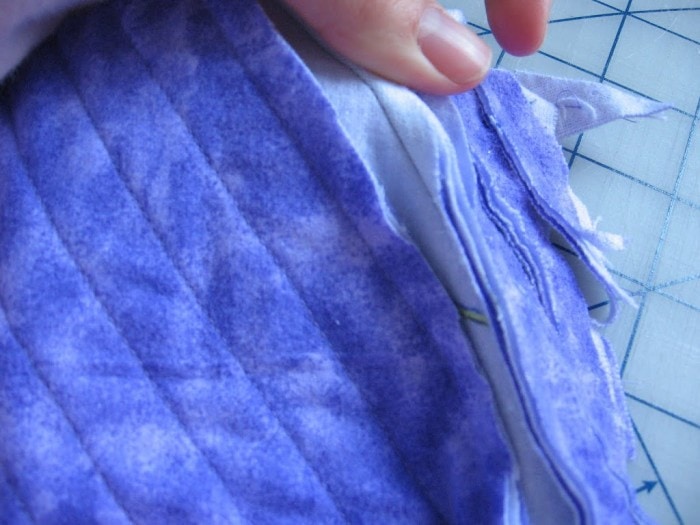 I like to keep my other hand on the back to be sure I don’t slice through the last layer. If you do happen to slice it all, you could. . . . . . . . . well I don’t know, never done that. I imagine after you are done cussing at the thing, (which of course I wouldn’t do), you simply sew it back together. I don’t think anyone would notice when all is said and done.
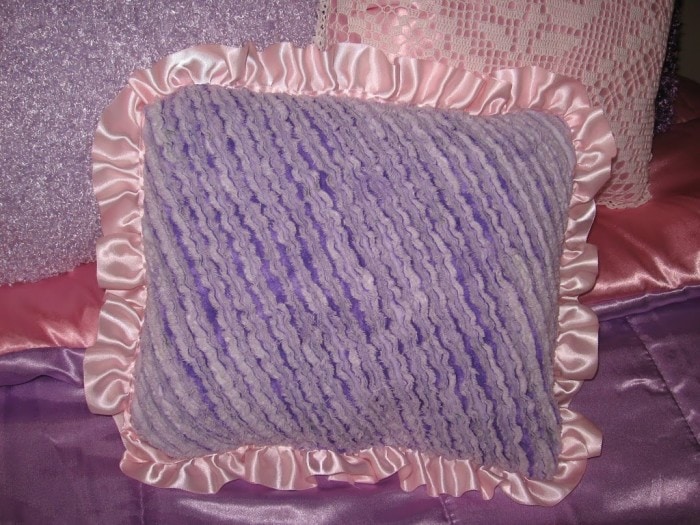
Cut between each stictch. When you are done doing this, you are going to throw it in the washer and dryer, and this is what gives it the faux chenille look. I forgot to take before and after pictures of this, but just look at the pillow pictures to see what it does. It’s always fun to see the result with different fabric prints.
The next steps discribe how I made my pillow.
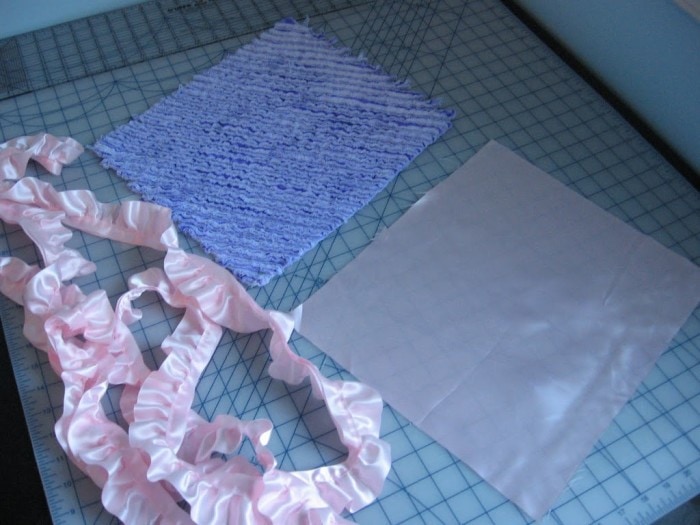 I used pink satin for the backing, cut exactly to the measurements of the chenille piece. Then I found some cute ruffle binding at Wal-Mart.
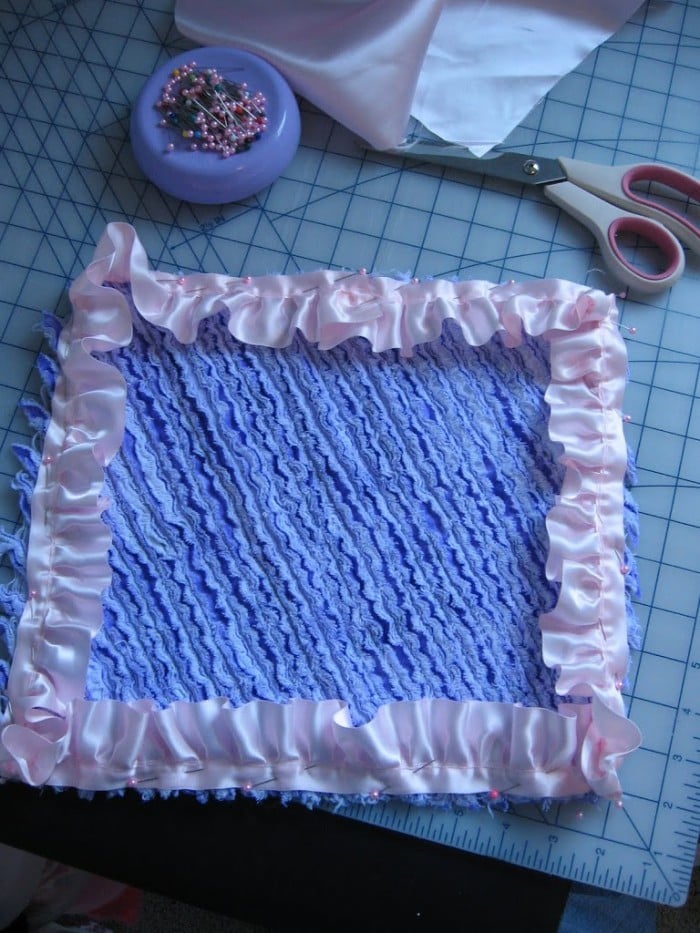 Pin the ruffle binding to the top of the chenille piece.
 Make sure to leave an opening to turn the fabric right side out when you’re done sewing.
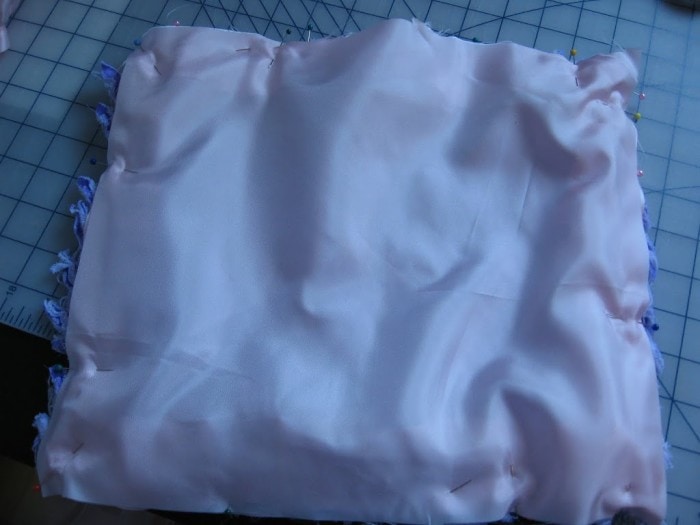 Pin the backside layer on top of the chinelle piece, rights sides together.
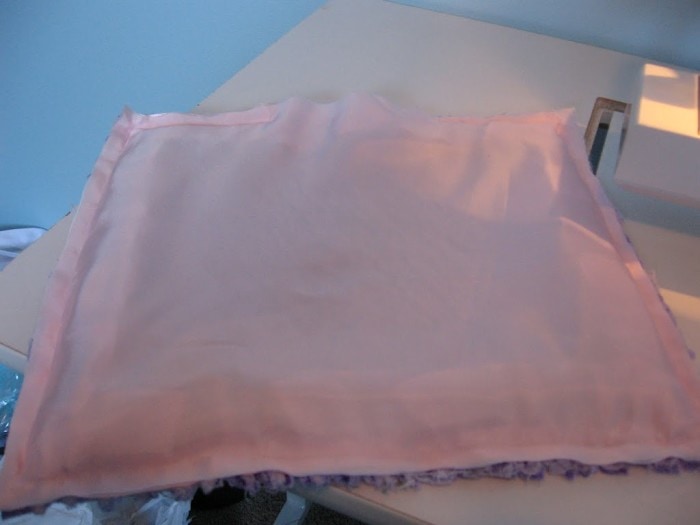 Sew around the pillow, leaving the opening. Hold your breath as you turn it right side out, hoping it turned out okay.
At this point you can buy those expensive pillow forms, or you can use my method.
 See this old, gross looking pillow. Yes it’s been in storage for awhile after it served it’s purpose. Well it’s just about to be useful again, just like I told my husband it would when he threatened to chuck it.
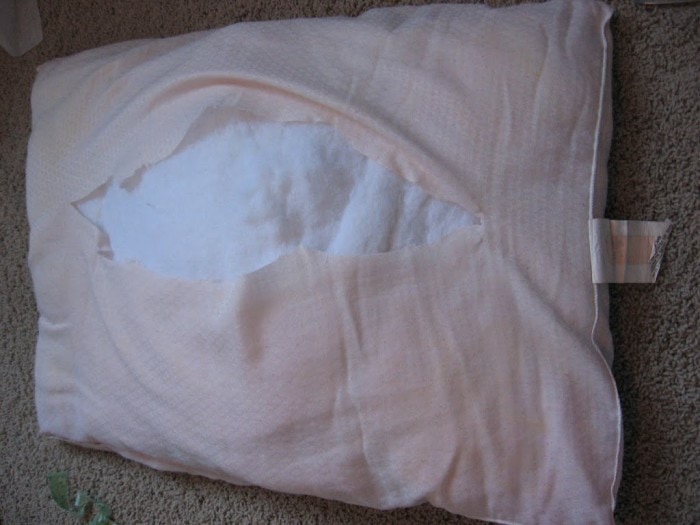 I just cut it right open and stuffed some of that free stuffing right into my cute pillow. Hand or machine stitch the opening closed.
 TA-DAA! Just what that cute princess bed needed.


I just love your <a href="http://www.giraffechenille.com" rel="nofollow">chenille pillows</a>. I have to tell my mom about this site
Oh my goodness! I have never seen this done before! What a great idea. You are quite crafty! Thanks so much for linking this up to my party!<br />Blessings,<br />Traci
So pretty! My girls would love this! Thank you for sharing :)<br />Wendy
Very pretty! I love the ruffle on it. And the colors too!<br /><br /><br />Thanks for linking up to my party!<br /><br />XOXO<br />Jen
Wow this looks so good! You did a great job on this pillow! Thanks for posting at Favorite Things Friday and for the sweet comment!
That is really just too clever! What a great idea!
Wow! Looks completely adorable :)<br /><br />Also, thanks for your sweet comments about our blog. Glad you found us :)<br /><br />Have a great week!
Lovin it! You are so clever. I knew I liked you for a reason.
That technique is so cool. I would have never guessed your faux chenille was flannel. Thanks for sharing! That is brilliant.
So very cool, you'll have to take pictures of the purses you've made. Love it!
Hey, this is a cute idea! I found your blog from New Friend Friday and thought I'd stop in and say hi! I'm a new follower now.<br /><br />Anna
what a great idea. your pillow is very cute.
I followed the link on somedaycrafts.com that led me to your site. This is such a wonderful idea.
Beautiful! I've never seen this technique! I featured this at somedaycrafts.blogspot.com.
lovely! and perfect for a princess bed!<br />thanks for linking… 🙂
Ahhh….how pretty…thanks for sharing it with all of us in blogland!<br /><br />Blessings,<br />Linda
That's pretty awesome! I've never seen this before. Thanks for stopping by. <br /><br />Autumn<br />TheFickleHobbyist.com