I’ve shared a few free printable labels in my posts before, and wanted to give you a resource to learn how easy it is to print these labels with Avery.com.
Using Avery products is the best way I’ve found to share my label designs to get consistent results for all of us. Be sure to note in my blog posts which labels I bought and used, and then you can follow along on this tutorial to learn how easy it is to upload my free designs into Avery and print right on the labels.
Let’s go!
HOW TO DESIGN AND PRINT WITH AVERY.COM
Step 1:
You will need to set up a free Avery.com account to be able to use their design software. Once you’ve done that, you can search for your product number in the quick search tool. The product number should be right on your package.

Step 2:
After typing in your product number, you should need to verify orientation of the label. Select the one you wish.

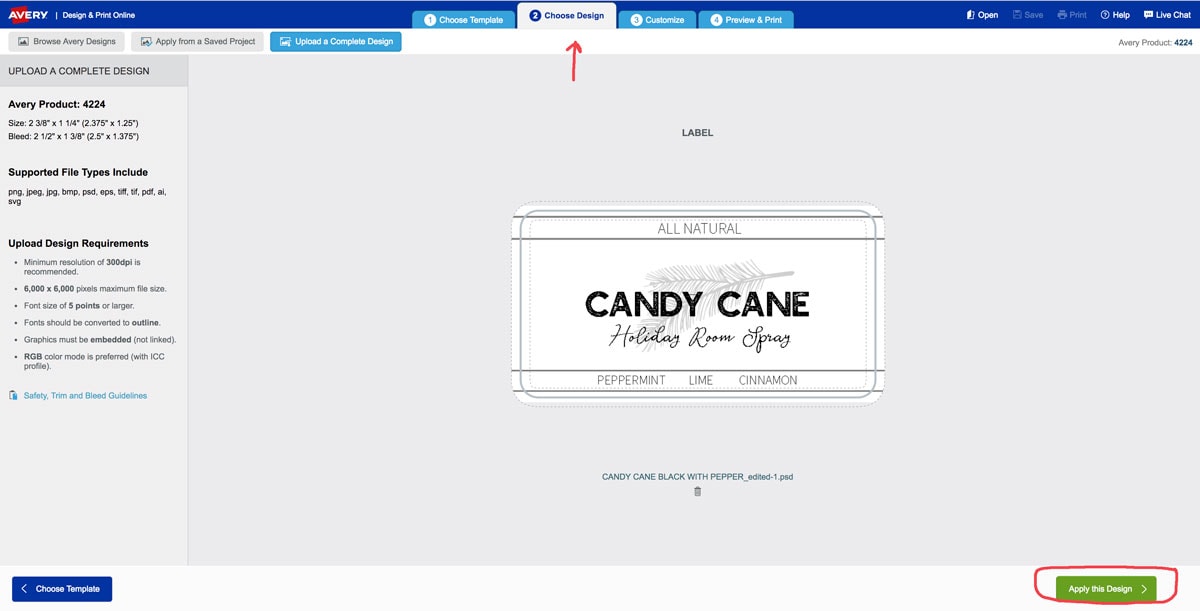
Step 3:
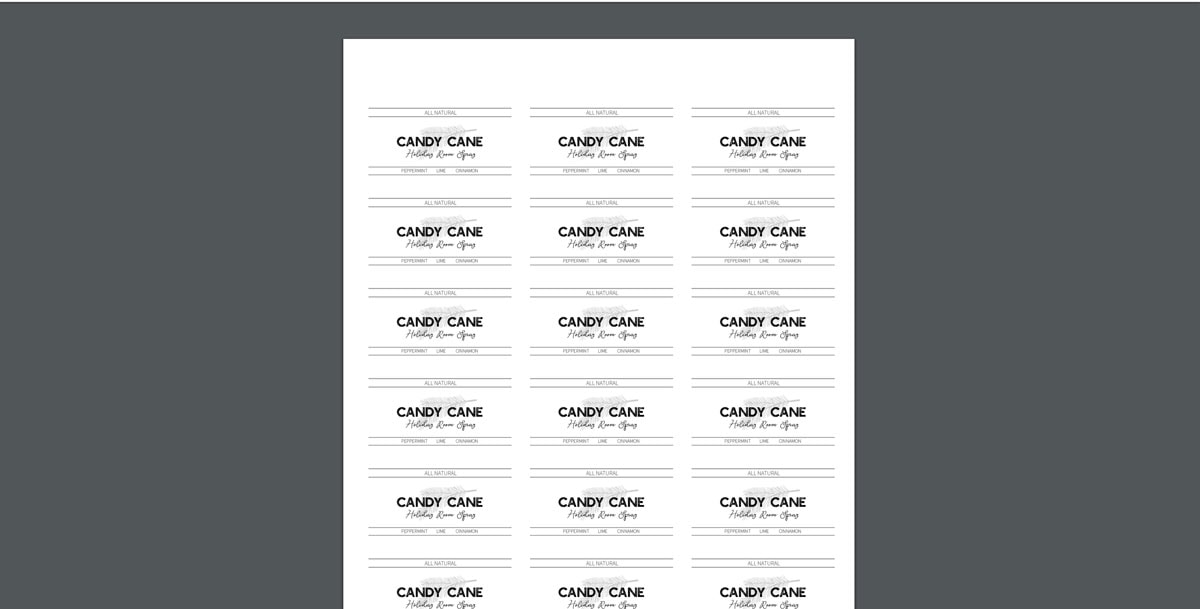
You will then be prompted to upload your design. This should be in a PDF format on my site, available either on my blog posts or as part of my TIDBITS SUBSCRIBER LIBRARY. You will need to download my free design first, and then upload that file here on Avery. Be sure to click “apply this design”.
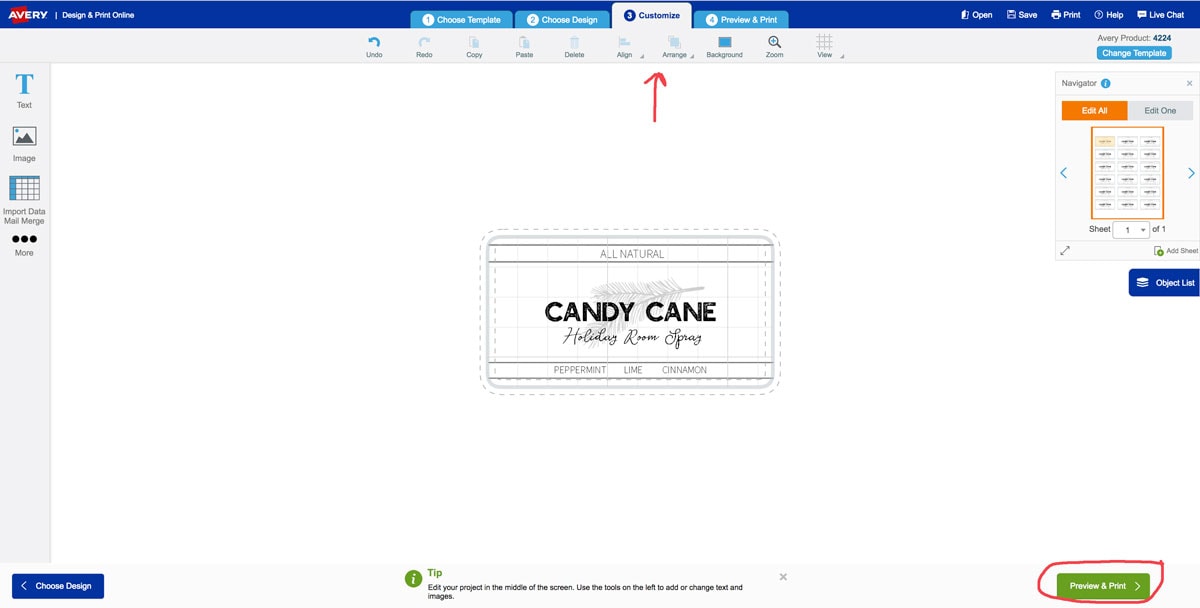
Step 4:
Next you can customize your design, and there are several options for that. The only thing I might do in this step for a pre-designed file is pull in or out my corner cursers to adjust the label exactly where I want it to print, making note of the dashed guides available in Avery. Once it is placed where you want it, click “Preview and Print”.
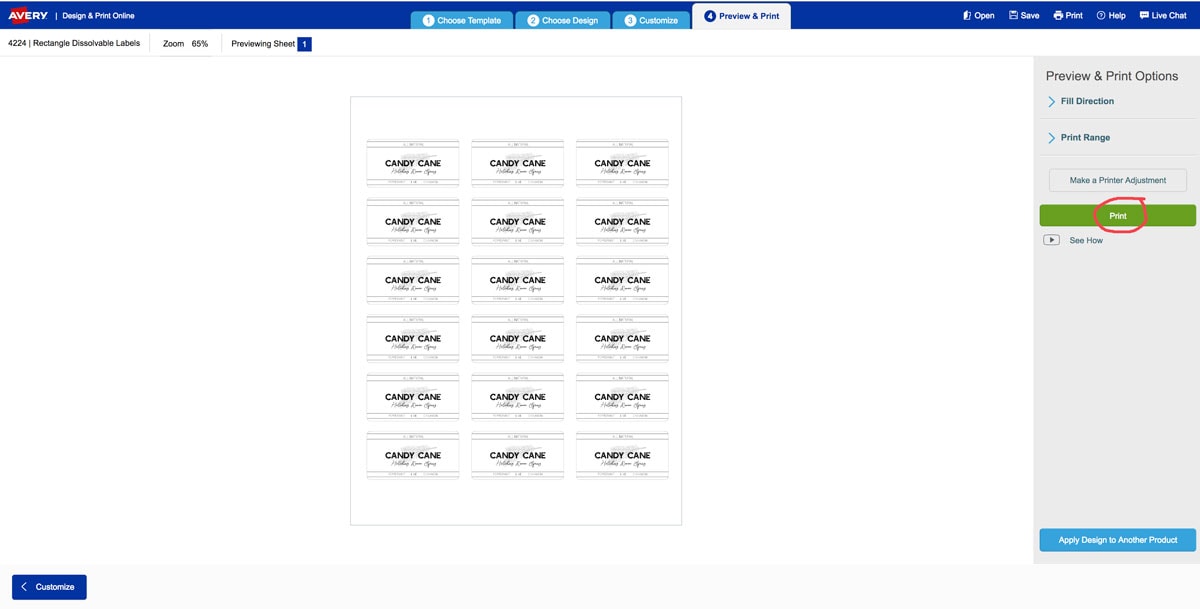
Step 5:
You will now be able to see your design on a full page. At this point I think it is wise to do a test print on a plain sheet of paper. Depending on your printer settings, you may need to play with the “make a printer adjustment”, but most often I can successfully hit “print”.
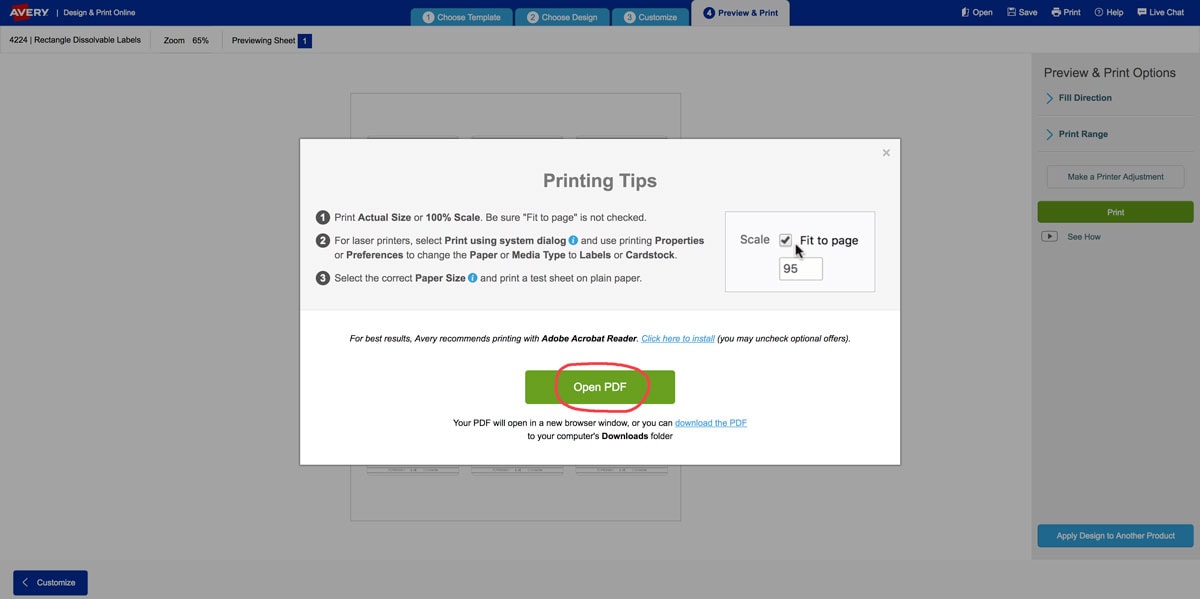
Step 6:
Once I’ve selected “print” it will direct you to “open PDF”. Please do so.
Step 7:
Opening the PDF will allow you to print directly onto your test paper or label sheet. All printers are different so be sure to note which side to put facing up in your printer feed.
You can then choose to save this PDF if you believe you will come back to it to print more.
That’s all there is to it! Please use the help functions in Avery if you have questions regarding the software or your print job. Questions on my designs can be directed to cami (at) tidbits-cami (dot) com.
Enjoy!


