
This post may contain affiliate links, which means I get a small percentage of the sale at no extra cost to you. I only recommend items I love and have had a positive experience with. Thank you!
When was the last time you sat down and played with watercolor paints?
Personally, I couldn’t remember the last time I had.
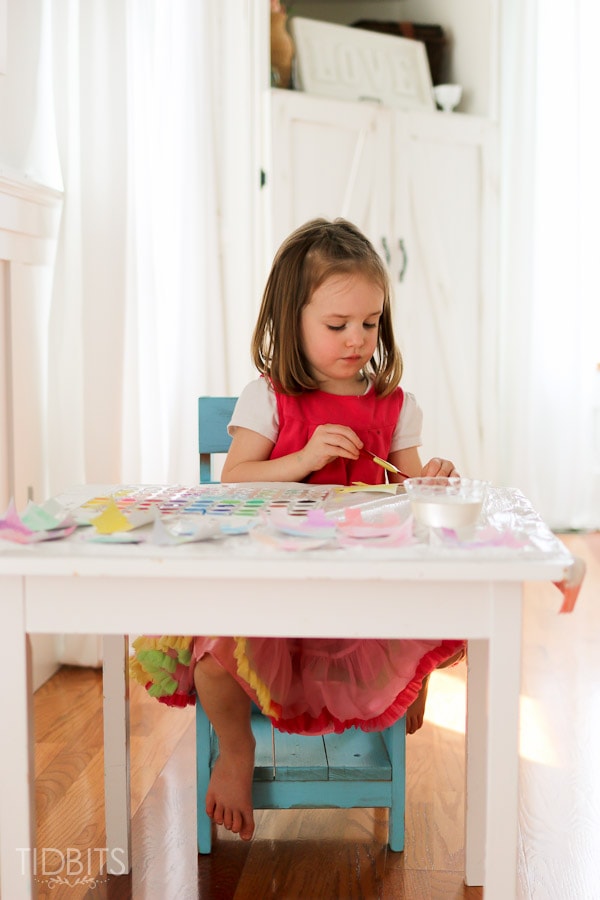
But, my little sweetie and I were feeling the creativity itch one day.
Combined with the spring fever, I knew something had to be done.
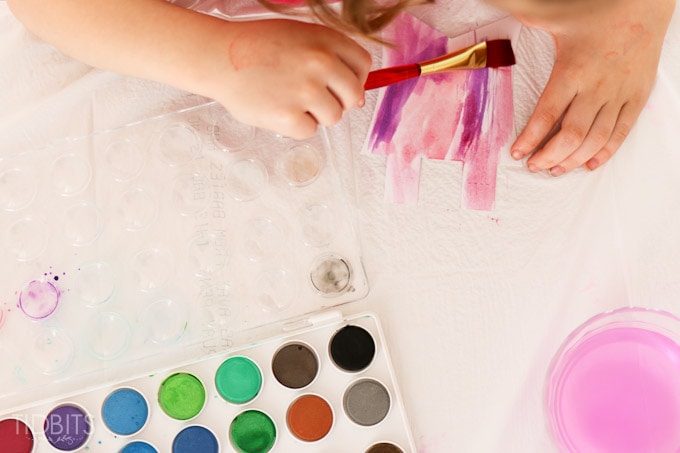
So we busted out “mommy’s special paints”, and enjoyed some very therapeutic watercolor crafting.
When I say “we” I mean mostly “her”. She let me paint 2 pennants, and then politely let me know hers were much better.
But that is okay. I was enjoying the view from my camera just as much.
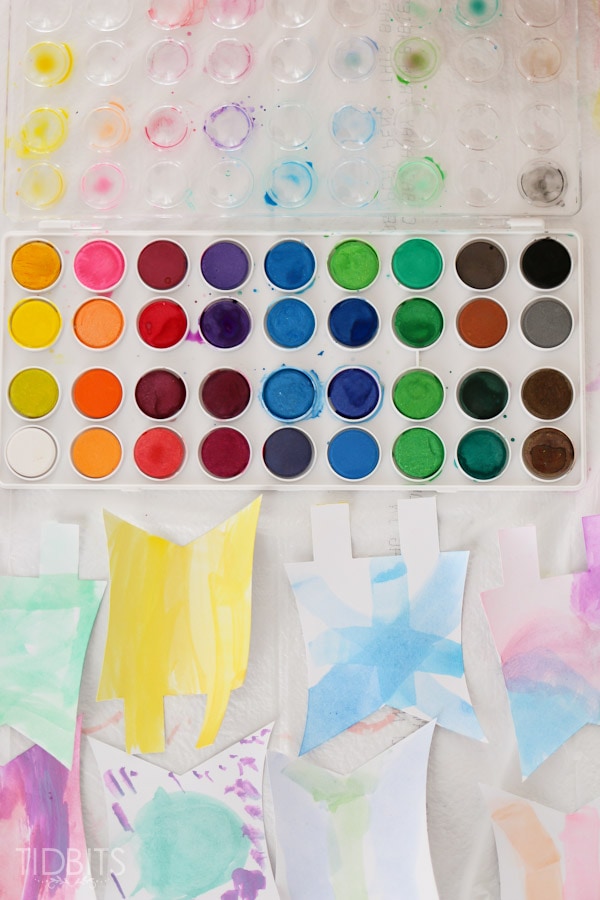
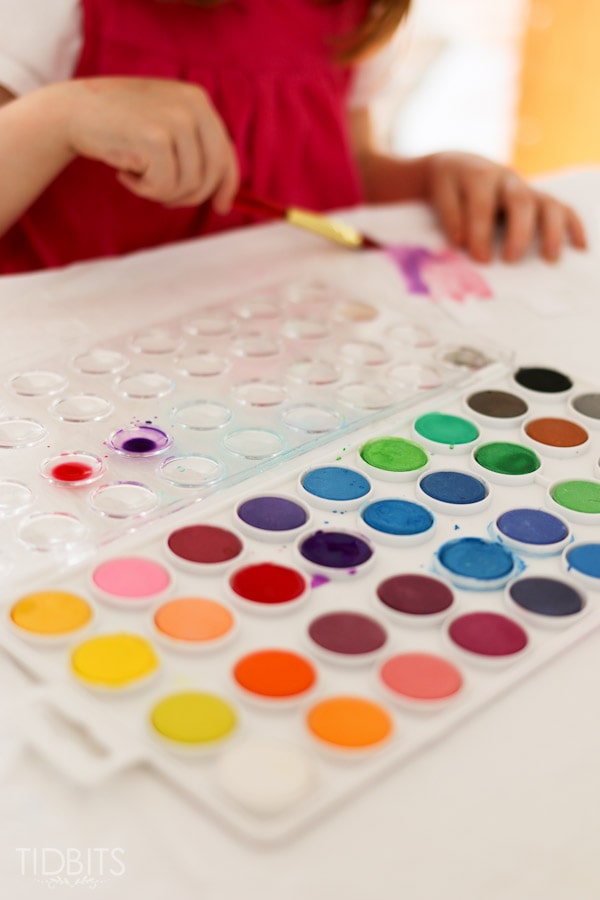
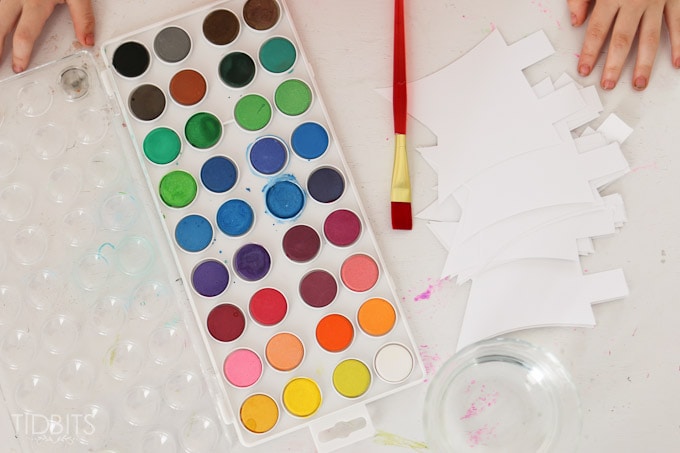
If you or your child have never tried these watercolor cakes, you are in for a real treat. They are nothing like the typical Crayola paints children normally use. I bought mine at Hobby Lobby, but here is the exact set on Amazon.
Artist’s Loft Fundamentals Watercolor Pan Set![]()
Or, here is a cheaper version (if you can get free shipping) with watercolor cakes, but no mixing tray.
Loew Cornell 1021095 Simply Art Watercolor Cakes![]()
The pigment is so strong, a little goes a long way, and you can mix on the tray opposite the paints so none of your colors will ever mix. These are so great for you or your budding artist! (Keep reading and I’ll explain how to use these kind of watercolor paints).
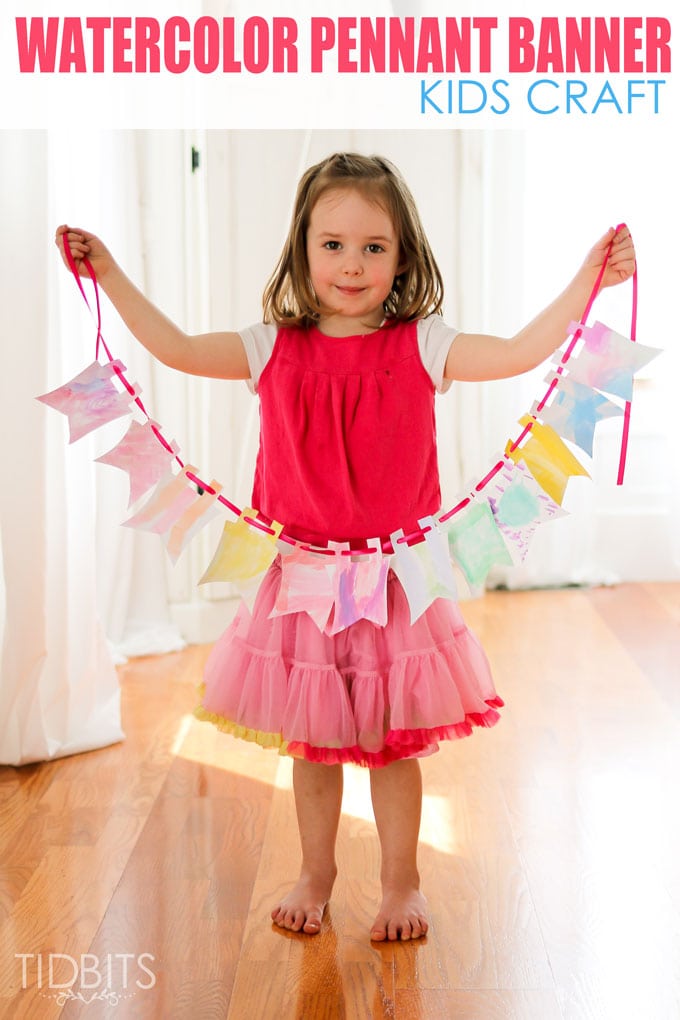
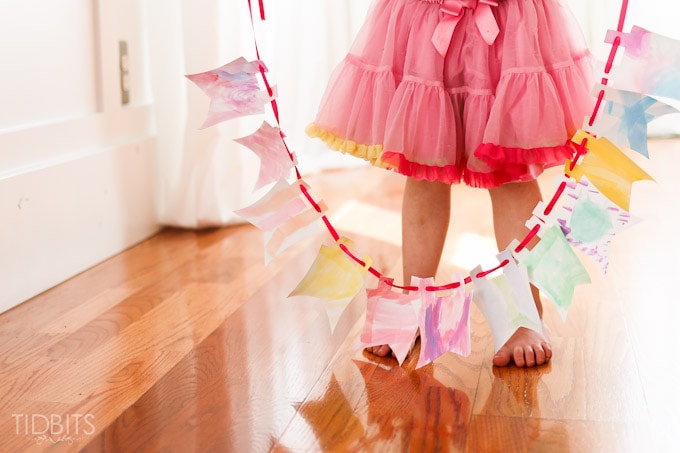
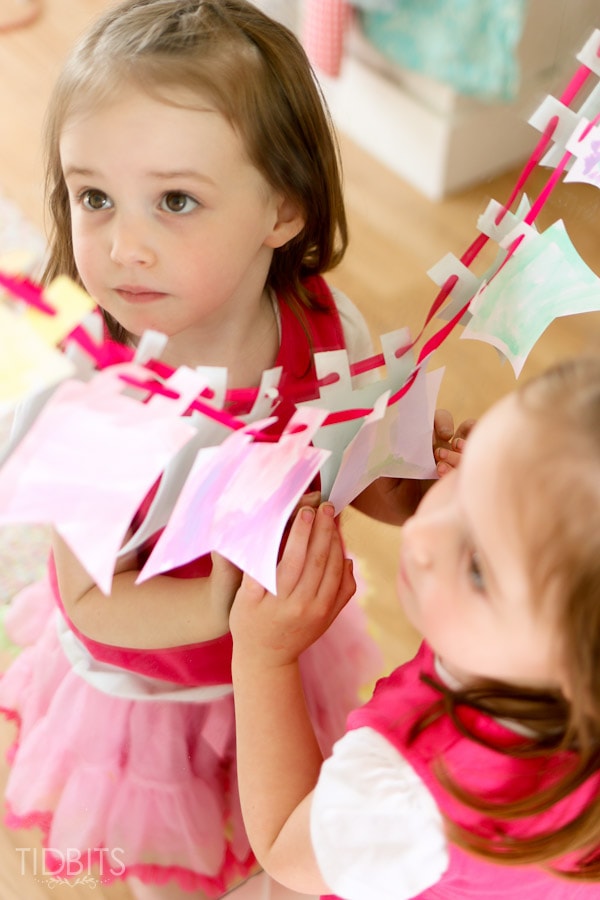
My little 4 year old is so please with her watercolor pennant banner, with all it’s bright cheery colors.
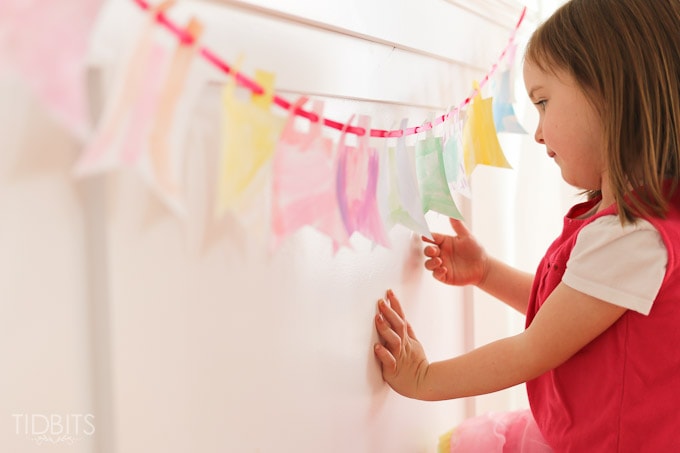
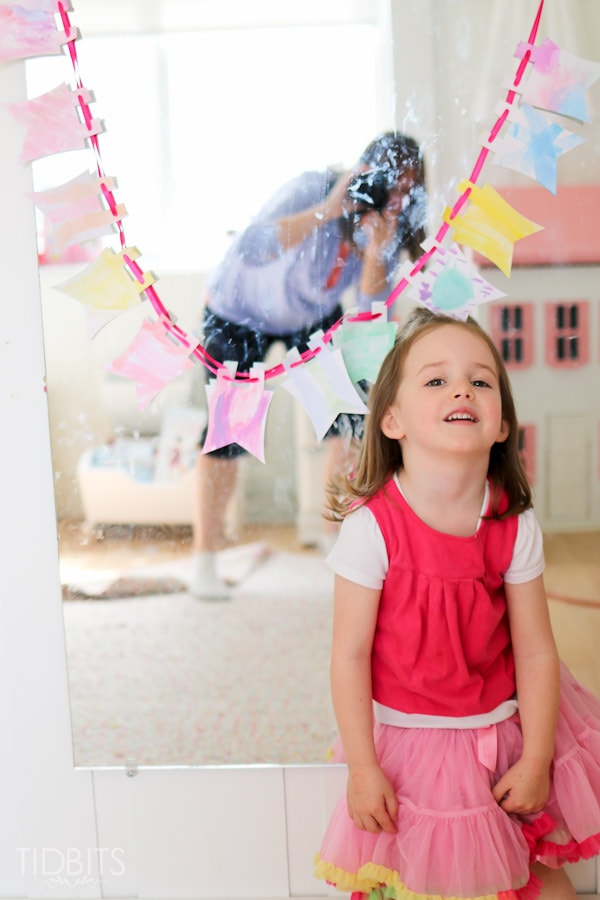
After painting, she wanted to hang it in her room on her mirror.
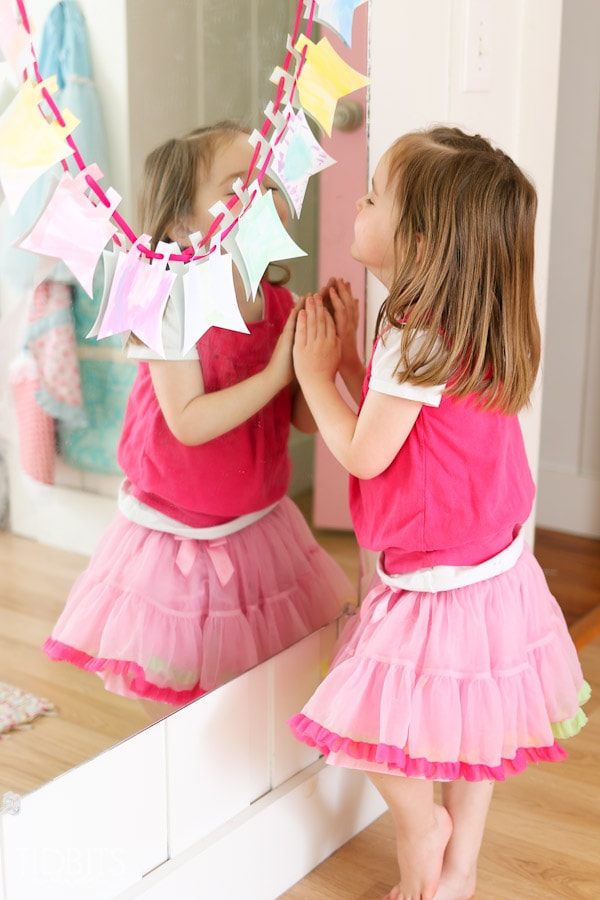
And she has been adoring it ever since.
Even more so, when mommy was done taking pictures for her “blog”.
So, if you need a little mommy and me creativity time, this pennant banner is a super simple craft you can pull together with just a few supplies (which you might already have at home).
You’ll need the following:
- Watercolor paints
- Brush
- Clean water
- Cut out pennants from Cardstock
- It was fastest for me to use my Silhouette Cutter for these, but you can easily trace your own, or just cut simple triangles – or any shape you want!
- String or Ribbon
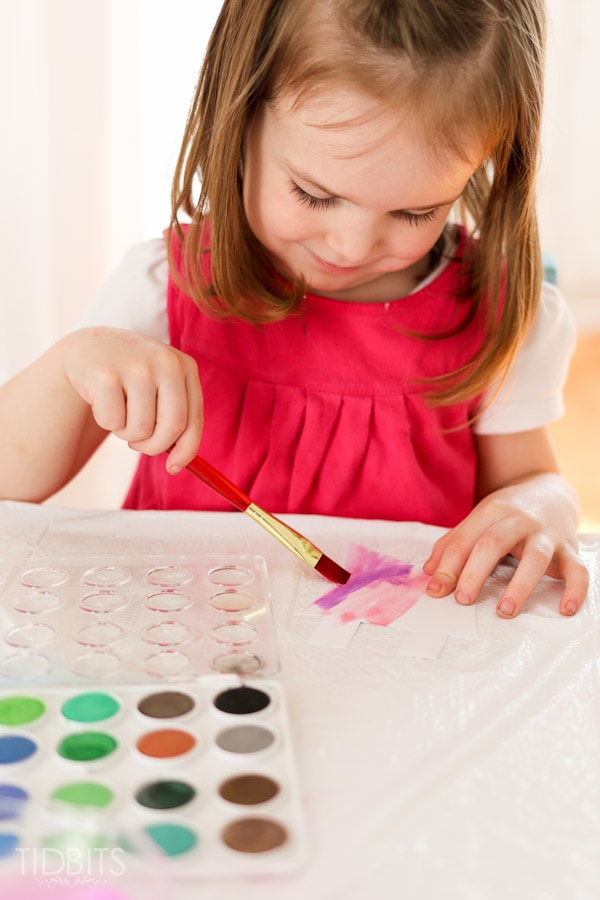
After you’ve covered your surface, you can let your little one start painting away.
If you are using these watercolor cakes (like mentioned above), you simply wet the paint by dipping your brush in clean water and running it along the color. The pigment and water clings to the brush, and you can stroke the brush in the tray opposite the paint and it will build up inside the tray. Keep doing this until you’ve filled the small spot for the paint, as much as you would like.
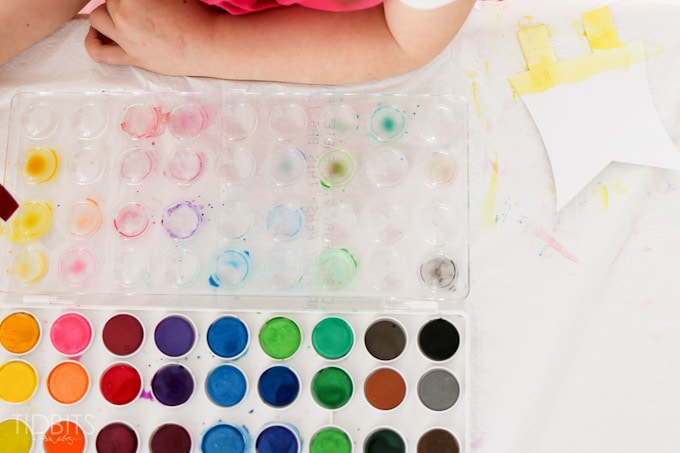
You just have to teach your child to dip their brush from the tray and not the paint itself. Then you won’t be mixing colors. But you can mix your own pigments on the tray, which is super fun. It’s also important to keep clean water and wash your brush between colors.

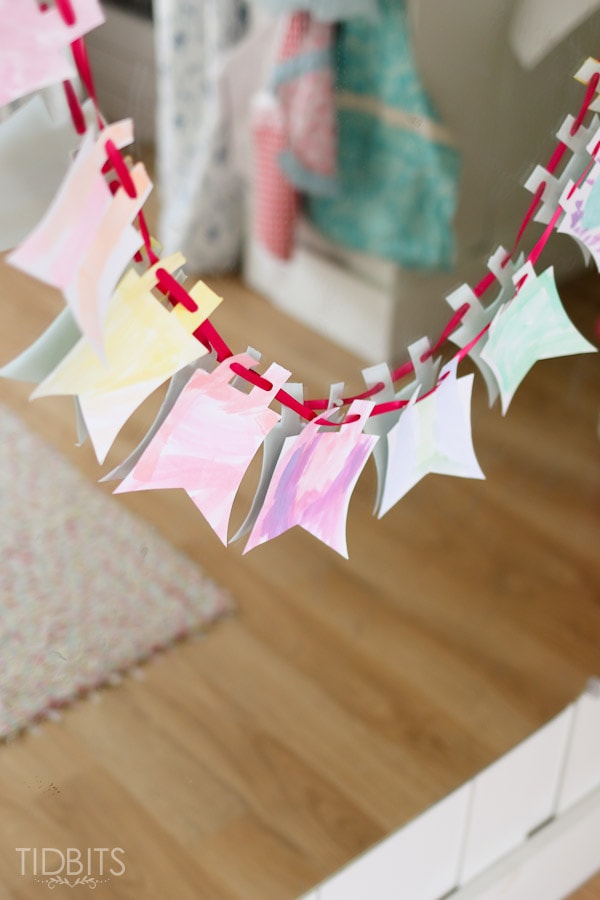
After your banner is painted and dry, simply add hole punches and thread some string or ribbon through.

Doesn’t get easier than that – and what a beautiful kid-made decoration you can add to your house.

They’ll be so proud.
*This post contains Amazon Affiliate links – but rest assured, I only recommend products I know and LOVE!
**I’ll be linking up at these parties, here.


This looks so fun! You’re daughter is pretty, by the way. 😀
Thank you very much! I think so too 😉
I love this idea! And I can’t wait until my daughter is old enough to DIY with 🙂
So cute- and so simple! My favorite combination. 😉 Gonna do this with my girls for their room.
I agree – simple is the best way to do things! Thank you!
Looks like a ton of fun.
Love it!
Thanks!
That sure looks like fun
It was, thank you!