Stovetop Applesauce | No Sugar Added
Experience the wonderful flavors and smells of Fall in your home by making this flavorful, no sugar added Stovetop Applesauce. It’s like potpourri you can eat!
Ingredients
- Apples
- Cinnamon optional
- Nutmeg whole or ground optional
- Allspice whole or ground optional
- Apple juice or water
Instructions
- STEP 1: Peel, Slice and Core Apples
- Start by slicing your apples all about the same thickness. Using a tool like a “apple-peeler-corer-slicer” is a major time saver and does a wonderful job at preserving as much apple as possible.
- The kids love this job!
- Add your slice apples to the pot, as full as you desire.
- STEP 2: Add Water or Apple Juice to Pot
- Then you’ll add about ¼ - ½ cups of water to the pot. If you happen to have apple juice around, this makes a wonderful substitute for water. It will help keep a potent apple flavor for your end result.
- This may not seem like enough liquid, but as those apples start to cook, their juices will release and provide you with enough liquid to prevent burning. If at any time you see the liquid start to dissipate, add a little more water or apple juice.
- STEP 3: Add spices
- We love to throw in a few full cinnamon sticks to the pot to infuse the flavor to the max! I even added a couple of pieces of whole Allspice. We also grated whole nutmeg into the pot, as we find the flavor to be even more rich. You can preserve some spices for after cooking to determine if your masterpiece needs just a bit more.
- STEP 4: Let apples simmer until fork tender
- This is where the magic happens! Bring the apples to a slow simmer and stir occasionally. They will reduce in size and release their juices. When the apples are fork tender, you can remove from heat. This took us about 20 minutes.
- STEP 5: Remove whole spices
- If you added allspice or cinnamon sticks, remove them before blending
- STEP 6: Blend
- Transfer your apples to a blender. You might also prefer to hand mash in the pot or use an immersion blender. We like it really smooth because I use it in baking a lot, so I prefer a blender. You’ll blend it up until you receive your desired consistency. Some like it chunky and some like it smooth!
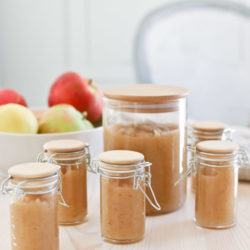
- STEP 7: Bottle it up!
- If you don’t eat it all right up (which is a really nice thing to do together), place it in jars or containers. I love to freeze some to use for later, or keep it in small containers in the fridge for the kids to add to their lunches or for after school snacks.