This post may contain affiliate links, which means I get a small percentage of the sale at no extra cost to you. I only recommend items I love and have had a positive experience with. Thank you!
So you want a new build to look a bit old, do ya? While it’s tricky to give new wood that perfect chippy paint look, there are some fun techniques you can do to give it some old age appeal. Read on for my tutorial on how to create a vintage painted finish on new wood.
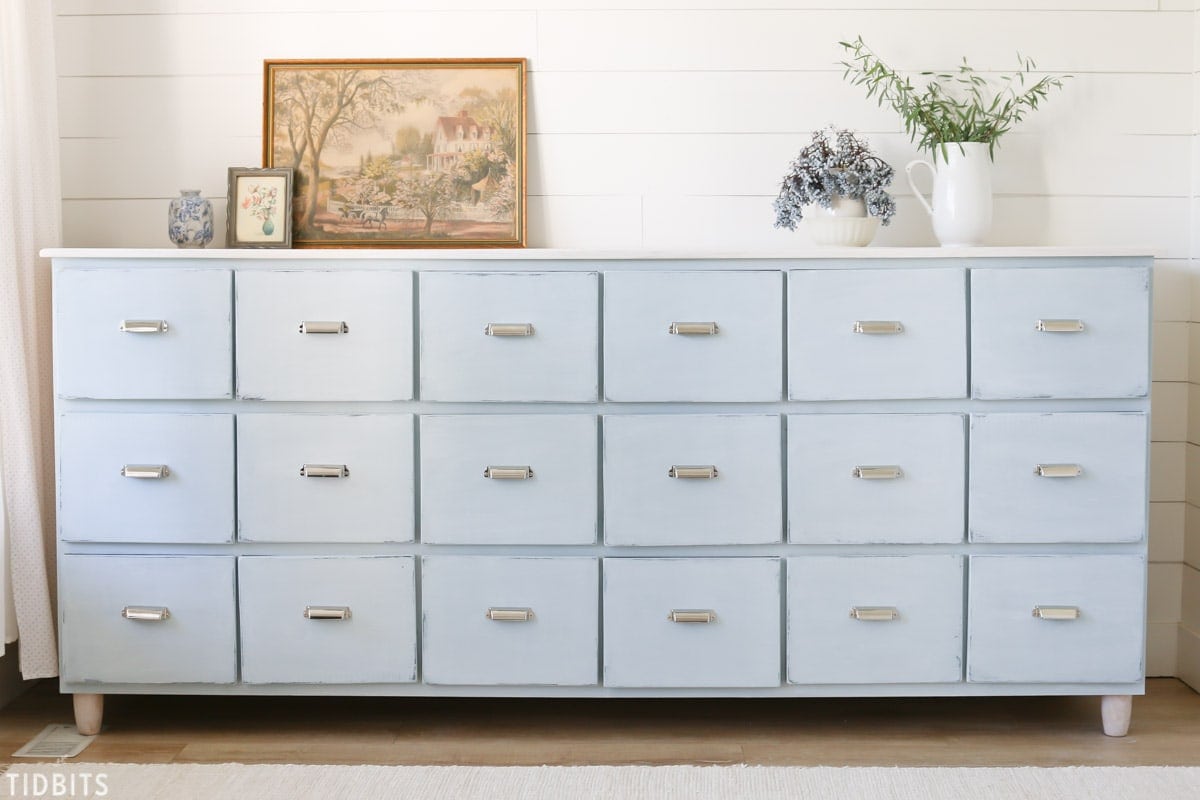
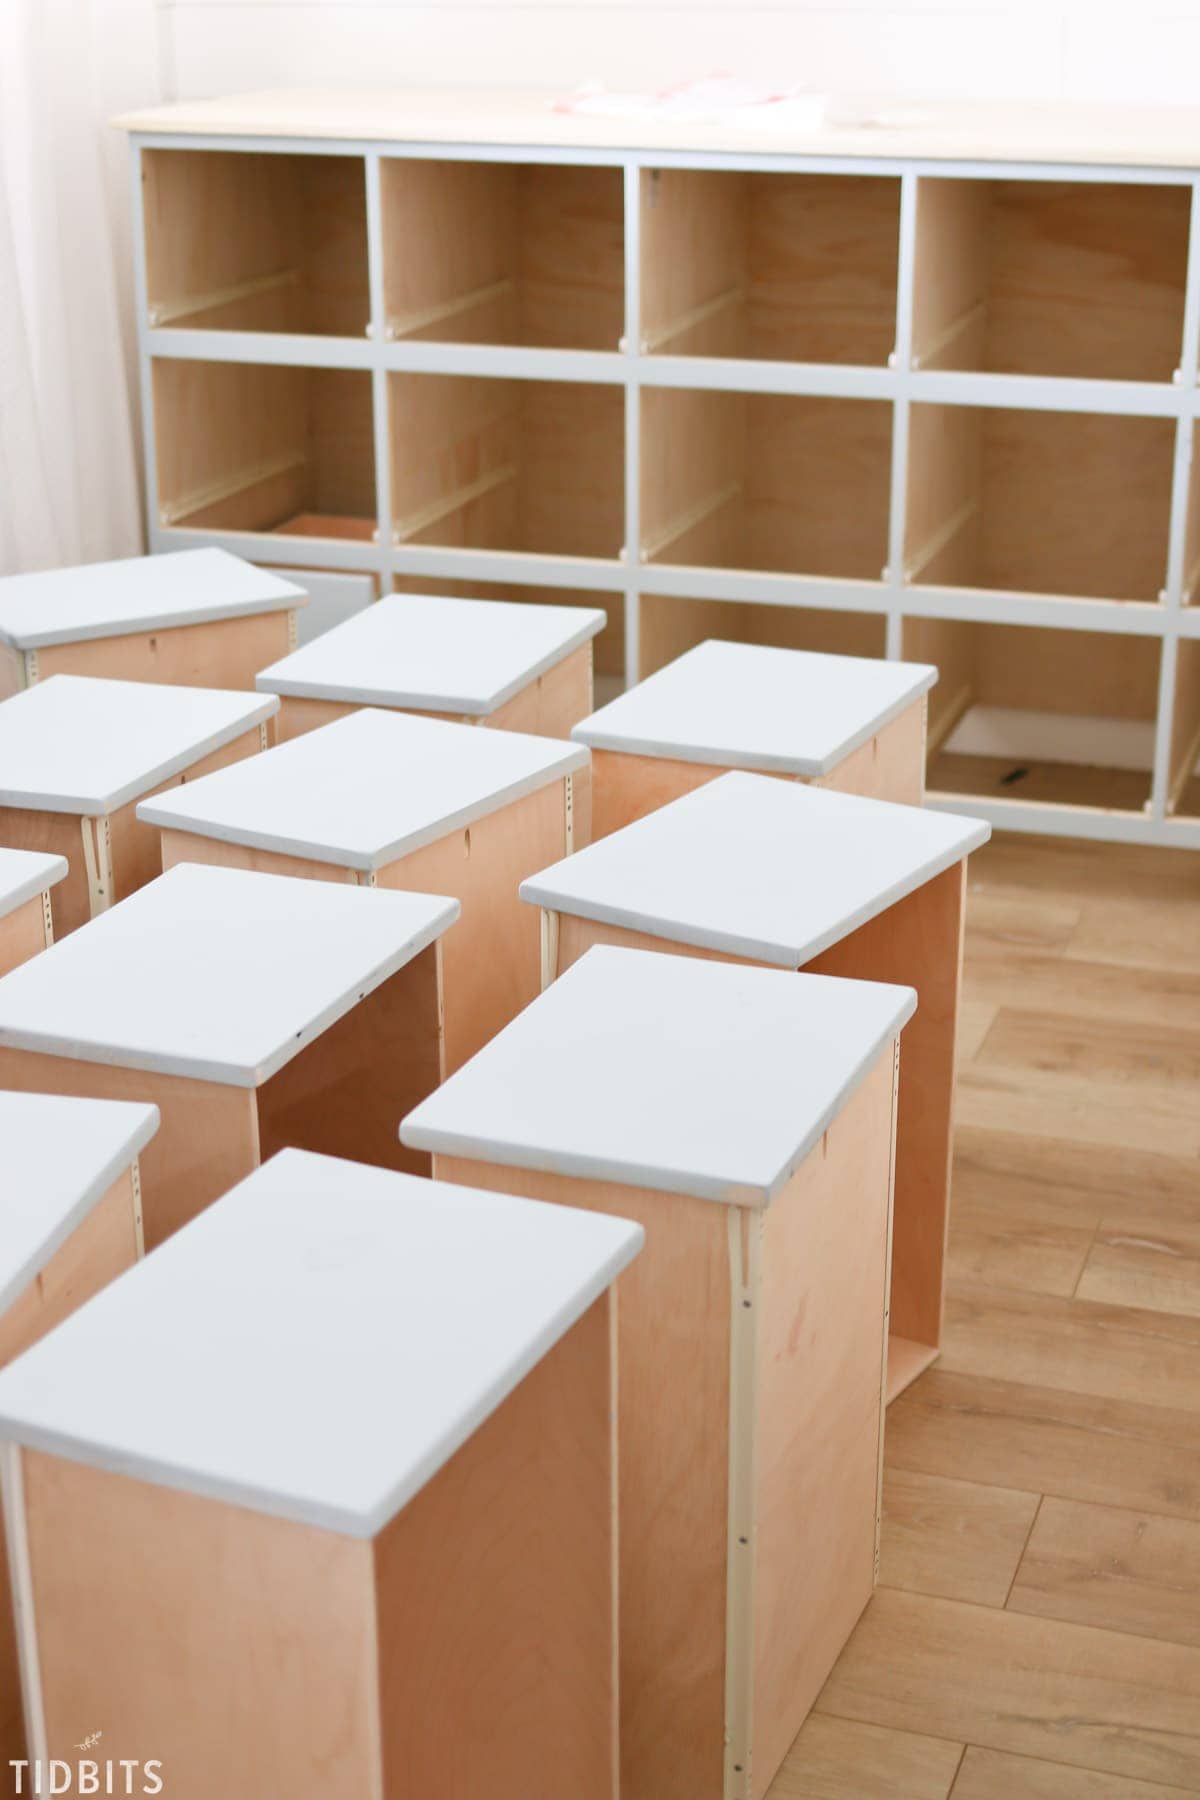
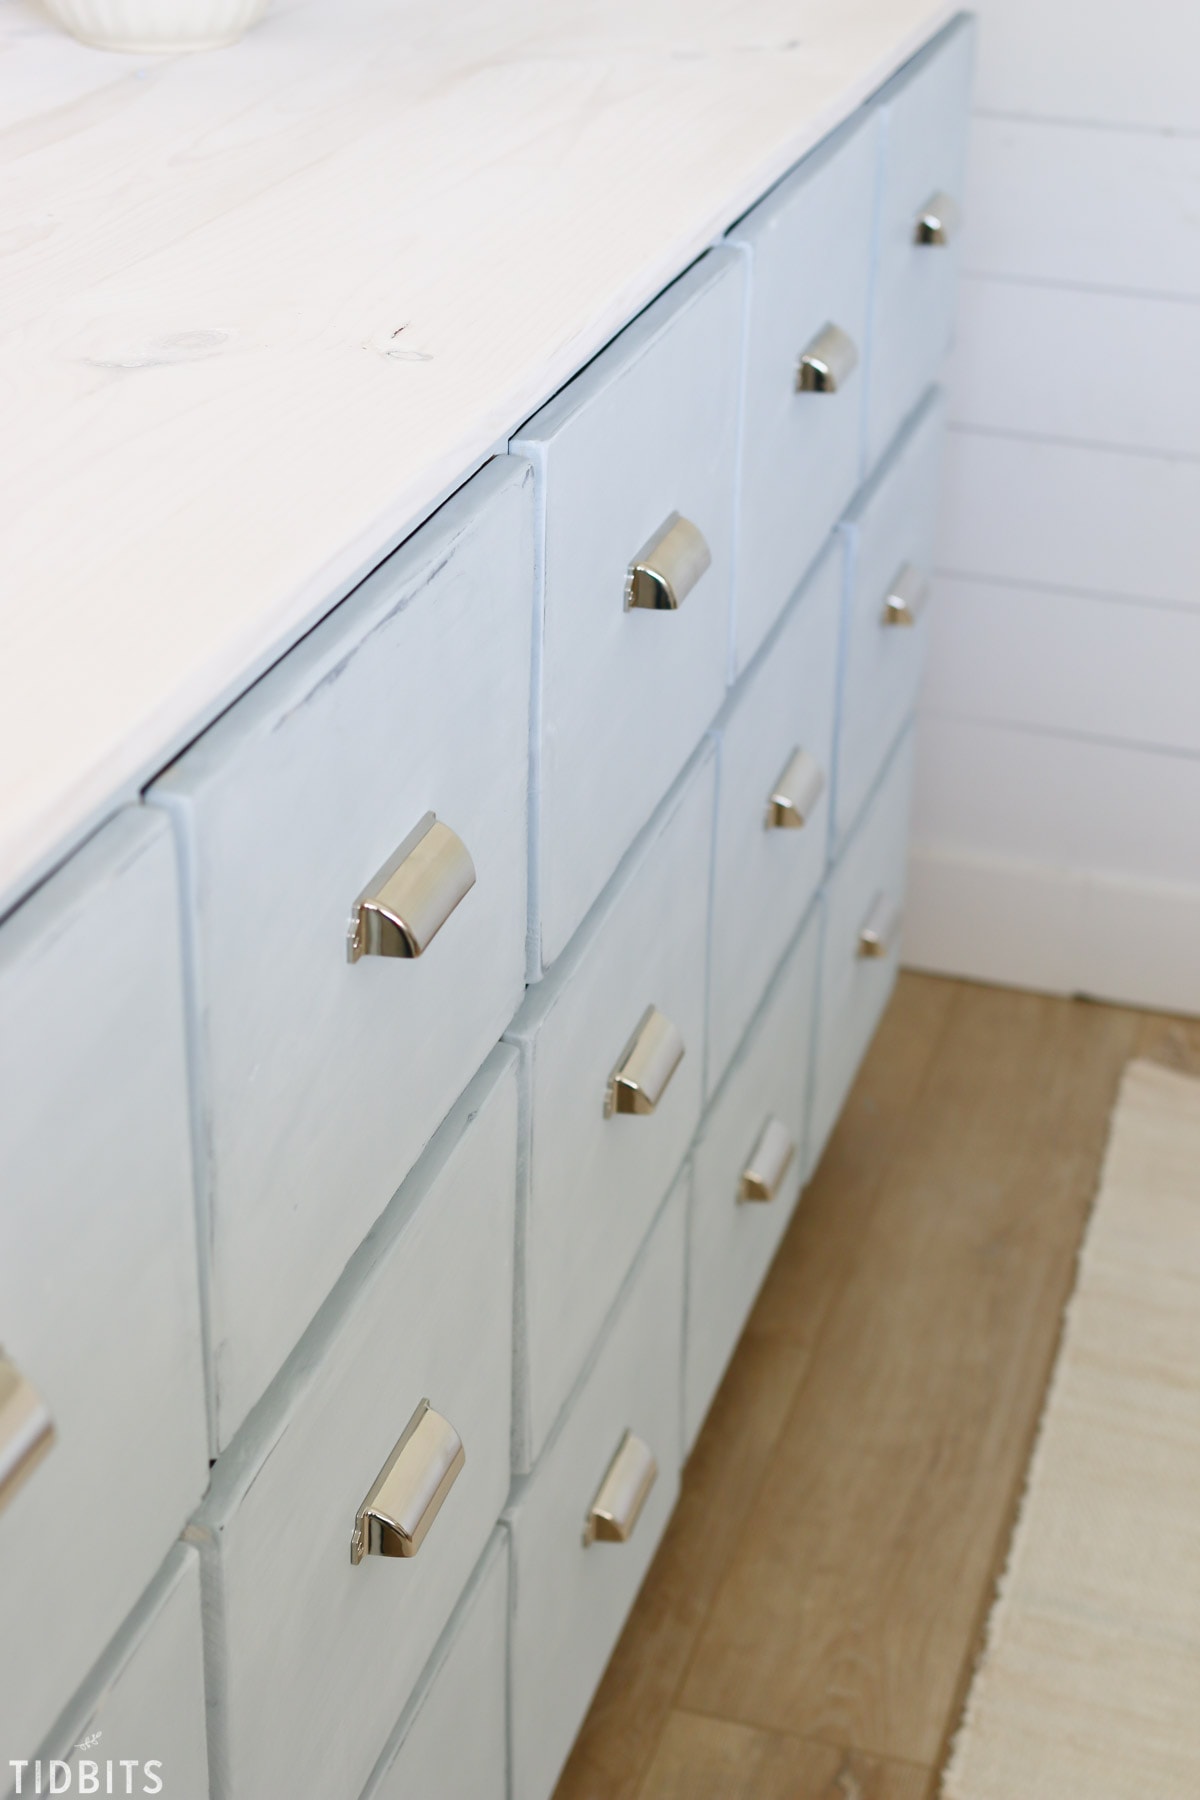
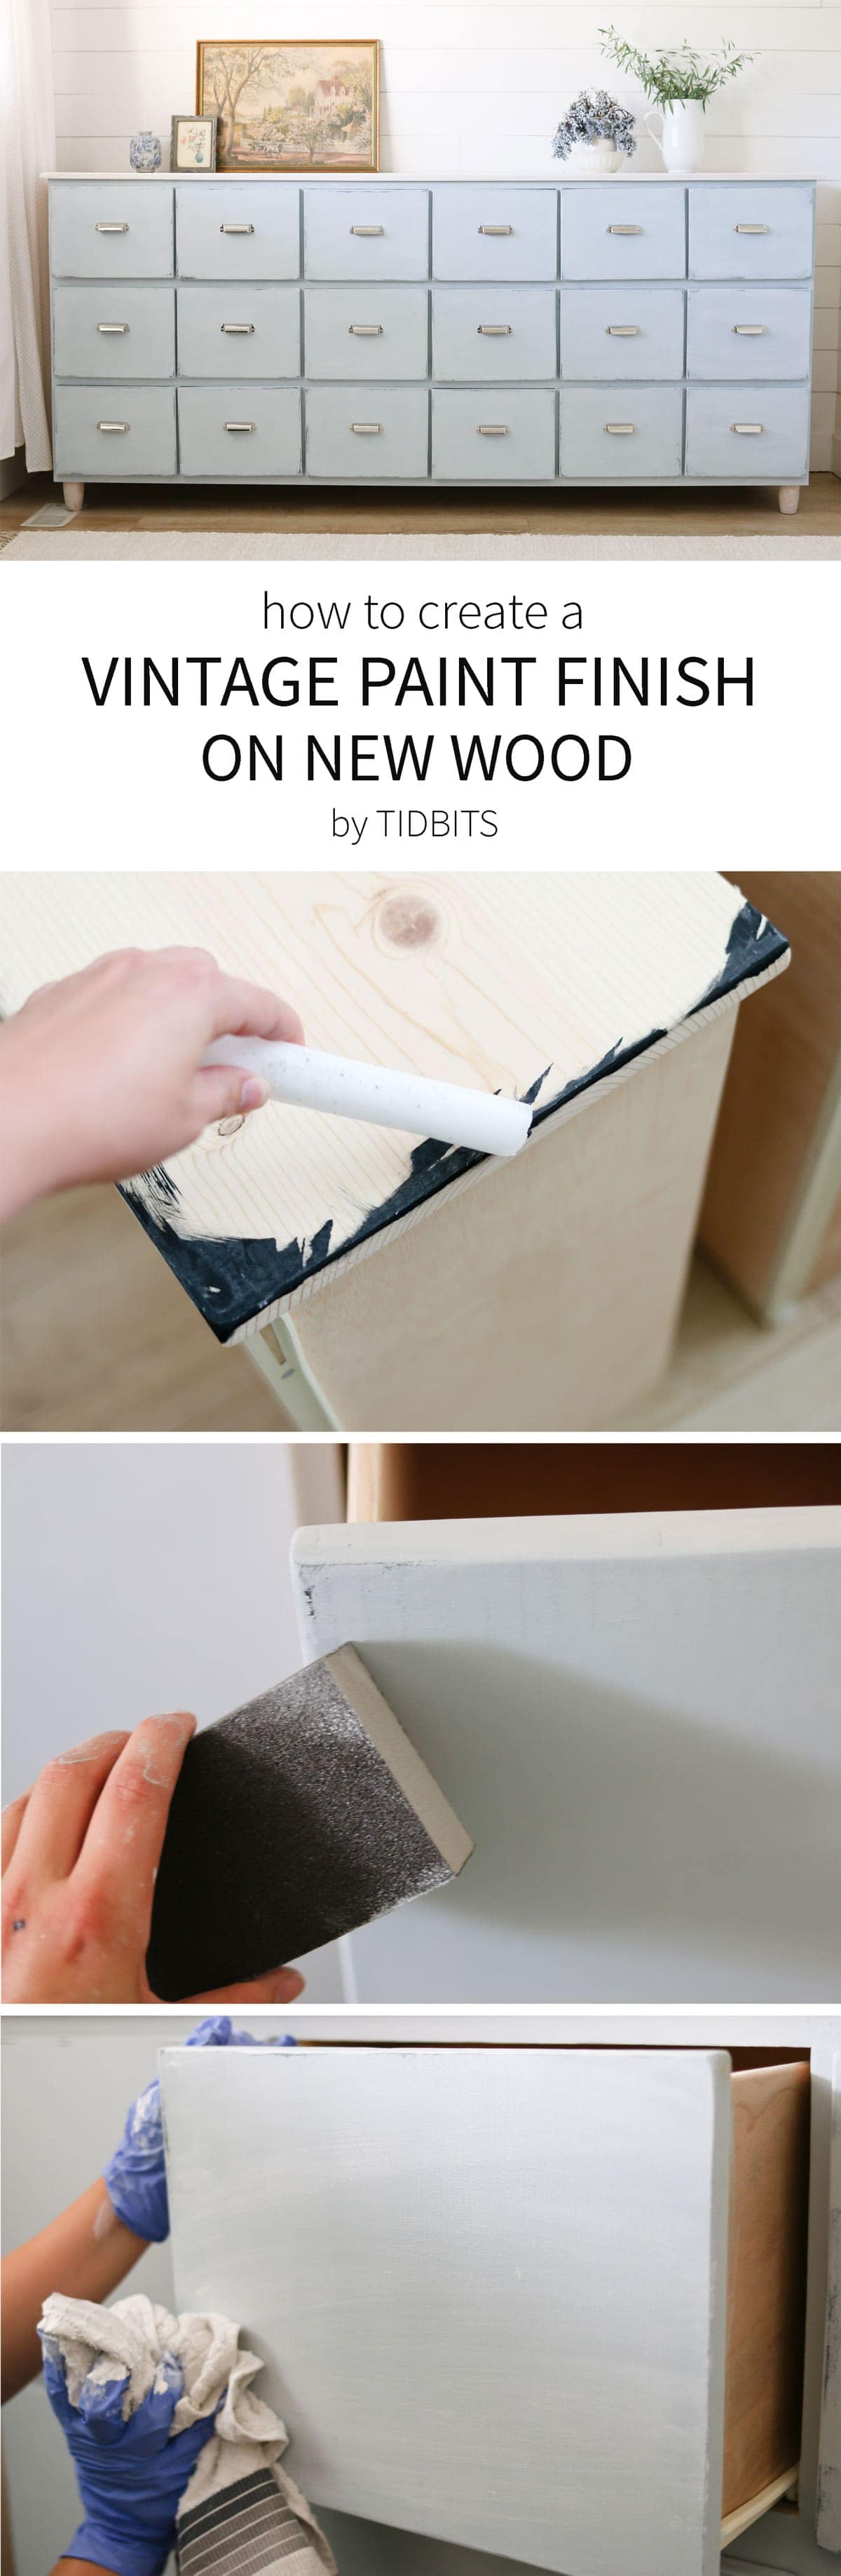
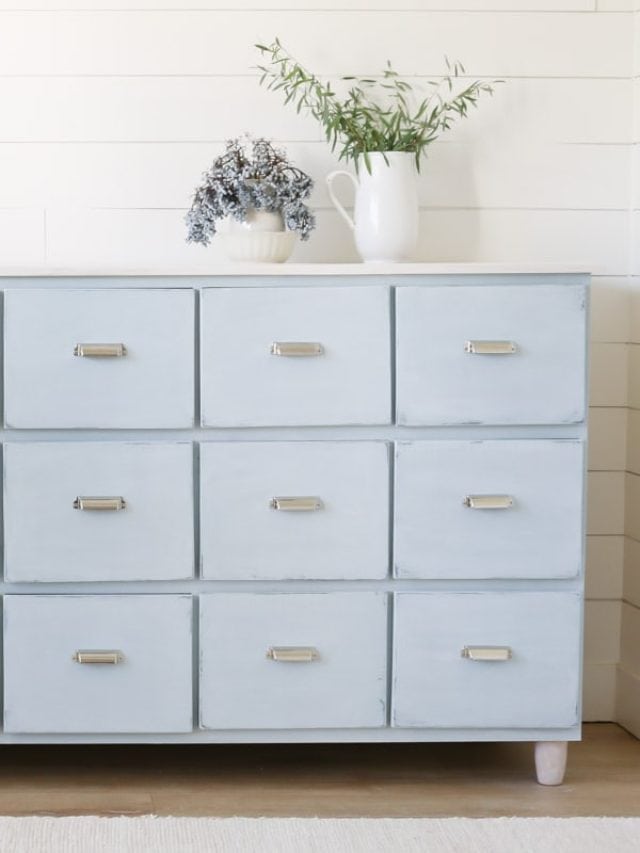
I promised my hubs I would at least “try” to find the multi-drawer dresser of my dreams in the stores, but I think we both knew it wasn’t gonna happen. So after he so lovingly built this 18 drawer apothecary cabinet and shared the plans with all of you, I was then faced with the paint problem of the century . . . how to make new lumber look old.
It’s a real problem folks.
*Affiliate links are added to this post. Thank you!

I found myself coming back to my go-to paint techniques for adding just a touch of age to new pieces. It’s not necessarily a chippy paint look (sigh), but it adds just the right amount of scuff-age to look like it’s been loved on, and just the right finish to make sure the paint doesn’t scream “I’m brand new and shiny!”. Because that would be a crying shame, am I right??
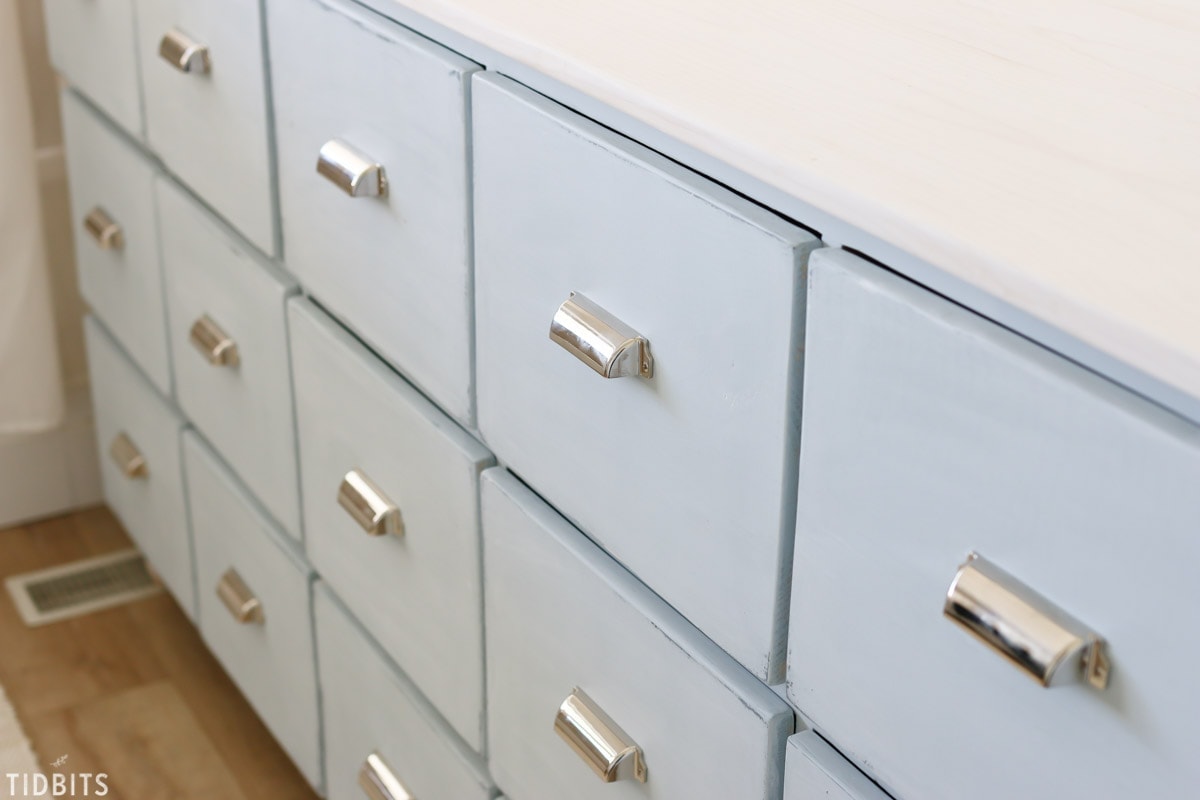
With just a few steps, you can have a nice milky paint job and a few nicks and scrapes in just the right places. You ready to learn how I do this?
STEP ONE: ADD BLACK
I used a black chalk paint I had on hand, but any black paint will do.
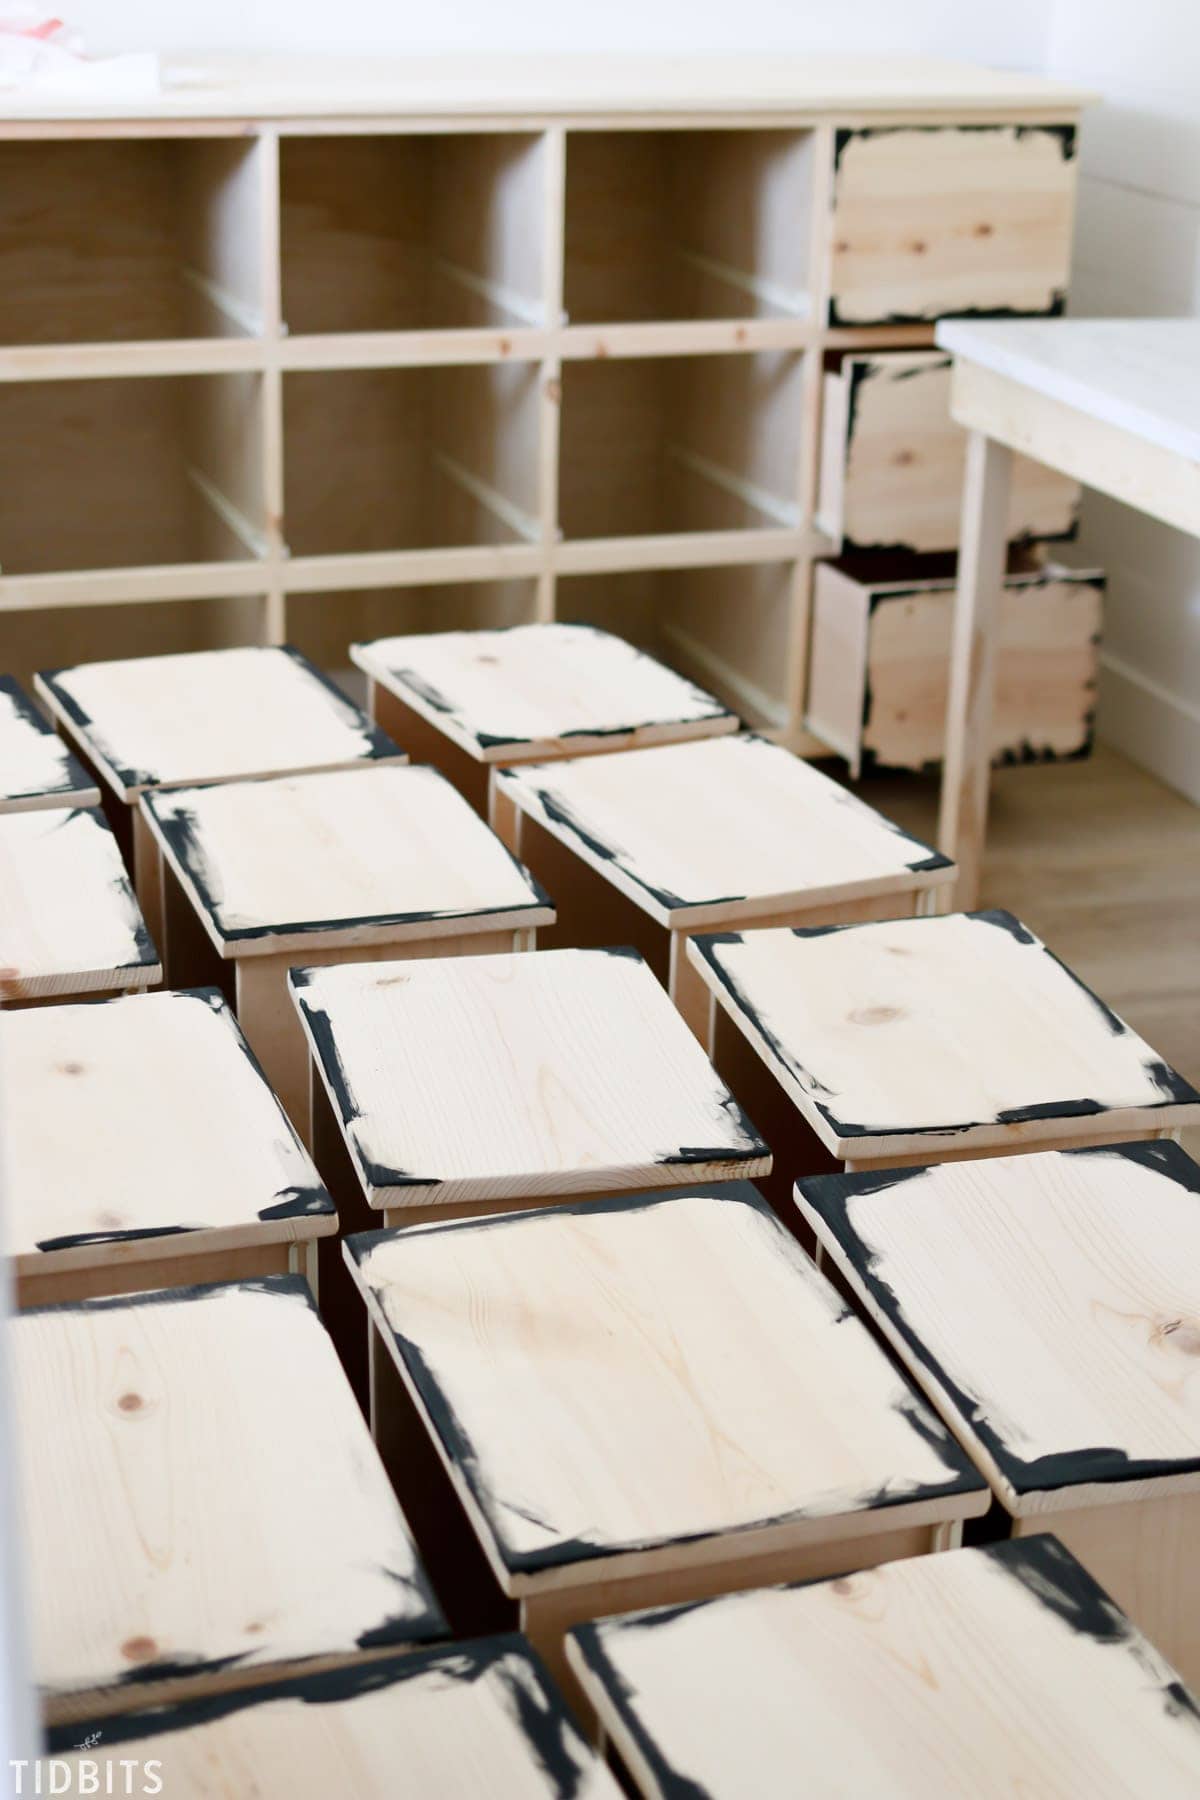
You’ll want to add a layer of black paint to places where a piece would naturally get chipped, dinged, or wherever you want to add some scuffing. I pretty much add it around the edges, corners, and where any large amounts of friction would occur. Let the black dry completely.
STEP TWO: CANDLE WAX
With a candle stick, rub the wax over the black paint where you just painted. You won’t need a ton of force or pressure, just ensure that wax is being left behind on the black paint. This will make it peel and chip easier and will look more authentic when the time comes to sand the piece.
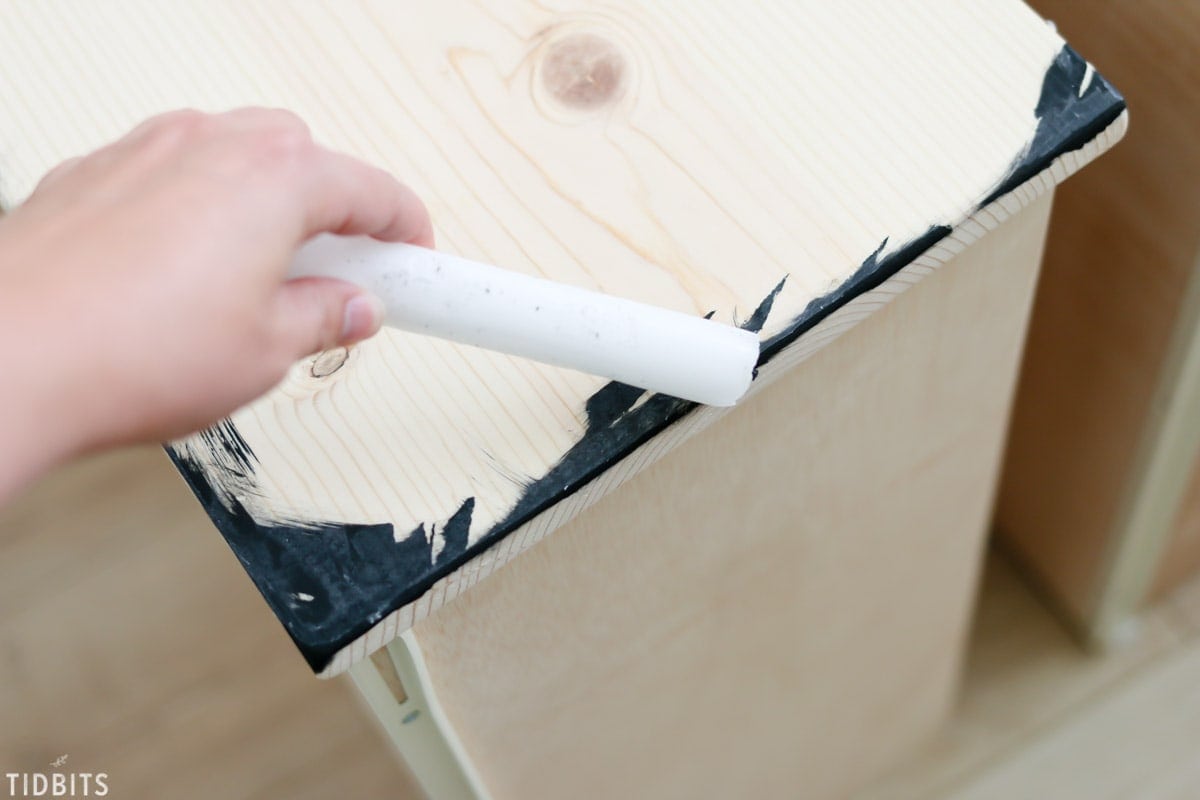
I’ve also tried using Vaseline in place of the candle wax, and I found that it left my brushes gunky and paint gloppy. So I definitely prefer the candle wax over the Vaseline.
STEP THREE: PAINT
Roll it, brush it, gloss, matte, milk, mud . . . whatever method or paint you desire will work here. I’ve successfully done this finish with high gloss latex paints, and done it with milk paints.
You may need 2 or 3 coats of paint to cover the black and wax. For this particular project, I couldn’t quite get the color I wanted at the store so I mixed some of my paints I already had at home. Some were chalk paints, some were glossy latex paints. My point here, it shouldn’t matter too much what you use. But a matted down paint, like chalk paint, will probably suit an aged vibe better.
STEP FOUR: WHITE WASH
This step is somewhat optional, but a nice watered down white wash will help give the paint a bit of a muted look, or “aged” feel.
Here I mixed about 50% white paint to 50% water and stirred.
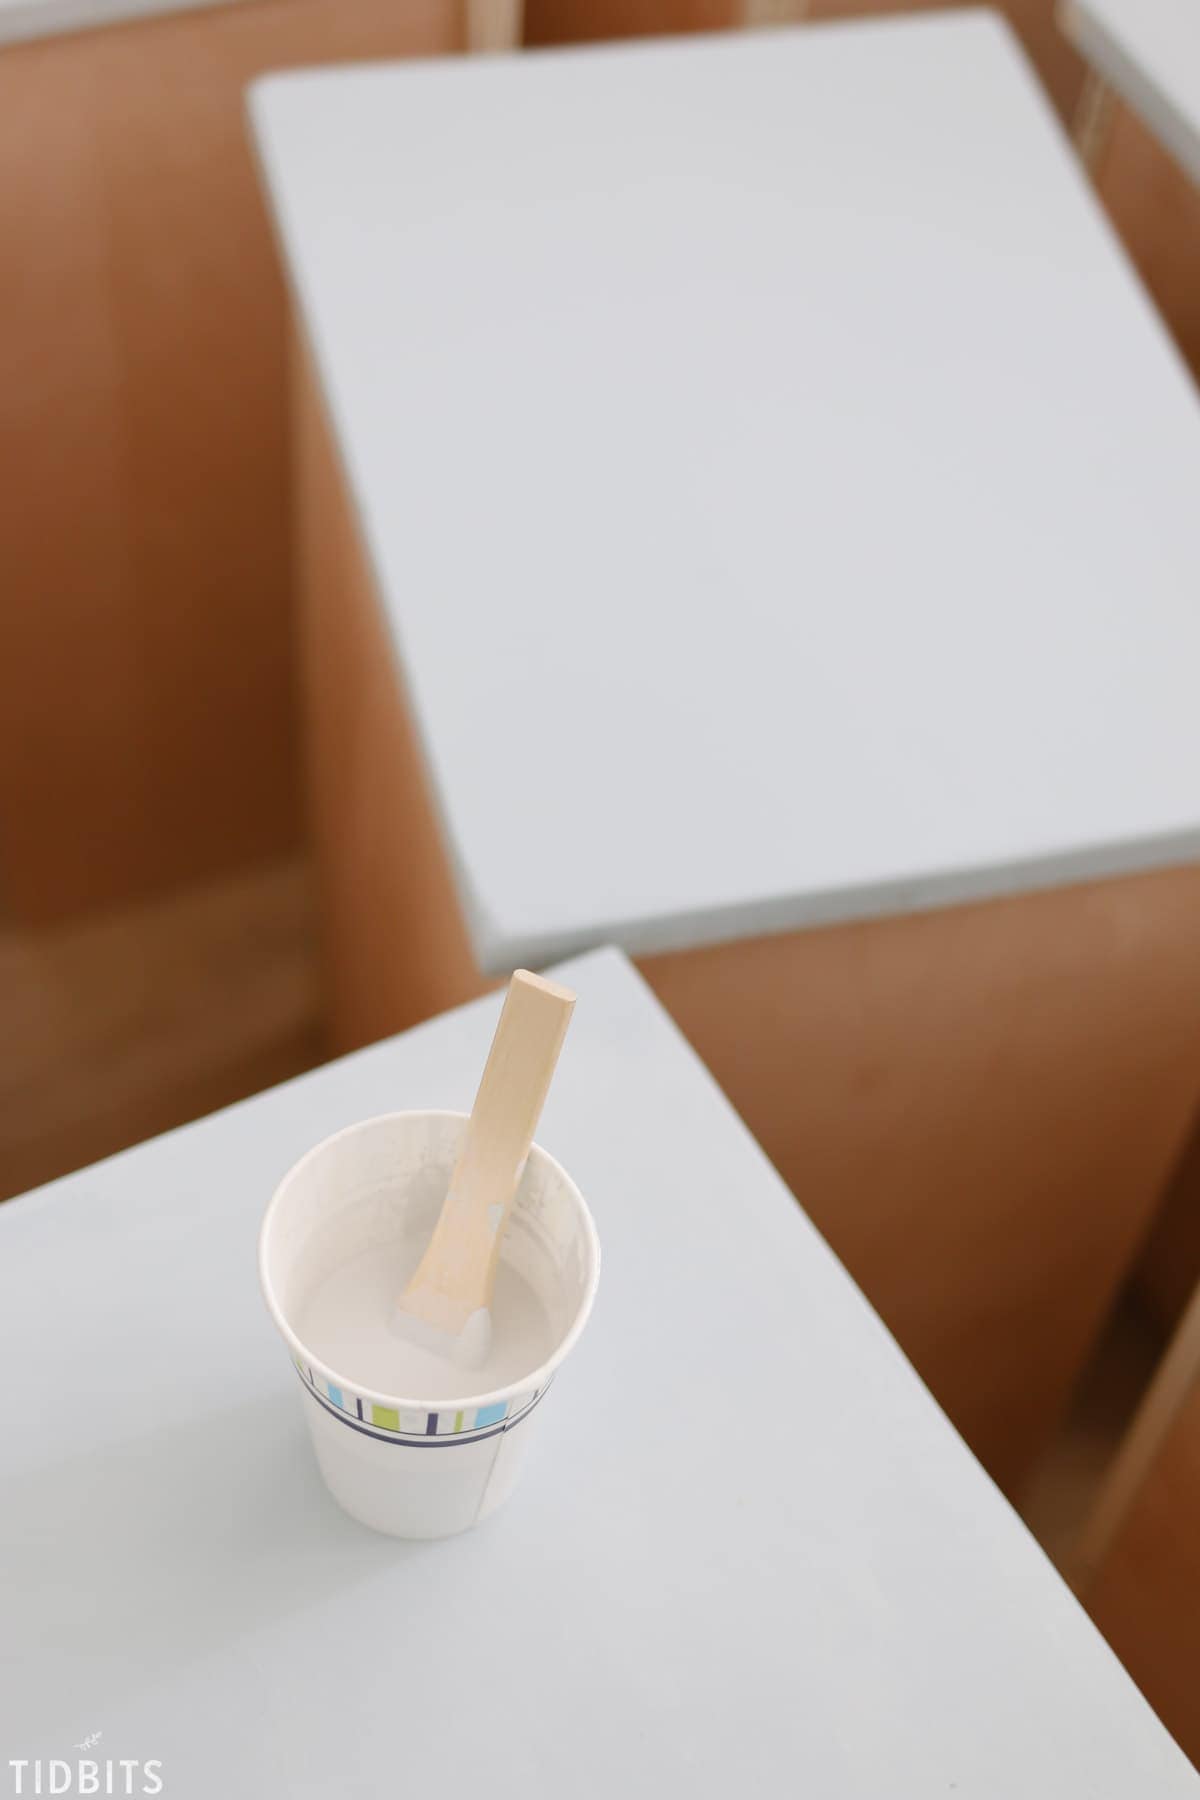
It should be pretty runny. If it is not running off your brush, then you may end up with more white paint adhering to the wood than you want. Really watering it down helps me feel like I have more control with what white is left.
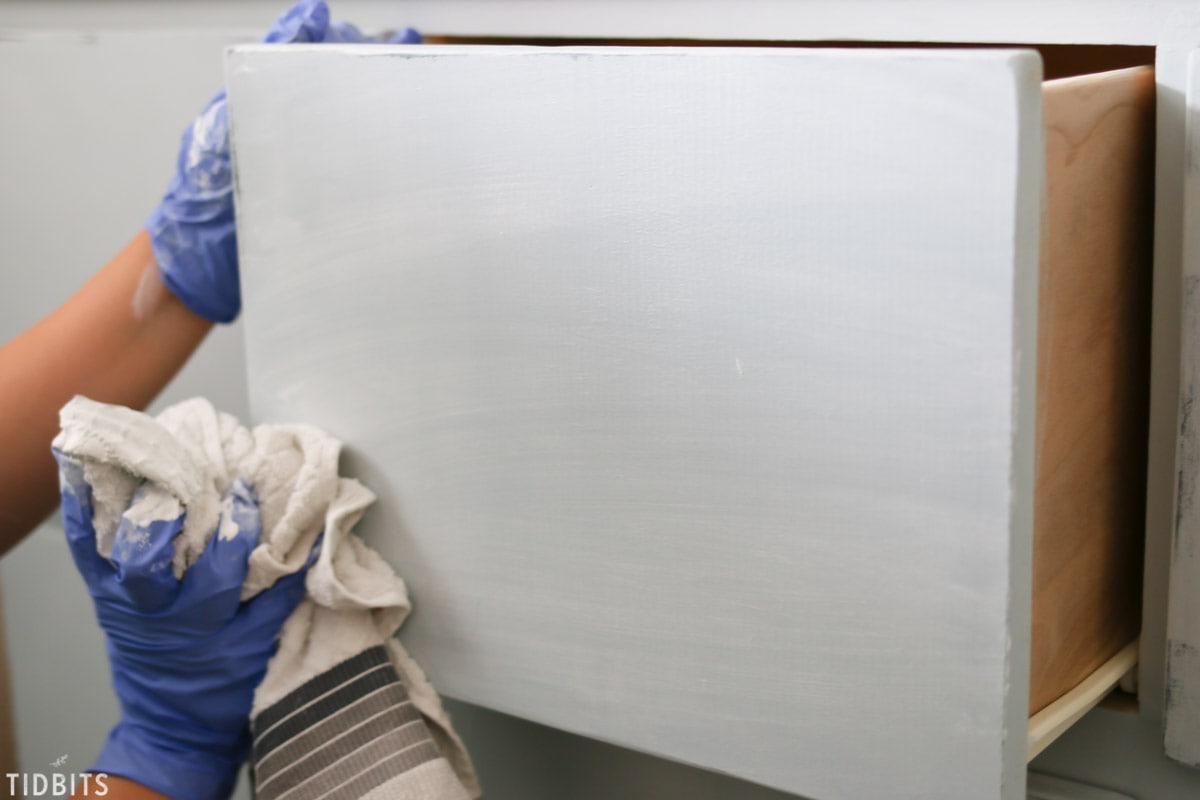
When you are ready, simply brush or wipe the watered down white paint onto the painted surface.
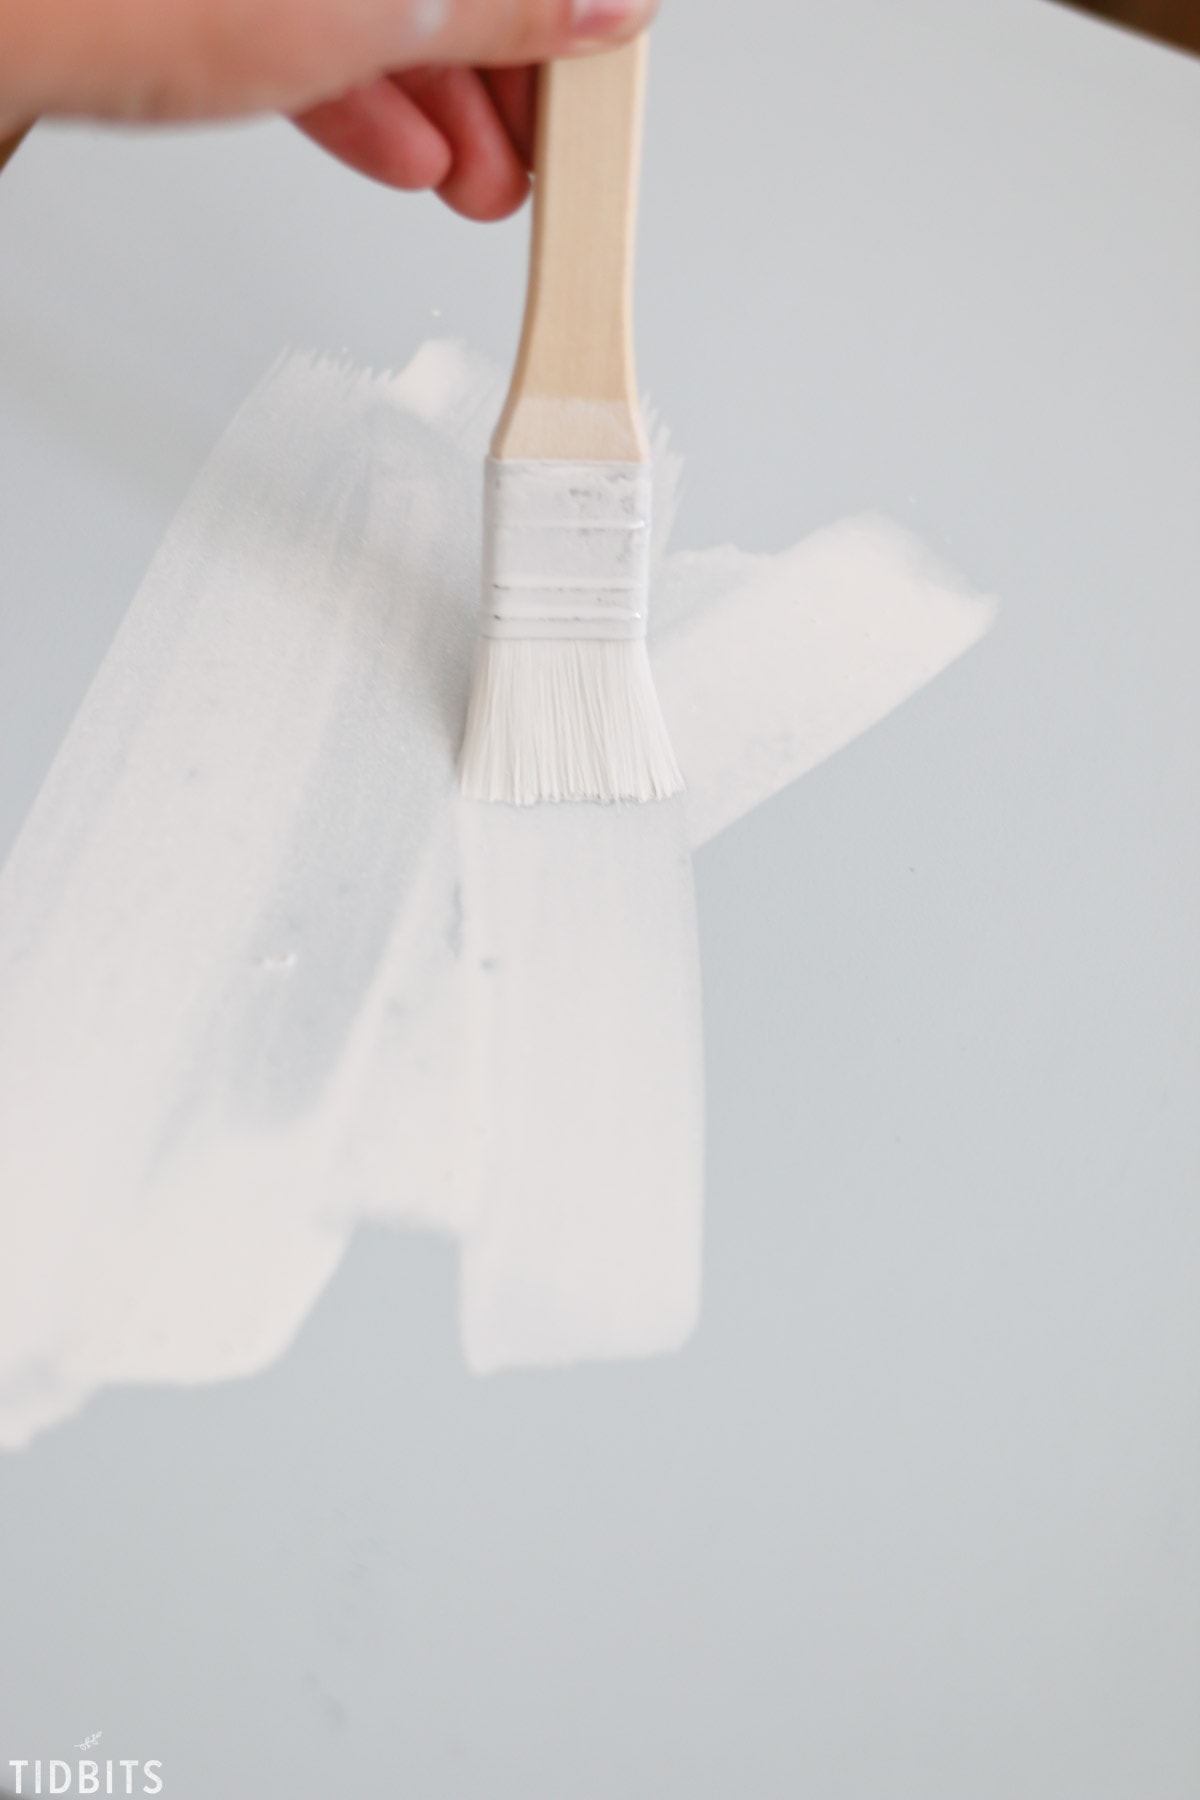
Then with a paper towel or rag, blotch, wipe, dab your way to the white washed finish you prefer.

For this piece, I didn’t leave a whole lot of streaks left on because I wanted a more subtle white wash look. It mostly just dulled down the paint a bit and gave it some depth.
STEP FIVE: SAND AND CHIP
With sandpaper or a sanding block, lightly go over the places where you believe the black paint and wax to be.
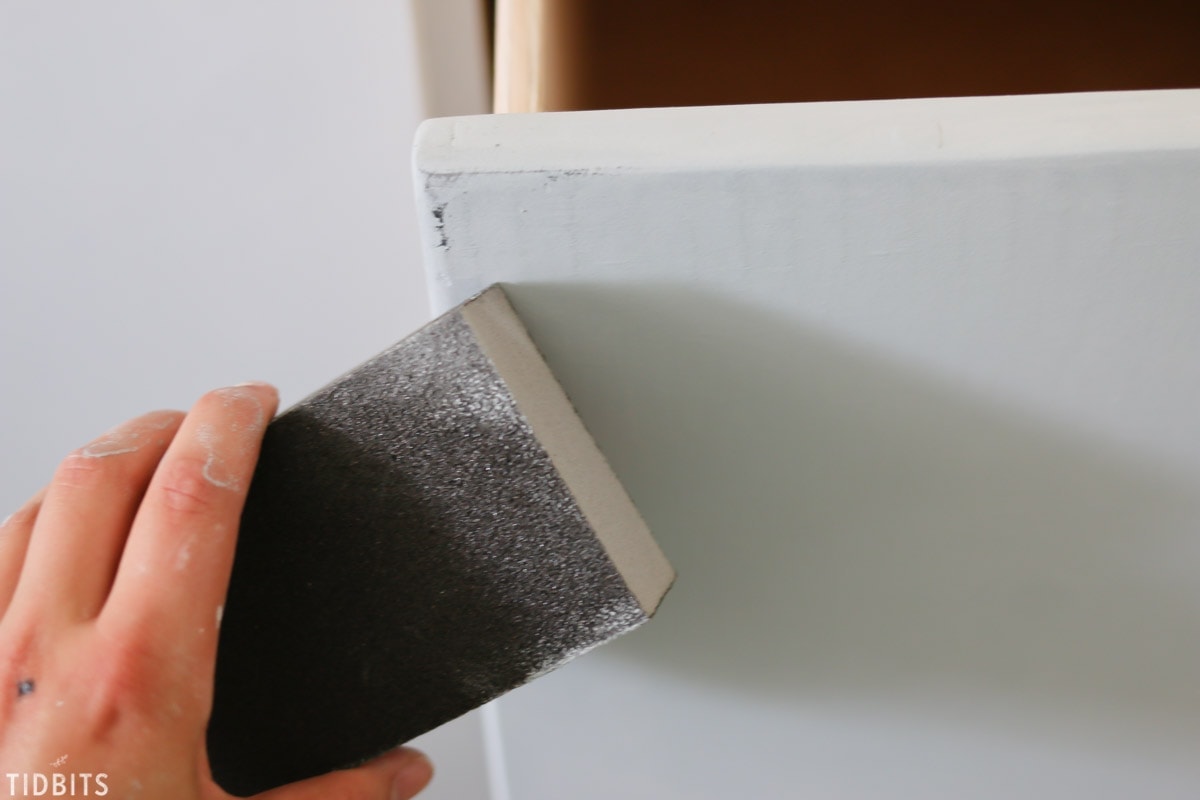
It should peel away fairly easy and leave nice aging and depth to the wood. I wouldn’t sand so far down that you reach the new wood again. Just enough to expose the black.
STEP SIX: WHITE WAX
The white wax is my favorite final touch. There are many brands of white furniture wax available, but this DecoArt brand is readily available online or in craft stores.
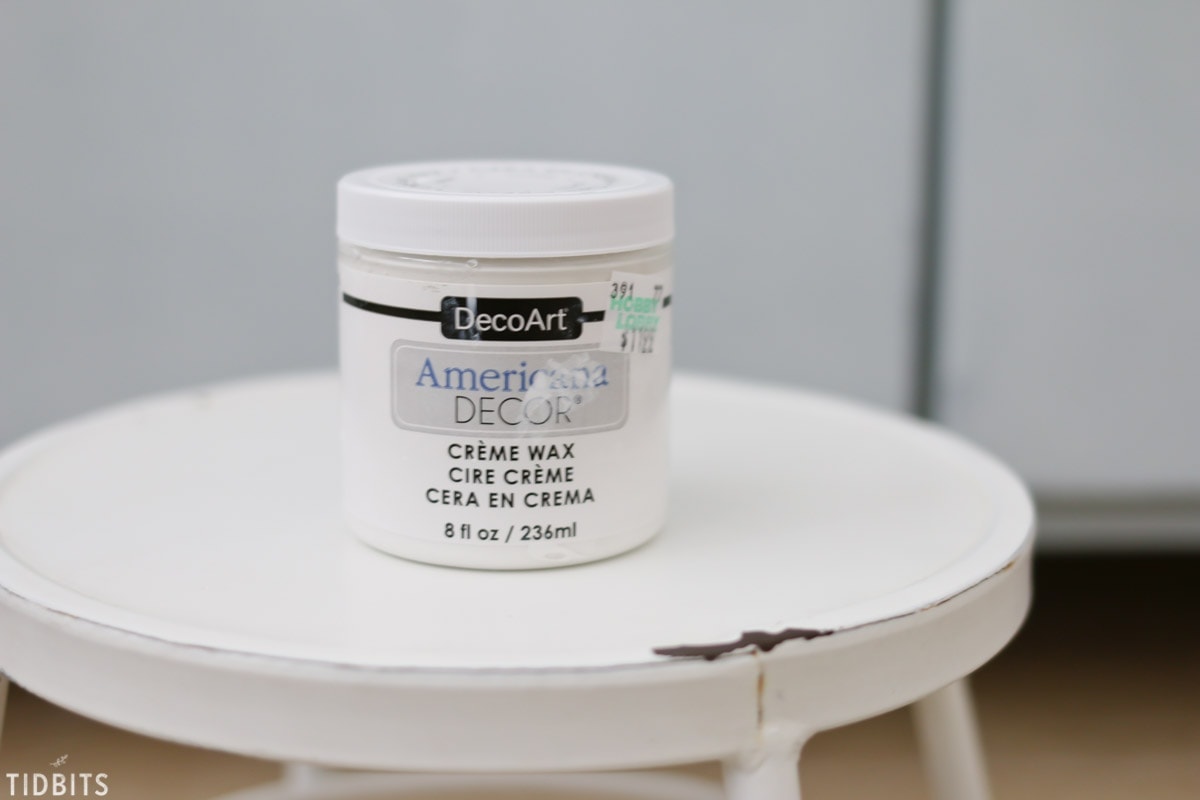
Start by gooping some on a rag and layering it thick onto the surface.

Continue to rub and smooth it into the painted surface.

Rub it in and/or off until you’ve reached a desired effect. I like to dab it a little heavier in the corners and leave it looking slightly blotchy. It will become slightly more translucent as it dries, but you can expect it to leave a beautiful “milky” look.
There you have it! A vintage painted finish on new wood! This is fun to try on all sorts of furniture pieces and projects.
For your reference, for the top of this 18 drawer apothecary cabinet, I decided to try white washing the bare pine lumber with a rubbed in layer of white milk paint. I usually always have some of this FolkArt brand on hand.
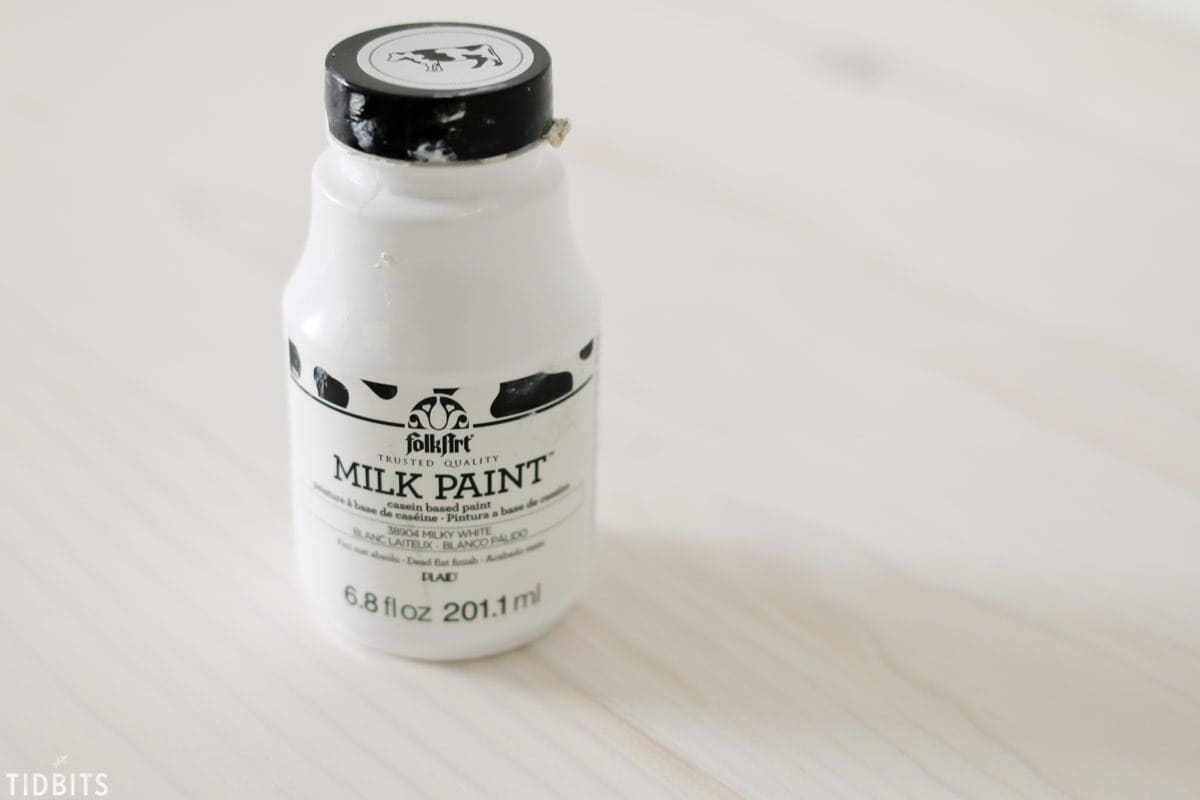
I just rubbed it into the wood in thin layers and it left a lovely white washed look, while allowing the wood grain to show through. I usually use a white wash pickling stain for this type of look, but I was really pleased with this finish, and the less harsh chemicals I was using. I finished up the top with a layer of the white wax as well.
I hope this helped give you some ideas for how you would like to finish off new wood building projects. Please let me know if you have any questions or if you give this a try!
*Hardware from Liberty Hardware.


Can you explain this a little further? I’m not sure I understand. I will be tackling a similar project soon and was concerned about this. Thanks in advance! By the way, this came out so beautiful!!! It gives me hope that old furniture can look half decent with a little work! Thank you!!!
I have used this style before, it looks really good on certain items. the Antique look goes over really well on kitchen cabinets with most. Congrats on the outcome.
Nice look
Beautiful! Love how this turned out!
Hi Cami! Thanks for sharing these great tips! How long should the white wash dry before sanding the black areas?