This post may contain affiliate links, which means I get a small percentage of the sale at no extra cost to you. I only recommend items I love and have had a positive experience with. Thank you!
This post is sponsored by FloraCraft Make it: Fun Foam
Today’s project just might be the final touch to our Fall home decor. Then I plan on leaving well enough alone, until after Thanksgiving. That’s the plan, any way 😉
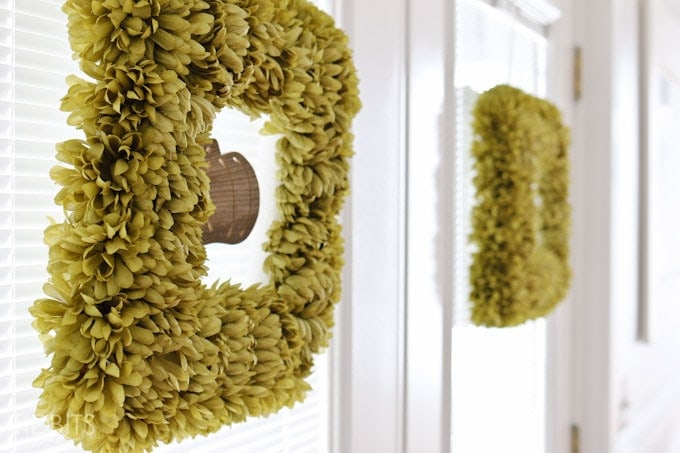
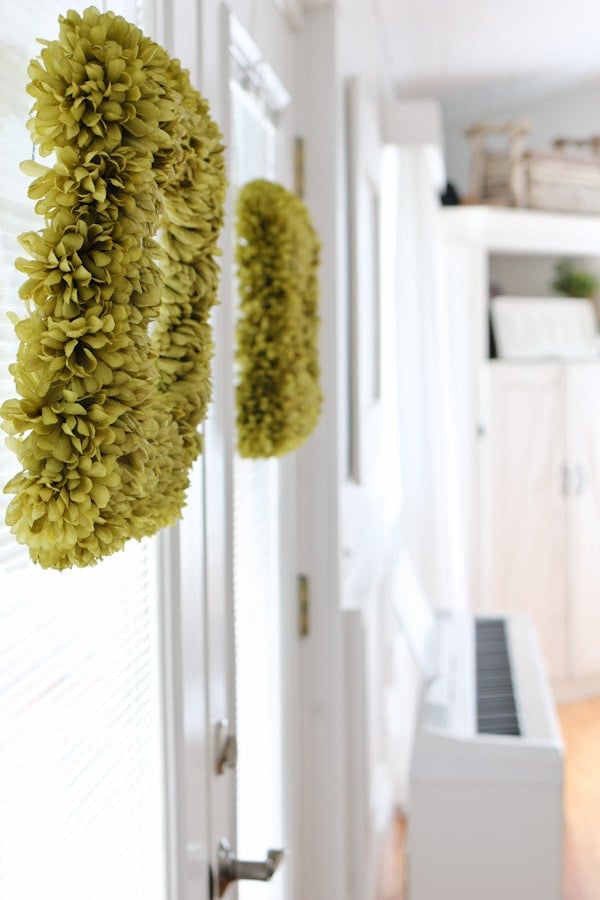
We have these 2 glass doors in our living room which lead to the deck, and I’ve found that adding a couple of twin wreaths to the doors is a lot of fun when Holiday seasons arrive.

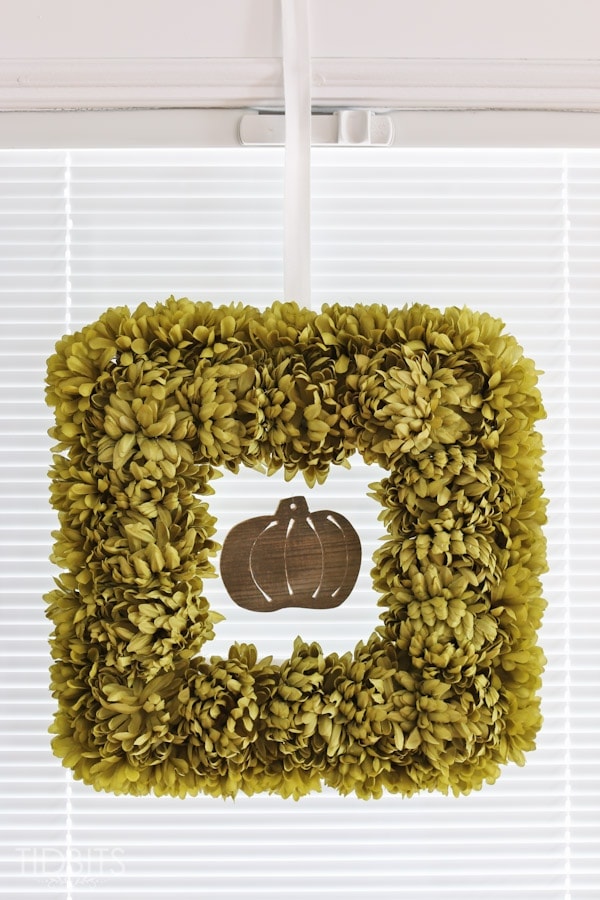
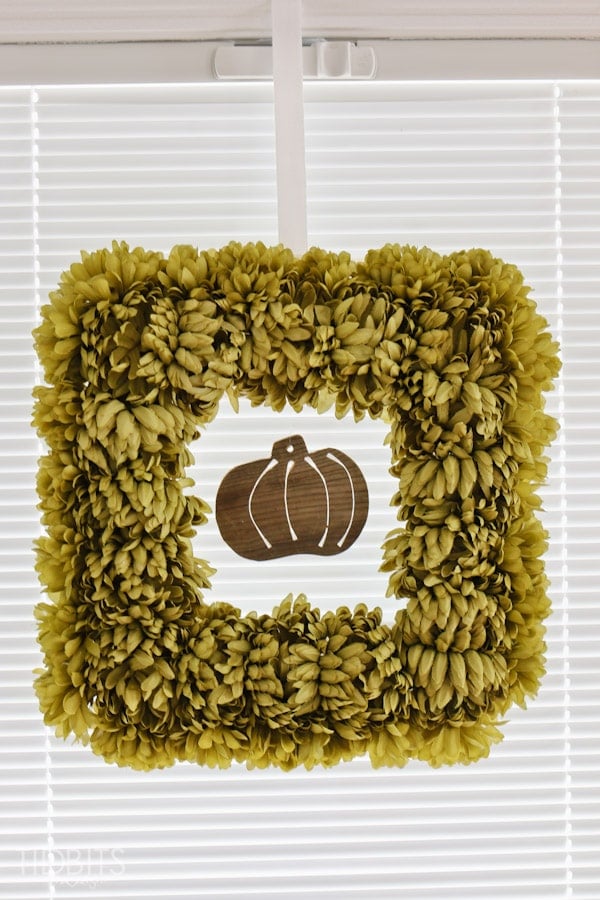
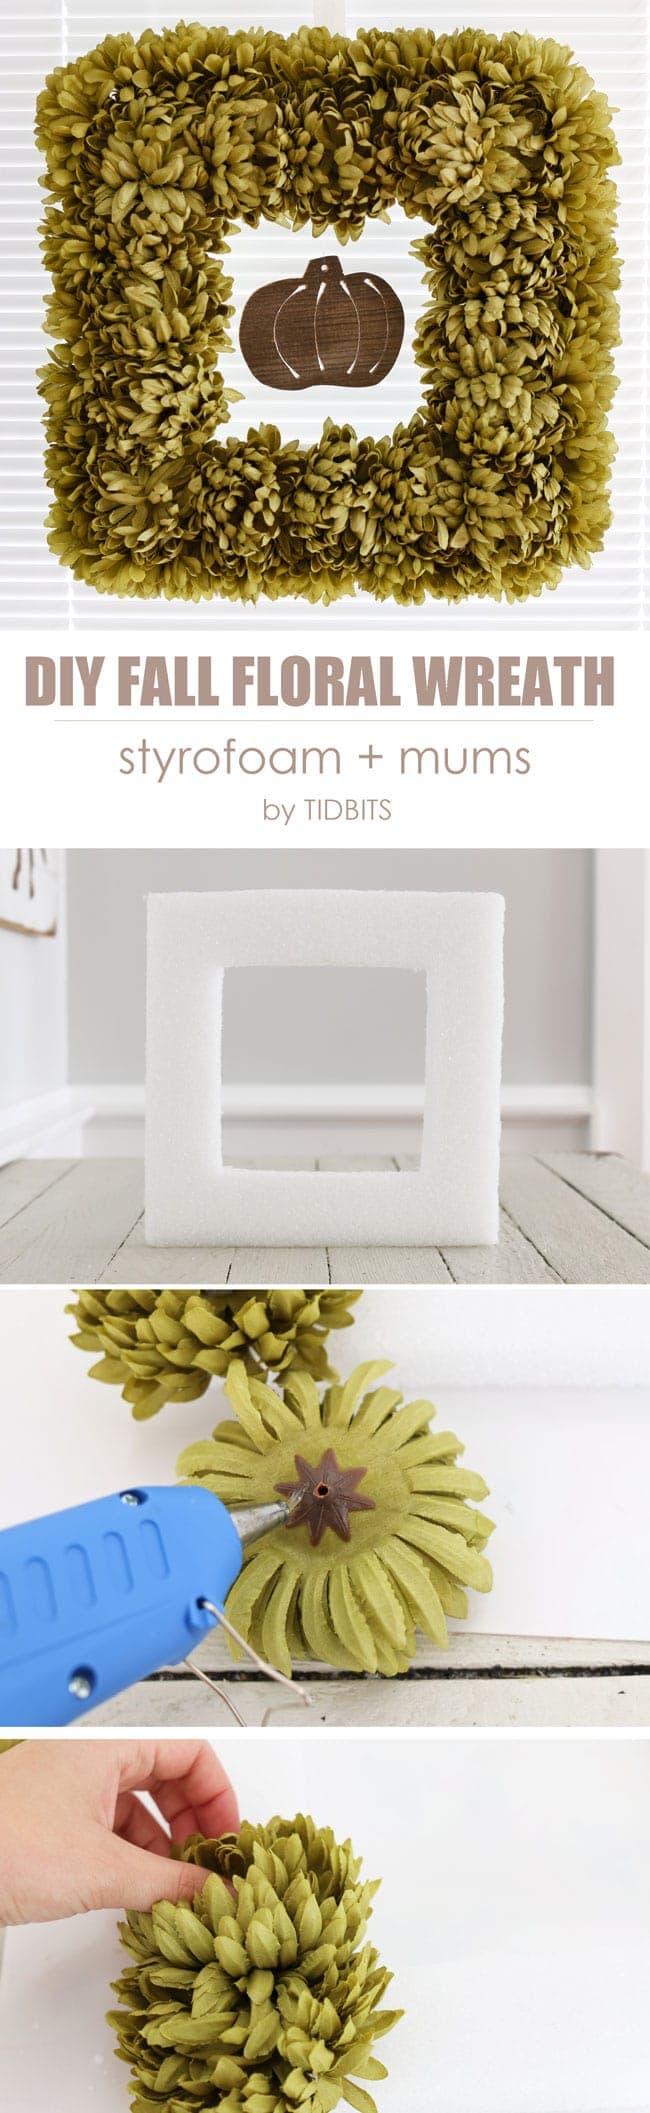
I was challenged by FloraCraft Make it: Fun Foam to use their foam products and inspirational Halloween E-Book to craft my own twist on their fun ideas. This square mum wreath is what I came up with.
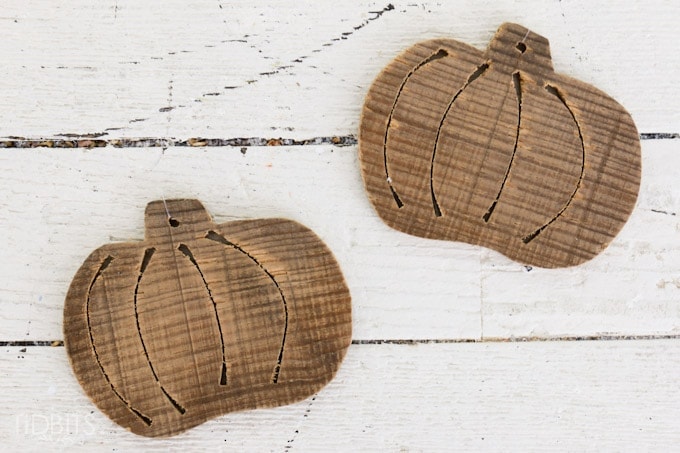
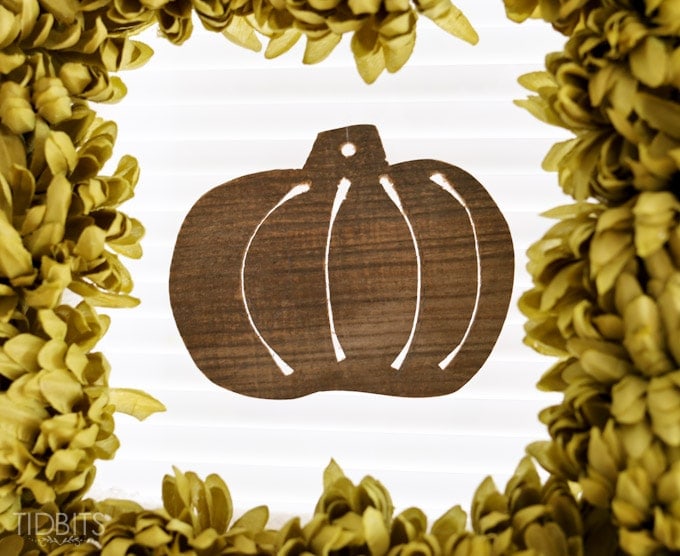
You can download a copy of their idea book for free, HERE, and see all the fun projects you can make with “Make It: Fun” foam. When I saw they had used artificial mums around a circular ball of foam and added a stem, I knew I wanted to do something like that. I gave my husband the puppy lip and asked him to cut a couple of pumpkins out of wood for me as well.
And I hung them in the center of my square wreath with fishing line.
I really love the fluffy look the mums give the wreath, and I’m toying with the idea of white ones for Christmas and a pretty wood Christmas tree in the center.
I know. I am getting ahead of myself.
But there are really so many different ways you could craft a wreath with “Make It: Fun” foam and artificial flowers. Let me show you how easy it is to do, then you can gather your supplies and see what you come up with. (Which I would love to hear about as well!)
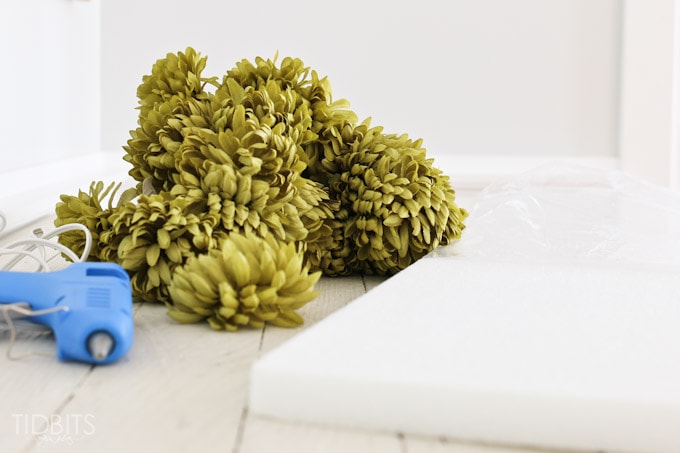
Supplies:
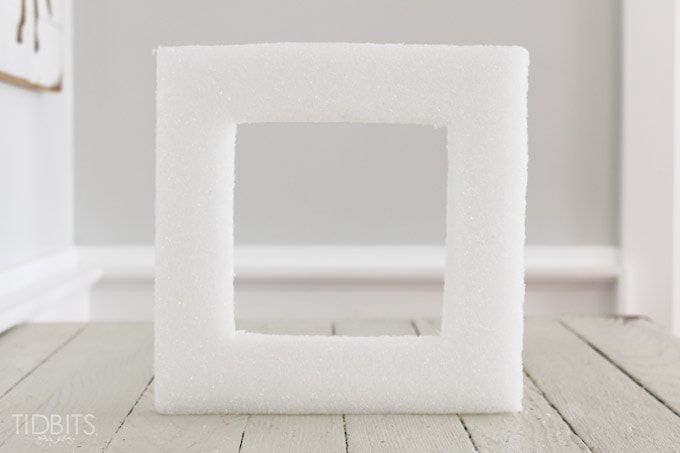
- Styrofoam sheet
- You can buy FloraCraft Make It: Fun foam in large sheets and cut them down, but they also sell their foam in pre-made circular wreath shapes. You can find foam in just about any craft store, and I’ve also seen it in Wal-Mart. HERE is a link to the product I used on Amazon.
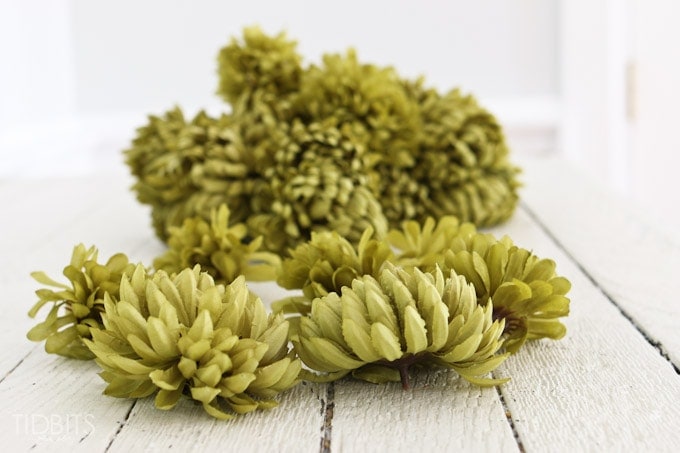
- Mums
- Or any artificial floral stems you can find. I used about 6 bunches of clearance mums from Michaels.
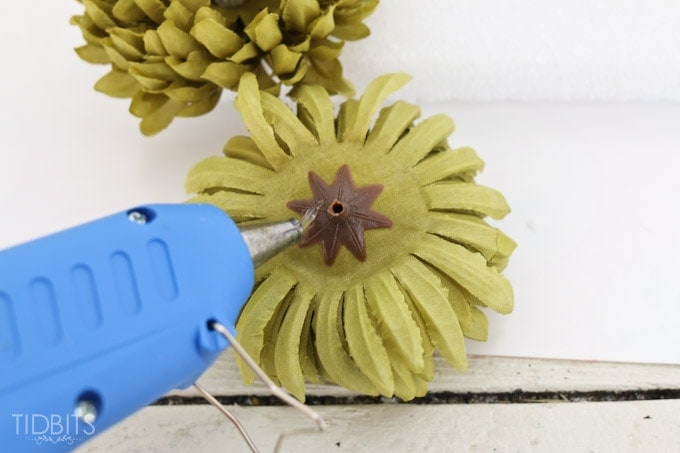
- Hot Glue Gun
- Craft knife
- Or any knife would work.
- Ribbon or string to hang the wreath
- I used white twill tape ribbon.
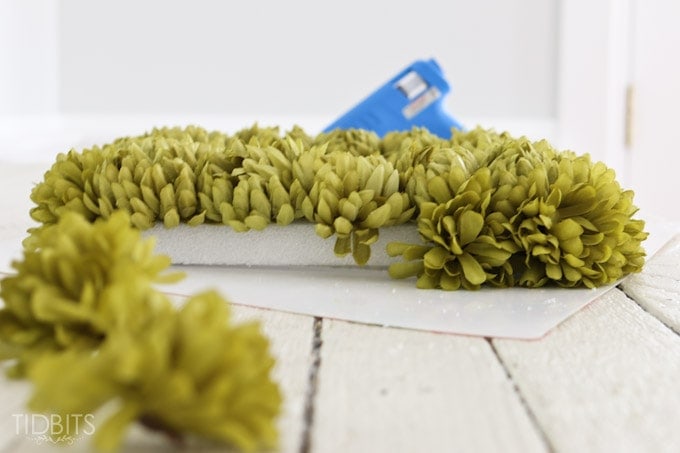
First begin by cutting your foam in any shape and measurement you desire.
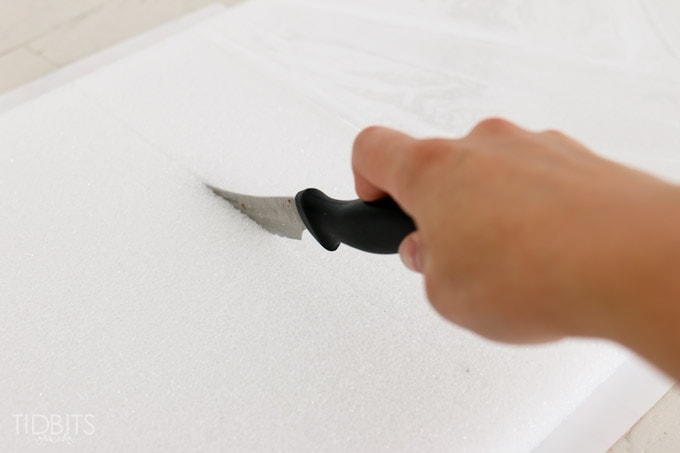
Make sure the floral pieces will overlap the foam so it doesn’t show. I used a simple kitchen knife to cut my foam, and it sawed through like butter.
Then start plucking the mums off the stems, leaving the pointed back attached.
Hot glue around the point, liberally. No need to put glue on the pointed piece, as that will be used to stick inside the foam.
Gently insert the pointed end inside the foam and hold in place until the hot glue is firmly adhering the mum in place.
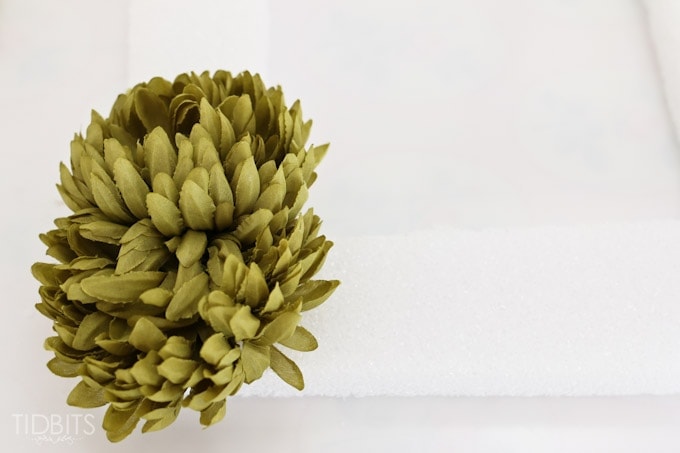
I went around the face of the wreath and then added another layer of mums to the outside edge to hide the foam and give it more fullness.
Finally, I used hot glue to adhere my twill tape to the back side of the foam and taped the ribbon in place in the door frame.
It really was as easy as that!
Let me know if you give it a try and if you have any further questions for me! Enjoy!

*Linking up to these parties, HERE.
*This post may contain affiliate links. Rest assured, I only recommend products I use and love!


Beautiful. Loved the shape and would definitely like to have one at my room too. I did a random search and found these( http://www.flowerscanada.com/fall/autumn-rose-&-peruvian-lily-bouquet ) to be interesting. Would like to get your opinion regarding the same.
Your fall wreaths are so pretty, and I love the square shape. It’s nice to see a wreath that’s not round. They are beautiful hanging on your doors, side by side. Thank you!
How easy! Yours look great and I love the addition of the pumpkin in the middle.
Hugs
Cecilia