This post may contain affiliate links, which means I get a small percentage of the sale at no extra cost to you. I only recommend items I love and have had a positive experience with. Thank you!
This post is part of a social shopper marketing insight campaign with Pollinate Media Group® and Newell Rubbermaid , but all my opinions are my own. #pmedia #stockup4schools http://my-disclosur.es/OBsstV
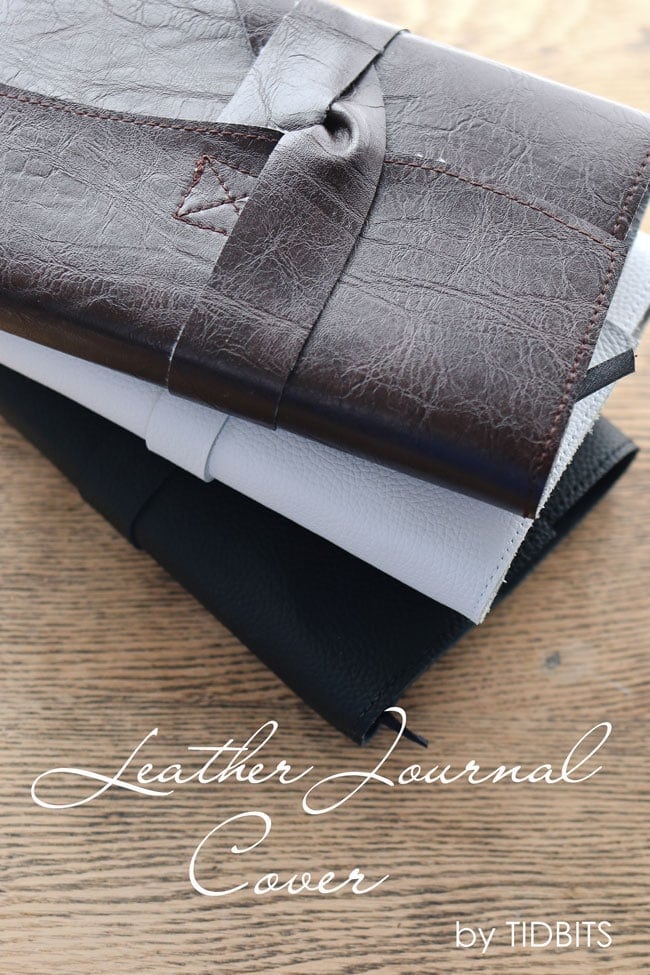
I’ve had this “Leather Journal Cover” project on my mind for a looooong time.
Last summer my husband and I went on a mini hubby/wife get-away, and we walked into this lovely little gift shop – full of charming, rustic goodies.
My eyes landed on these manly leather inspiration journals. The covers looked like something John Wayne could have made himself. They were so full of manly cowboy texture and wear. Something that could make a man feel like “a man” when writing in a journal 😉 . Know what I mean?
But as most gift shops go – they were way overpriced.
I knew it was something I could DIY (eventually), and I finally gave it a go – and it was so enjoyable!
They were real simple to make, with minimal sewing. Once I figured out the process, it took me only 15 minutes to make 1.
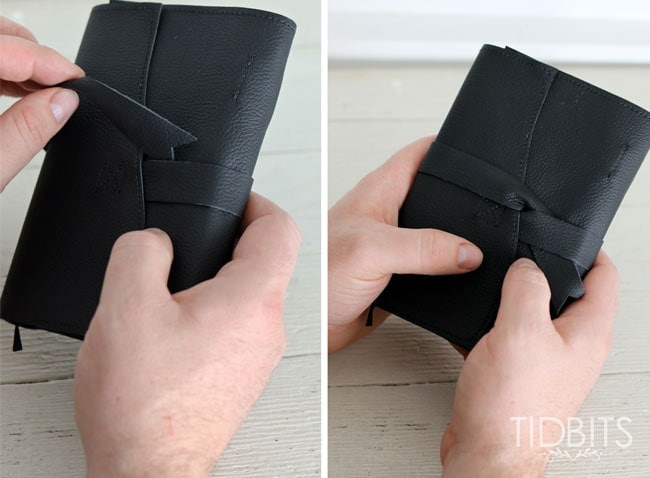
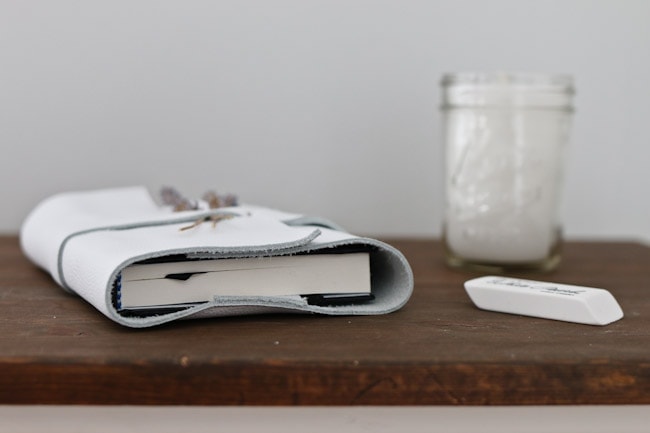
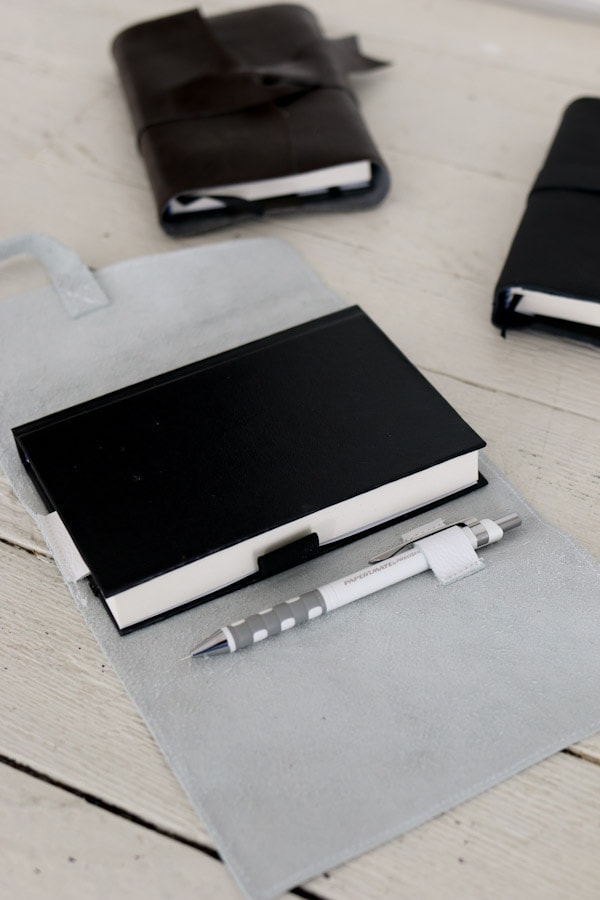
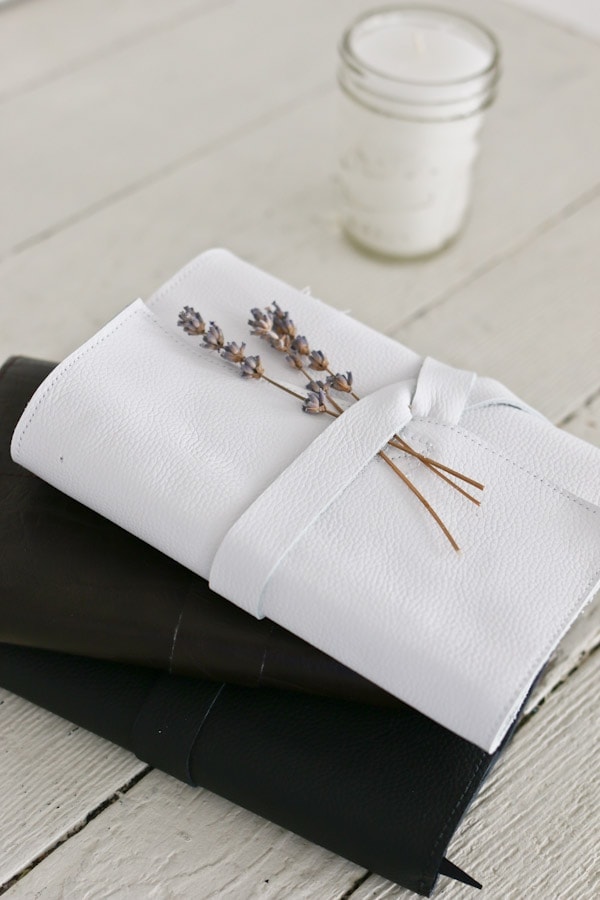
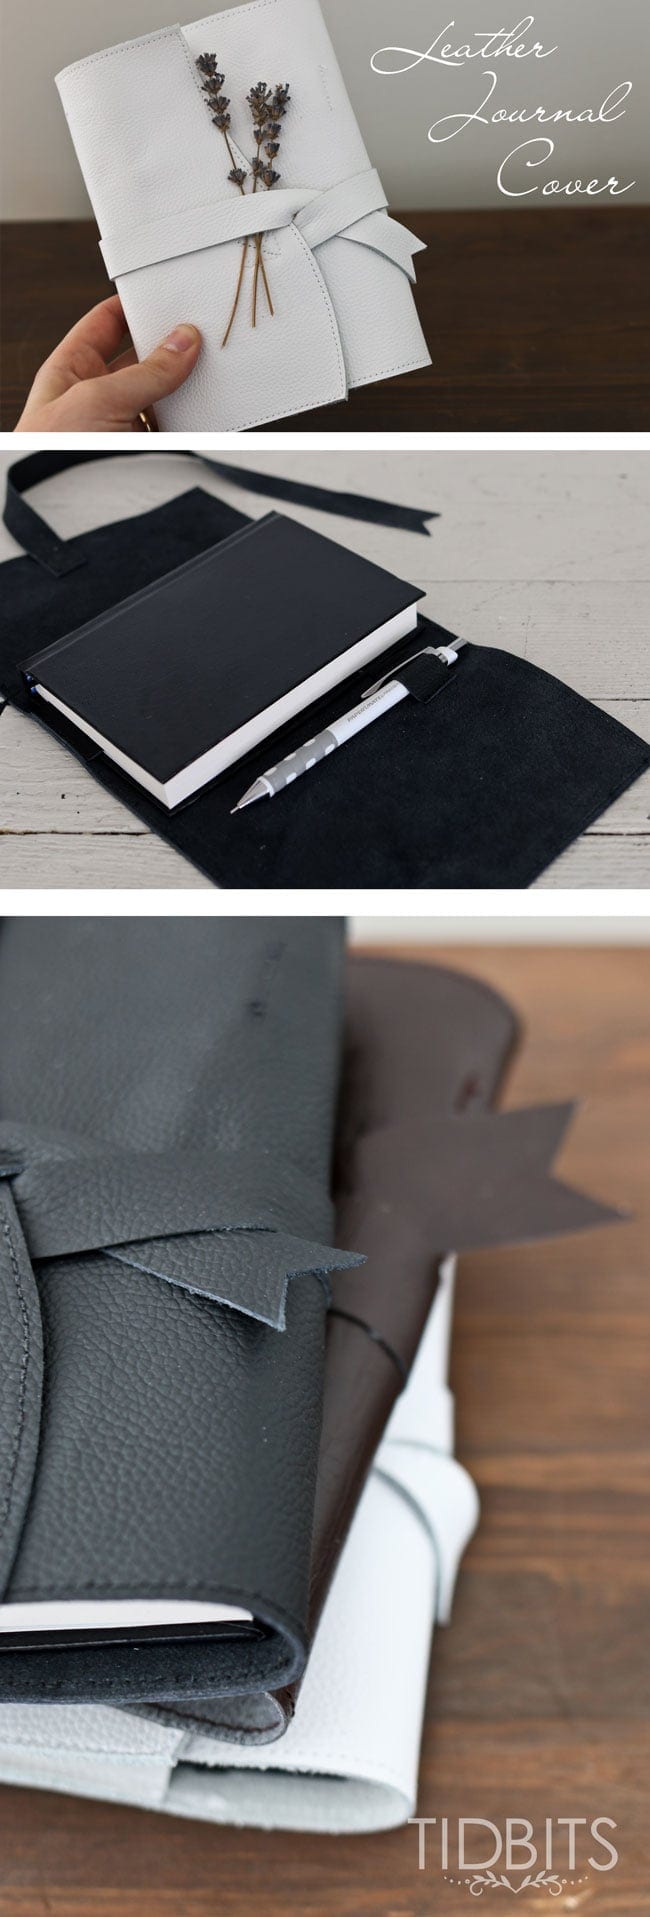
I made them so you could easily switch out notebooks as they fill up, and there is a handy spot for a pencil or pen. It also has a very simple closure system that wraps around the book cover itself.
Even though this would make a wonderful and thoughtful gift for a man, don’t feel like it is just for them!
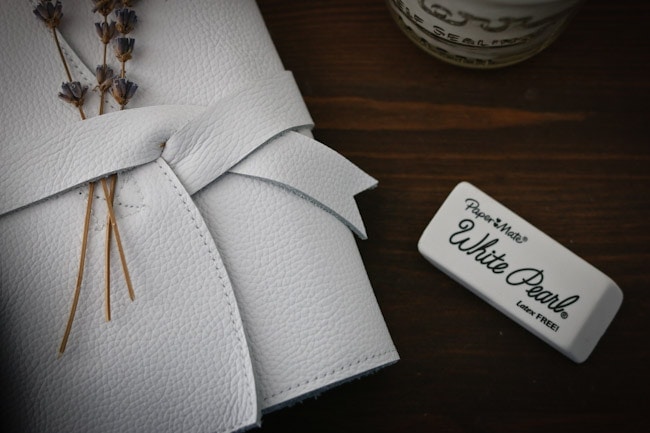
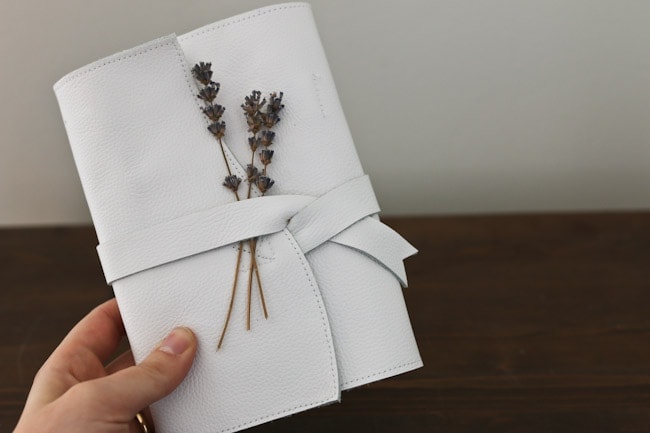
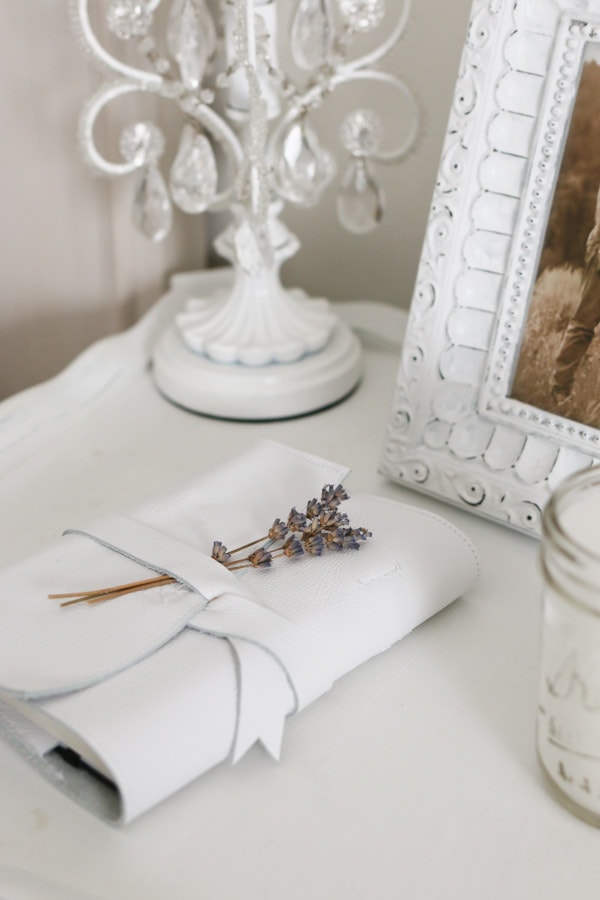
I was thrilled to find some white leather, and knew it would be perfect for myself.
I’ve placed it close to my bedside, to write inspiration and ideas as they come to me.
Now that my kids have seen them, they are begging for a fancy leather journal for themselves.
And with the start of a new year, new goals, new dreams and aspirations – I thought I would oblige them (and myself).
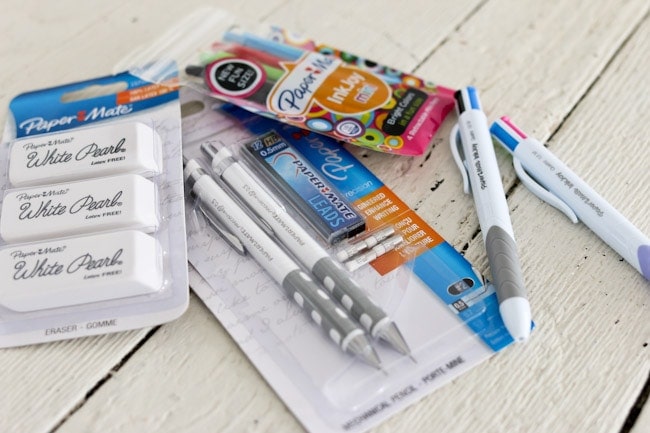
I wanted a pencil product for these journals that felt a little more special than our stock of #2 pencils lying around.
We headed to Staples to restock on school supplies. I bought some for me and some for them.
If you are low on school supplies or supplies for your journaling and home organization, you might enjoy the 40% off sale at Staples on all PaperMate products going on the entire week of January 17th (while supplies last).
I’d like to walk you through every step I took to make these DIY leather journal covers. I’ll share some tips and tricks to make sewing with leather as easy as it should be. I am showing you how to make the cover for any size of notebook or journal you might have.
All you are going to have left to figure out, is how many to make and who to gift them to 😉
Your welcome.
Supplies:
- Leather of choice
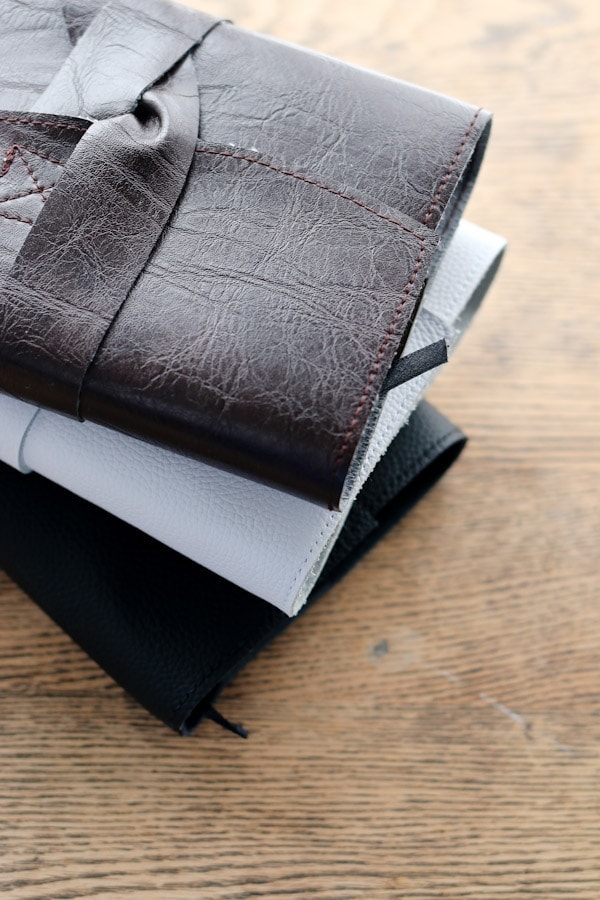
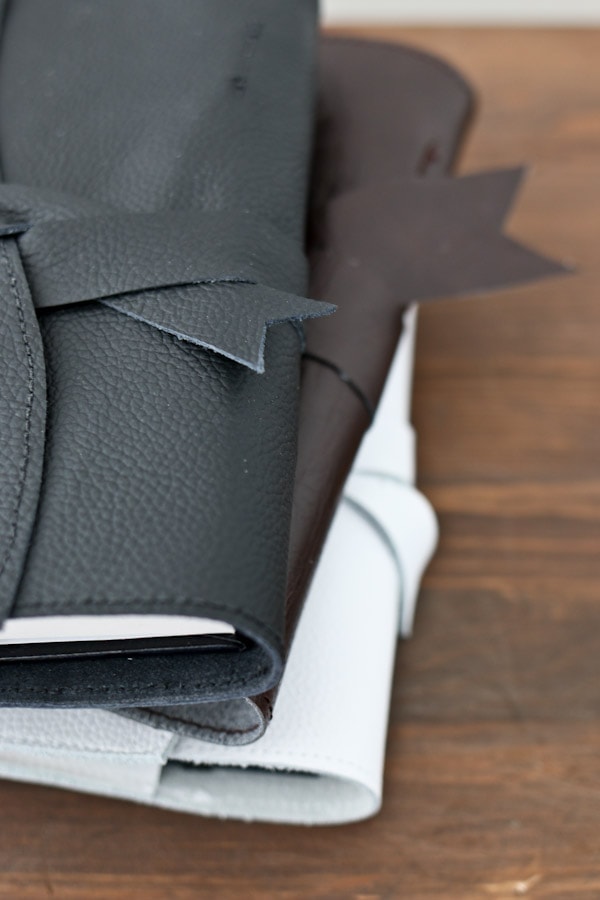
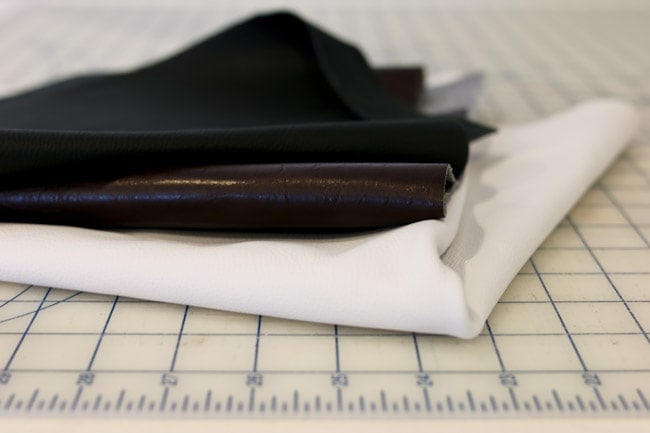
- I called a local shoe repair shop and asked if they had any scraps they would sell me. That is where I found the black and white genuine leather. Joann’s fabric also has a nice variety of faux leather material. The brown leather you see in the images is made from what I found at Joann’s. I will say, the real leather feels and looks much nicer if you can get your hands on some.
- How much you get really depends on the size of your notebook. Read all the instructions and that should give you an idea of how much you will need.
- Notebook
- Any kind or size you might already have, or that you find to use. I found mine at Hobby Lobby.
- Heavy Duty Thread
- This looks better on the thicker leather
- Sewing Machine Needle meant for leather or size 16-18
- Even Feed/Walking foot for the sewing machine
- This is optional – but I HIGHLY suggest for anyone sewing – ever! It will take hours of frustration away from sewing on multiple layers, slick fabrics and shifty seams. It made sewing with this leather a breeze!
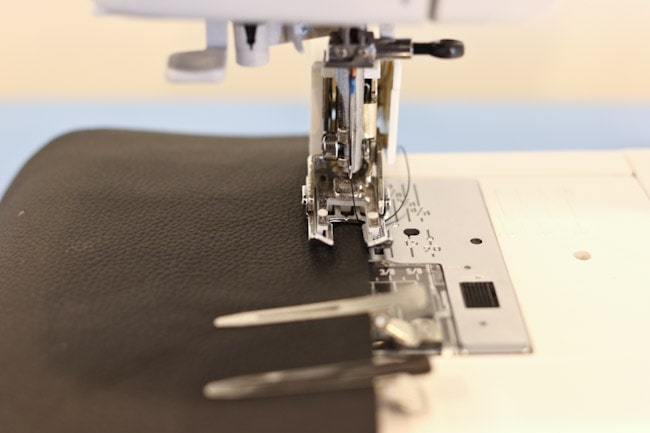
- Hair Clips or paper clips
- It’s best to use clips to hold your leather together before sewing in place. Needles will leave holes in leather that will not recover like a woven fabric would.
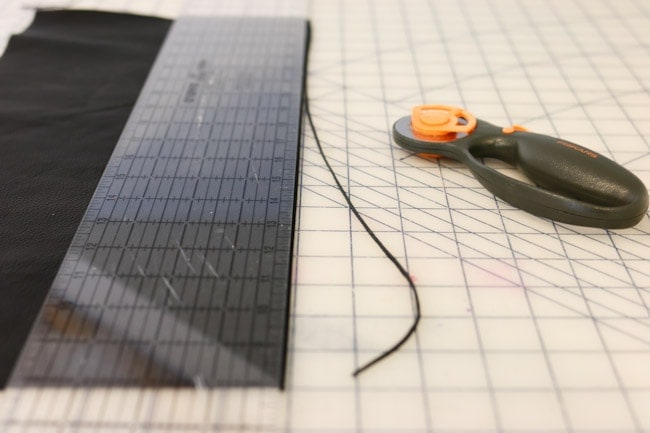
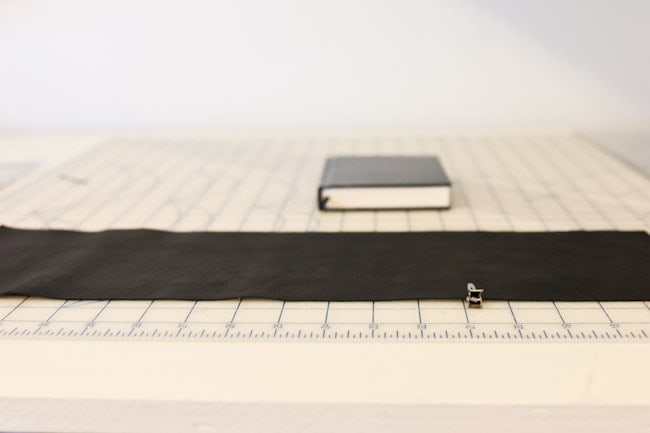
First trim a clean, flat edge on the longest side of your leather.
Line the top of your notebook up to the top of that edge and lower it 1/4 of an inch.
Mark 1/4 inch away from the bottom of the notebook, and trim your leather strip in a nice, clean and straight line. You’ll need this 1/4 overlap on the top and the bottom of the notebook.
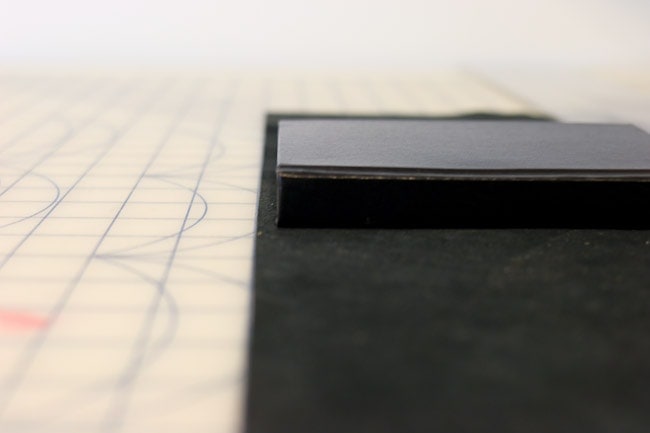
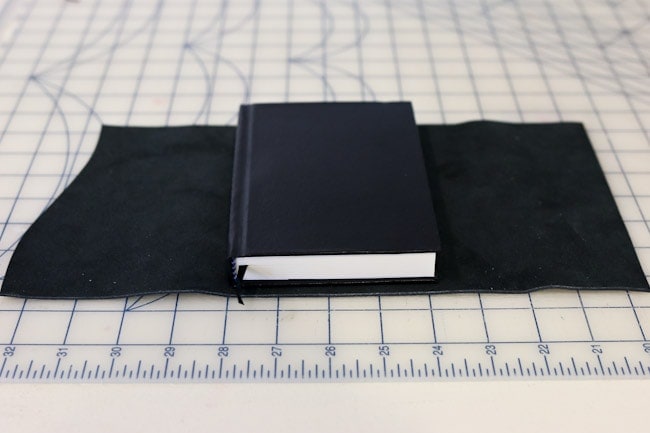
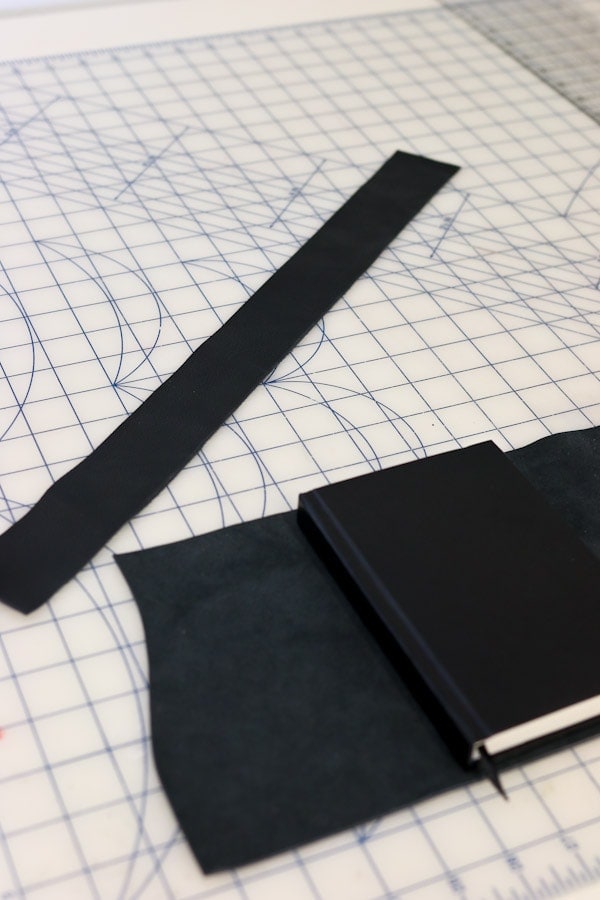
Now you need to figure out how long to make the cover. Place your notebook down on the wrong side of the leather, and fold up the right side, leaving about an inch until the spine of the book.
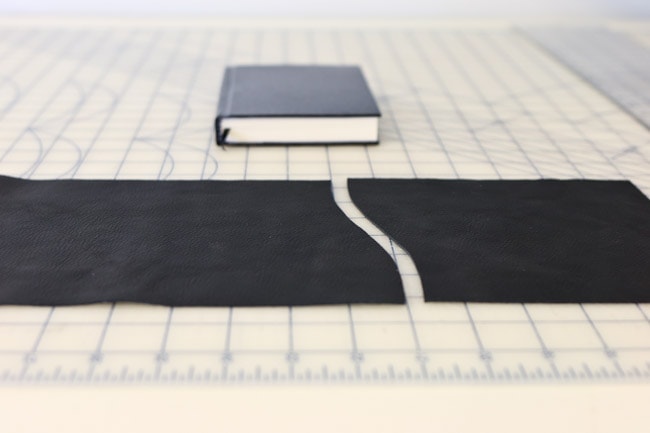
Now wrap the left side of the leather around the book and mark with a clip where you would like to cut your cover. Just be sure you have plenty of overlap between the 2 layers of leather.
Keeping that clip in place, remove the book and lay the leather flat.
I opted to shape the top cover with a curve, but you can also do a straight line if you would like. Just trim it where your clip is.
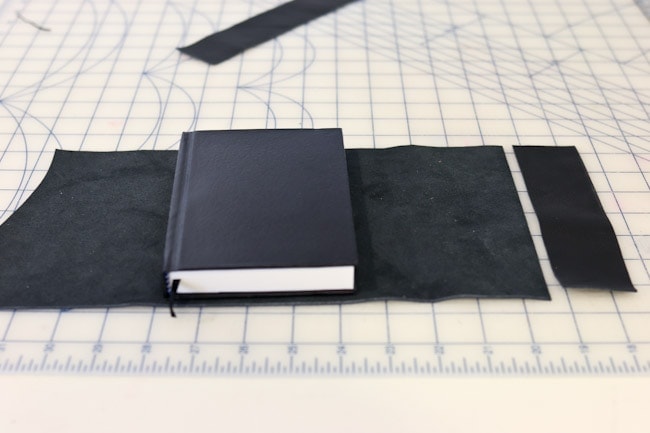
Now you have the exact length and width you will need for the book cover. Place the leather, wrong side up and the book centered in place.
Fold it up and make sure you have the book where you would like it to be. You could mark this spot if it is helpful. I prefer to use a chalk marker.
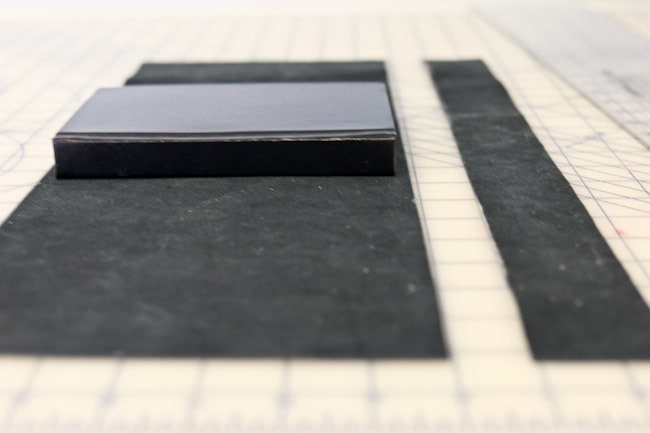
Now you are going to make the piece that holds the book in place. Cut a strip of leather about 2 inches thick . . .
. . . and as long as the book cover is.
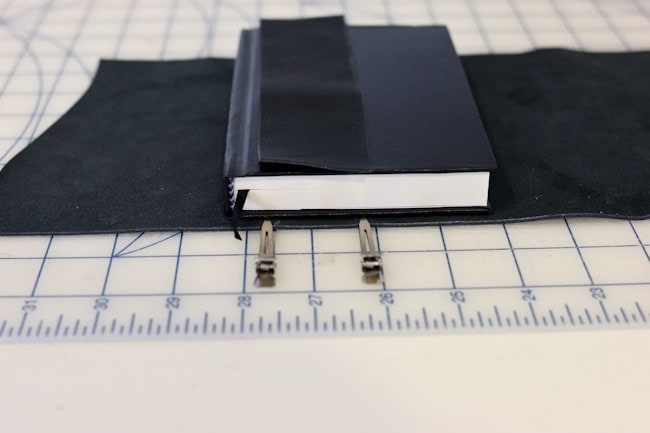
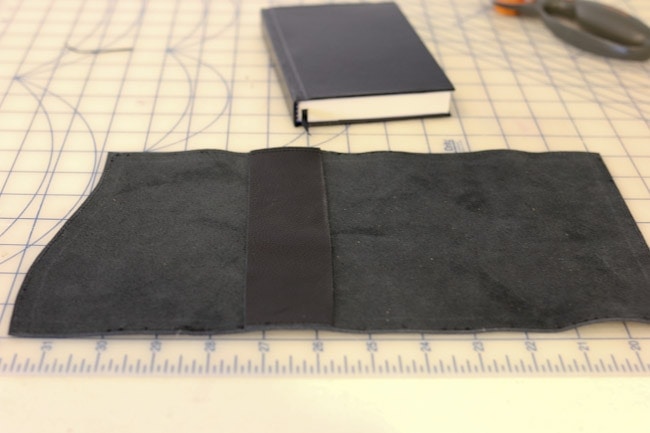
It will need to be sewn inside the cover about 1 inch in front of where you want the spine to sit. Mark the appropriate spot.
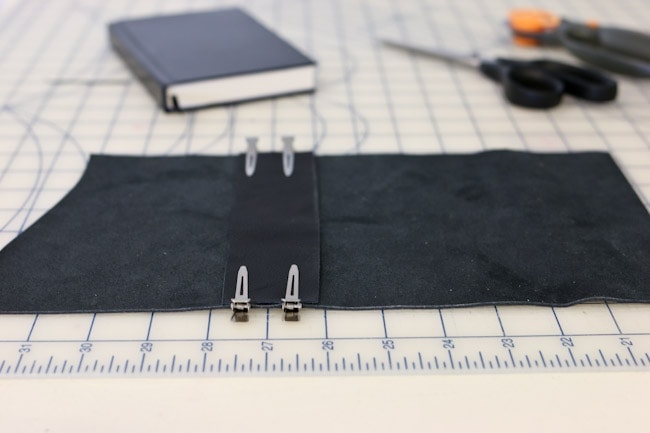
Remove the book from its place and clip the strip securely inside the cover. You are almost ready to sew this in place.
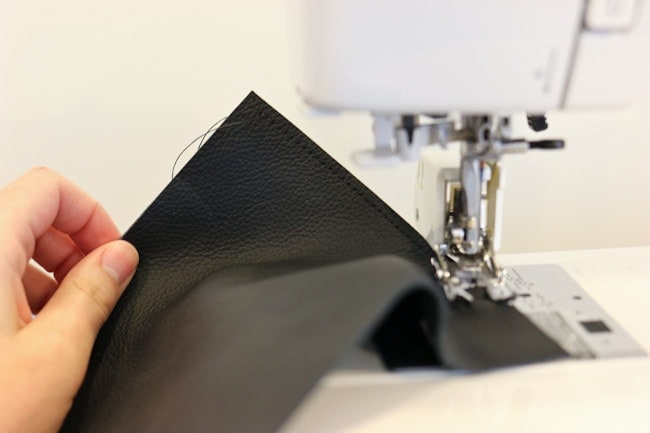
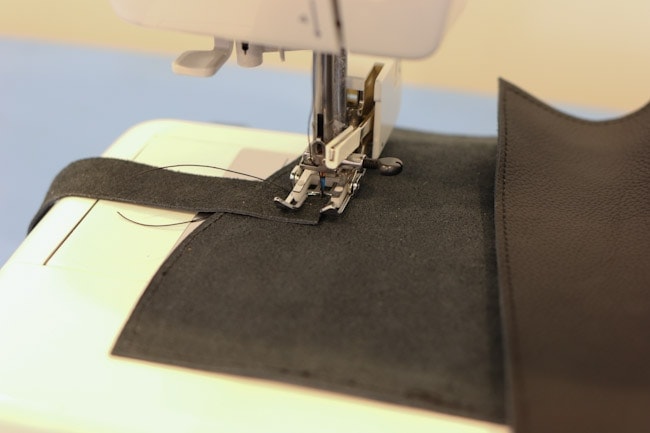
Before you sew the actual cover, I suggest making sure your stitches will look good on a sample of leather. You may need to increase the tension a bit and your stitch length. Make sure you are using the heavy duty thread as the top thread and the bobbin thread. Once you are sure the stitches are up to your standards, you are ready to sew your cover.
If possible, always sew with the right side of the leather facing upwards. The top stitches always look a bit better than the inside stitches. With those clips still in place, simply sew all the way around the cover, 1/8th inch away from the edge. Remove the clips before sewing over them.
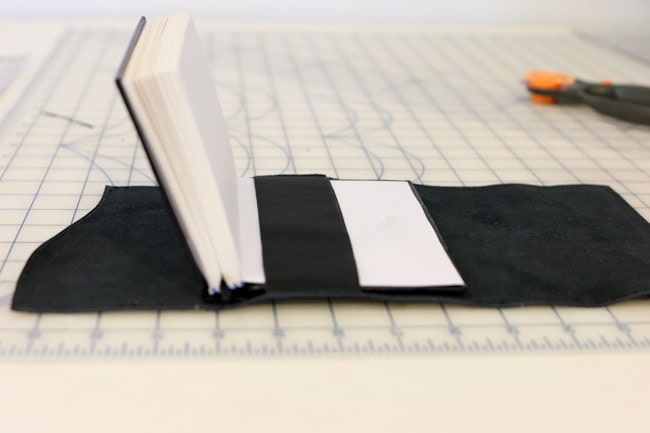
This top stitch will secure the center flap in place.
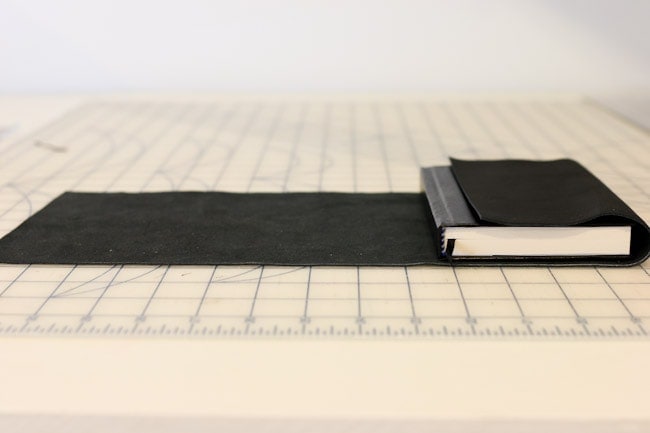
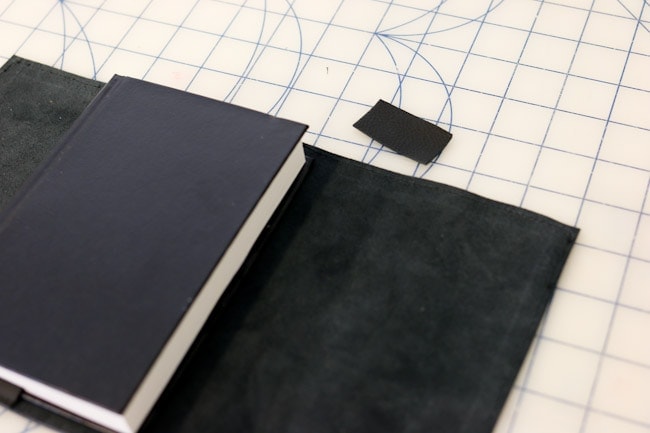
You can then insert the back cover of your notebook inside the flap, like seen below.
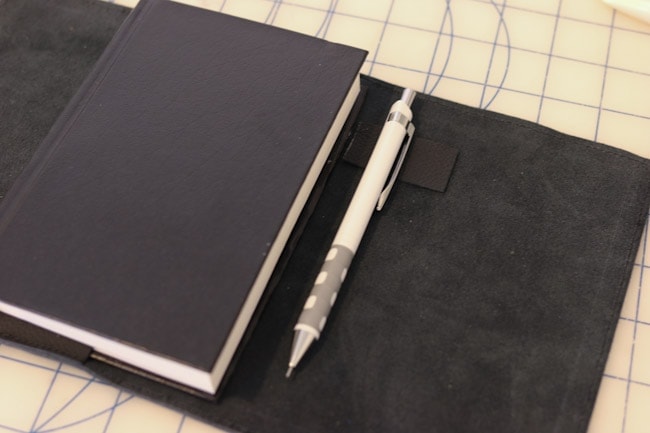
If you would like to add a spot for a pencil holder, you will need a small piece of leather long enough to insert the pencil through.
With your book in its correct place, line the pencil holder piece up to the edge of your book and make sure your pencil will sit where desired.
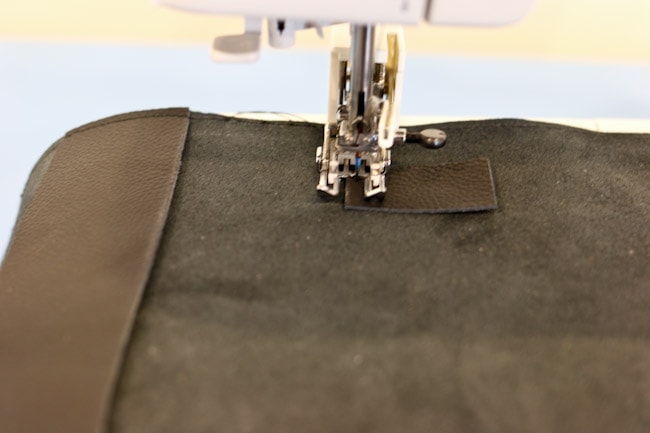
Remove your book and sew the edge of the pencil flap down.
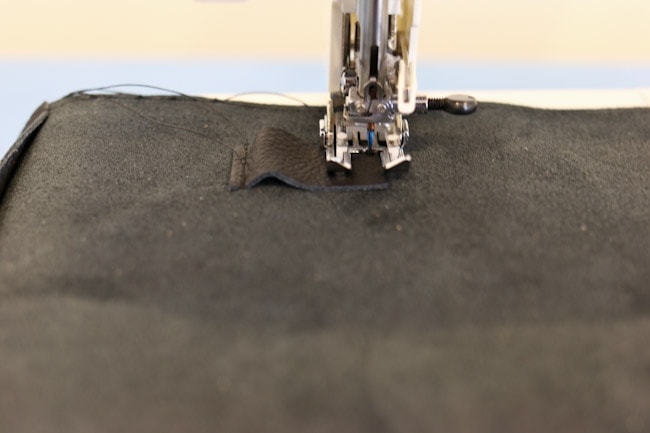
Pinch it up a bit, to allow for a gap, and sew the other end down as well. Trim all your threads.
Your last step is to sew the tie down strap in place. First cut a long strip of leather about 3/4ths inch thick and long enough to wrap around your book. Fold your book cover around your book and center the strap inside the front cover.
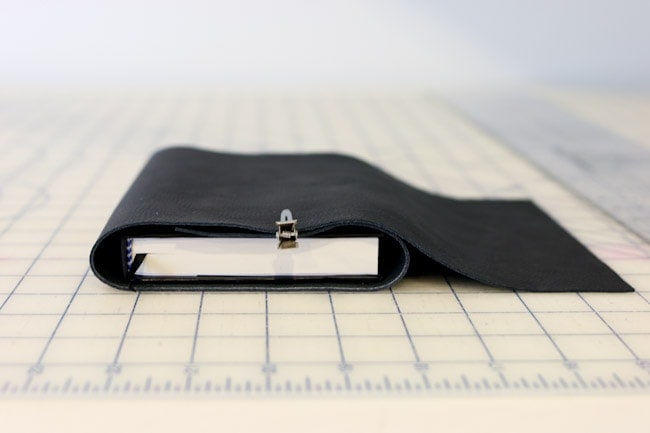
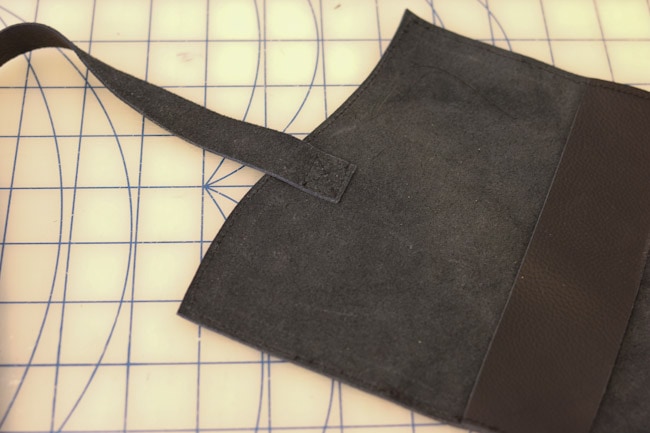
Hold it in place as you stitch the strap down. I found it necessary to sew inside the cover for this step. You will sew a square with an X inside, like show below.
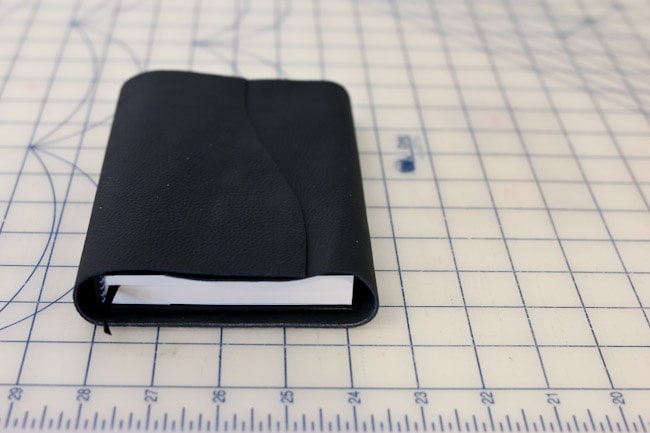
And you are finished!
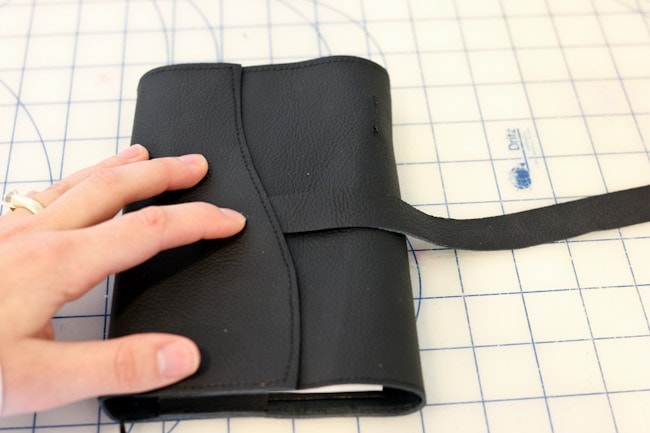
Place your book back inside, wrap the cover around and secure it closed with the strap.
I hope you have found this tutorial helpful and enjoyable! Do you have any other ideas for how you could use this leather journal cover, that I didn’t mention? I would love to know!
Thank you for being here!
Please feel free to let me know if you have any questions or need further clarification.
*Linking up to these parties, HERE.




Thank you for this video!
Nice blog and covers. Thanks for sharing this.
WOW! These are fabulous, and your instructions are excellent.
Could you please tell me roughly the thickness of the leather you used? I would love to make a red leather cover for a small sketchbook.
My daughter and I covered her Bible with this! Did you use a guide to make that curve? I can’t find one online. Thank you for the idea!
Are you using a regular sewing machine on these or an industrial machine? Love them!!!
Just a regular! The thicker thread is key.
This is awesome!! I love the white especially <3
Can you also give tips on how to clean these leather
covers?
Thanks!
Old leather jackets from a thrift store. Just picked up 2 for $5.99 a piece and I will easy get many journals from them.
I absolutely love this! I want to sew some up right now because I totally already have the leather! Awesome idea 🙂
looks like u might have a nice& informative site but all the pop up/ads that play stop me from staying .. it is loud slows my system down
my loss I am sure
This is an awsome idea and your instructions are wonderful…best I’ve seen on any project! Thank you so much…you’ve done most of the work or us!
Wow! What a thoughtful and flattering comment! So glad you enjoyed the tutorial!
Very cute! There is an upholstery shop near me in Waynesville OH that used t carry leather – I’ll have to check and see if the still do! This would make a lovely gift!
Thank you Cecilia! Appreciate your kindness 😉
Thank you Diana! Such a sweet comment, as always 😉 And yes, I was thrilled to find the white leather!
oh this is so cool! Love it! great job girl!
Thank you so much! Thrilled you like it!