This post may contain affiliate links, which means I get a small percentage of the sale at no extra cost to you. I only recommend items I love and have had a positive experience with. Thank you!
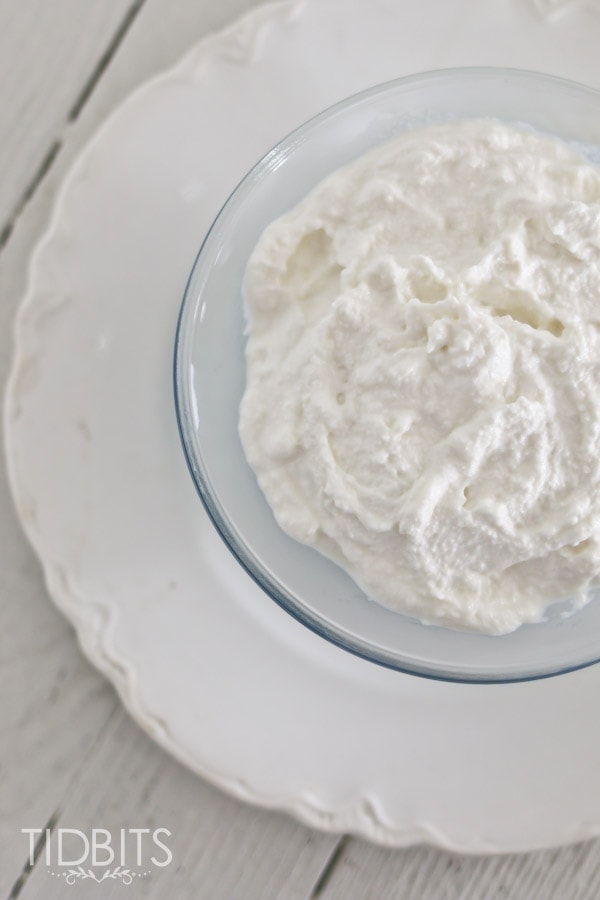
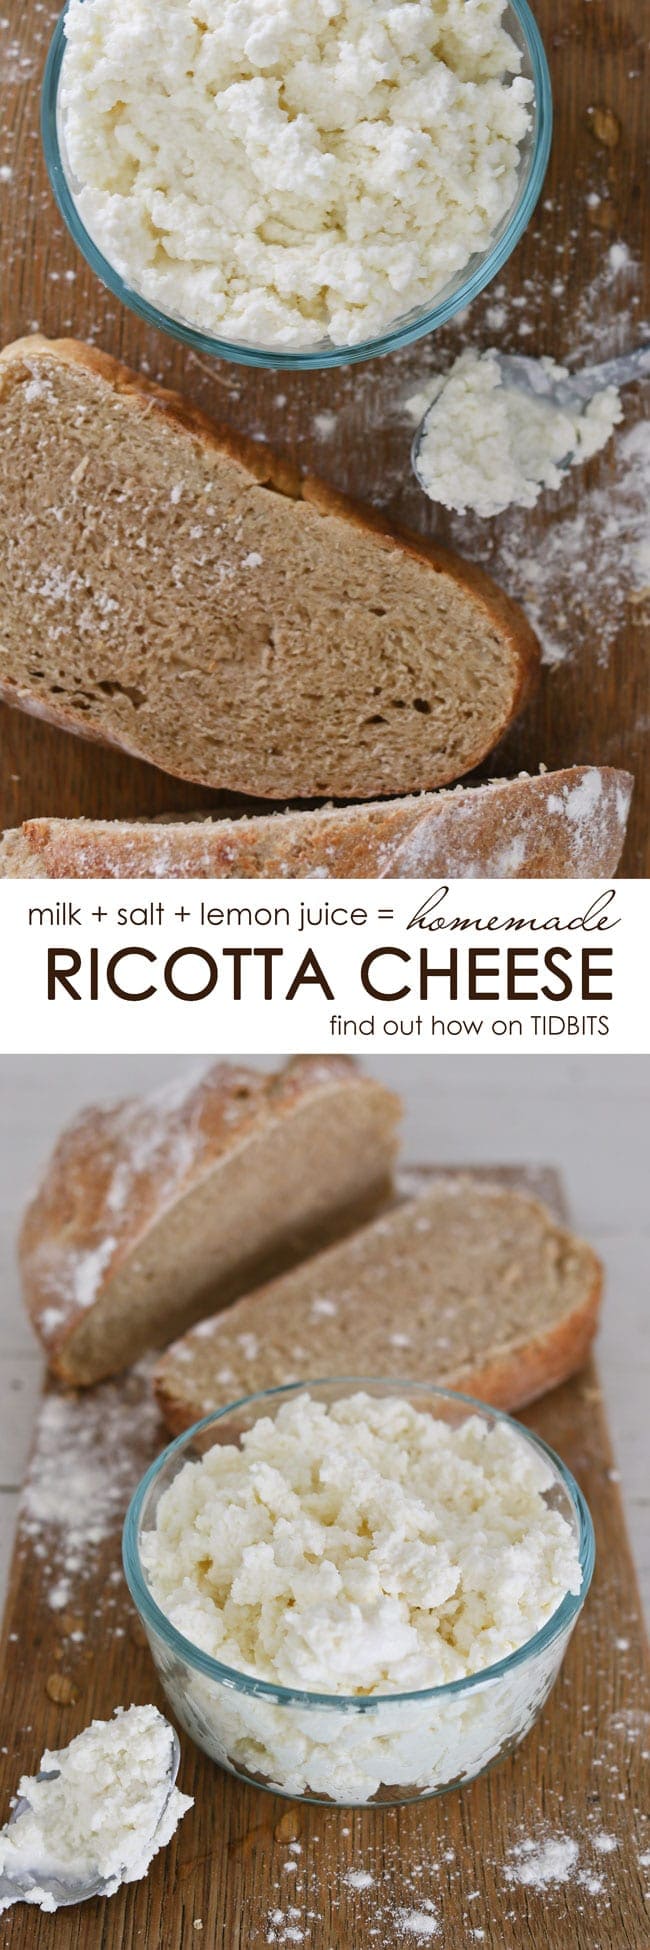
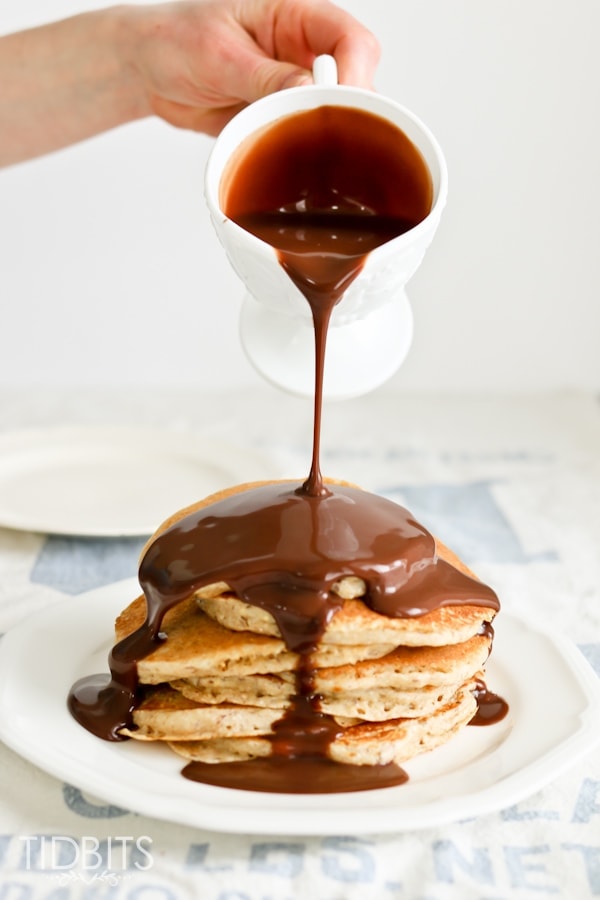
Have you ever tried this ricotta on toast from Jillian Michaels? Oh my, it’s so delicious. It’s one of my favorite breakfasts to make. And there is nothing better than a quick, easy, healthy breakfast than making your own ricotta to top your bread with.
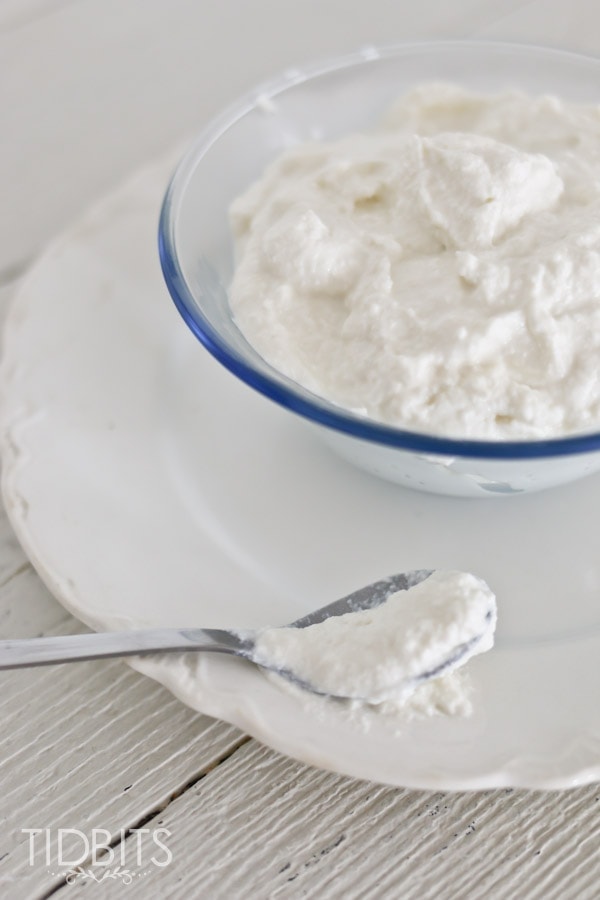
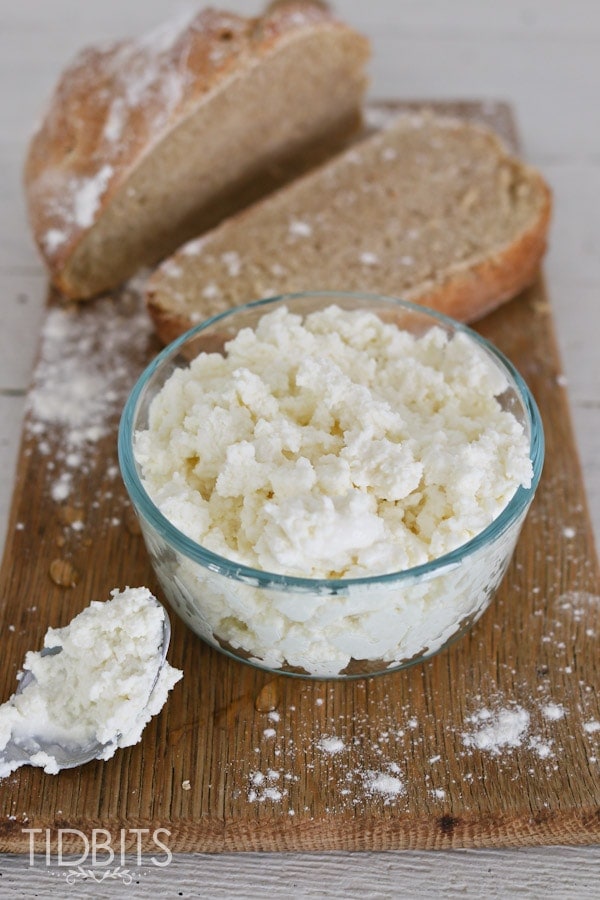
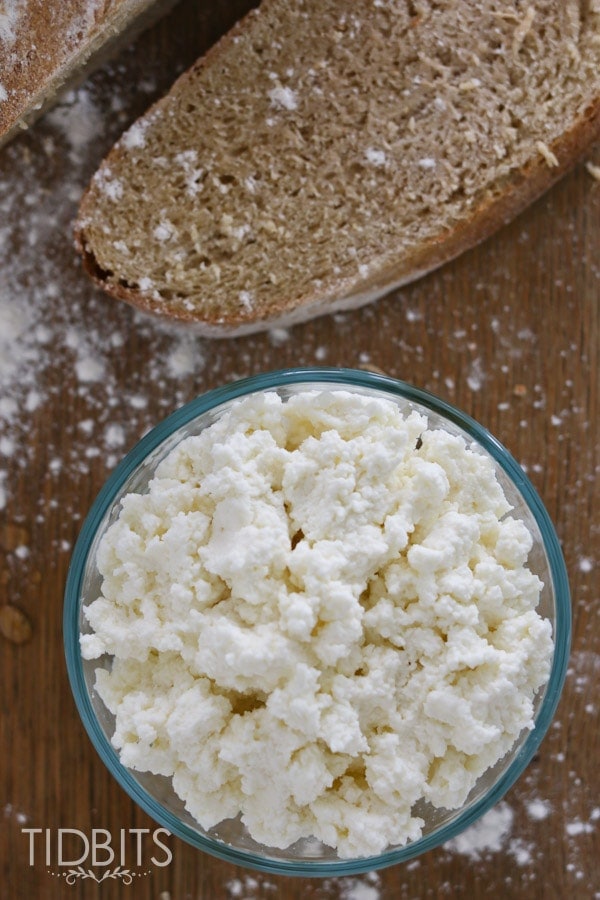
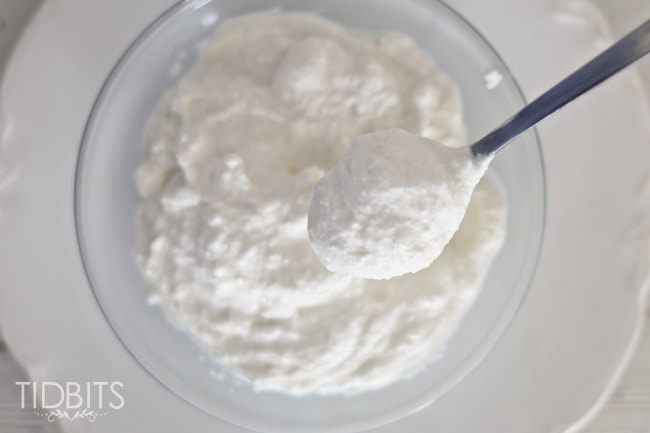
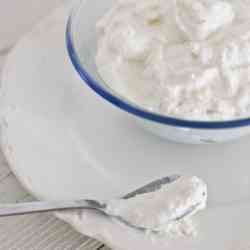
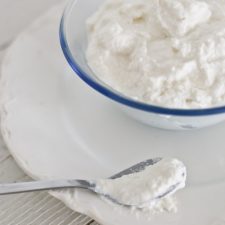
Did you know you could make your own ricotta cheese at home in a pressure cooker? It takes almost no time at all and is really a hands-off recipe, too. Plus, you can make it as thick or creamy as you like just by letting it strain for longer or shorter amounts of time.

So, let’s get into the details of how to make this delicious homemade ricotta cheese at home.
Ingredients You Need:
- ½ gallon whole milk
- 1 ½ tsp salt
- ⅓ cup lemon juice

Making Your DIY Ricotta Cheese
- Stir milk and salt in the pressure cooker liner.
- Add the lid to the pressure cooker, and press yogurt. Continue to press until it displays “boil”.
- When the pressure cooker beeps, remove the lid, and stir carefully. Press sautee and heat the milk to 190 degrees F.
- Once the milk reaches the desired temperature, turn off the pressure cooker and add the lemon juice.
- Stir gently, as the whey will start to separate immediately.
- Let it sit undisturbed for 10 minutes. Strain with several layers of cheesecloth or a nut milk bag.
- Place ricotta in an air-tight container and store it in the fridge for up to a week. Save the whey for another use later.
Expert Ricotta-Making Tips
- This is most easily done with the Instant Pot pressure cooker, or other electric pressure cookers that have the yogurt function. (or you can just boil your milk until it reaches 190 degrees F). The Instant Pot makes this easy with a push of the button and does not scorch the bottom, which is why this is our preferred method. (And because we are slightly obsessed with pressure cookers).
- You will need something to strain the curds from the whey. Here are 3 options:
- A colander lined with 2 layers of cheesecloth.
- Nut Milk Bags
- Or this handy yogurt strainer.
- You can experiment with 2% milk, but it does seem to make a more watery ricotta cheese than whole milk.
- Distilled white vinegar can be used in place of lemon juice. We liked the taste and consistency we get with the lemon juice better.
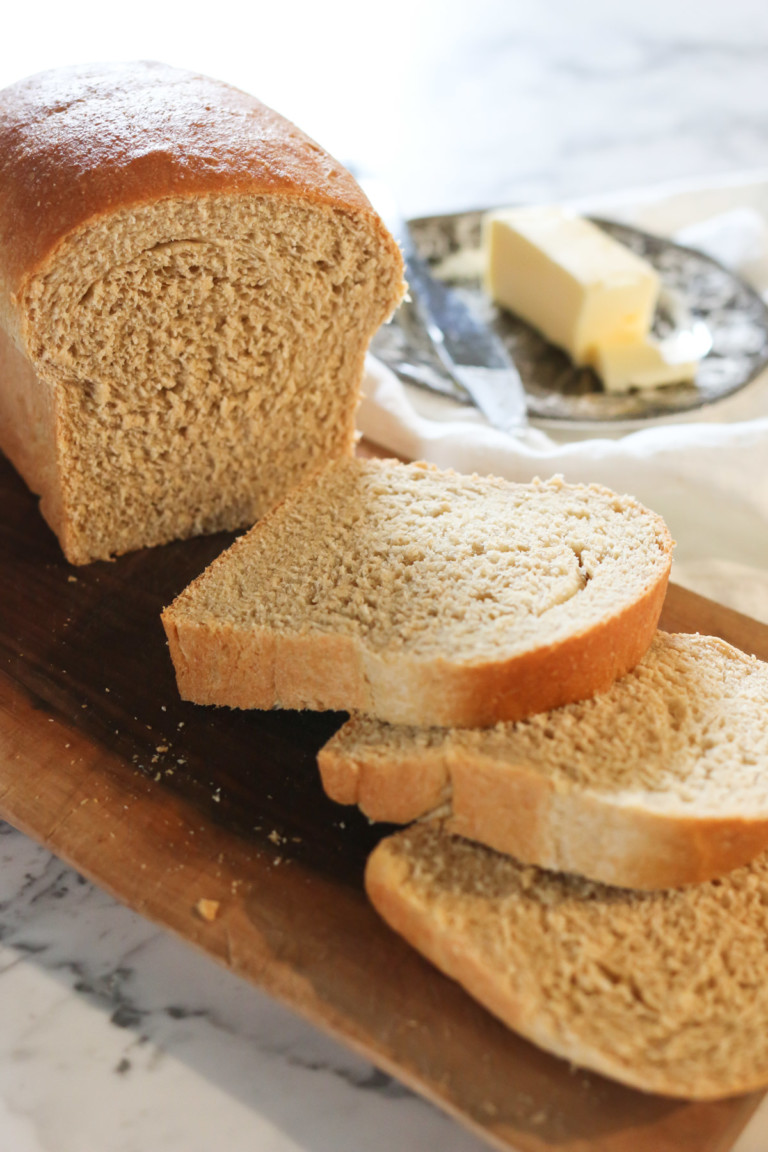
- Don’t throw away the whey! It can be used as a buttermilk substitute or we’ve recently started using it in place of water in our whole wheat bread.
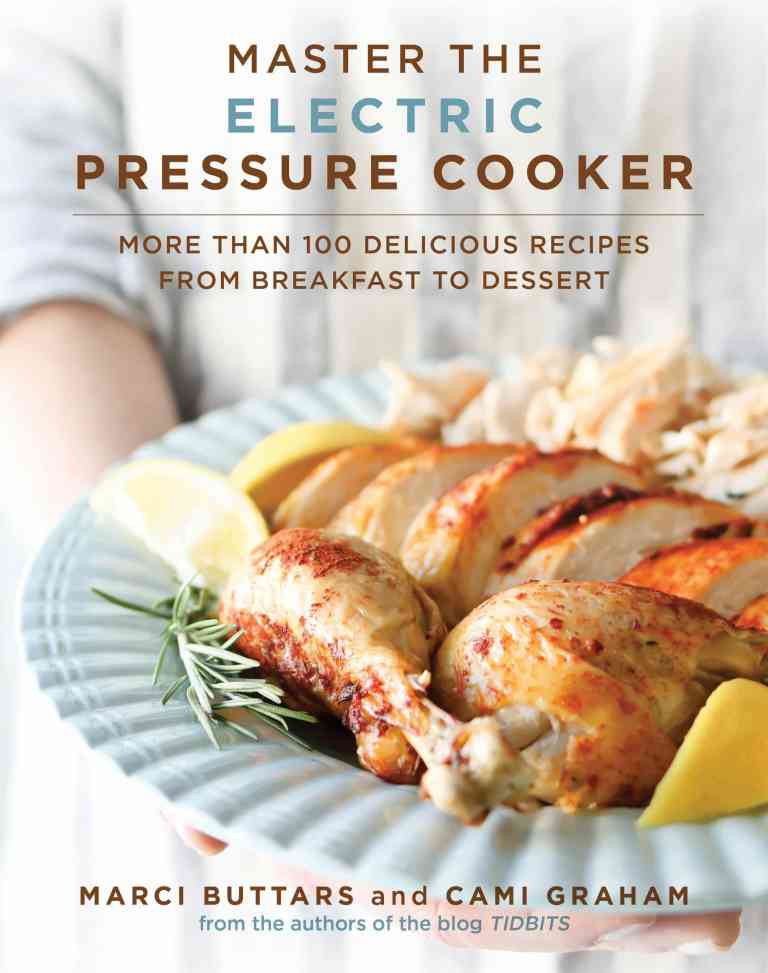
If you are wanting to get more out of your electric pressure cooker, check out our cookbook here.
Homemade Ricotta Cheese
Ingredients
- ½ gallon whole milk
- 1 ½ tsp salt
- ⅓ cup lemon juice
Instructions
- Combine the milk and salt in the pot of the Pressure Cooker. Put the lid in place and set valve to seal position. Press the yogurt feature and press adjust until it says boil.
- When the Instant Pot beeps, remove the lid (it won’t have built up any pressure), give the milk a stir and then use a thermometer to check the temperature. Press saute and warm the milk to 190 degrees, stirring often.
- When the milk reaches 190 degrees, unplug the pressure cooker and add the lemon juice. Give it a very gentle stir. The milk will start to separate immediately.
- Let the pot of milk sit undisturbed for 10 minutes. The milk will separate into white, milky curds and watery, yellow colored whey.
- Without stirring it, pour the curds in either a colander lined with a double layer of cheesecloth, a nut milk bag, or a handy yogurt strainer.
- Let the ricotta drain for 10-60 minutes depending on how thick you want it. If it becomes too thick, you can stir some of the whey back into the ricotta.
- Scrape the ricotta into a bowl. It can be used right away or stored in an airtight container for up to a week.
I would love to hear if you give it a try or if you have any questions we can help you with! Thanks for being here, and don’t forget to pin the recipe for later.
*Linking up to these parties, HERE. *This post contains affiliate links, but I only recommend products I use and/or love and would recommend even to my sisters!


This was super easy and delicious on my first try. Question: I live at 9,000′ and when milk reached 190°, it began boiling over ( even though I unplugged my instant pot immediately). Is that due to the high altitude?
I can’t wait to try this. Like others, I’m game to try anything in my IP!!! First thing I use it for is my lasagna. Thank you for sharing!!!
does ricotta freeze?
Adele, I’ve never tried it, but I know people that do. It will change the texture a bit, more grainy than usual, but if mixed with other ingredients and layered in a lasagna or stuffed in manicotti noodles, it may be just fine! Report back if you try it!
I tried this tonight, and I’m a little on the fence about a couple things. It’s my first time making ricotta, but I make my own yogurt and mozzarella so thought it would be a pretty simple first attempt. Don’t get me wrong, it certainly wasn’t tough, but it was a smidge more fussy than I anticipated and the results weren’t totally what I expected. I found that the 1/3c lemon juice wasn’t quite enough acid (it just wasn’t curdling like it should after many minutes) so I added a splash or two of white vinegar on top of that and gave it a gentle stir, and it finally started to come together after a few more minutes. It took significantly longer than stated in the directions however, and then straining it was more of a hassle than anticipated because I didn’t think there would be such a big liquid-curds ratio, so I had to bail out the bowl I was straining into a few times during the process.
In the end, and on a positive note, I ended up with some nice tasty fresh ricotta. It tastes distinctly lemony, not that I mind that, but given it seemed to work better with a little white vinegar, I might try a 50/50 mix if I give this another go, and add a bit more salt.
My main hesitation, since now that I’ve done a trial run I can adapt the method easy enough, is I felt like I didn’t get much yield. I got at most (eyeballing) 1 1/2 cups of fresh ricotta from 1/2 gallon of milk – but with a consistency somewhere between your super creamy version and your denser version (pictured up top), so perhaps this is totally normal since your 2 cup yield might be for the kind that’s not strained as much and it’s not a huge volume difference. My big issue with this though, is that the whey I ended up with is just a lot milkier than what I’m used to from say straining my yogurt… so I’m afraid it’s going to be too milky and not acidic enough to be useful for much else which would be a waste.
Again, maybe this is all normal! Feel free to set me straight. It was a fun project and the result is tasty so I’m not mad about it!
(To answer questions before you ask: I scalded the milk using Instant Pot, fresh squeezed the lemons, organic whole milk (albeit pasteurized), and strained with a colander and cheese cloth.)
Jesse, Thank you for your great run down of your experience. A little while ago I accidentally let my milk get to 190 degrees and it ended up being my most successful batch of ricotta yet. I prefer the taste with lemon juice but vinegar should work just as well. When you add your vinegar or lemon juice, stir it very gently. When I strain it, I use a large slotted spoon to try to remove some of the larger curds so it doesn’t splash all over, but you’re right, there is plenty of whey left over. Since I’ve started warming the milk to 190, the whey has been much clearer and I yield at least 2 cups, if not more depending on how long I strain it. I’ve even done it with skim milk just out of curiosity and still got 2 cups, however the ricotta was a bit strange looking so I continue to use whole milk. I thought I had gone in and changed my directions after the discovery of the temperature change, and now I’m wondering if I forgot to save the changes when I did it! So I’m so sorry, I do believe the 190 degrees is the trick because my sister and I have had the best batches of ricotta ever since! I hope you’ll give it another try! And if you do, report back to me!
Jesse I haven’t tried making ricotta in my instant pot yet but I’ve been making it on the stove for several years, from my experience, if your whey is milky it means you need more acid (vinegar or lemon juice) , if that happens to me I just dribble in some more and stir it in until the whey no longer looks milky. That may also be why your yield was low
What is a typically yield when using a 1/2 gallon of milk? Also, do you keep the IP on Keep Warm during the 10 minutes after you add the lemon juice? Do you cover it during that time? Thanks.
Dawn, I get about 2 cups from 1/2 gallon. I unplug it once it hits 190 degrees (which I’ve found that 190 seems to work better than 180). And no, you don’t need to cover it. Enjoy!
Did you try making ricotta out of the yogurt way? If so, how did that turn out?
Also, on January 11th, you mentioned that you unplug the IP after it hits 190. I didn’t know it would keep heating after it beeped that it was done with the “boil”. Does it just keep heating, does the heat turn off but the temp continue to rise for a while, or do you have to press saute after the beep?
Last question: you said 190 does better for ricotta than 180. Have you found that true for yogurt? Sometimes the consistency of my yogurt differs and I wonder if it is the brand of whole milk (I usually use organic just for yogurt) or if it is because I have not gotten back to start cooling the yogurt right away.
Time to experiment! Thanks for all the information shared on this site,
Sherri
I have tried making ricotta using my whey, and it didn’t work at all, but I know a lot of people do it, so I’m sure it was an error on my part somewhere. I haven’t had a chance to experiment with it again. I unplug my pressure cooker after it reaches temperature simply because I no longer need it on at that point. Also, to get my milk to 190 degrees, I have to use saute, so if that’s the case, then unplugging it or pressing cancel will stop the heat source. For my yogurt, I like to warm it to at least 185, but there’s been a few occasions that I wasn’t watching and it got up to 190-195 (and once 210, oops!). I can’t say that I notice a huge difference in those 10 degrees. I’ve found 185 to be a great temp to aim for. I know lots of people cool their yogurt quickly by putting it in an ice bath, and I will do that in a pinch, but I prefer the texture and taste of a natural cool down. I hope that helps your experimenting to go well! Enjoy!
How does using the pressure cooker compare to using a yogurt maker to make yogurt? Have you tried them both?
Zainey, I’ve never actually used a yogurt maker, but before the pressure cooker, I made yogurt in jars inside a cooler with warm water. And I can 100% say that the pressure cooker yogurt is TONS better and SO much easier!
I am THRILLED to have discovered your website. I’ve been pressure cooking for years, but recently bought an Instant Pot. I love it! I also LOVE ricotta cheese. I’m so excited to try this out. Thank you so much.
Thank you so much! Electric pressure cookers are a whole other beast! I recently read a method of making ricotta using my left over whey from my yogurt. I’m gonna try that tomorrow, I’ll report back (:
My instant Pot doesn’t have the yogurt mode. Can you suggest any other way to make this in my IP?
Use the sauté mode to bring the milk to 180 degrees and then continue with the rest of the recipe, it’ll work great!
Can skim milk be used instead of whole milk, Would there be any adjustments
I’ve tried going a lower fat route and haven’t had much success. My understanding is that the fat is needed for the separation to occur. But if you figure it out, please share!
Can the liquid drained from the ricotta be used as buttermilk? I do this with the whey from making yogurt.
Yep, I use it the same way I use my yogurt whey.
I’ve made this before on the stove but today made it in the instant pot and used 2% and even added in cream and it did not curdle at all ?
I’ve definitely had the best luck with whole milk but I don’t know why it wouldn’t have curdled. Did you use a half or full gallon? One batch I made only partially curdled so I added in and extra T or 2 of lemon juice and that fixed the problem.
I used a whole gallon. when i made it before that it worked i used skim so i don’t get why the 2% wouldn’t have worked.
Would there be any issues using lactose-free milk? Thank you!
That I’m not sure on. If your try it, make sure it’s not an Ultra pasteurized milk and it would probably work just fine.
Any reason not to use a whole gallon of milk?
I’ve never tried it, but I’ve seen recipes using a full gallon so I think it will work fine. If I try it, I’ll check back in
Just to follow up, I tried a full gallon today and for whatever reason it didn’t separate very well. I ended up with less than 2 cups of ricotta and a whole bunch of warm milk. I think I’ll stick with the half gallon method for now. If anyone tries it and succeeds, let me know!
I’ve made ricotta before but not in the Instant Pot. I’m going to give this a try. Great idea.
I have a question: will this work with ultra-high pasteurized milk? That’s what we normally drink, so I always have that one hand and then I have to buy special milk for yogurt making. But will ricotta work with UHP milk? I’m very excited to try this!
Pasteurized milk is fine but UHT pasteurized milk won’t work. The protein is changed in that type of milk and it won’t separate properly.
Can’t wait to try. I make your yogurt every two weeks – love it! Love the whey for other recipes. Anxious to try – have a questions about the lemon juice – Can I use the ReaLemon that comes in a bottle? Does the juice have to be room temperature?
Thanks!
My lemons are usually coming right out of the fridge so that should be fine
hey girl great tips!
This sounds yummy!! Printed and pinned both recipes. Thanks for all you do and love all your decorating tips…just my style.
I make paneer on the stove top, and this looks like a similar process made simple in the PC! I’ve pinned to both my pressure-cooker boards 🙂
I’ve read you can drain and press the ricotta to make a crumbly Queso Fresco type cheese or paneer. I’m definitely gonna have to try it!
Yup I’ve been doing that for years using my tofu press. Queso Fresco!
Ooh, a new thing to try! I have been using my PC about twice a day since getting it. I LOVE it! I did not get the yogurt making version as I already have a nice Yogourmet yogurt maker. I am inspired to make ricotta cheese now!