• Skip to primary navigation
  • Skip to main content
  • Skip to primary sidebar
  • Skip to footer

Tidbits

Inspiration for the Keeper of the Home

  • Home
  • About
    • About Me
    • Work with me
    • Media Kit
    • FAQ
    • Disclosure and Policy
  • Project Index
    • All
    • Decorating
    • DIY
    • Homesteading
    • Printables
    • Sewing
    • Crafts
    • Holidays
    • Recipes
    • Woodworking
    • Photography
    • Crafting with Kids
    • Other
  • Home Tours
  • Seasonal
    • Winter
    • Spring
    • Summer
    • Fall
  • Shop
  • Contact
You are at Home and DIY
Home and DIY
Food and recipes

You are here: Home / Decorating / How To Instantly Upgrade a Corded Pendant Light Fixture – with a steel rod

How To Instantly Upgrade a Corded Pendant Light Fixture – with a steel rod

May 11, 2015 • Decorating

94 shares
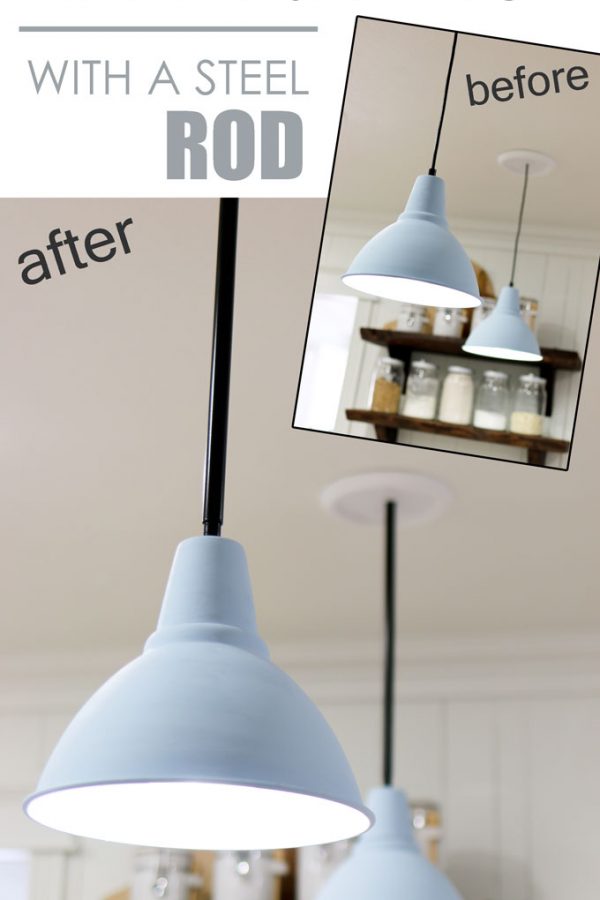
Upgrade a pendant light fixture with a steel rod

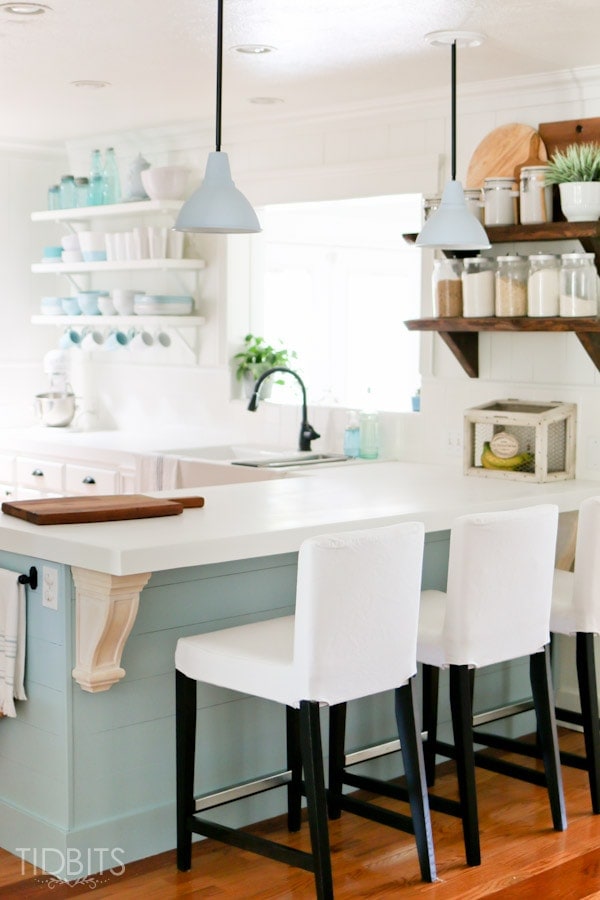
While working on our kitchen remodel, we installed these corded pendant lights above our peninsula to add a little interest in the light department.
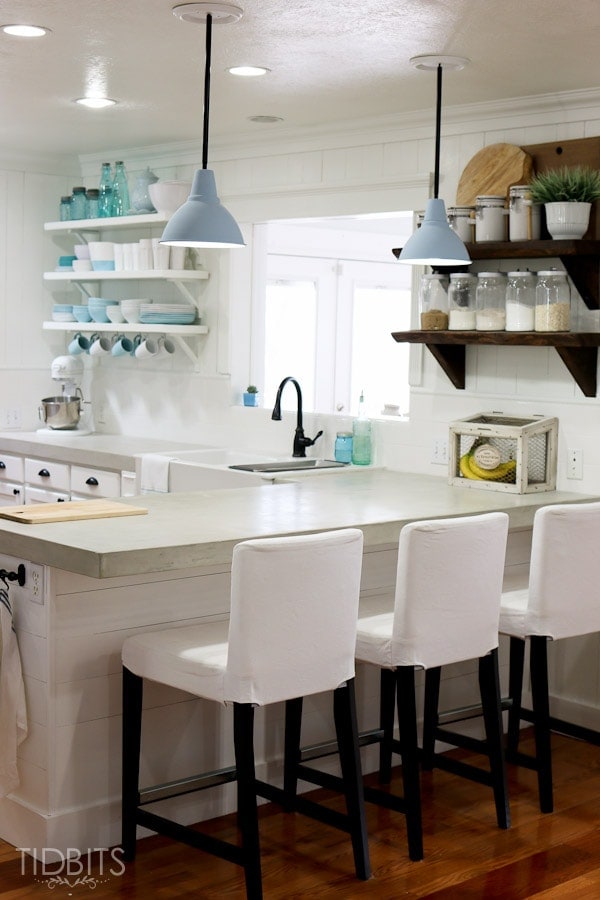
Kitchen-remodel-tidbits-19

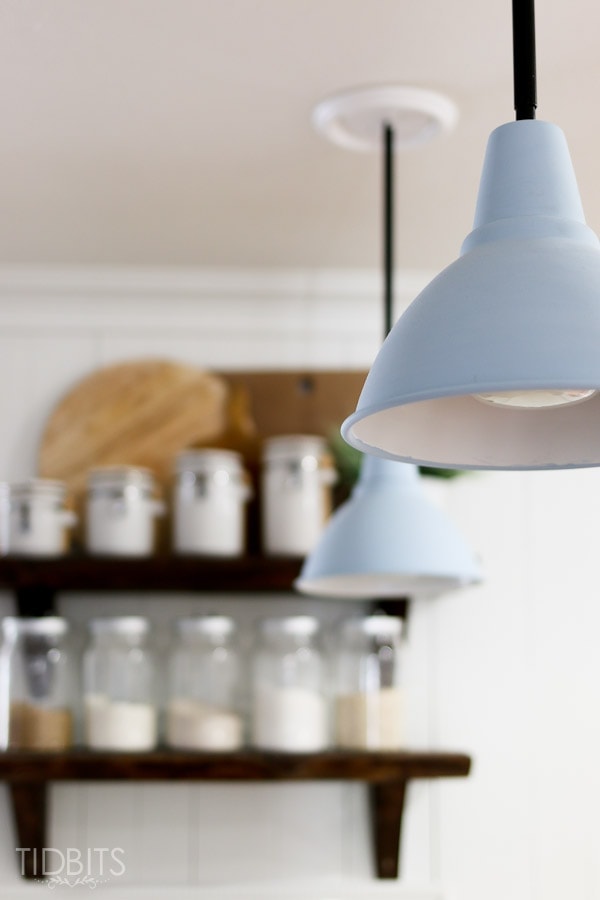
These pendant lights came from IKEA and started out a bit different. First of all, they were beige.

HERE is the actual link to these lights we purchased. I wanted a speck of blue against all the white in the kitchen, so I found some chalk paint at Hobby Lobby and painted it right over the beige.

My husband then hung them up – cord and all.
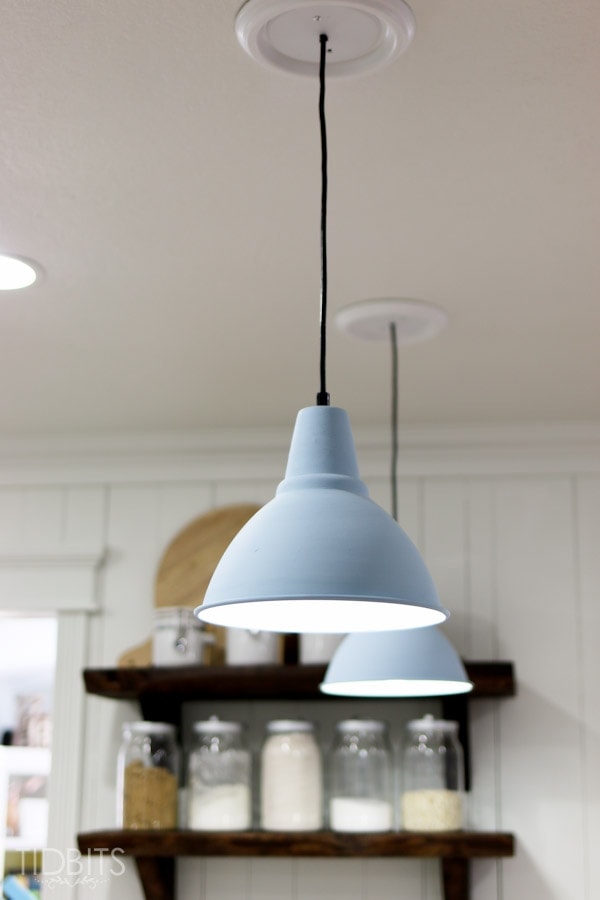
Update-hanging-lights-3

After awhile, I began to feel like the cord hanging down felt a bit cheap.

So my husband and I began to brainstorm how we could upgrade the look of our corded pendant lights.

We remembered that we actually bought an extra organizing rail from IKEA (link here) then we ended up needing, and realized it was in fact a hollow steel rod that would work perfectly to upgrade our fixture.
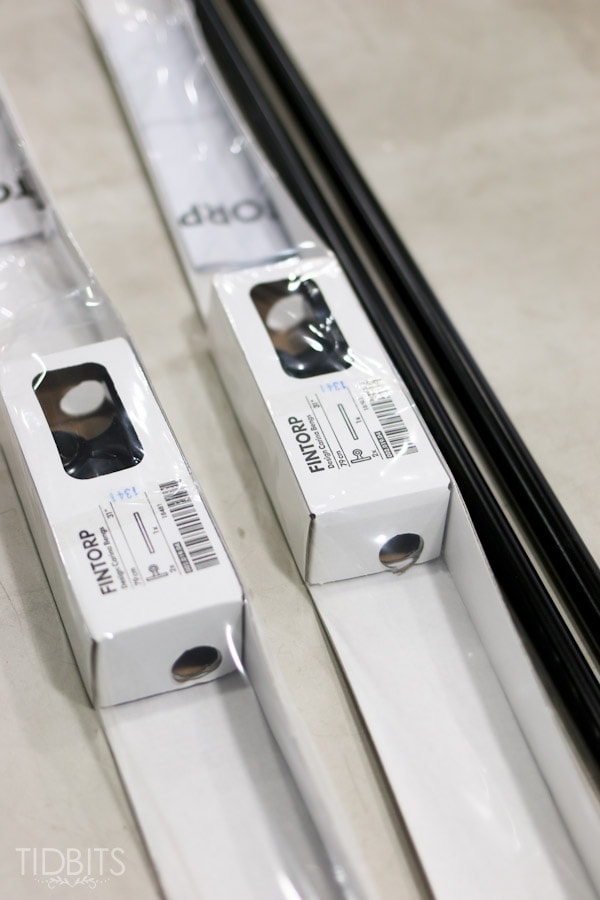
Update-hanging-lights

All it took was cutting the rod to size, and inserting the cord through the rod and hanging it up again.
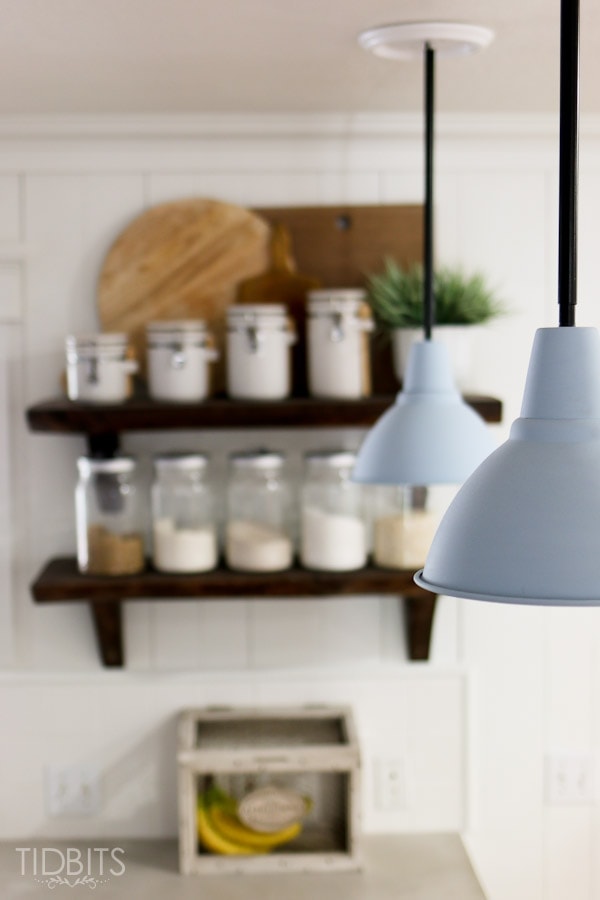
Kitchen-remodel-tidbits-40

Quickest IKEA hack ever!

Let me walk you through the specifics, in case you too have a corded light fixture you would like to upgrade.

Along with your corded pendant light, you will need a hollow steel rod.  If you don’t have access to an IKEA, try exploring the hardware store or look around in curtain rods and see if you can find one the width you would like.  The length can be adapted.
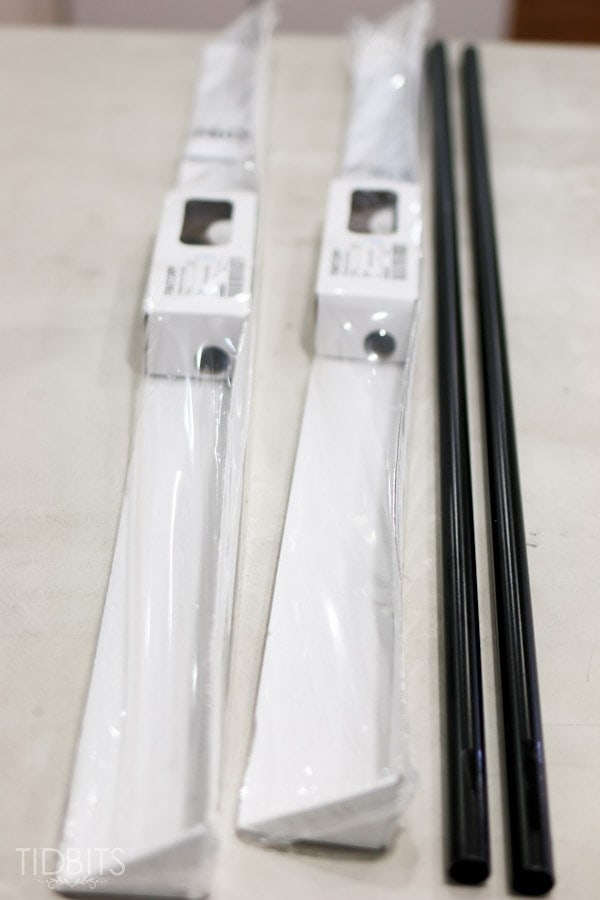
Update-hanging-lights-2

First, measure the length of the cord you have hanging down, so you know what size to cut the rod.
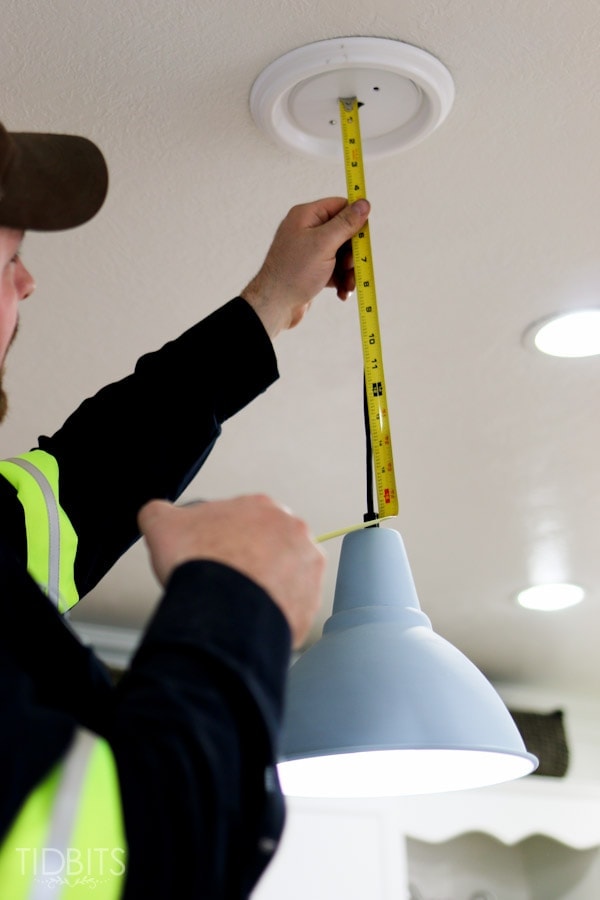
Update-hanging-lights-5

If your light is already hanging up, you’ll need to remove and un-wire the fixture.
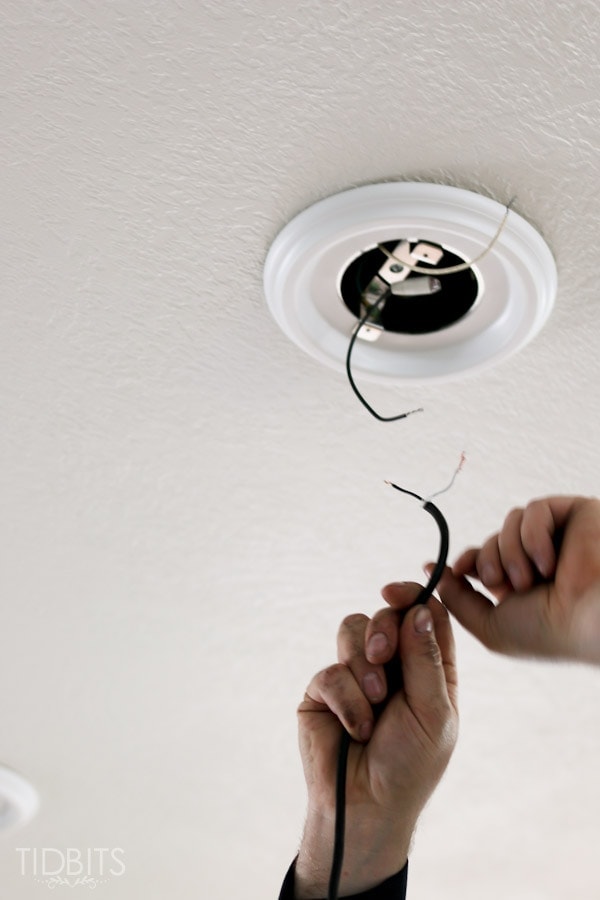
Update-hanging-lights-10

The best way to cut the metal safely, is to clamp it in a vice.  You’ll want to protect the surface of the rod with a rag or paper towels inside the clamp so you do not scratch the surface of your rod.
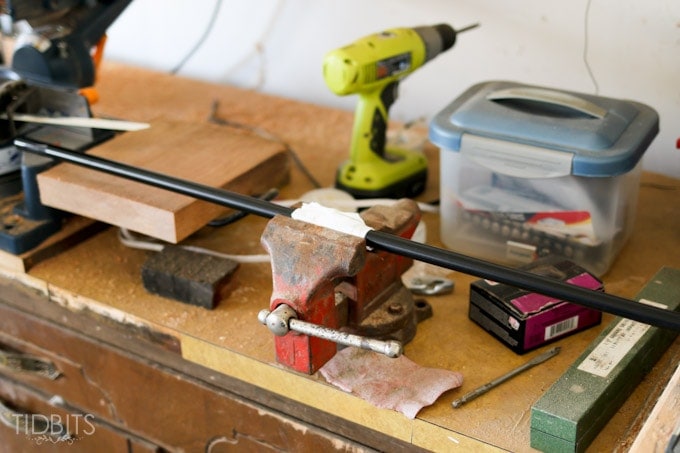
Update-hanging-lights-6

Cut the rod with a sawsall to the measurement you had pre-determined.  If the cut leaves the metal a bit jagged, smooth it out with some sandpaper.
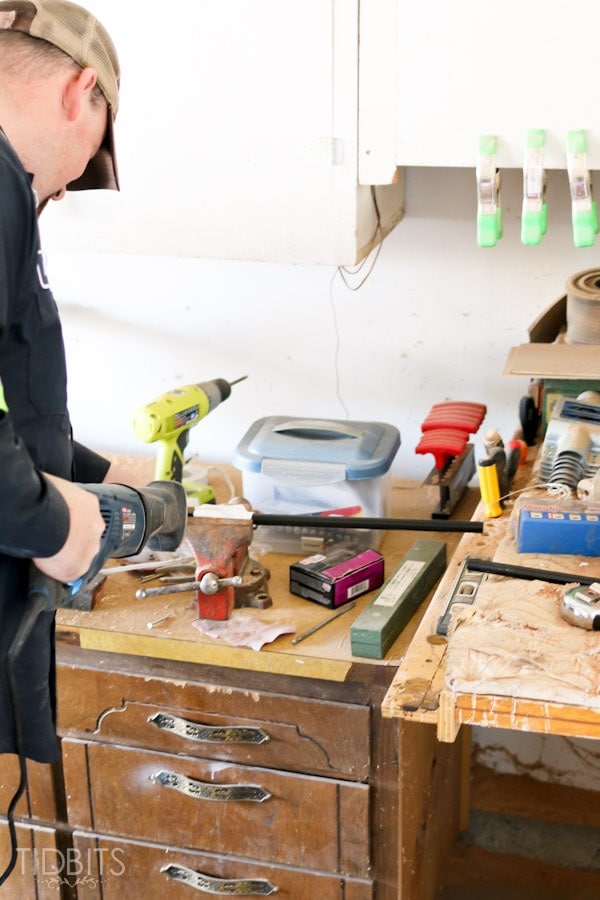
Update-hanging-lights-7

Simply insert the metal rod over the cord from the pendant light.
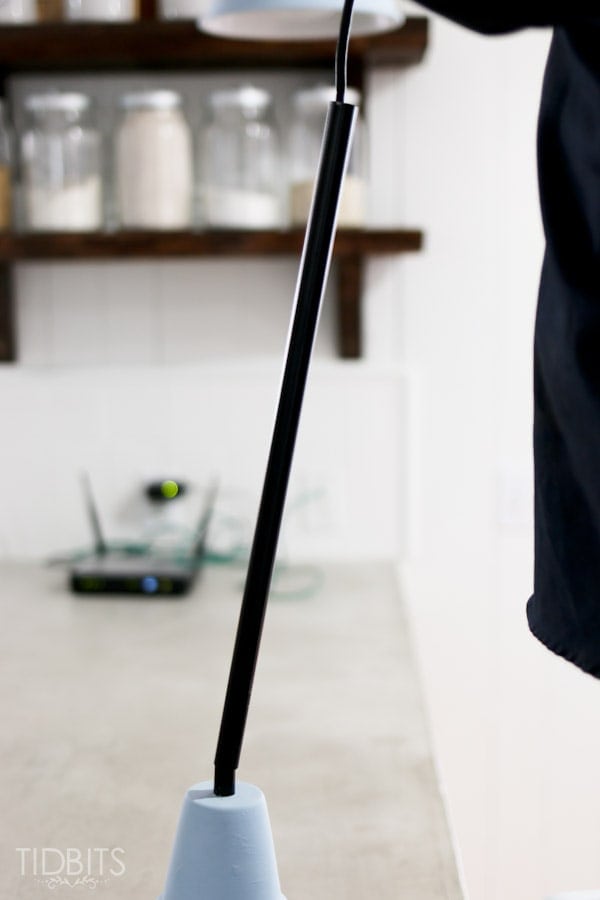
Update-hanging-lights-11

If using a cover plate as we have (bought at Home Depot), insert that as well.  To get the rod tight up against the plate, wrap some electrician’s tape around the cord, or consider tying a knot in the cord.
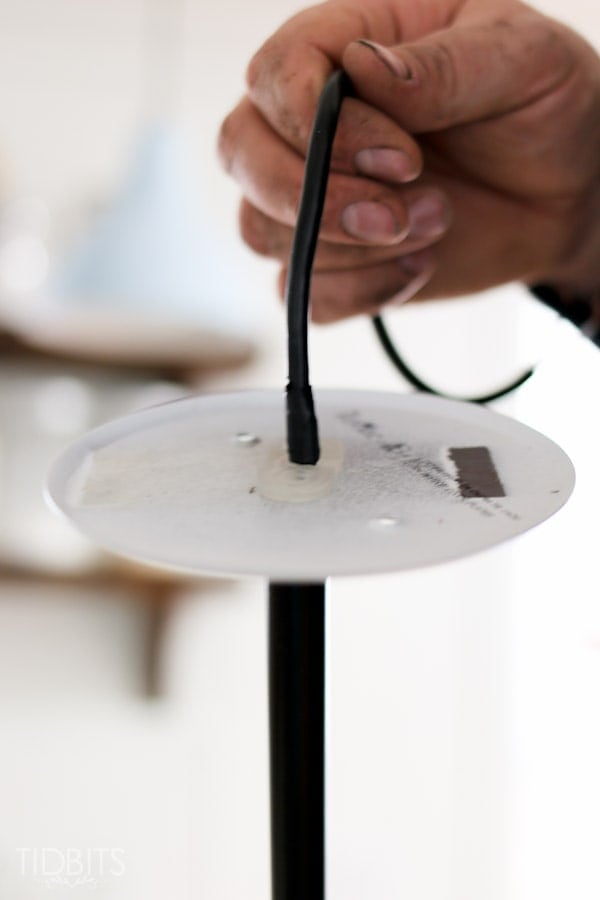
Update-hanging-lights-13

Re-wire and re-hang the pendant light.
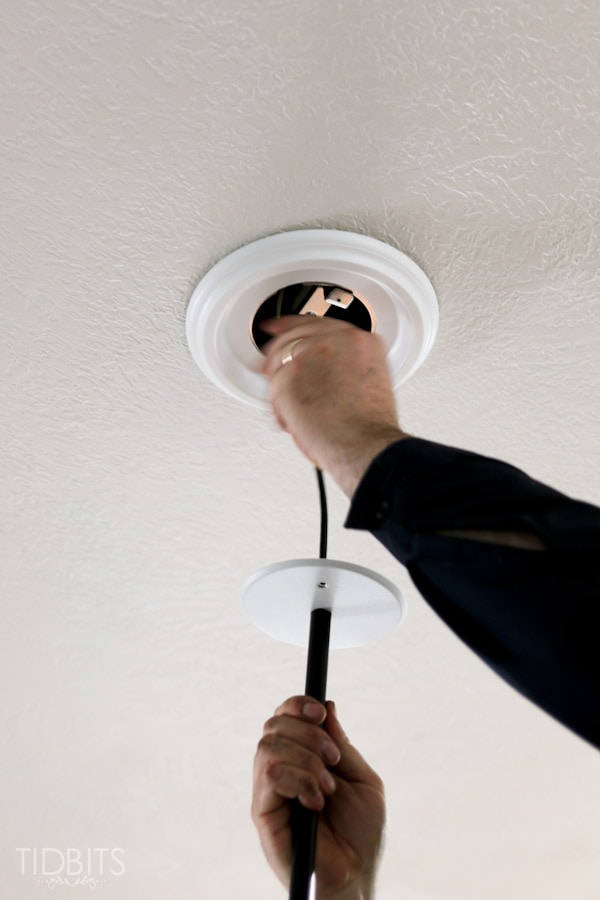
Update-hanging-lights-15

Now, stand back and be amazed at how easy that was to instantly upgrade your light fixture.
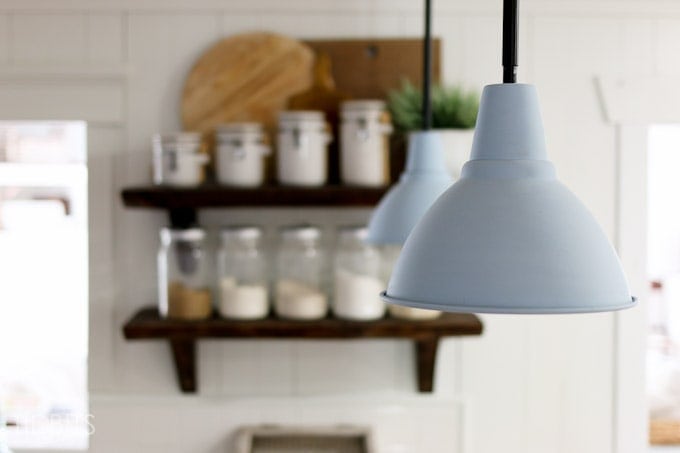
Kitchen-remodel-tidbits-42
Kitchen-remodel-tidbits-39

If you missed the rest of my kitchen tour, go HERE to get all the close-up details of our new space.
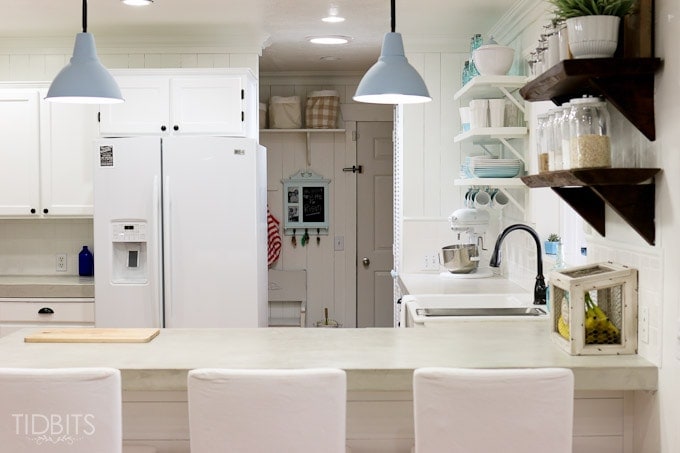
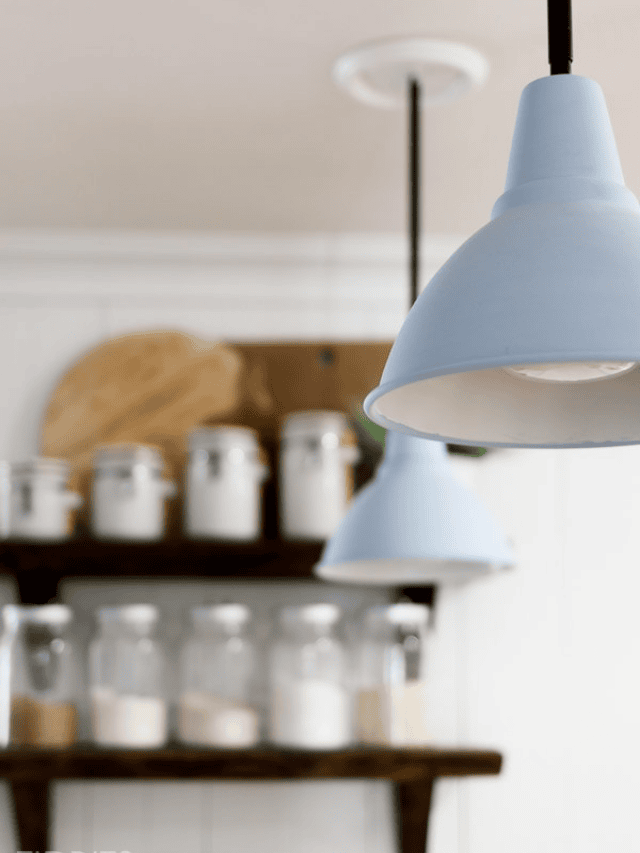
Kitchen-remodel-tidbits-25
How to Instantly Upgrade A Corded Pendant Light Fixture Story

I’m Cami! Welcome to my blog TIDBITS. Follow me along for beautiful home decor ideas and inspiration for do-it-yourself living
Thank you for Subscribing to TIDBITS! Talk to you soon.

There was an error submitting your subscription. Please try again.

94 shares

Tags: IKEA Hack, Kitchen, Lights
Leave a Comment

You might also like

  • Kitchen Design Regrets | What I wish I would have done differentlyKitchen Design Regrets | What I wish I would have done differently
  • DIY Plaster Vase Makeover | Brand New to Old World StyleDIY Plaster Vase Makeover | Brand New to Old World Style
  • European Farmhouse Kitchen Design | Reveal TourEuropean Farmhouse Kitchen Design | Reveal Tour
  • My Review of the Verona Italian RangeMy Review of the Verona Italian Range

Reader Interactions

Comments

  1. Lynda says

    September 17, 2020

    Hi! I love the way your pendant lights turned out. Thanks for the info!

    Question: can you tell me where you got your counter stools? I’ve had a hard time finding ones that I like, and I really like yours.

    Thank you!

    Reply
  2. Jo says

    November 7, 2019

    Can the covering be used to cover wire and chain on chandelier… hate to look at the chain.

    Reply
  3. Happy Hiller says

    November 6, 2019

    Thank you for your helpful guide! Glad I stopped by to read your post.

    Reply
  4. JC says

    January 23, 2018

    What is the diameter of the rod you used?

    Reply
  5. Lucy Gibson says

    November 21, 2017

    Cam, your light beige pendant lights look amazing over your breakfast nook. It really goes well with the white walls and ceiling. My husband and I are trying to do some minor upgrades to our kitchen at the moment. We currently have an old track light on our ceiling. We’d love to install something a little more modern and energy efficient. We’ll want to hire a licensed electrician to come out and install something like this for us. Neither of us has any experience, tools, or time to do it ourselves.

    Reply
  6. Cindy says

    July 23, 2017

    This is just what I was looking for to replace chained lights that are going over our island. Thanks!

    Reply
  7. David Easterday says

    June 3, 2017

    Why do you call a tube a “rod”? Otherwise, the project is sound.

    Reply
  8. Darcy Whittell says

    April 18, 2017

    That’s true, blue light is really go with your kitchen. It looks beautiful and you decorate this very well.

    Reply
    • camitidbits says

      April 18, 2017

      Thank you so much!

      Reply
  9. McKenzie says

    April 4, 2017

    Thank you for sharing this how-to! These lights look great!

    Reply

Leave a Comment Cancel reply

Your email address will not be published. Required fields are marked *

CommentLuv badgeShow more posts

This site uses Akismet to reduce spam. Learn how your comment data is processed.

Primary Sidebar

Hi! I am Cami. My passion is to help you, as the keeper of your home, to feel inspired to create a home you love and to learn the homemaking skills to help you do so.


About Cami

My product lines

TIDBITS Planners
TIDBITS Linen

Our books

Front cover of 'Master The Electric Pressure Cooker' cookbook

Hot off the press
tidbits.
Right to your inbox.

Sign up to get post updates, monthly subscriber only content, and inspiration for do-it-yourself living
Thank you for Subscribing to TIDBITS! Talk to you soon.

There was an error submitting your subscription. Please try again.

Archives

Follow on Facebook

Footer

Welcome to my blog, TIDBITS! I am a homeschool Mom to 4 and a fanatical DIY'er. I absolutely love home - and I love to inspire others as the keeper of their homes!

Subscribe

Thank you for Subscribing to TIDBITS! Talk to you soon.

There was an error submitting your subscription. Please try again.

Privacy

Copyright

I love sharing my ideas and tutorials! I ask that you respect my work and follow these guidelines. 1. All images are property of Tidbits blog. 2. Feel free to use 1 or 2 images on your own webpages, provided a link back to my blog is clearly available. 3. Do not remove any watermark or crop/edit my images in any way, unless given written consent by myself. 4. All tutorials/ideas/designs are for personal use only and are not to be copied and distributed in any way. 5. Sharing and pinning through social media is always welcome!

An elite Cafemedia Home/DIY Publisher
Branding + Website By Coded Creative

94 shares