This post may contain affiliate links, which means I get a small percentage of the sale at no extra cost to you. I only recommend items I love and have had a positive experience with. Thank you!
I am not certain why we do it to ourselves, but my husband and I always make homemade gifts for our neighbors/friends/siblings come Christmas time.
I suppose it all began with our very first Christmas together . . . dirt poor college students, who could only afford to make muddy buddies for those we loved.
Looking back now, we have come a ways from muddy buddies. But even if it came from a box of Chex Mix, each gift through the years has been made together, and given with all our love.
We are blessed with many friends and family, so every year we try to think of the most resourceful way to share the Holiday cheer. This year, for us, it was a candle.

A few years ago, my Aunt (who used to be into candle making), was searching for a home for all her candle making supplies. I guess she decided she was “burnt out”.
(Hehehe)
Apparently, the word was out, that I was a total craft hoarder. So logically, it all got passed to us and we packed around a giant tote of candle making goodness for 3 house moves.
The hubs just about threw away the box, figuring I would never do anything with it. Ha! I was just waiting for the perfect time to become a candle maker (because I need another hobby).
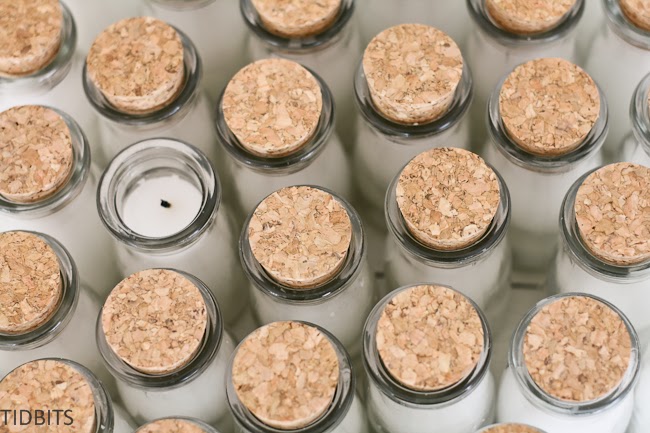
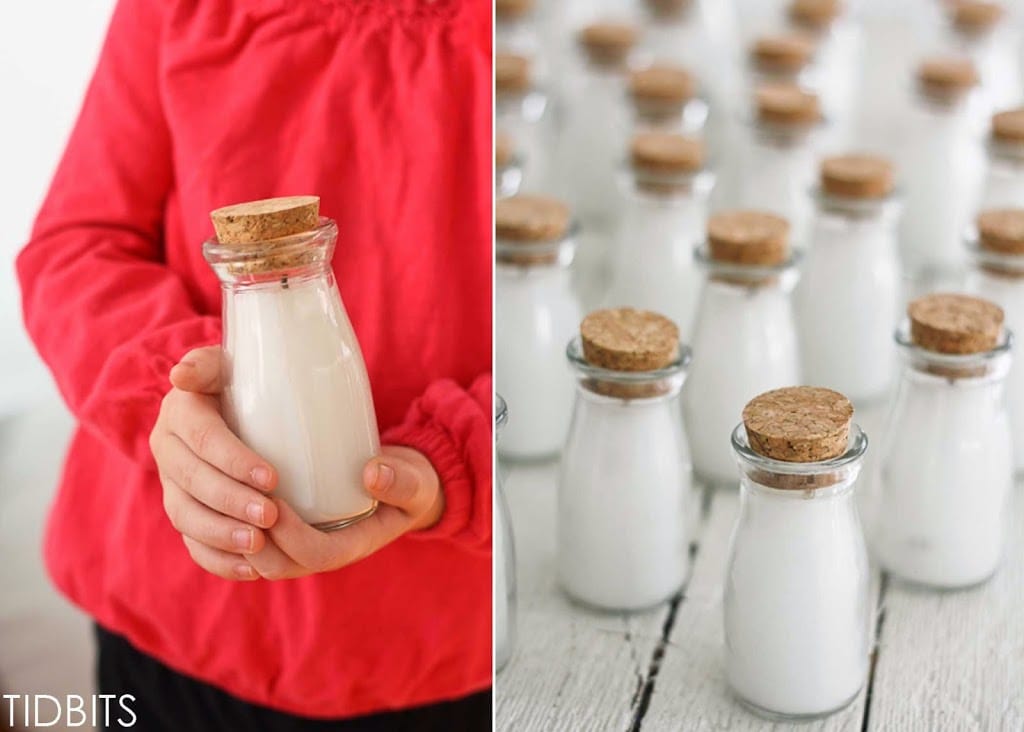
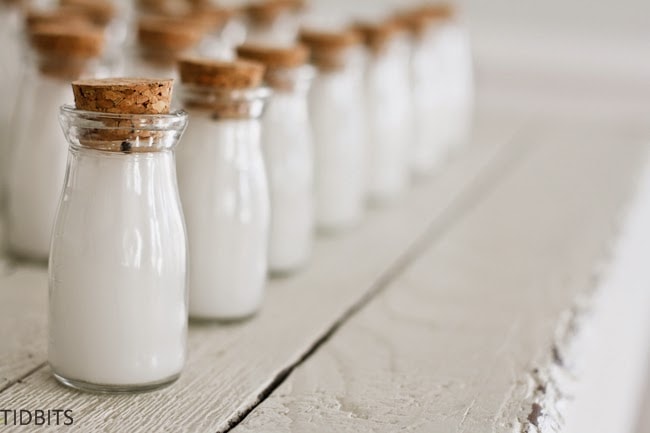
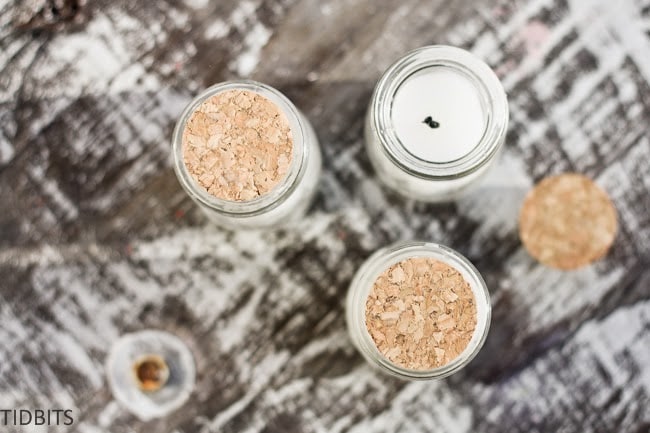
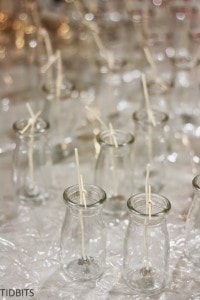
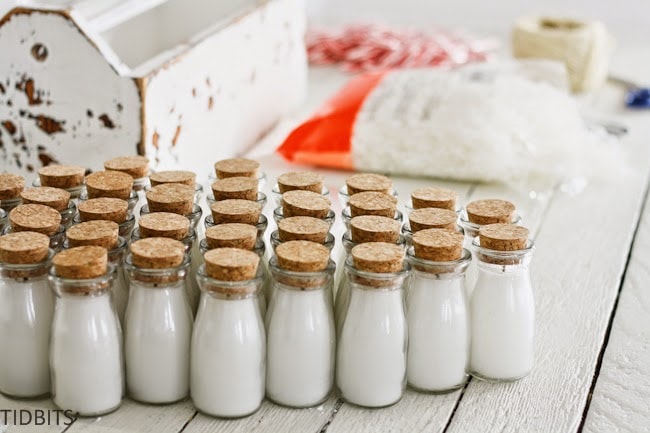
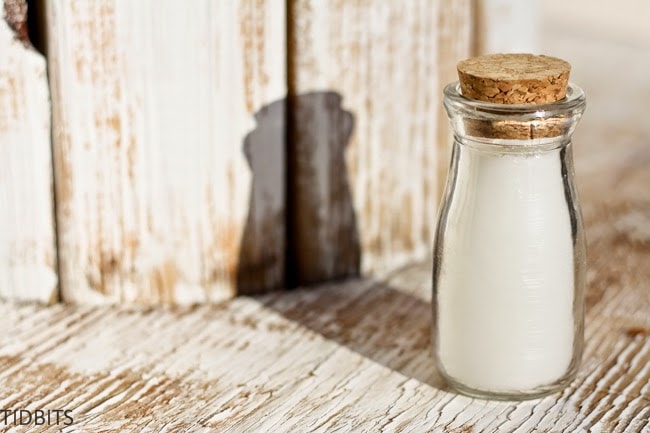
In this box, were chunks and chunks of wax (ya, I still have some left) and all the supplies we would ever need. When I saw these sweet little milk bottle jars online on Amazon, I was certain they would make the cutest little candles filled with white wax. Here is the link for the jars.
Kate Aspen “Vintage” Milk Favor Jar, Set of 12
In my minds eye, it would look like they were filled with milk cream, fresh from the farm. Most importantly – in my minds eye – they would be so fun to photograph!
A sweet little jar that holds still when I ask, always looks its best, and will wear simple white without complaining or getting dirty. A mothers dream.
So after trying our hand at 40 something candles, we’ve packaged them up and they are ready for our annual, driving-around-until-the-kids-get-super-tired-and-cranky, night of fun!

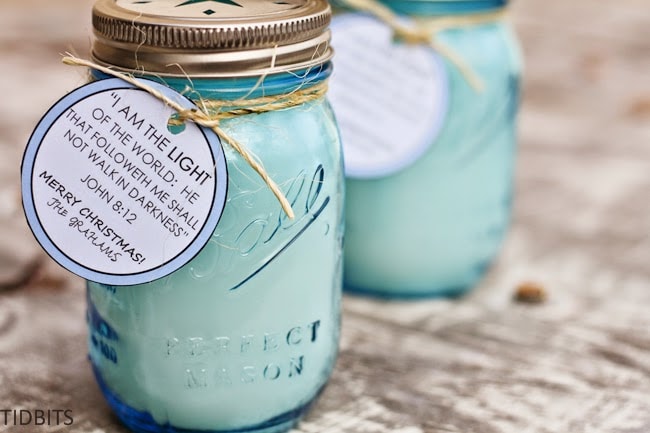
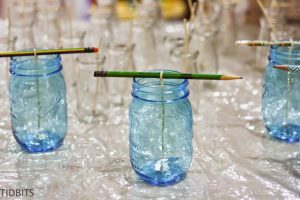
I had so much wax left still, I couldn’t resist pouring the extra’s into some blue Ball canning jars as well. A little something more for our Mom’s and super special friends (okay, okay . . . and one for myself).
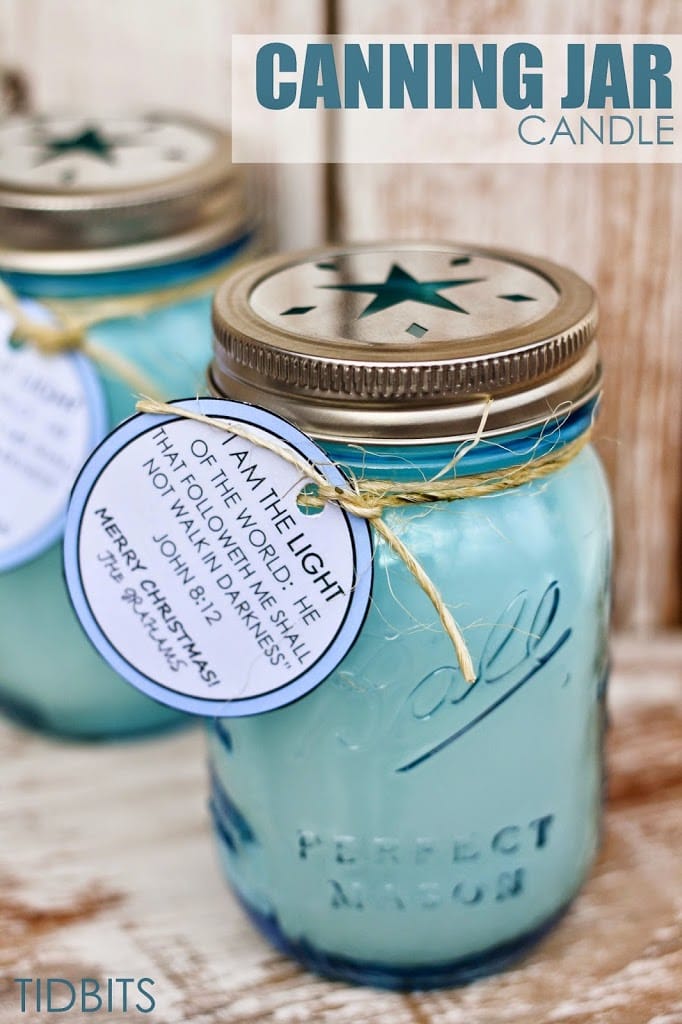
Joann’s had the perfect star lid, to top it off.

So this candle making business, was really easier then it looked. Though we did learn a few vital things along the way, which I would love to share!
Just in case you find the perfect little jar, and a tote of wax to go with it!
I’ll tell you the supplies you will need to make your candle, and also how to package it like shown above. The amounts will vary according to the size of your project.
Candle Making Supplies:
- Candle Making Wax
- I’ve read that soy wax is the cleanest to burn, however, we used what we had.
- Glass Jar
- So many choices! We found ours here, online. The blue jars were found at Joann’s Fabric.
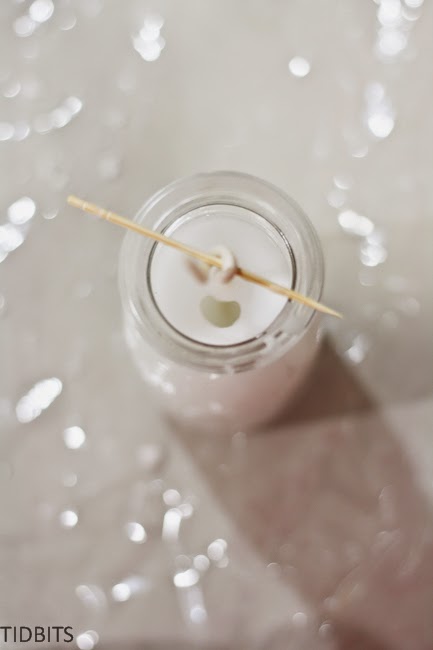
- Wick
- We used the types of wicks with the metal stoppers already attached to the bottom.
- Toothpick or pencil
- To hold the wick in place.
- Something to protect your work surface
- I used a piece of clear vinyl over our countertops.
- Metal pot
- Wax melts the best in a metal pot, but you will need to set up a type of double broiler method, as the pot with the wax in it should not be directly touching the heat source.
1. First determine how much wax you will use (total guess work on our part).
2. If it is not already in small chunks, you will need to break it up. My husband took a hammer to it with the wax in a garbage bag.
3. Place the wax in the metal pot. Put the metal pot inside another metal pot, filled half way with warm water.
4. Turn your stove-top on high, until the water begins to boil. Then turn it down to medium to maintain a gentle rolling boil.

5. While the wax is melting, prepare your glass jar.
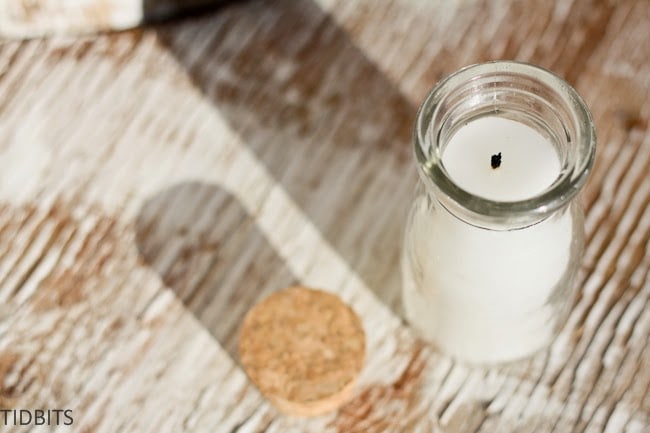
6. Center the wick inside the jar, with a toothpick or pencil holding it in place.
7. Once the wax is completely melted, carefully pour the hot wax into the jars trying not to drip down the sides.

Quick Tip: We learned this the hard way. You will actually need to do a second pour, once the first pour has completely cooled and hardened. So do not fill it all the way to where you want it to be during the first pour. Leave at least a 1/2 inch or so.

The reason for this is, a “sink hole” will form by the wick, especially likely if your jar curves at all. You will need to fill it in and top it off with the second pour.
This will ensure that you have a solid and even top.
8. Let your wax cool completely before use.
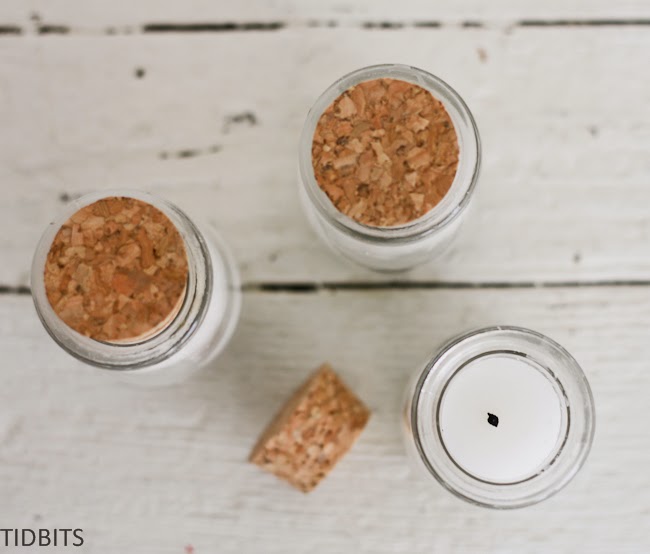
Finally, the last step is optional. We chose to light each candle briefly to have the wick blackened before gifting the candle. This was total visual preference for me.

But you could also leave the wick looking new.
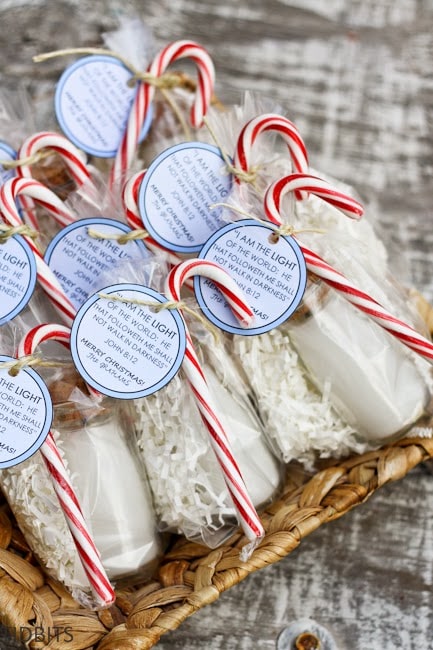
To package our small candle, we set up a mini packaging station.
It consisted of:
1. The Candle
2. Small clear plastic bag (purchased at any craft store)
3. Shredded paper pieces (any craft store)
4. A small tag/label (with a message of choice)
5. Hemp rope
6. A candy cane
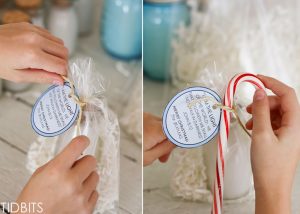
We hole punched our labels and cut our string to size, to begin with. Then my little helpers stuffed a handful of shredded paper into each bag, while I placed the candle inside the bag and tied it shut with the string.
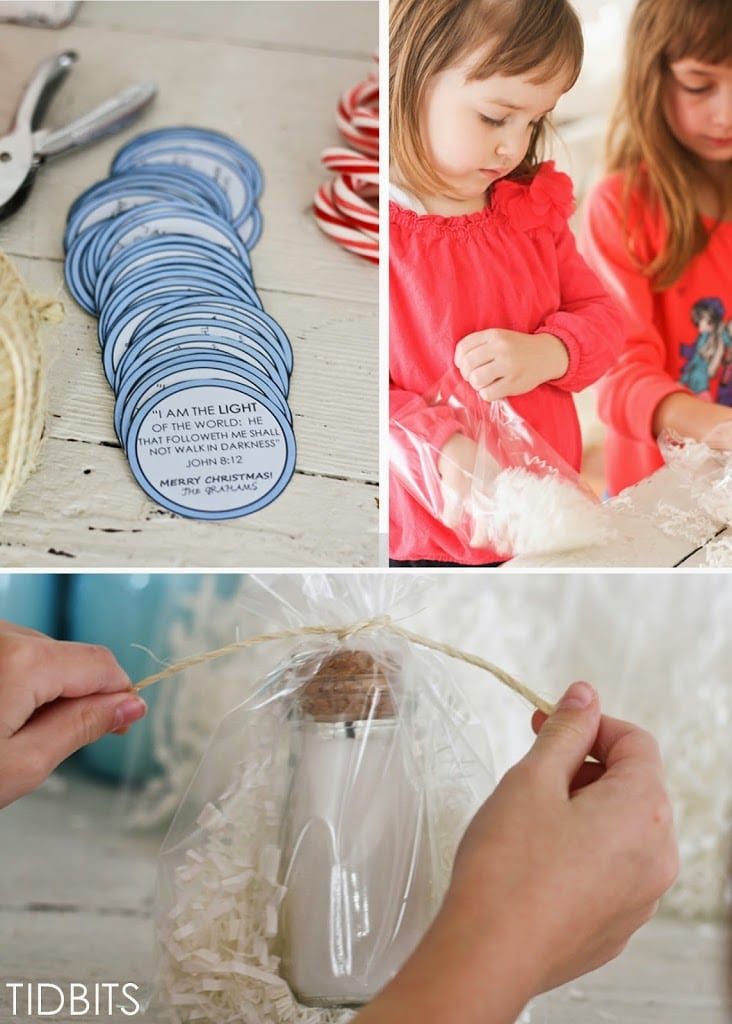
Then I slid the label onto the string and began another knot. Before I closed the knot securely, I slid a candy cane into it.
And that’s a wrap!
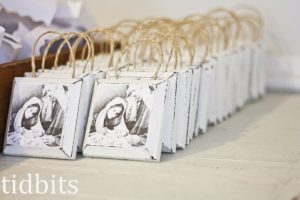
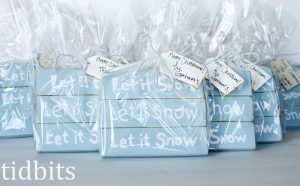
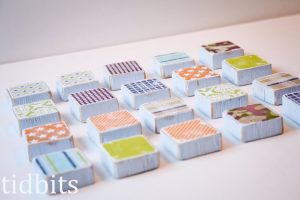
Here are the links to some of the previous “neighbor gifts” we have gifted through the years (minus the muddy buddies).


*This post contains affiliate links. You can rest assured I only recommend products I use and love.


Hi
Great tutorial thank you. Just wanted to find out, how well does the glass deal with the heat from the candle?
Thanks
Nadine
Hello, I have just a couple of questions about your candle in a jar project. I wanted to do something like this project this Christmas to give out as a little Christmas gift, and I just had a few questions for you before doing this project. My first question is could you give me a estimate of how much wax I would need to do this project if I only used 12 jars. I would also like to know could you tell me the type of wax and scent that you used to make that pure white color. My next question is could you send me the link to the exact type of wicks that you used because I can’t find them anywhere on the internet.
PS: I love your crafts and you can just email me all of your responses
You know, I think I want to be your neighbor. Not just for the gift, but I love all the inspiration you always provide! Great job and Merry Christmas!!!