This post may contain affiliate links, which means I get a small percentage of the sale at no extra cost to you. I only recommend items I love and have had a positive experience with. Thank you!
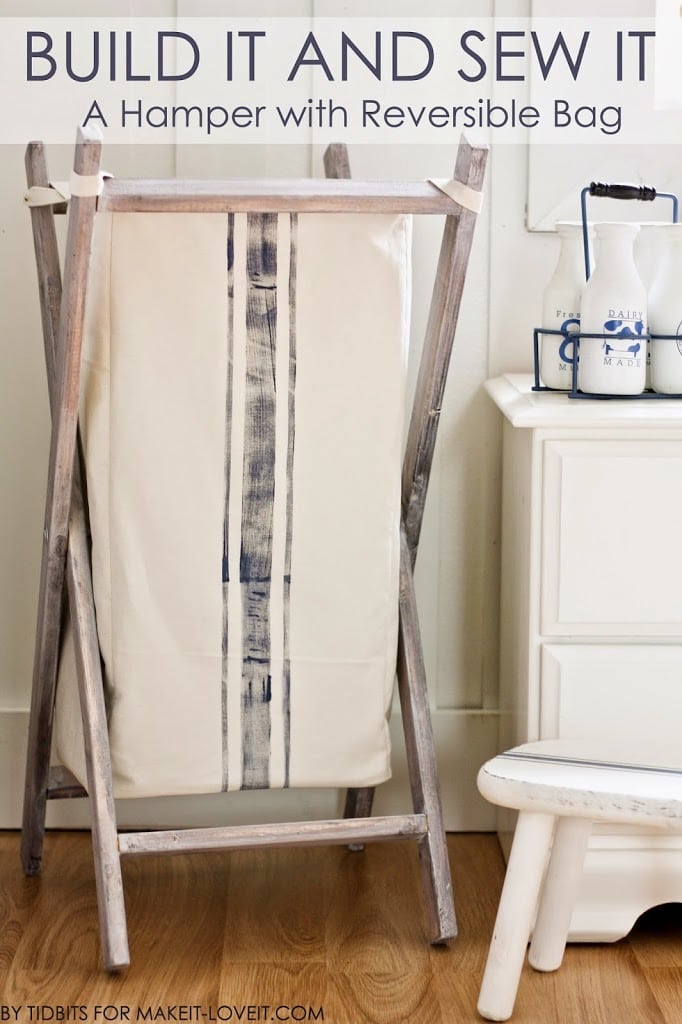
I shared all about this “Doodie Bag” over at Make it and Love it. Go check it out!!
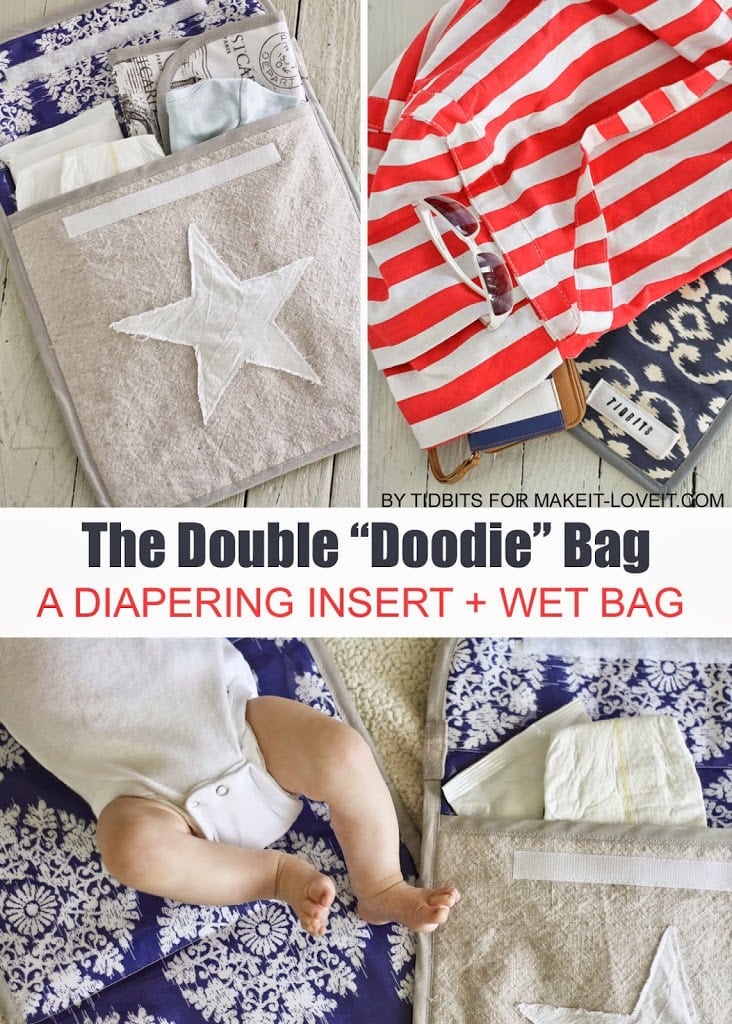
How I wish I would have come up with this with babies 1 through 3!! At least with #4, I am prepared for whatever he throws at me!!
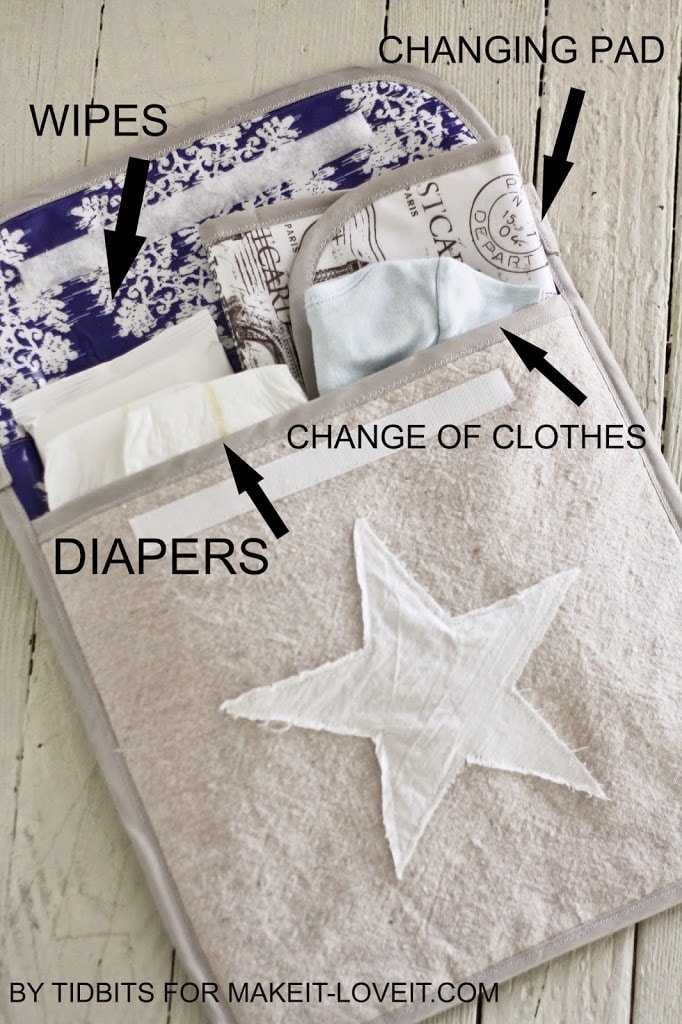
This handy bag makes it easy to keep the essentials right with you wherever you are.
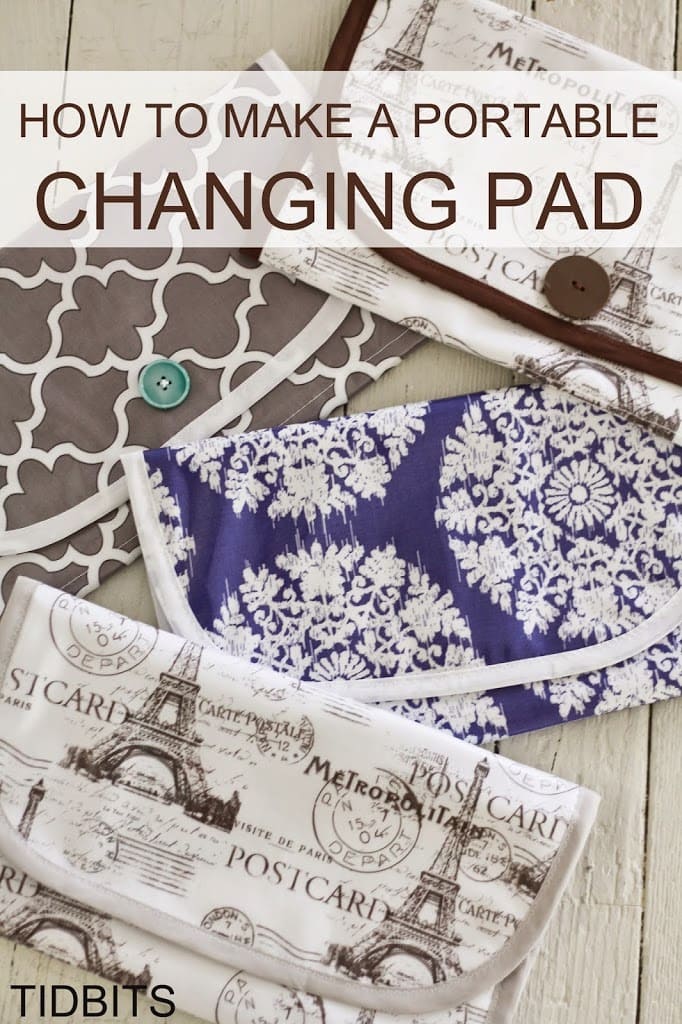
Now I would like to share with you how quick and easy it is to make the changing pad to go with the Doodie Bag.
If you bought the fabric needed for the bag, you already have enough to make 1 pad! If you want different fabrics, you will need to pick up some more laminated cotton.
These changing pads will fit right into the Doodie Bag. But it is also the perfect size to slip into any diaper bag for changing on-the-go.
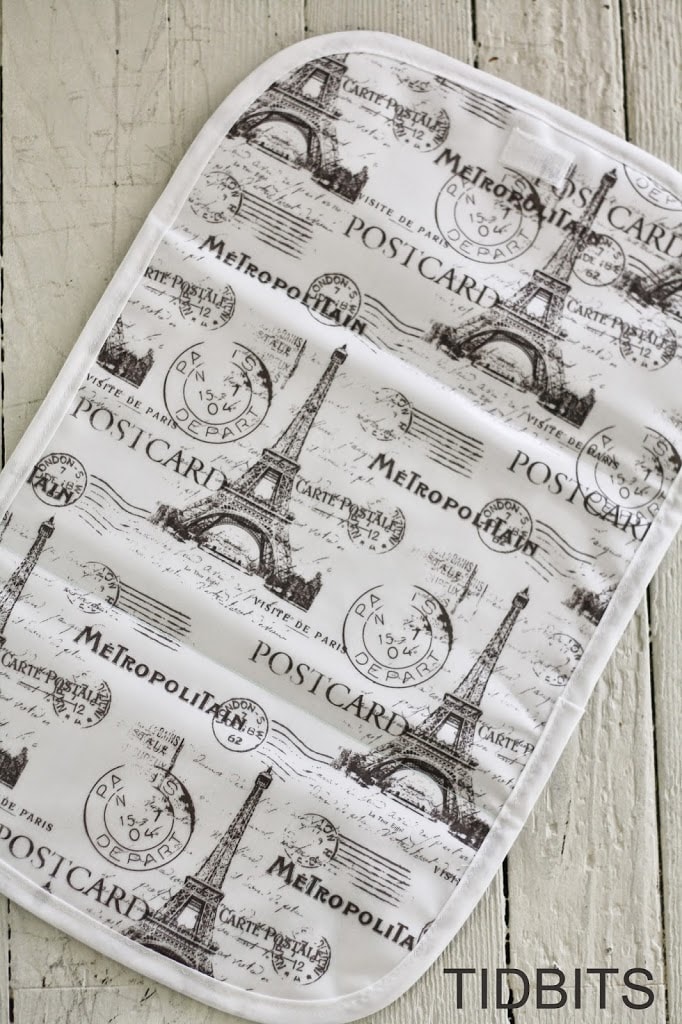
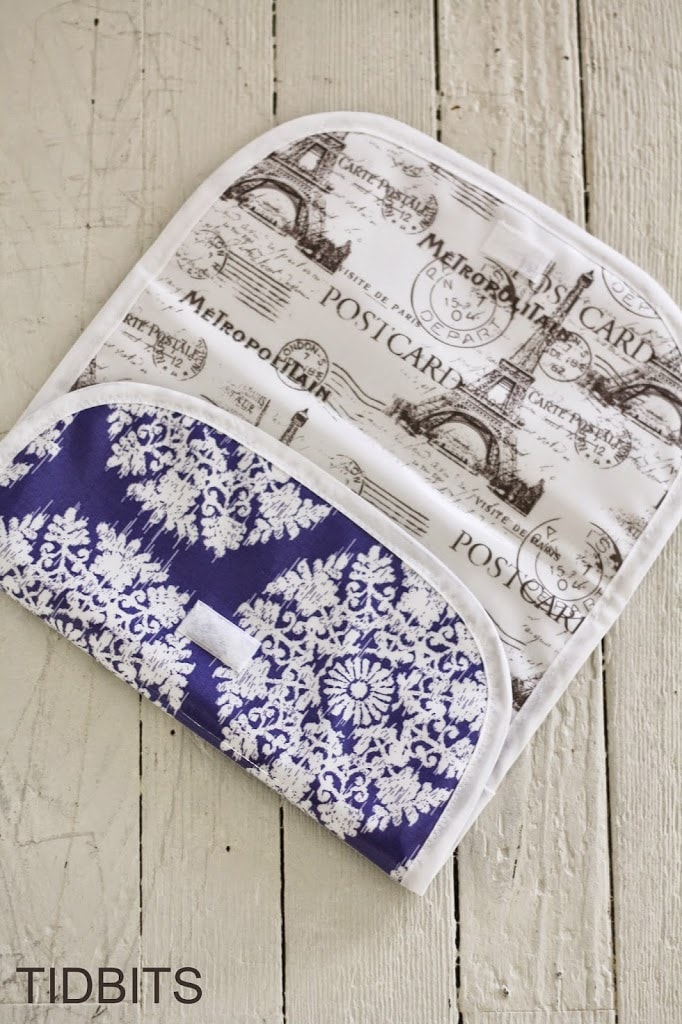
I have made them a couple of different ways. I’ve made some to have laminated cotton on both sides. That way any mess is just a soapy rinse away.
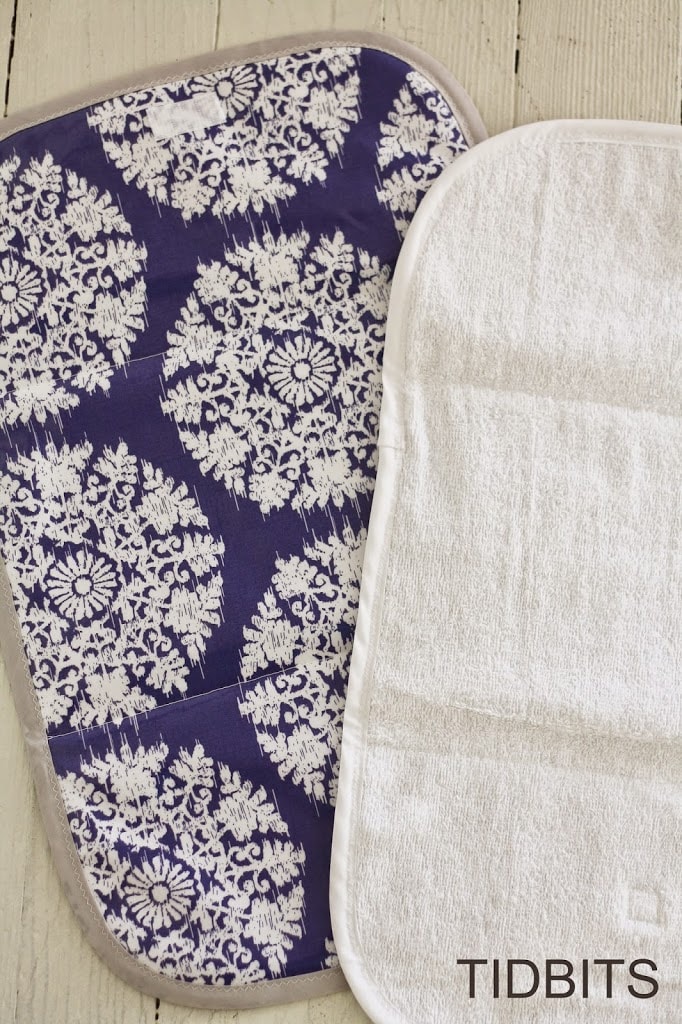
I have also lined some with terry cloth on the inside. These ones are a bit cozier for baby I think, but you’ll have to throw it in the wash if it gets soiled. Make a few of them and I think this would be no big deal, especially if you cloth diaper. I can’t really decided which one I like best.
Either way, they are super handy.
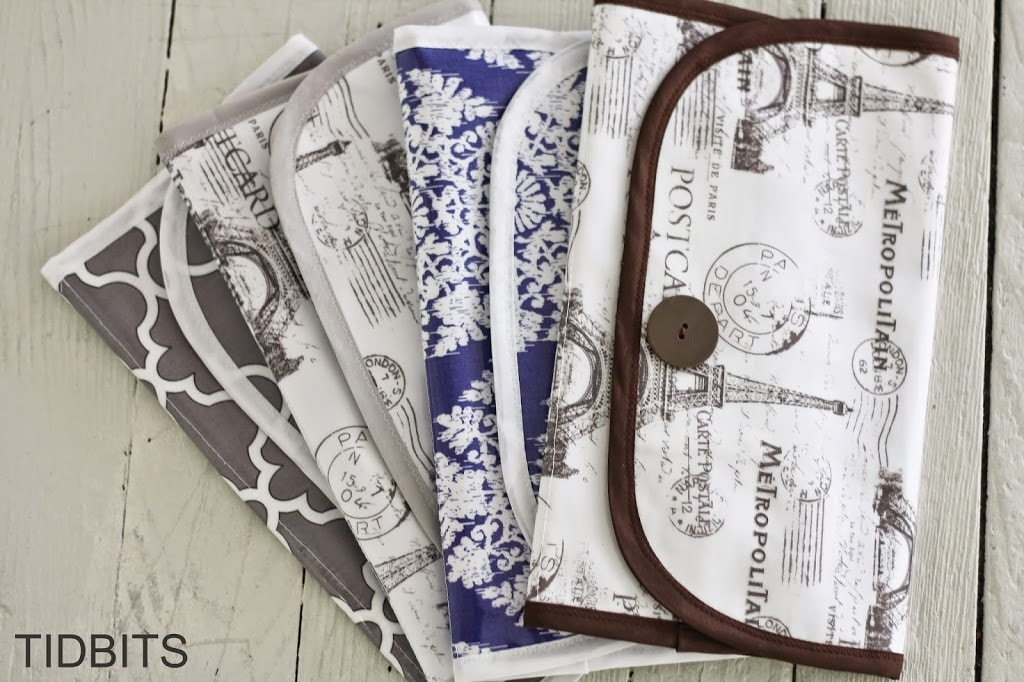
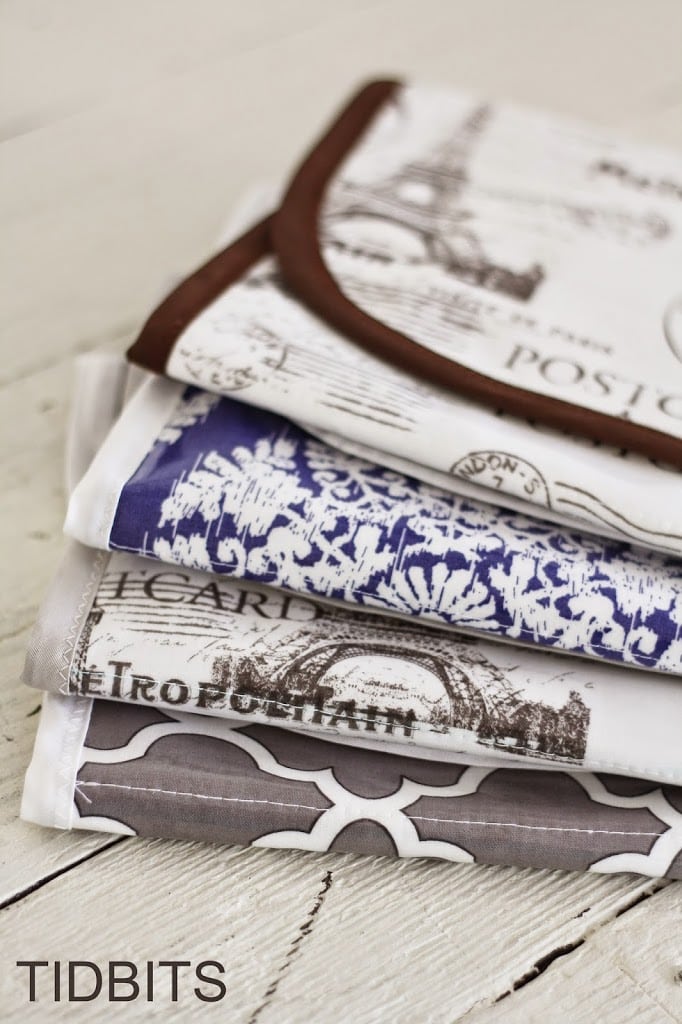
And wouldn’t they make the perfect baby shower gifts. Sew a bunch to have on hand.

There are so many fun fabrics out there to make this such a cute project.

If you have never sewed with laminated cotton, you are in for a treat! I really enjoy it.
So if you have 30 minutes, follow along and I’ll show you how to whip one of these up in no time.
Supplies to Buy:
– 1/2 yard of laminated cotton. You can buy two kinds, but you still need the width from buying 1/2 yard. But if you bought 2 kinds, 1/2 yard each would give you a ton left over to make more. If you want a towel like lining, buy 1/2 yard of terry cloth for one side.
-1/2 yard of white fleece.
– 1 package of double fold bias tape.
– sew on velcro. Just a bit.
**If you can’t get to the store, I did some searching and you can get everything you need for this project right from Amazon. Here are some links to get you started.
- Laminated cotton – Holy cow! They have some cute stuff! Link here.
- White fleece – Go here.
- Double fold bias tape – Go here.
- Sew on velcro – Go here.
Fabric to Cut:
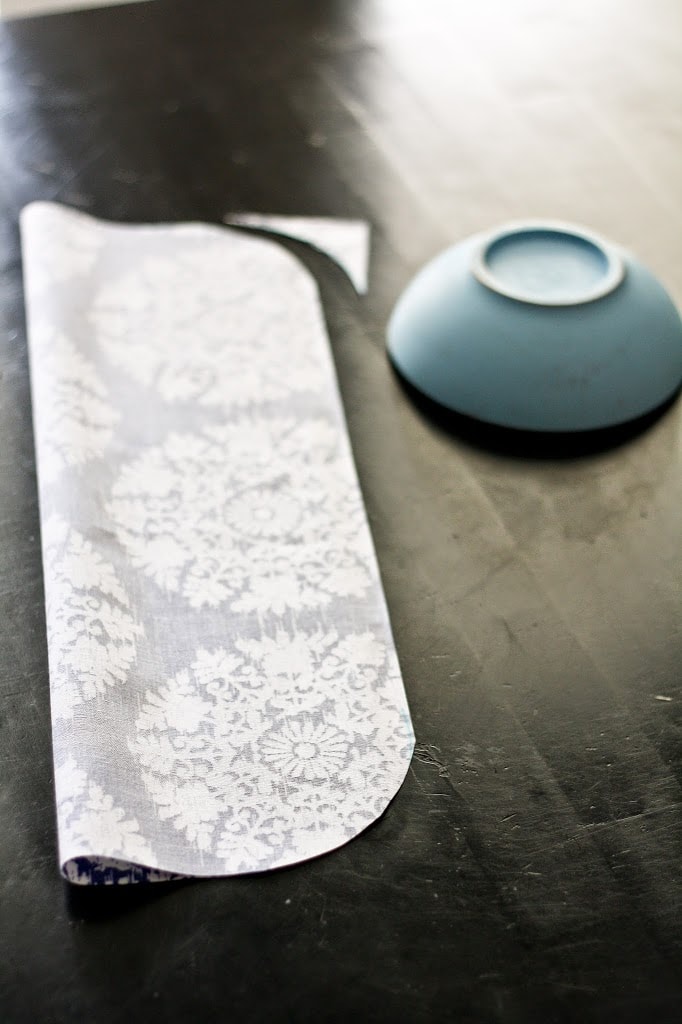
-Cut all your fabric pieces measuring 12 x 19 inches.
This will be one outer fabric, the waterproof laminated cotton. Also your lining fabric, whether it be laminated cotton or terry cloth. Finally, the fleece which will go in between them.

Use a bowl to trace a curved edge on all corners, on all fabrics.
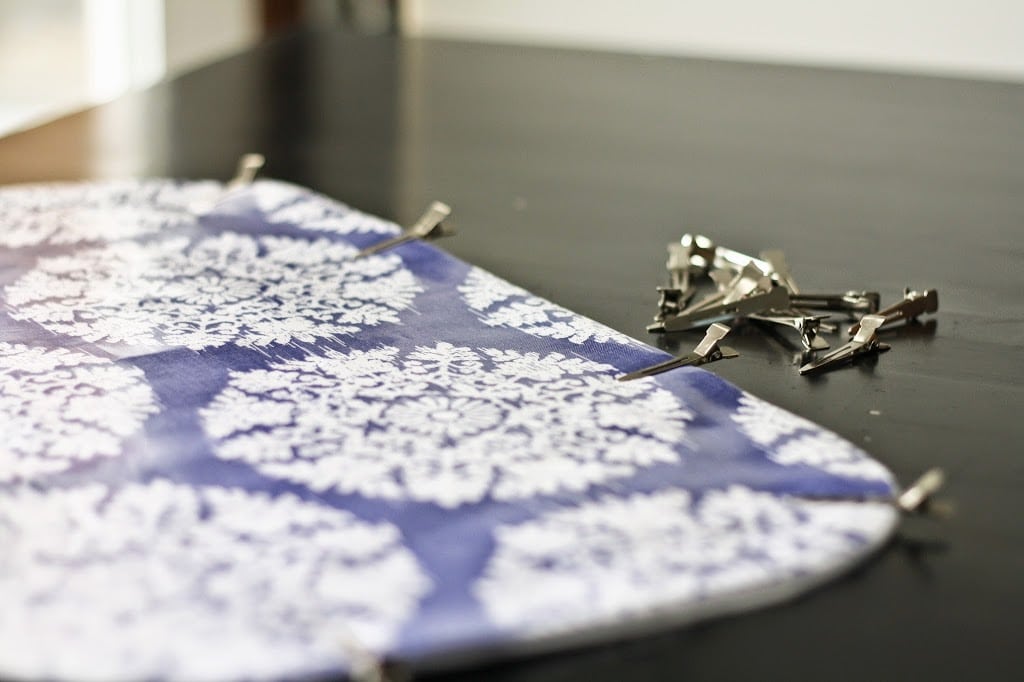
Sandwich the fleece in between the outer and inner fabrics. Make sure the wrong sides are touching the fleece.

Use hair clips or paper clips to hold your layers together while you work on them. Holes in your laminated cotton will not recover if you use pins.
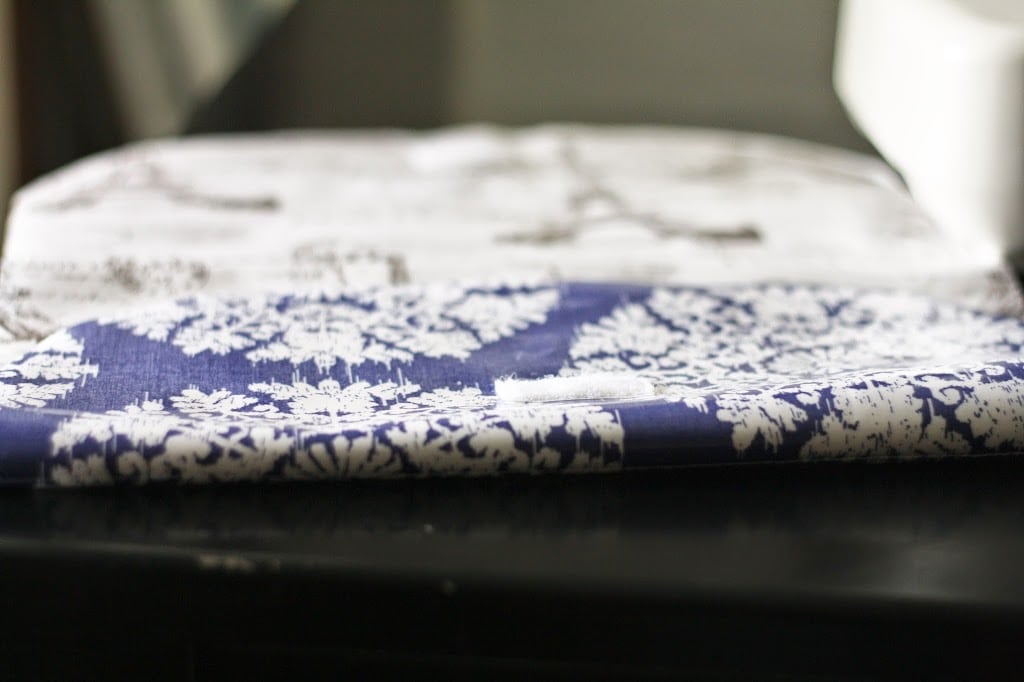
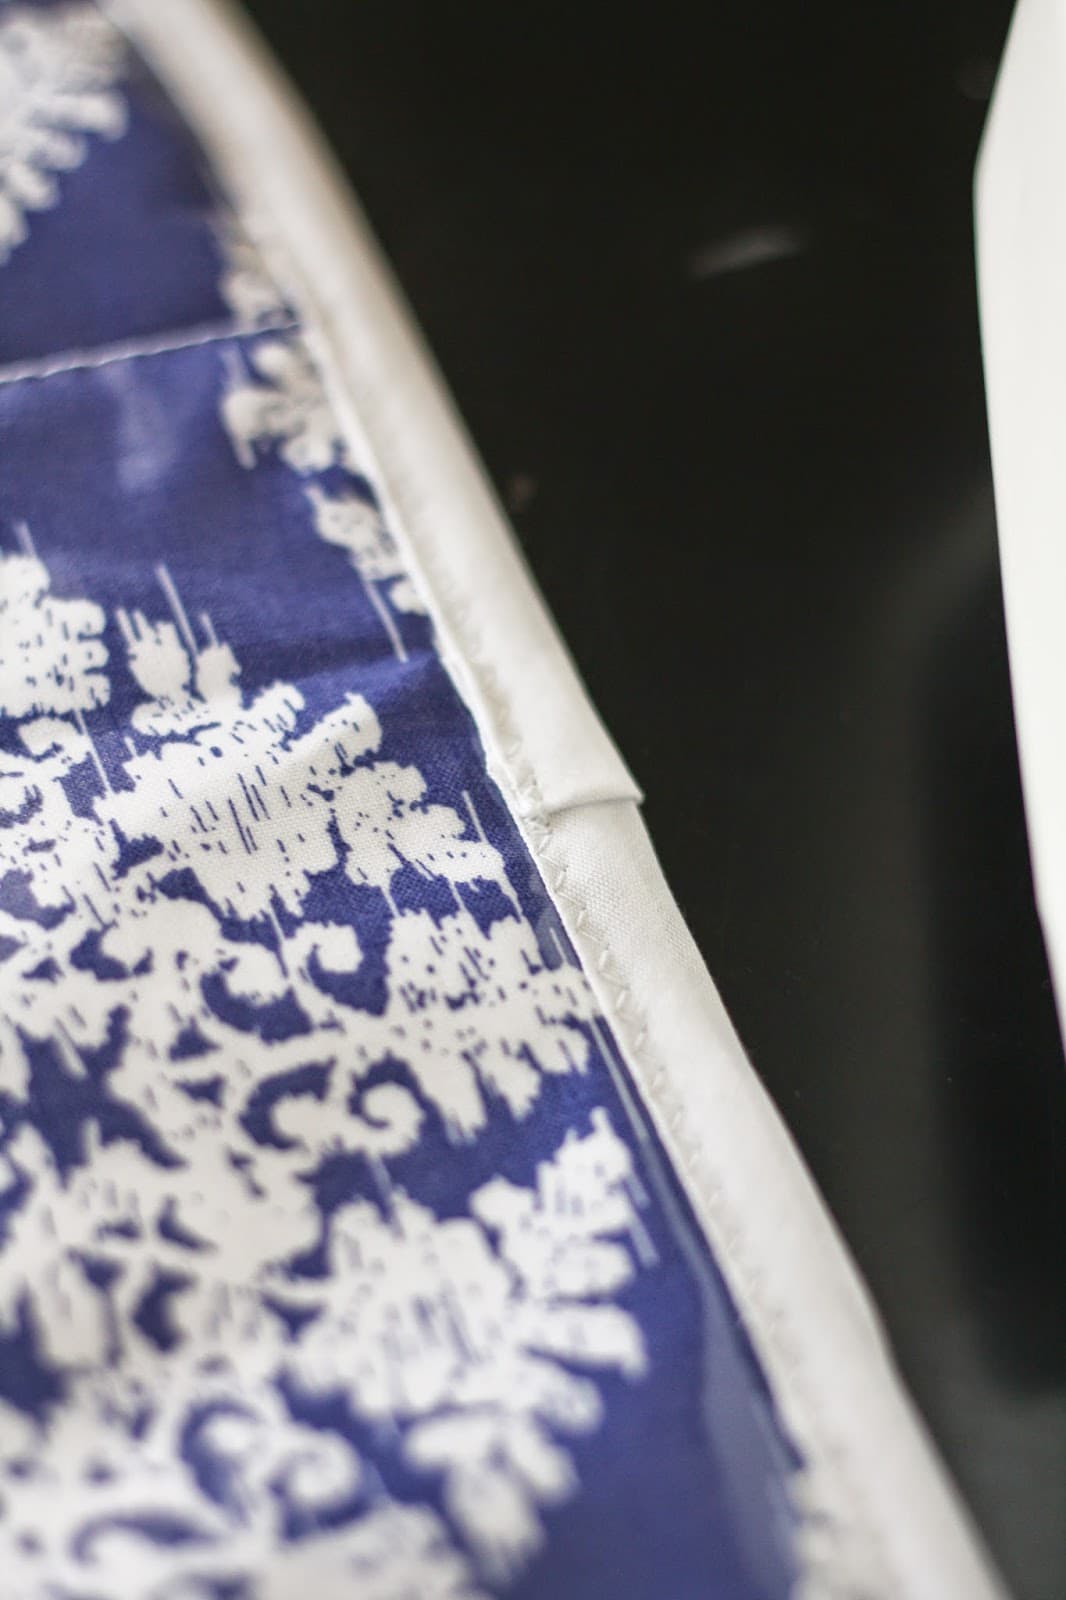
Now get a fabric marker and mark lines measuring 6 inches and 13 inches from the top. Sorry, it is hard to see the little blue line from my marker. These are the lines you are going to use when folding the changing pad up.
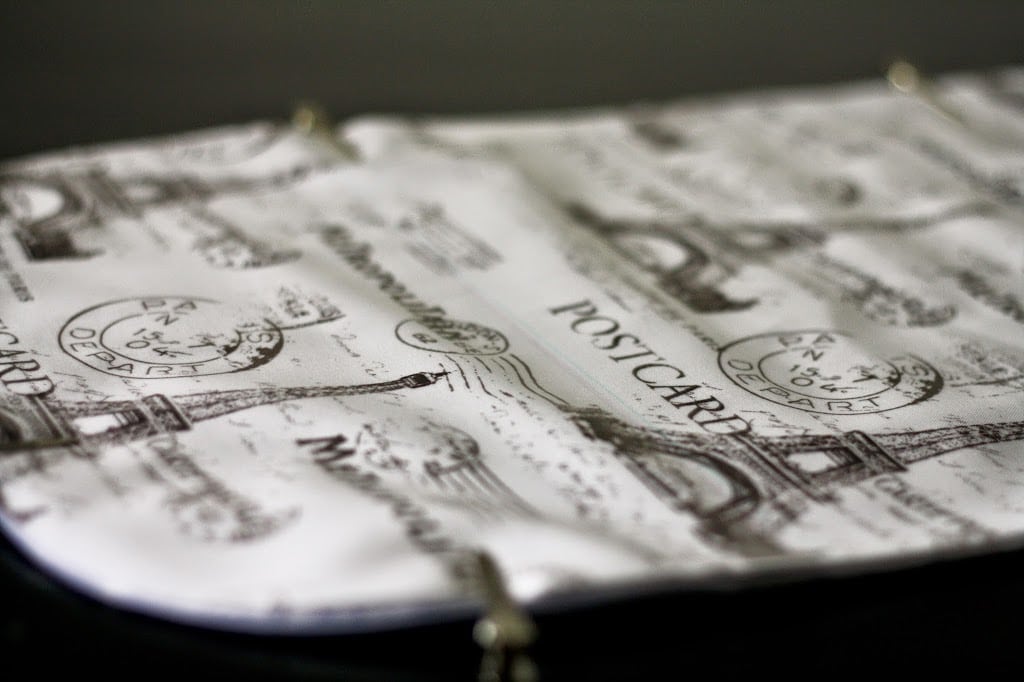
Stitch down these two lines.
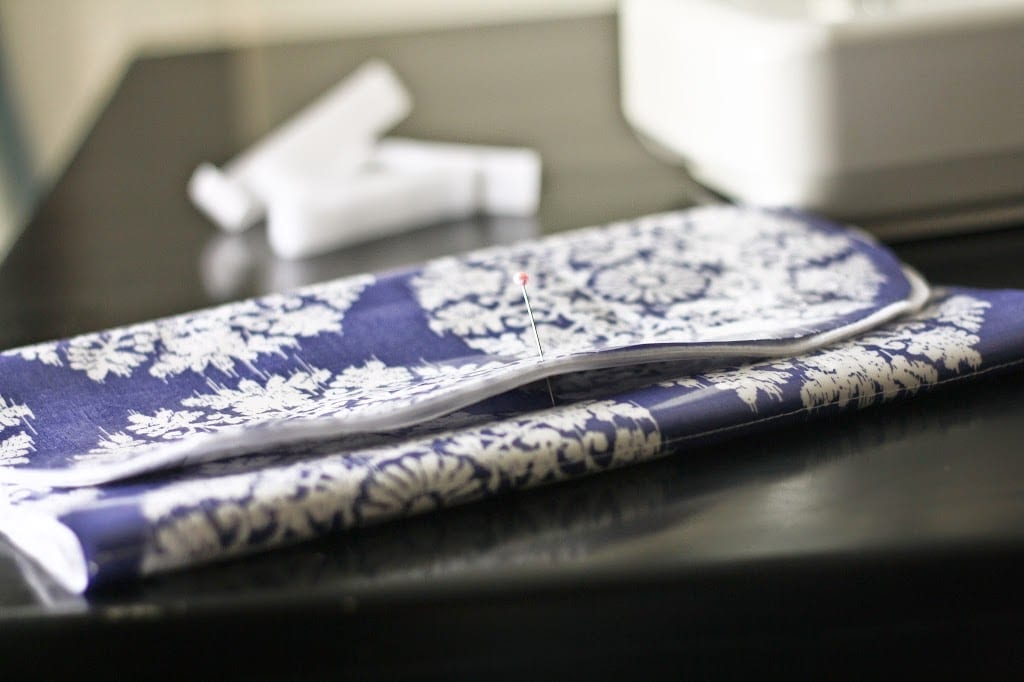
Fold your pad on the stitched lines and use a pin to mark a center point where you can sew your velcro closure.
Open it back up, and pin a small piece of velcro where that pin is marking. However, take special note, you are only pinning this velcro piece to the lining fabric, not all 3 layers. That way, you won’t see the stitching when you have it folded up. I also suggest you use the soft piece of velcro for the inside. I didn’t do this, and realized my mistake when I went to put my baby on a scratchy piece of velcro.

Stitch that piece of velcro down and close the pad back up to figure out where to sew the next velcro piece. Once again, only sew this to the outer fabric piece.
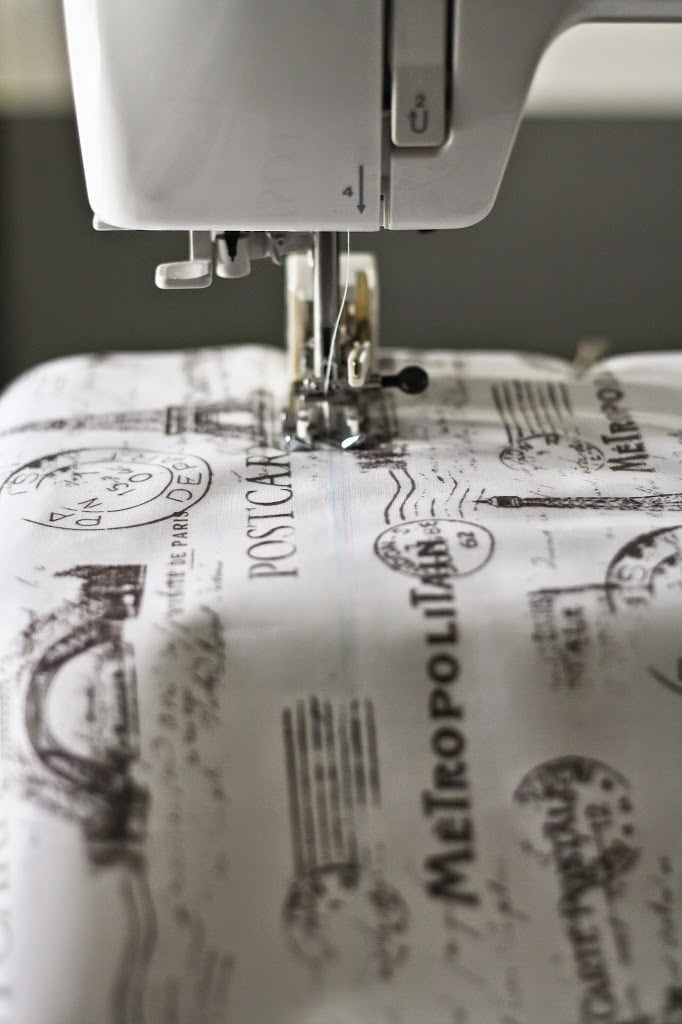
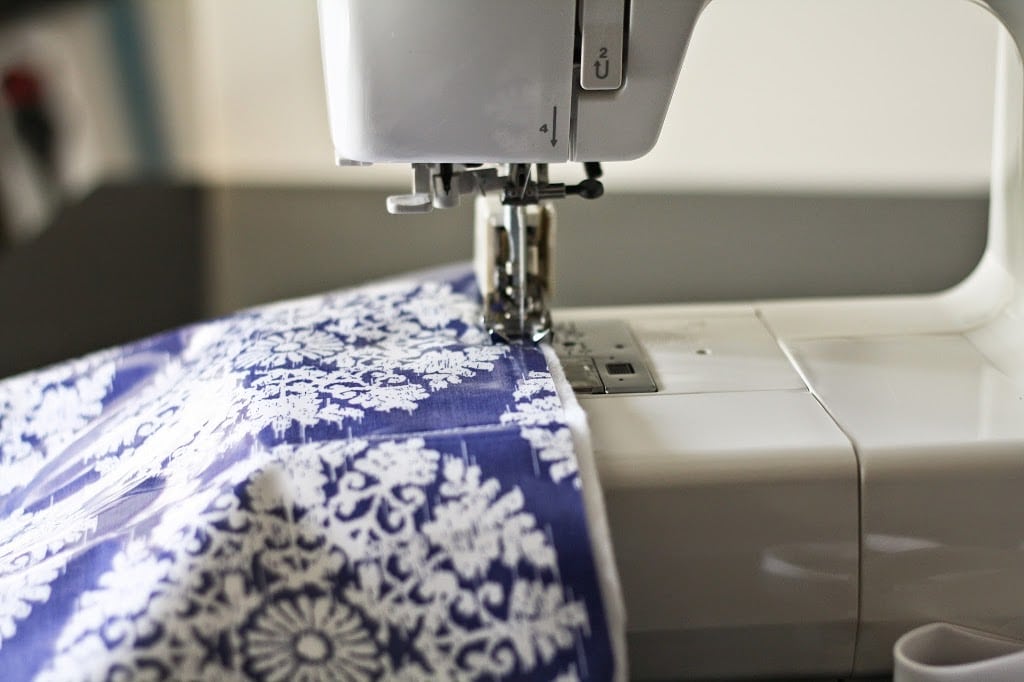
Now you are going to baste all 3 of the layers of fabric together around the edge. Put the edge of the fabric in line with the edge of the presser foot and move your needle all the way to the right. (Refer to my Doodie Bag post for more information on the best presser foot to use).
Now that all 3 layers are sewn together, it is time to stitch on the bias tape. Start any where you would like.
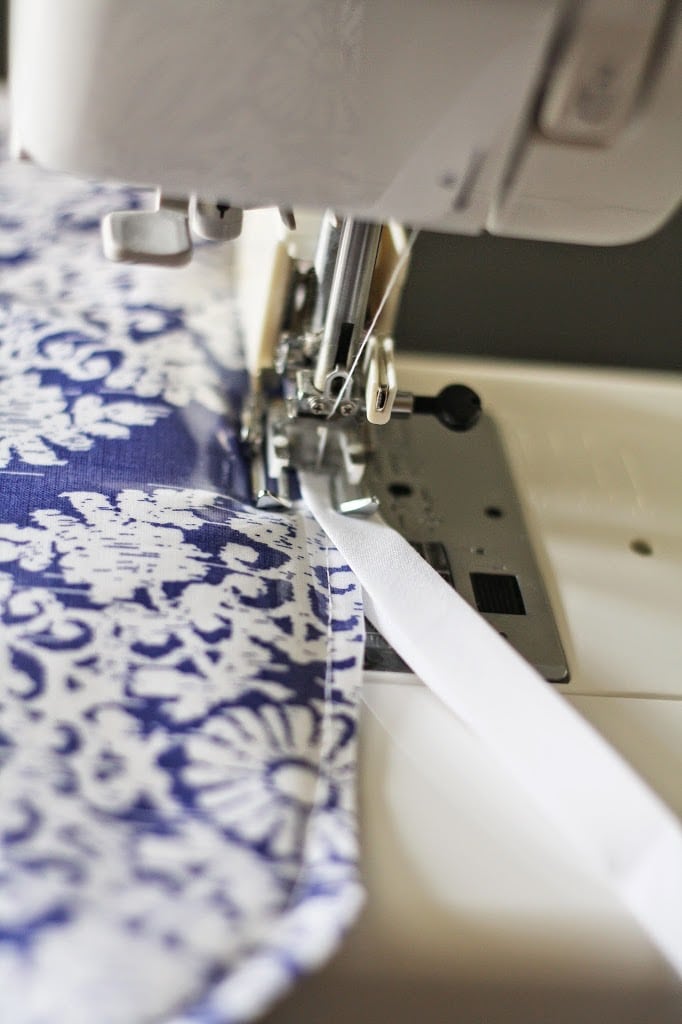
Use a zig zag stitch and sew it all the way around the pad. I share lots of tips here on how to sew the bias tape on, and how to start and stop it for a nice finished look.
You are finished!!! Now go make a few more and a Doodie Bag to go with it!!!
*This post may contain affiliate links, but you can rest assured that I always offer my true and honest opinion of all products and services.


Oh please tell me where you found the beautiful French postal fabric. Thank You .
Do you think PUL would work in place of laminated cotton?
Cami, you are ever so clever. Plus these are super modern and cute. Great tutorial and post.
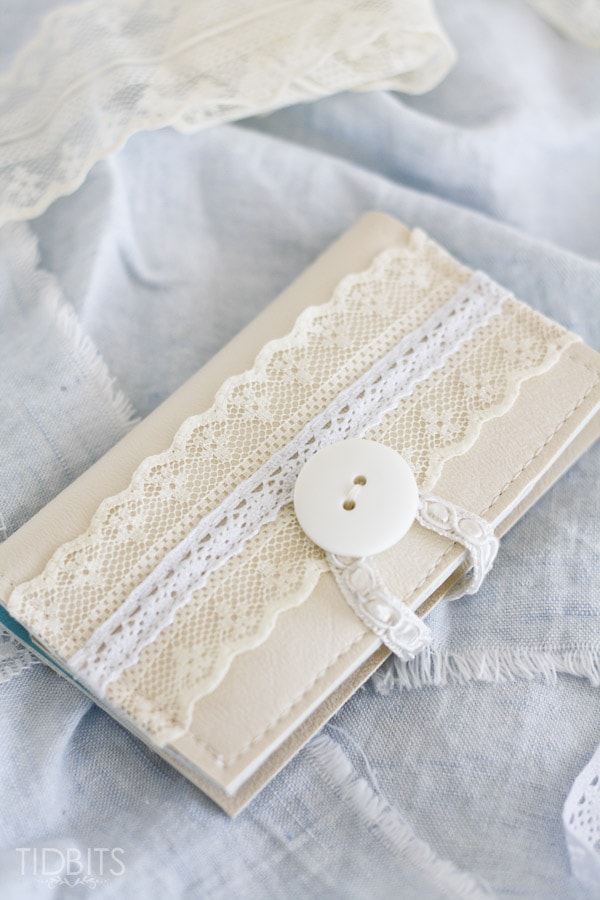
Pretty idea! Maybe I can make this into a writing pad instead 😉 Love your fabrics, they are beautiful
Oh please tell where you found the beautiful French postale fabric!! And was that coated as well or plain cotton?