This post may contain affiliate links, which means I get a small percentage of the sale at no extra cost to you. I only recommend items I love and have had a positive experience with. Thank you!
Fixing up our office space in the kitchen was a much needed project.
It is so rewarding when you can turn a “blaaaa” space into something that is functional and pretty.
I have a problem with a space when I know it is going to be remodeled someday. The problem is that in the meantime, it sits cluttered and I make no effort to keep it clean and tidy. In the back of my head I continue to tell myself that when it is fixed how I want it, then it will function well.
You should have seen these “junk drawers”. They could have won some kind of contest – they were that bad.
I could stand it no longer.
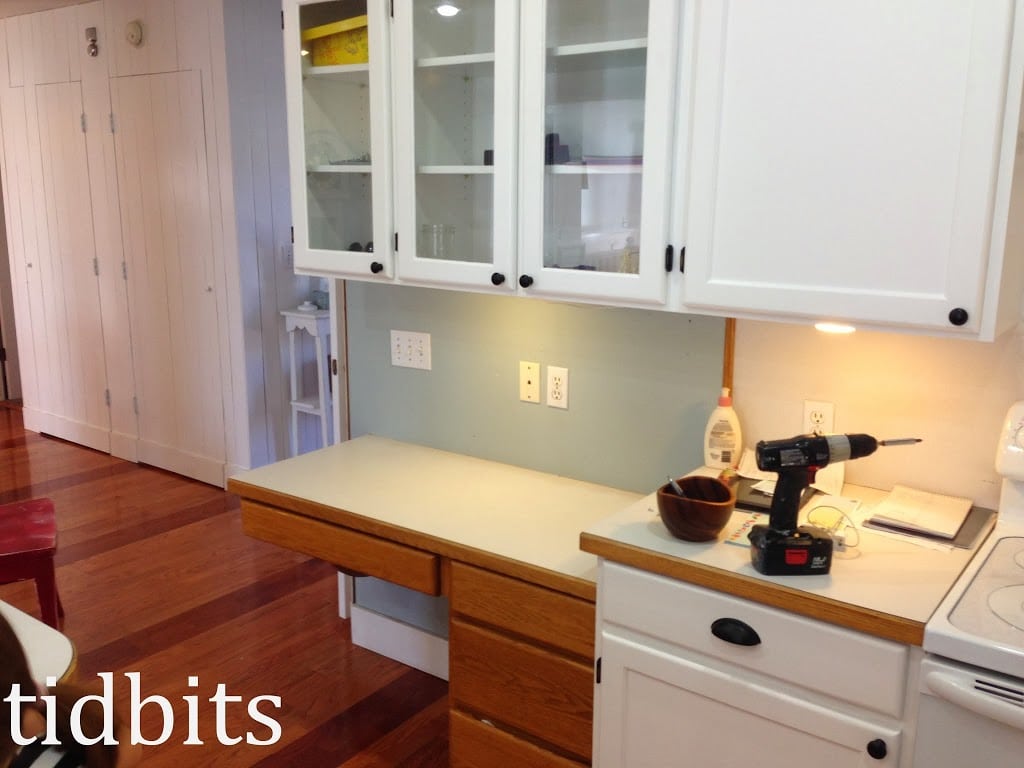
BEFORE OFFICE SPACE:
We are in the middle of updating the kitchen. It looks very pieced together as of now, but we are moving ahead as time and money allow. Slowly, it is starting to look like the kitchen I dream of having.
The picture below shows us in mid progress. We have painted the cupboards, and are moving our way around the kitchen with all the projects. All the cabinets were that orangy maple stain you see in the lower section. Now they are a beautiful flawless white. We had the doors professionally sprayed and we painted the cabinet boxes ourselves.
This picture shows all the things that had to be changed in order to make my vision a reality.

With lots of loving help from my husband – I love how it turned out!
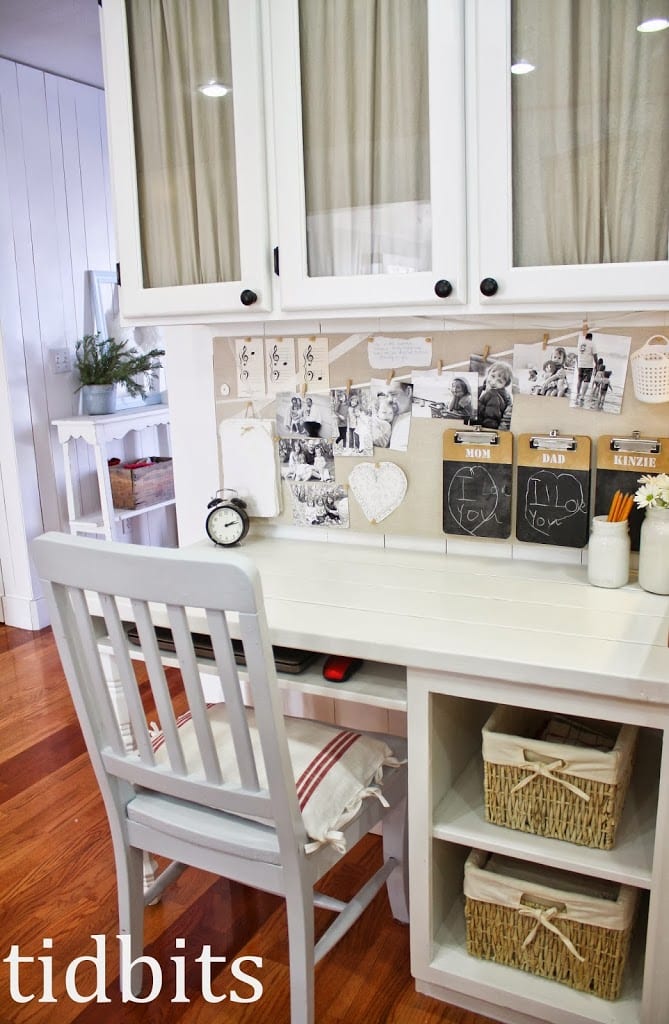
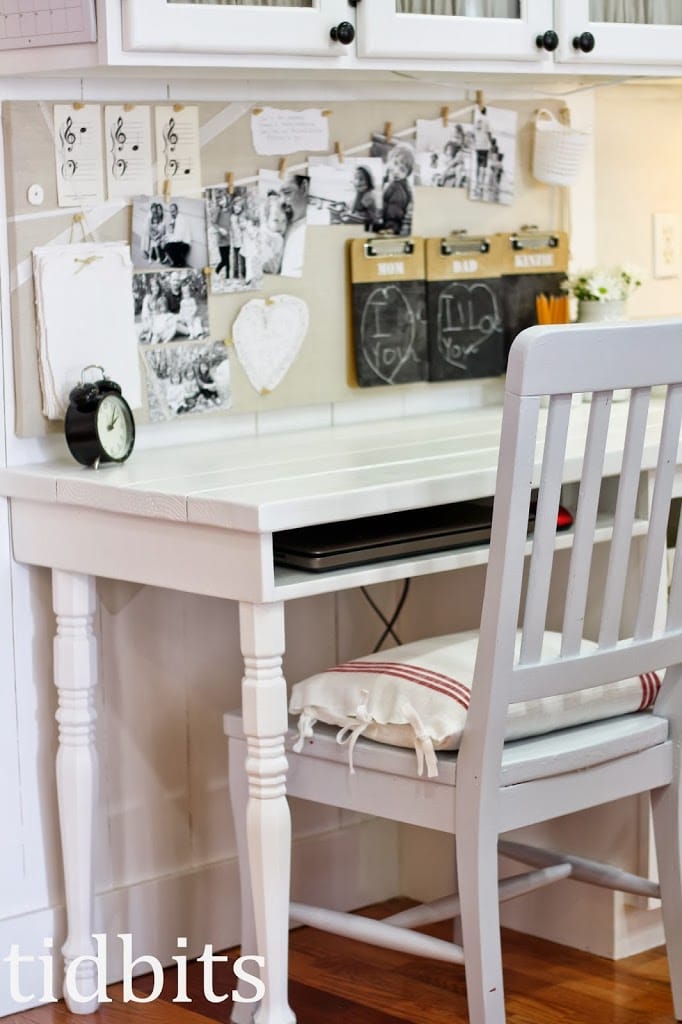
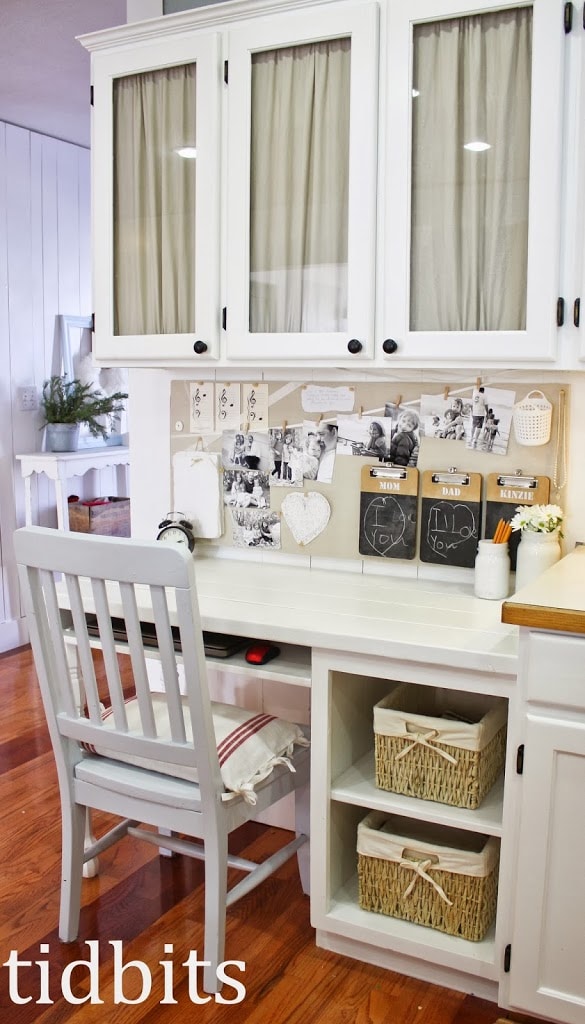
AFTER OFFICE SPACE:

You can see how my husband built a new planked countertop, and added pretty little legs in place of the weird swoopy thing. He reconstructed the side drawers into two shelves for baskets. I keep our kitchen rags and towels in them.
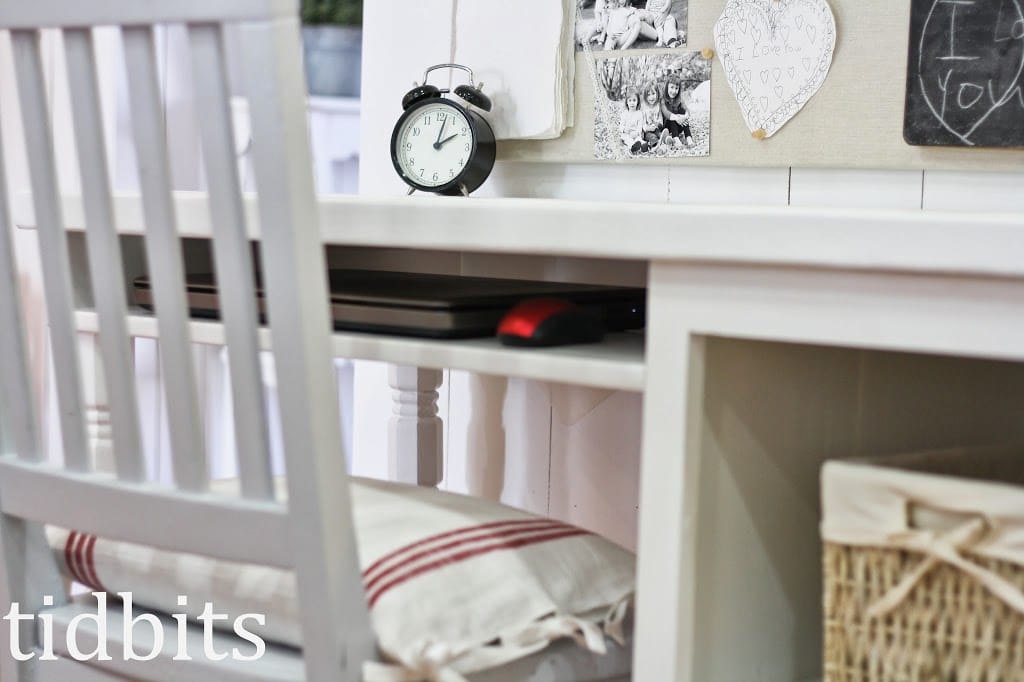
Before we fixed this space up, our lap top computer always sat on top of the countertop. It drove me nuts. So rather than keeping a drawer that I would continue to fill with junk, he built a little cubby for the computer. When we need it we just pull it up to the desk, and put it away when it is not being used. Because really, with smart phones and tablets we rarely use the computer any way.
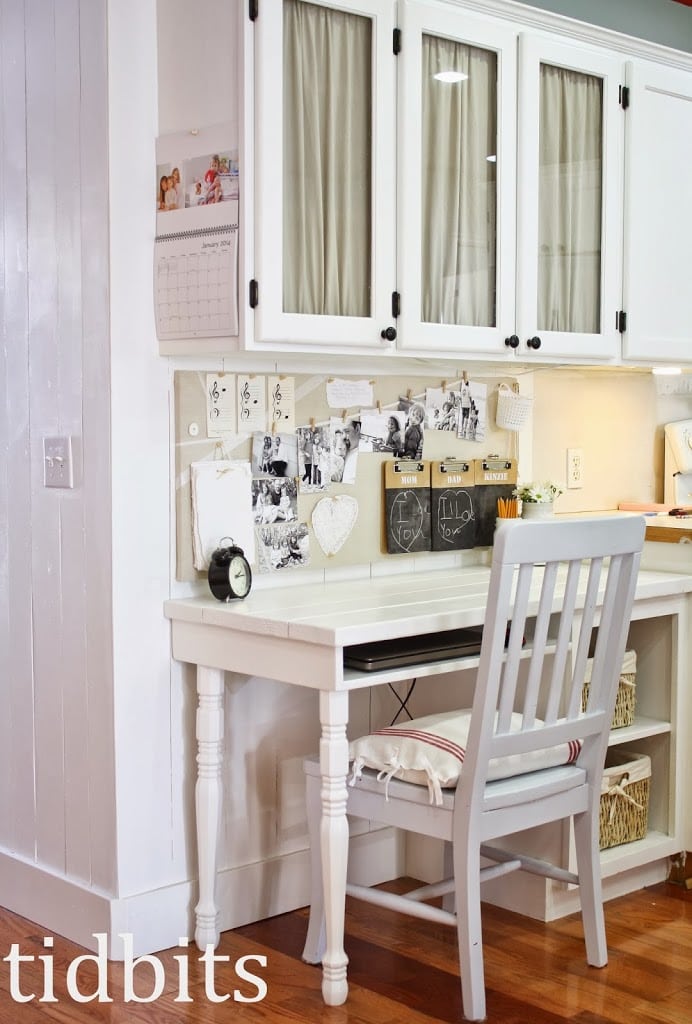
In order to use the wall space for a bulletin board, the handy hubs rewired the lights switches around the corner and the power outlets under the desk where the computer cords can be hidden. Then he planked the walls and added different toe kicks that don’t collect so much food and dirt.
I painted the bright red chair to a very subtle blue/gray and sewed up a grain-sack pillow cushion.
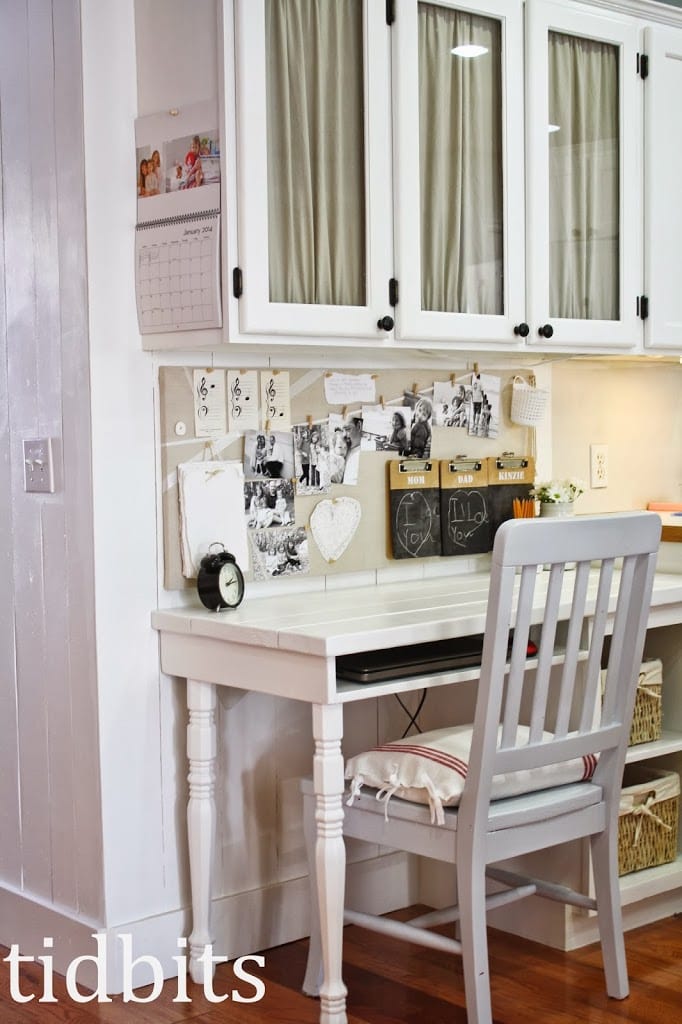
While I love the glass front cabinets and was excited to use them to display pretty little dishes, I realized I mostly needed some organized space for office supplies and organization.
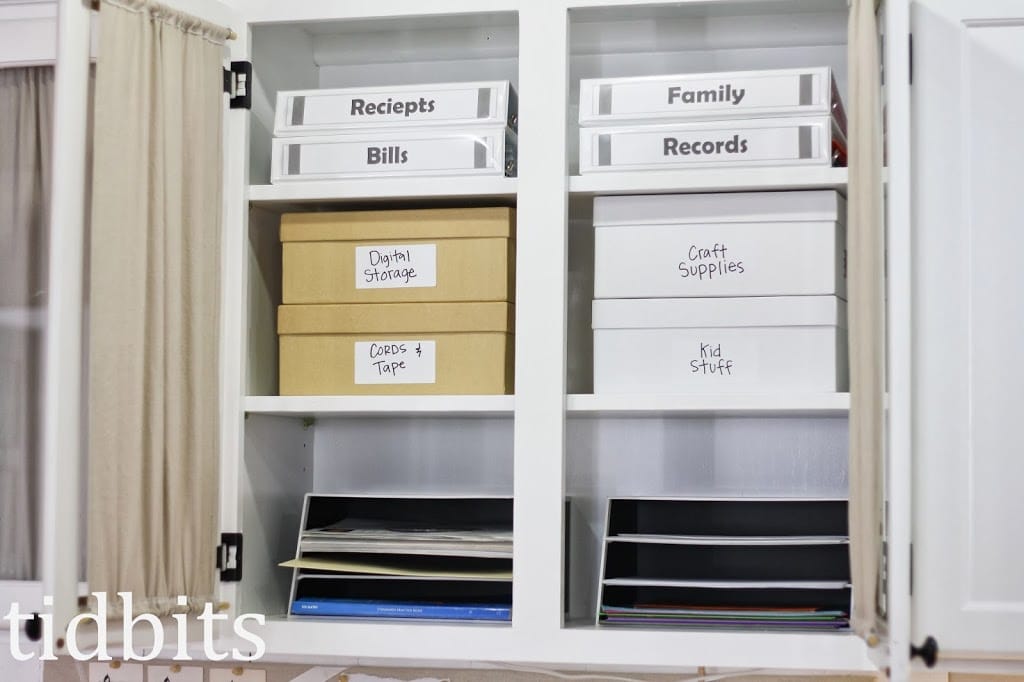
So we gave the glass a farmhouse look by backing them with gathered linen fabric curtains I made, and I am now able to use the space for all that not so appealing stuff.
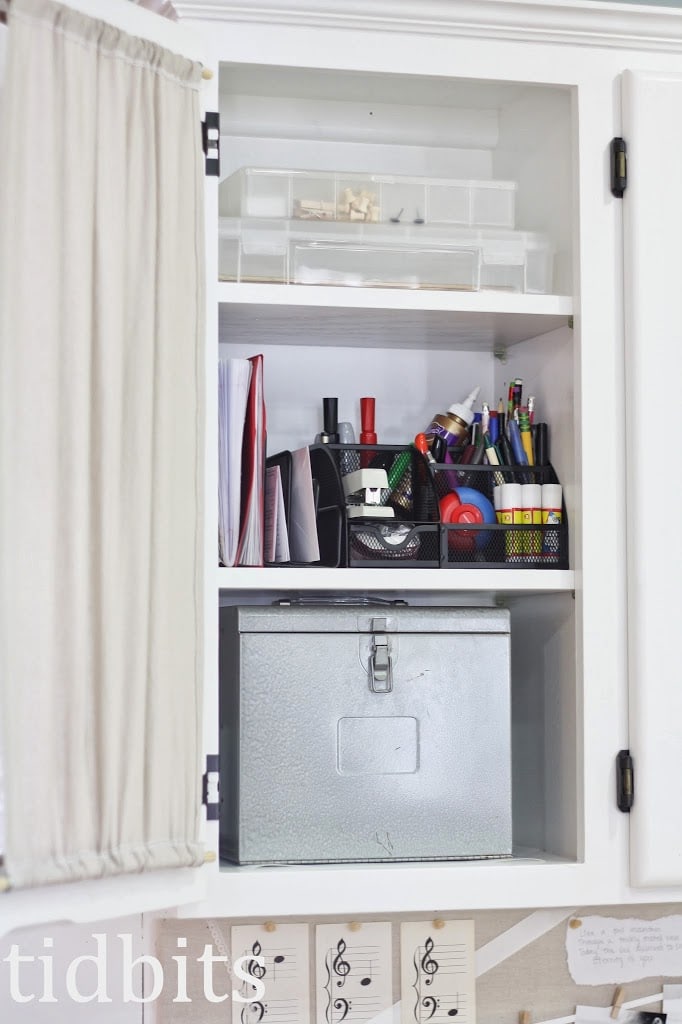
This method is working much better than those junk drawers. I can actually find stuff when I need it.
The bulletin board is really where I had the most fun with the space. With all the outlets out of the way, I could design this spot to really reflect my style and display the things I love.
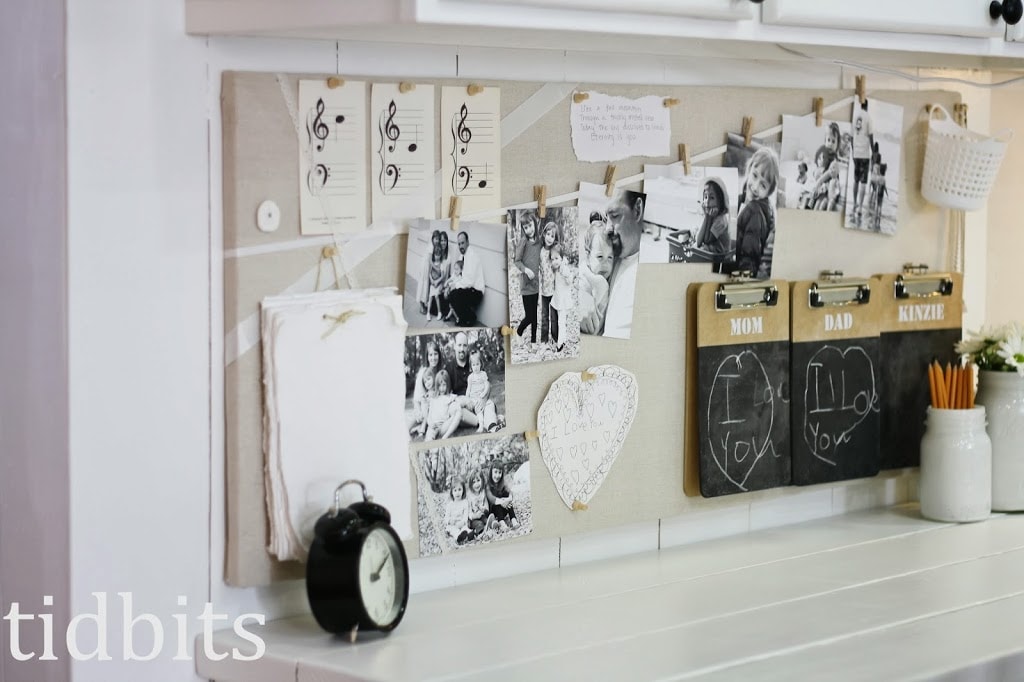
I had my husband cut some wood to the size I needed. Then I used the cork board adhesive squares found at Wal-Mart and adhered them to the wood. They needed wood glue to really stick. Then I covered it all with fabric and ribbons and stapled it to the back.
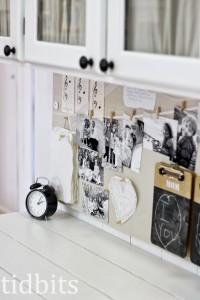
Then the really fun part. Accessorizing.
I printed off some of my favorite pictures in black and white, and collected a bunch of little things that mean something to me and my family, and stuck them strategically around the board.
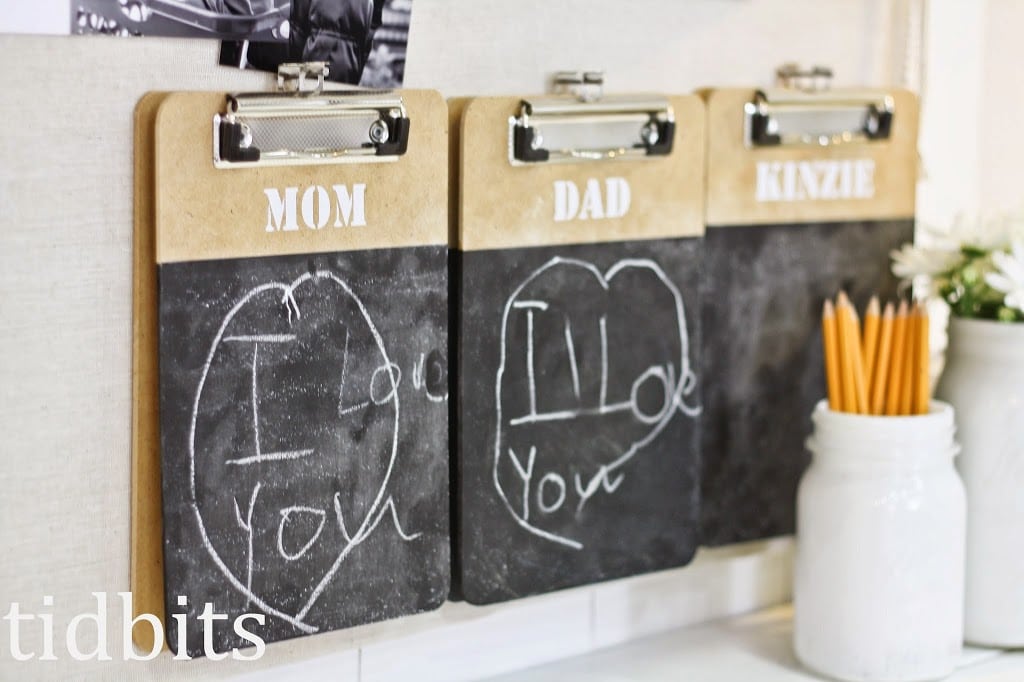
I bought these mini clipboards at Wal-Mart (one for each family member) and taped off an area and painted it with chalkboard paint. They work great for my honey-do-lists, or for my daughter to leave sweet messages for her mom and dad.
I also painted some canning jars inside with white paint – because everything looks better with white paint.
And now with this space completed, I can’t wait to get the rest of the kitchen in line with it.
However, it will have to wait. A new baby space is needed, and I am having way too much fun planning for a boy.
Thanks for stopping by!


So organized! Love it!
In today’s business environment, competition requires strict cost control. One of the goals of a remodeling project should be to reduce energy costs whenever possible.
Oh my! This is amazing! I love everything that you've done to it! 🙂 Pinning this as you've inspired me for my own office space!
WOW!! I saw this featured over at My Uncommon Slice of Suburbia. Looks amazing! Very inspiring for the desk nook I hope to make in our kitchen. GREAT WORK!!
Not only does your office area look wonderful, it is also so organized and useful. Love the look you created. Pinned the clipboard chalkboards.<br />Joy
I love how it's right in your kitchen area. I would love a spot like that. I would sit there all the time!