This post may contain affiliate links, which means I get a small percentage of the sale at no extra cost to you. I only recommend items I love and have had a positive experience with. Thank you!
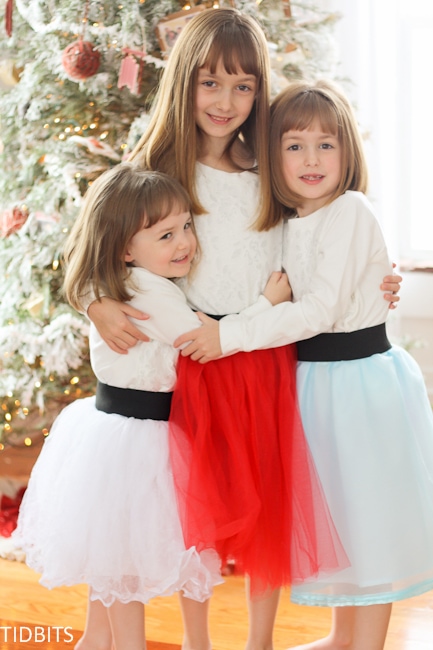
When you have 3 girls, and they all want a skirt, it is important to mix things up a little bit.
I’ve never been one to be content making the same thing over and over again . . . unless it is spaghetti. We eat that a lot.
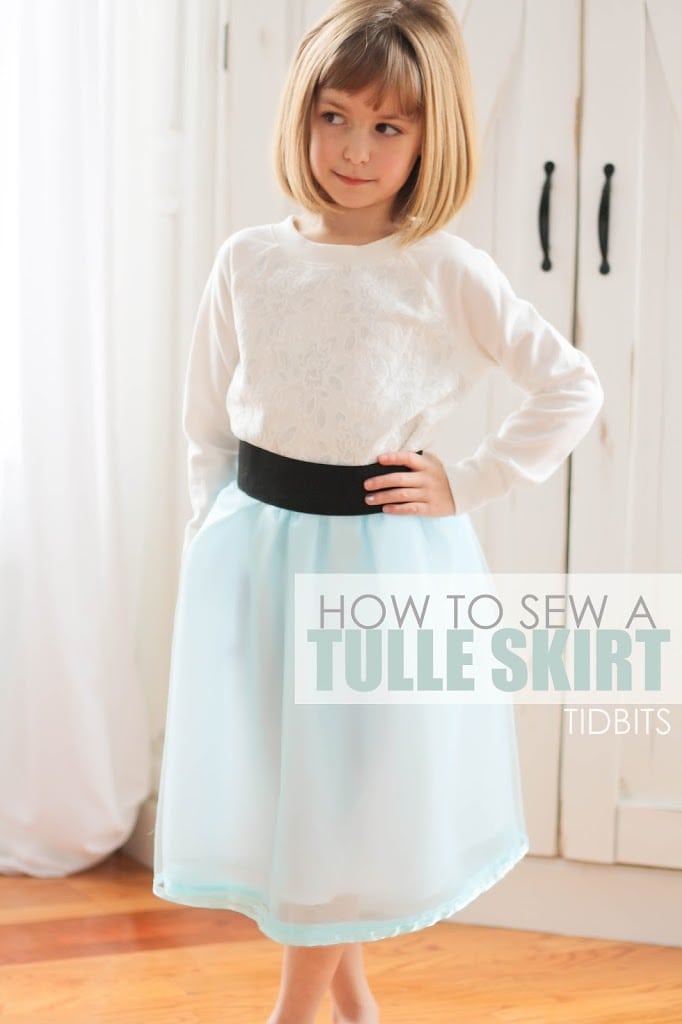
Child 1 and Child 2 got “version #1” of this Tulle Skirt with a Wide Elastic Waistband, and then I was totally bored making the same thing.
So I used the same principle, added a little more flow and a little less fluff, and here is what we have.
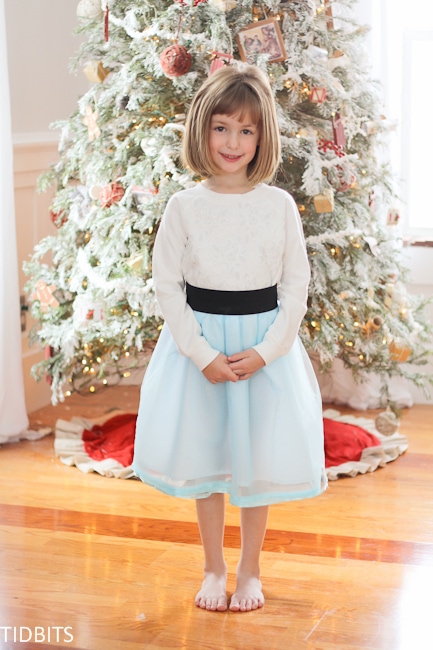
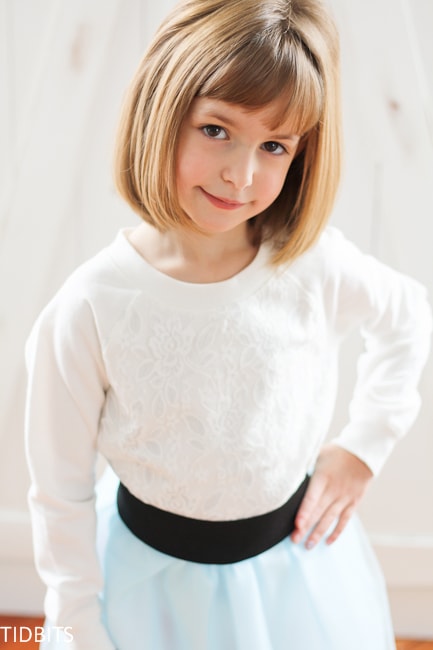
This is the middle daughter. She has a very gentle and content disposition. If you could characterize a personality, she would be a ballerina.
Then there is the oldest and youngest daughters. Spunky, full of life, and bouncing off the walls – sort of like Tasmanian devils (only the angelic type). It only felt right that the style of their holiday dresses fit their personalities.
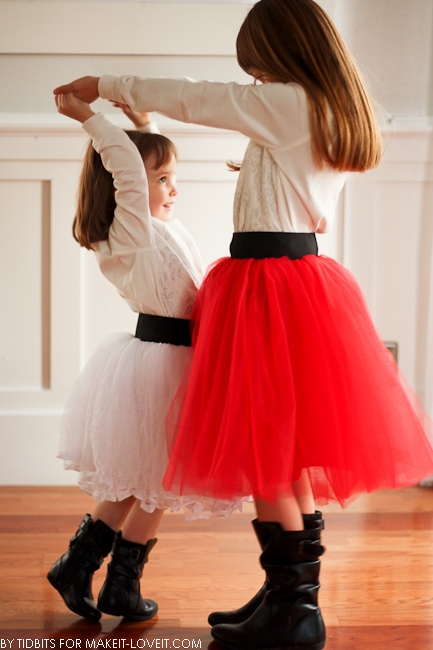
I posted a detailed tutorial for the above red and white tulle skirts (version #1) at Make it and Love it just awhile ago. They are gathered to the max, with yards and yards of flouncy tulle.
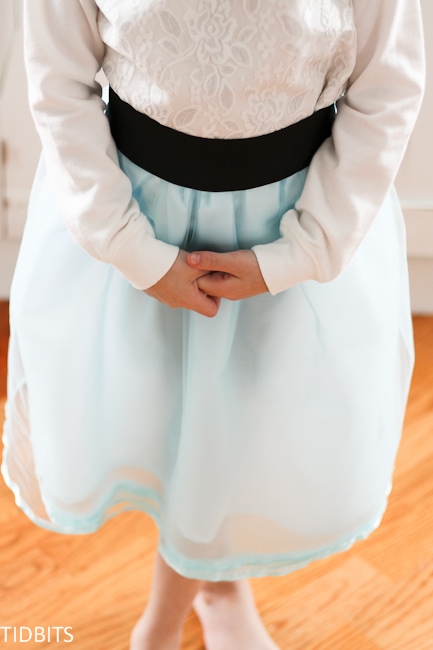
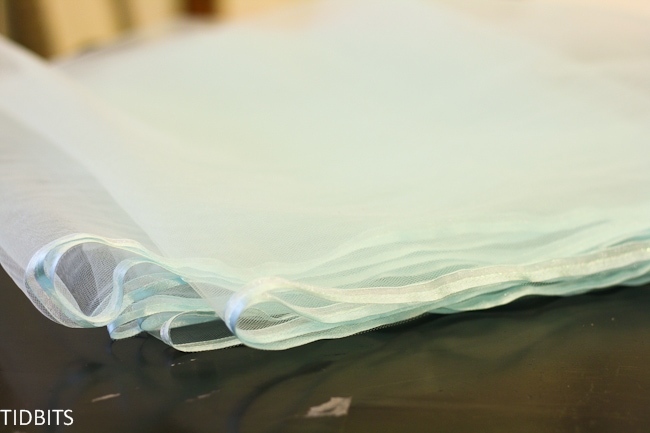
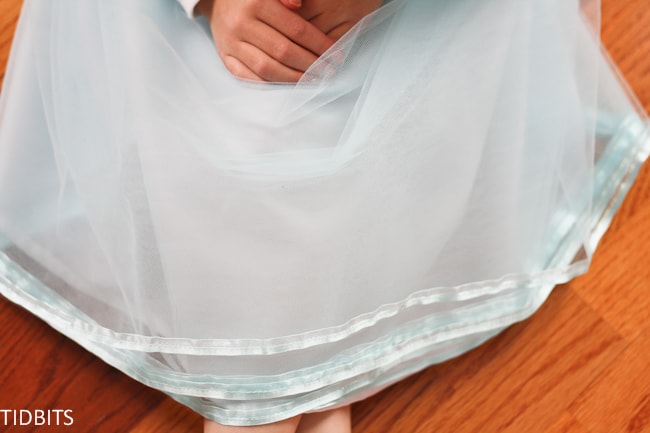
I simmered down the flounce this time, with just a slight gather, added 6 layers of tulle to 1 layer of lining, and stitched the hem with ribbon – giving you a different version (version #2), just in case you have multiple personalities in your house as well.

Oh, but what a beautiful contribution each of them make to our family!
And is there anything sweeter then a baby bow-tie on a baby boy? (Here is a great tutorial for a baby boy tie) .

It happened to be Christmas when these skirts came in handy, but I am certain they would suit any time of the year.
So read on, and I will show you how to make the tulle skirt with a wide elastic waistband, version #2!
A little note before you begin:
There are probably many ways you could make this type of skirt. I show you the method I used which made the most sense in my head. Also, I was going for the easiest way possible to deal with so much fabric and bulk. I’ll try to give you as many tips as I can that helped make it easier along the way. Keep in mind, you can easily make size adjustment to this skirt. I will give you the yardage and measurements I used for my petite 6 year old to help guide you with how you can adapt it to your needs. But just know, tulle is very forgiving and adapts well. I wouldn’t fret too much about exactness in yardage. You can just gather it up as tight or as loose as you need, to get the look you are going for.
Before you go and buy your fabric, it is best to measure your child. Get the following measurements:
- Waist measurement – because it will sit higher than most waistlines, measure your child around their stomach at the belly button.
- Length measurement – this will be the length of the skirt. Start at the belly button and measure down to where you want the hem to sit. I did it about an inch below the knee.
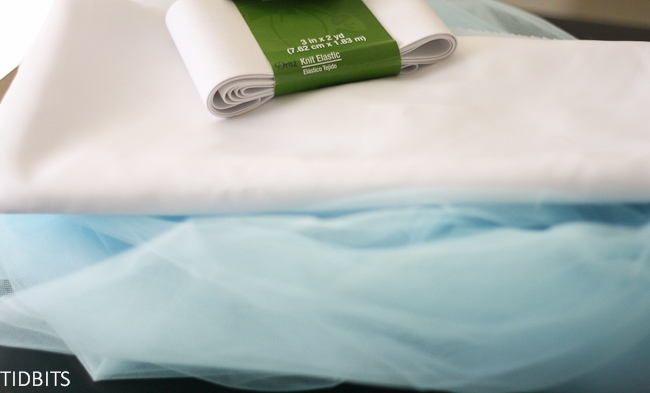
Materials:
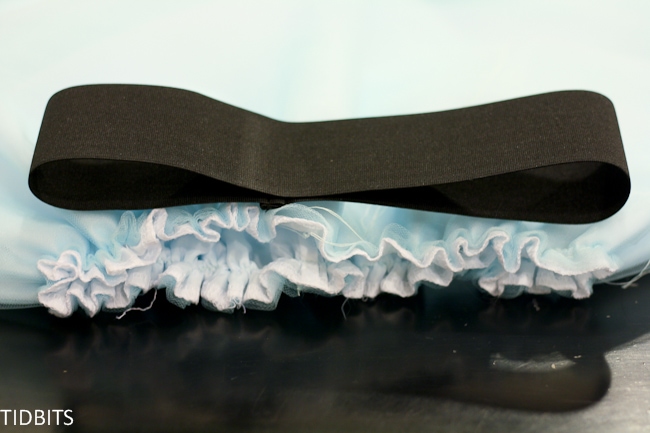
Wide Elastic – Select the color and width of the elastic you wish to use. Make sure you have the length of the waist measurement plus a 1/2 inch. (The black elastic I used was 2 inch wide. I have white in the picture below, but I changed my mind to black after the fact).
Lining Fabric – You will need enough fabric to double and a half the waist measurement, and be the length of the length measurement plus 1 inch. For example: My 6 year old’s waist measured 21 inches. I added 21 + 21 + 10.5 = 52, to figure how much width of the lining fabric I needed. Then her length measurement was 19 inches, so I made sure I had that much length, plus 1 inch to work with. I believe 1 1/2 yards of lining covered it. (You may consider double lining this skirt. The blue is almost slightly see-through when I used one layer of white lining).
Tulle Fabric – So you need the same measurements as you do for the lining, times 6, because there are 6 layers of tulle gathered up together. However, most tulle is on the fold so you will have to take that into consideration. Here is my figuring (not the best at math, so I hope it makes sense!) I needed the 52 inches for the width measurement of the skirt, 6 times. 52 x 6 = 312 inches. Divide 312 into 36 (because there are 36 inches in a yard. 312 /36 = 8.6 yards. But because that is on the fold, I can divide that in half to equal 4.3 yards. Round up, and buy 5 yards of tulle. Make any sense? (Quick tip: ask the workers at the cutting table to provide you with an empty bolt and wind your tulle back up onto that bolt, rather then trying to fold up a mess of fabric.)
Ribbon – We’ve already figured the skirt will be 52 inches, 6 times. So there will be that much hem to sew ribbon on. So same idea here – 52 x 6 = 312 inches. 312/36 = 8.6 yards. I rounded up, and bought 9 yards of ribbon.
First make the lining:
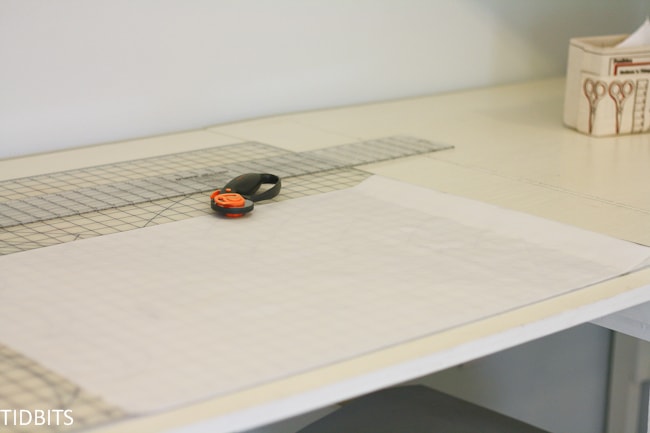
Cut the lining to the dimensions mentioned above.
Decide which edge will be the bottom of the hem. Turn the raw ends in, 1/4 inch twice, and stitch the hem, enclosing the raw edge inside.
Now you are going to sew a french seam to sew the 2 ends together, so the lining becomes one big circle.
To do this, stitch the ends, WRONG SIDES TOGETHER, an 1/8 inch from the raw edge.

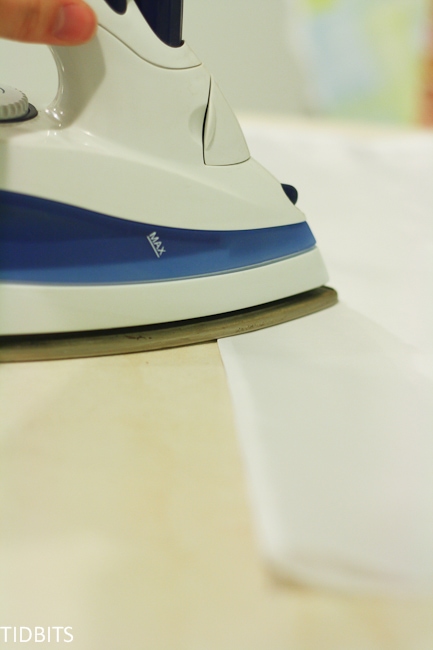
Press this seam open.
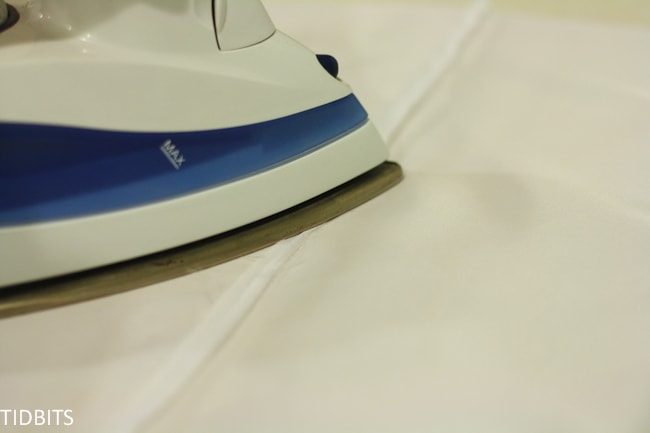
Now turn it so right sides are together and press down the folded seam line.
opstitch 1/4 inch away from the folded edge. This will enclose the raw edges inside that seam.

You can choose to stitch the seam flap down, or leave it be. Either way, it looks real nice.
Now it is best to either serge or zig zag the top edge of the lining piece to prevent fraying.
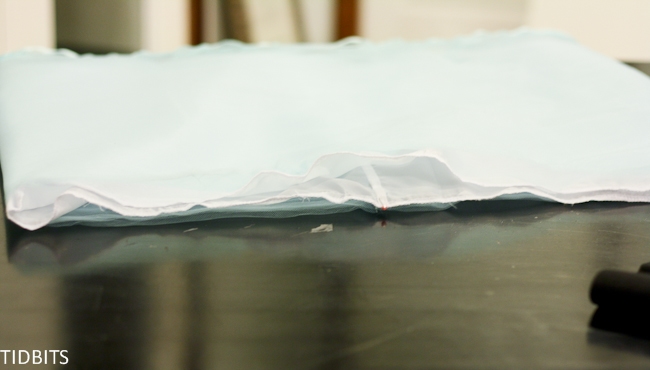
Set the lining aside, and lets work with your tulle.
Cut 6 separate layers of tulle, with the measurements you figured above. Take the waist measurement and 1 and a half it, by the length measurement plus 1 inch. For my daughter this was 52 x 18. I cut 6 rectangles at 52 x 18.
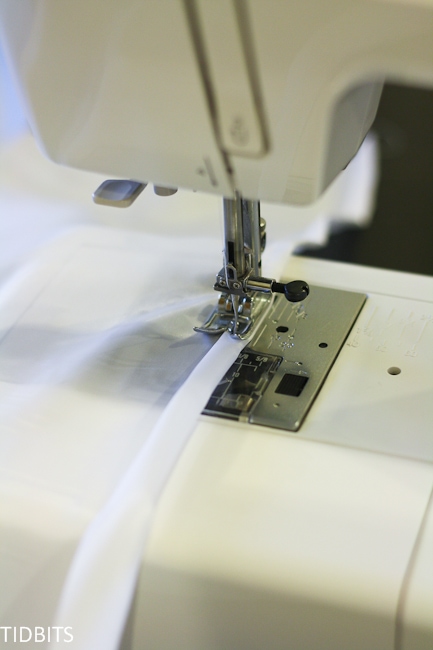
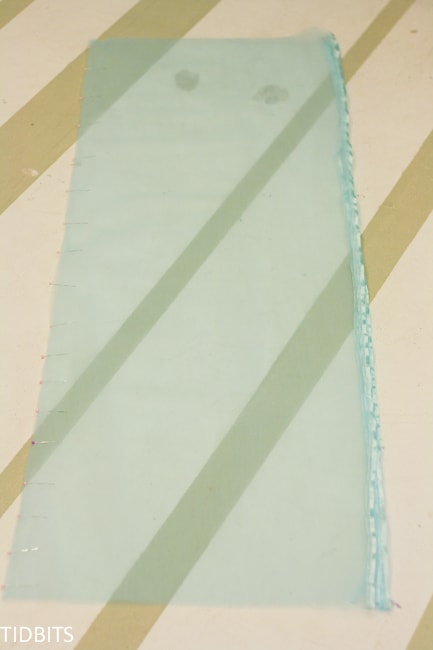
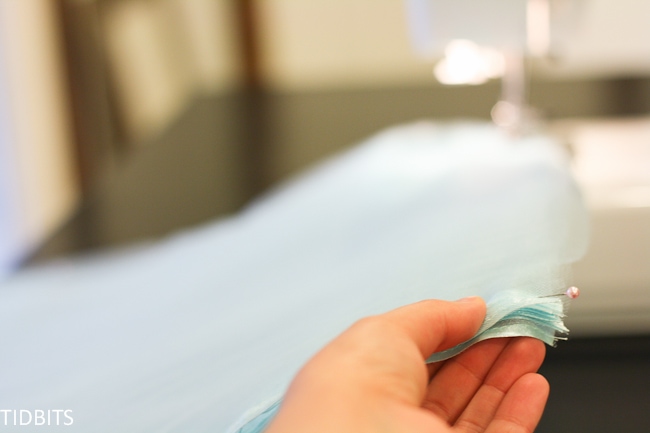
Dealing with each layer separately, stitch the ribbon to your selected hem end, on the right side. Pick a closer together stitch length to ensure the stitches are close enough to hold the ribbon securely on. This really seemed to help when sewing on my tulle.
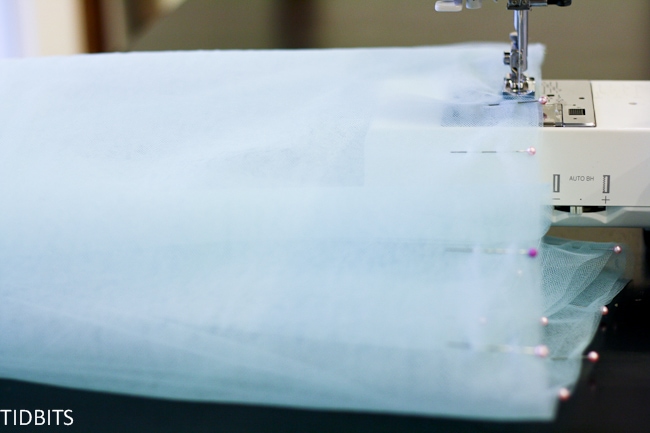
Lay the 6 layers together, evenly, and pin at the top where the waistline is.
Fold it in half, right sides together, meeting the 2 ends together. You are going to stitch these together to make the back seam, so be sure you match the top and bottom and pin, pin, pin!
Make a seam down the edge, working from top to bottom.
Even this seam out (if needed) by cutting along the edge. I did not finish this seam as I thought it would make it more noticeable, and it would not fray anyway.

Open the skirt up, and all around the top, sew a basting stitch. This is just to help all those layers stay put while you work with it.
Set the tulle aside and work on the waistband.
Cut the waistband to your child’s waist measurements, plus 1/2 inch.

You will be making another french seam with the elastic, which is a great way to enclose the raw ends.
Fold ends together, wrong sides together (1/4 inch seam allowance).

Flip it, wrong sides out, and stitch the end, sandwiching the seam inside.

Flip again to the right side out. You can choose to stitch the flap down or leave it as is.

Now, grab your lining piece and the tulle layers. Matching up the seams in the back, place the lining inside the tulle, right side of the lining, touching the wrong side of the tulle.
Pin the lining and tulle together all along the top.

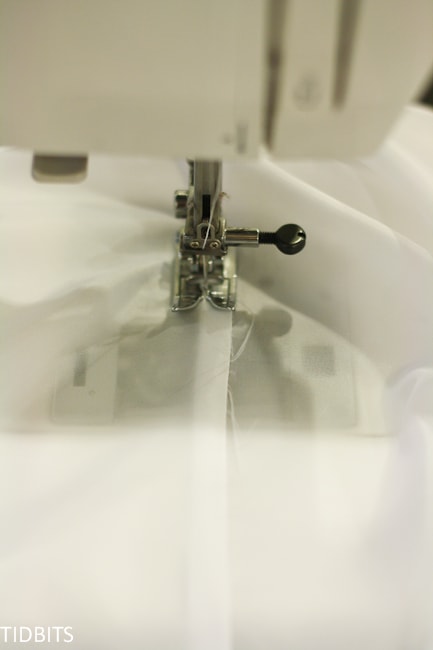
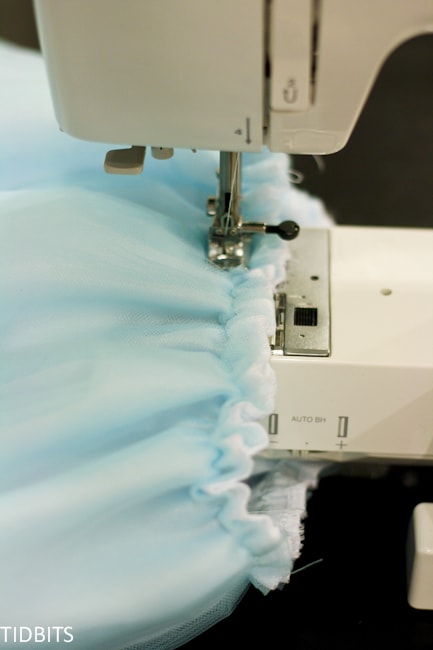
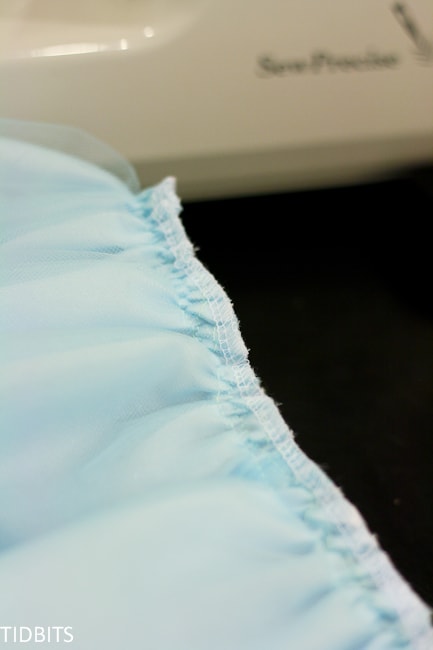
Sew a gathering stitch (just use a long stitch length) all along the top, about 1/2 inch away from the edge. I like to stop and start half way, leaving long thread tails. This helps to gather, and helps if your threads ever break while gathering.

Gather the layers all at once by pulling on the bobbin side of the threads.

Gather until the waist of the skirt matches the measurement of the waistband.
This is optional, but I find it helps the gathers stay in place if I stitch a regular stitch just under the gathering stitch.
To decrease the bulk, serge the top edge, if that is an option (this also helps it be less itchy).
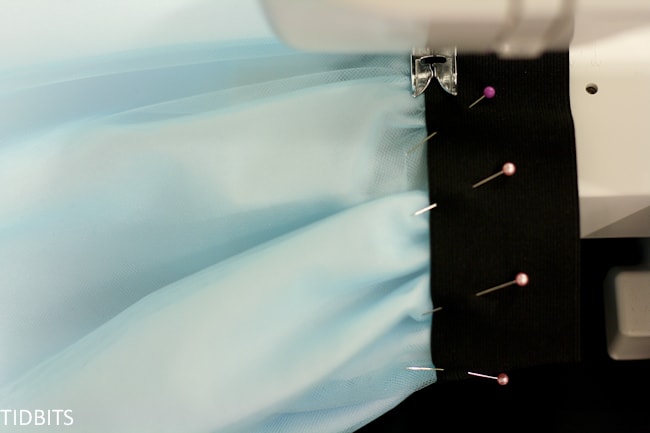
Now you will pin the elastic waistband all around the outside of the skirt, matching the back seams.
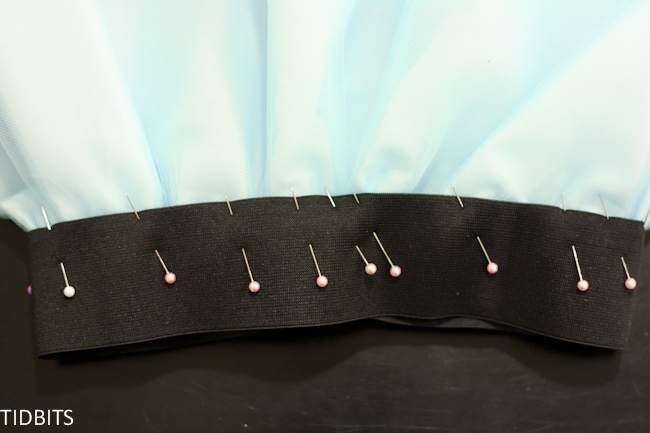
Make sure you are pinning it high enough to go past and hide the gathering stitches. (Hint: Use a lot of pins!!)
Working on the front side, stitch a slight zig zag stitch along the bottom of the elastic, while attaching the skirt to the elastic. The slight zig zag will allow for a little stretch without being too noticeable.
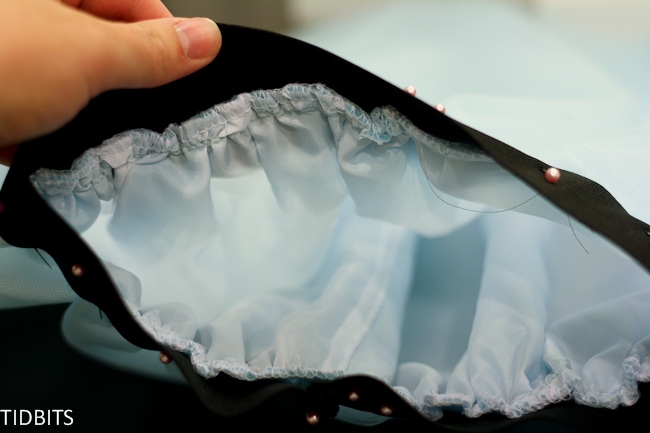
This is what the inside should look like.

And you are finished!
Such a fun and unique skirt!

You just might have to make a few . . . if you can stand it.

(Lucky little fella, isn’t he?)

Please let me know if you have any further questions or need some clarification.
Enjoy!


Does the lining and tulle stretch enough to get on over legs and bottom or do we need to stretch the elastic while sewing it?
Thanks!
Does the lining and tulle stretch enough to get on over legs and bottom or do we need to stretch the elastic while sewing it?
Thanks!
Would you recommend using the same way of measuring to make adult tulle skirts I need to make some for a wedding.
This is perfect! Like you I have girls with different personalities and I haven’t been able to find outfits that we can agree on, but I am sure my search is over! Thank you!
I love this tutorial!! The skirt is absolutely stunning! I will be making one for my daughter very soon. One question – how did it hold up to play? I have seen some skirts that get a little “crunchy” (I can’t think of another word to describe it!) after only a few minutes. Did this skirt seem to keep its shape or look good after being played in? Thanks!!
Each of these 3 skirts have held up very well! They look exactly like the day I made them – which has surprised me, in all honesty. However, I know that tulle does not wash well so I have only spot cleaned as necessary and have not and will not throw them in the washing machine. That would probably yield the crunchy look you speak of.
I have five granddaughters, can’t wait to make each of them a tulle skirt! Thankyou !
Thank you Heather! I liked the idea of a tulle skirt without being a ballerina! As for your question, you can see in the tutorial, I actually sewed ribbon on the hem, in all six layers to create that look.