
This post may contain affiliate links, which means I get a small percentage of the sale at no extra cost to you. I only recommend items I love and have had a positive experience with. Thank you!
If you’ve missed day 1-4, you better click the image below. If you don’t, you are seriously missing out (Ha).
 So lets dive right into all the Christmas Ornaments I’ve made.
December 5th: Vintage Christmas Cards
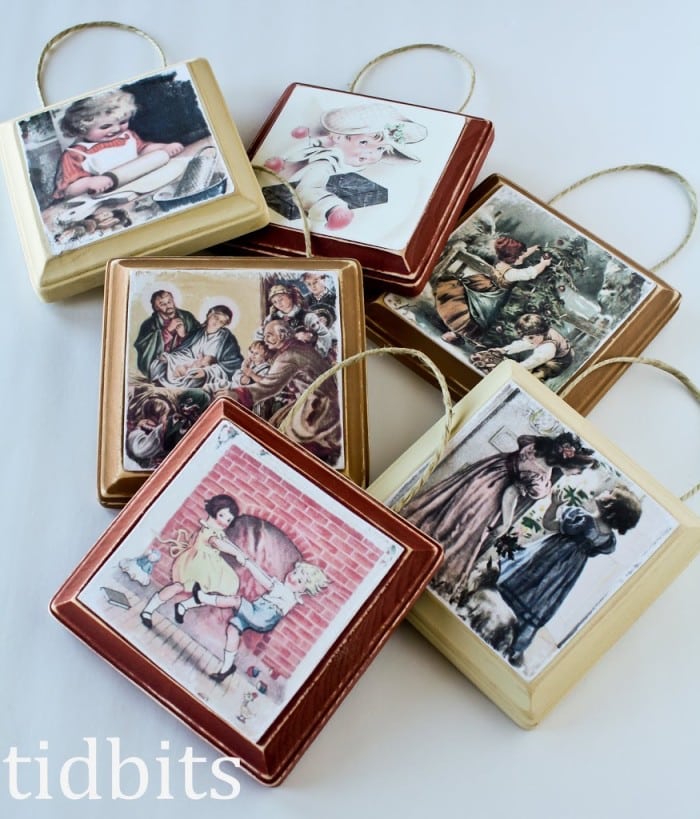
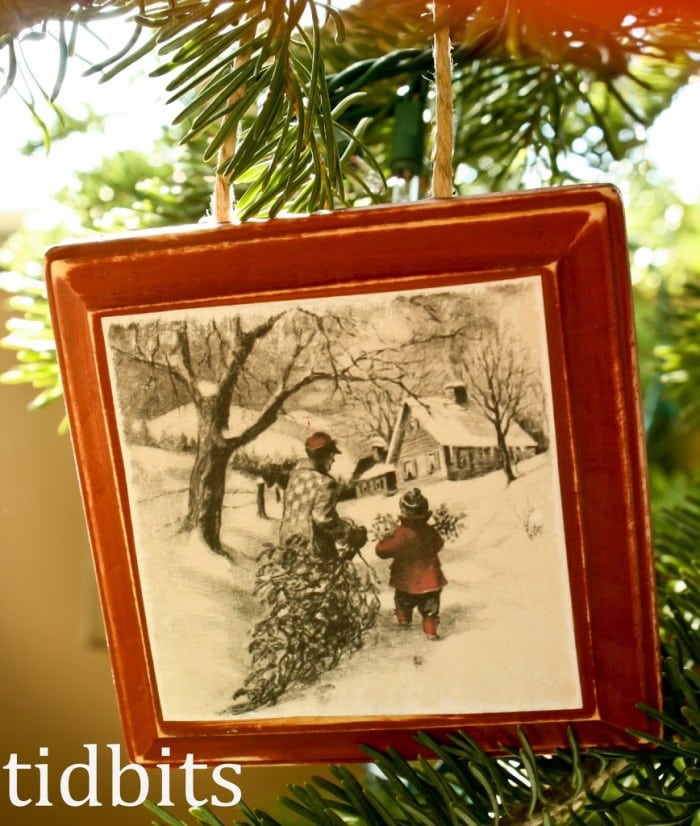
I’ve always adored the images from vintage Christmas Cards. I love the subtle colors and simplicity of the times. Some of them just stole my heart right away and really spoke “way back when”. So many of them represent the Christmas I hope to have. Baking, reading books together, singing by the tree, and most of all, the expressions of joy in children’s faces.
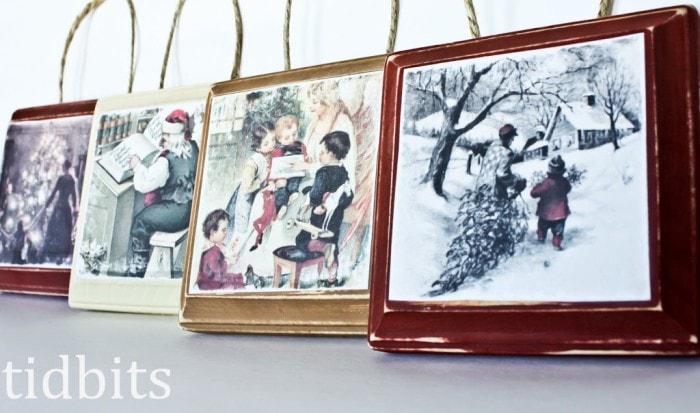
To obtain the images, I simply googled “vintage” or “antique” Christmas cards, and picked from the hundreds of them, my favorite images.
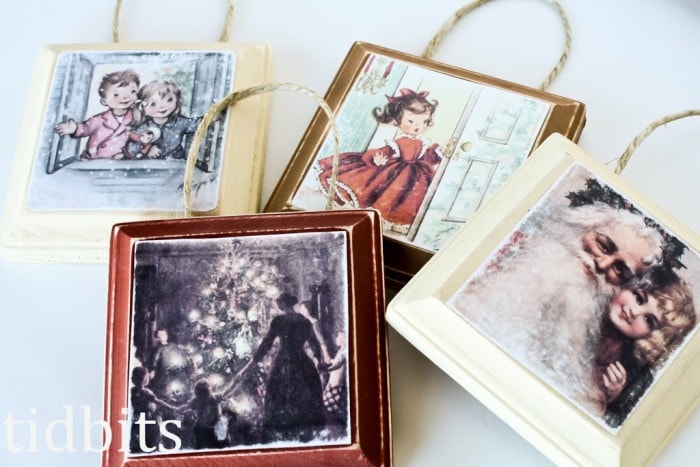
I printed them on cardstock. I found the wooden plaques at Hobby Lobby, for 2 for $1. After painting and sanding them, I glued on the image. Then I further sanded the paper to my liking. I didn’t modge podge them because I wanted a softer look rather than a glossy one. I hot glued some hemp for a handle to hang with on the tree.
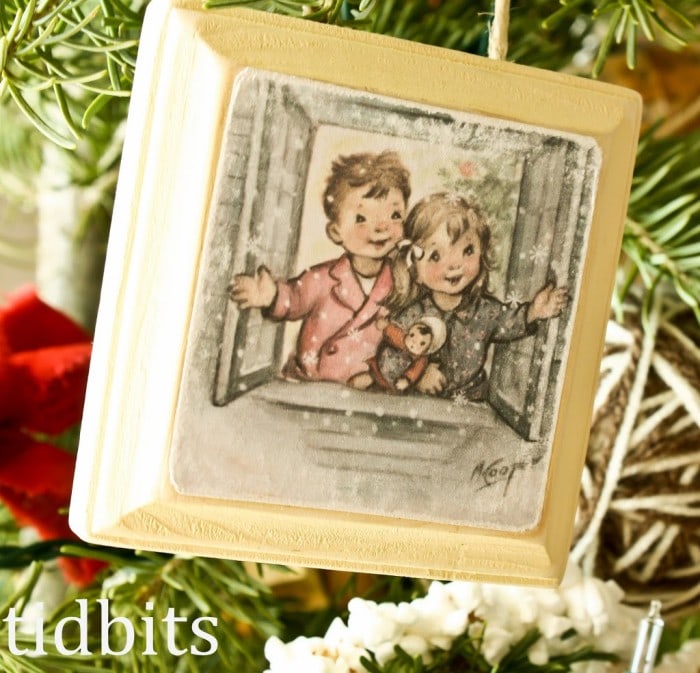
The above image is probably my favorite. I love the expressions on their faces, and the colors in the painting.
And of course this one reminds me why our Charlie Brown tree is so worth it.
I love looking at these ornaments on our tree the most. My kids do too.


these are absolutely gorgeous!! What a great idea!! 🙂 I also love your yarn ornaments. 🙂 Well done. 🙂