• Skip to primary navigation
  • Skip to main content
  • Skip to primary sidebar
  • Skip to footer

Tidbits

Inspiration for Do-It-Yourself Living

  • Home
  • About
    • About Me
    • Work with me
    • Media Kit
    • FAQ
    • Disclosure and Policy
    • Link Parties
  • Project Index
    • All
    • Decorating
    • DIY
    • Printables
    • Sewing
    • Crafts
    • Holidays
    • Recipes
    • Woodworking
    • Photography
    • Crafting with Kids
    • Other
  • Home Tours
  • Seasonal
    • Winter
    • Spring
    • Summer
    • Fall
  • Shop
  • Contact
You are at Home and DIY
Home and DIY
Food and recipes

You are here: Home / Crafts / 6 Creative Uses for Botanical Wood Slices

6 Creative Uses for Botanical Wood Slices

May 12, 2015 • Crafts, Decorating, Spring, Summer, Woodworking

166 shares

I have this list of projects I want to do, and they are numbered in order of priority.  Do you have one of those lists?  At the very bottom of my list is “deep clean the house”.  Funny thing is – it never moves up.  Hmm.

Any way.

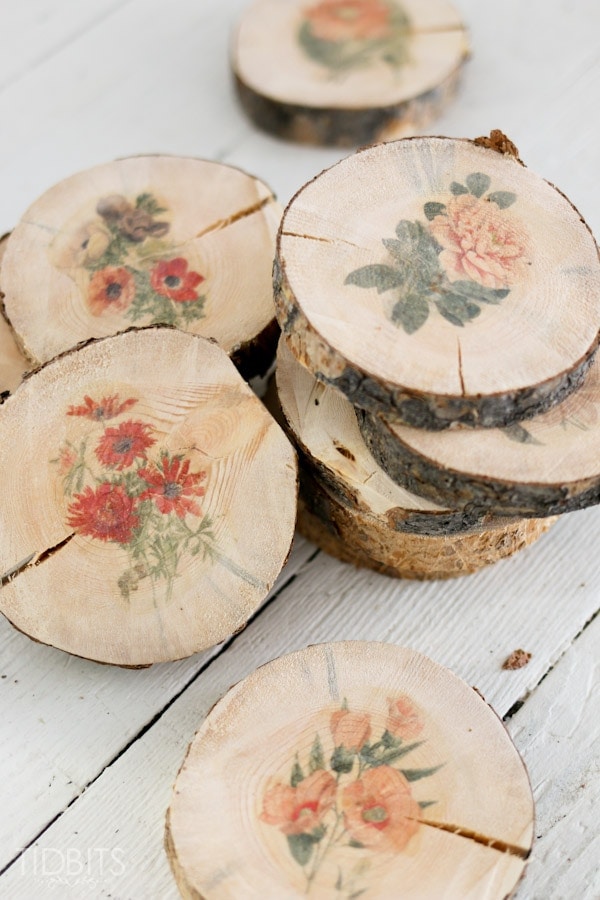
When I thought of the idea of these botanical wood slices, it didn’t even make it on the list.  It just simply took priority because I couldn’t wait to see if it would work!

Botanical-wood-slices-7

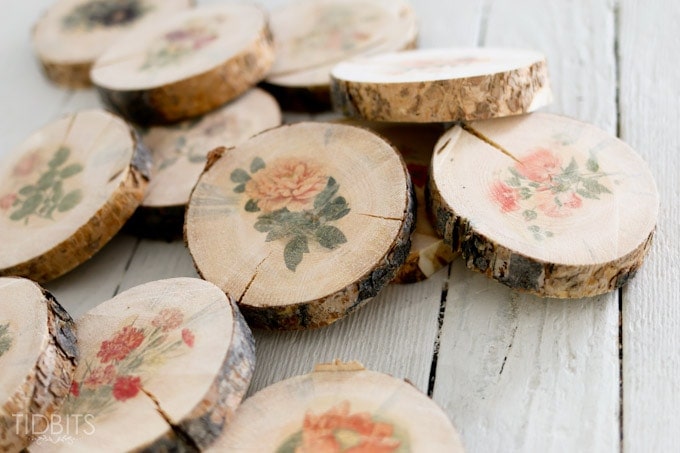
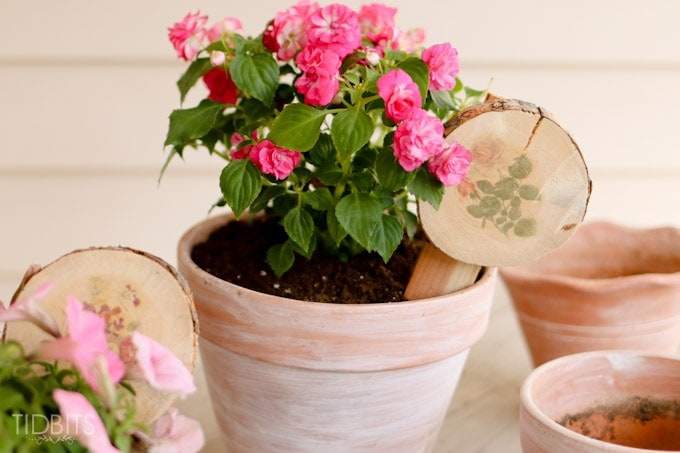
So once I discovered how to transfer printer ink onto a wood surface, I had my hubs slice up a log and I transferred some beautiful botanical prints onto the wood slices.  The result was stunning!  (If I do say so myself)

If you want to learn how to transfer the ink, and where to find these lovely botanical prints – head over to THIS post where you will find the full tutorial and all the details.

But before you head over there, let me convince you of 6 beautiful reasons you need to toss your list and start making a whole collection of botanical wood slices.

6 Creative Uses for Botanical Wood Slices

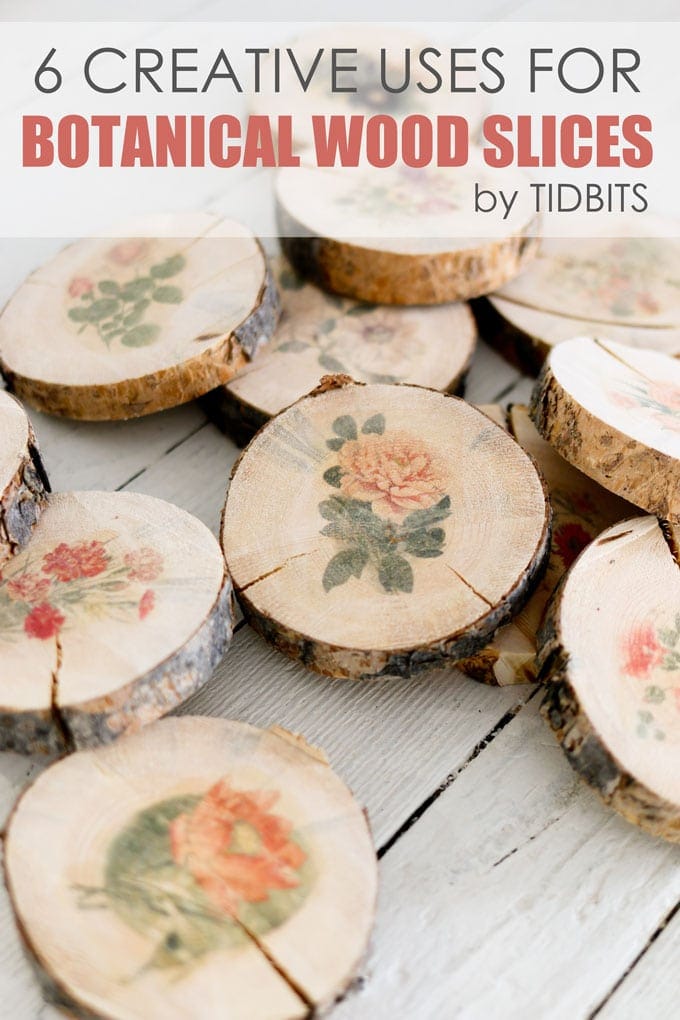
I had a blast coming up with these 6 creative uses for botanical wood slices – and even more fun making the pictures!

So . . . in no particular order:

1.  Botanical Gift Toppers

Botanical Gift Toppers

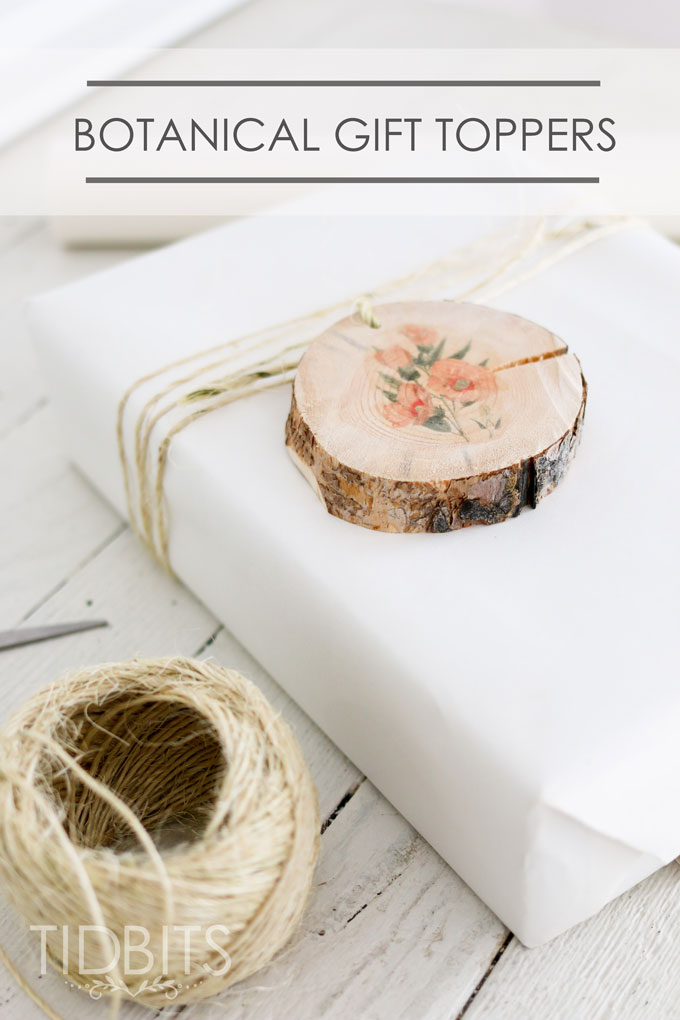
Actually, they would make a great gift in and of themselves, but lets talk about how gorgeous they look on a white package tied with hemp.

botanical gift toppers

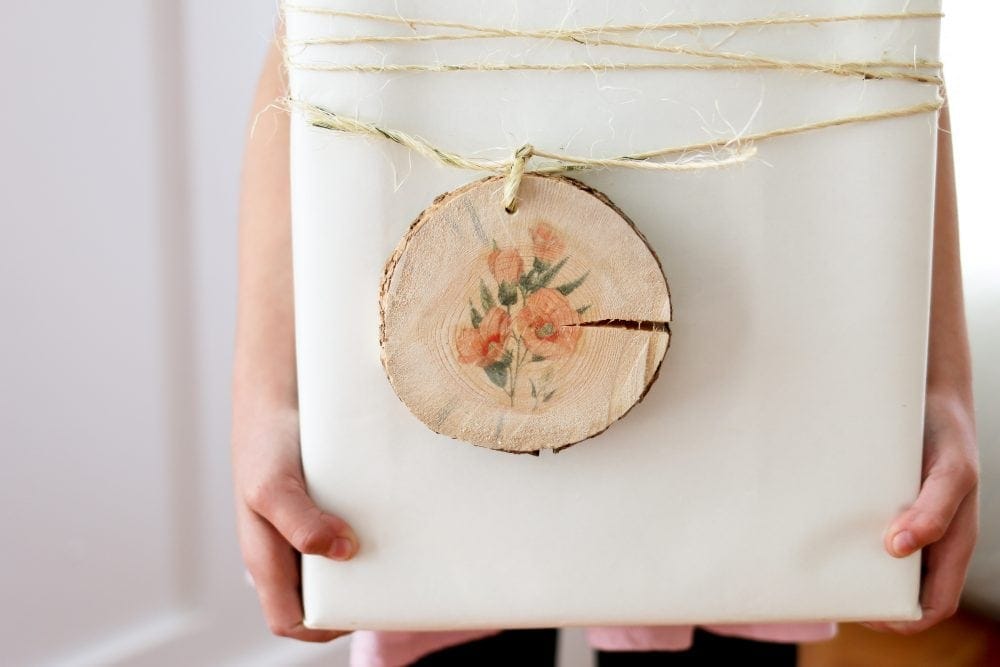
The receiver won’t even care what is inside!

P.S.  I just drilled a quick hole so I had something to tie it to.

2.  Botanical Coasters

Botanical Coasters

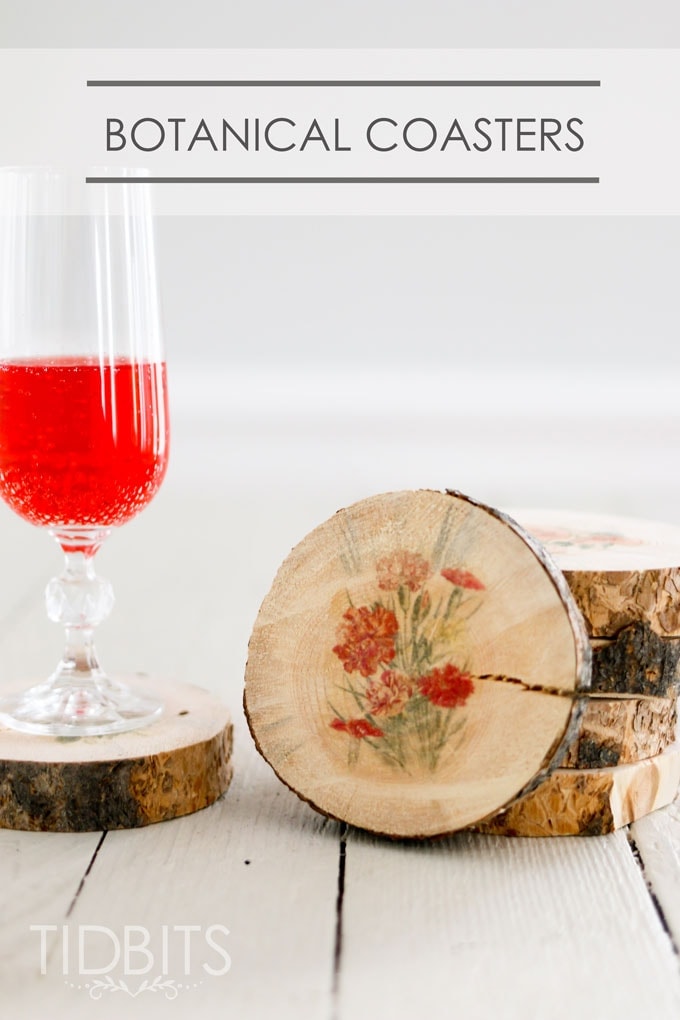
What a lovely woodsy touch this would give any meal or picnic.

Botanical Coasters

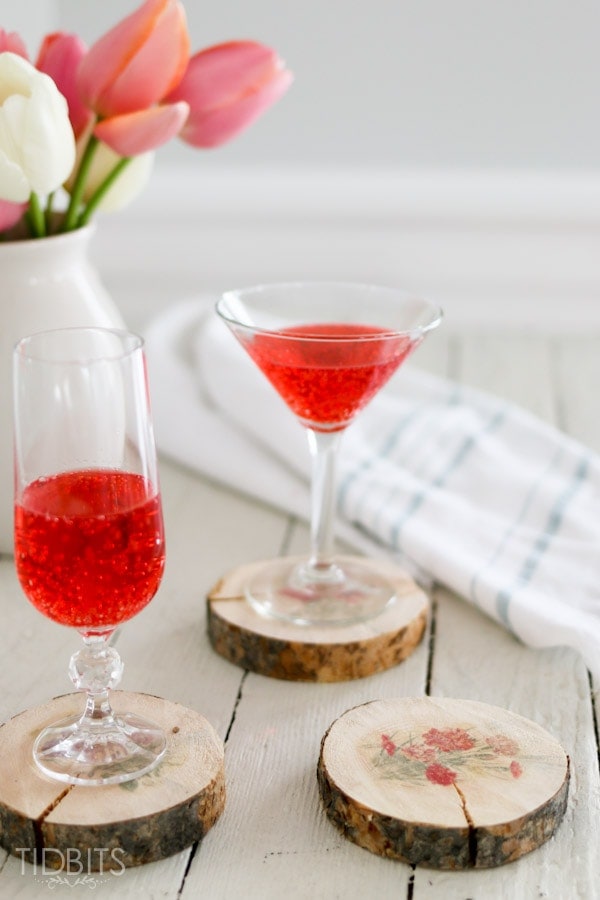
Just make sure they are cut flat (wink).

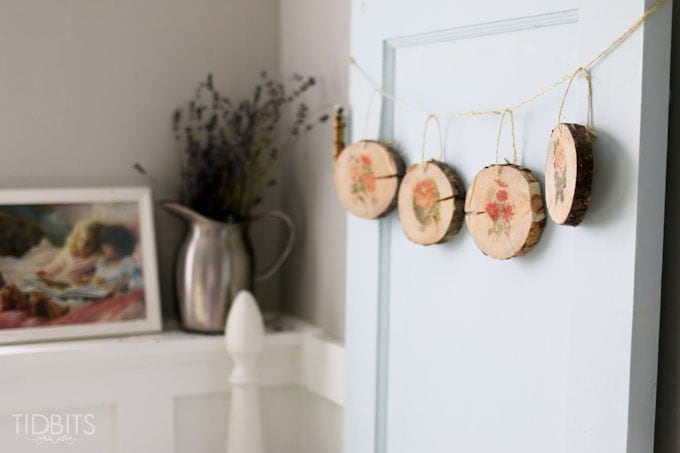
3.  Botanical Banners

Botanical Banners

You could hang these babies just about anywhere and they would steal the show.  But I must say, they look quite fantastic in a row, as a banner, on a thrifted blue door, above a bed.

botanical banners

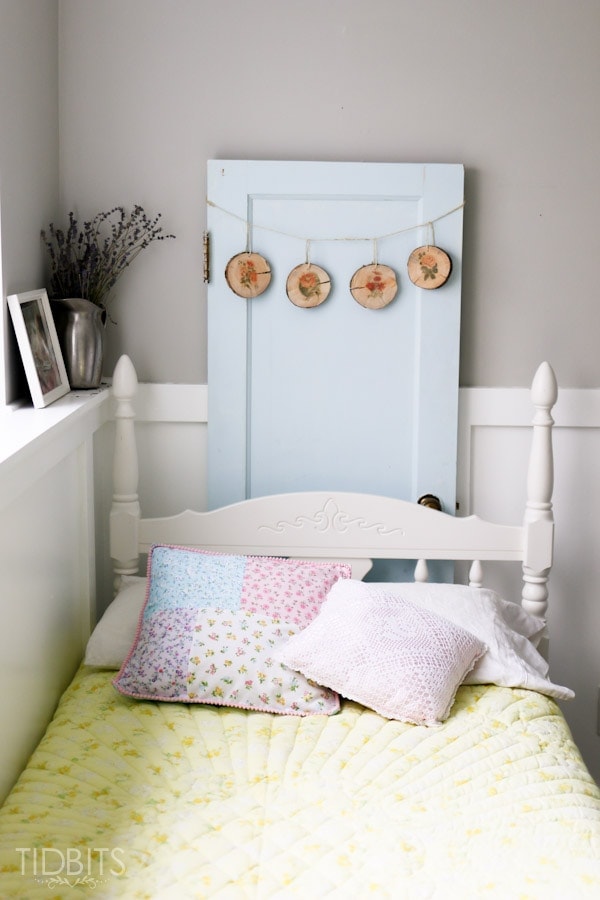
It was just what our child size guest room needed.

botanical banners

Speaking of bedrooms . . .

4.  Botanical Wall Art

Botanical Wall Art

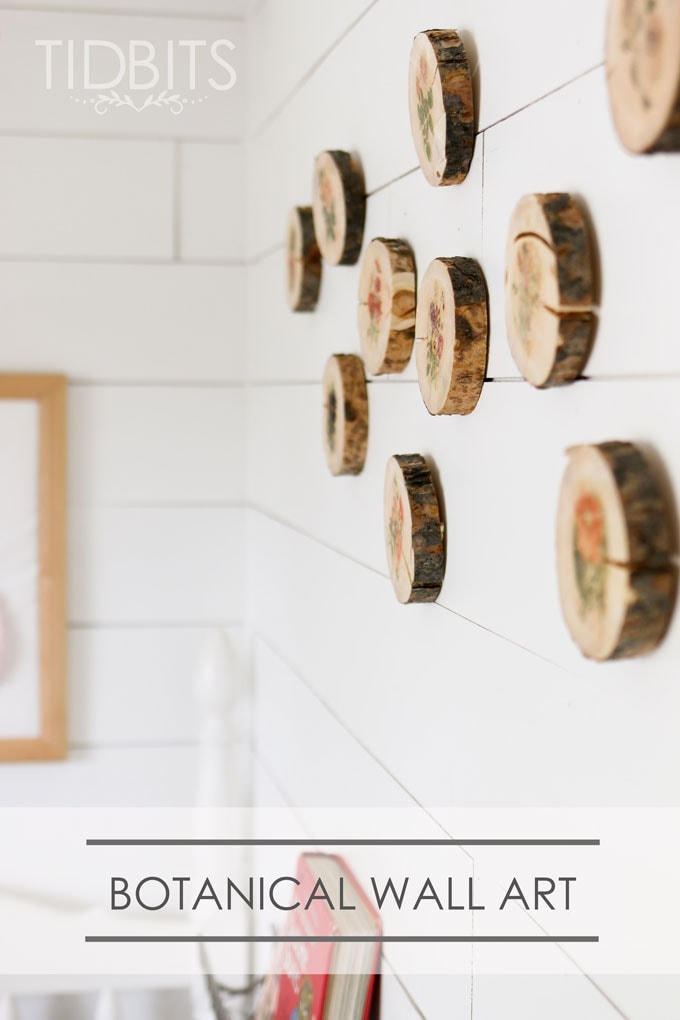
My daughter and I had a blast arranging this whimsical and woodsy wall display out of her favorite botanical wood slices.

botanical wall art

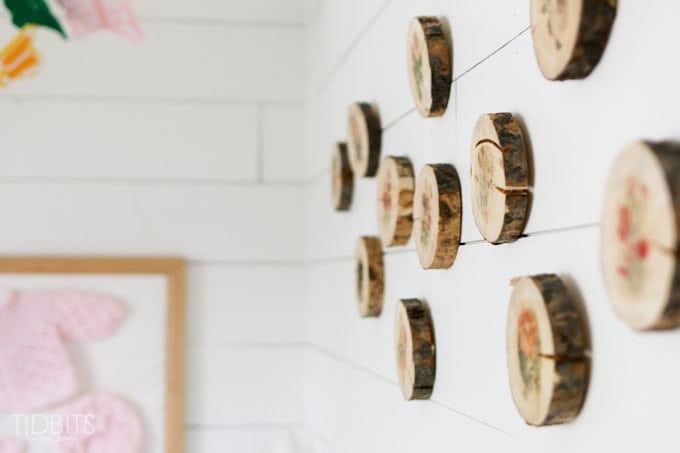
You can hang with any picture hanger nailed to the back.  I just love how these look on her planked white walls (full bedroom shown HERE).

5.  Botanical Fridge Magnets

Botanical Fridge Magnets

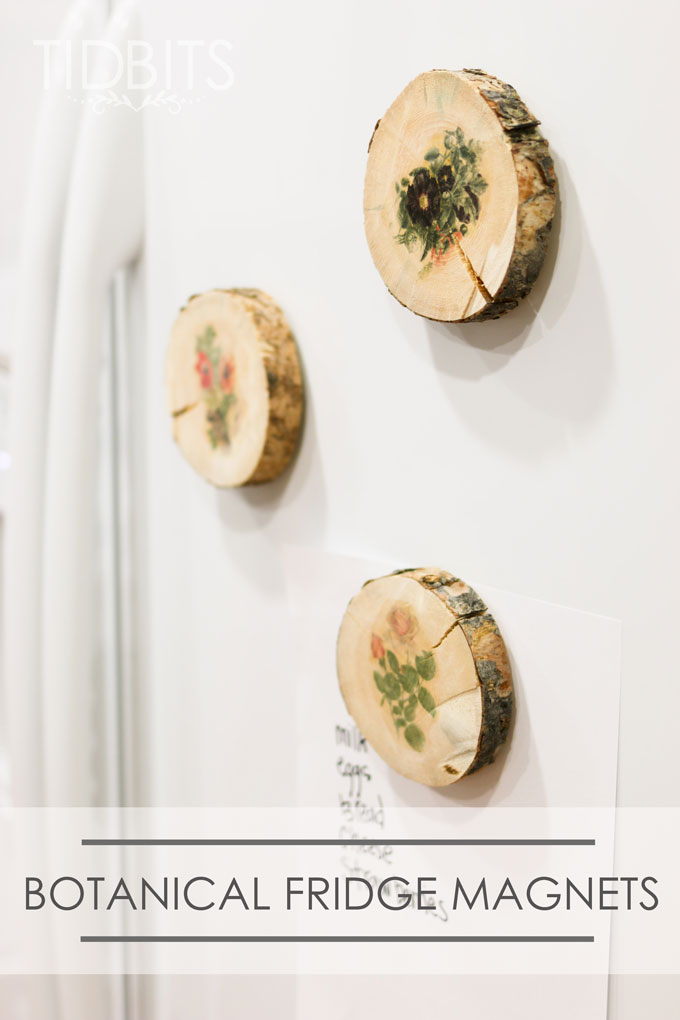
It was easy peasy to hot glue a magnet to the back, and slap these on the fridge.

botanical fridge magenets

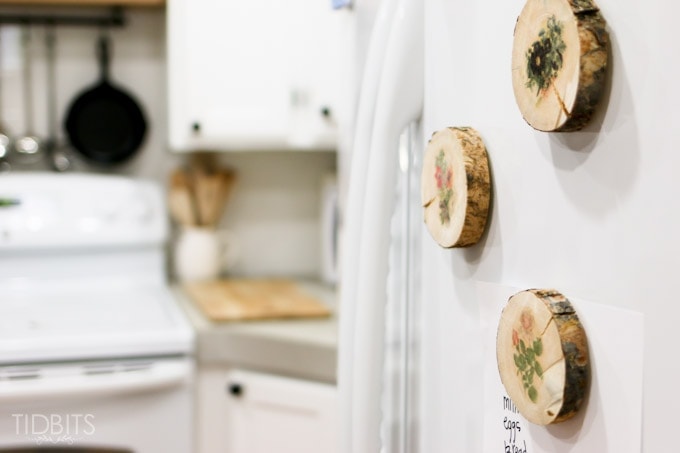
School papers and grocery lists never looked so good.

6.  Botanical Plant Labels

Botanical Plant Labels

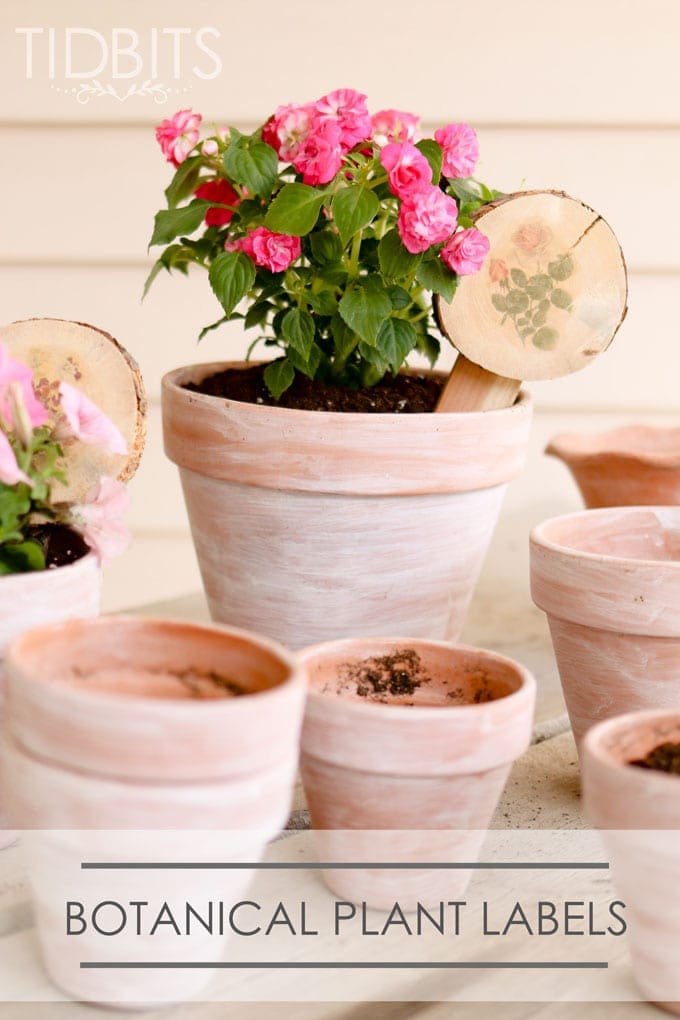
I may or may not have saved my favorite for last.

botanical plant labels

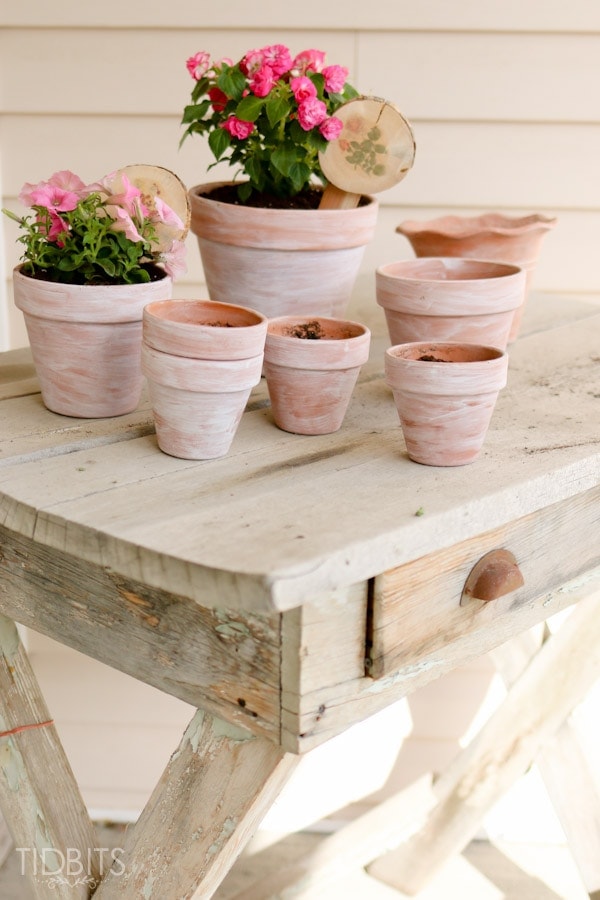
I have what you might call “a black thumb” – and I kill everything green.  But, I’m fairly certain with these cute labels, my chances of keeping some plants alive have increased.

botanical plant labels

And there you have 6 ways to use your botanical wood slices.  I am sure some of you crafty genius’s can think of more ideas – which I would LOOOOVE to hear!

Don’t forget to head over to THIS post to find out how to make them!


*Linking up to these parites, HERE.

Kiwi Crate Family Brands >>

6 CREATIVE USES FOR BOTANICAL WOOD SLICES STORY

I’m Cami! Welcome to my blog TIDBITS. Follow me along for beautiful home decor ideas and inspiration for do-it-yourself living
Thank you for Subscribing to TIDBITS! Talk to you soon.

There was an error submitting your subscription. Please try again.

166 shares

Leave a Comment

You might also like

  • Checkerboard vs Harlequin Floor Tile PatternsCheckerboard vs Harlequin Floor Tile Patterns
  • SUMMER DREAMS PLANNING PACK PRINTABLE ACTIVITIESSUMMER DREAMS PLANNING PACK PRINTABLE ACTIVITIES
  • Child’s Apron Pattern – available for PDF download!Child’s Apron Pattern – available for PDF download!
  • RunawaysRunaways

Reader Interactions

Comments

  1. Grammy says

    August 4, 2015

    Thank you for such a lovely DIY. I was looking for something easy and beautiful to make with my granddaughter who is spending the week with me. This project is perfect!

    Reply
  2. karen says

    August 1, 2015

    I think they would look good arranged on a plain wood tray with sides. Just fill in around them and modpodge the tops. Same for an end table.

    Reply
  3. ananda says

    May 18, 2015

    hi cami! These are so beautiful!!! i love how you use them also!! 🙂 thanks for the mention ! 🙂

    Reply
  4. Cindy says

    May 12, 2015

    The first thing I thought when you started this project is “how cute it would be as casters” and then you showed yours…..YOU’VE don’t it again!!! Your creative, smart and I love what you do!! Thank you for all your hard work 🙂

    Cindy

    Reply
    • camitidbits says

      May 18, 2015

      Great minds think alike! Haha! Thank you so much for your confidence in me!

      Reply
  5. Kristie says

    May 12, 2015

    Oh my gosh. How cute! I hope I can make some of my own. Thanks for sharing. 🙂

    Reply
    • camitidbits says

      May 12, 2015

      Thank you! I hope you get a chance to as well.

      Reply
  6. Lynn @ Riggstown Road says

    May 12, 2015

    Oh wait– or arranged into a cute word, for that matter! Something like the word “happy” because flowers (and wood) make me happy. Haha!
    Lynn @ Riggstown Road recently posted…Upside-Down Chocolate Chip CheesecakeMy Profile

    Reply
  7. Lynn @ Riggstown Road says

    May 12, 2015

    Love!! Here’s my idea: wouldn’t they look cute arranged into a monogram, like a S? So cute. 🙂
    Lynn @ Riggstown Road recently posted…Upside-Down Chocolate Chip CheesecakeMy Profile

    Reply
    • camitidbits says

      May 12, 2015

      Flowers and wood make me happy too! And truly, your ideas is pure genius! The monogram would be adorable!

      Reply
  8. [email protected] Wicker House says

    May 12, 2015

    I just saw this on Ella Claire and had to stop by to see what else to do with these adorable wood slices. I especially love the magnet idea.
    You are so talented! I love these!

    Reply
    • camitidbits says

      May 12, 2015

      Emily – thank you so much for leaving the sweet comments! My kids love these magnets the best too!

      Reply

Leave a Comment Cancel reply

Your email address will not be published. Required fields are marked *

CommentLuv badgeShow more posts

This site uses Akismet to reduce spam. Learn how your comment data is processed.

Primary Sidebar

We are sisters, working independently under the same Brand, while sharing our individual passions. Follow Cami for all things HOME, and join Marci for all things FOOD. Enjoy!


About Cami
About Marci

My product lines

TIDBITS Planners
TIDBITS Linen

Our books

Front cover of 'Master The Electric Pressure Cooker' cookbook

Hot off the press
tidbits.
Right to your inbox.

Sign up to get post updates, monthly subscriber only content, and inspiration for do-it-yourself living
Thank you for Subscribing to TIDBITS! Talk to you soon.

There was an error submitting your subscription. Please try again.

Archives

Follow on Facebook

Footer

Welcome to my blog, TIDBITS! I am a sleep deprived Mom to 4 and a fanatical DIY'er. I absolutely love to create - but I love to inspire others to create even more!

Subscribe

Thank you for Subscribing to TIDBITS! Talk to you soon.

There was an error submitting your subscription. Please try again.

Privacy

Copyright

I love sharing my ideas and tutorials! I ask that you respect my work and follow these guidelines. 1. All images are property of Tidbits blog. 2. Feel free to use 1 or 2 images on your own webpages, provided a link back to my blog is clearly available. 3. Do not remove any watermark or crop/edit my images in any way, unless given written consent by myself. 4. All tutorials/ideas/designs are for personal use only and are not to be copied and distributed in any way. 5. Sharing and pinning through social media is always welcome!

An elite Cafemedia Home/DIY Publisher
Branding + Website By Coded Creative

166 shares