
This post may contain affiliate links, which means I get a small percentage of the sale at no extra cost to you. I only recommend items I love and have had a positive experience with. Thank you!
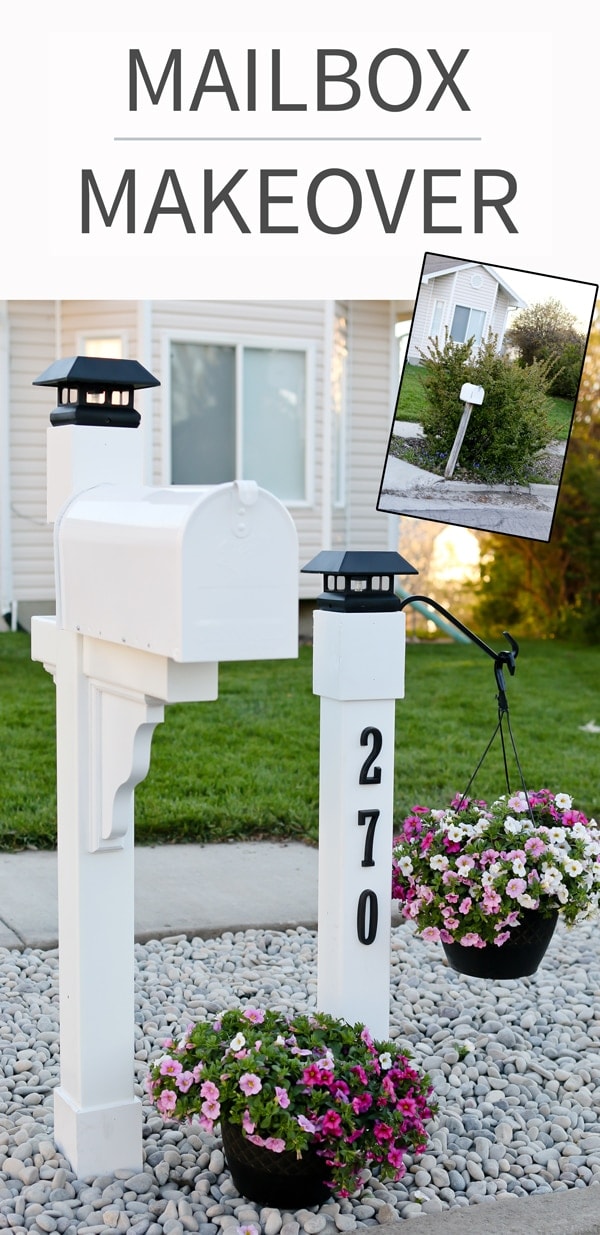
Checking for mail has never been so enjoyable! Let me show you how we significantly upgraded our curb appeal with this mailbox makeover project. Follow our step-by-step tutorial for a lovely customized cottage-style mailbox – easily finished in a weekend!
*Disclaimer: This post is sponsored by The Home Depot for the purpose of spreading awareness of Gibraltar Mailboxes and posts, found in Home Depot stores or online. My affiliate links are included. All opinions are my own.
In order for you to truly appreciate this project, I just have to show you the before images first.
After seeing this scene again, I’m wondering why in the world it took us 3 years of living here before we did anything about this sad sad outdoor space.
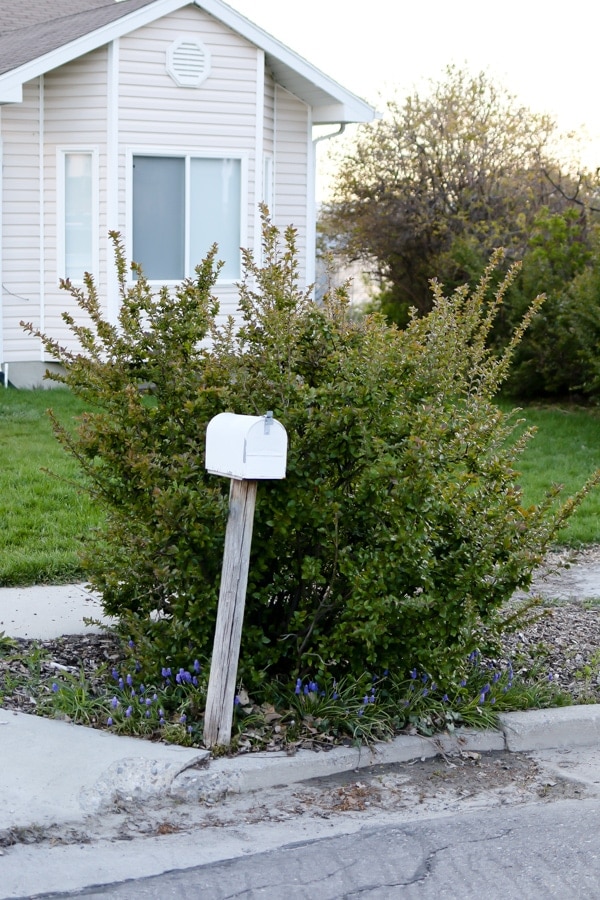
So what do you think about that wonky, weathered mailbox and post? Or how about the weeds?
Lovely first impression, wouldn’t you say?? (wink)
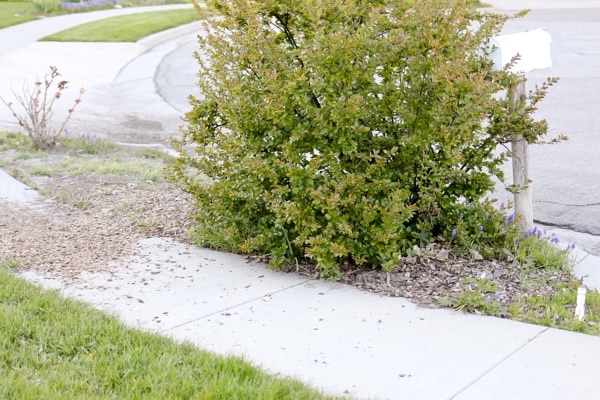
But actually, looks weren’t the only thing we struggled with on this curb. Our home sits terribly sloped at the end of a cul-de-sac, and every time it rains or snow would thaw, all the water comes rushing into this spot, leaving a nice pond for the kids to play in and a trail of washed-up wood chips in its path. And of course, there was the randomly placed bush and rose plant.
My husband and I were thrilled to take on the challenge of improving our curb appeal and function, and the results are fantastic!
It was a simple weekend project that made a big impact. We would love to show you exactly what we did and how we did it.
Clearing out the ground was the first essential, so we ripped out the bushes and leveled the dirt in preparation for installing the posts.
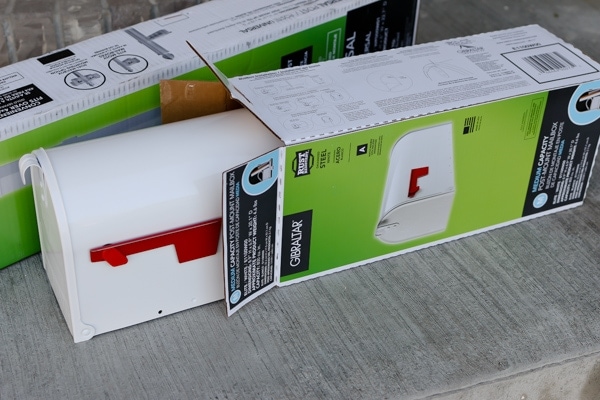
Then we headed to The Home Depot to explore some ways that we could customize our very budget-friendly and high-quality, white Gibraltar Mailbox and Gibraltar Mailbox post.
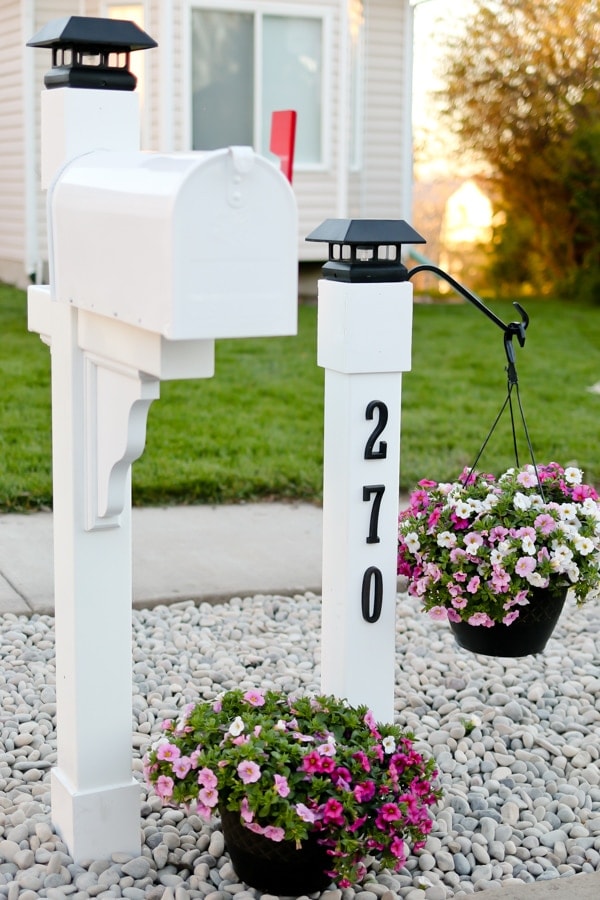
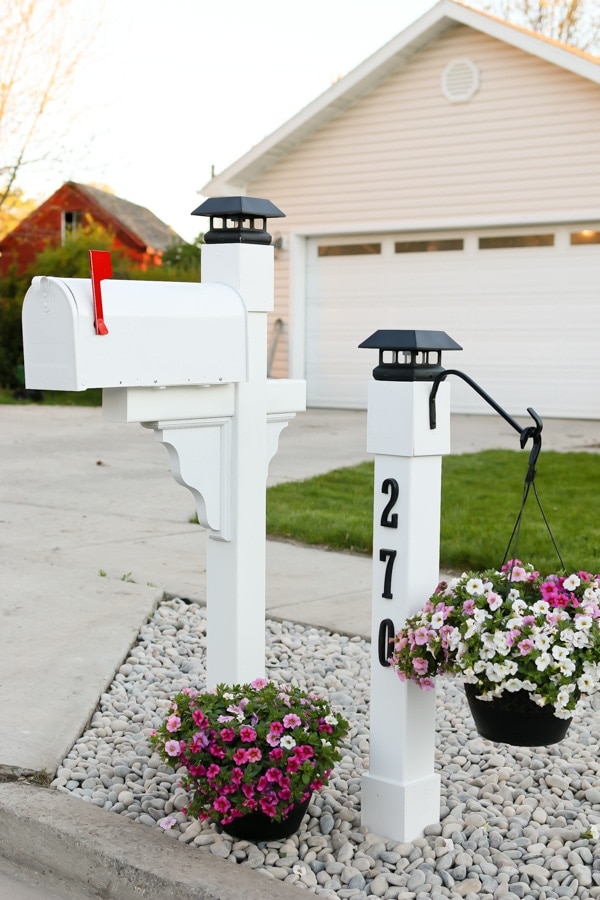
While walking the aisles, with 4 kids in tow, I was surprised to have the creative energy to think of adding a second post next to the mailbox, to work as an address post, and to add some decorative layers to the space.
I think that second post really made all the difference in the world.

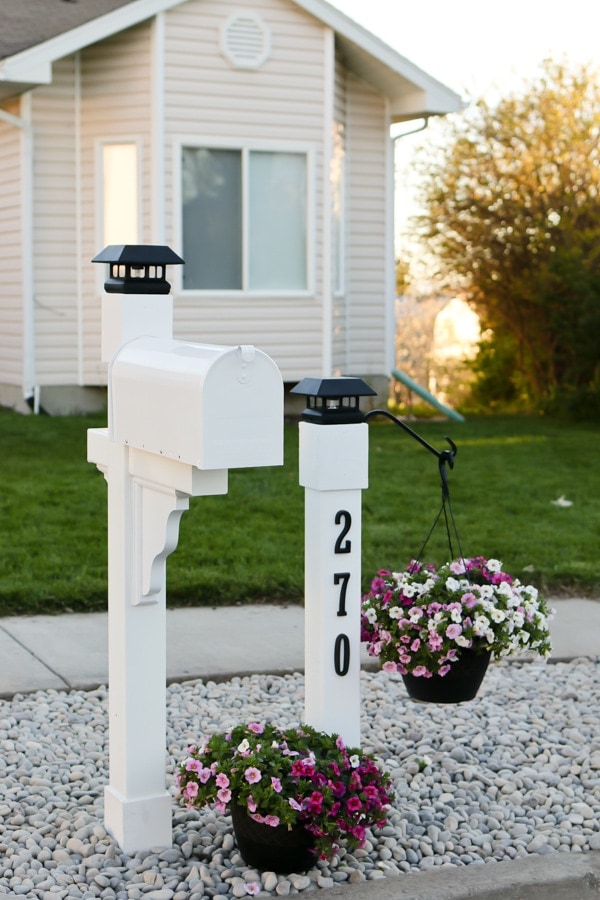
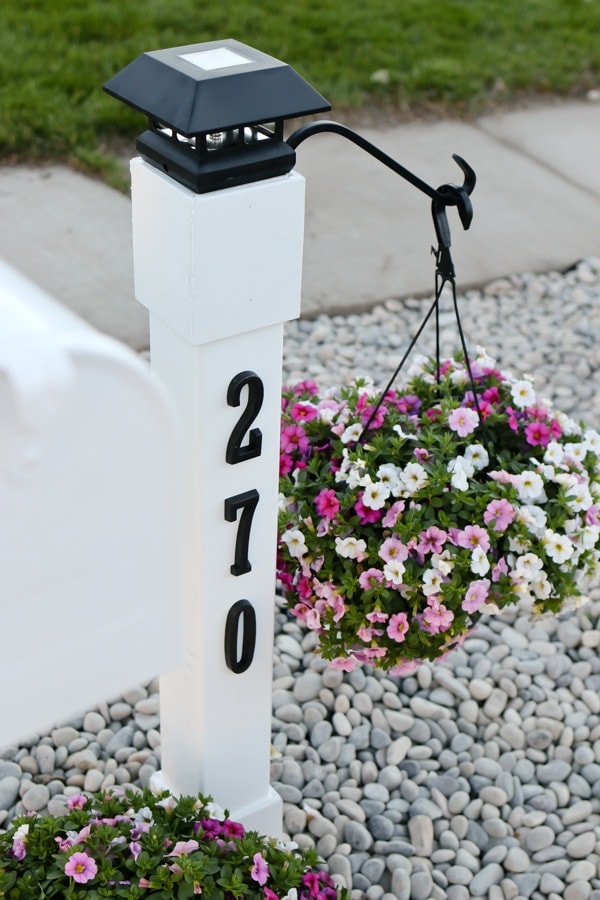
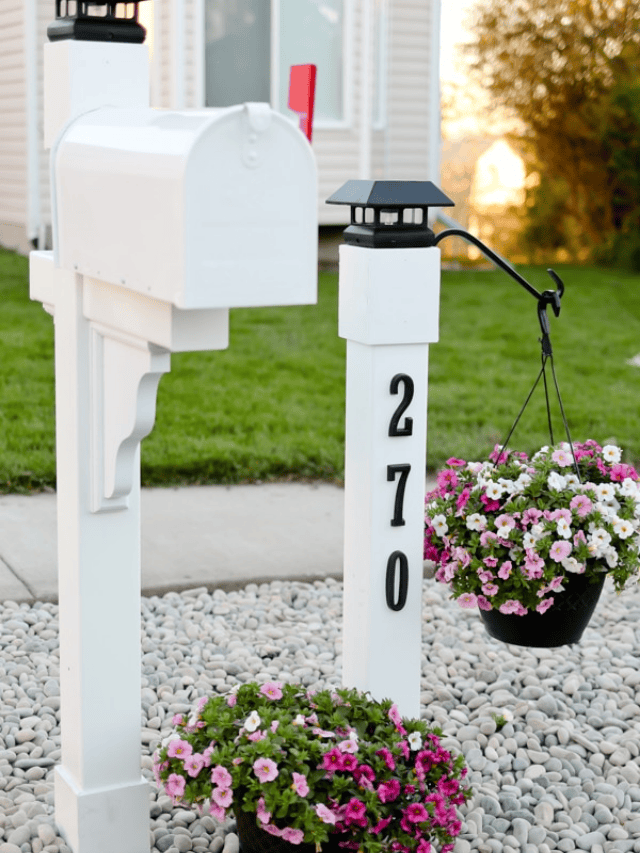
Adding in both posts, we were able to add other decorative touches like shelf brackets, trim work, solar lighting, house numbers, and places to hang potted plants.
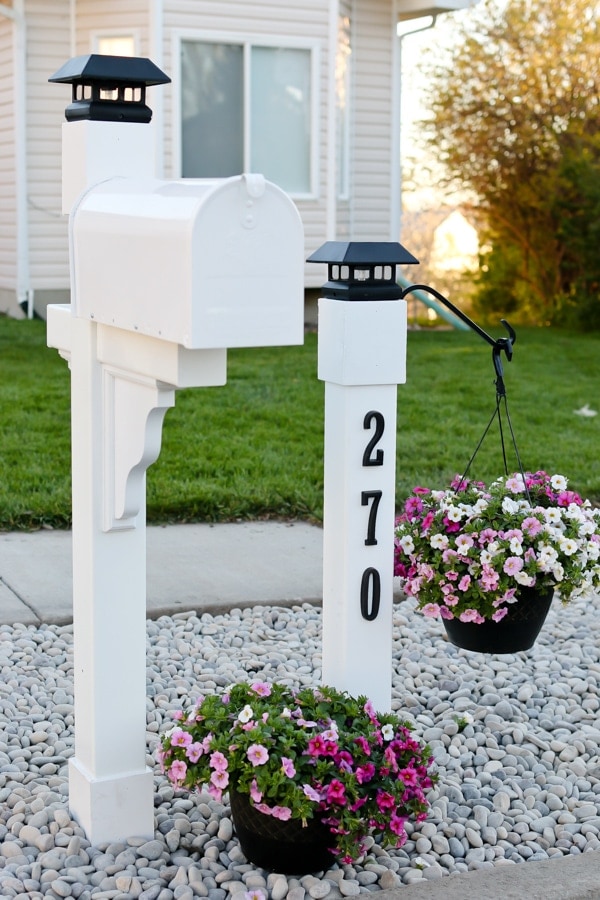
We love how the solar caps light up all by themselves every night.
We’ve learned from experience, that anything we tried to plant in this spot wouldn’t make it because of the frequent flooding. So we filled the spot with a weed barrier and topped it with rocks, that no longer wash up onto the sidewalk.
And even though it may seem like minimal landscaping efforts, the beautiful customized mailbox and post add just enough interest, with very little upkeep.
Now let me take you through every single step we did in customizing our mailbox and posts. My greatest hope is that it will give you some great ideas to improve your own curb appeal, and the ability to do so.
SUPPLIES NEEDED:
Pictured below are the supplies we used for this project. You can find them all at The Home Depot. No need to drag those kids anywhere else ;). That’s a really good thing! *My affiliate links are inserted, where applicable.
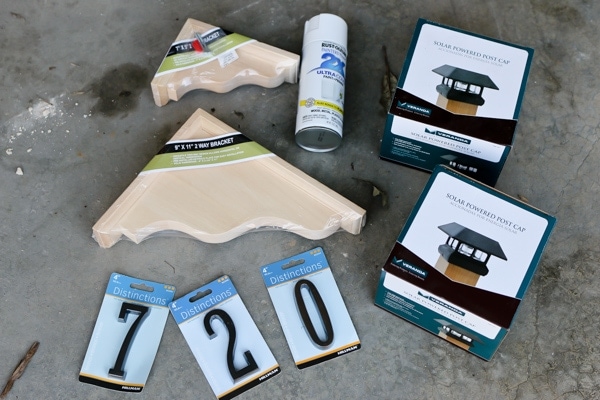
For further customization we purchased:
- 2 Corner/shelf brackets of different sizes.
- 2 Solar Powered Post caps
- Peel and stick numbers
- White outdoor spray paint
- White vinyl fence post (not pictured)
- Plant hanger (not pictured)
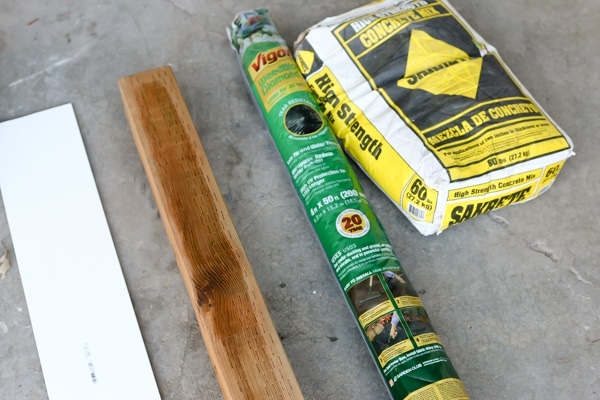
- 1 Bag of high strength concrete mix
- Pressure-treated post
- Weed barrier
- Vinyl Trim
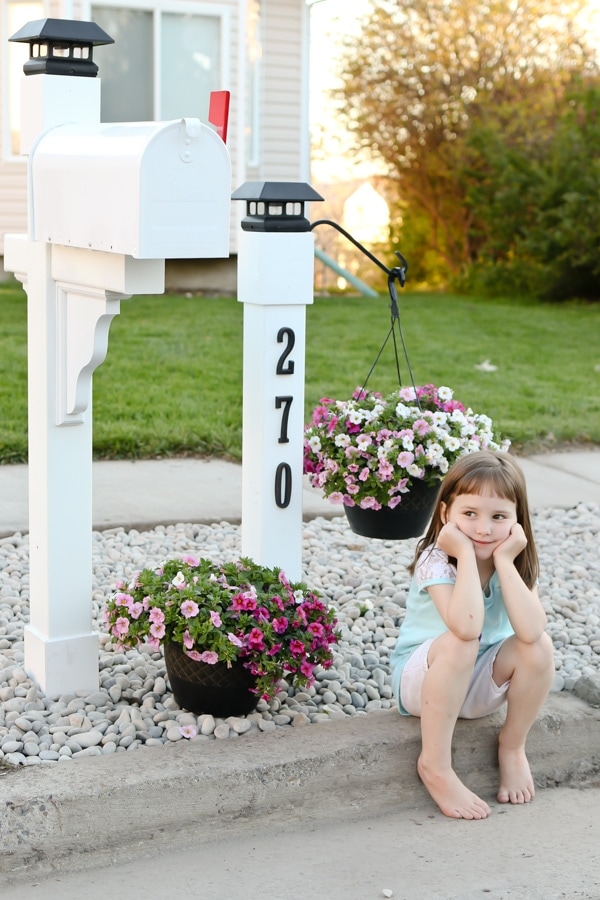
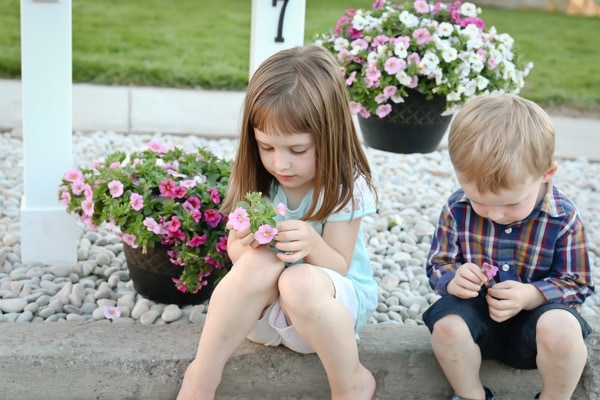
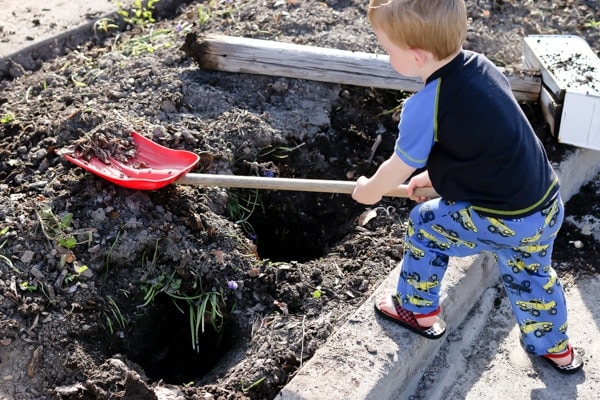
After cleaning up the area, we dug 2 holes side by side and approximately a foot apart and a foot and a half deep. Little helpers in pajamas are also welcome . . . until bedtime.
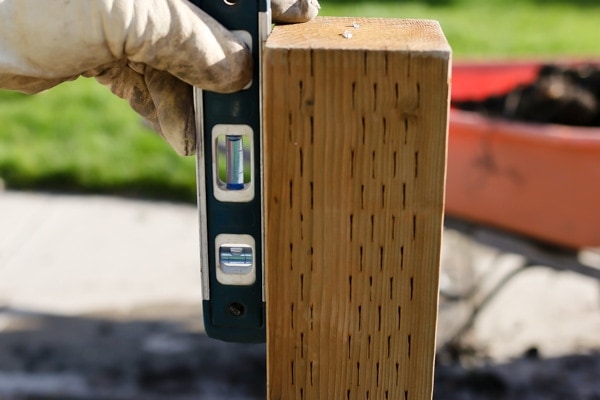
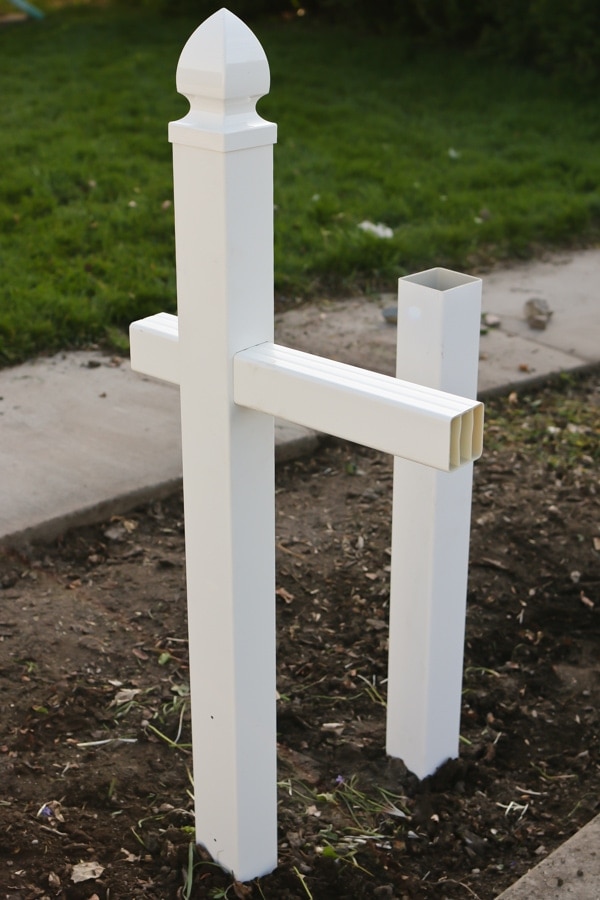
My husband cut the treated posts to our desired size and inserted them into the holes. With his level, he made sure they were nice and straight.
Then he filled the holes with the concrete mixture.
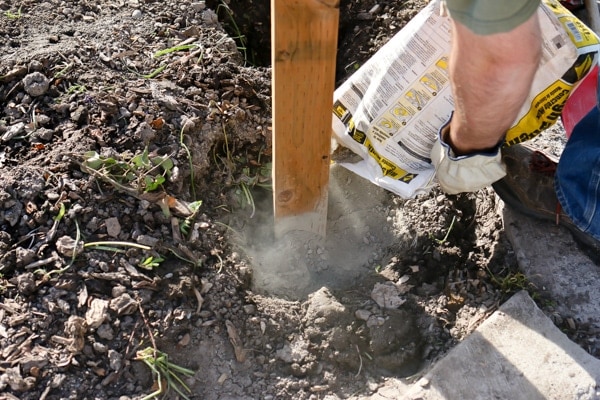
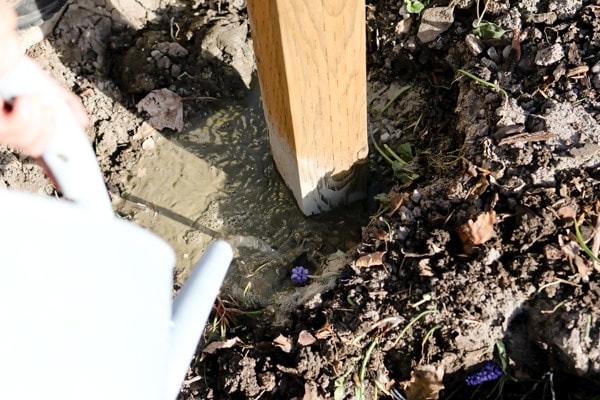
Adding water to the concrete, will ensure that the poles are set in place underground.
Once the concrete was beginning to set, he simply slipped the vinyl posts over the treated wood and filled the bottom in with extra dirt.
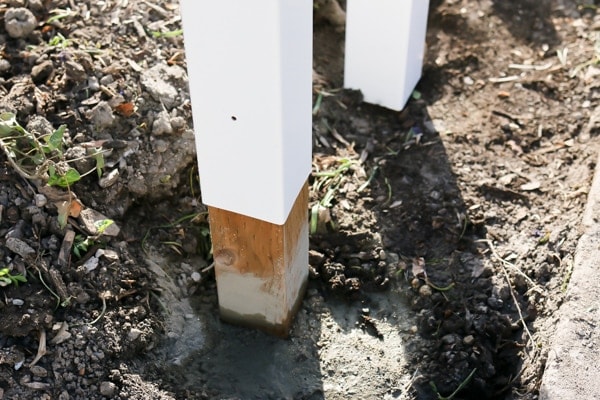
Since these Gibraltar posts are made from plastic, they will not rust or mold, making them a great choice for sustaining your mailbox for years to come.
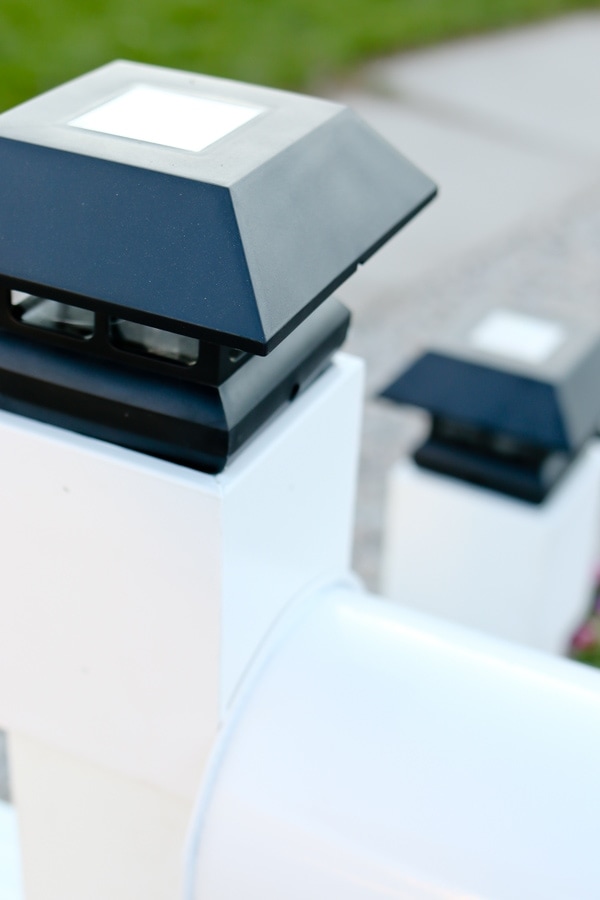
The Gibraltar mailbox post comes with a decorative finial, but after seeing these solar lantern caps at The Home Depot, I really wanted to give them a try.
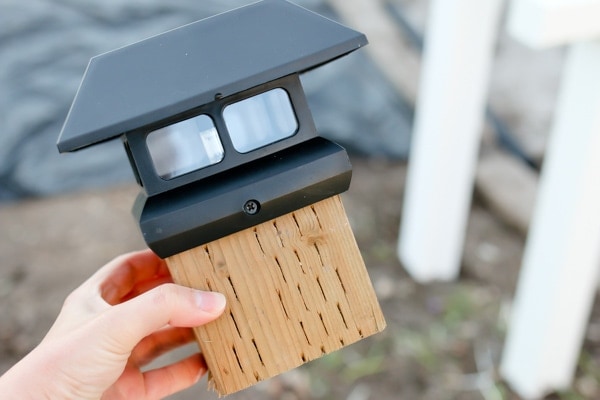
They are meant to fit the wood posts and not the top of the mailbox post. So my smart husband cut a small section of the treated boards and screwed the caps onto that, and then inserted them inside the plastic mailbox post.
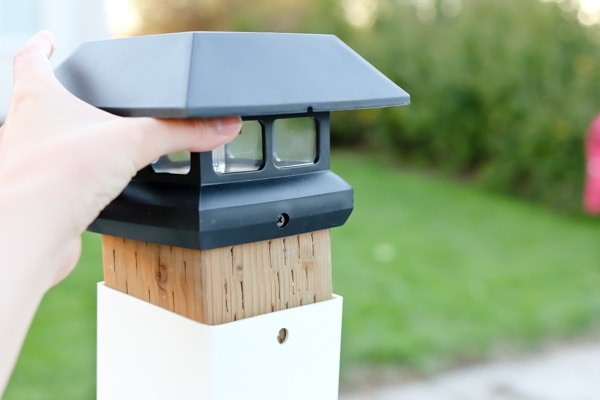
It worked perfectly.
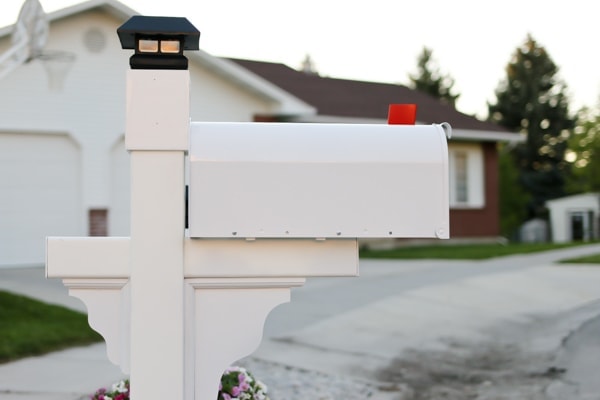
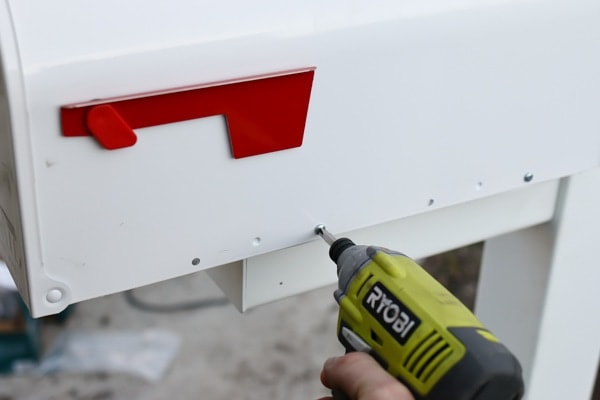
Then it was time to attach the mailbox to the post, which was very easily done with the screws and screw holes provided with the mailbox.
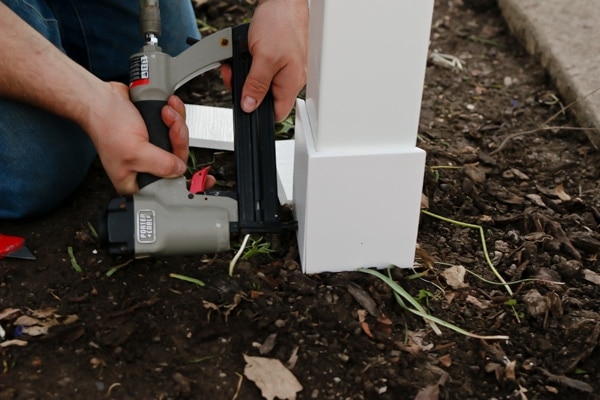
We really wanted to add some trim layers to the post itself. But we knew adding wood trim would result in future mold and rot issues. So we instead used already white vinyl molding and cut pieces for the top and bottom of the posts.

You can see here how my husband cut the edges at a 45-degree angle so they would fit nicely around the posts.

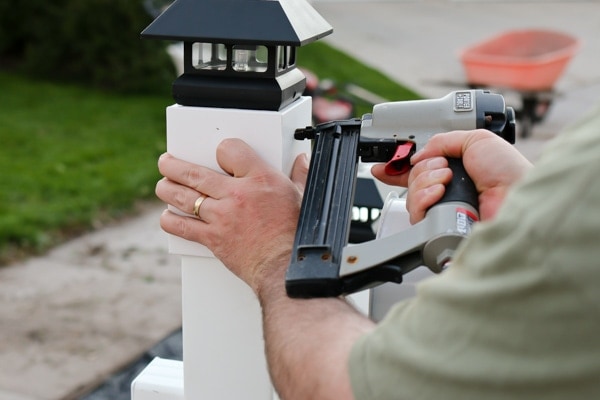
Then he carefully pieced them together and secured the trim with a nail gun.
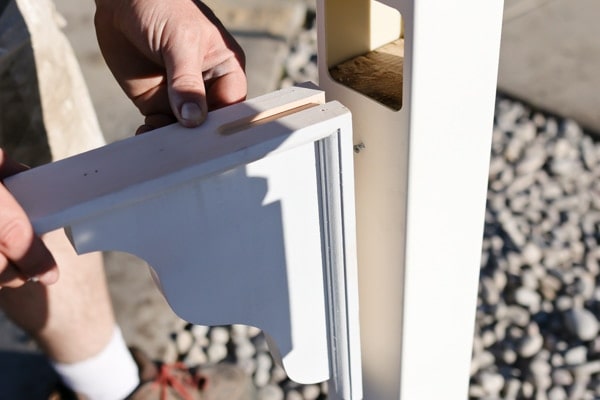
One of the last steps was to add the corner/shelf brackets. I gave them several coats of white spray paint to match the posts.
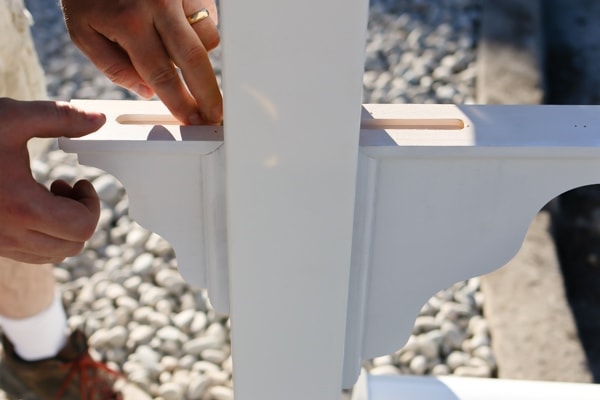
And my husband screwed them into place. These pieces are made of wood, but where they are not touching or sitting on the ground, we shouldn’t face any problems. I may have to touch up the paint from time to time.
After those were secured, we could easily slide the mailbox back into place.
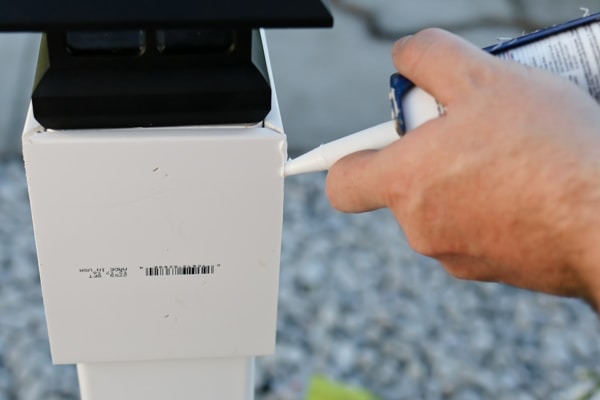
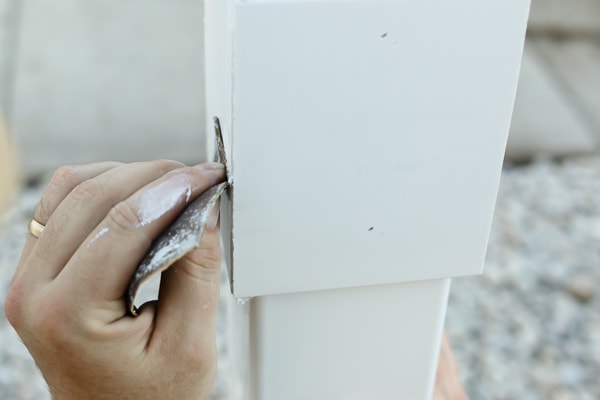
We finished it up nicely by caulking the corners, edges, and nail holes and sanding off any bar codes or clumps. It’s important to caulk the nail holes, otherwise, you would eventually begin to see rust lines on the vinyl from the rusting nail heads.
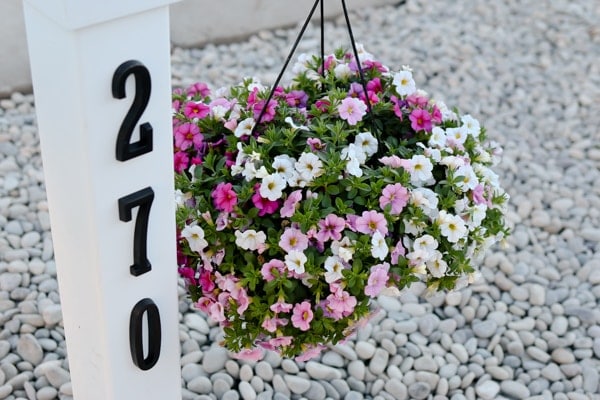
Finally, we had rock delivered from a local company and leveled it out around the area. I added a couple of beautiful hanging flower pots, also found at The Home Depot in their garden section.
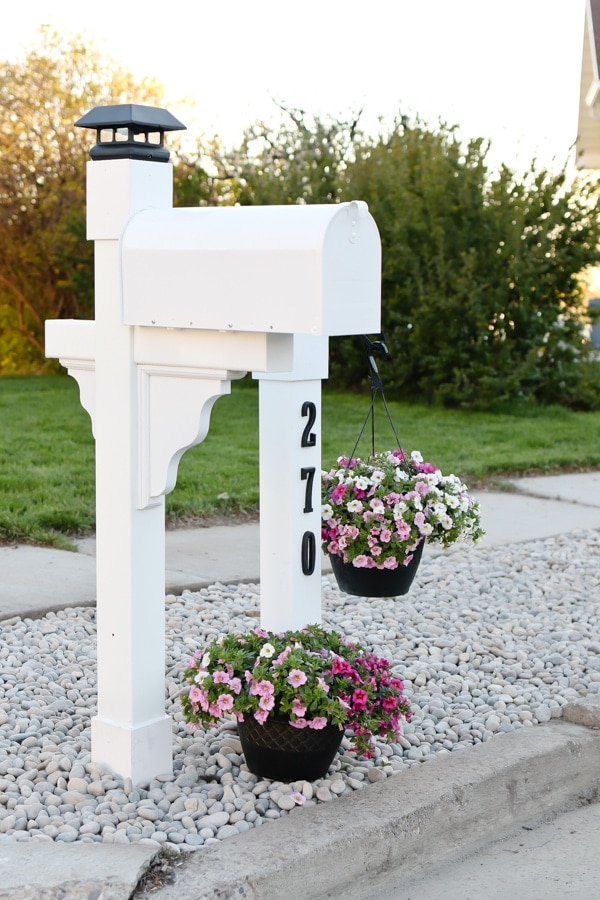
So what do you think of the improvement? We are very happy with the results and it appears our neighbors in our circle are enjoying the improvement as well! An added perk about our new mailbox is its larger size to fit larger packages. If you are on the hunt for a new mailbox, I highly recommend shopping the wide variety of Gibraltar options at Home Depot!
Do you have any curb appeal projects you would like to tackle? Next up on our list is our porch. I’m dreaming up a white banister, window boxes, flowers, cottage blue paint . . . . . .
Happy curb appeal dreaming, and thanks for reading!
“I acknowledge that The Home Depot is partnering with me to participate in this Gibraltar Mailboxes Program (the “Program”). As a part of the Program, I am receiving compensation in the form of products and services, for the purpose of promoting The Home Depot. All expressed opinions and experiences are my own words. My post complies with the Word Of Mouth Marketing Association (WOMMA) Ethics Code and applicable Federal Trade Commission guidelines.”
MORE SPRING POSTS YOU’LL ENJOY
Look Inside these 7 Books on Growing Flower Gardens
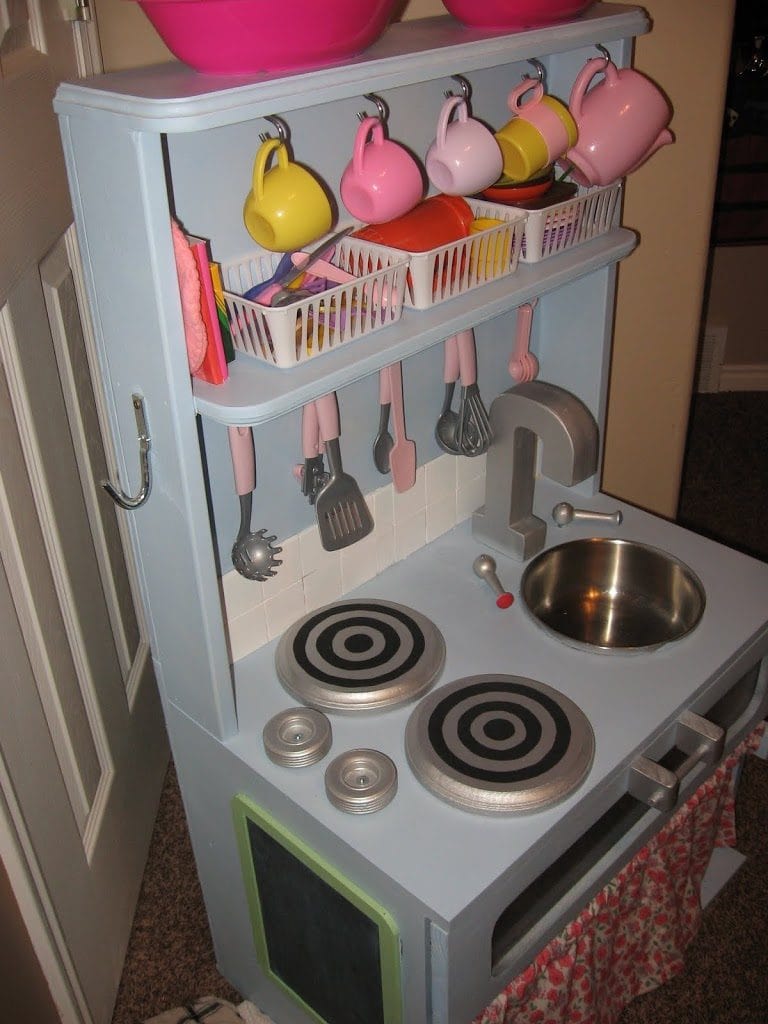
Creating a Kids Cleaning Caddy for Little Helpers
Best 8 Books on Raising Backyard Chickens | Open Book Reviews


Hey everybody! It’s very appealing review. I am shocked that you are so qualified. I did not confidence you!
Hi Cami!
Well done! It looks amazing and a great project to take on together with the children.
Also loved the home office makeover post! I’m a handy fella myself but I could learn a thing or two from your design skills!
Hello Cami, I truly appreciate for this post. This is really inspiring to me. I love the way of your gardening. You have such a beautiful garden and home. I liked this blog. Thanks and keep sharing.
Nice instruction! Using weed barrier was a good idea.
It looks beautiful, Cami! I think the second post is genius!
I’m a single woman who loves to DIY but this project seems a little over my expertise level. It is just beautiful and the extra details you added really make the project spectacular. So here’s my question, will you loan me your husband and his little helpers to set up my mailbox? I’ll feed and water them and then send them back to you. Hehe. Love your blog!
I’m a single woman who loves to DIY but this project seems a little over my expertise level. It is just beautiful and the extra details you added really make the project spectacular. So here’s my question, will you loan me your husband and his little helpers to set up my mailbox? I’ll feed and water them and then send them back to you. Hehe. Love your blog!
Haha! I would not be motivated to do that at all, if that were my case. That’s their problem, right? 😉 . Thanks for stopping by!
Love the fresh new look!
Thanks for sharing.
Thank you for saying so! It’s so much fun to check the mail now! Who knew!
Looks awesome! Very clean and tidy and pretty, much like the interior of your home. How you keep it so clean, that’s the post I need to read. I can blog or be clean. I have trouble doing both. I really hope that when the cameras aren’t around, the toys are, just so I feel better about myself….
Oh April! That’s exactly how it is for me! The more attention I give my blog, the faster my house falls apart! Balancing act for sure! And for the record – I’m terrified for Summer Vacation coming up. With all 4 kids back in the house all day, I can never keep up. So don’t be so hard on yourself! Real life happens here all. the. time.
Look really nice. Your helpers were so cute.
Thank you! They are cuties!
Oh my Golly… from sad to fantabulous! My fave part is the second post! What a great idea. And the solar lights – another great idea. So pretty now. Adorable kiddo’s too.
What a sweet comment! I was so glad the second post worked out. I was second guessing myself big time. And yes, the kiddos are the best part! 🙂
Beautifully done and looks GREAT!
How sweet of you to say! Thank you!
hey girl- love the new look! So cool! Y’all have a great weekend!
Thanks so much Shawnna!
So simple and yet so pretty. 🙂
Thank you! The simple things really are best!
Looks great! We all overlook projects like this from time to time. I think these are the ones that give us the most satisfaction when they are done!! Simple to accomplish, but it makes a huge impact. Great job well done!
Agree to everything you said! We are used to tackling very large projects that take months. But sometimes its the smaller ones that fuel our creativity better. Thanks so much for stopping by!
Just beautiful! The lovely children are a nice touch. Haha
Thank you so very much! They are lovely kiddos 😉