This post may contain affiliate links, which means I get a small percentage of the sale at no extra cost to you. I only recommend items I love and have had a positive experience with. Thank you!
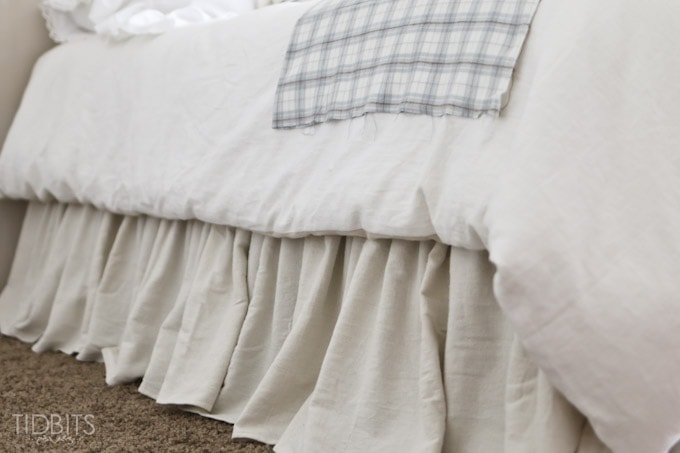
The gathered bed skirt seems to have been the favorite piece among many of you in my DIY bedding for our master bedroom. I am so excited to share how easy it was to put together – and affordable!
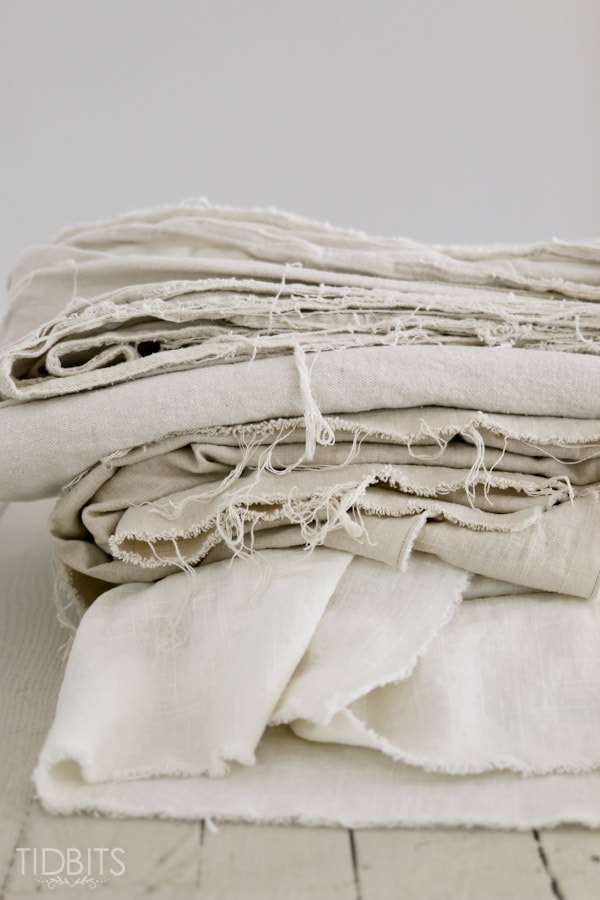
I used painters drop cloth from Home Depot, bleached the heck out of it, and gathered it onto an old sheet cut to size. But you can feel free to use any type of fabric you desire.
I really think if you are able to sew a straight seam, you can do this with my instructions. I have a fun little gathering time savor trick I’m going to be sharing which does NOT include pulling and breaking tiny little threads to make your gathers. Yay! It is all done on the machine – no special foot required.
In a nut shell, all you’ll be doing is gathering your panels and attaching them to the sheet.
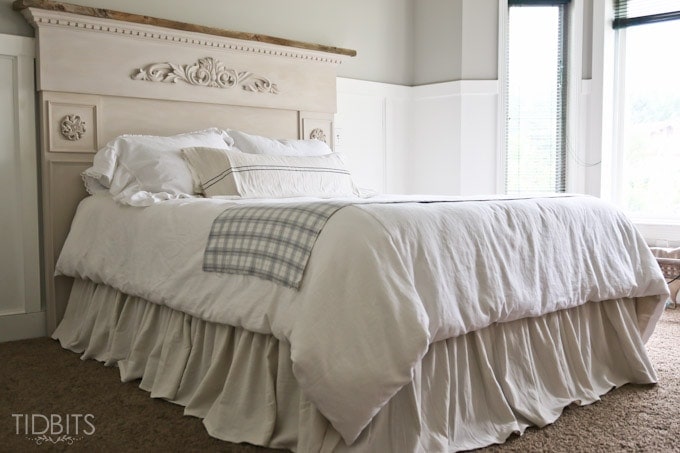
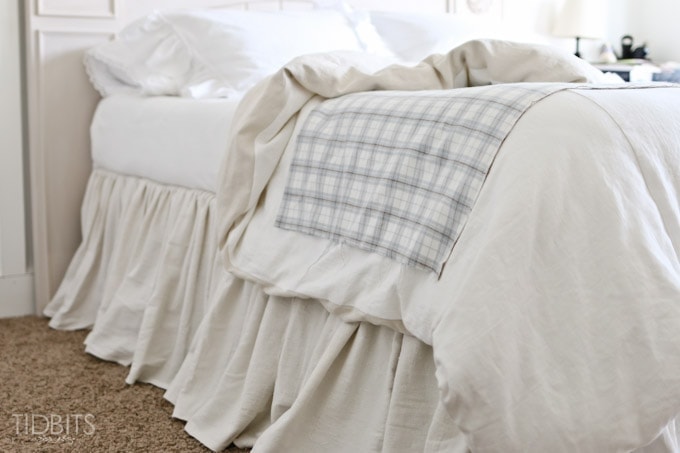
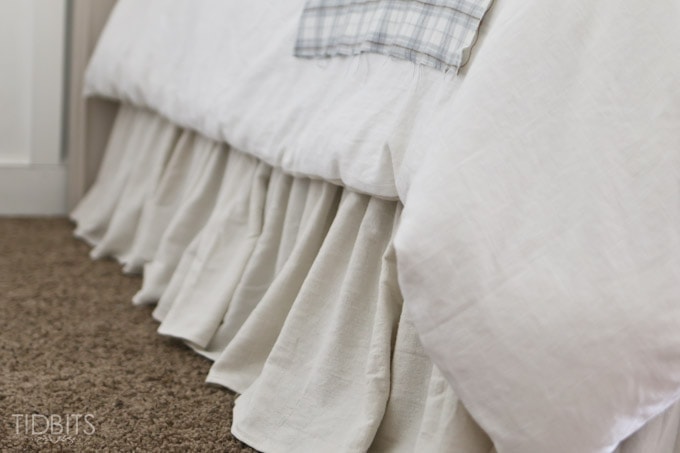
And TA-DA! – a beautiful, romantic, one-of-a-kind bed skirt that will make Pottery Barn jealous. 😉
If you want to make the reversible duvet cover, go HERE. Pillow tutorials coming soon – as well as instructions for my preferred method to bleach drop cloth, which doesn’t include filling your home with those skin-burning, eye-itching chemicals. Blaaaa!
So first, round up your supplies. You will need an old bed sheet or fabric large enough to cover the box spring of your bed, as well as the fabric for the skirt. You’ll have to do some measuring and figuring for just how much you need for the skirt itself. I had bought some drop cloth that was 8 oz. in weight and 12 feet by 15 feet. It was already bleached because I was supposed to use it for slipcovers for our sofa’s – which is a dreaded project that keeps getting put off. I believe it cost me about $30.00 but I hardly used half of it. If you are buying fabric by the bolt, you’ll have to measure how long you want the skirt. Determine if you can get 2 or 1 lengths from the width of the bolt, and figure how much yardage you need based on the measurements of your bed and how many panels you will cover. I didn’t put a panel of fabric by the headboard because you wouldn’t see it any way. A general rule I have for figuring out yardage when gathering will be done, is the following. If I want loose gathers, I double the measurement and buy that much in yardage. If I want tight gathers, I will double plus a half, and even sometimes triple. Lightweight fabrics will gather tighter than heavyweight fabrics, so if you were to do lightweight cotton, you would want to triple for a full gather. Any way – I hope that helps. If you are still way confused – keep reading my methods below and it should help. I just started ripping panels with my drop cloth rather than measuring anything – but I will show you that in a minute.
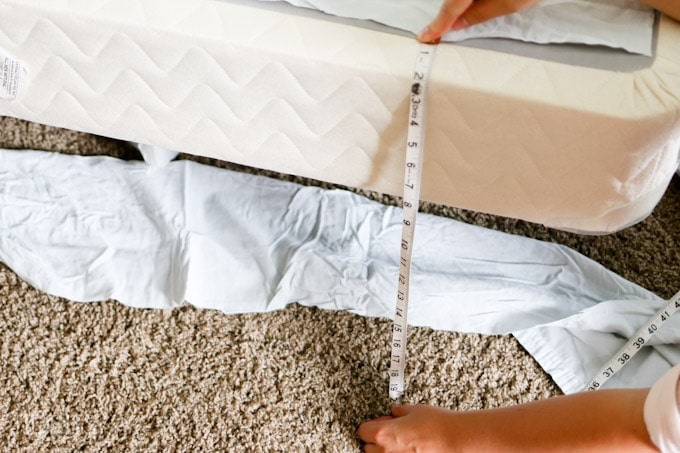
Cut your sheet or fabric to the size of the box spring. You want it to be inside the box spring at least 3 inches from the edge so the gathers come out nicely from the inside without showing the sheet.

Then I figured how long my gathered fabric would need to be by measuring from the sheet to the floor. I gave it a slant because I knew I wanted full, flow-y ruffles that puddled a bit. For this measurement, you need to take into account a 1/2 inch seam allowance at the top, and 1/2 inch seam allowance for the hem. So, add an inch. I believe my final measurement was 20 inches long.
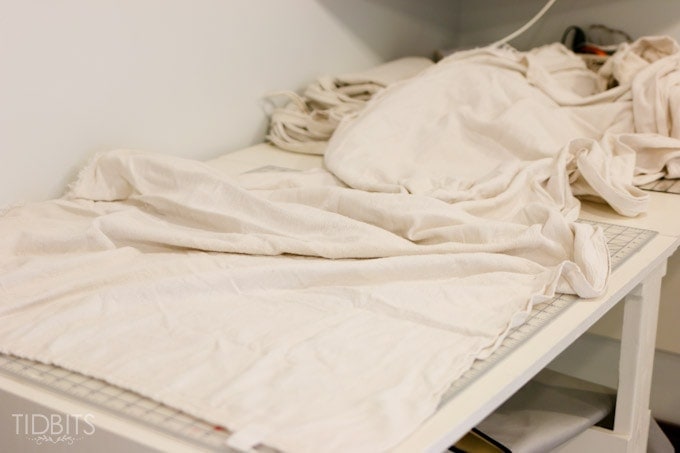
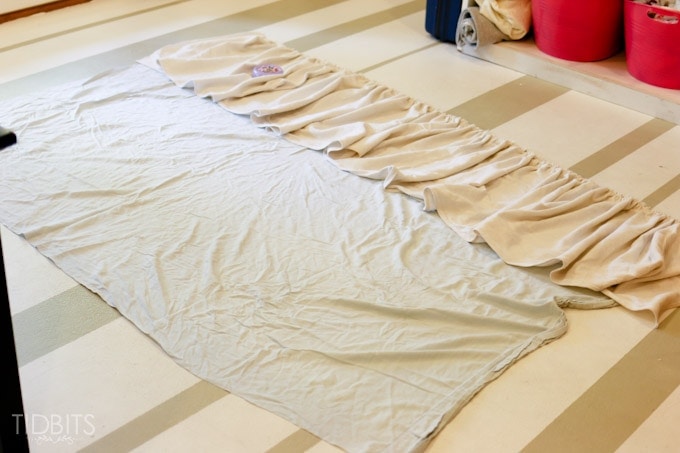
So then I laid out my bleached drop cloth.
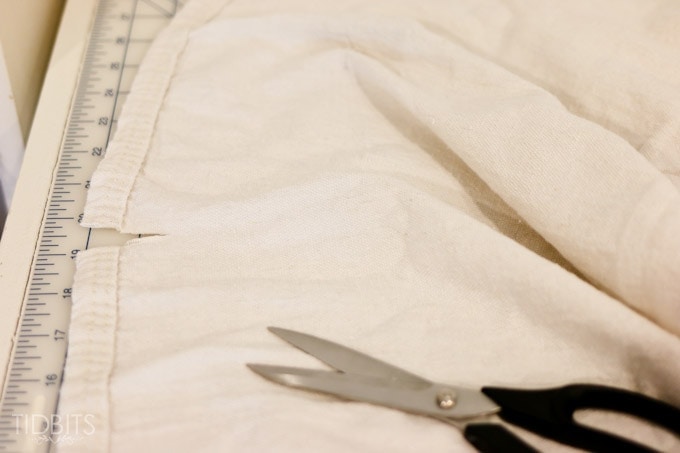
I measured to 20 inches and snipped in about an inch and a half. Drop cloth (and most woven fabrics) will rip evenly. So rather than cutting everything at 20 inches, I could just add that snip and rip all the way down. Quick and painless. I did this a few times so I had a few panels of 20 inch long fabrics. It looked like quite a lot, but I knew after I gathered it all it would be just about right.
If a panel wasn’t quite long enough, I joined the next piece of 20 inch drop cloth with a quick seam and kept gathering it together. Before you gather, it is easiest to do the hem on the bottom and sides of the panels. I cleaned up my ripped edge with my serger and to finish off the edge.
Then I folded the hem and stitched in place 1/2 inch from the edge. You could use the hem that is already on the drop cloth, but I found it a bit bulky for my taste.

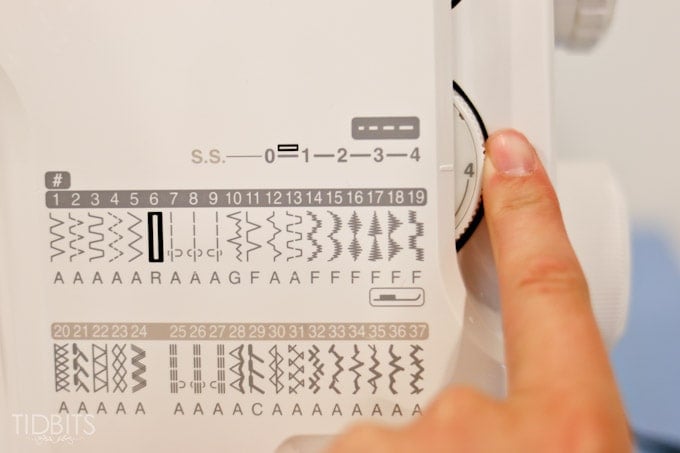
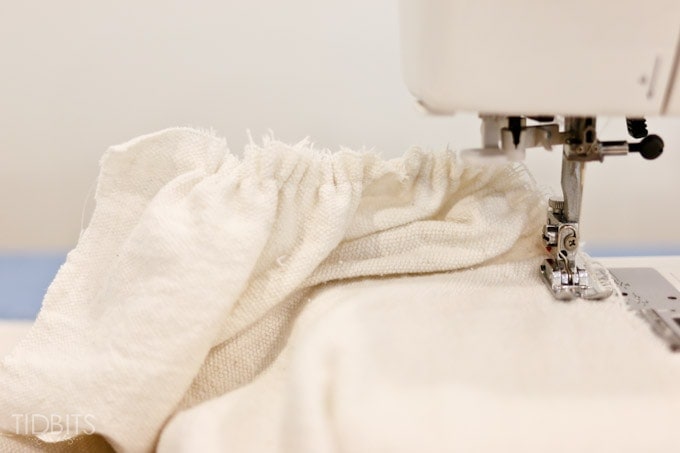
Once it was all hemmed, I was ready to gather the top edge. Here is my little gathering trick I learned a few years ago. First, adjust your tension as high as it will go.
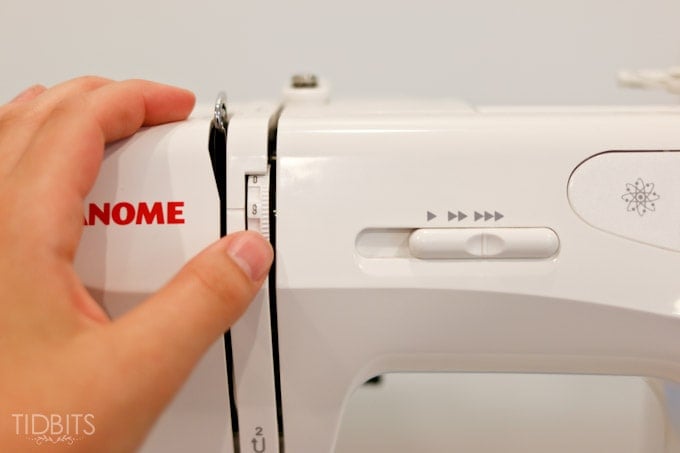
Then, adjust your stitch length as long as it will go.
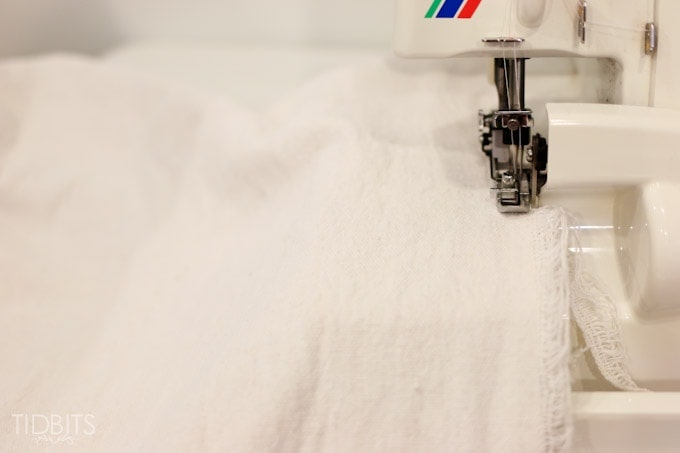
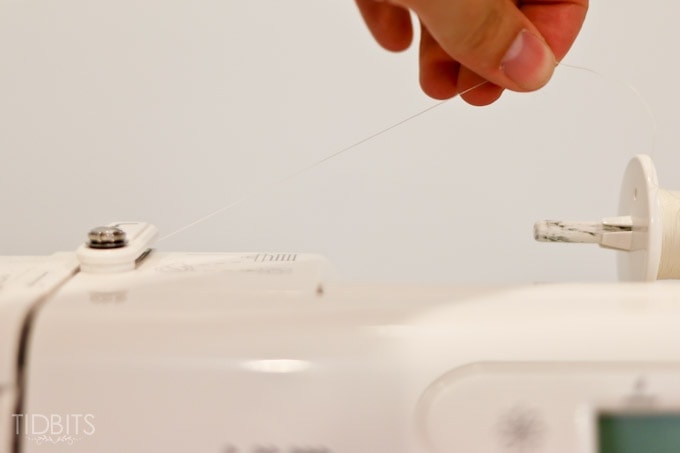
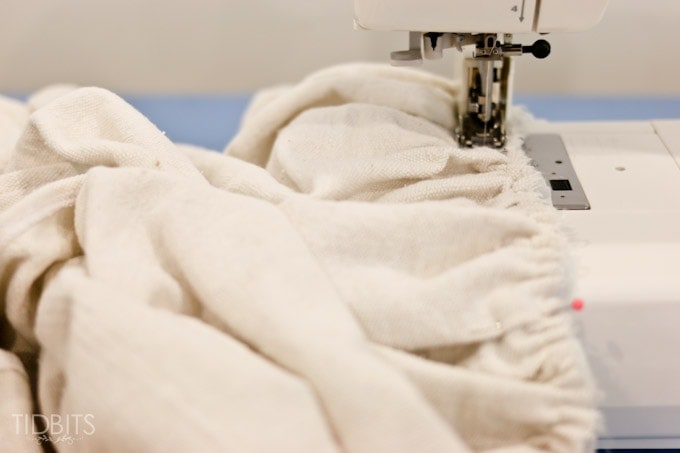
While you sew on the top edge of your fabric panels, you will hold the thread that is coming out of the spool between your thumb and index finger and give it just a tad bit of resistance. Don’t try to yank or resist completely, but make the machine fight a bit for that thread. I promise, this will not break your machine. Unless it hates you.
With those dials set as I showed you, and your fingers pulling just a bit, that fabric with feed through the machine with the most perfect little gathers or ruffles you’ve ever done. No need to tug on threads to gather, but you still have the option of loosening the gathers if need be. Pretty cool, huh?
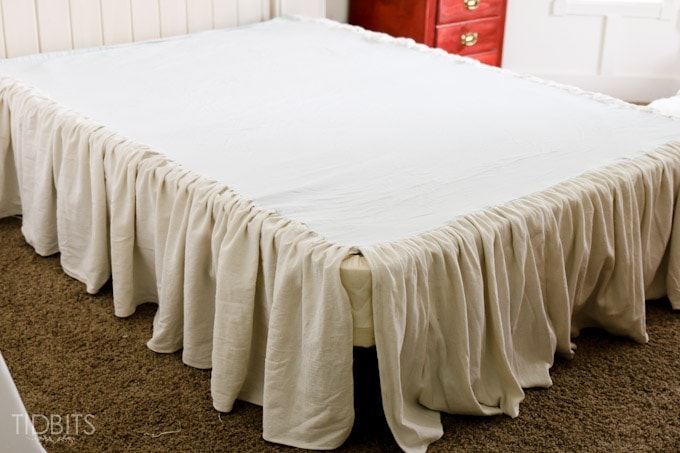
To attach the gathered panels, I laid out the sheet and laid down my gathers to meet the edge of the sheet, right sides together. Then I pinned in place sufficiently. Like I said before, because I was just ripping drop cloth willy nilly, if a panel wasn’t long enough I joined it together with another one until them came to the right length. You could also keep your fabric attached around the whole thing, but some beds have a foot board (which we might add) and it would be good to have the sides and bottoms separated. But that is up to you.
When attaching your gathered edge to the sheet, be sure to sew past the gathering stitch with a regular stitch so all your gathers are securely in place.
Continue to sew on all the gathered panels around the sheet, and then you can lay your finished bed skirt onto the box spring and cover with your mattress.
That is all there is to it!
I do hope this has been helpful to you and encouraging to save some money by making your own bed skirt and customizing the look just how you want it – which is what I really like to do.
Any pins and social share you could give me are always appreciated!

Thanks for reading!
*Linking up to these parties, HERE.


I love this because I bought a bed skirt ruffle and it tore at the seams after about 2 weeks. This is awesome I can make my bed skirt to match my curtains because my curtains are made out of drop cloth.
These are so wonderful and they seem as though they would be so agreeable as well
I made this bedskirt this weekend! Thanks a TON for all the great instructions and advice! It looks just how I pictured it!
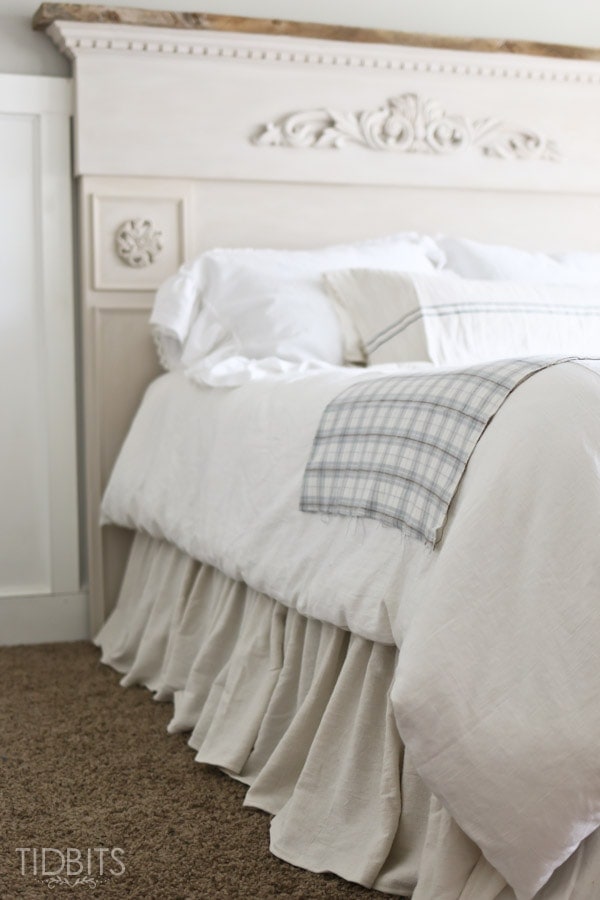
Great project! I am in the market for a headboard and just love yours! Can you please tell me where you got it?
Thanks!
I may have to do this as I can’t find a skirt like this. Beautiful work and thanks for that tip, I had forgotten it!
XO, Kelly
great idea! I have a bed that has to have the mattress rotated every so often to maintain so it does not wear . Could a person use a fitted sheet, that would hold the skirt in place when the mattress has to be turned. Fitted sheet turn sections of drop cloth on top with a larger hem going across the length of the sheet & on width of sheet .
I’m in need of a bed skirt and after reading your post I feel like I might be able to tackle this task. Thanks for sharing.
Your method for using drop cloths was so explicit. Thank you so much for taking the time to educate people like me who love to make things out of “nothing”. I am unable to make anything at this stage in my life because I am awaiting hip surgery, but I am hoping to get back to what I love most . Again thank you so much for your tutorials and please sign me up for any and all your your tutorials in the future. Best regards, Nancy
Nancy! I so appreciated all your kind words! I sure hope your hip surgery goes okay and you can be back to creating! Thank you for stopping by!
The process you described did beautifully!! I was skeptical because I don’t often get the results I’m hoping for. So super simple, and completes this task quickly. I do have a tip to add; I used upholstery thread to give me extra strength. I broke the normal weight thread after a few inches. I wasn’t sure if the more resistance I gave the upper thread would give me a tighter gather. So to eliminate the frustration I switched early on.
Thank you for always having thorough instructions and photos and most importantly having great DIY projects I want to try.
It is comments like yours that keep me going on the hard days! I always hope to provide well enough instructions and inspiration for others, and I can’t thank you enough for saying those kind words. I do think a thicker thread would be a wise idea. I am so pleased you gave it a try and are happy with the results! I still love my bedskirt!!
I am thinking that I could use an old fitted bed sheet, draw a line around it, 3 inches in, and use that as my sewing line. Hmmm…
Beautiful look! Thanks for sharing this simple technique. You are amazing.
Several questions 🙂
Do you know how many drop cloths (the ones you used) it would take to make this for a king with the same gathering you did?
Also, maybe you said, where did you get the drop cloth? Or brand?
Also, lol, do you have a tutorial on the slipcover? I have an Apartment Sofa and two chains from Arhaus. They have slipcover a but they are getting worn. I just keep putting off what seems to be a daunting task lol.
Ooops one more question.
Is it conceivable that the drop cloth could become soft enough that you could use it to make a matching duvet cover?
Did you wash the drop cloth before making the bedskirt?
THANK-YOU ! THANK-YOU for the tip for gathering the material. I had been dreading this part of my project.
I’ve just started experimenting with drop cloths, & they are amazing to work with. The possible projects are endless. I have a king size bed & hate how my current bed skirt fits the bed & am constantly fighting with it. Thank you for posting this, this is now on my to do list.
Hi did you ever make this? I have a king sized bed and I am wondering if I need 2 drop cloths or will 1 work?
Very lovely, and the tutorial is so helpful. I am going to attempt this for my guest room.
Nice job!! Great thinking!!
This could not have come at a better time. After almost 44 years of marriage we went from a double bed to a massive Queen size bed. I bought a dust ruffle at Savers for $4.98 but it was too short. I also bought a plain white tablecloth that I was going to cut and use but I think I will use drop cloths because I have a lot of them. I took a course one summer when I was in high school to learn how to make smock dresses, of course I gave birth to three boys and no grandchildren YET but that is another story. Thank you for posting this because it really will be a help for me. Thank you.
Hi Cami, Love the bed skirt! My question is about the bleaching process. I was thinking of bleaching some dropcloth before for a slip cover, but was worried it would weaken the fabric too much. So has it changed the fabric much? Did you do straight bleach or mix with water and if so, about what ratio did you use? Thanks!
Thank you! I have a post about my bleaching process coming this week so keep an eye out!
Hello, I was wondering if you had a update on bleaching the drop cloth for bed scripts. Do you sell the bedskrits already made:). Thank you, Paula