This post may contain affiliate links, which means I get a small percentage of the sale at no extra cost to you. I only recommend items I love and have had a positive experience with. Thank you!
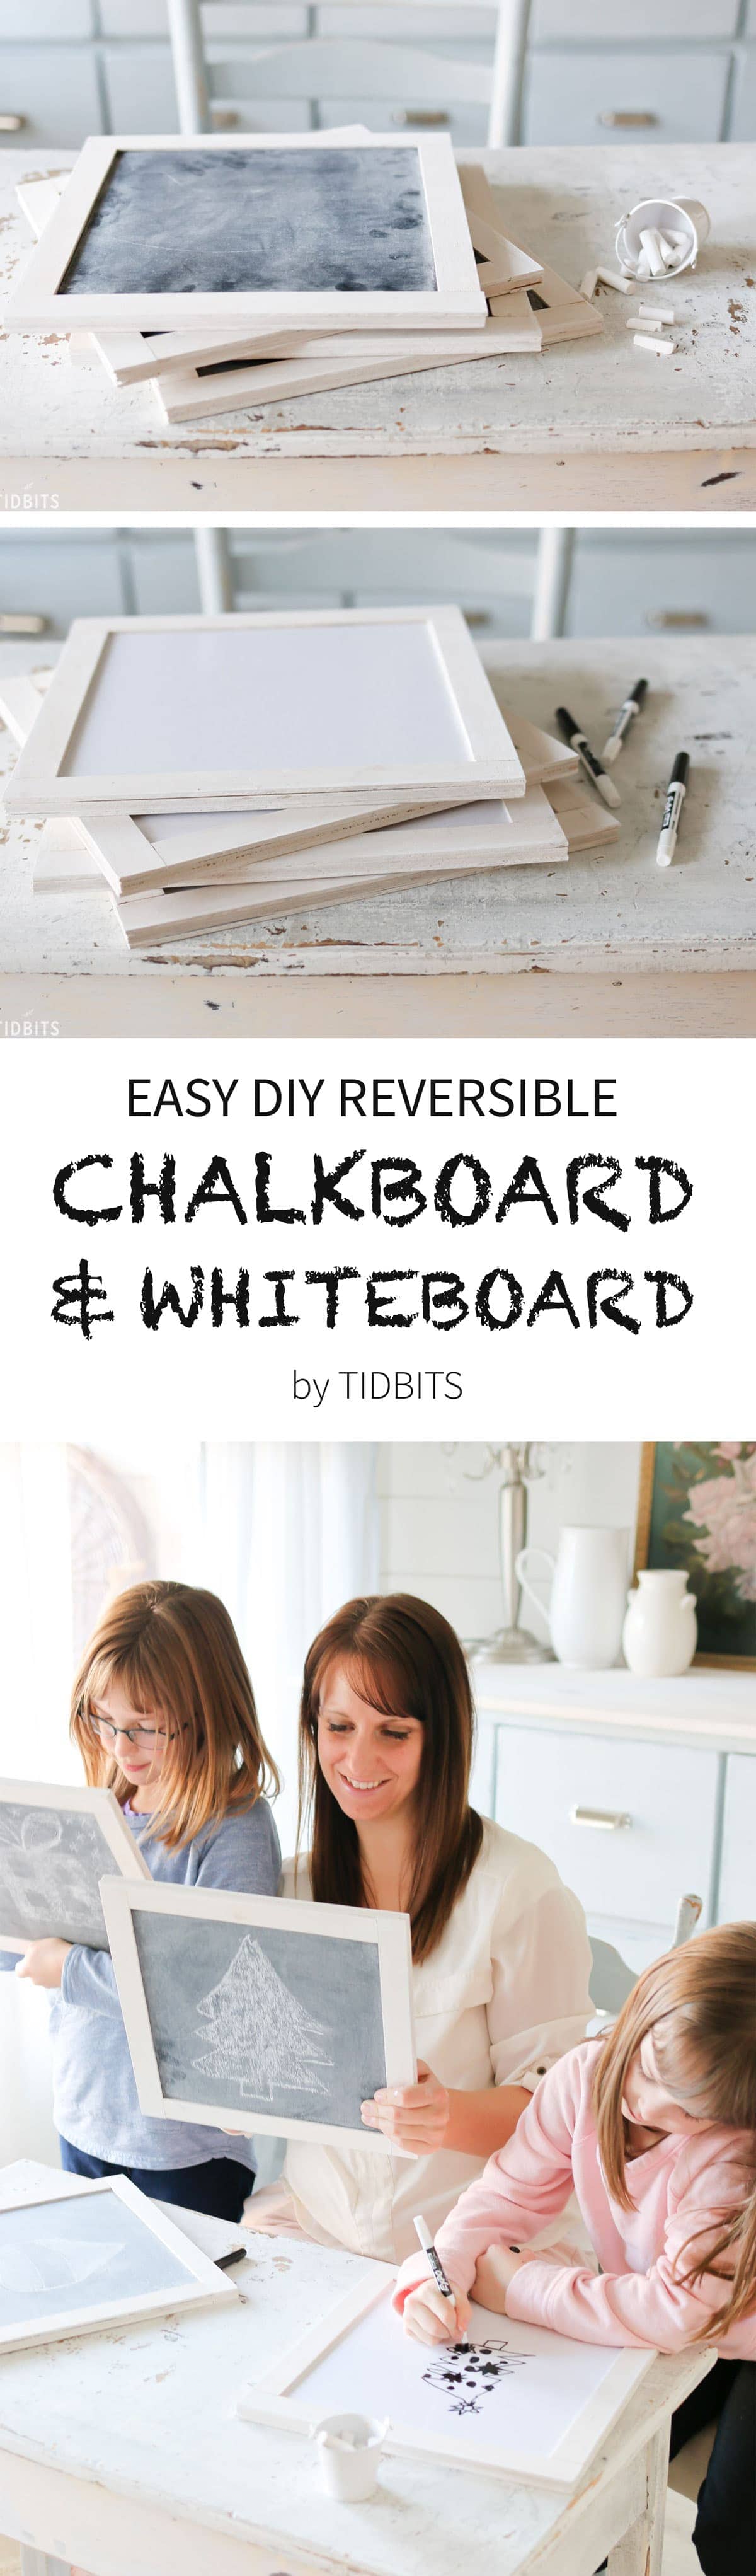
Looking for an easy fun craft to make, that the whole family will enjoy? Try your hand at this easy DIY reversible chalkboard & whiteboard – no power tools necessary.
*This post is sponsored by Krazy Glue. All opinions, images, and thoughts are my own.
Confession.
I’m “old school”, in so many ways.
I refuse to read a book on a device. It’s gotta be pages in my hands.
I will not calendar my life through my phone. It’s gotta be paper and a pencil. My to-do lists are the same way.
Another example, I’m hanging on for dear life to my old VHS player, just for a certain few movies that have to be watched that way, like Gone with the Wind 😉
I may have an online business and do many things with the help of technology, and it may be that very reason why I love some things in life to not be “connected”.
Can anyone relate?
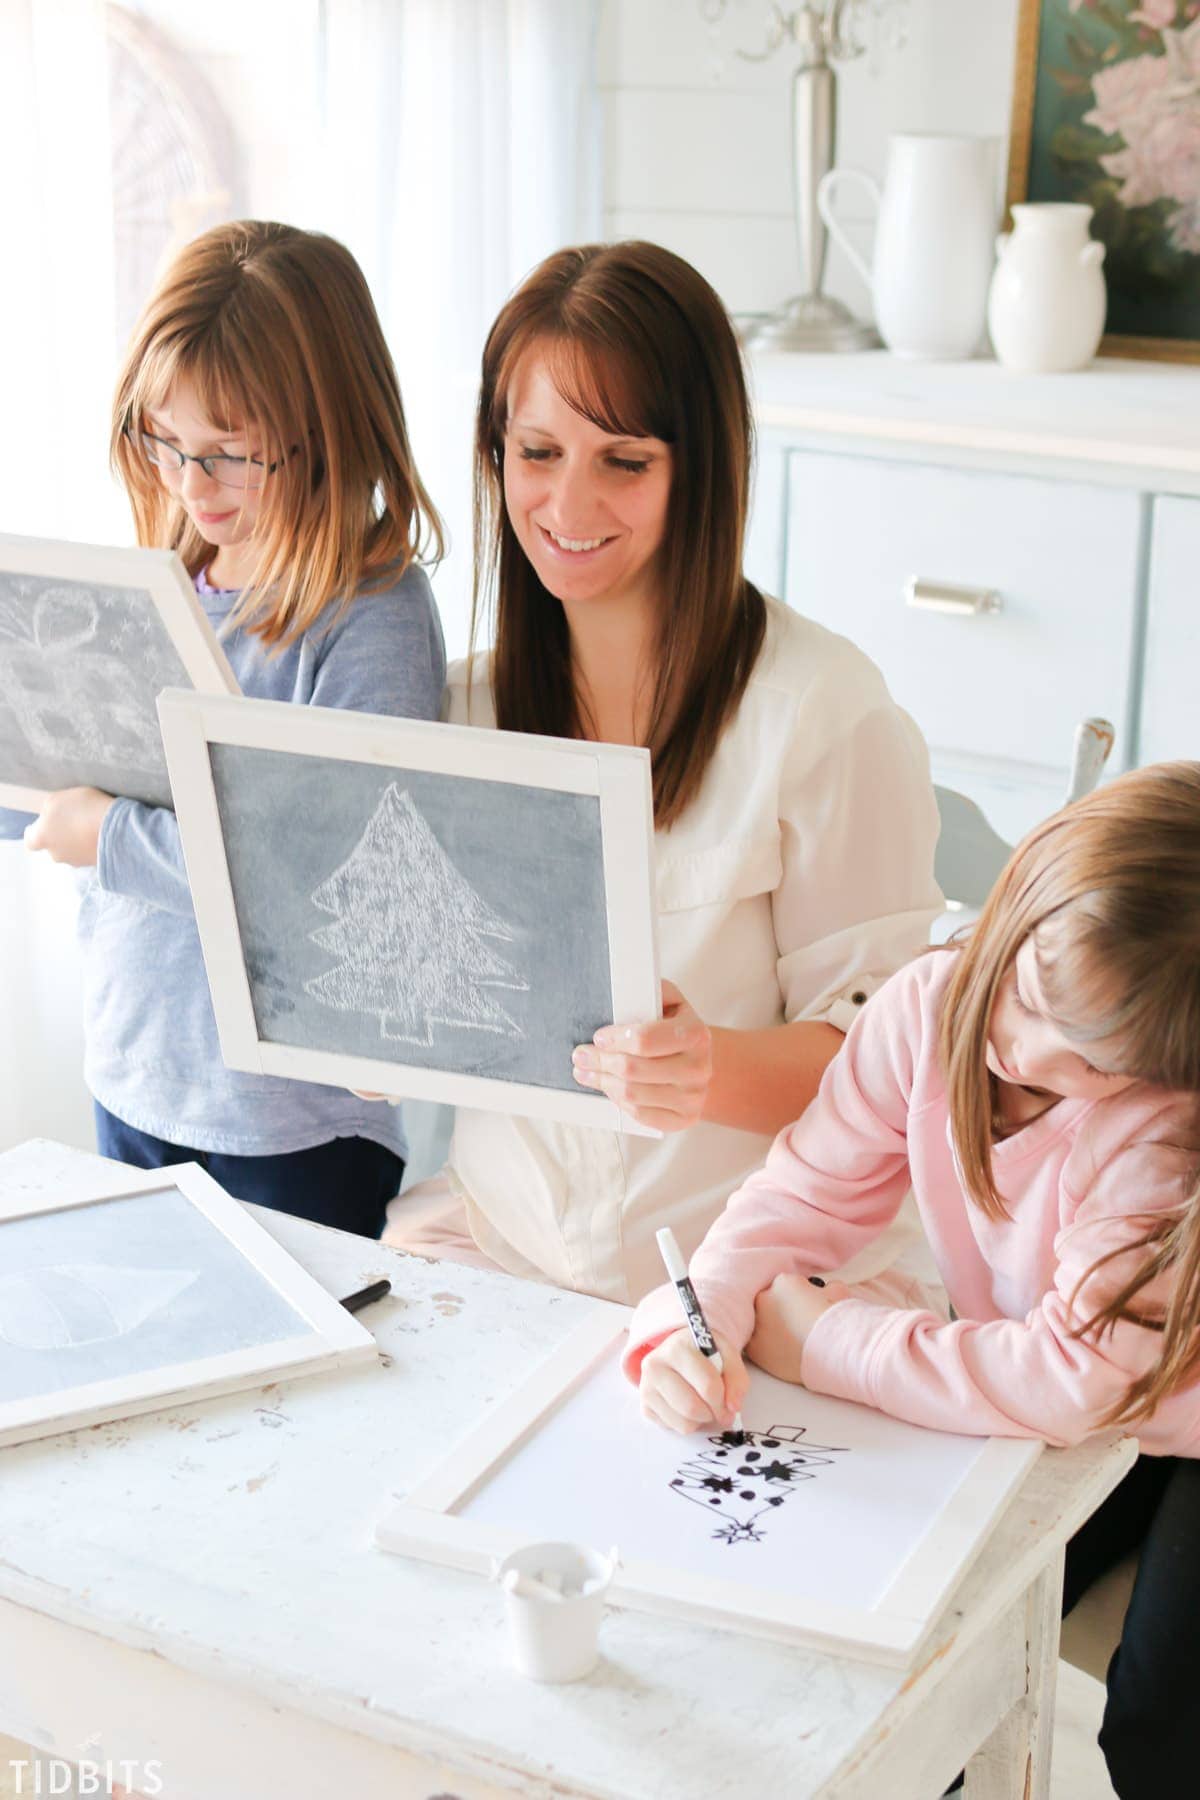
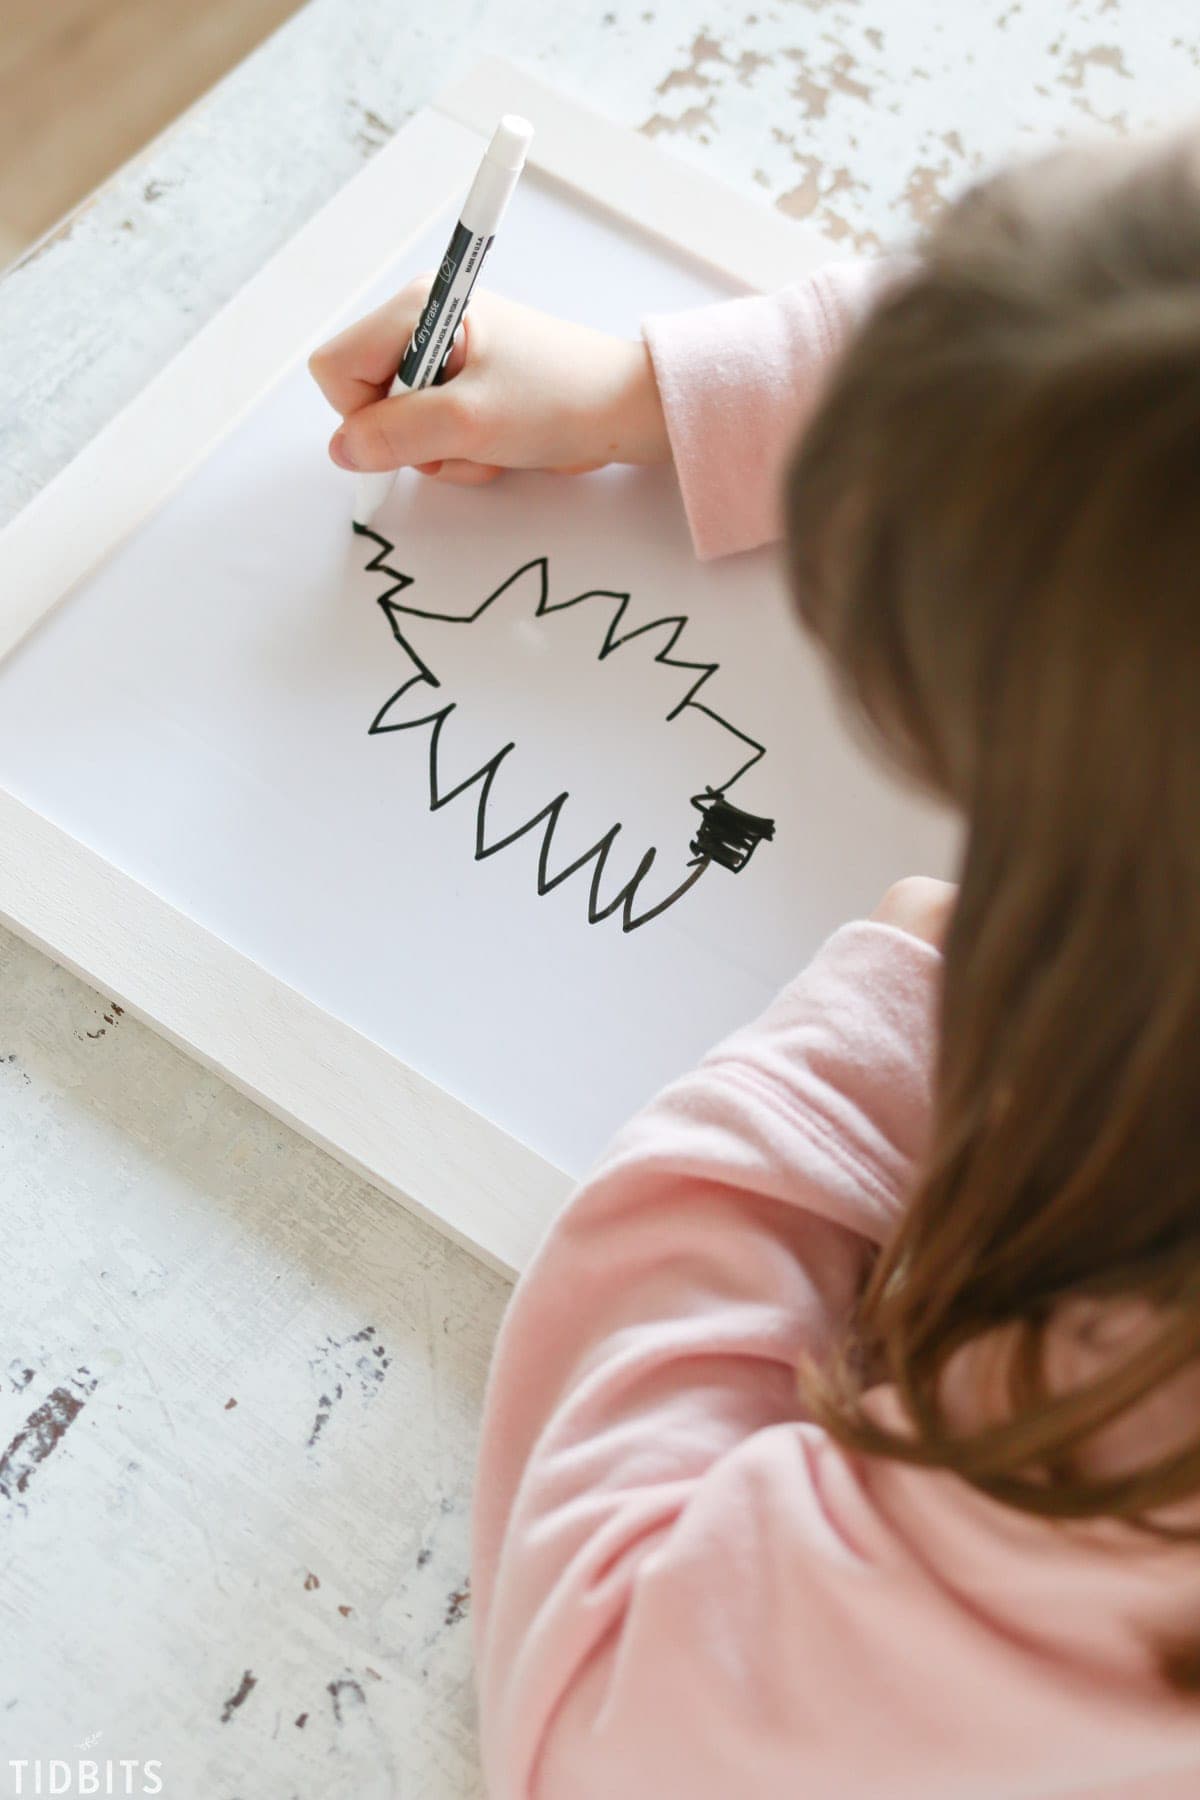
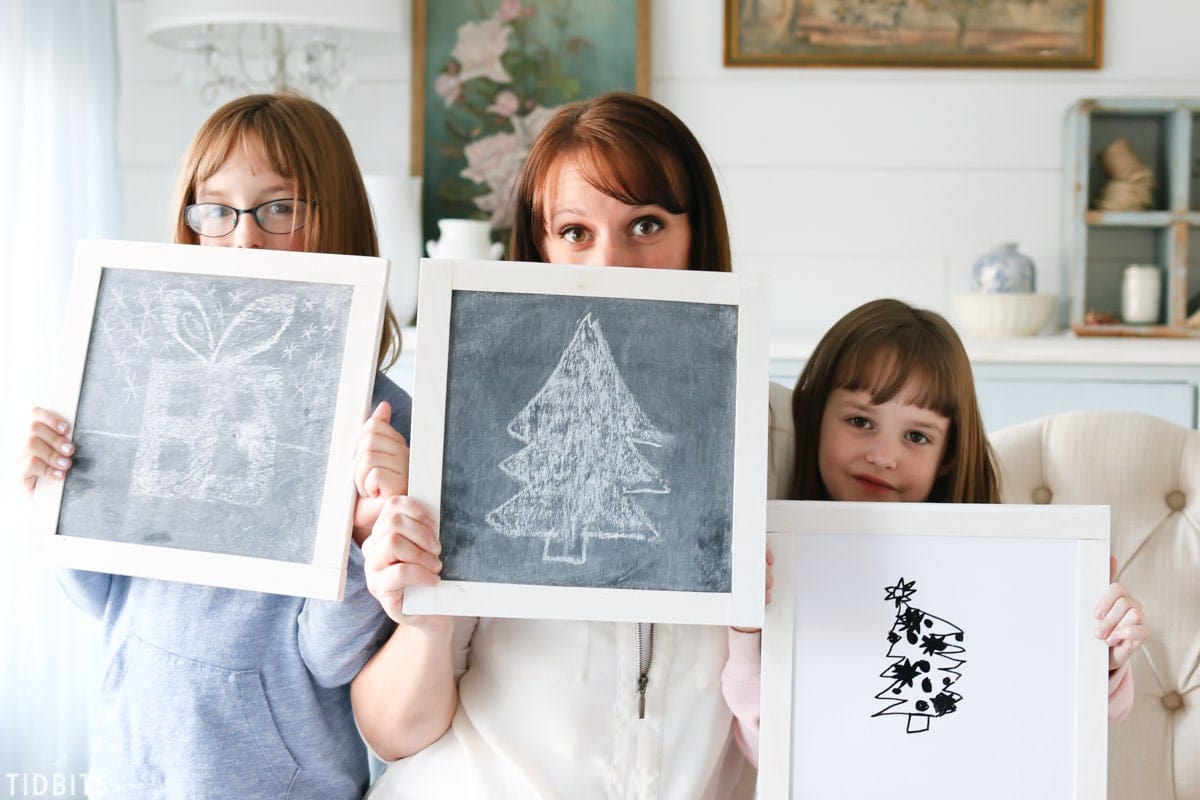
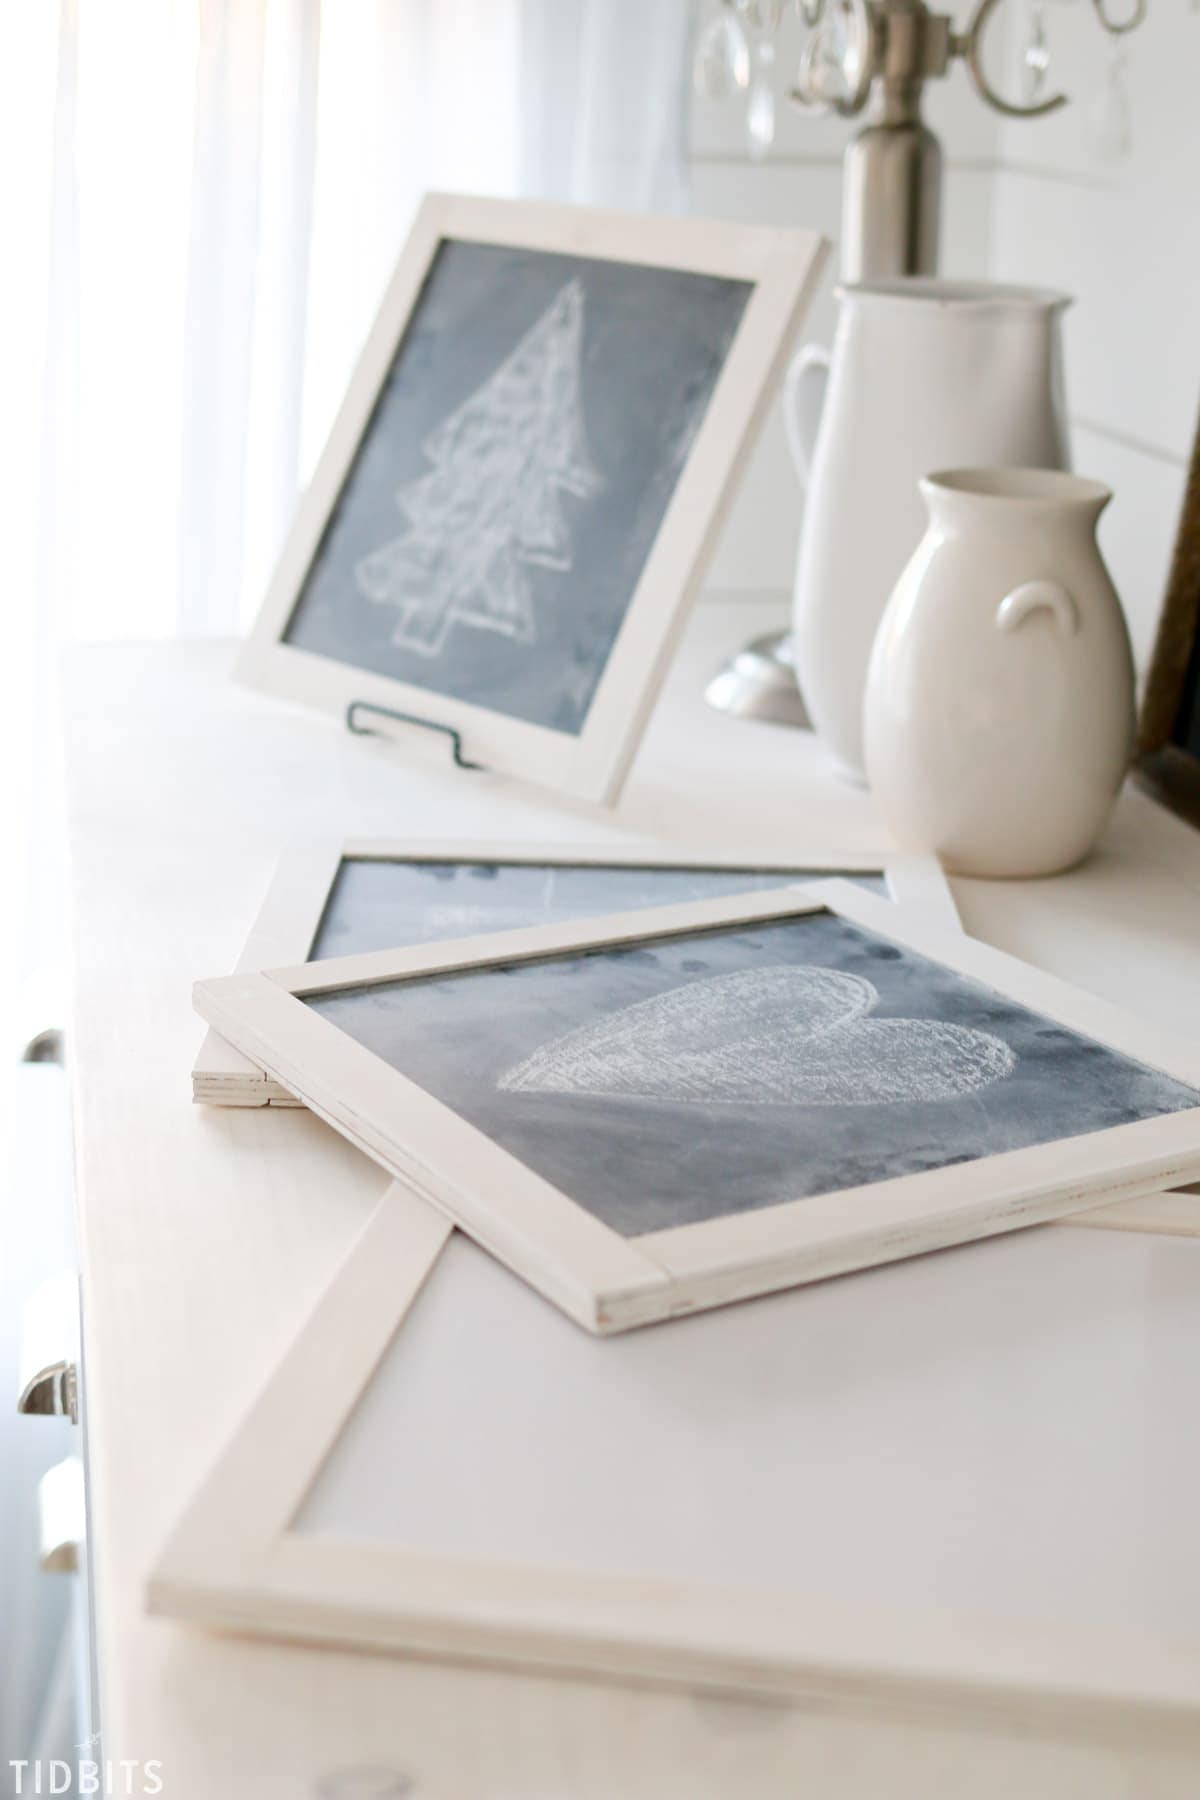
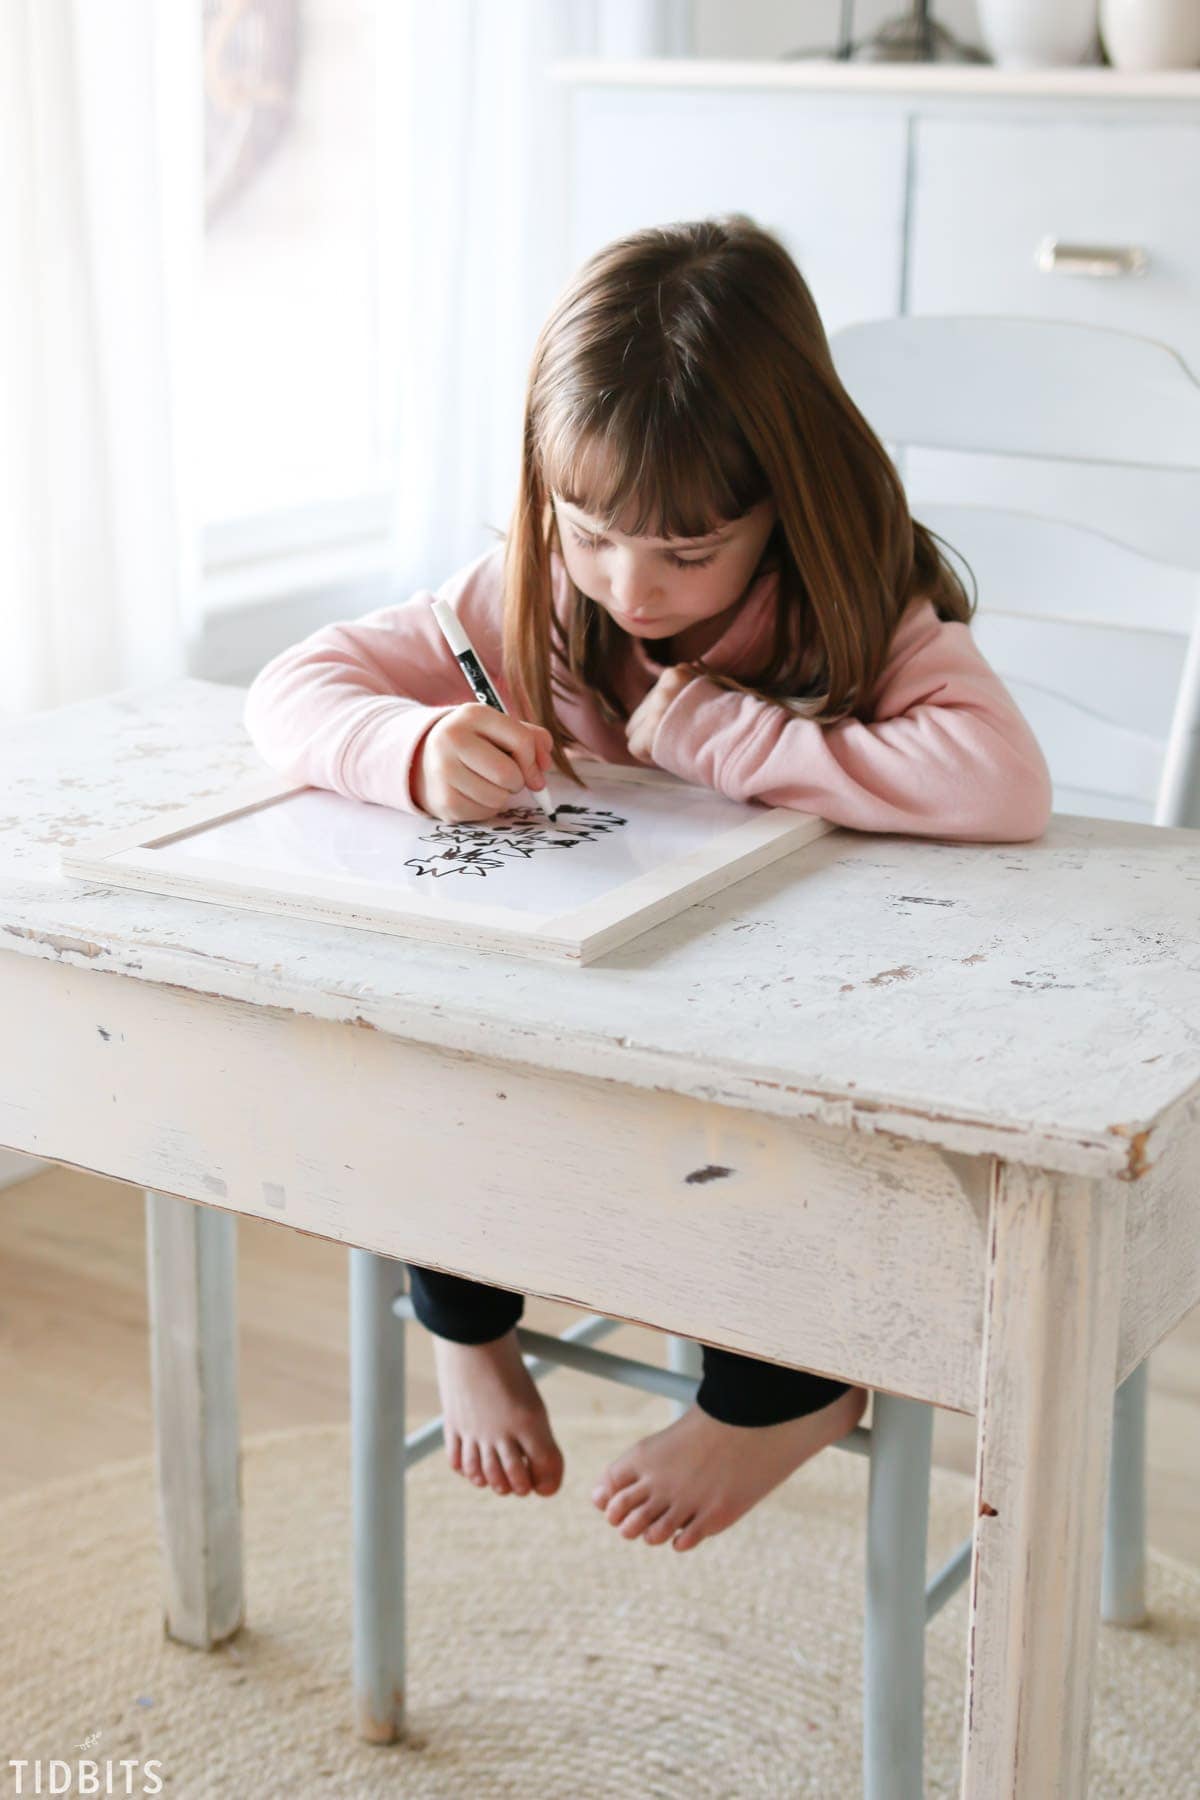
At the root of this mini chalkboard and whiteboard project, is my love for “old school” things. I love to see my kids drawing things out on non-digital surfaces, and connecting with each other through “non-connected” means.
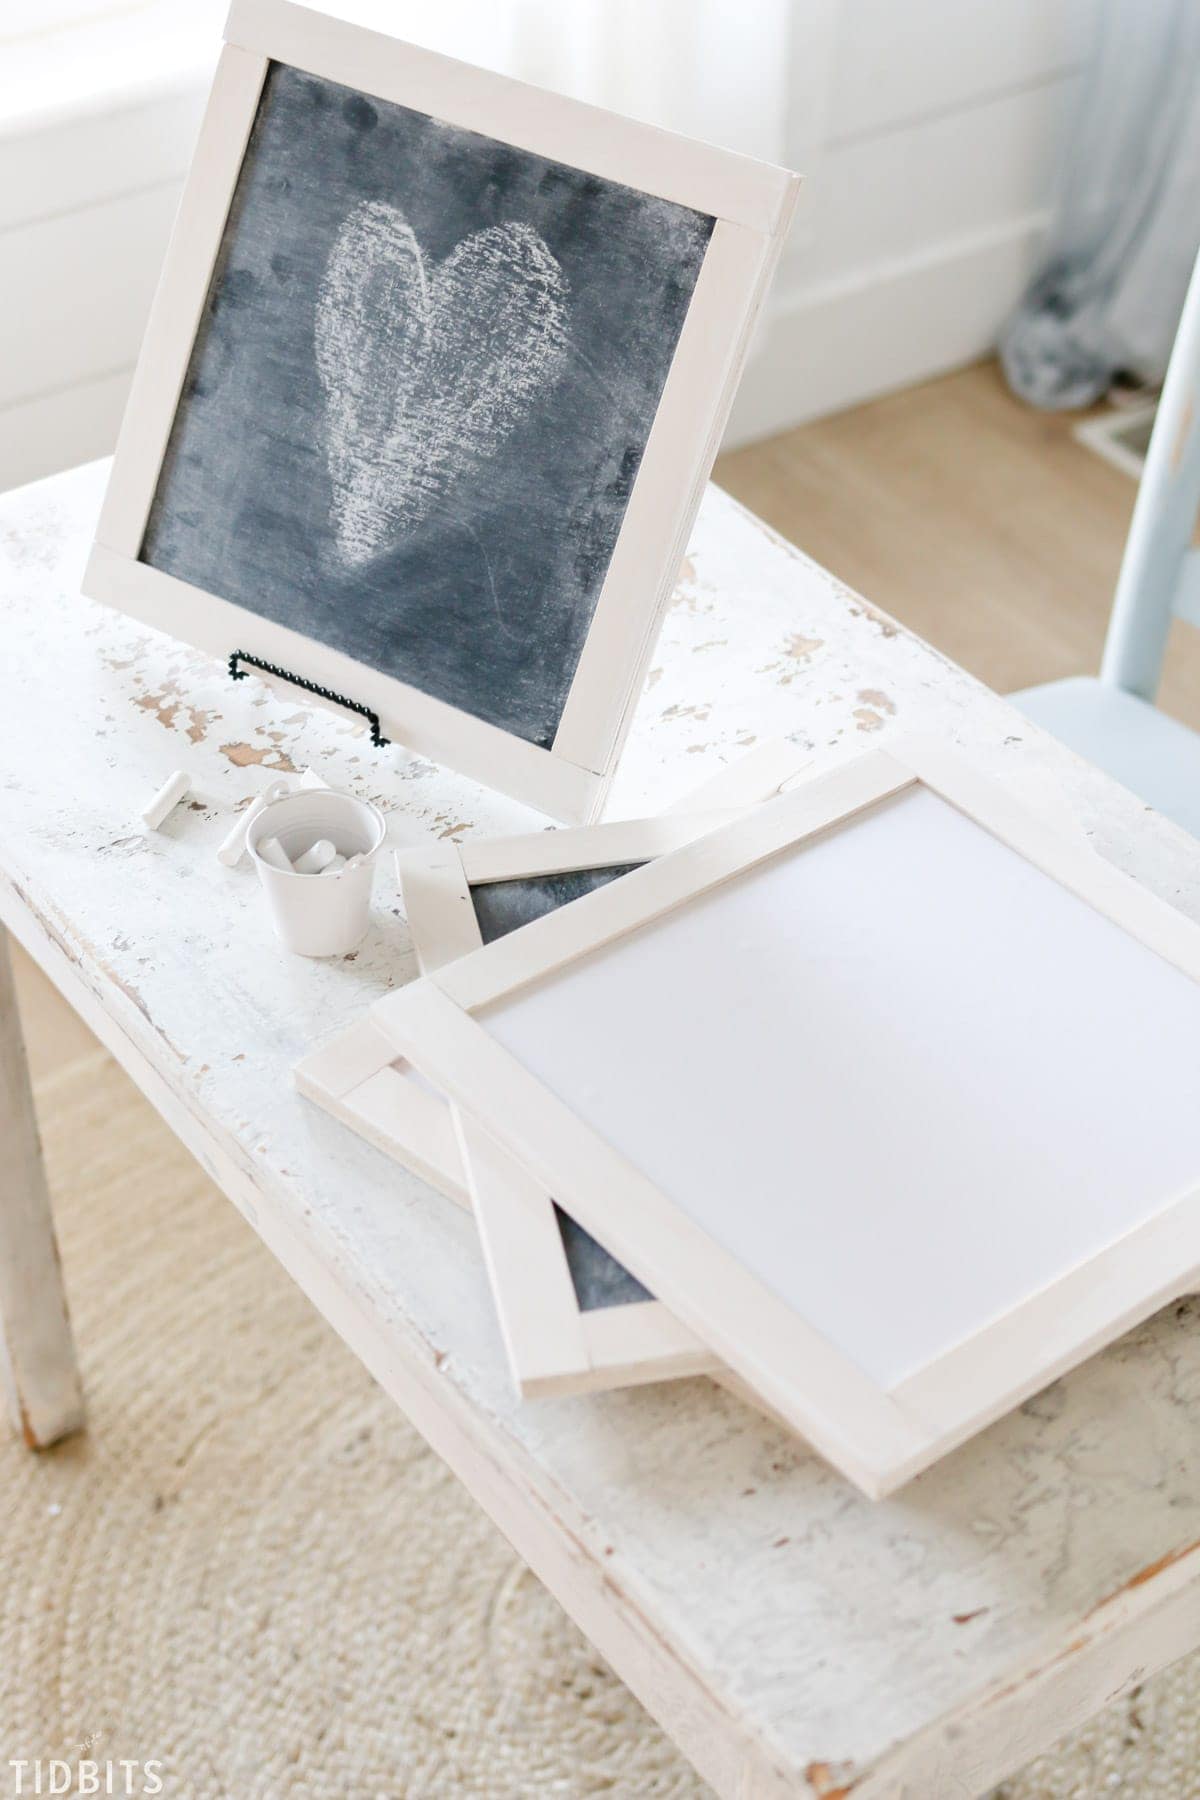
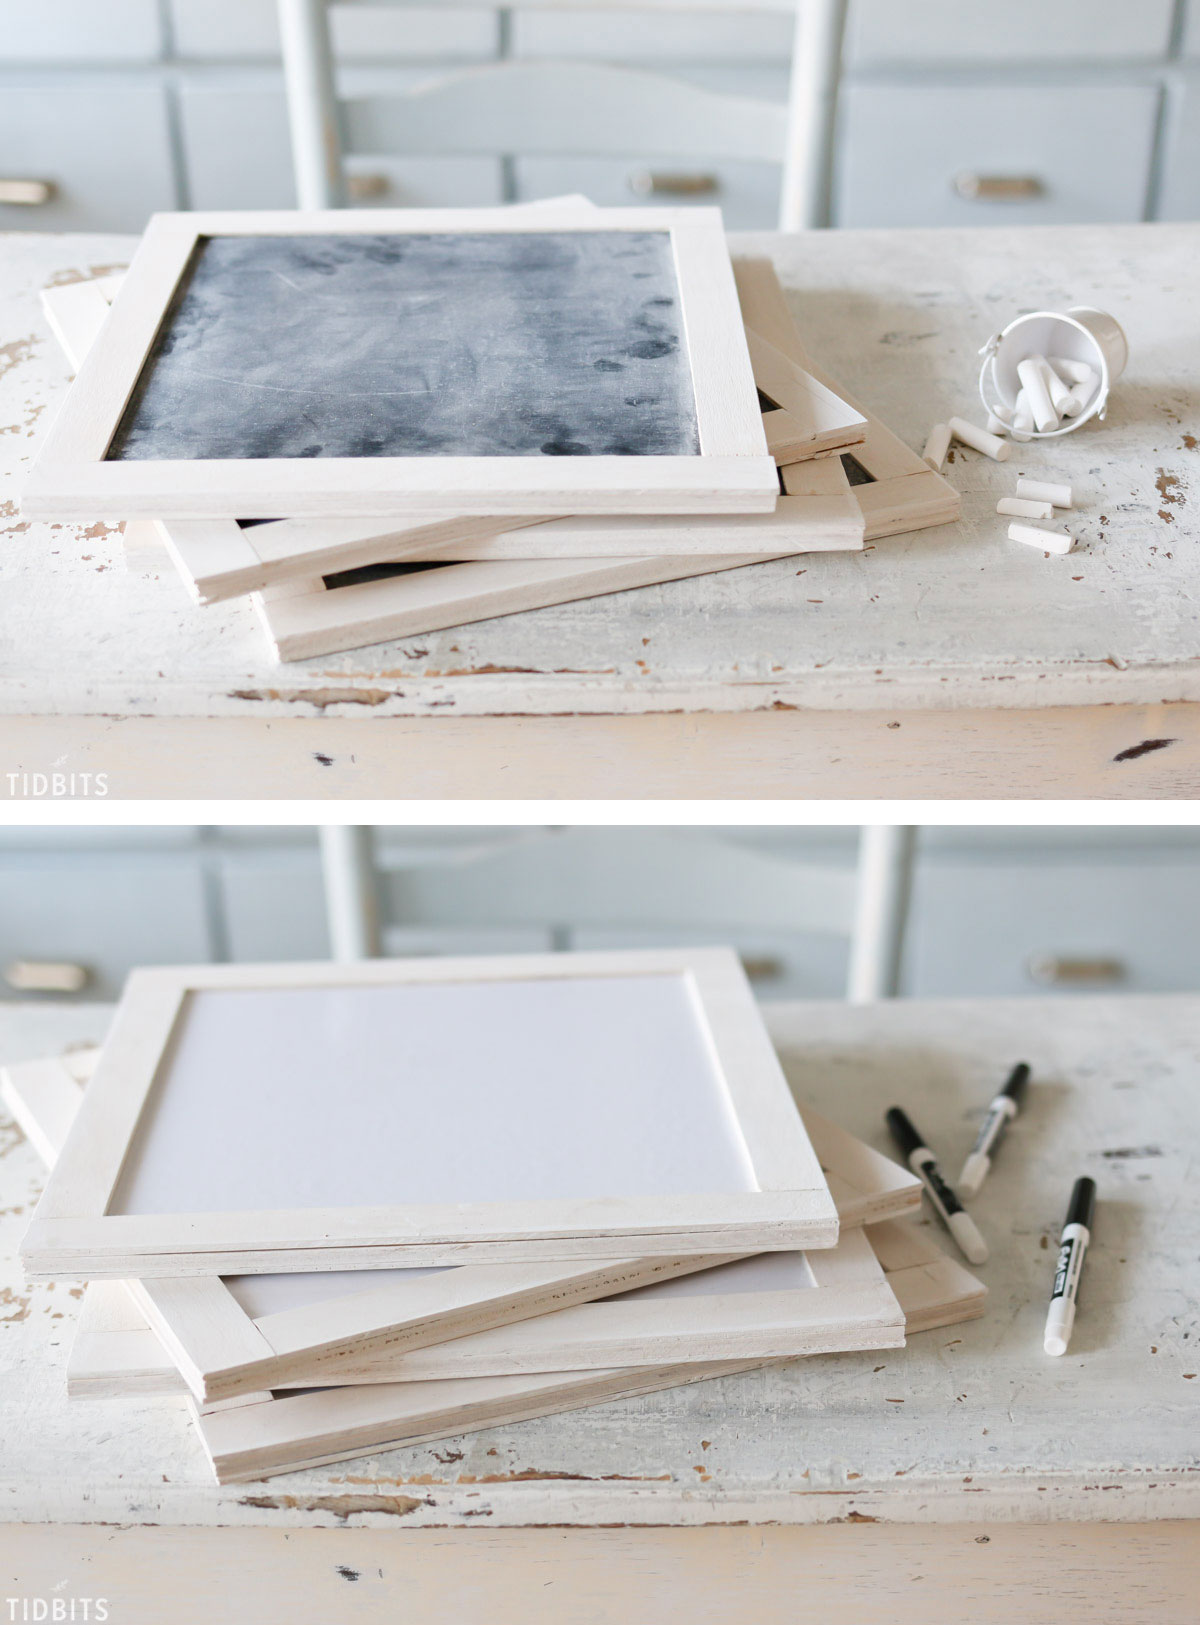
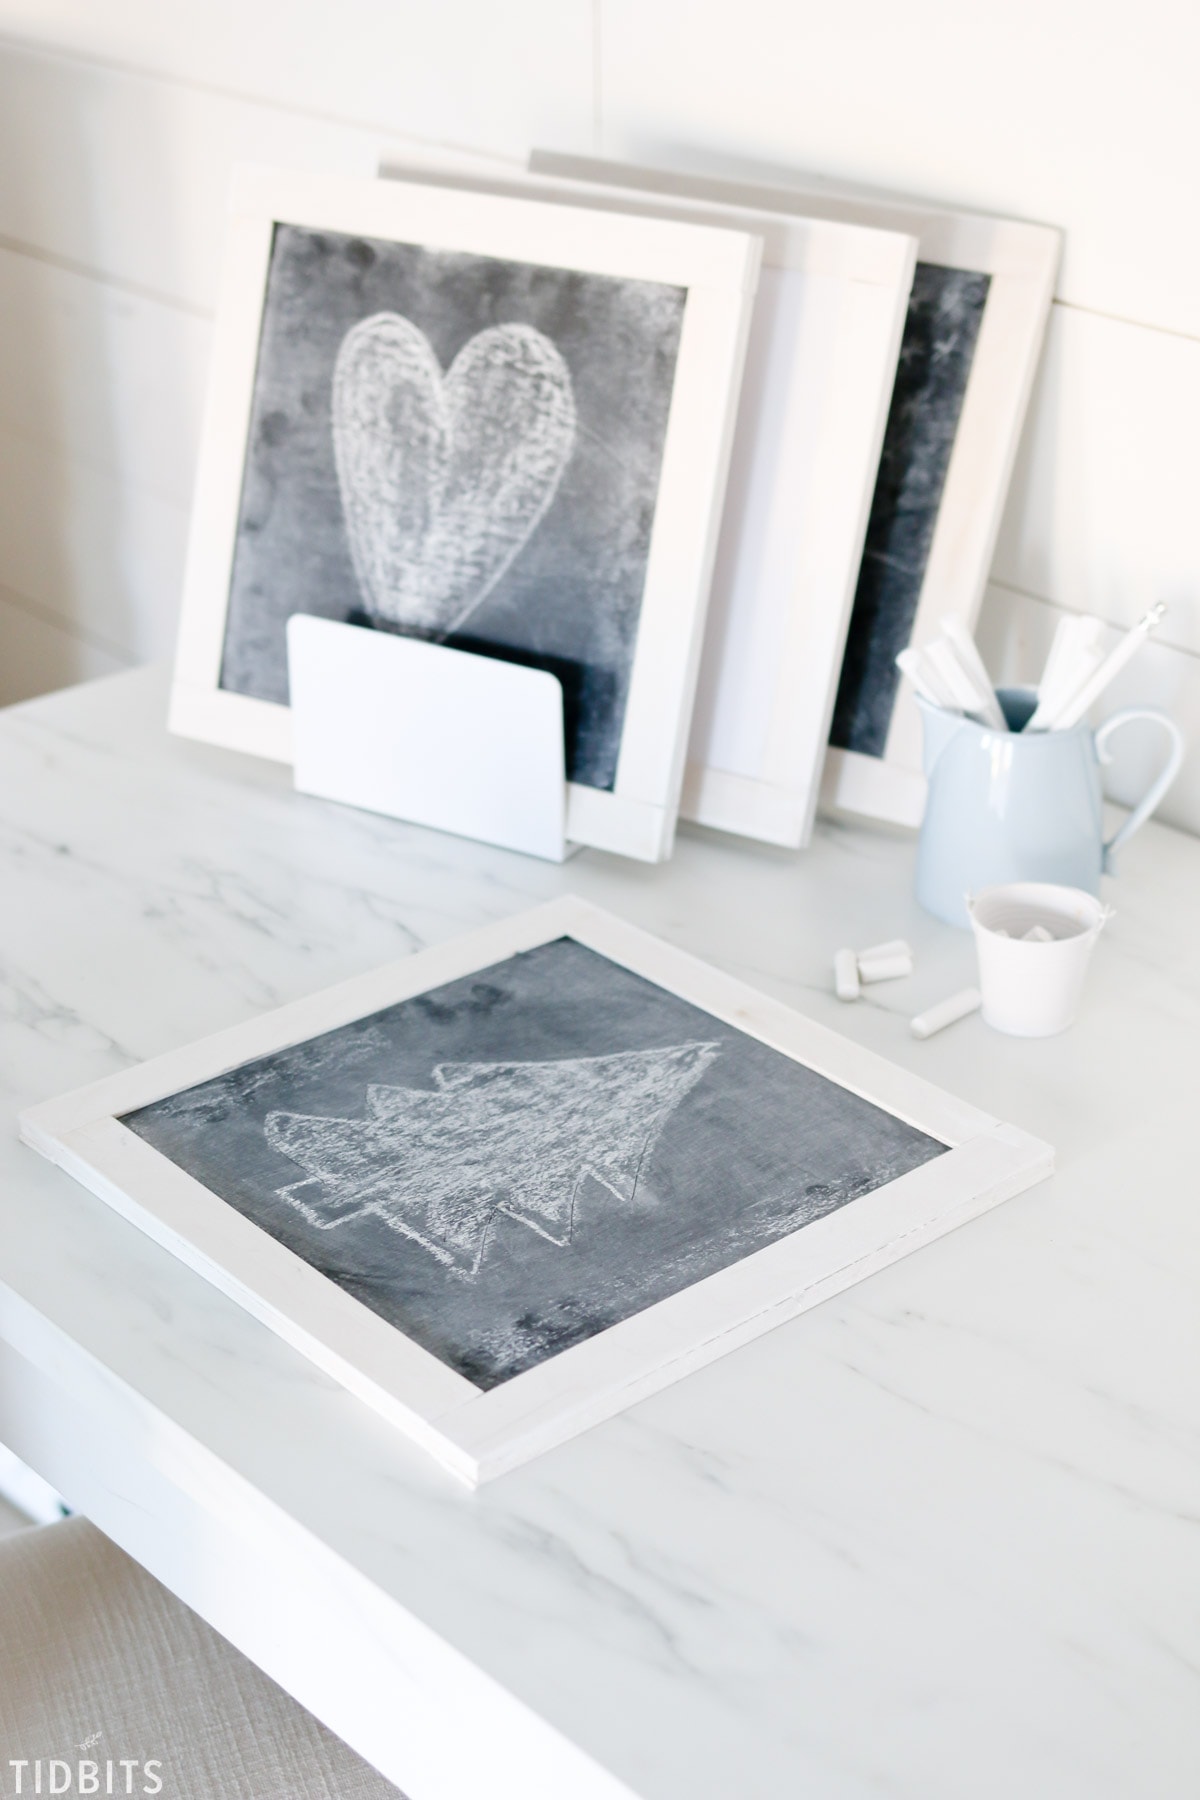
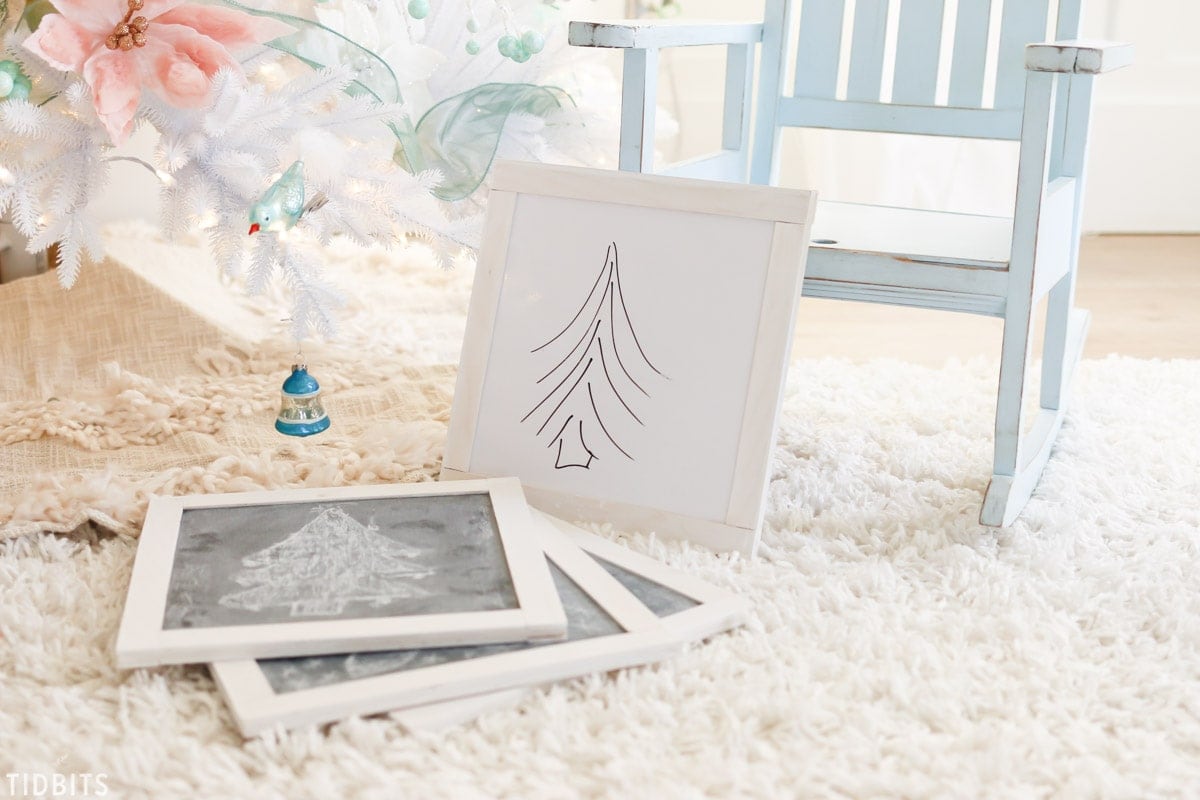
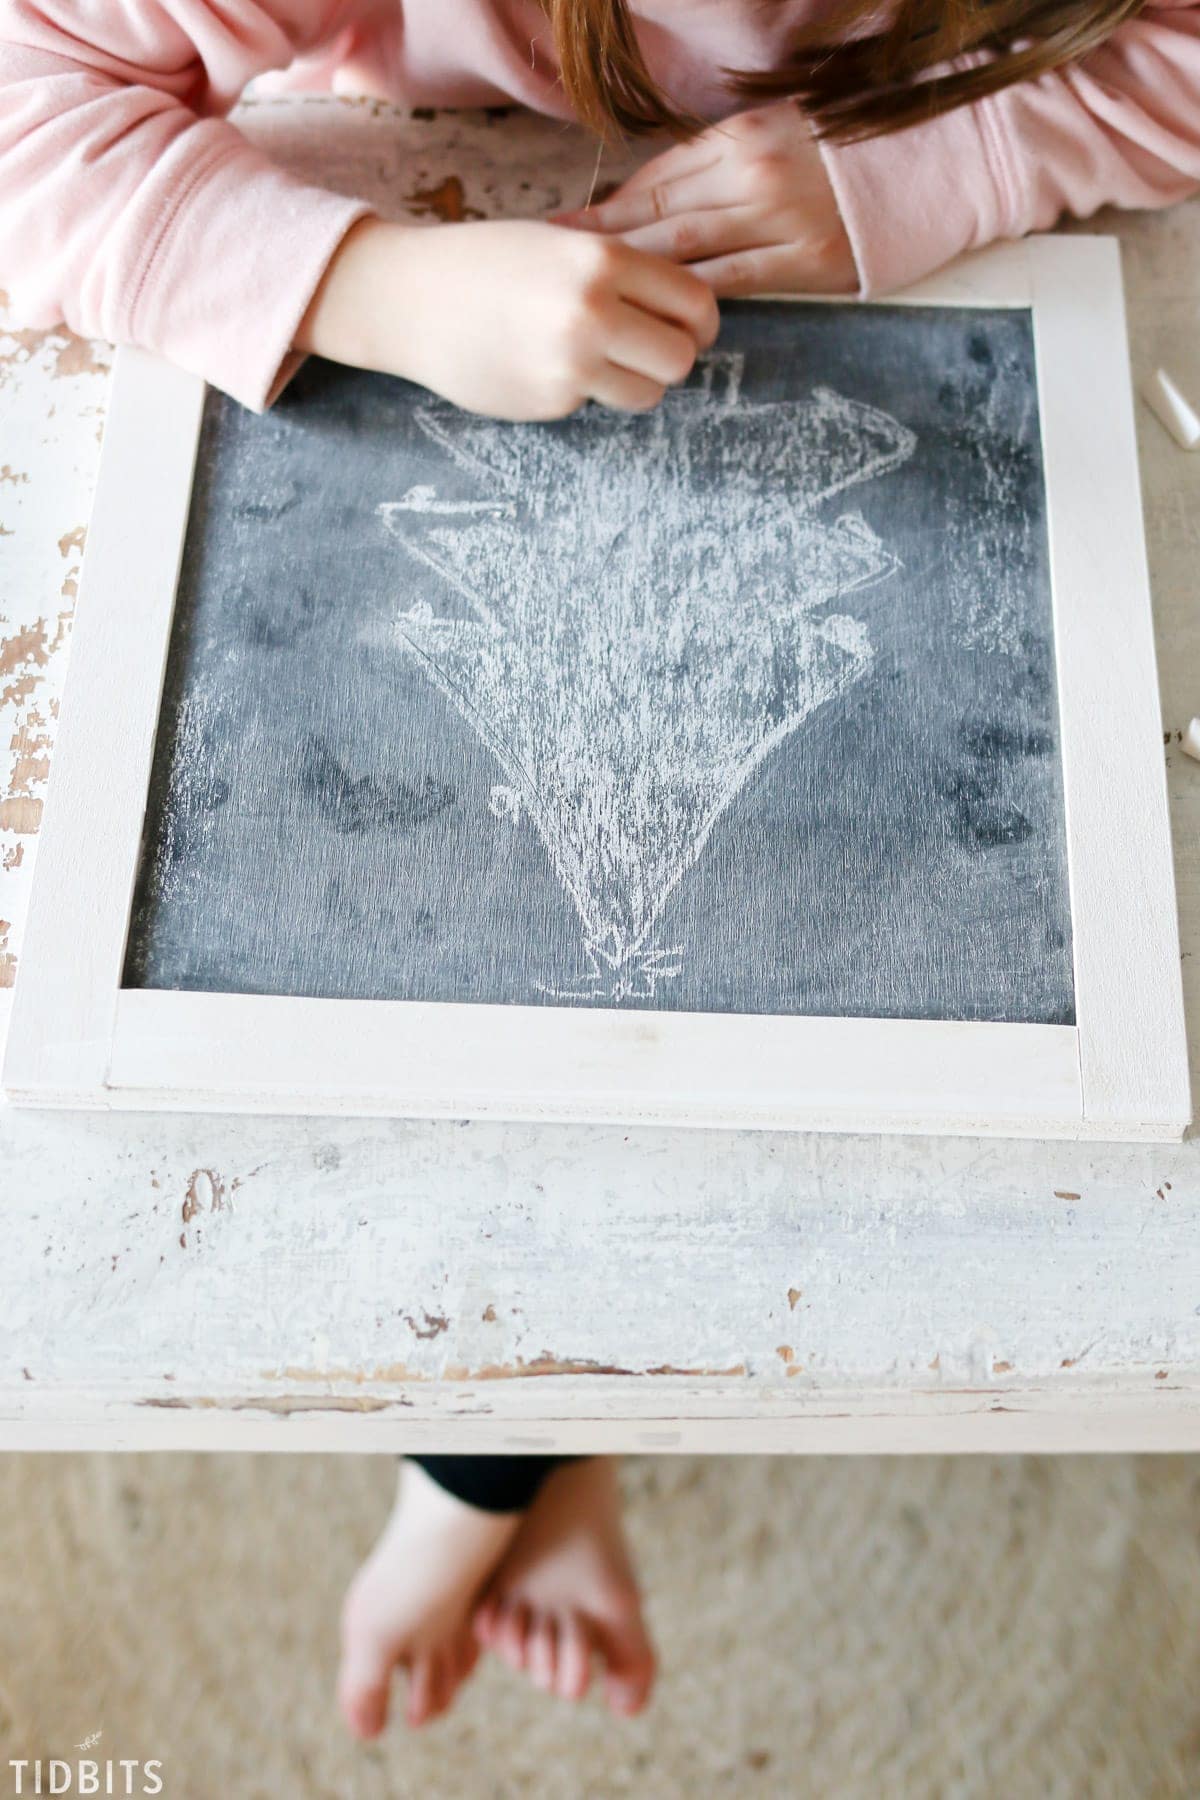
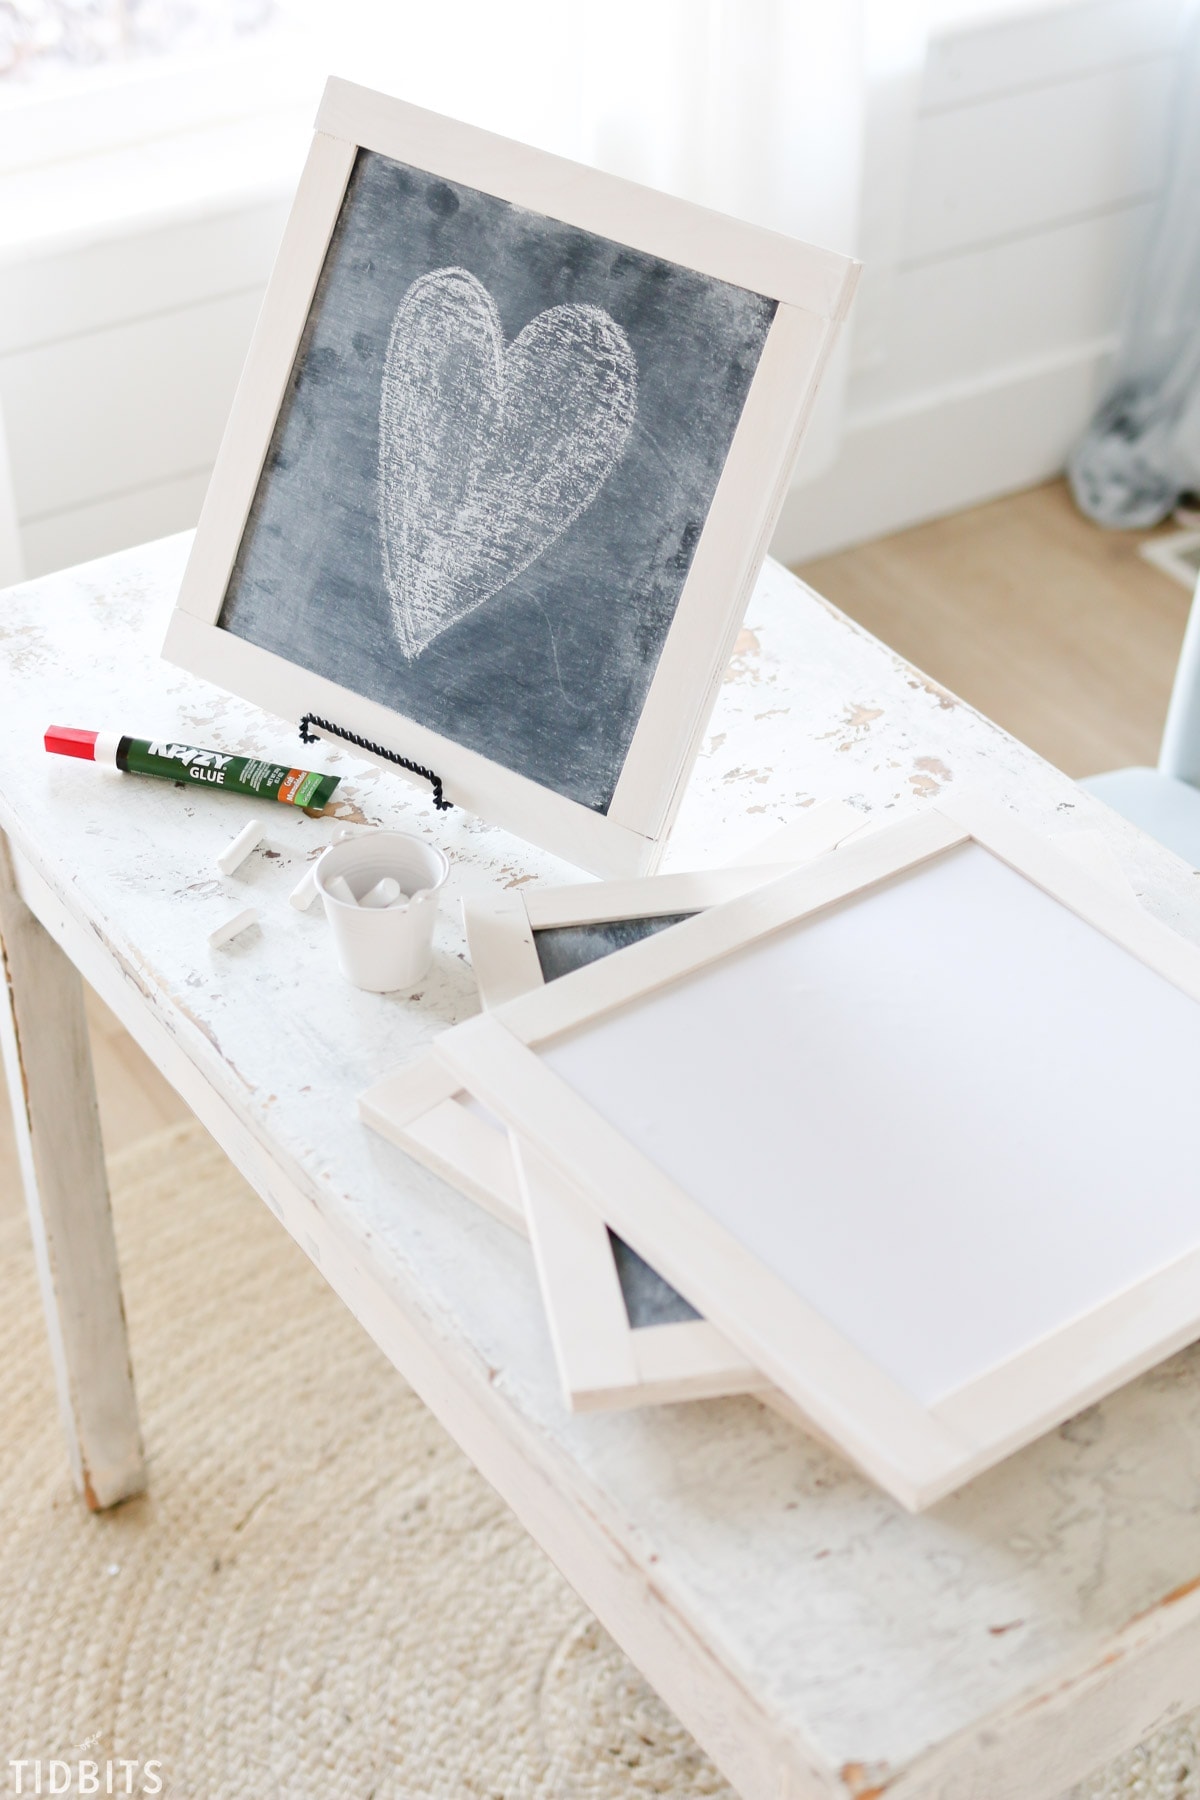
On one side I used chalkboard paint to create a chalkboard surface.
And on the other side I used some whiteboard sticker paper to create a whiteboard surface.
Besides just having fun sketching on them, here are some other ideas to enjoy your DIY project.
- Play a game of pictionary with your family, where the other team has to guess what is being drawn.
- Use as memo boards to remember lists, ideas, or other to-do’s.
- Hang in a grid on the wall for each member of the family to use for their own reminders.
- Hang by the door and write daily inspirational thoughts to uplift family members on their way out.
I plan on just keeping them handy where my little ones can see and feel free to pursue creativity without the use of technology.
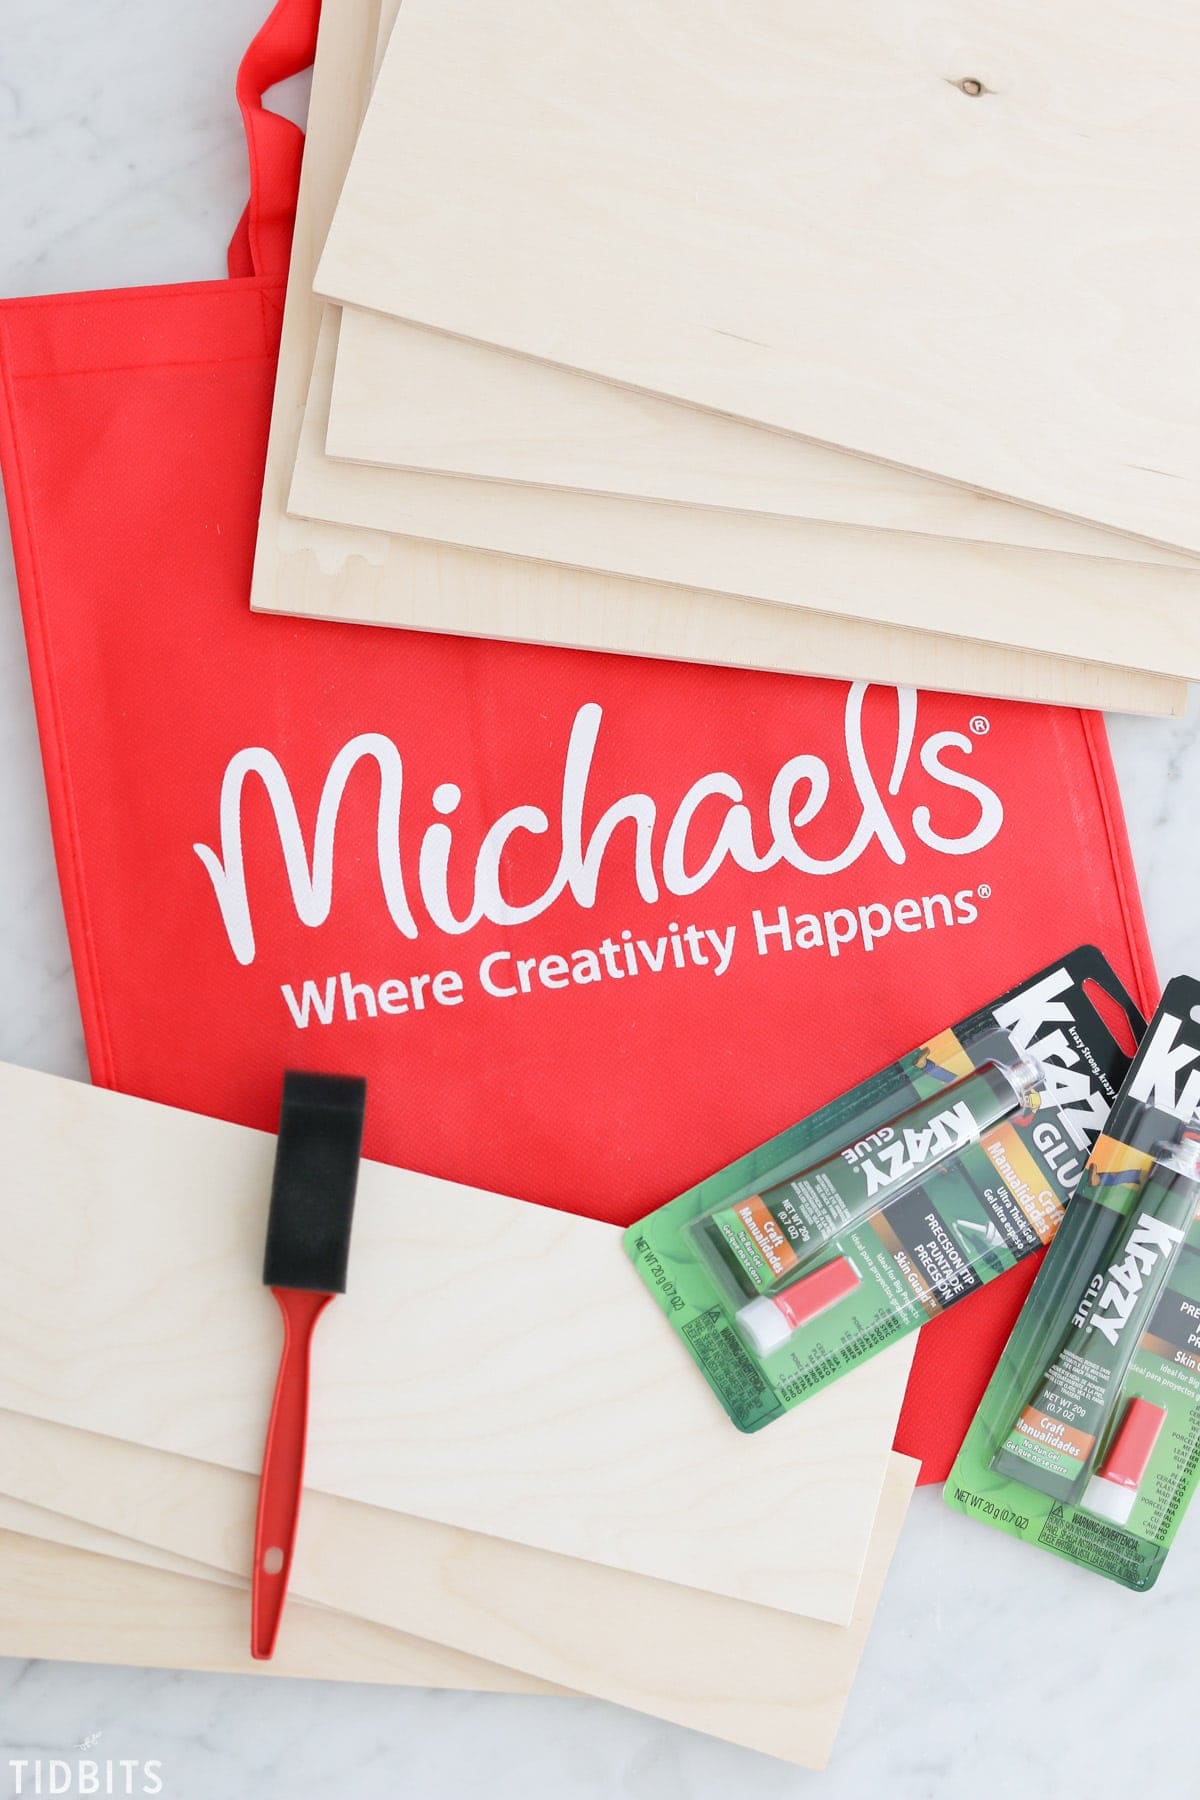
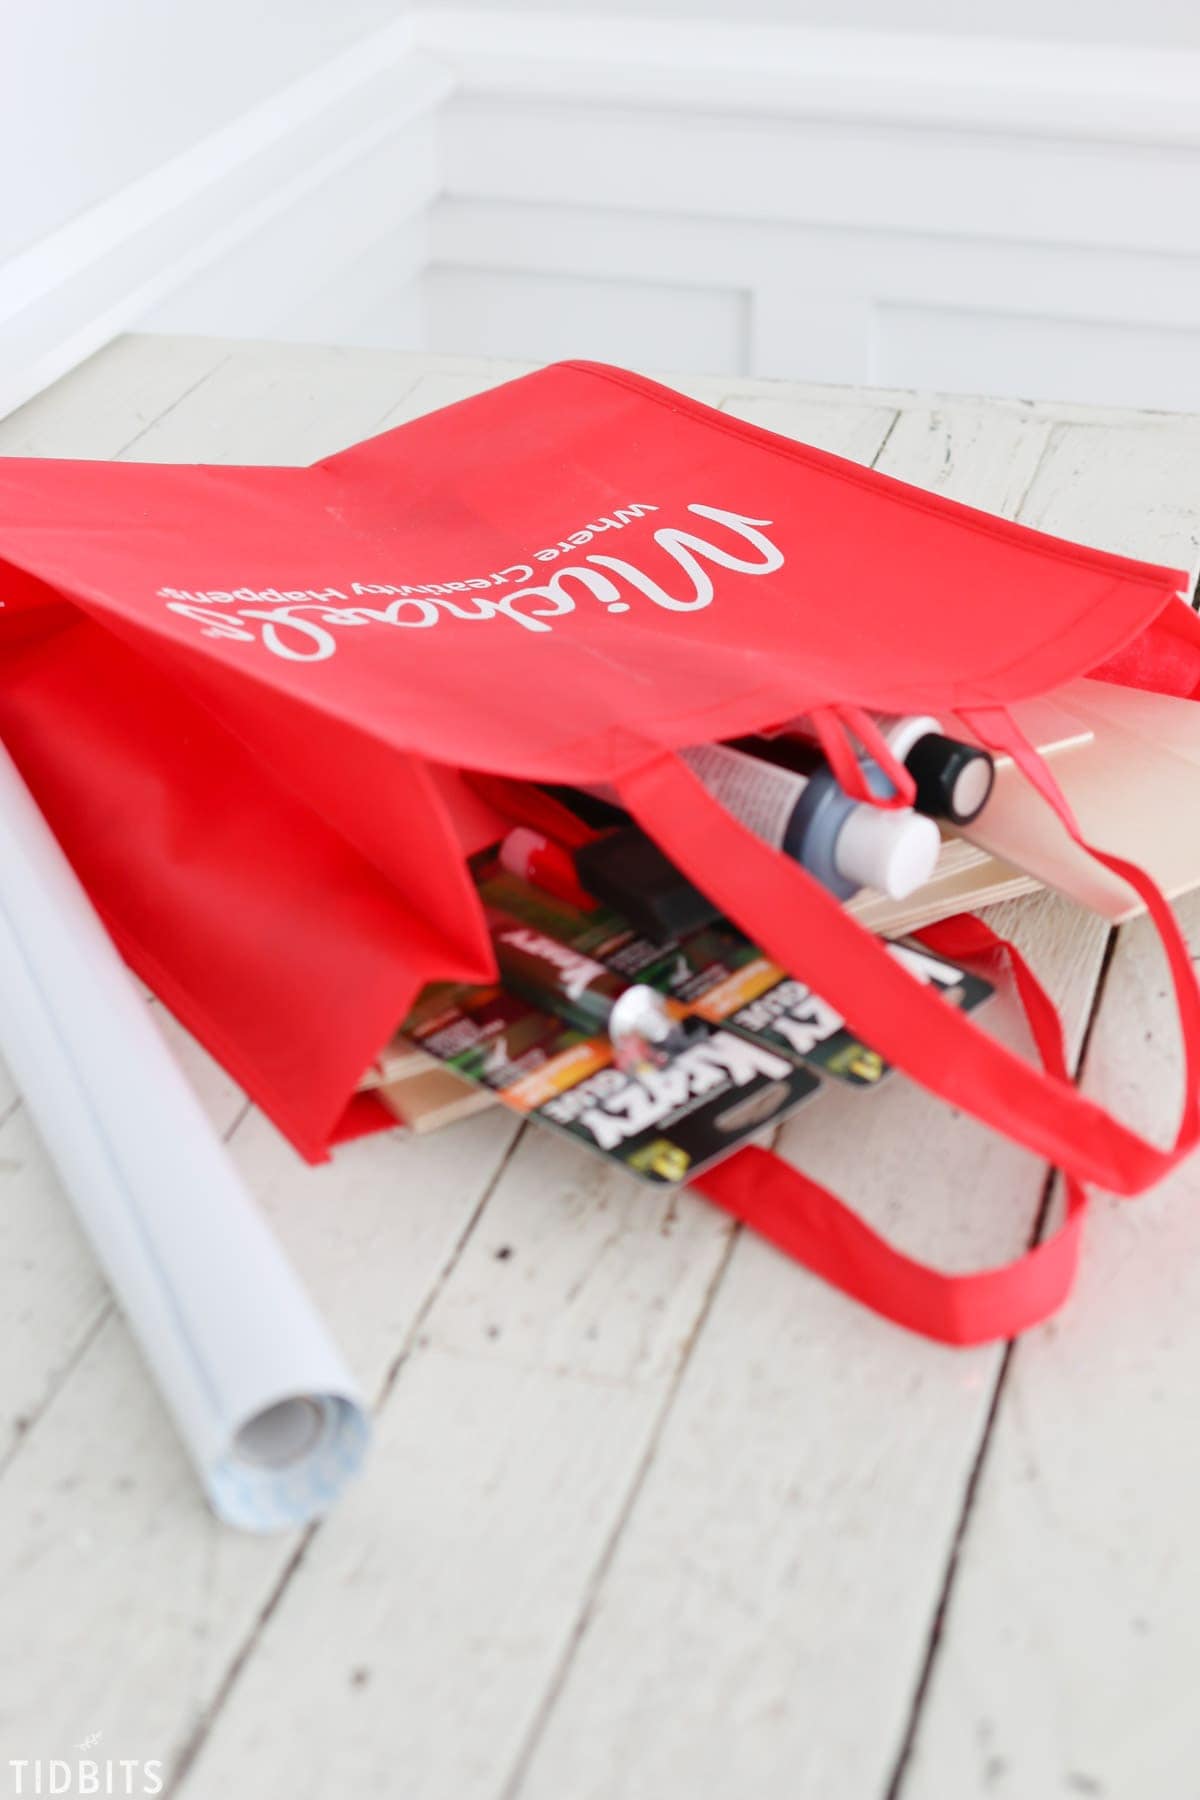
I didn’t want anyone to feel intimidated by this project, so I’ll show you how easy it is to make from materials found at a craft store, like Michaels.
You’ll use Krazy Glue to adhere the wood frame on, which means no need to bust out any power tools or puddy any holes.
You’ll get a crazy good strong hold with Krazy Glue, and the application is very simple and great for many DIY projects or fixes around the home. Feel free to paint or customize your frame any way you desire, but I’ll show you below how I finished mine with a simple white wash stain affect.
First, let’s gather your supplies!
*Affiliate links provided for your convenience.
SUPPLIES:
- Wood
- Michaels has a craft wood center full of precut plywood sheets. Feel free to look through what you can find to get the sizes you desire for your chalkboard/whiteboard. For the foundation of this project, I chose a Baltic Birch square sheet, measuring about 12 inches by 12 inches. For the frame pieces, I selected the same baltic birch pieces that were only 3 mm thick, and measured approximately 4 x 12, or the same length as my base piece.
- Craft knife/blade
- Chalkboard Paint
- White milk paint, or other stain/paint to use on framed pieces
- Krazy Glue
- There are many options of Krazy Glue at Michaels. Pick one with your preferred top applicator, and make sure the package says it will work with wood.
- Whiteboard sticker paper
- Wood Clamps
- Optional, but very helpful
- Sandpaper
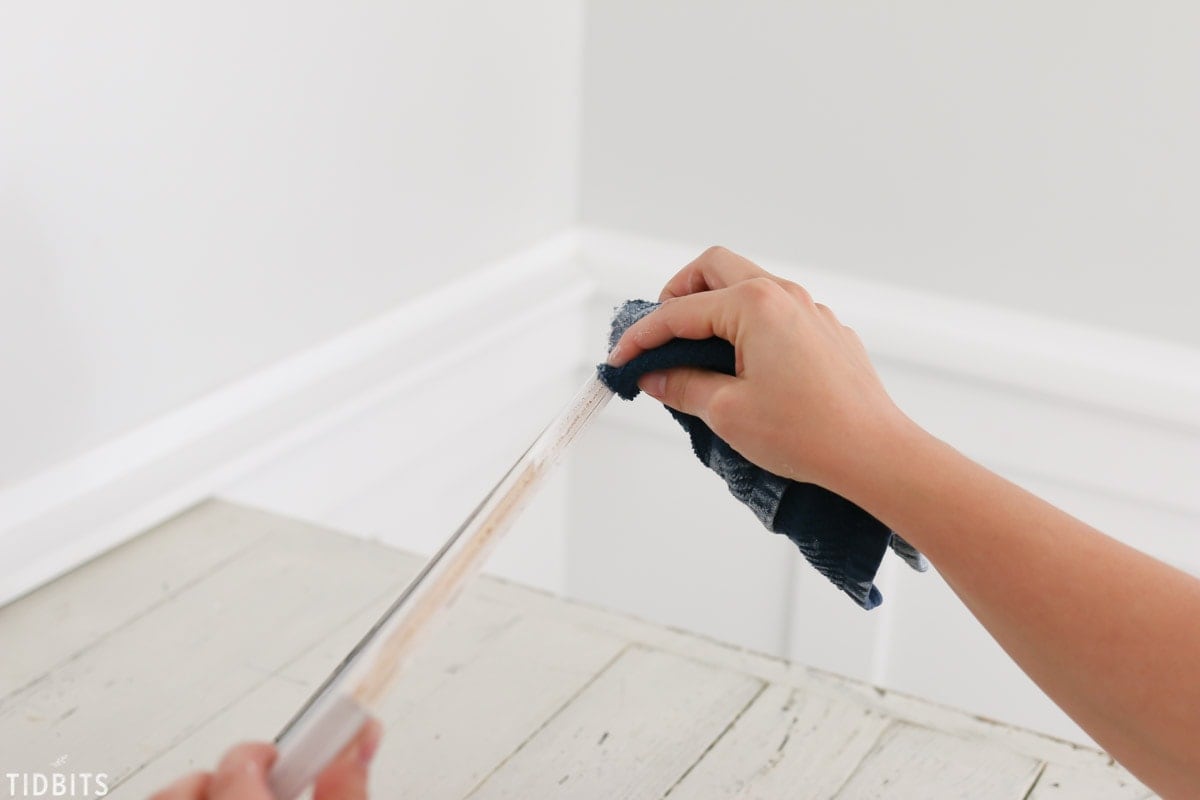
Unless you were able to find the right size of frame wood pieces at the store, you can easily cut the thin pieces with a craft knife. Use a clear ruler and safe cutting surface to score the wood piece on both sides. You’ll then be able to bend and snap the piece off. It will leave a rough surface, so use sandpaper to smooth the edges. If you have a saw, and would prefer cutting the pieces that way, that works great too. I cut my frame pieces at 1 inch width.
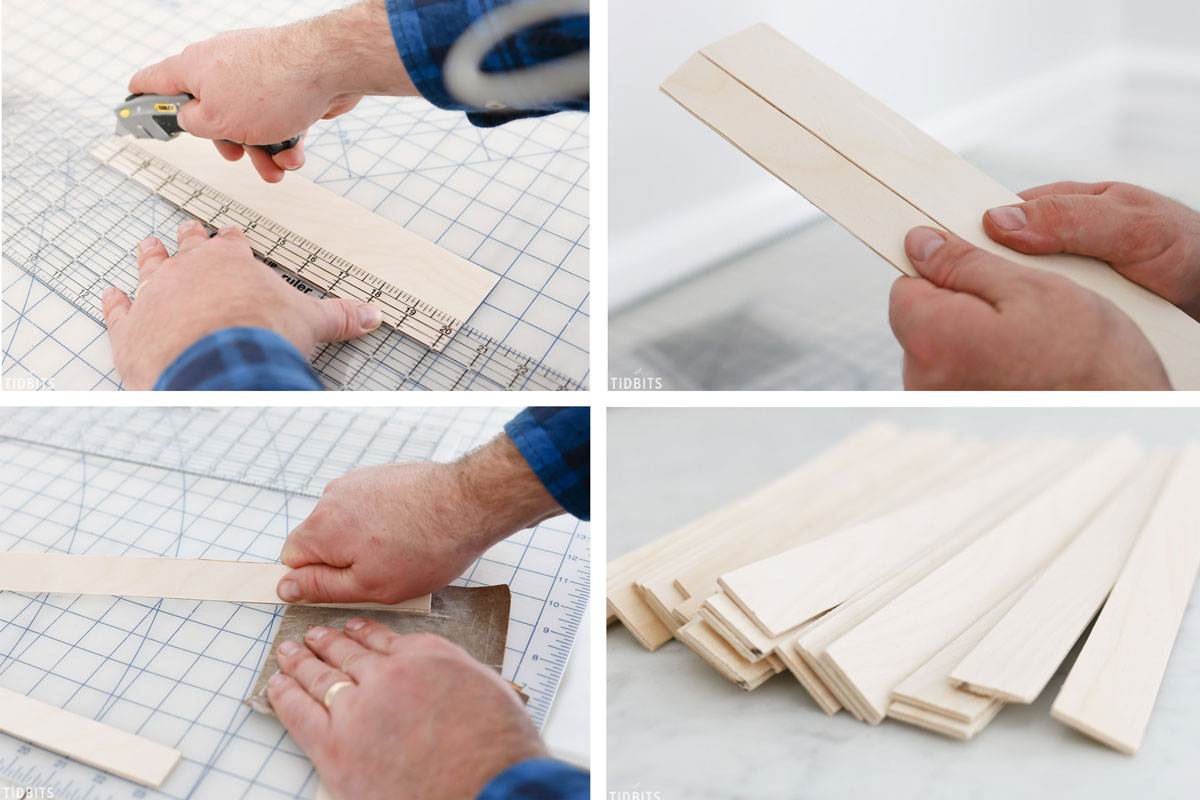
Keep in mind, you’ll need 8 frame pieces total for both the chalkboard and whiteboard sides of the board. Measure and cut 4 long pieces and 4 smaller pieces, accounting for the corner cuts. Lay them out on your base board piece to mark and make sure your measurements are accurate before you cut.
I like to use white milk paint to give my wood a white washed/stain look without the stronger fumes from wood stains.
Use a rag and dip a corner into the milk paint (any brand with work), and rub into the wood, following the wood grain until you’ve achieved the look you desire.
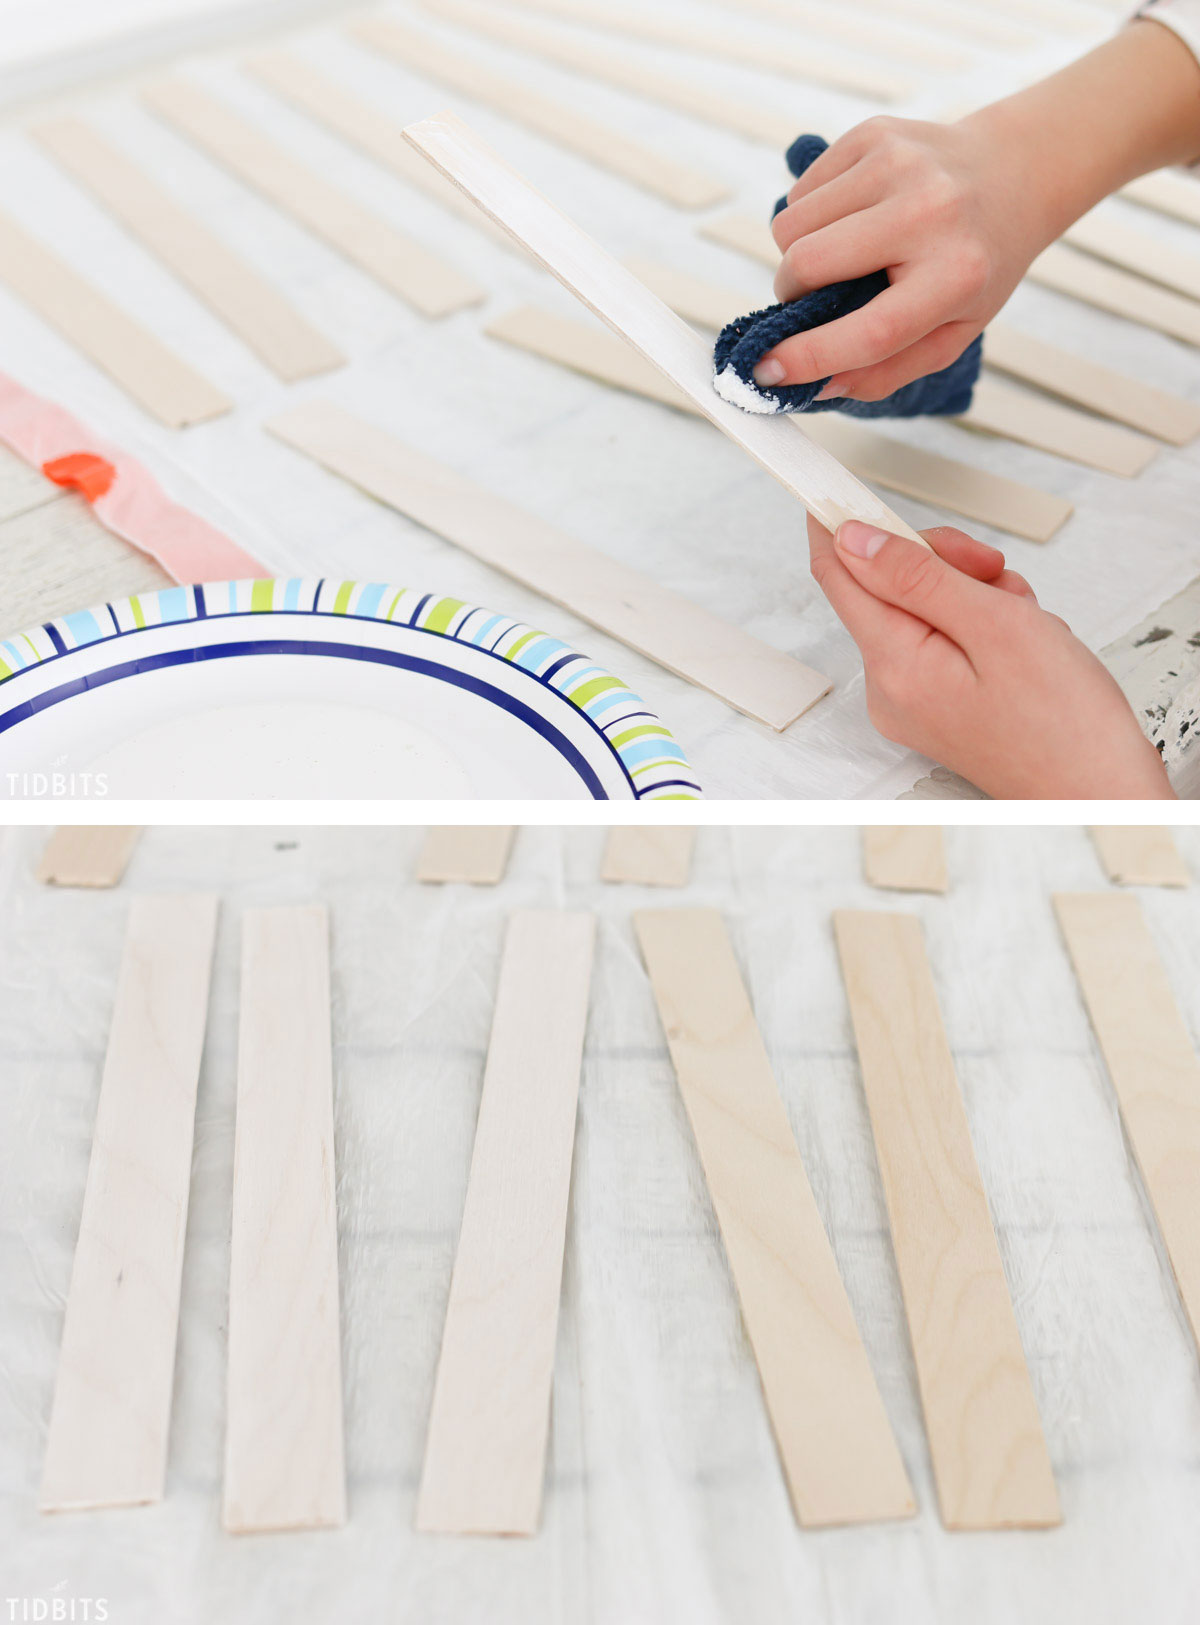
You can see above, this method maintains the wood grain look, but lightens my wood a bit.
After you have stained/prepped all your frame pieces, you can prepare the chalkboard and whiteboard surfaces.
Follow the manufactures guidelines for applying your chalk paint and whiteboard decal.
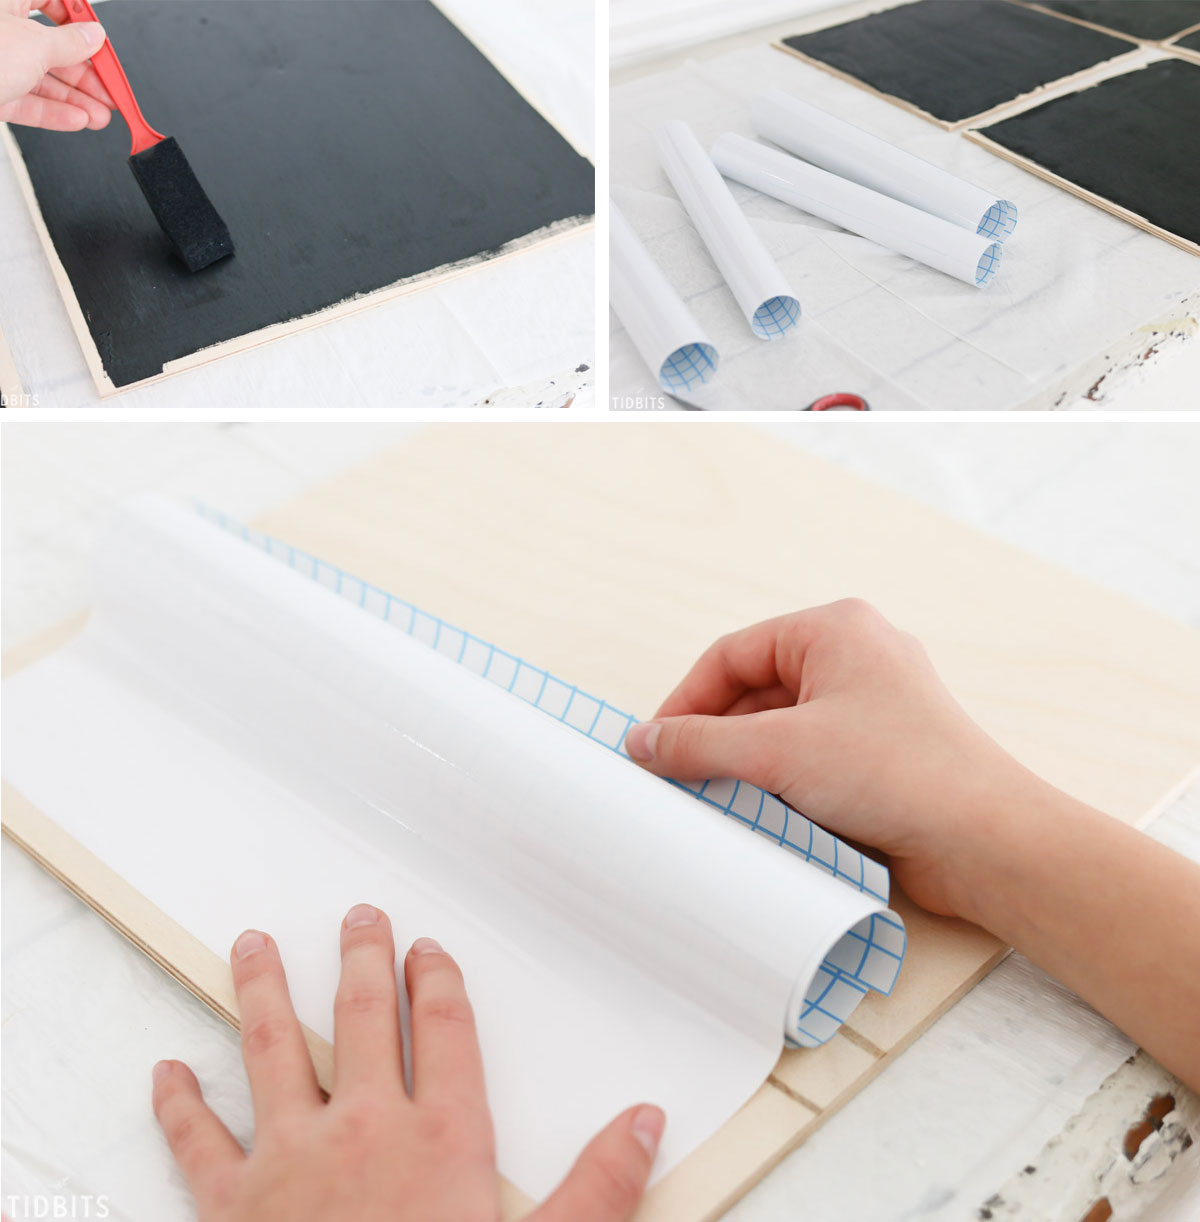
You can leave about 1/2 inch of the edge of the wood unpainted and un-stickered.
Once your paint is dry you can adhere the frame pieces.
On the back side of your wood frame pieces, apply Krazy Glue top to bottom. A little goes a long way with this stuff!
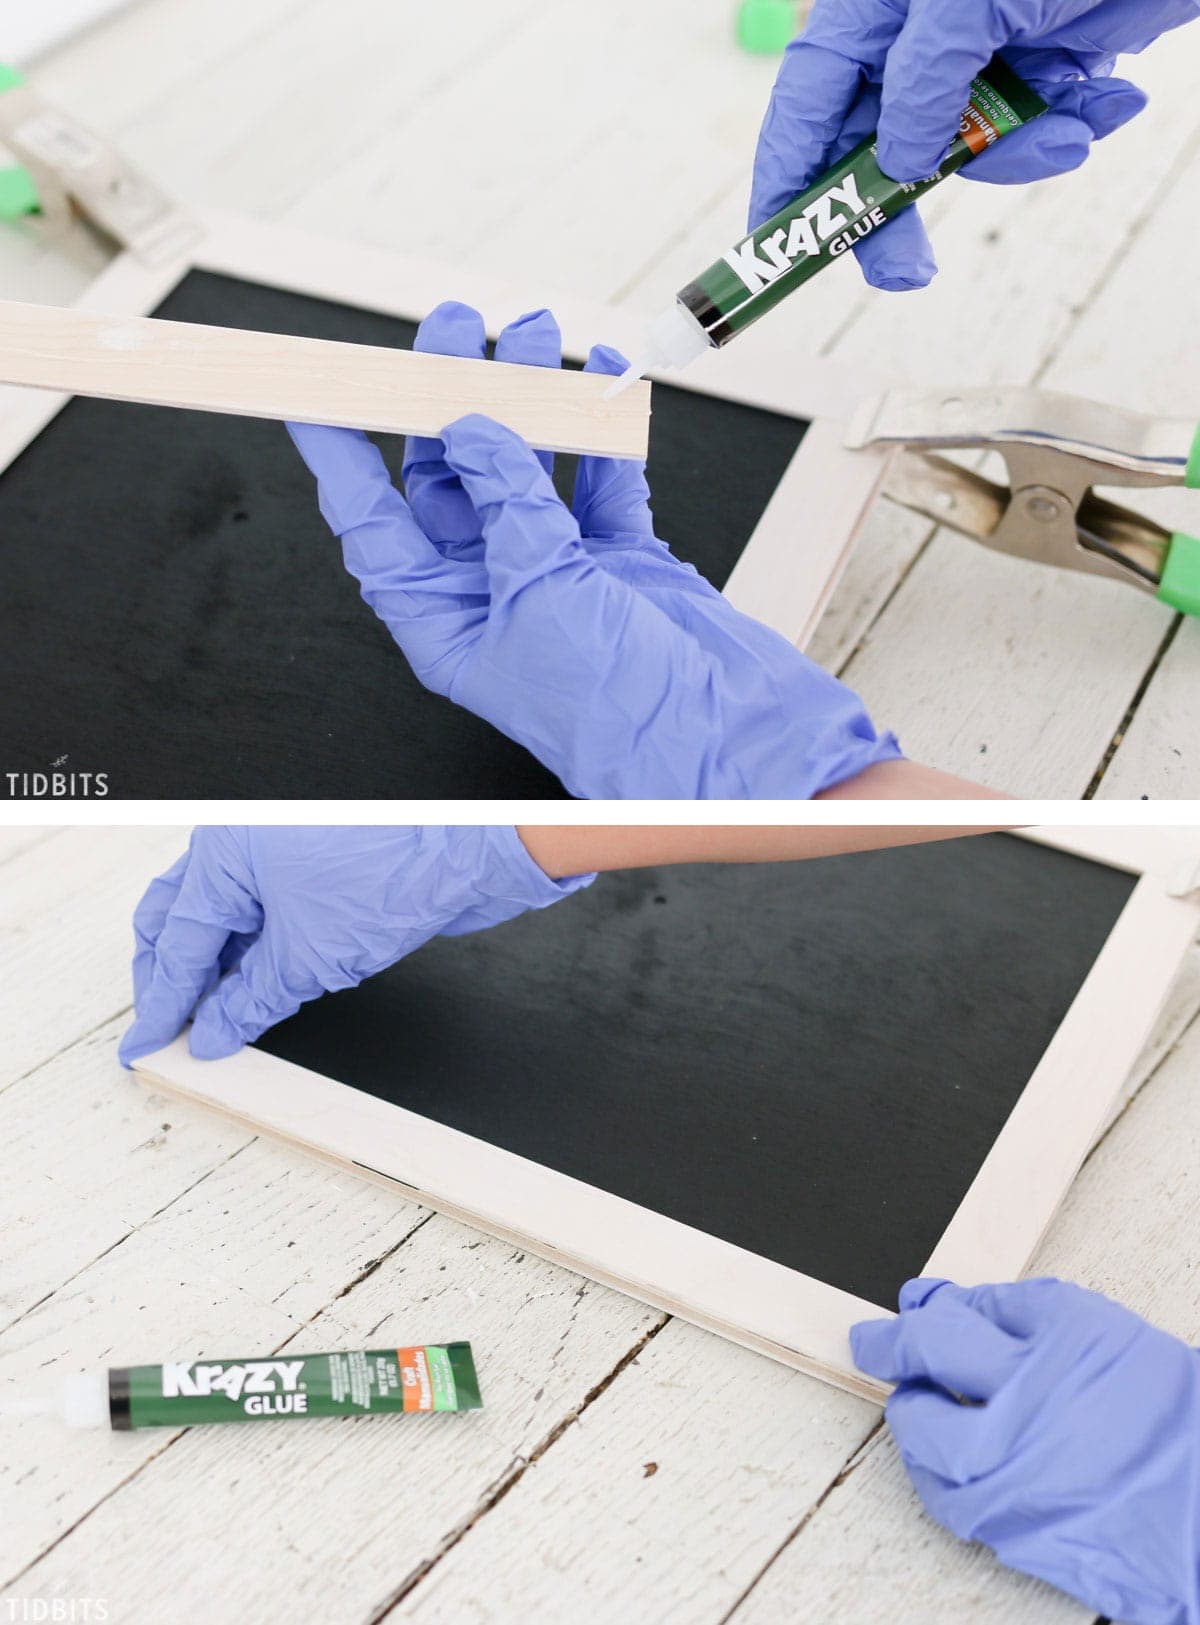
Lay it down, being sure to have it even with the edge of the board.
Use wood clamps or heavy items to secure the wood frame pieces until the glue dries.
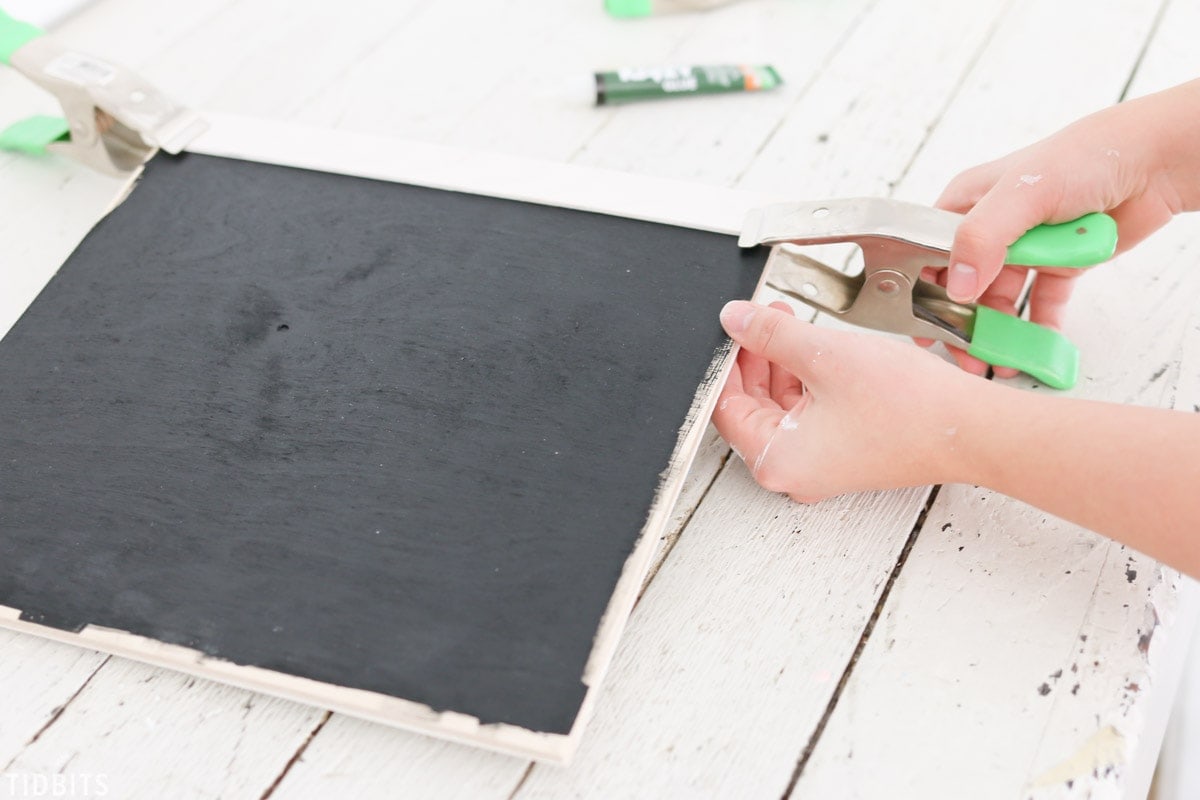
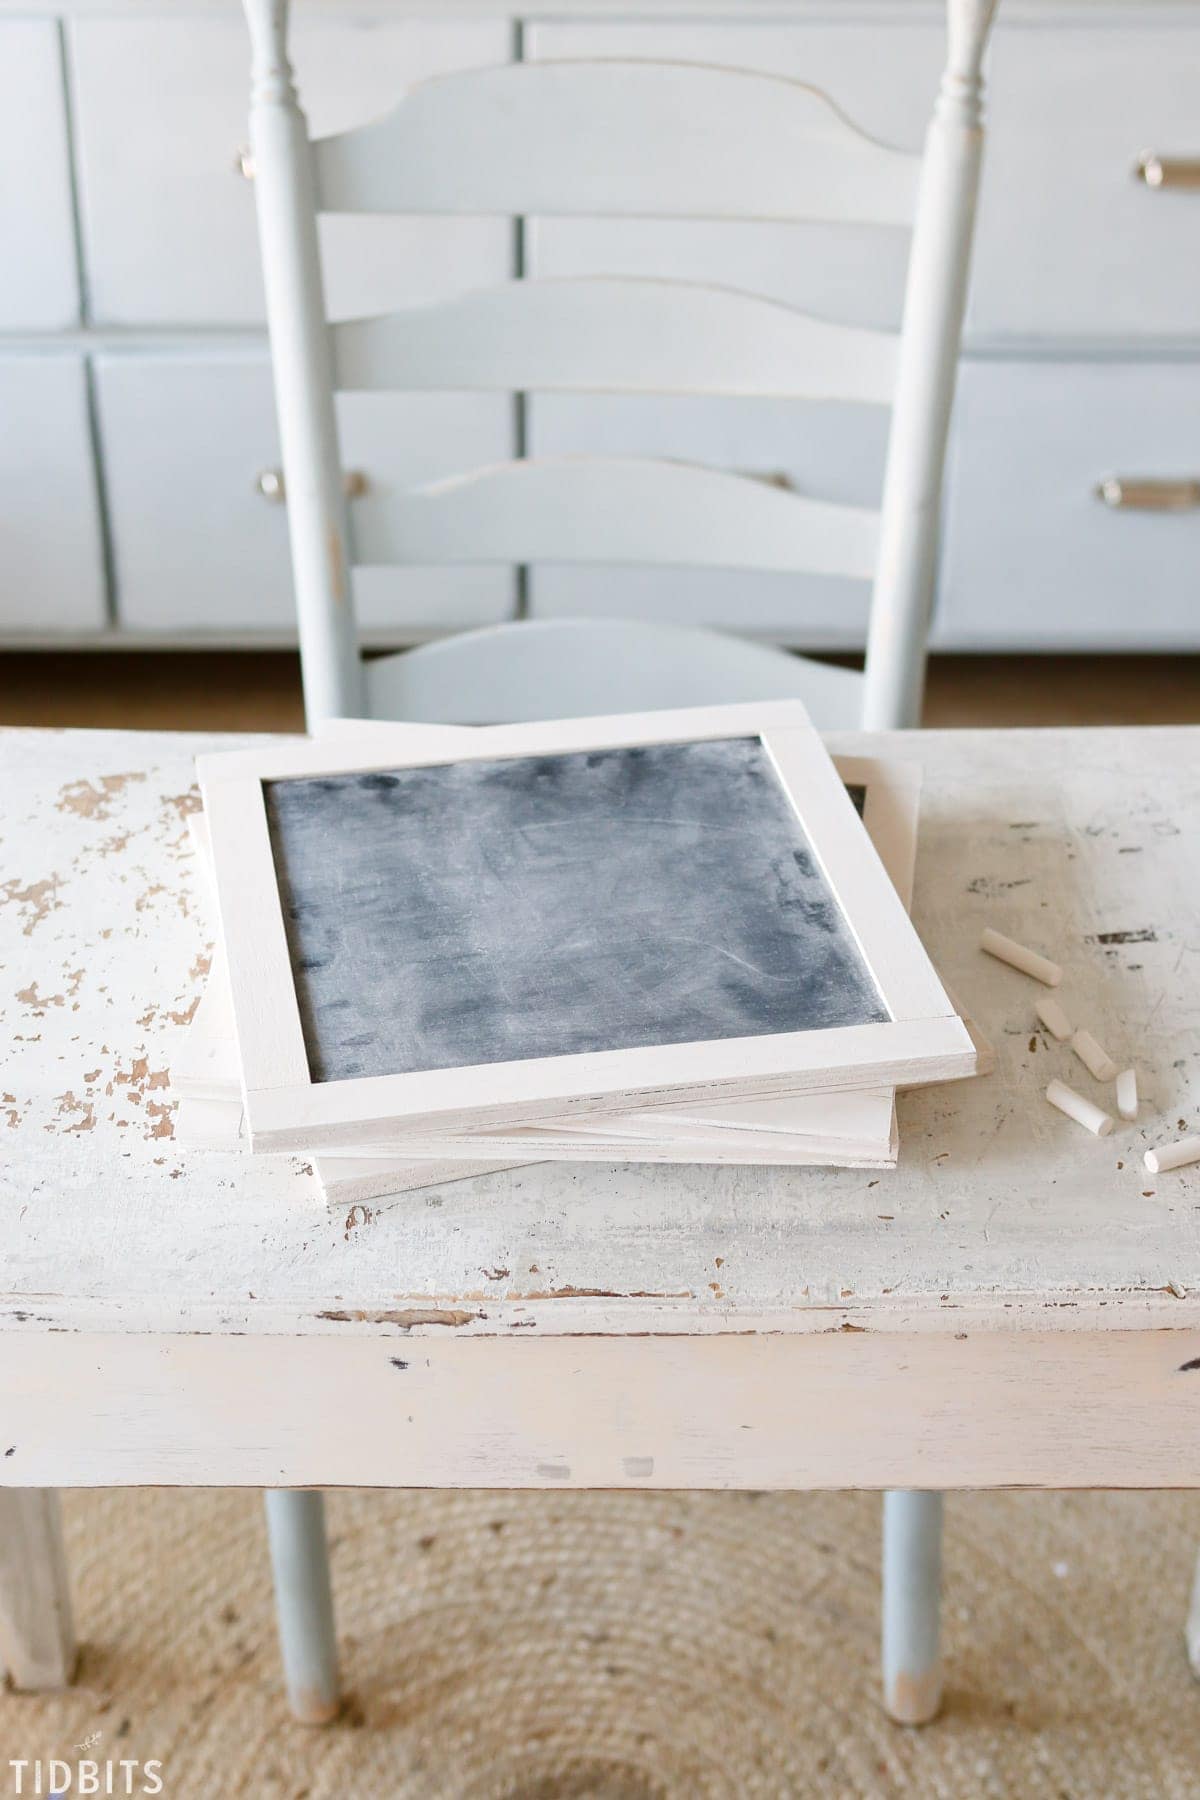
Glue all frame pieces to both the front and back of the board on all edges.
Once dry, you can stain/paint the outside edges of the board.
Prep your chalkboard surface by rubbing it in all directions with chalk turned on its side.
Time for you and your family to enjoy their “old school” mini reversible chalkboard and whiteboard to their hearts content!
Does this look like a project you would like to try? What other ideas do you have for using a chalkboard and whiteboard in your home or work environments?
*For those who have the ShopKick App, please note the following:
– Receive 15 kicks when you scan the barcode of any Krazy Glue SKU
– Receive 200 kicks when you buy and submit the receipt of any Krazy Glue SKU
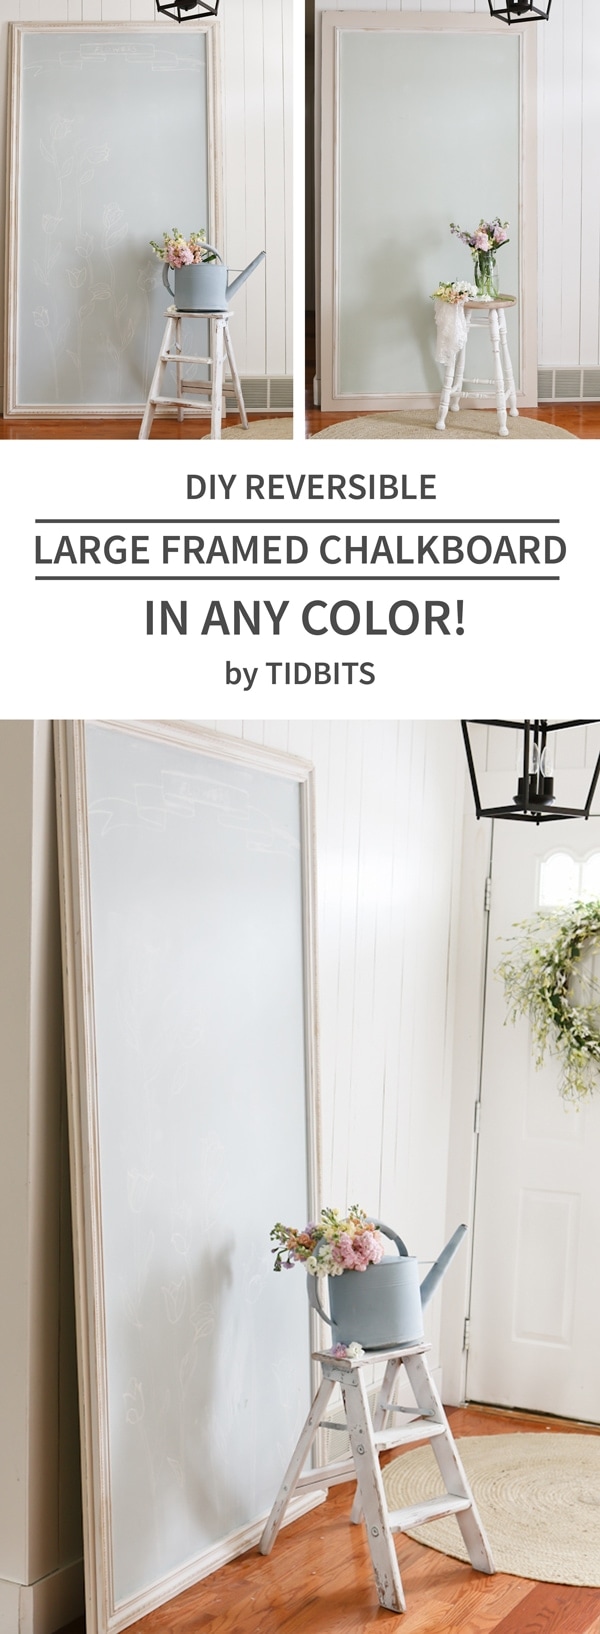
Looking for other fun chalkboard projects? How about a ginormous framed chalkboard where you can create chalkboard paint in any color!
Thanks for being here today and feel free to pin this image so you don’t forget it!


Good post guys!!!
I love this! I’m going to do magnetic paint instead of white board for my grand kids.
Oh what a great idea! That would be perfect for kids.
I love your project. And I totally agree with you about being a little bit “old school”. I’m the same. Keep up the good work.
Great idea…Thinking of making some of them for my grandchildren. Happy Thanksgiving. ?