This post may contain affiliate links, which means I get a small percentage of the sale at no extra cost to you. I only recommend items I love and have had a positive experience with. Thank you!
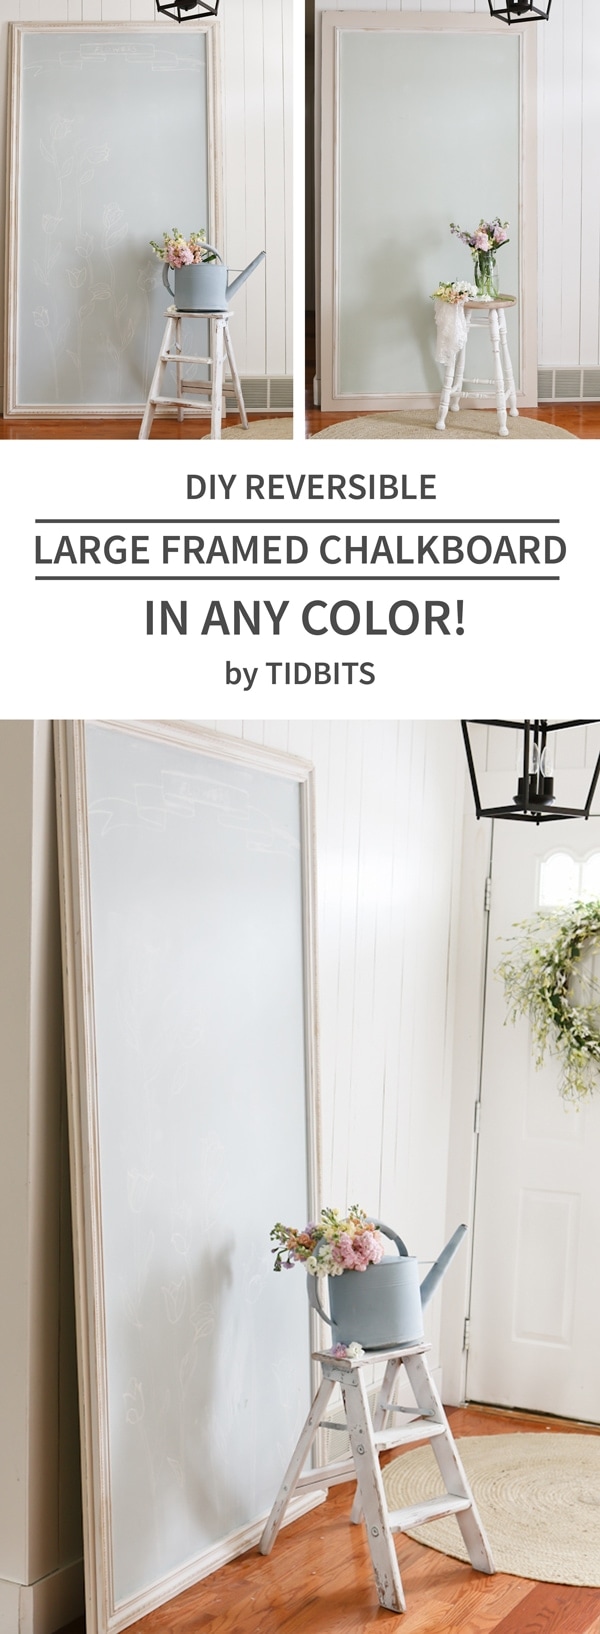
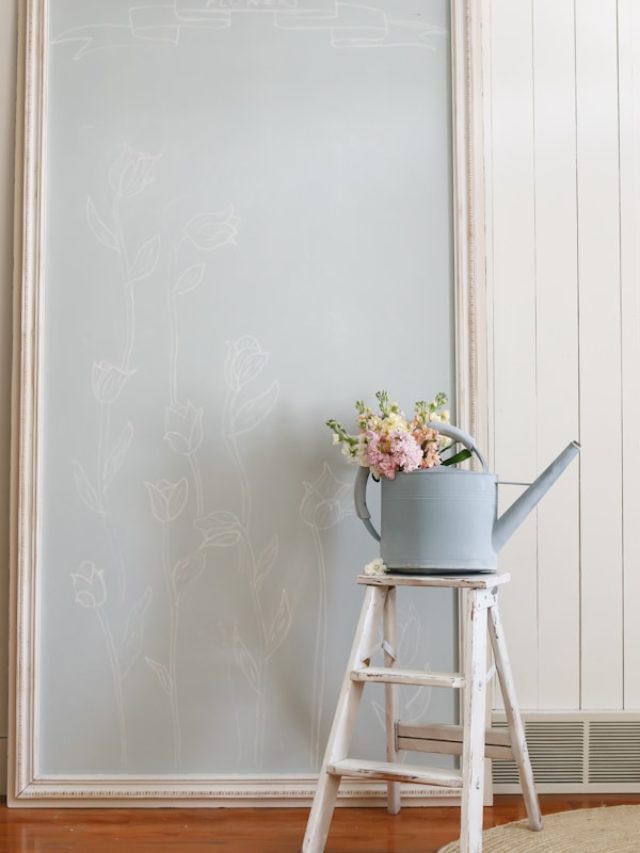
Bust out those DIY skills, and think big! Learn how to make a reversible large framed chalkboard, in any color imaginable! With one simple ingredient, you can turn any can of paint into chalkboard paint for any surface.
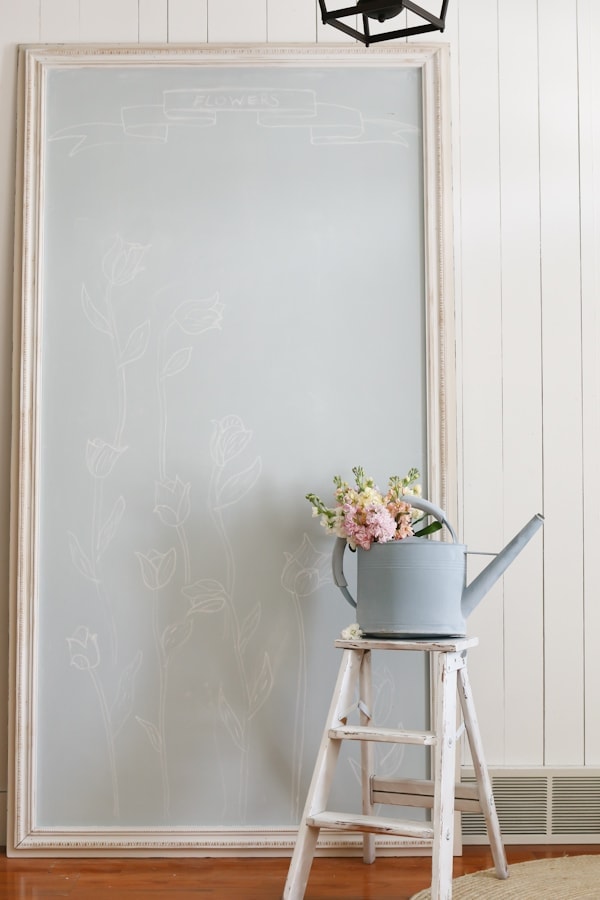
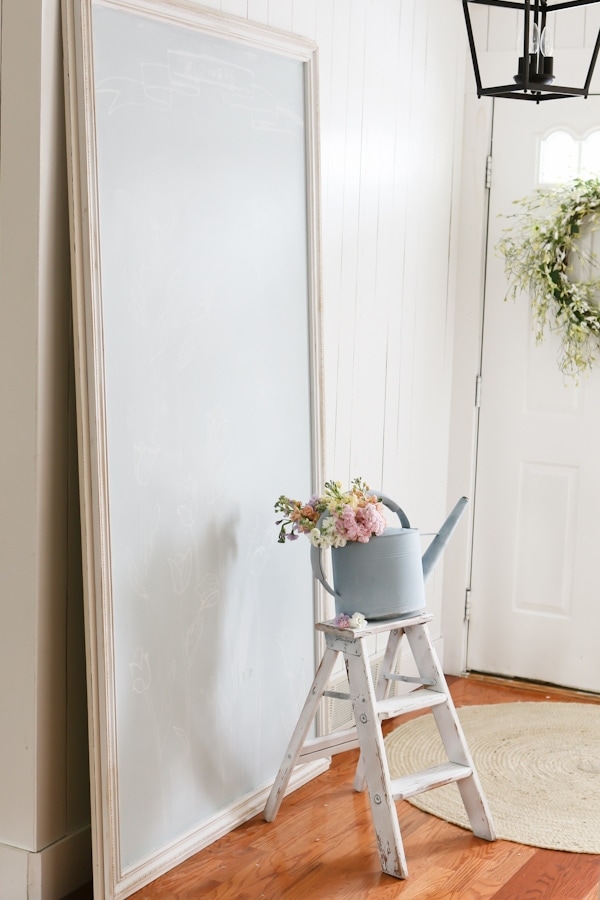
I’ve got big plans for this big ol’ reversible Chalkboard of ours. But for now, I’ve had fun styling it in our entryway, where we like to leave parting and greeting messages all day long.
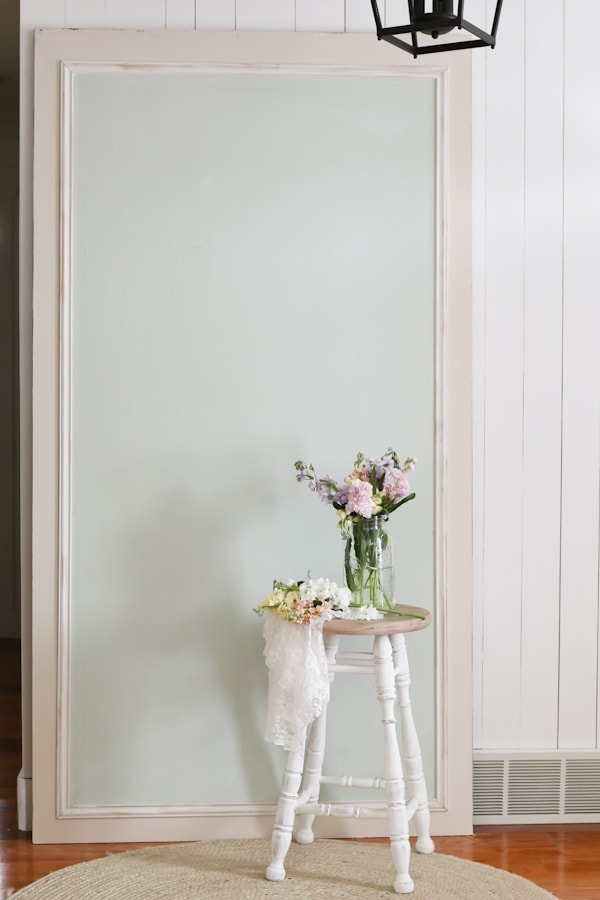
When the plans came about for my husband and me to create this ginormous chalkboard, I knew I didn’t want the standard black or old-school green color – as lovely and as classic as they are. I also couldn’t make up my mind if I wanted a soft French blue, or a pastel Spring green . . . so I did both!
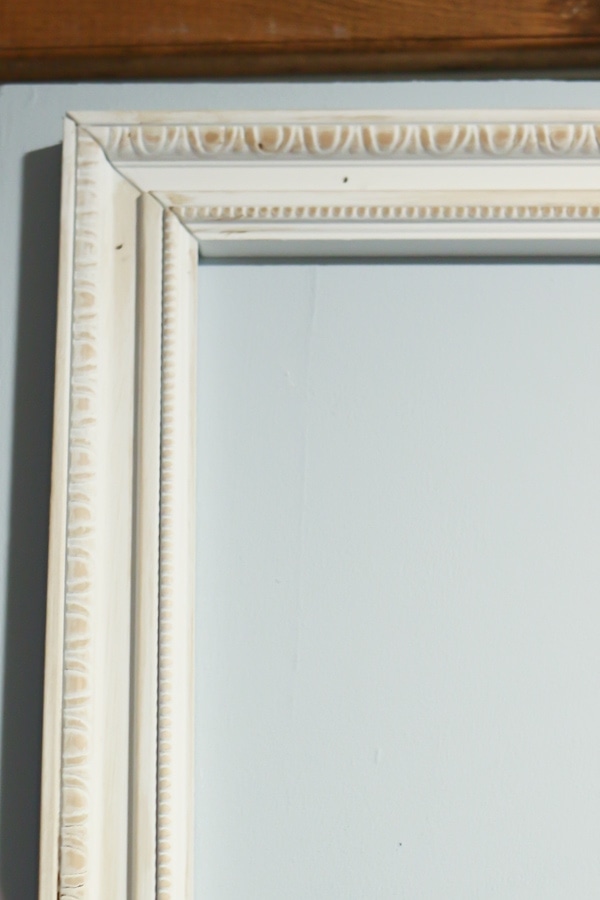
We even varied the trim around the board, so each side has a very unique look.
This project can actually be put together without any power tools at all, which I will explain how in the instructions below. But the real magic of this tutorial is the ability to imagine a chalkboard in any color! Think about how it could complement your surroundings as a focal piece or offer a creative surface for family members to create works of chalk art on.
I’m also enjoying the chalky surface to add a nice touch of color to the background of my images.


Using it as a photography background for some of my images worked out perfectly.

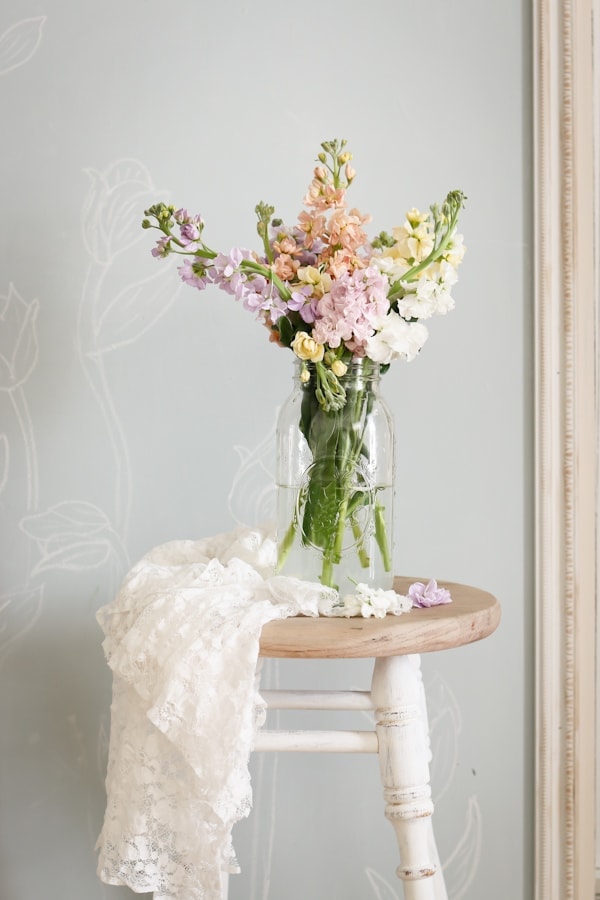
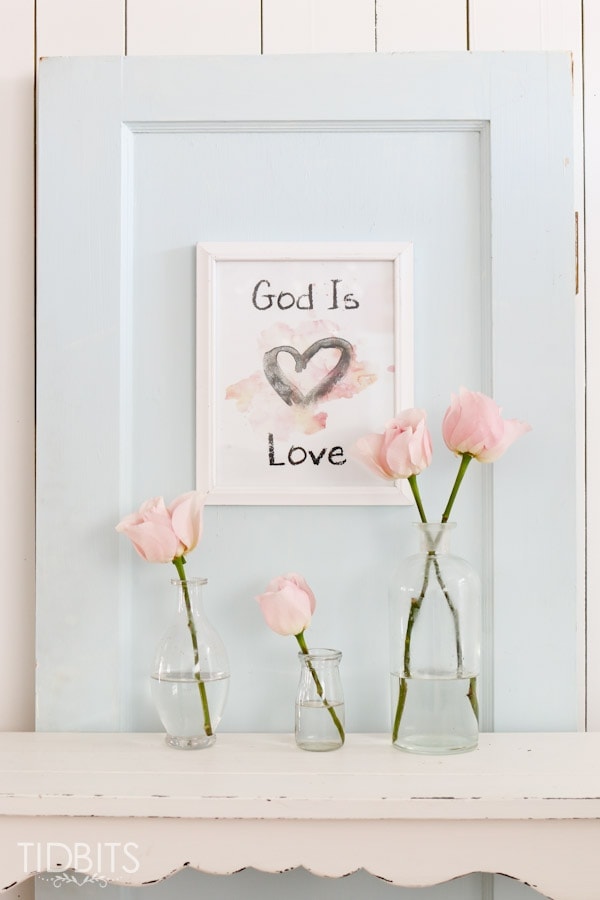
This post was supposed to be part of my Spring Home tours, but I wanted to save this entryway spot for a separate tutorial for the chalkboard. But let me show you the rest of the Spring decor I have placed in our small entryway, and then I’ll walk you through the steps of creating your own reversible framed chalkboard, in any color.
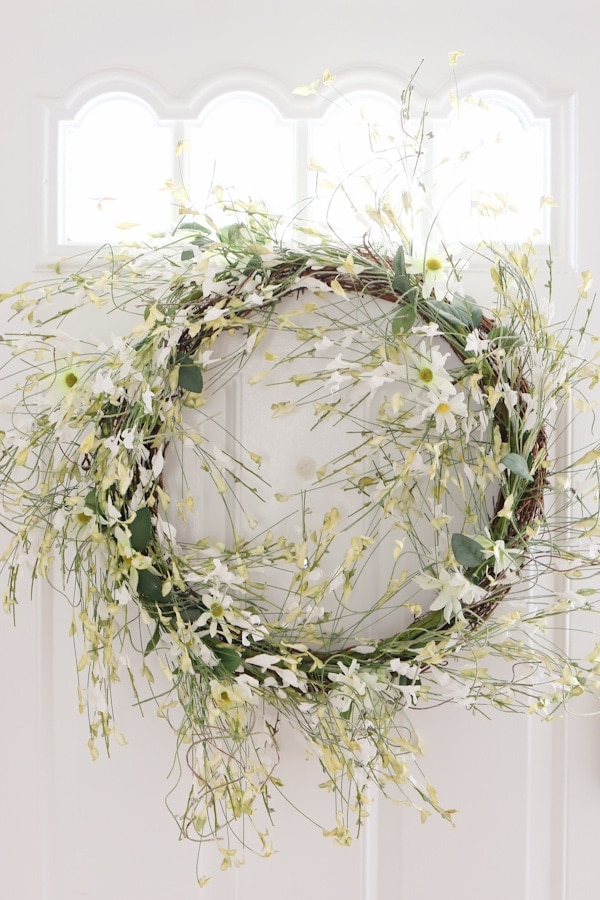
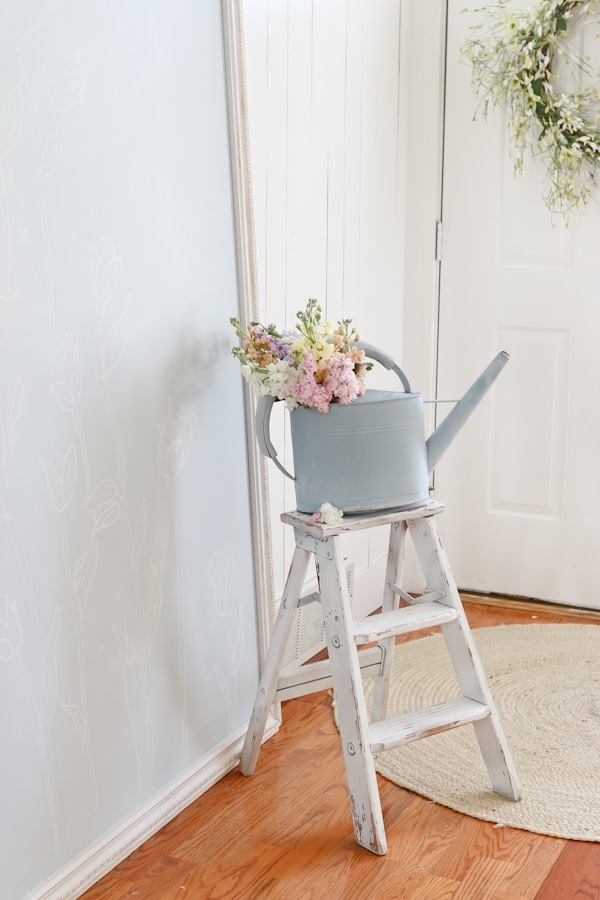
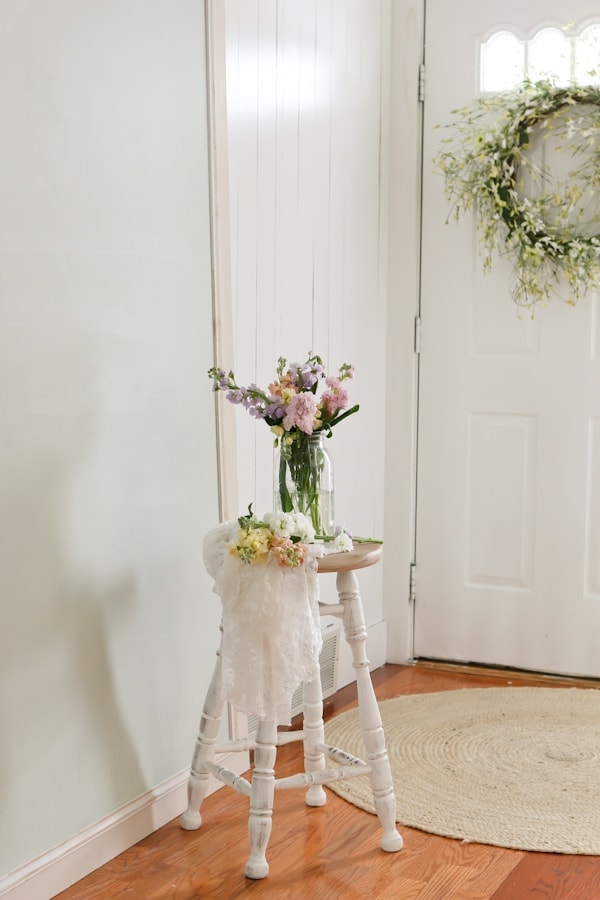
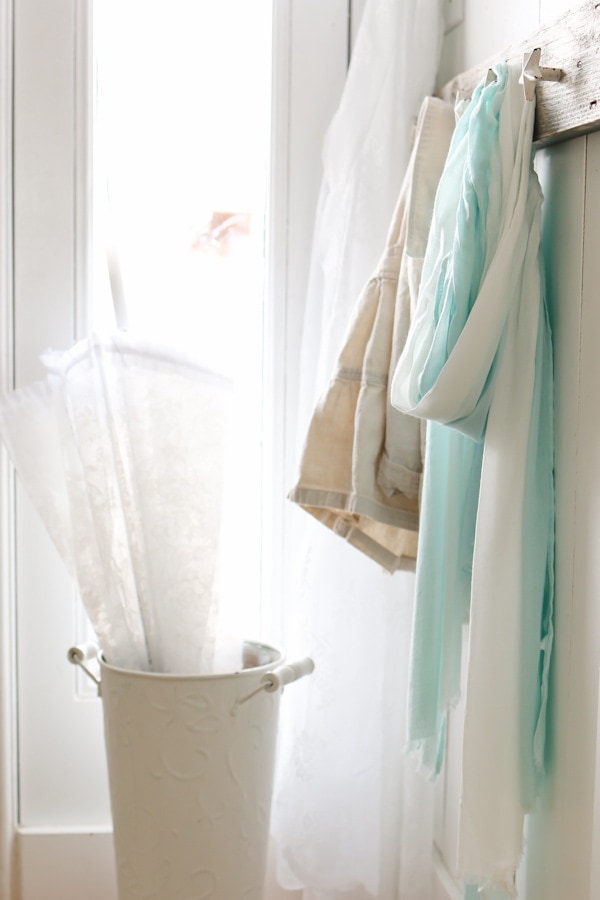
I discovered this discounted wreath at Hobby Lobby, and I love to hang wreaths on the inside of our door. I rarely get to see the outside anyway 😉
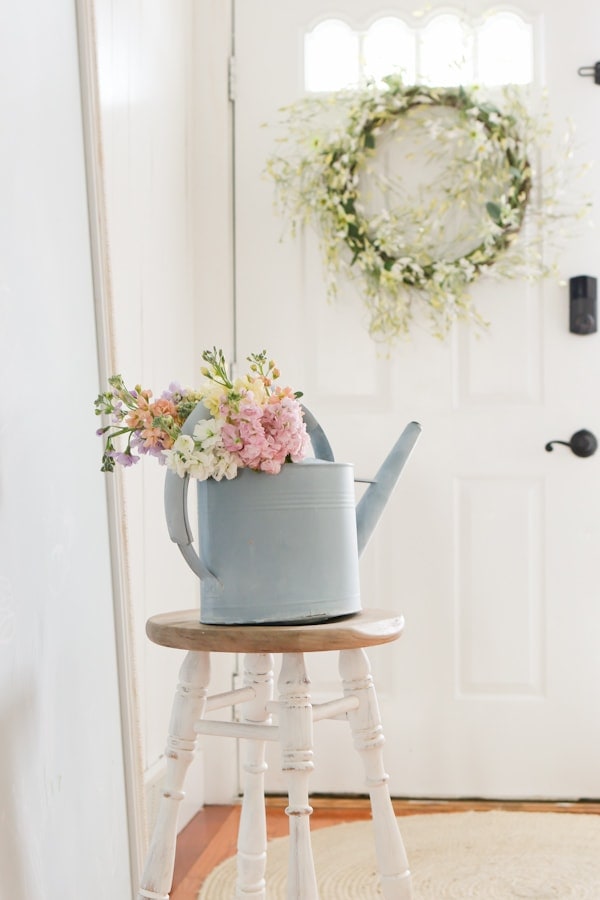
I love the feeling of putting away all the bulky boots from Winter, which leaves the entry spots a little less cluttered.
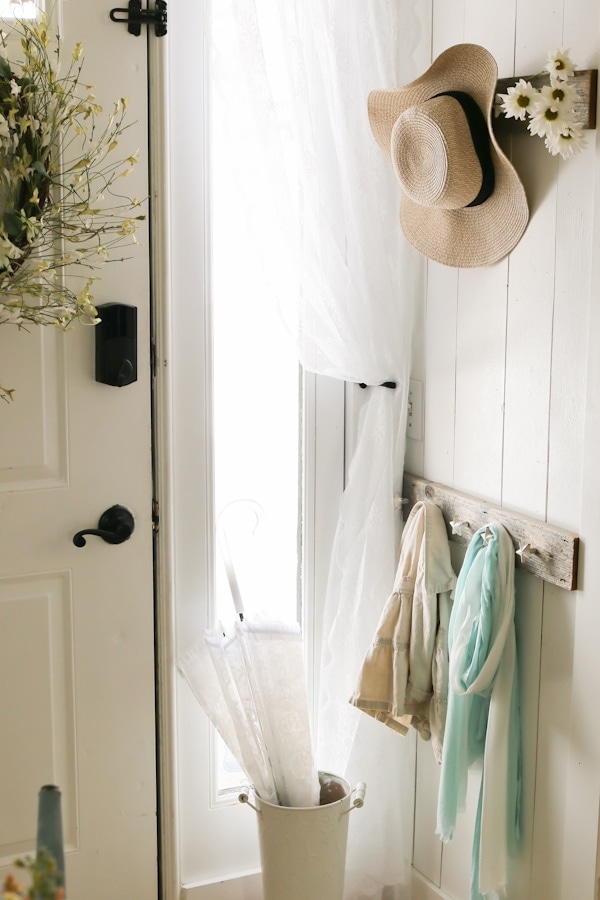
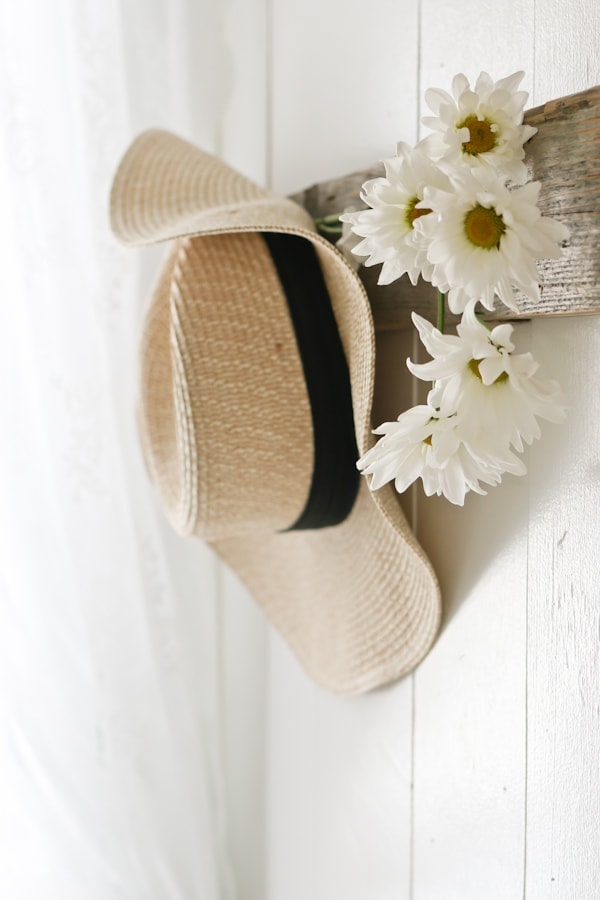

Just a few basic rainy day essentials are all we need.
And a few flowers of course.


Now for the building fun! I want you to be sure to notice that we did not place the framing directly on the edge of the board. We left a small lip, where I actually painted it a different color. This not only makes it easier to build, but I think this makes the framing look larger without actually having to add more trim pieces, and can have a nice vintage look to it.
Something else to note before you plan ahead, when choosing your paint color for the chalkboard paint, keep in mind that a darker color will offer more contrast with the white chalk, which may be why black chalkboards are so popular. In contrast, a lighter color will offer less contrast, but can still add a lovely vintage chalkboard look – which I personally love!
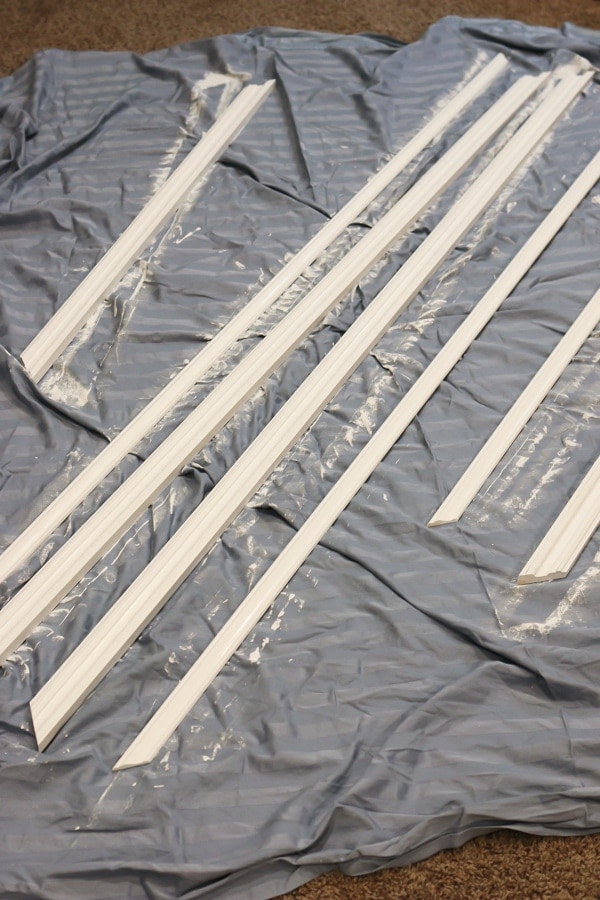
If you are trying to avoid power tools, be sure you figure out the measurements you want before purchasing. You can then have your boards cut to size, which is what we did at Home Depot. The trim pieces will need to be cut at an angle, which you can also do at Home Depot or purchase this hand saw that will easily cut the appropriate angles for you. And instead of using a nail gun, you can simply use wood glue and wood clamps to adhere the trim pieces.
Supplies:
This post contains my affiliate links. Thank you!
- Large (or small) piece of MDF board.
- We used 1/2 inch thickness for a nice sturdy chalkboard that can be propped up
- Trim pieces
- Measure the 4 sides to determine how much you will need
- Wood Glue
- Sandpaper
- Paint
- Magnetic paint (totally optional)
- Paint for the trim pieces and optional color for the framed outside of the trim piece
- 1/2 Gallon of Interior paint
- Any color imaginable!
- Small container of NON-SANDED grout
If you want a magnetic surface, begin by adding 2 layers of magnetic primer paint to both sides of the MDF board.
(Please try to look past the poor quality nighttime shots here)
I found this Rust-oleum brand at Home Depot. I’ve tried magnetic spray paints in the past and found them not to work as well as the roll-on paint.
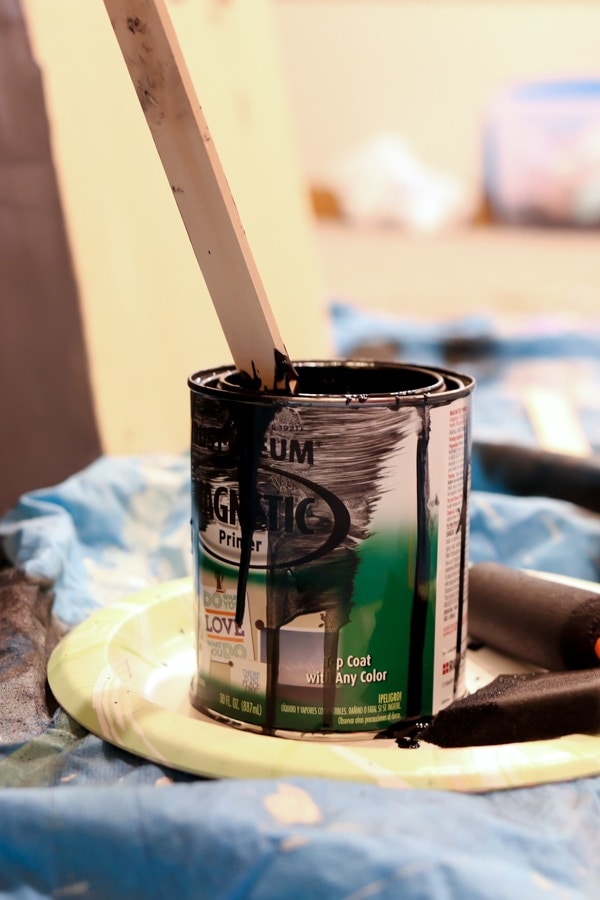
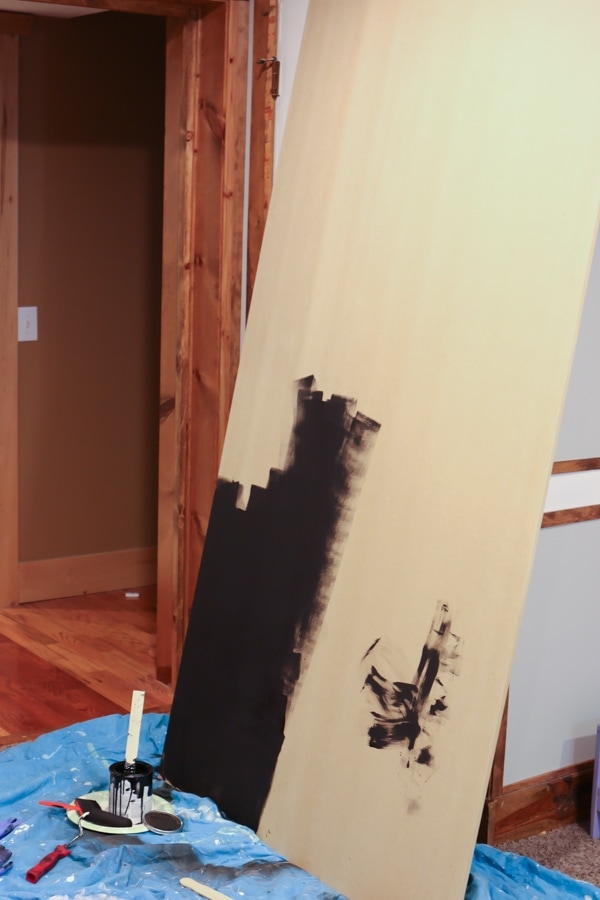
That paint will need to dry completely, so work on painting the trim pieces as well. Any type of paint will work for the trim and feel free to distress and antique the pieces with dark wax like I did.
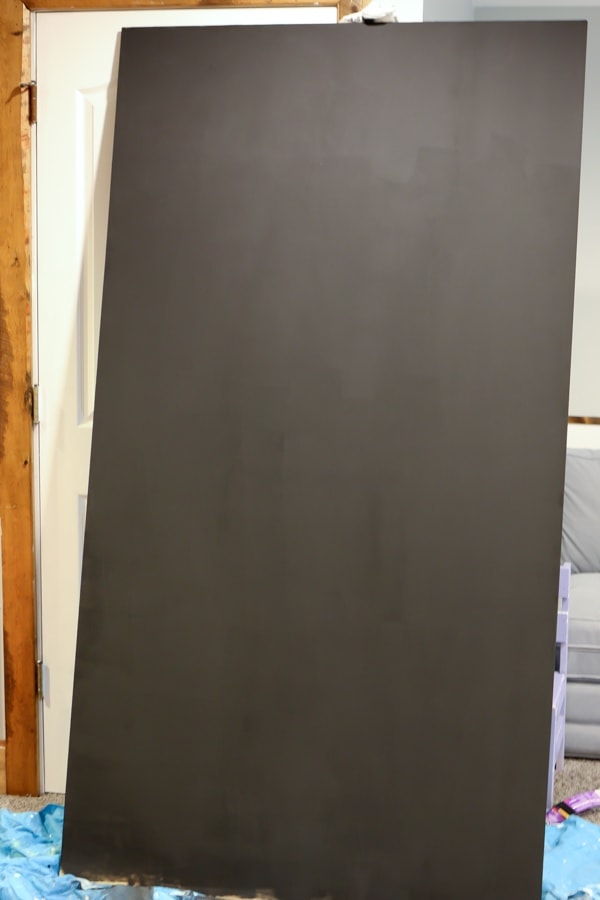
Once you’ve covered the MDF board completely with magnetic paint (if choosing to do so) it is time to prepare the chalkboard paint.
You will be mixing any interior paint with non sanded grout. This mixture will not store well for more than a few hours and gets thicker the longer it sits, so I recommend mixing less than you think you need, so as to not waste more paint than you need to.
If you are curious, the paint colors I picked were both Behr brand (carried by Home Depot) and were as follows:
Blueish color: Urban Raincoat N440-2
Greenish color: Flora N390-2

The correct ratios for DIY Chalkboard Paint are as follows:
1/2 cup paint: 1 Tablespoon grout
Feel free to increase those measurements depending on your need, such as
1 cup paint: 2 Tablespoons grout
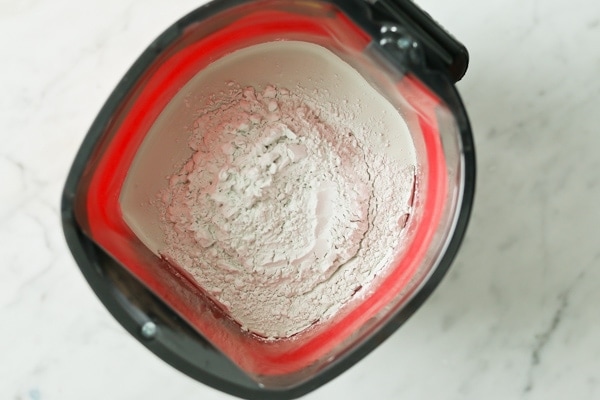
Mix very well with a stir stick (there may be a few lumps left), and then quickly begin rolling it onto the surface.
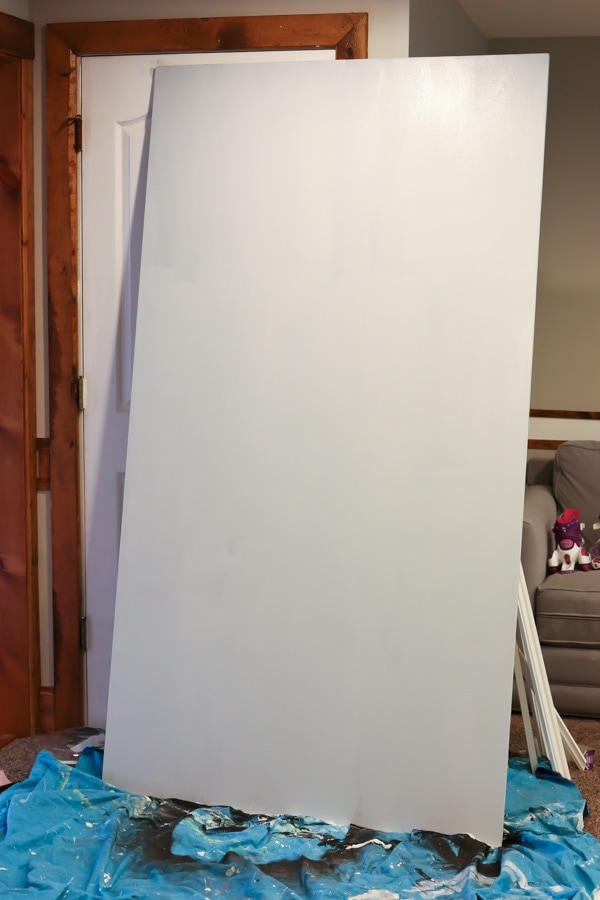
It will take at least 2 coats of paint, but be sure to let each coat dry completely and sand it down between coats and after the final coat for a very smooth surface.
Now is the final step of adhering to your trim pieces. Measure carefully before you cut your angles.
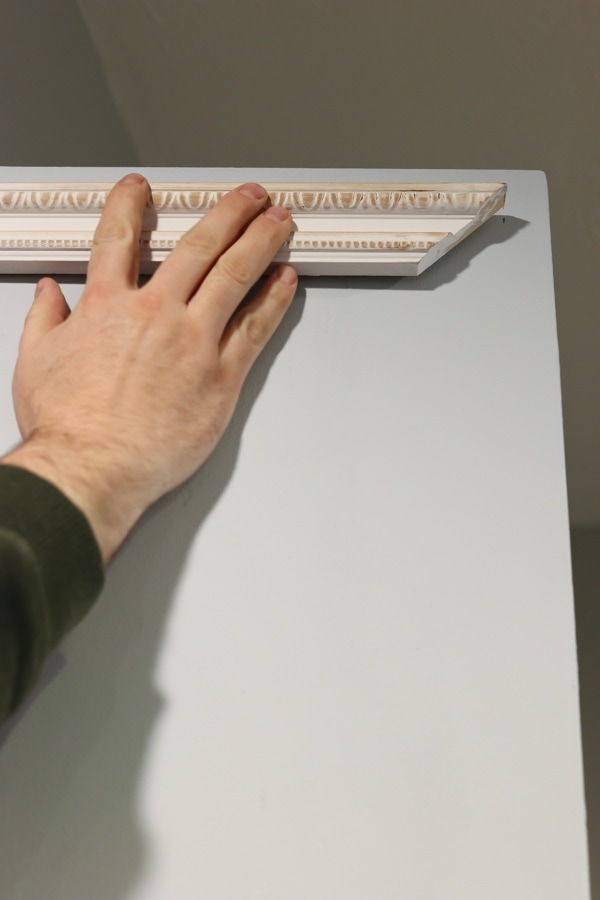
Spread wood glue to the backsides of the trim and clamp it onto the board until the glue is dry.
Additionally, you may want to add a few nails to secure it in place, but this step is not necessary.

As you can see below, we left a space around the trim pieces, and I painted that an off-white which makes the framing actually look bigger without having to buy more trim pieces.
Now feel free to hang your chalkboard on a wall, use it as photo backdrops, or create smaller chalkboards in any color!
Let me know if you give it a try or if you have any questions!

Thanks for reading!
READ MORE DIY HOME DECOR HERE:
How to make a Kids Workbench with Tool Storage
DIY Fireplace Mantel Surround | Faux Cast Stone European Style


Hi there – I have a few questions.
I’d like to hang my chalkboard and mdf is heavy so I was thinking a board of underlayment would work. It’s like a smoothed out thin wooden panel. It’s not as hard as mdf so I was wondering if maybe the chalk writing would leave an indent on the surface? Do you have any thoughts on this?
And then as far as letting the grout/paint mixture dry between coats – did it get too thick to paint by the time it was ready to paint the 2nd coat or did you make 2 separate batches of mixtures?
Thanks!
This DIY thingy are getting famous. I love that vintage look like of that chalk board, best for my kids. Where did you buy that wood glue? I probably need those for my stuffs
You tv player is one of the most amazing app using which you can watch latest movies or tv shows absolutely free of cost. It is being loved by many users, and it is considered as one of the most promising apps of recent times. Check this site You TV Player now to know more about this app You TV Player for Windows 10
That stuff works pretty good doesn’t it! It’s so fun to think outside of the color box 😉
Like Angie above, I’d like to know the size of you actual cut MDF board please. It’s really a beautiful piece.
It comes to about 80 inches tall and 44 inches wide. But you could do whatever size suits your space. Thanks!
Lovely idea…but what I want to know is??? Are those real flowers or artificial…they look so beautiful…I just drool everytime you post pics of your flowers..lol.which means I am sighing everytime you send emails….
Lorri
They are real! My eye caught hold of them at the floral shop and I couldn’t let go until I took some home for pictures. They are so lovely and smelled heavenly!
I LOVE that chalkboard!!
Tania
I do have chalkboard black paint, but the idea of pastels is much nicer. Thanks
I love your chalkboard leaning up against the wall!
So pretty as always.
happy Easter to you and your family.
Cami, this is a great idea! I couldn’t help but think how nice this would look with a mirror mounted right in the middle of it. You know, those inexpensive $15 door mirrors. Just love this idea! Now to find the space to create my own…..
You are so right! And what an inexpensive way to get a really large beautiful mirror. Oh, I’m excited about this idea! Thanks!
I absolutely LOVE this and am definitely going to do my own. I have a few questions though…what size MDF did you use; what color did you use for the trim and what trim pieces did you use? On one side it looks like you used beaded trim mixed with not beaded trim and then on the other side it looks like you used a thin piece of trim and kept it off the side about a 11/2″. Is this correct? Or if not, can you explain? Thanks so much!! You are my favorite blog to follow now and love your design style!!!!
Thank you for the sweet comment Angie! And sorry, I should have been more clear in the instructions. The MDF we used was 1/2 inch thick. They come in really large sheets, or small sheets. We figured how large we wanted it to be, and then had Home Depot cut it down to that. They do have 1/4 inch MDF, but we wanted it to prop on the floor without bowing and the 1/2 inch does a great job of that. As for the trim, on the blueish side the trim was a more detailed trim piece, but it was only one. They have great selections at Home Depot or Lowes for trim pieces. Then on the green side, it was just one small piece of trim, maybe 1/2 inch wide, and I did leave about a 2 inch space from the edge of the board to the trim. I love how both sides turned out. Please let me know if you give it a try! I’m so pleased you liked it!
Hi Cami thanks for answering! I understand the 1/2″ MDF but was interested in knowing what the final size was of the big sheet after you cut it down and what color you used to paint the trim? Thanks!
Angie, I’m sorry it took a bit to get back with you! It comes to about 80 inches tall and 44 inches wide. But you could do whatever size suits your space. And honestly, the white paint for the trim came from a mixture of white paints I had laying around. I am just about out! So whatever you have will work. And then outside of the white trim, I mixed a tiny bit of brown acrylic paint in with my white paint to get an off white. I’m so sorry for the vague answers. Sometimes my DIY’s are more like “whatever I have around the house” type of projects. 😉
Thanks so much!! That helps! For whatever reason I always like specifics ? I am definitely going to do this project though!!! LOVE YOUR HOME!!