This post may contain affiliate links, which means I get a small percentage of the sale at no extra cost to you. I only recommend items I love and have had a positive experience with. Thank you!
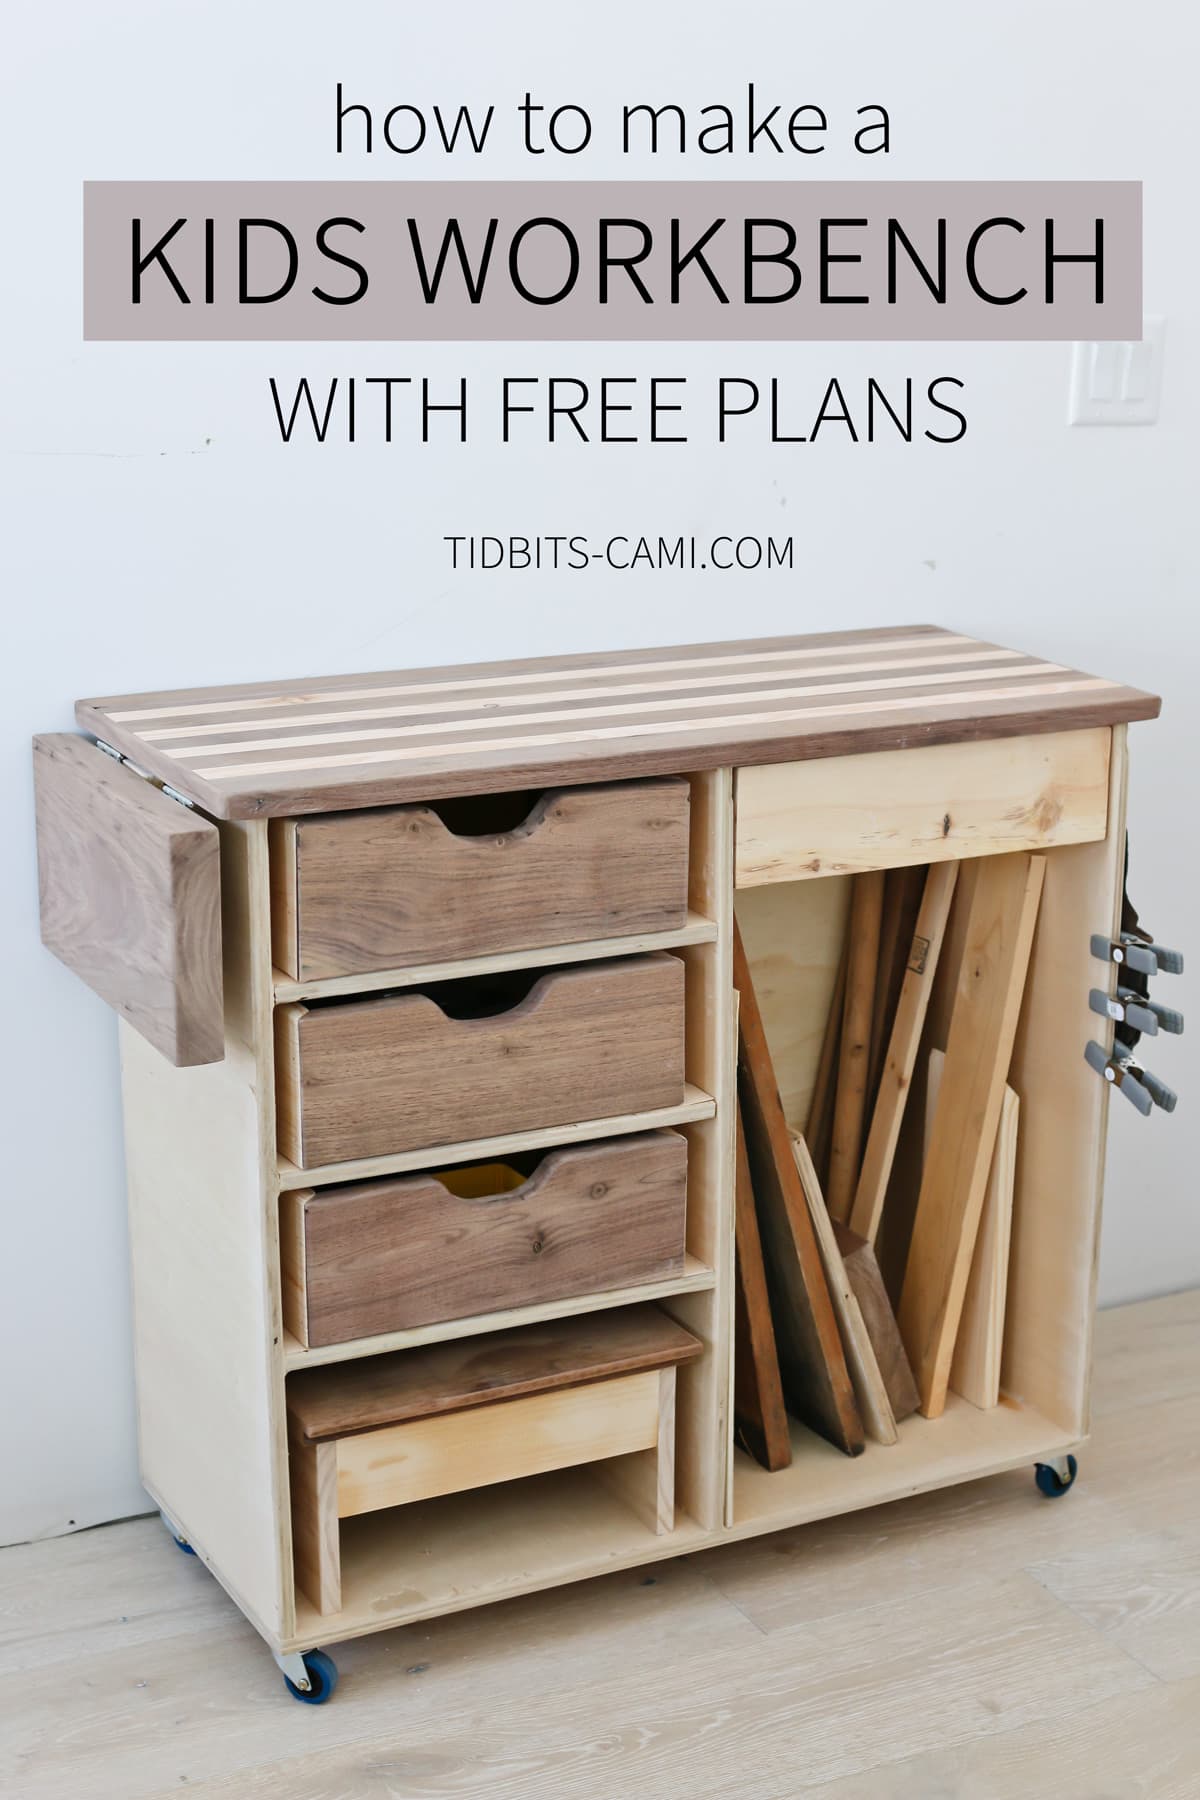
We built our son a kids workbench with lots of tool storage, so he could have his own work area and leave Mr. TIDBITS tools alone! We will walk you through the process and share our free building plans for this DIY kids workbench.
Our little boy is a Mr. TIDBITS in the making, and it couldn’t make my heart happier. Oh, how he loves to find any scrap piece of wood and put something interesting together. It is simply the cutest thing in the world!
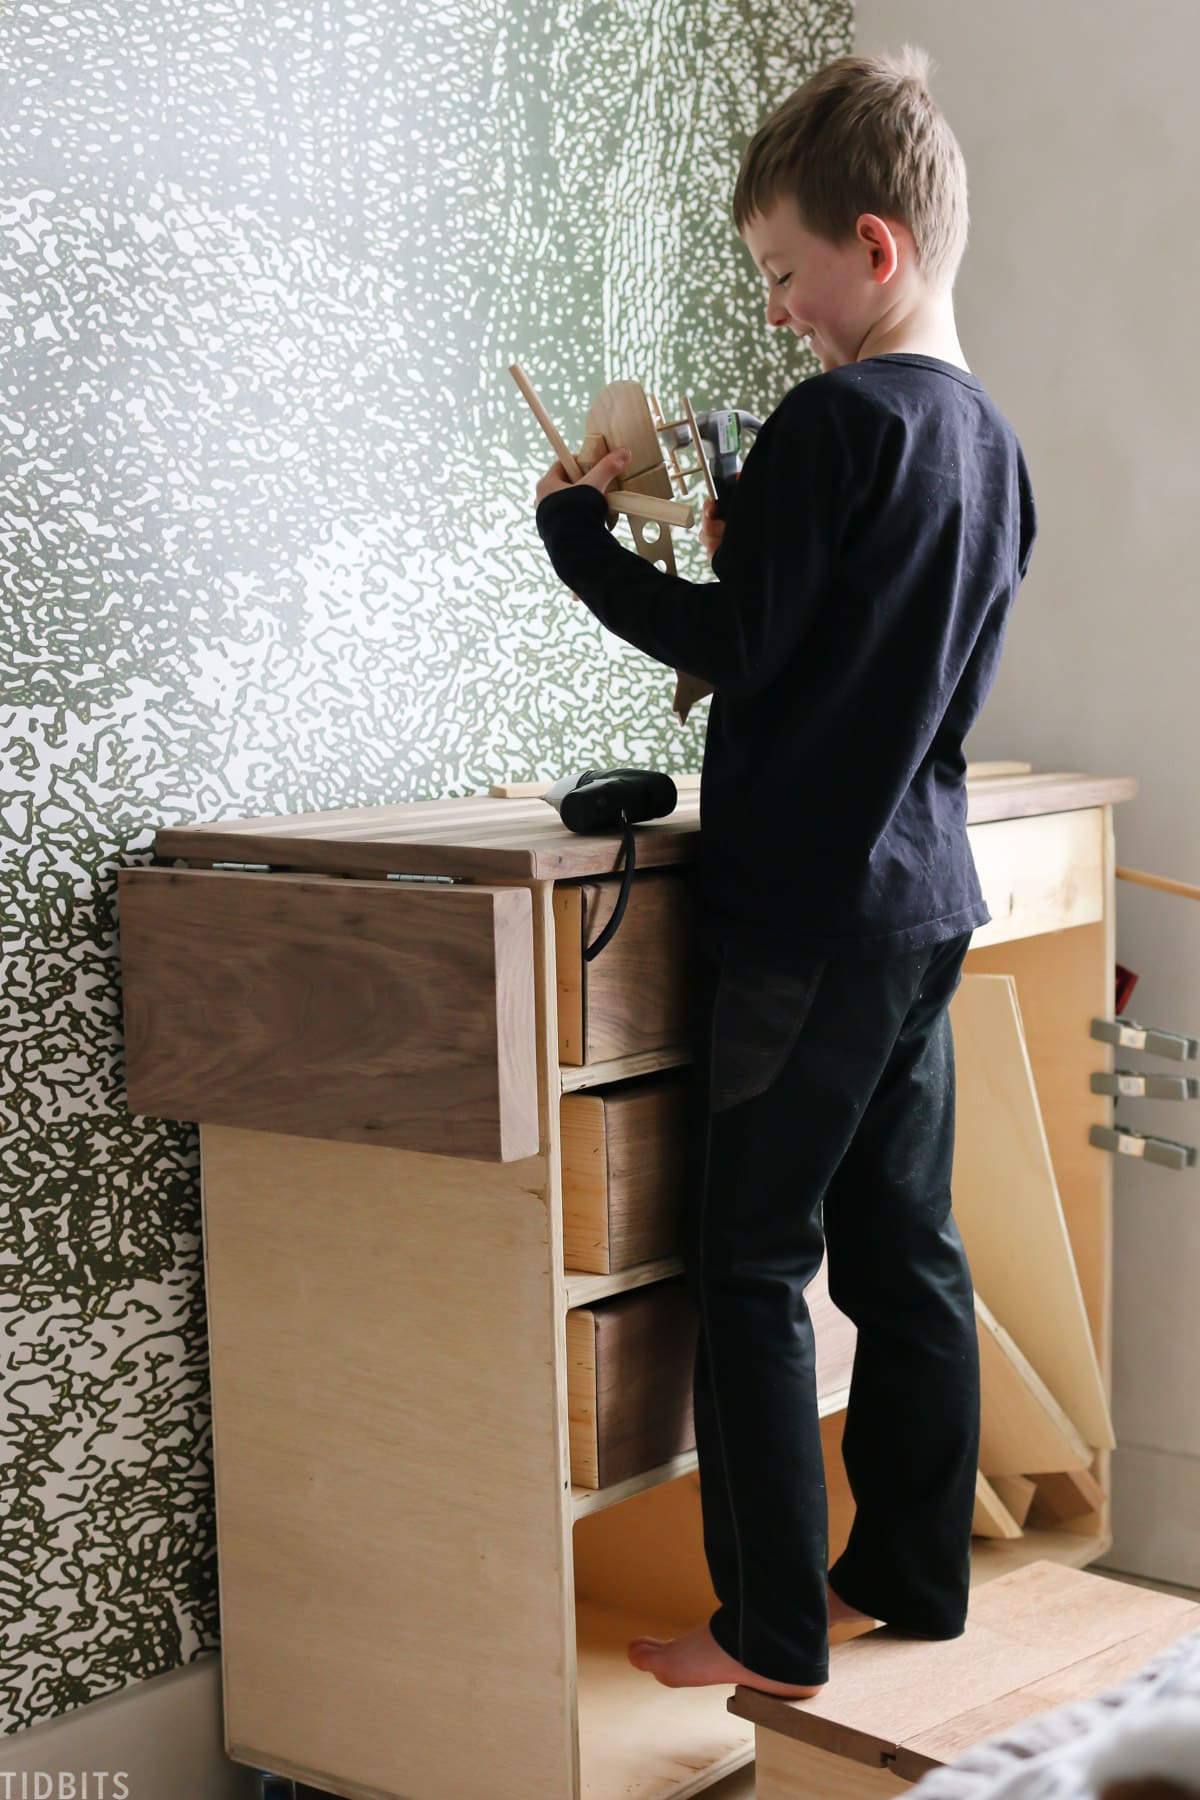
However, he is always moving around Kevin’s tools leaving him wondering where all this nails, hammers, measuring tape, levels and so on went. We decided to make him his own little workbench and stock him up with his own kid friendly tools, so he can build to his little hearts content. Now, the challenge will be getting Mr. TIDBITS to leave our Little TIDBITS tools alone.
The actual plans for this project will be found at kregtool.com, which you can find for FREE here.
We are happy to have Kreg as our sponsor for this content. You can view the details for the finished workbench in this post and see the building process in this video.
Please visit kregtool.com for the free detailed building plans and all the supplies, cut sizes and step by step instructions.
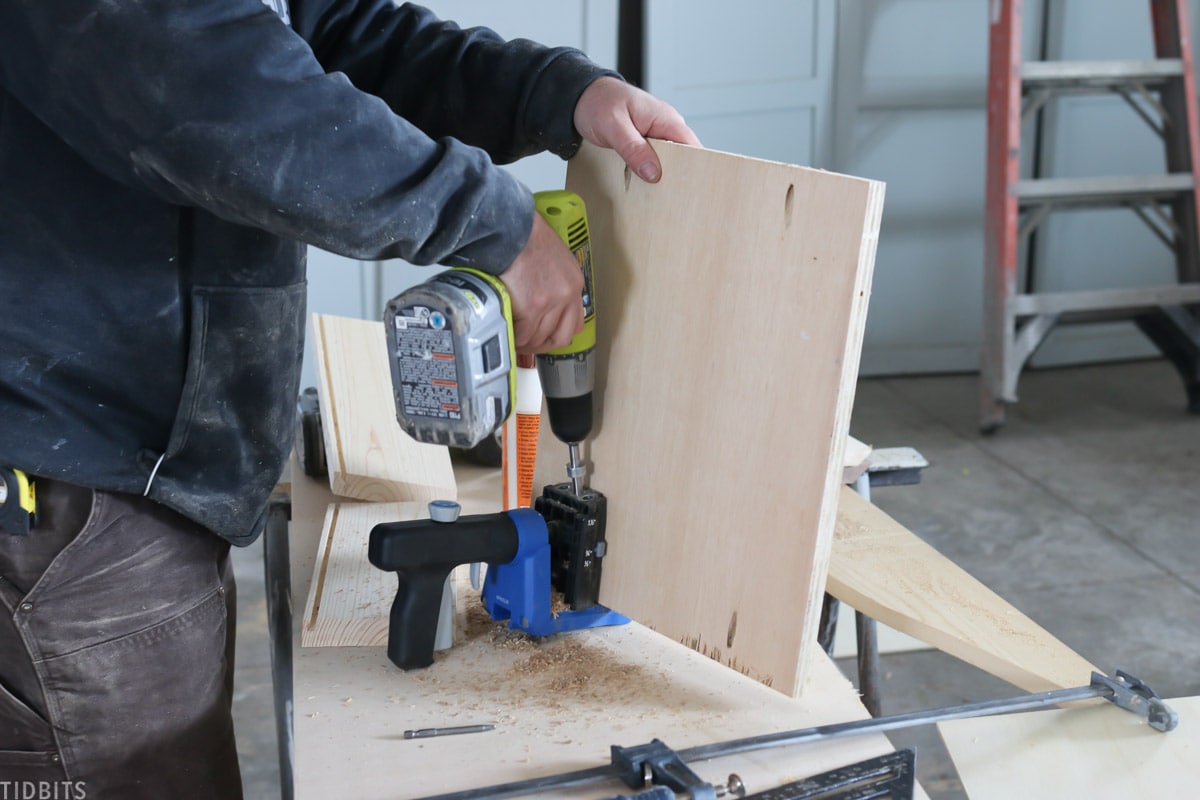
For this project Kevin used the Kreg Pocket-Hole Jig 520PRO, with 1 ¼” screws.
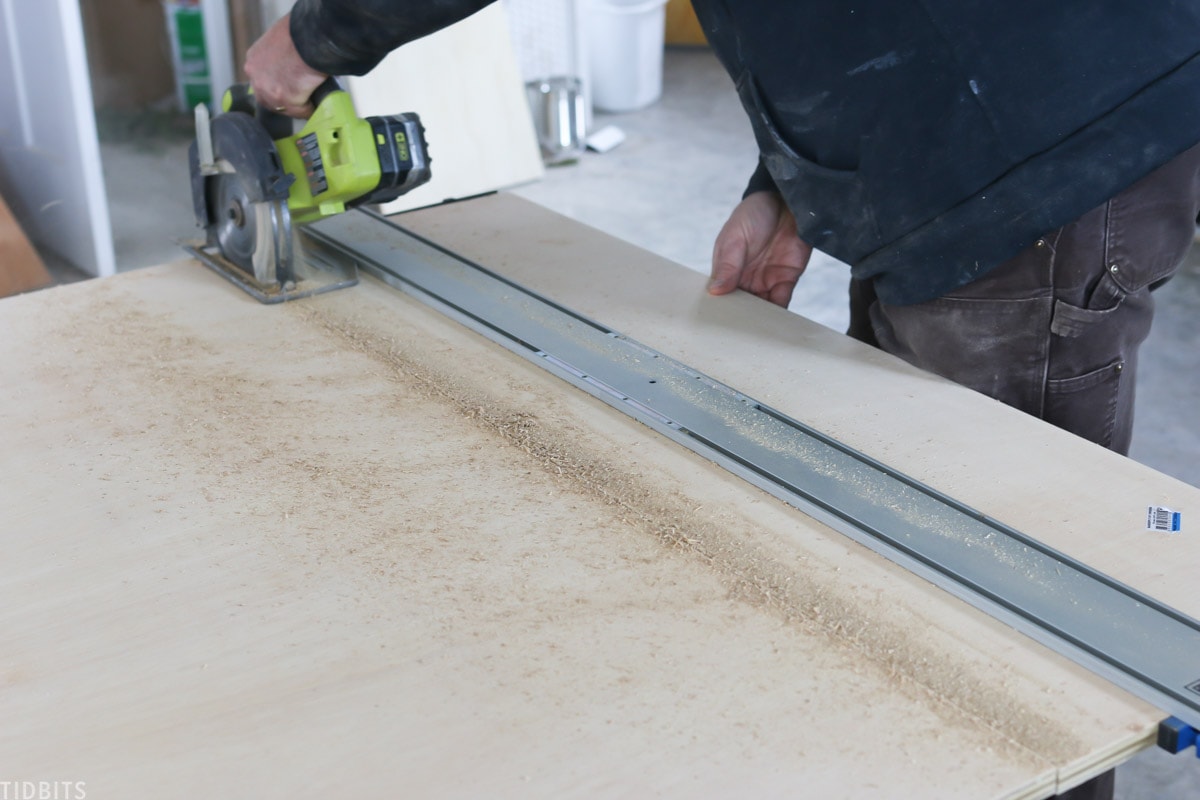
He also used the Kreg straight edge guide XL. Both amazing tools to have, and quite possibly the most used in the shop!
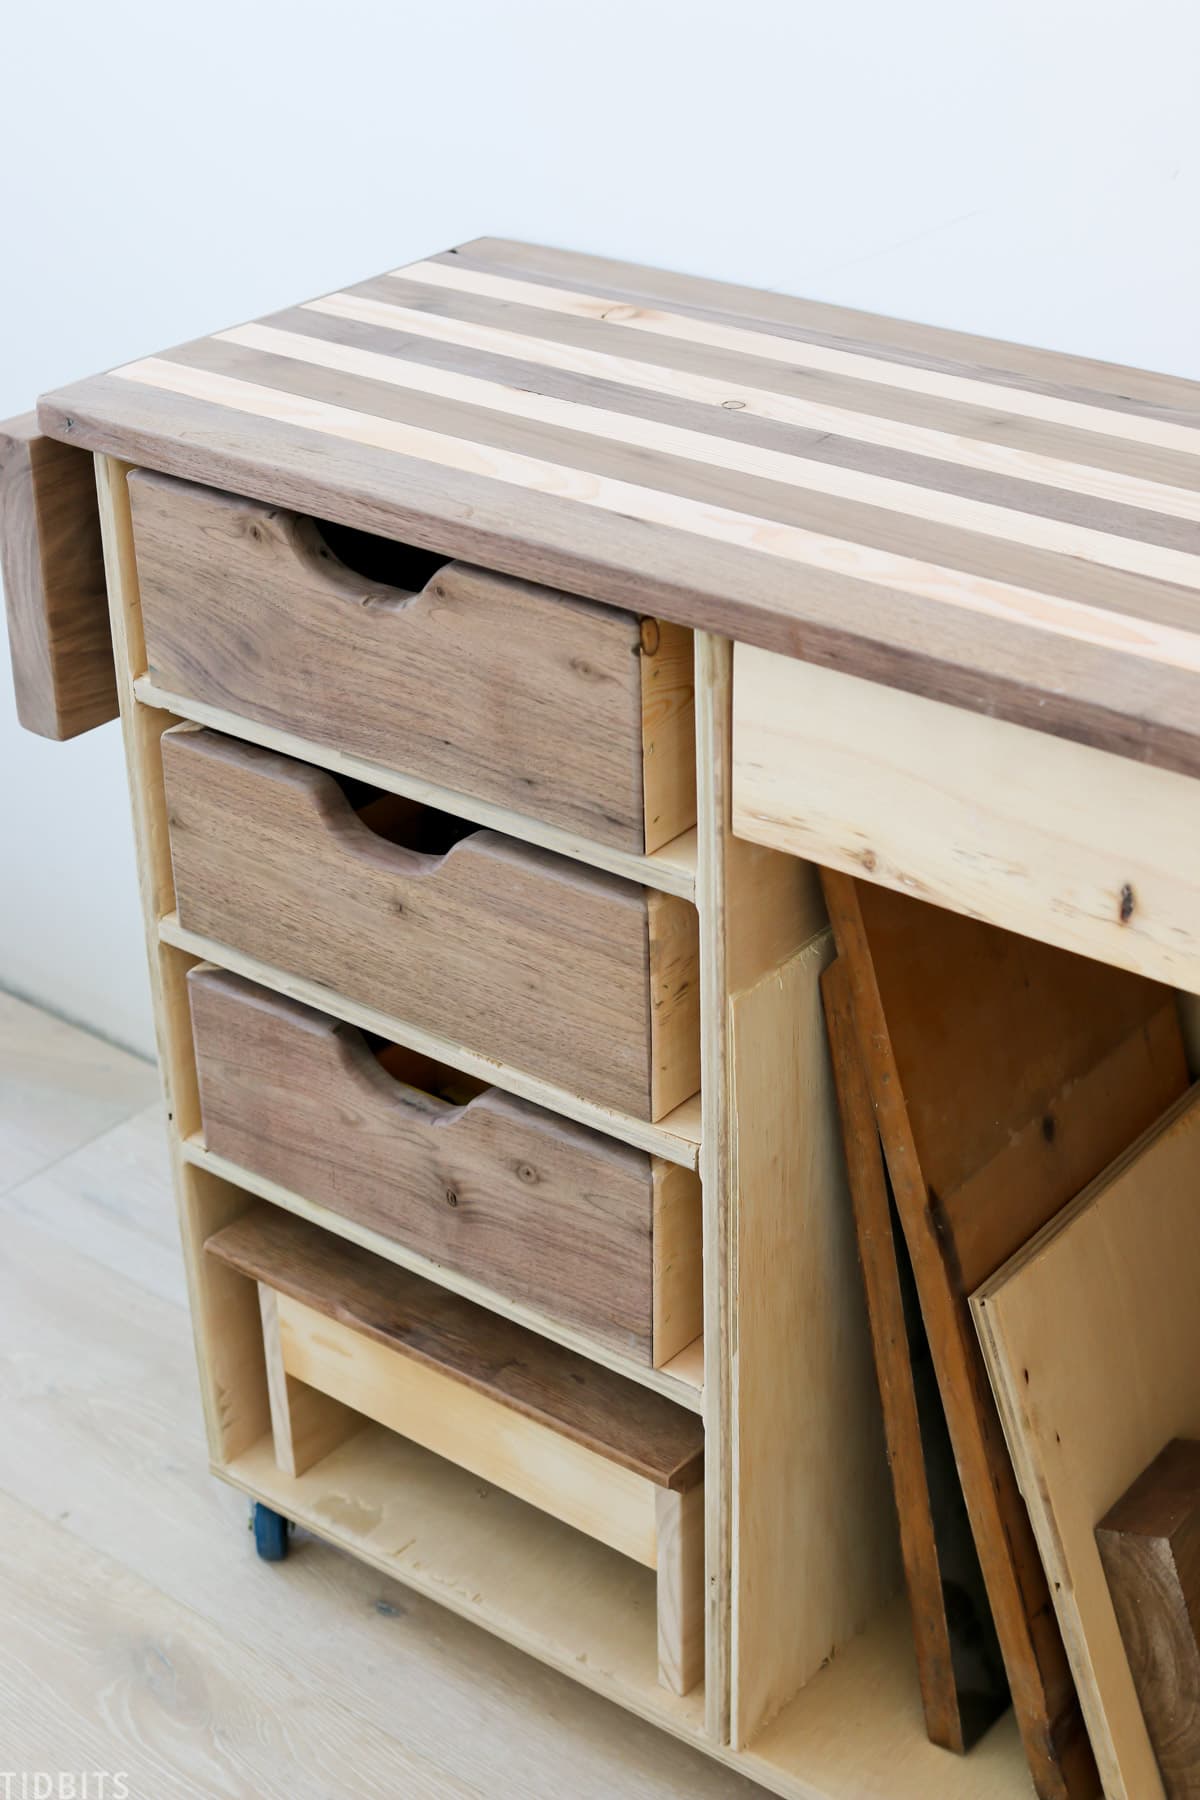
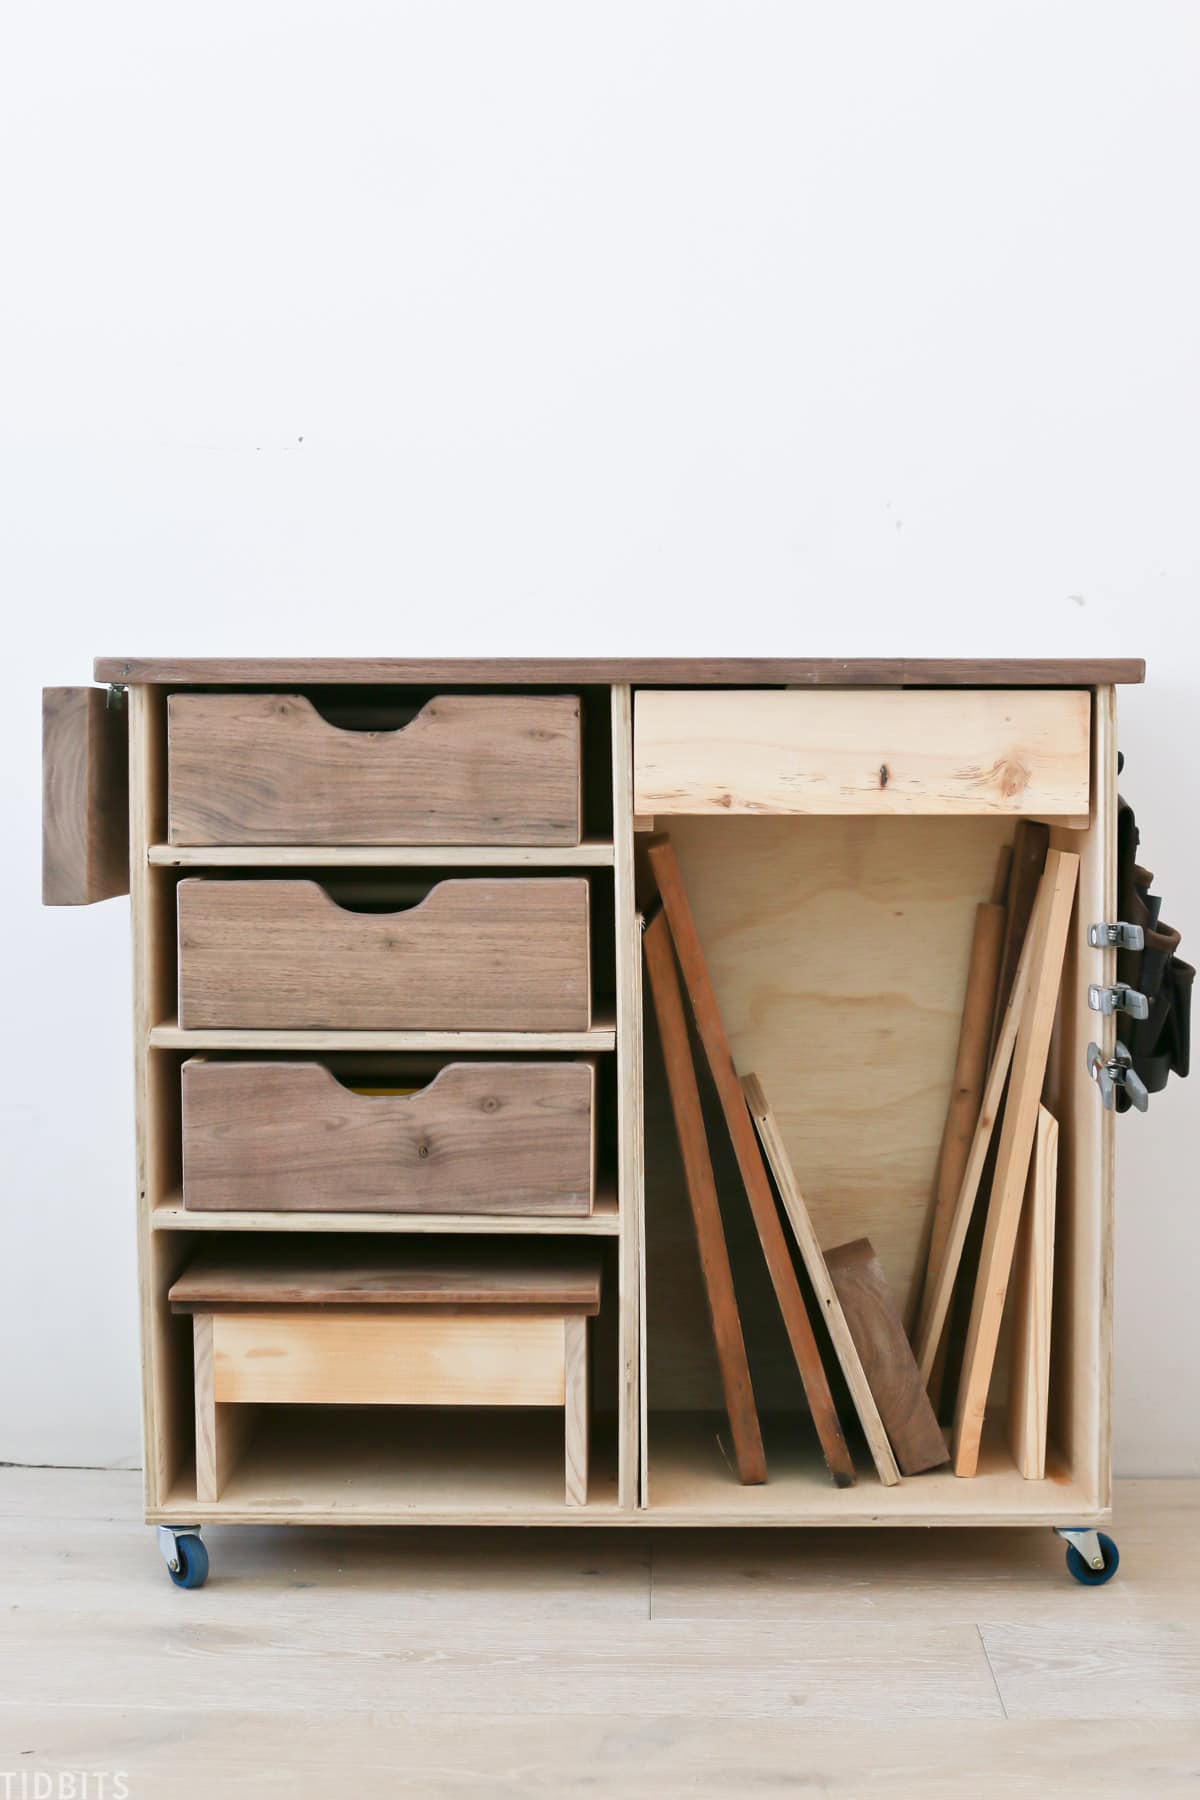
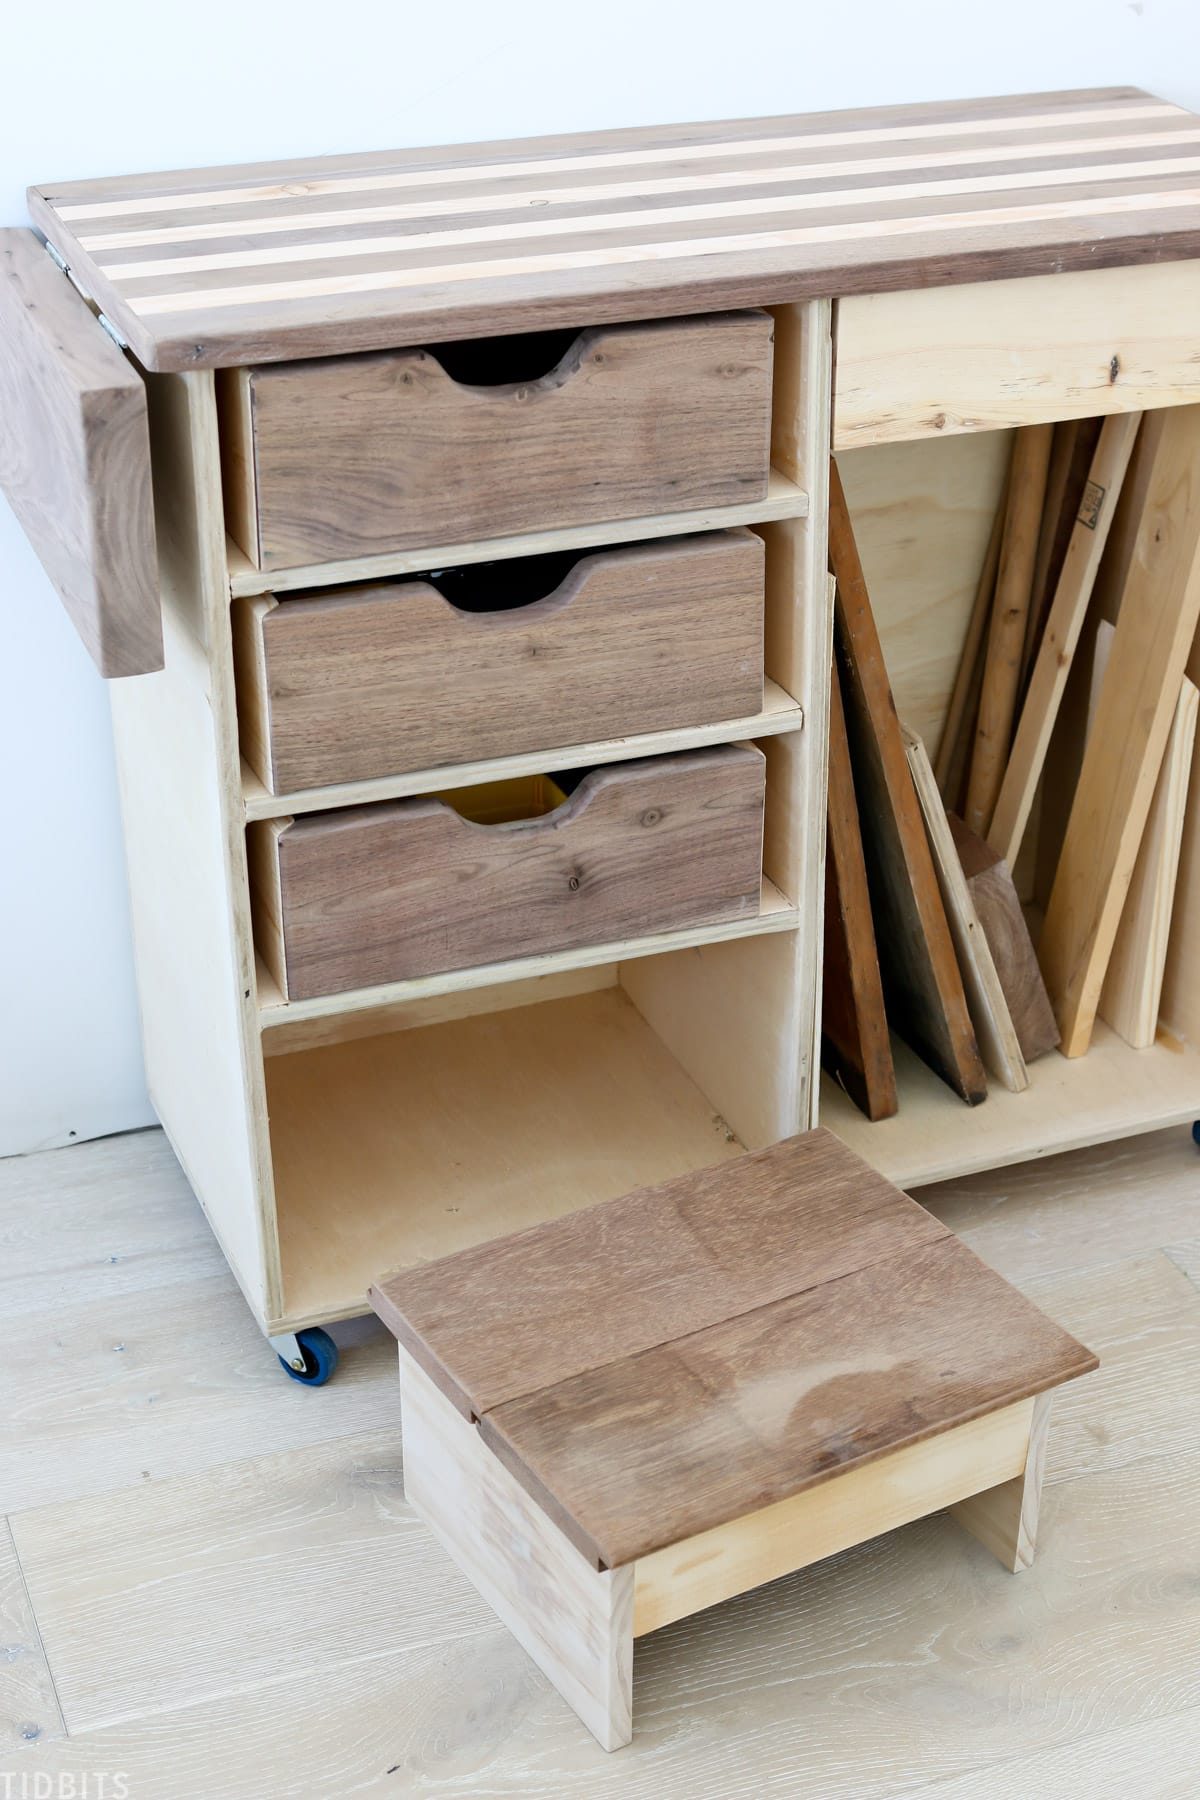
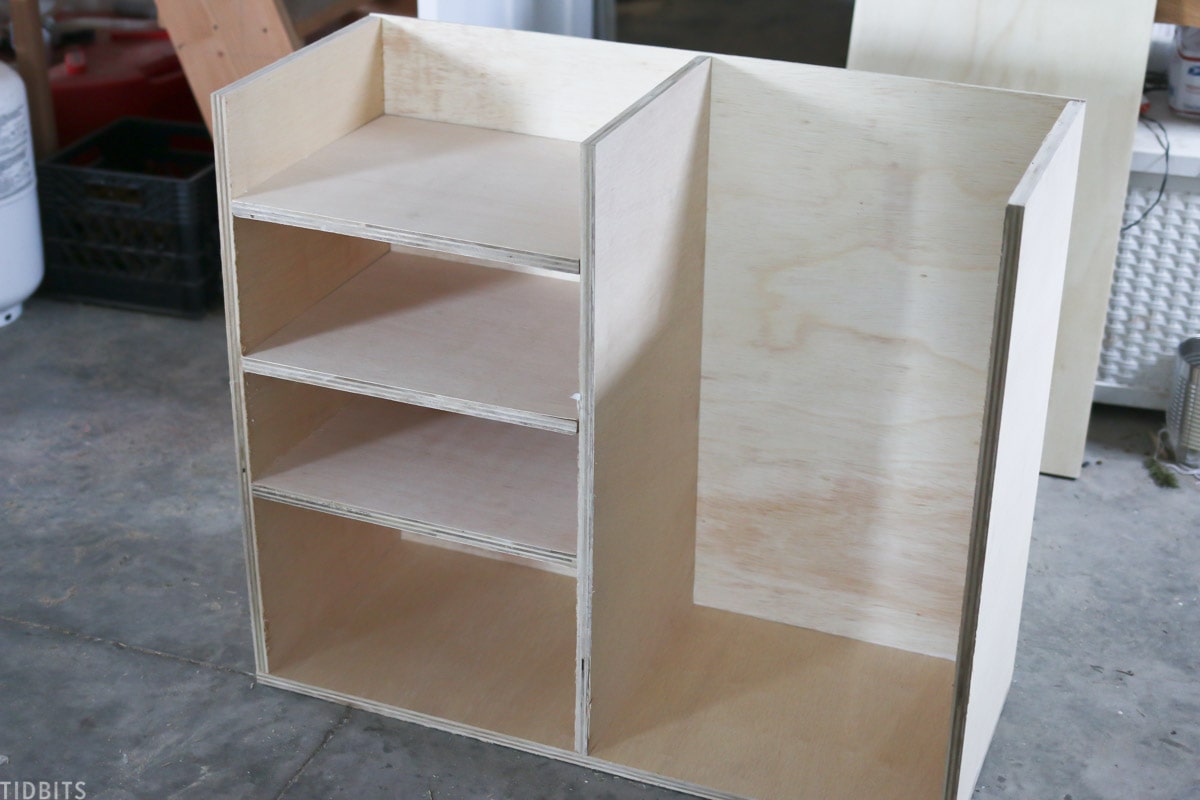
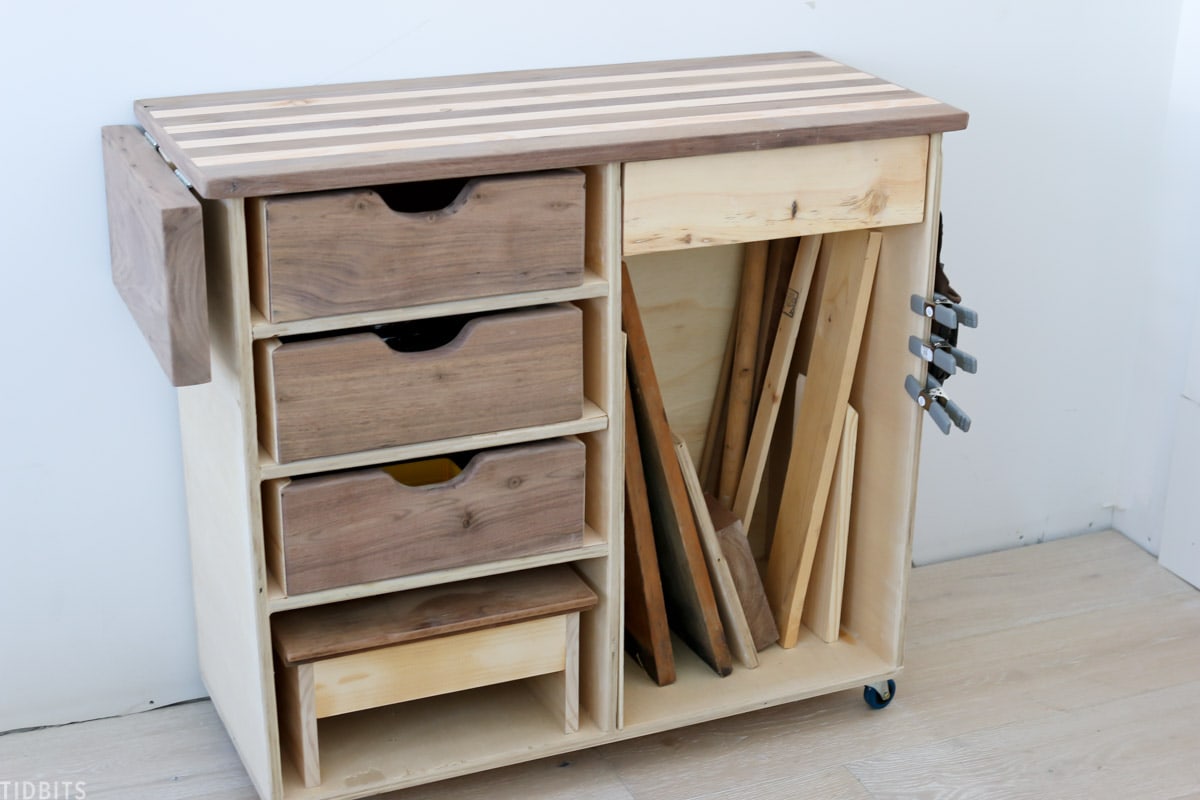
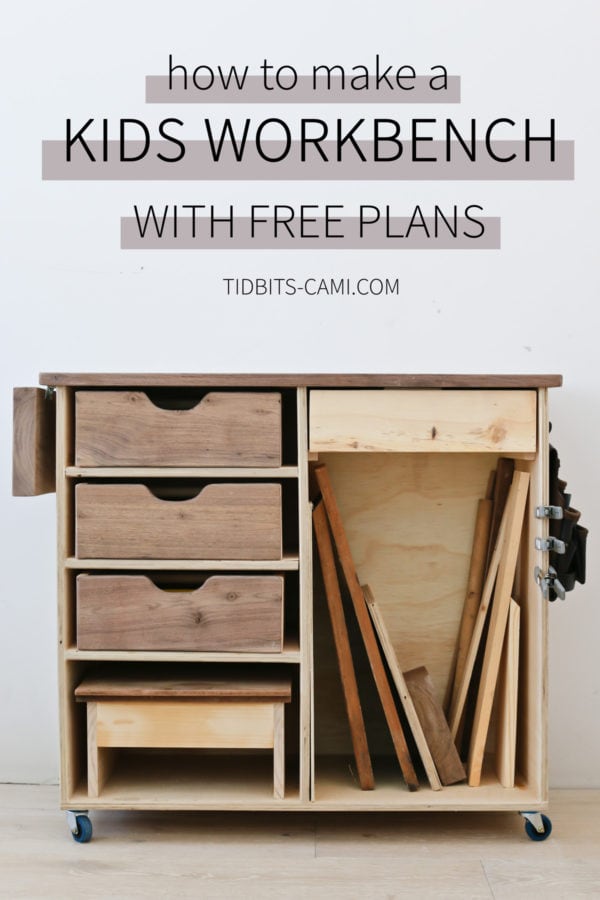
He designed this kid’s workbench to include 3 wood boxes that he can pull out and take with him to build things around the garage or house.
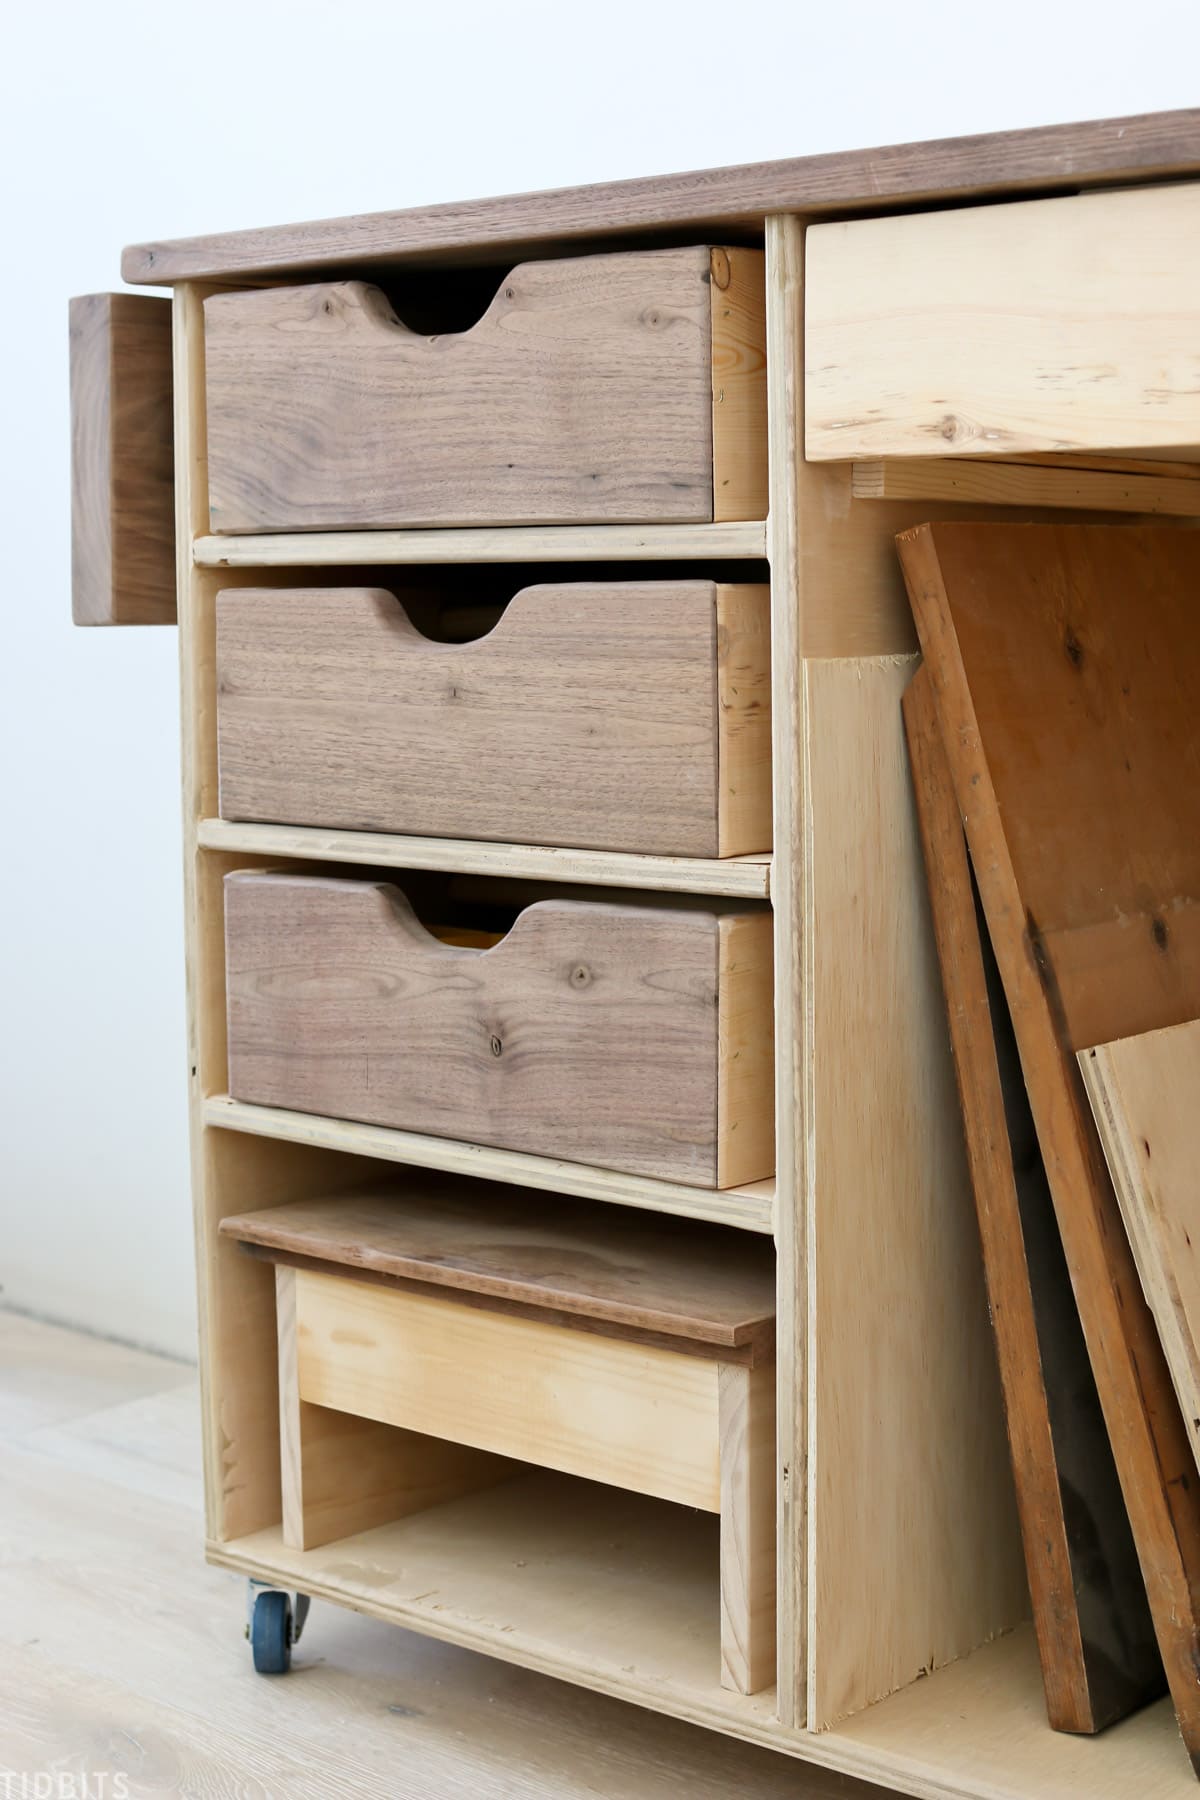
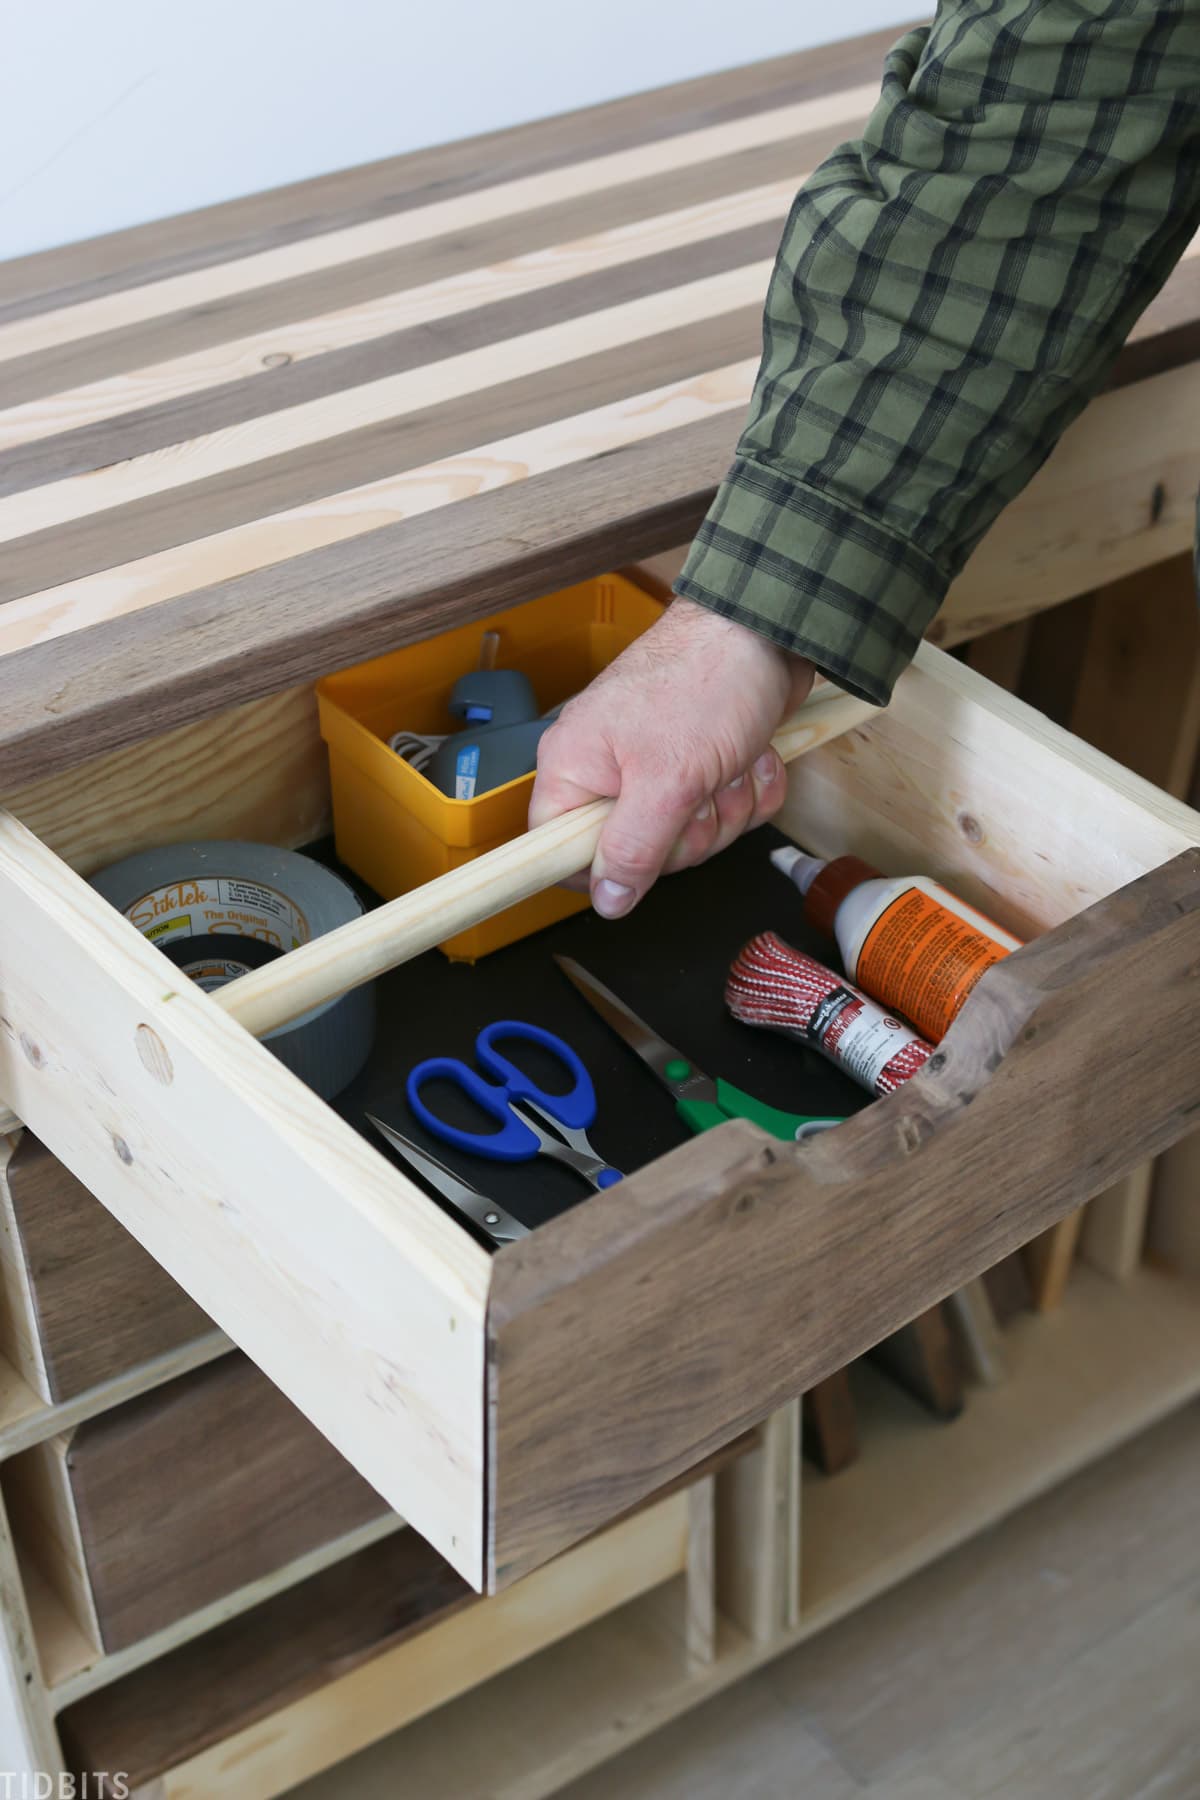
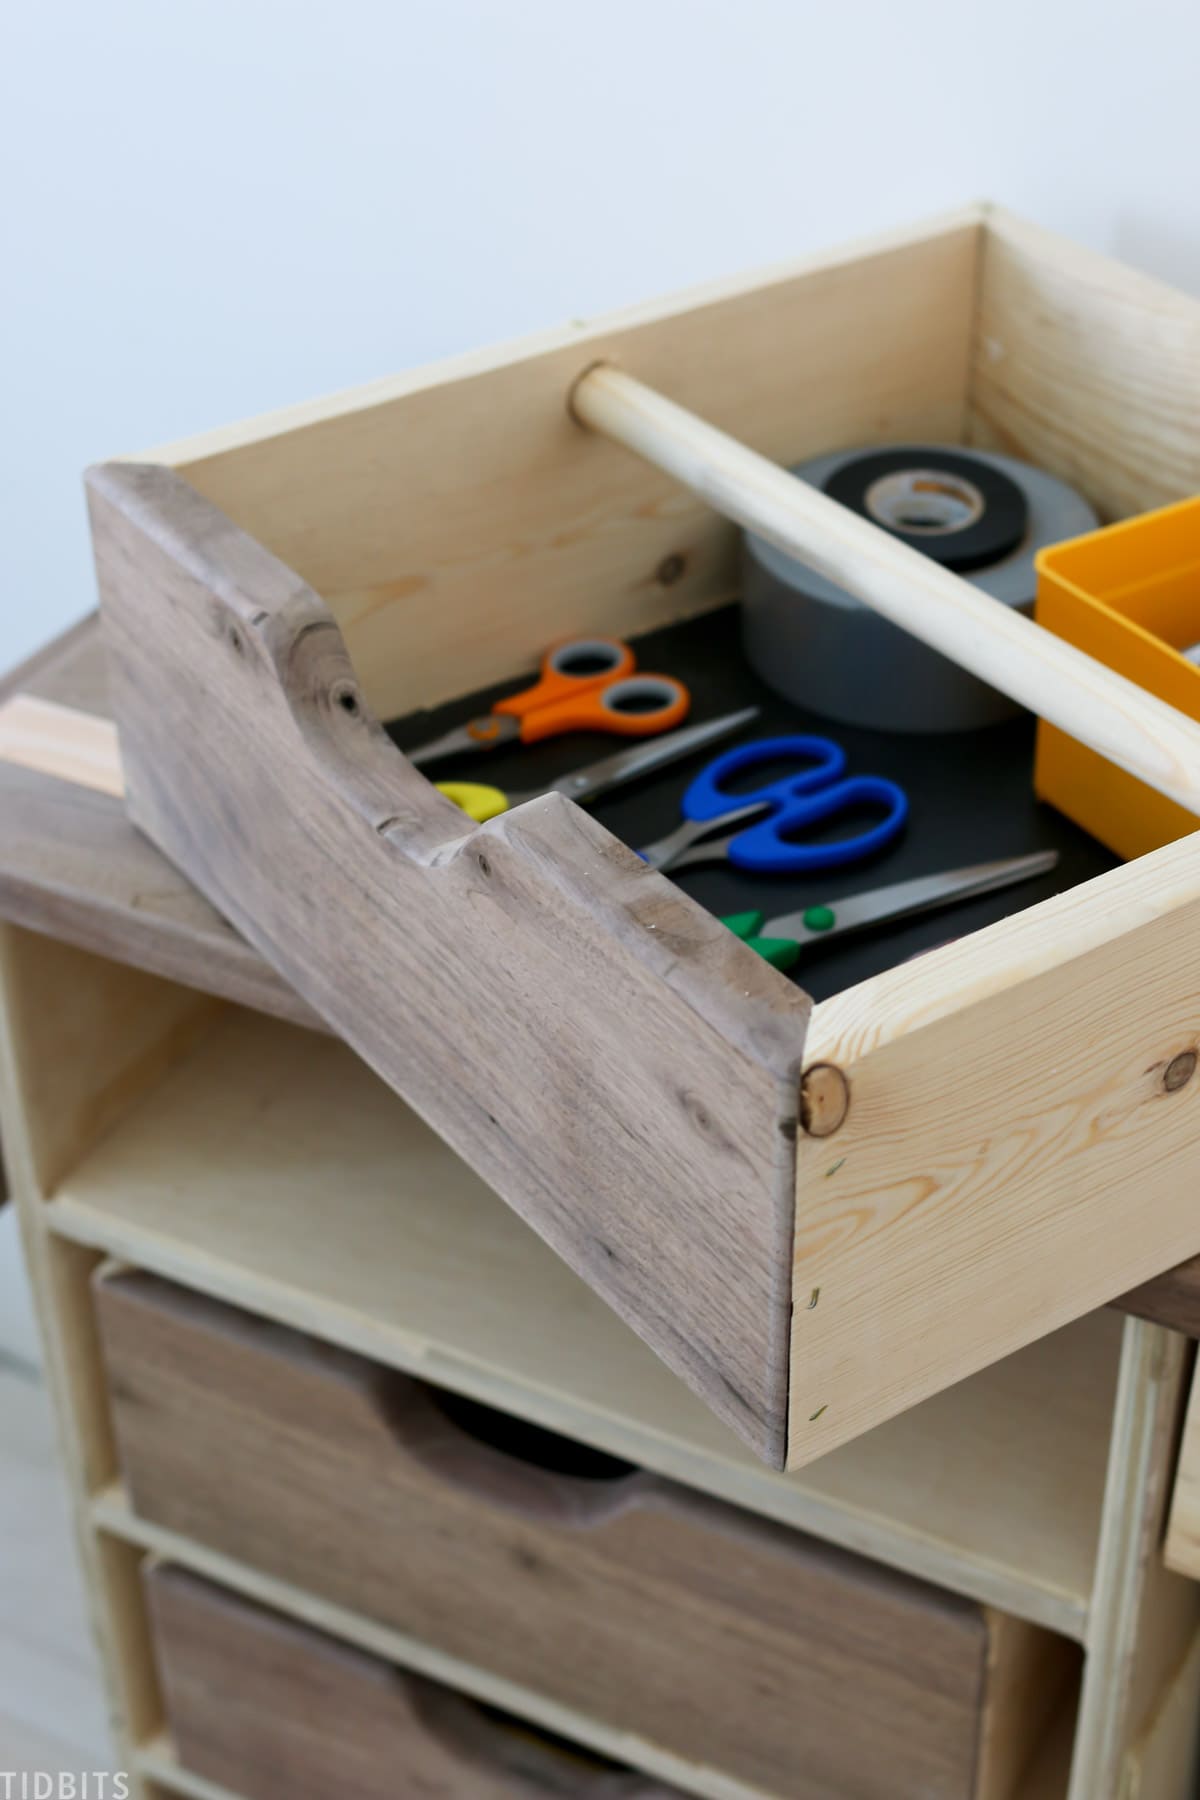
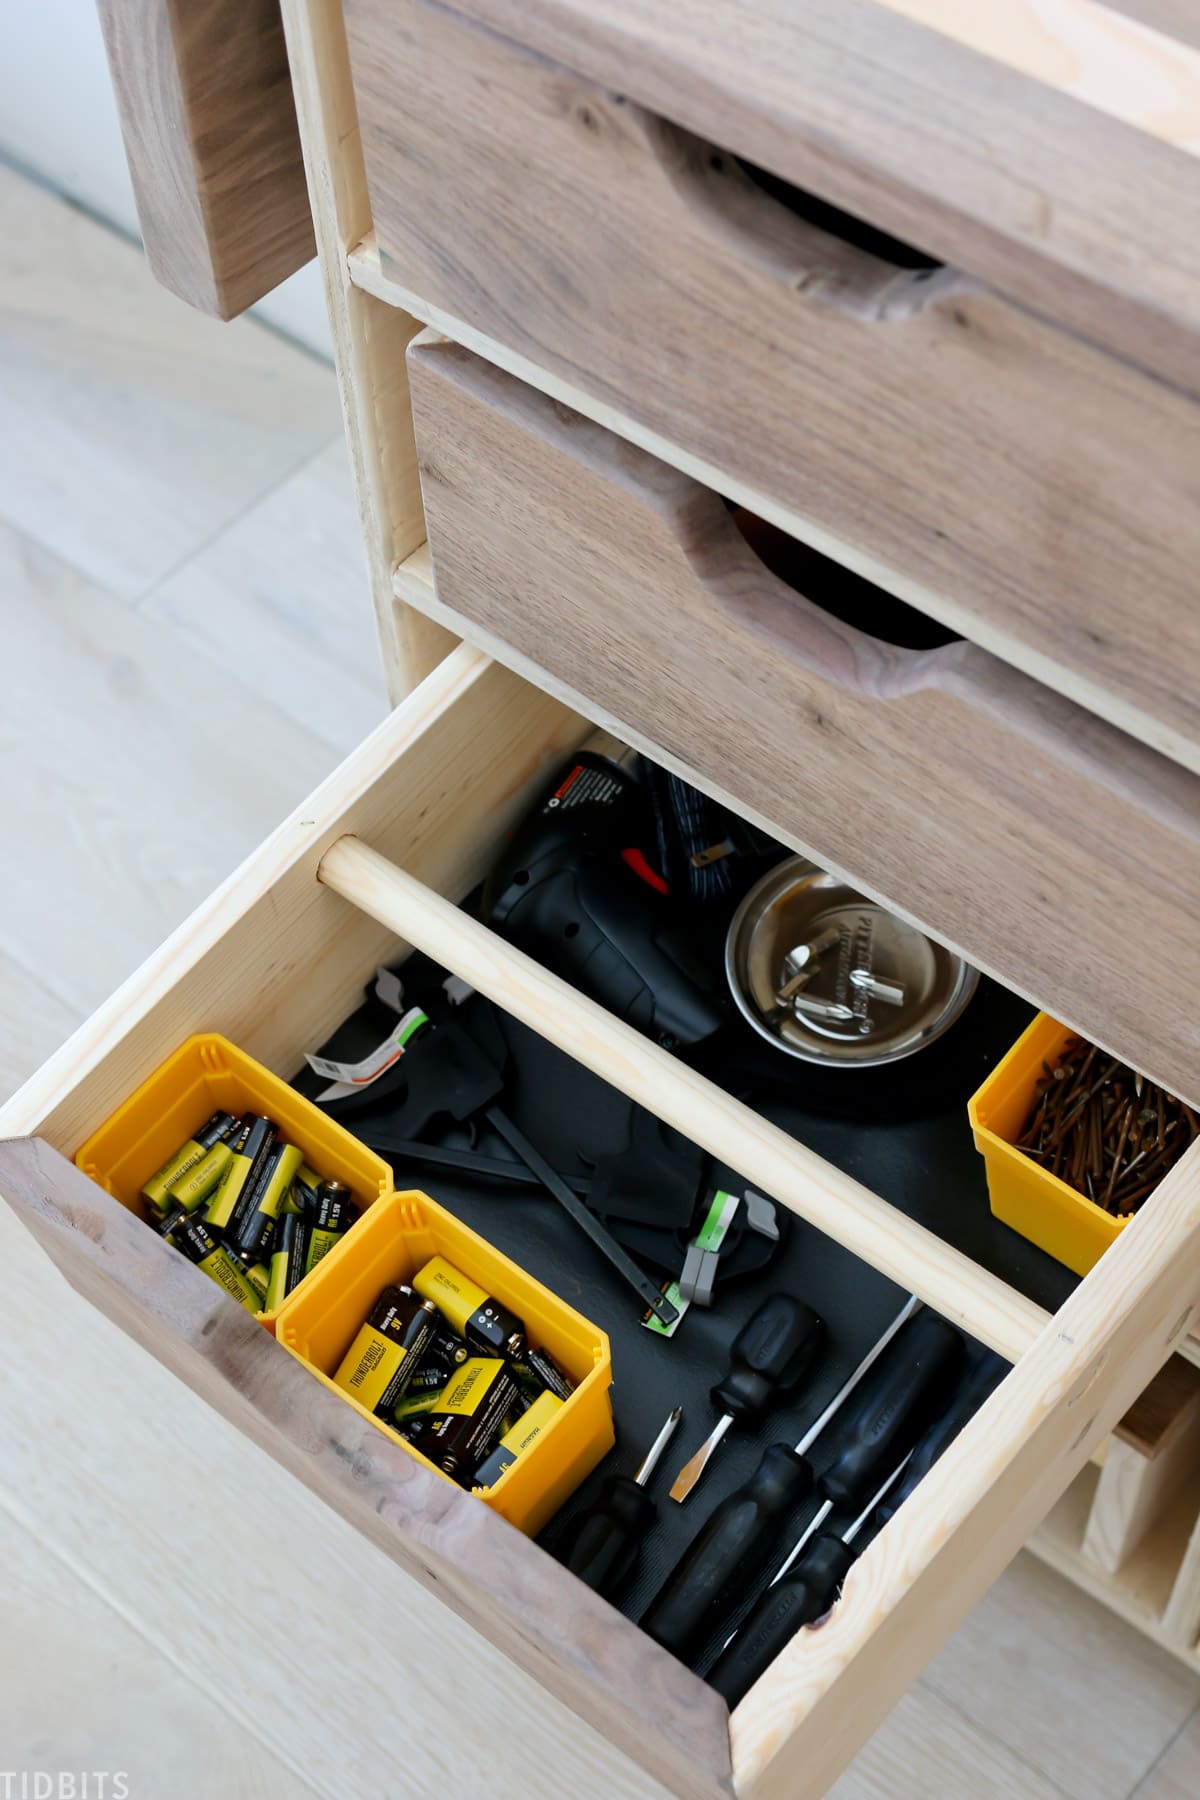
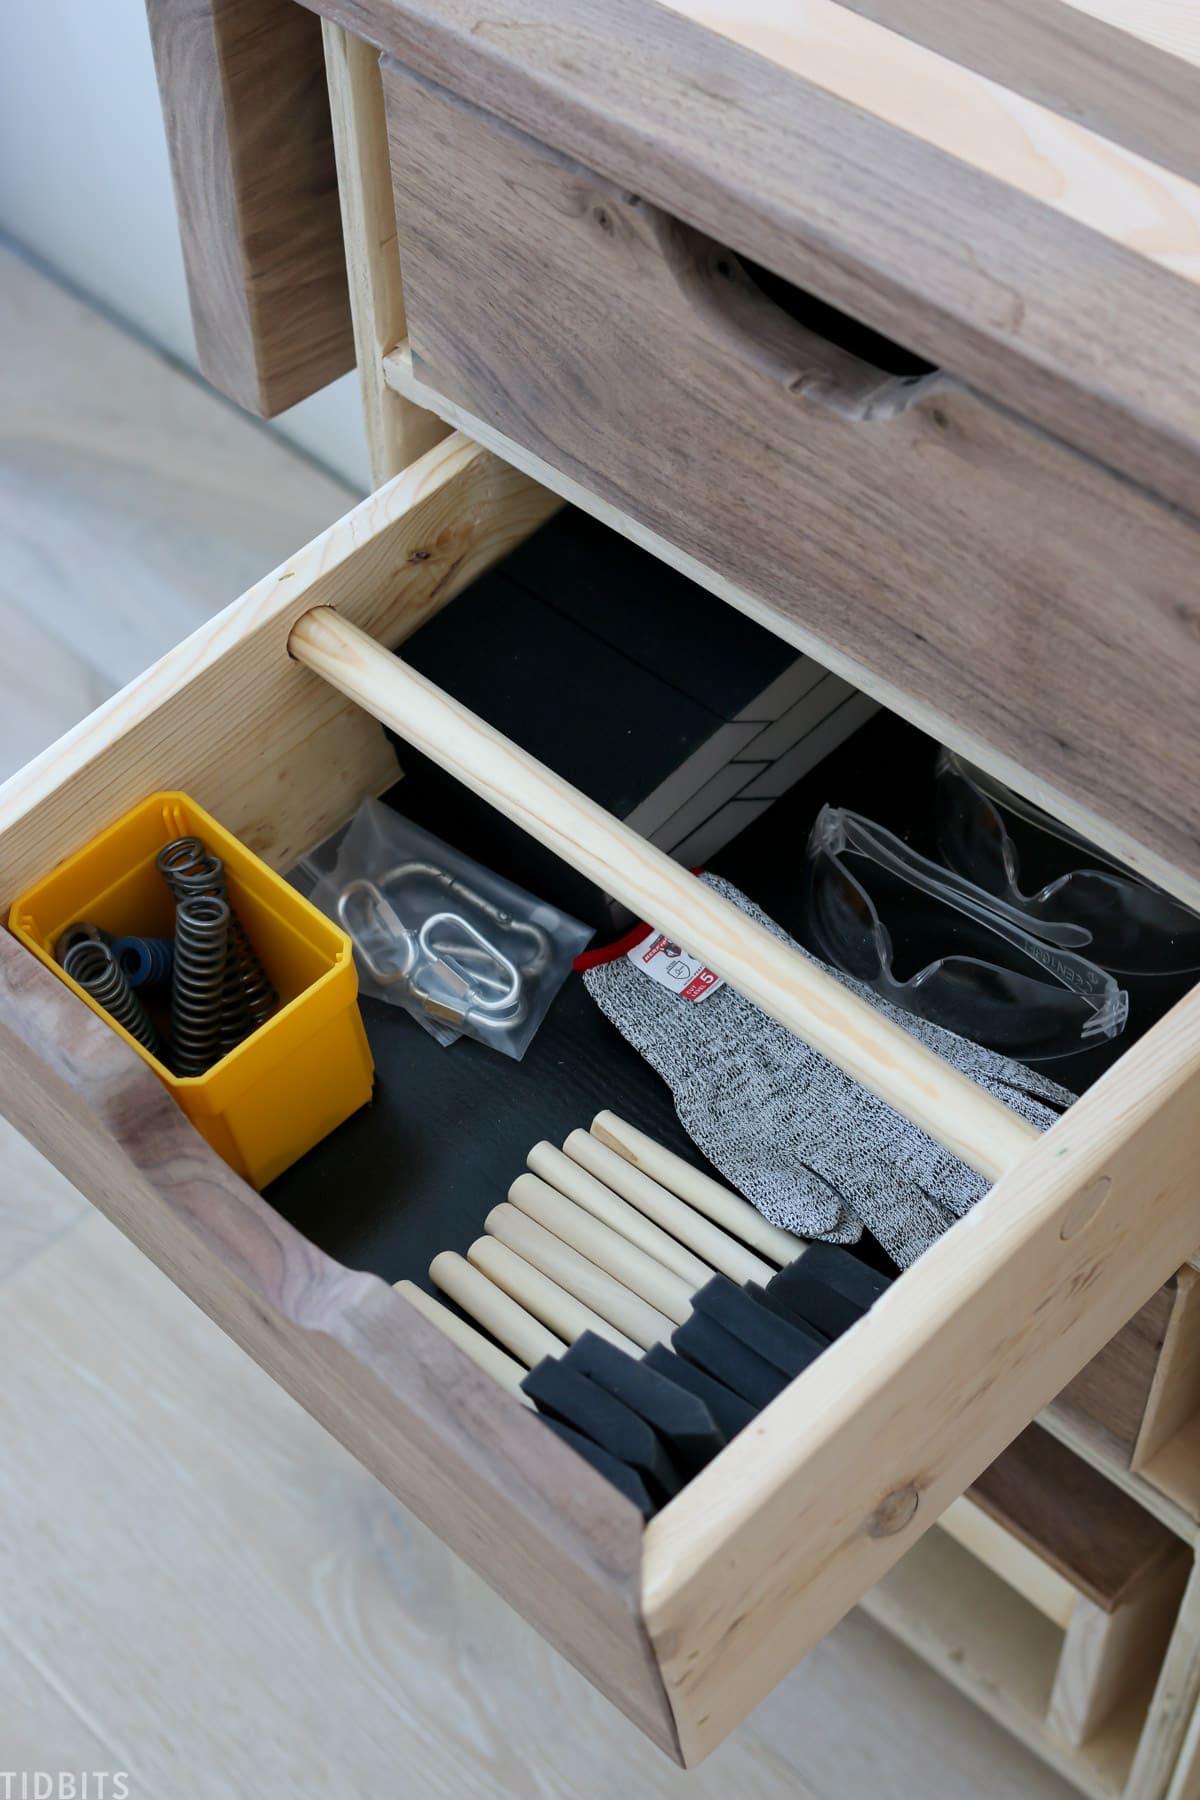
He included 1 sliding drawer.
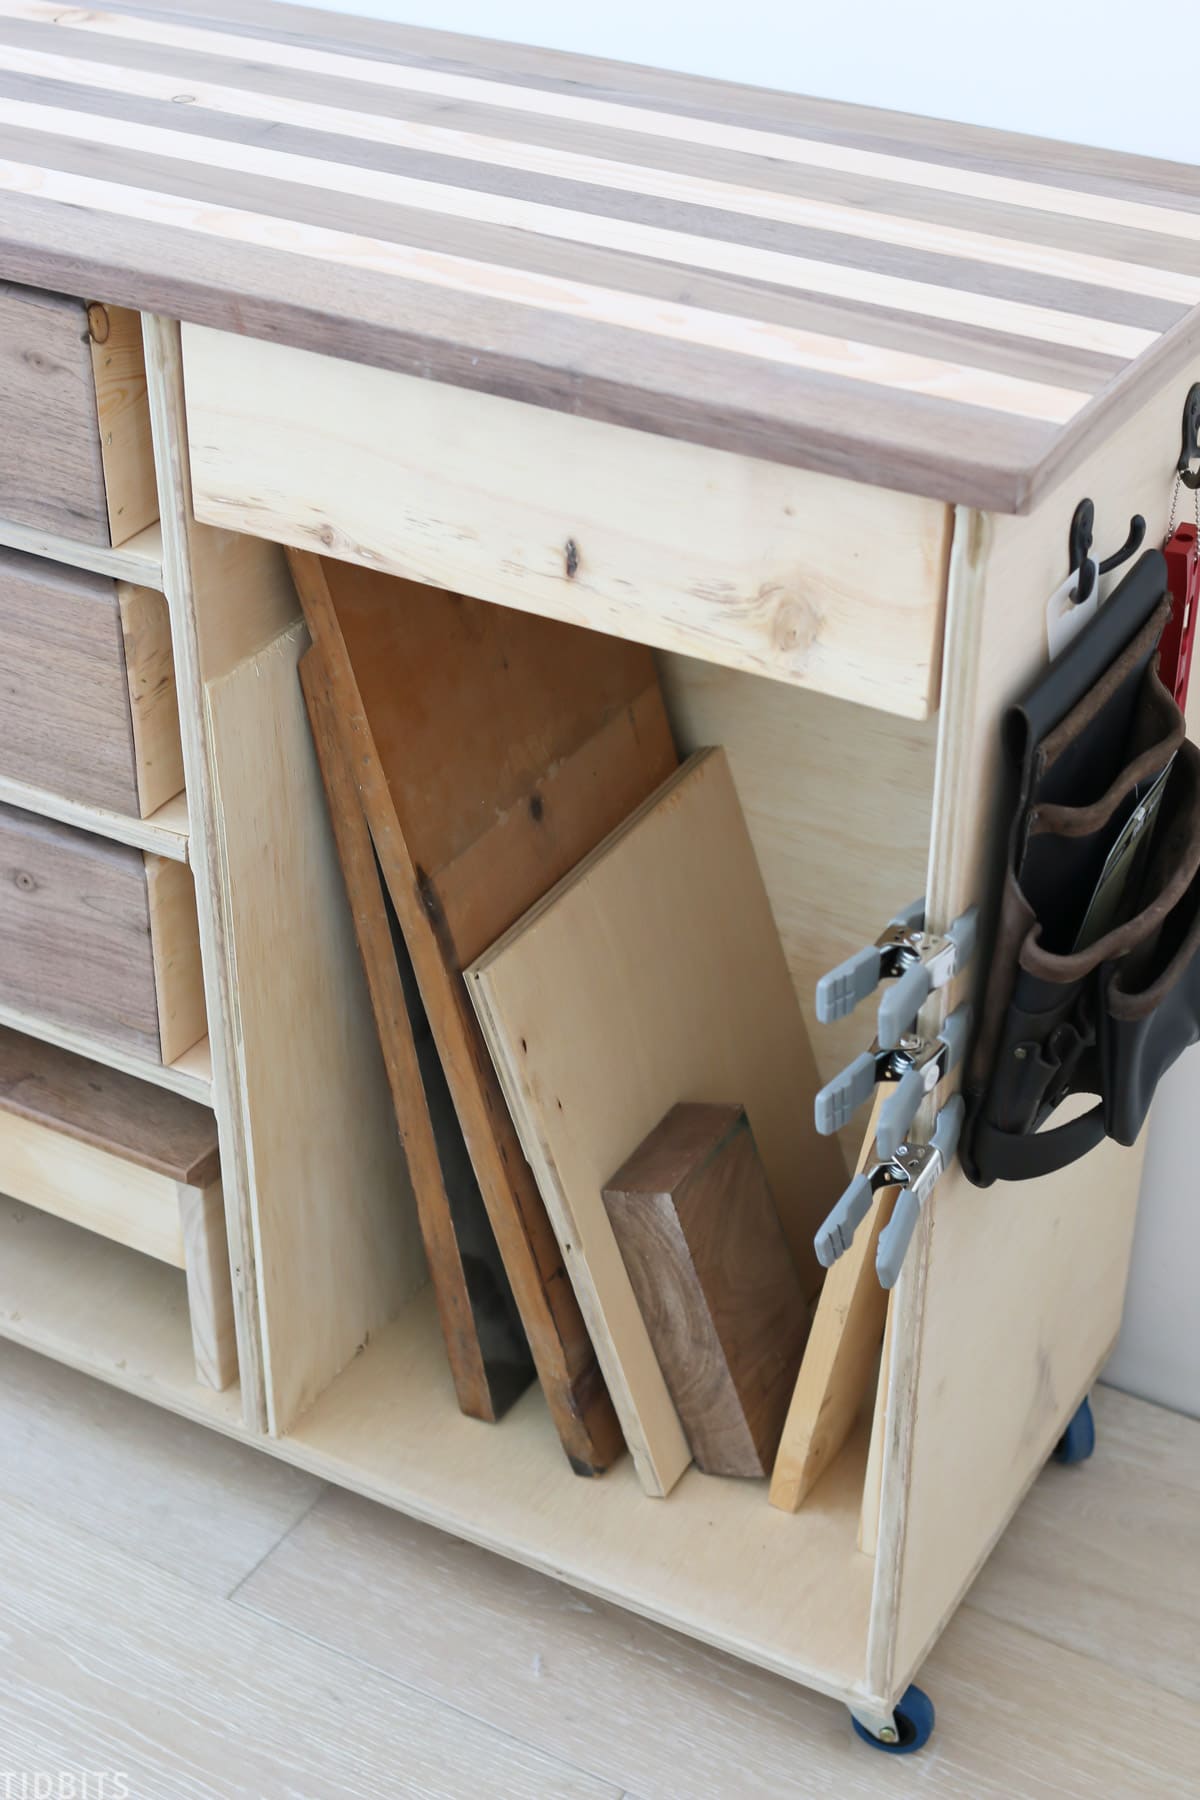
Also included is an open area below where he can toss his wood scraps that he loves to give our boy to use.
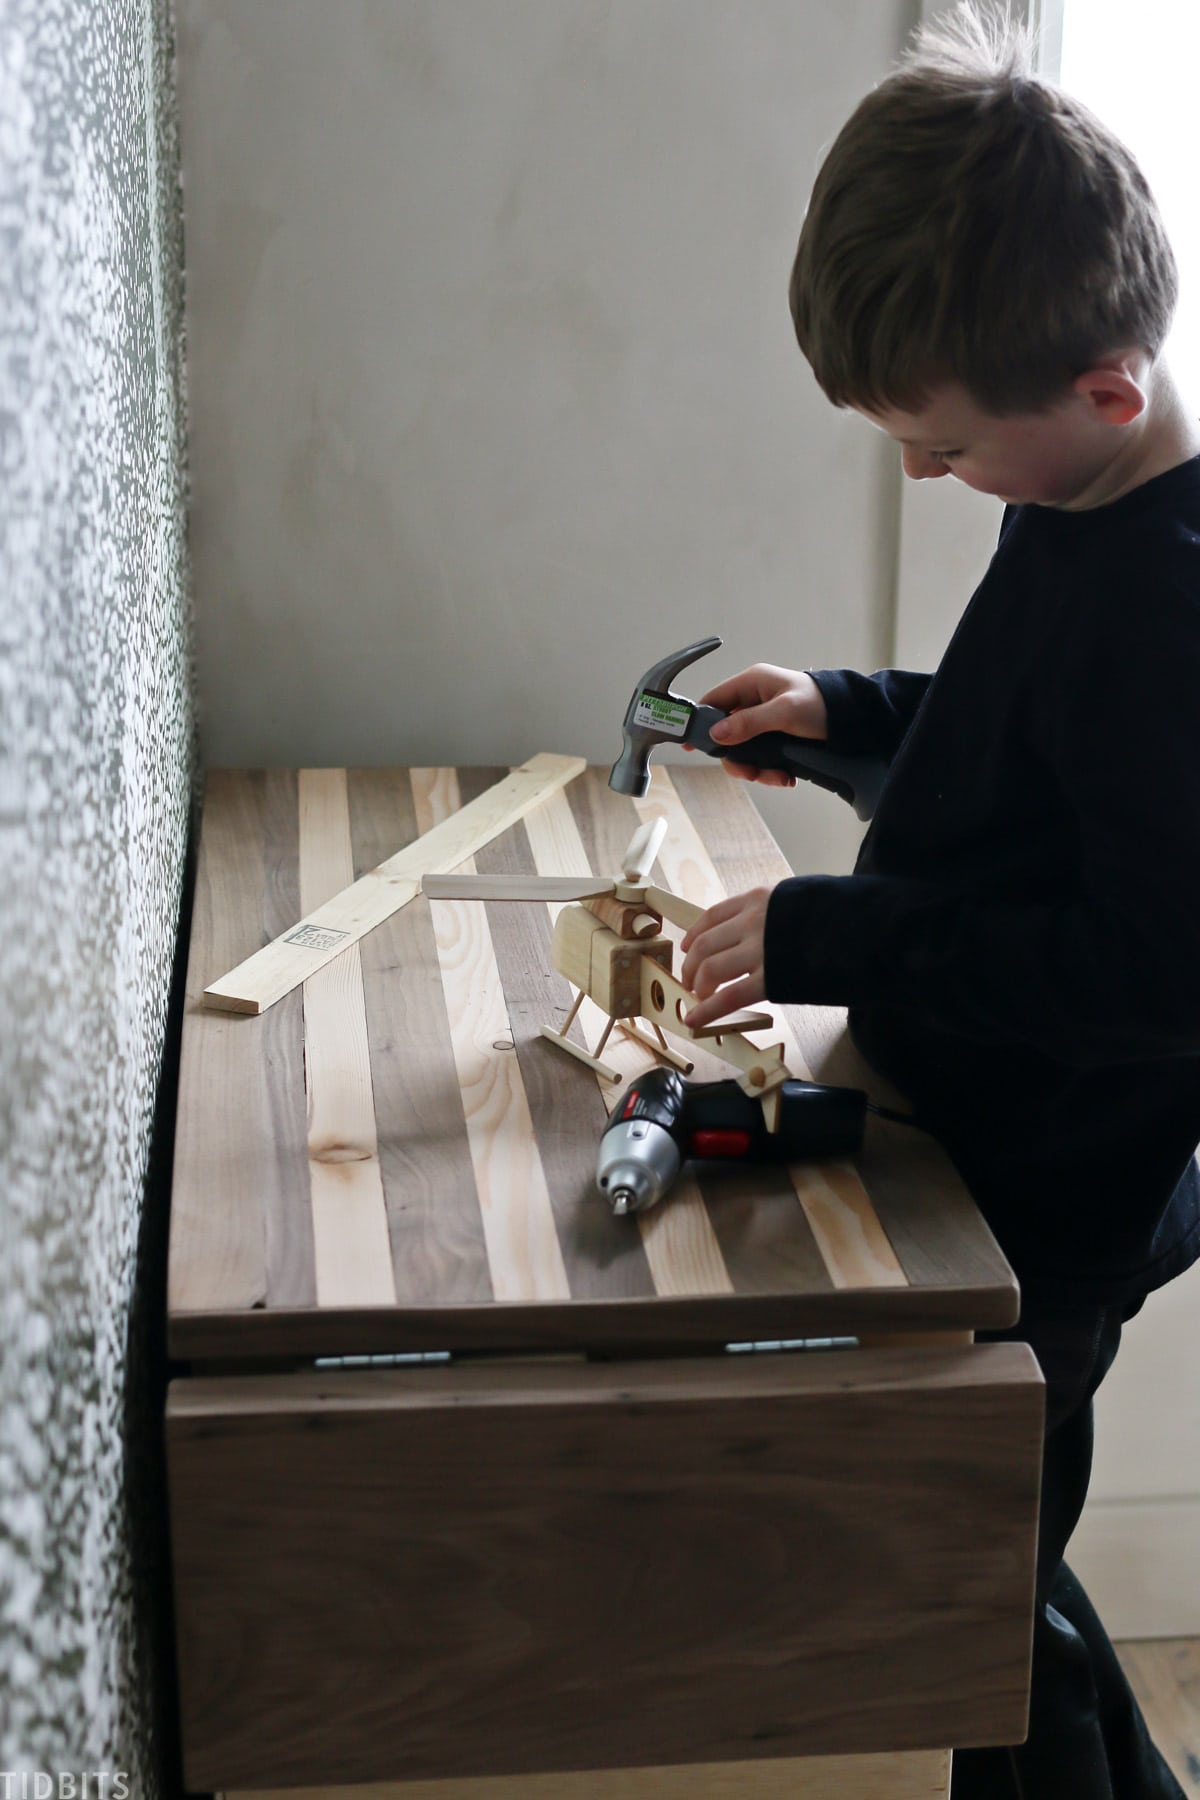
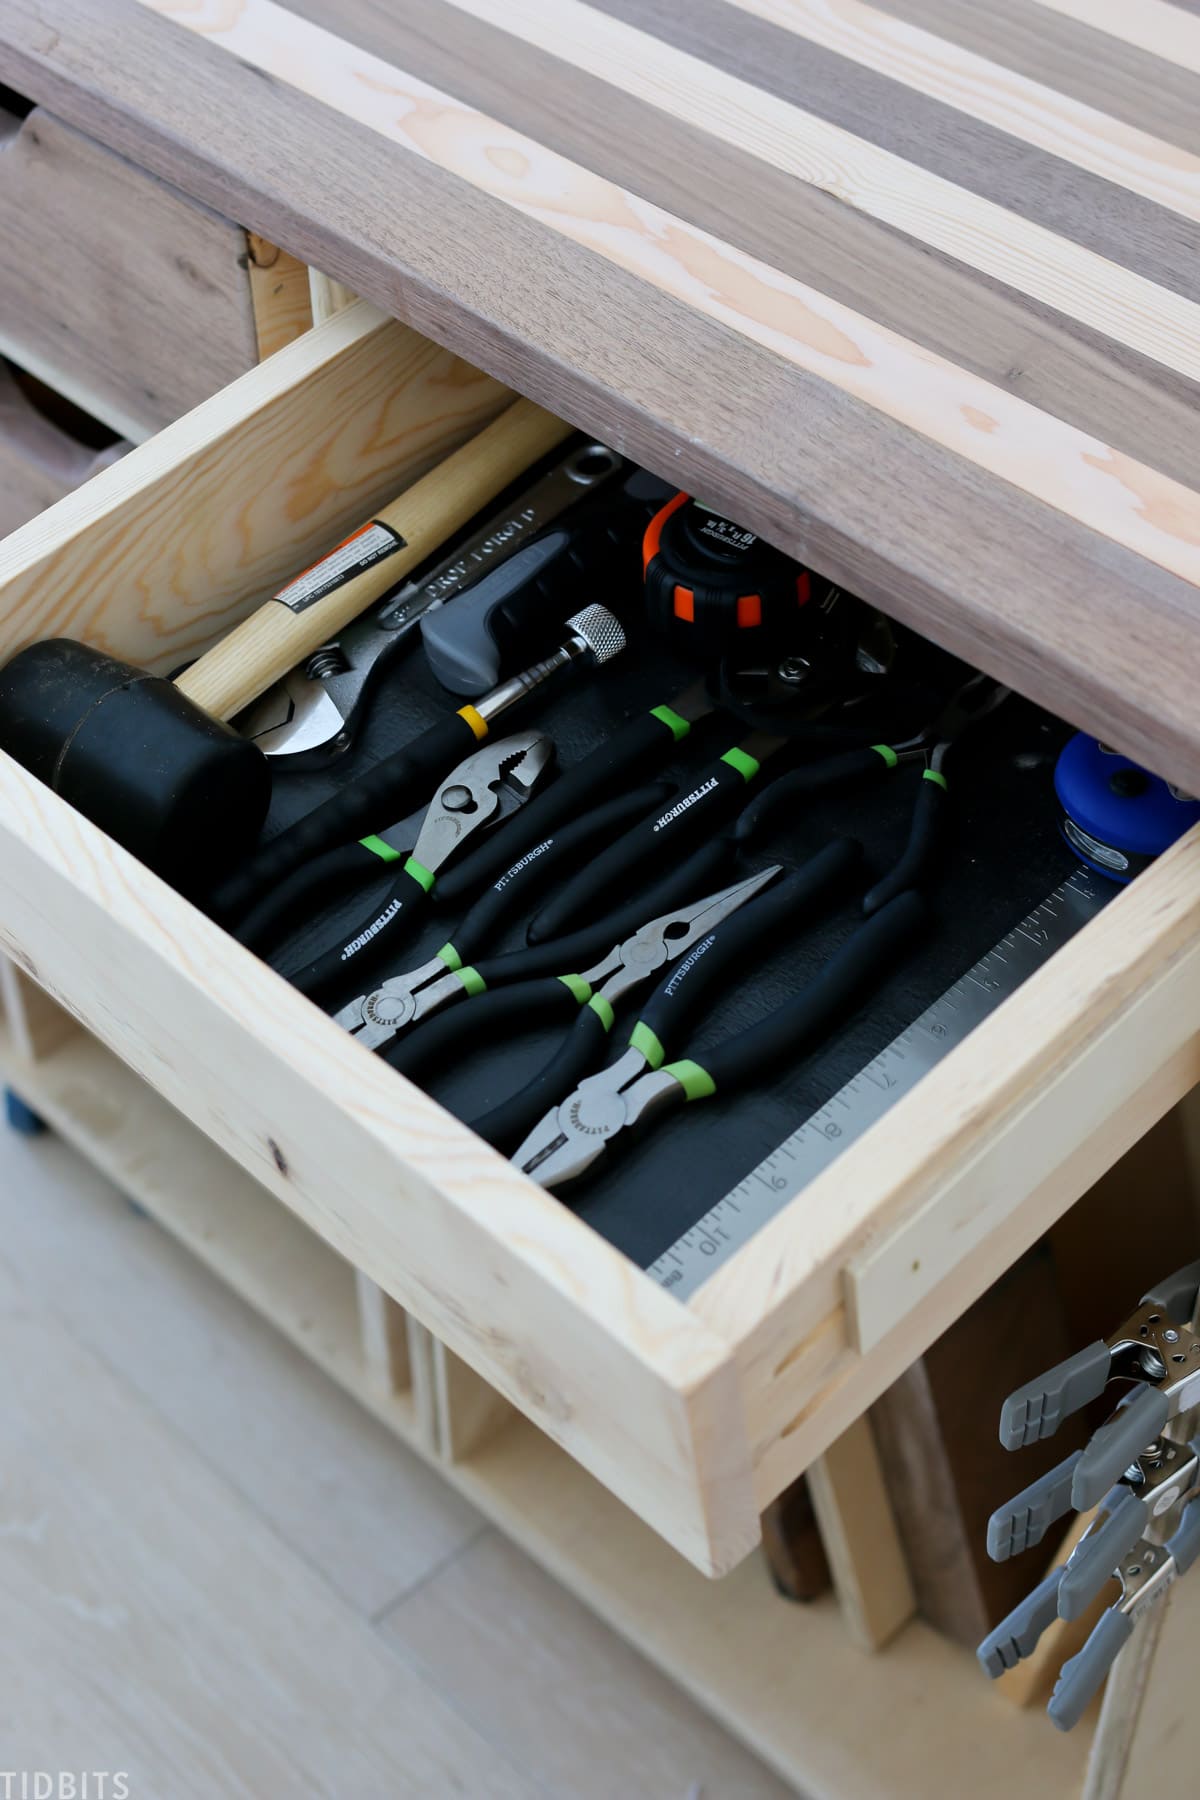
While Kevin does all the cutting or other steps that might use power tools, we have stocked him up with tools that he can safely use for whatever he comes up with. We’ve included tools like a small cheap cordless drill, a short handled hammer, screw drivers, torpedo level, various wrenches, clamps and of course safety glasses and some cut resistant gloves, just in case.
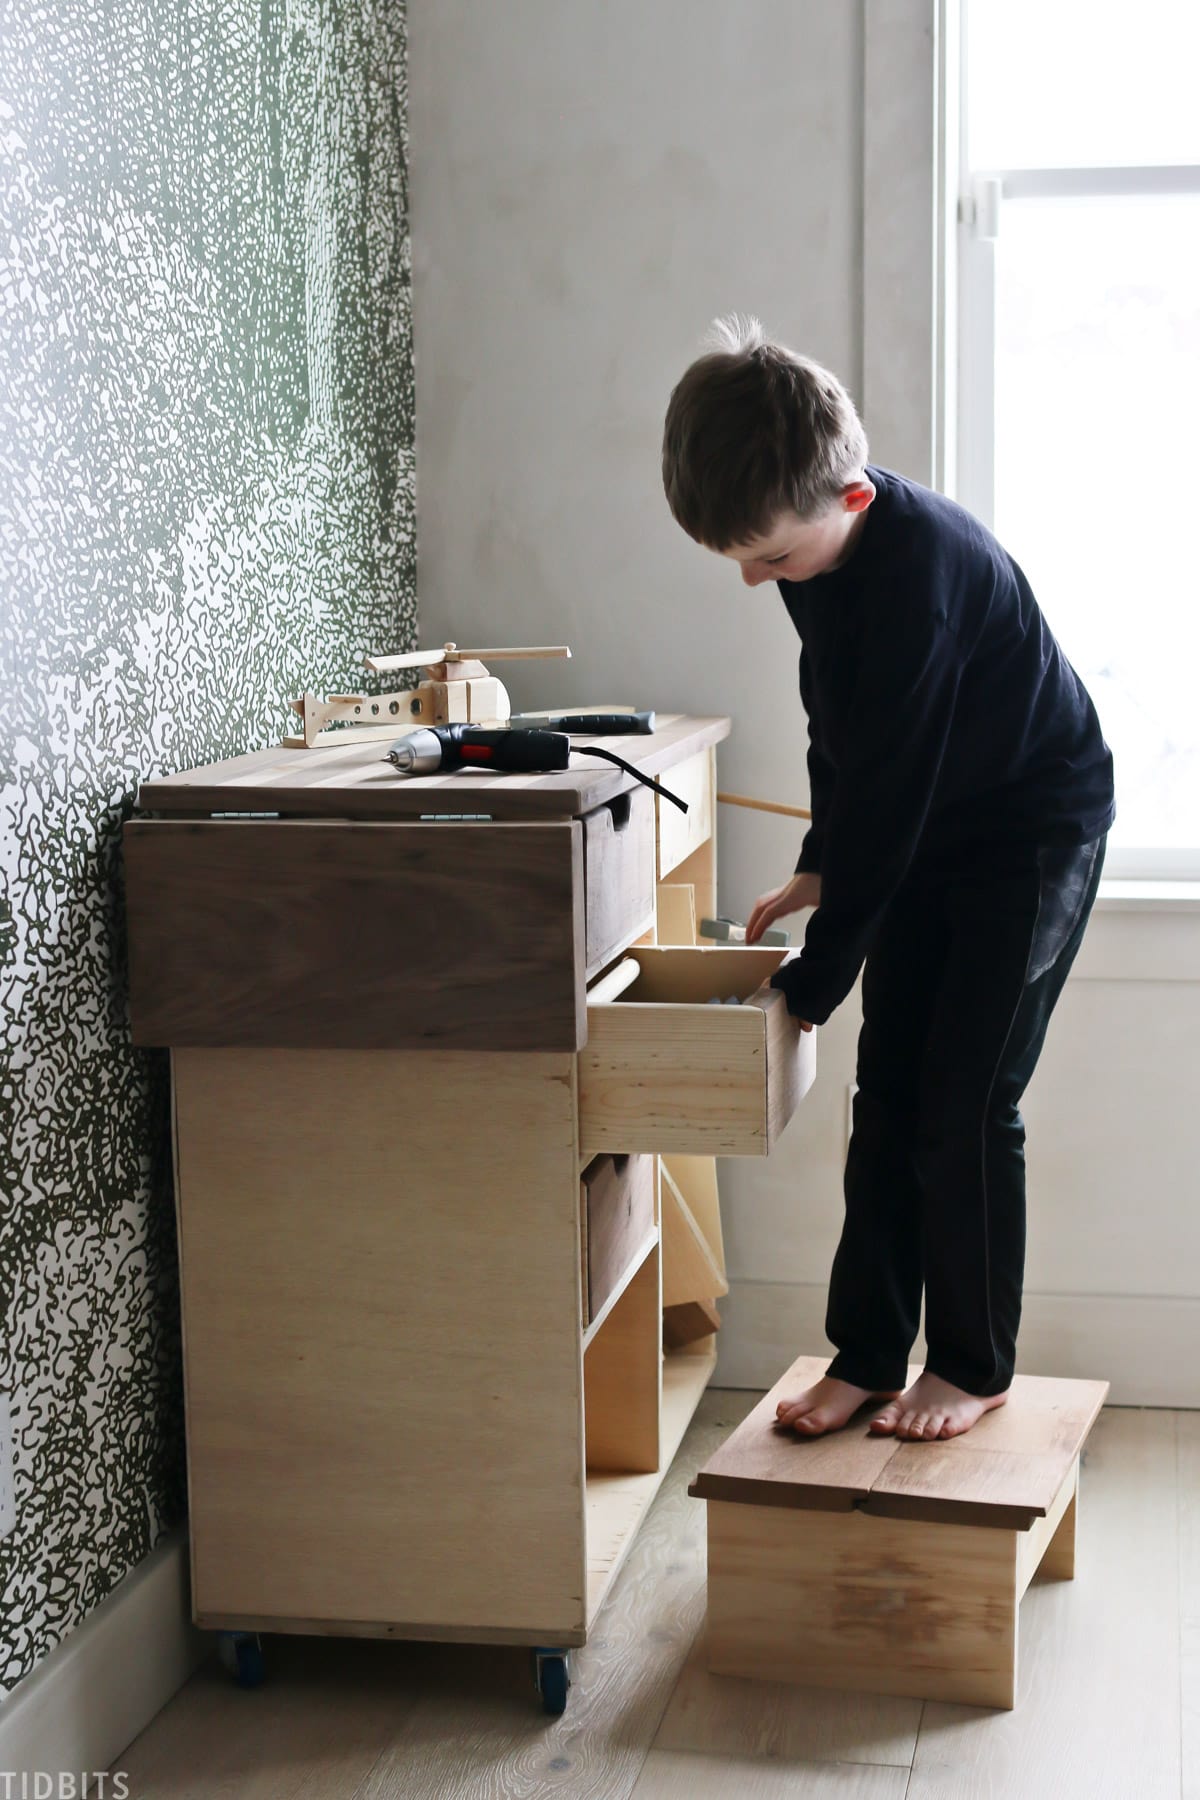
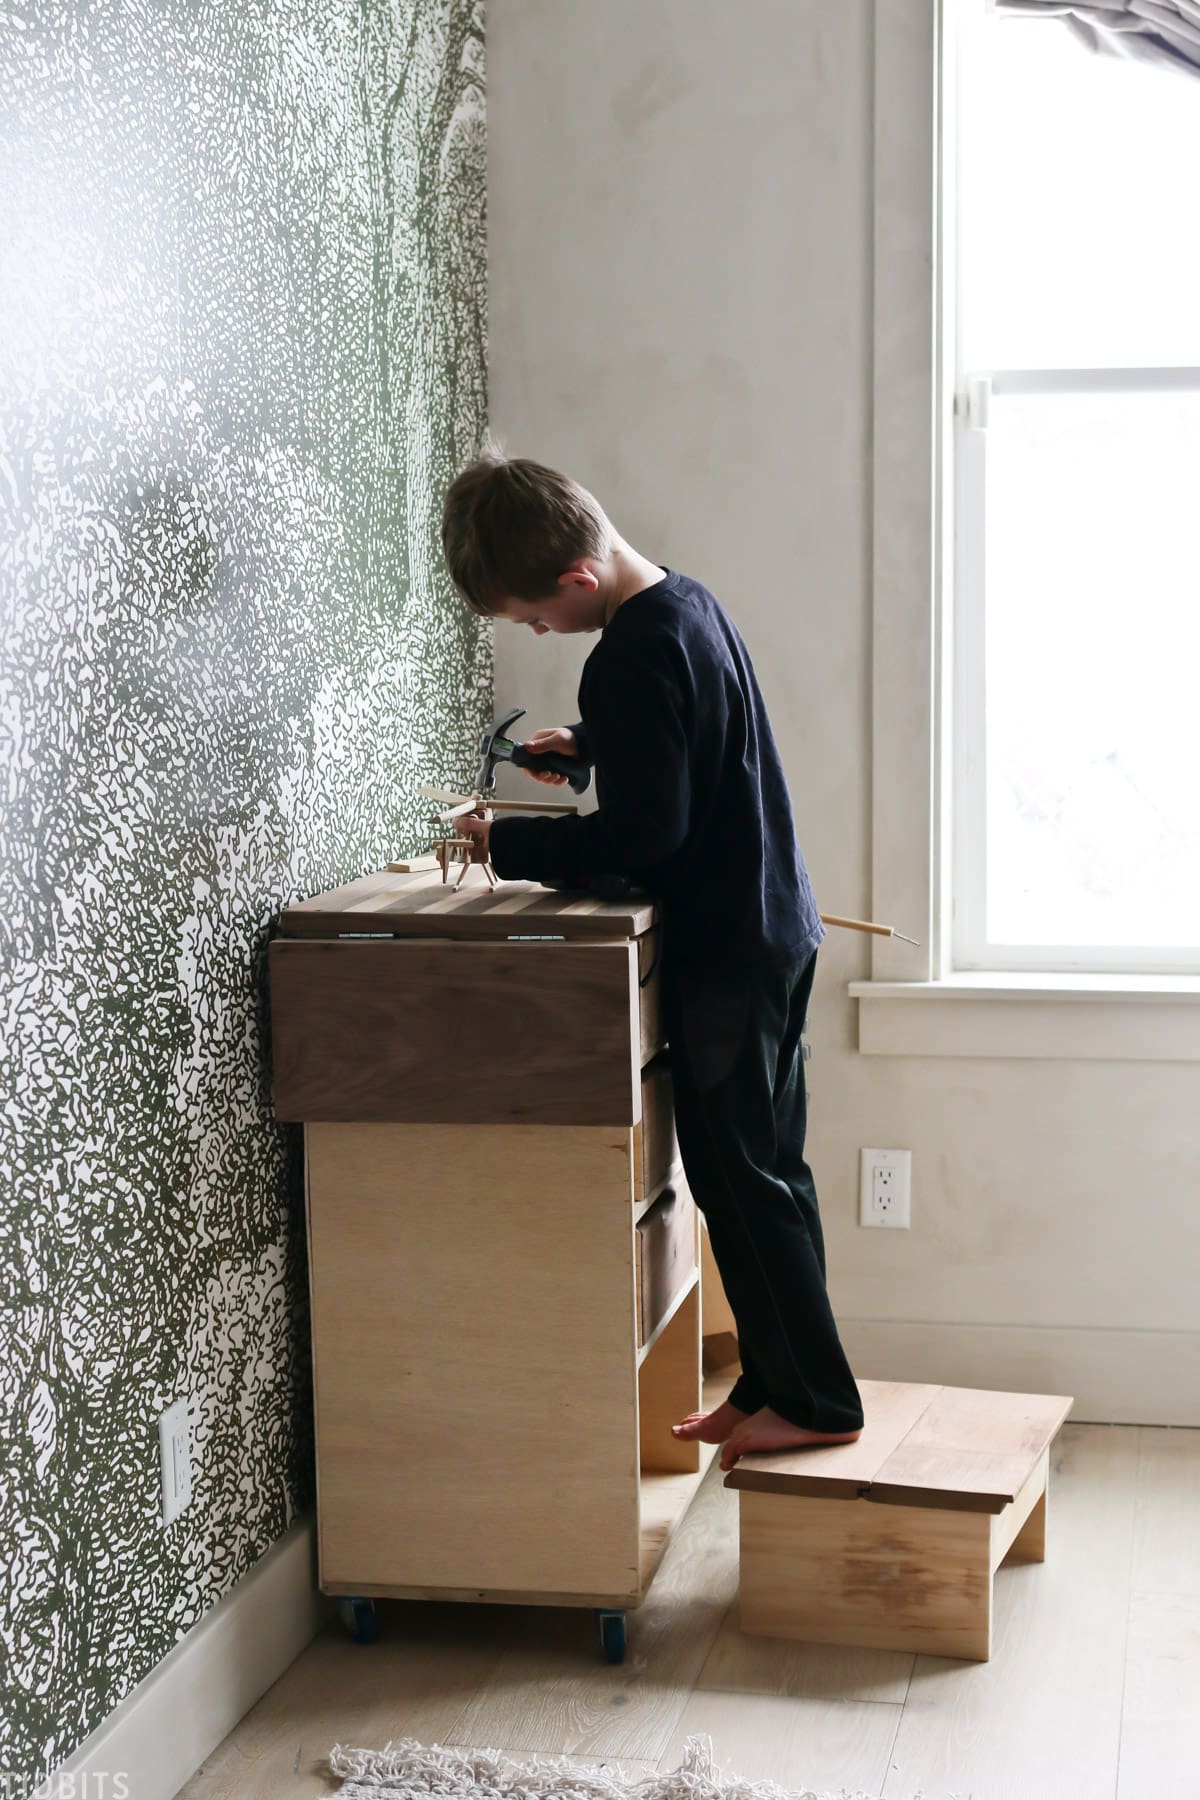
He also built him a step stool that is stored right inside the workbench. He built this to be 10 inches tall so he still has plenty of room to grow and will be able to use this for a long time. This stool will help him be able to comfortably work on the worktop right now. You could also adapt these plans to any specific height if you are building it for smaller kids or even if you want to make it slightly taller for yourself.
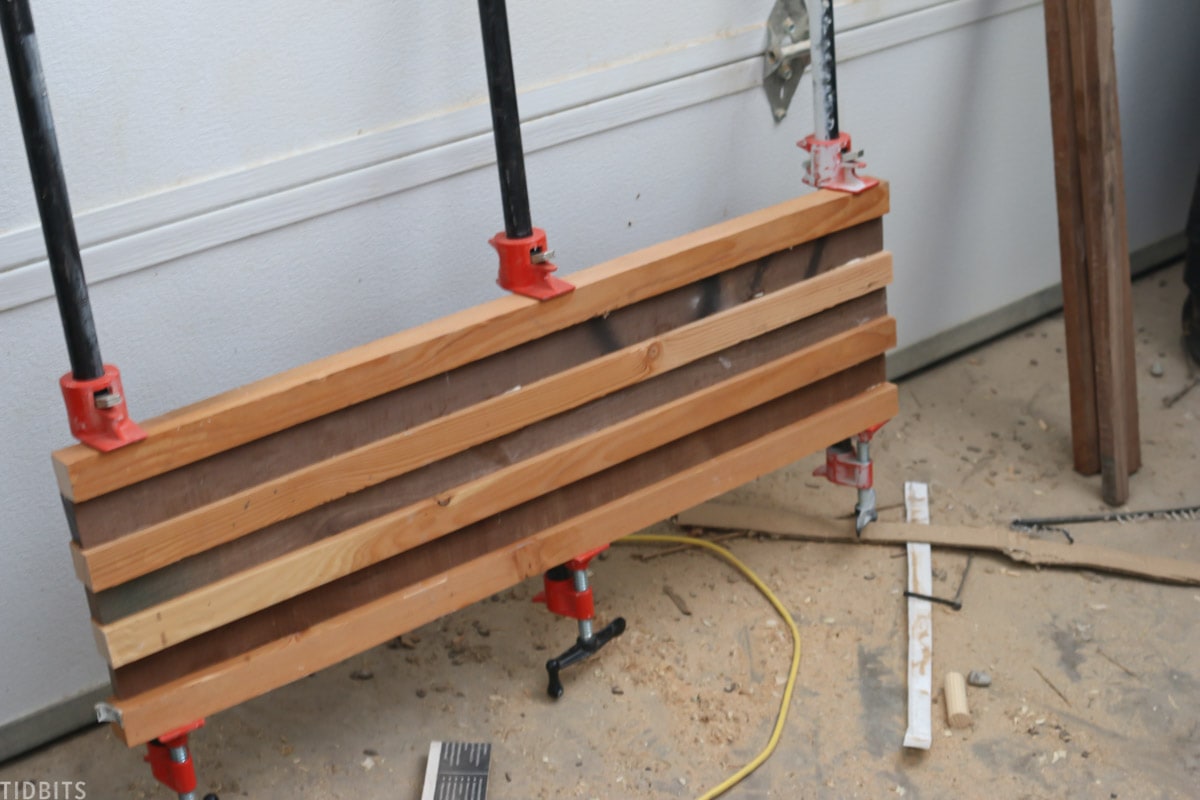
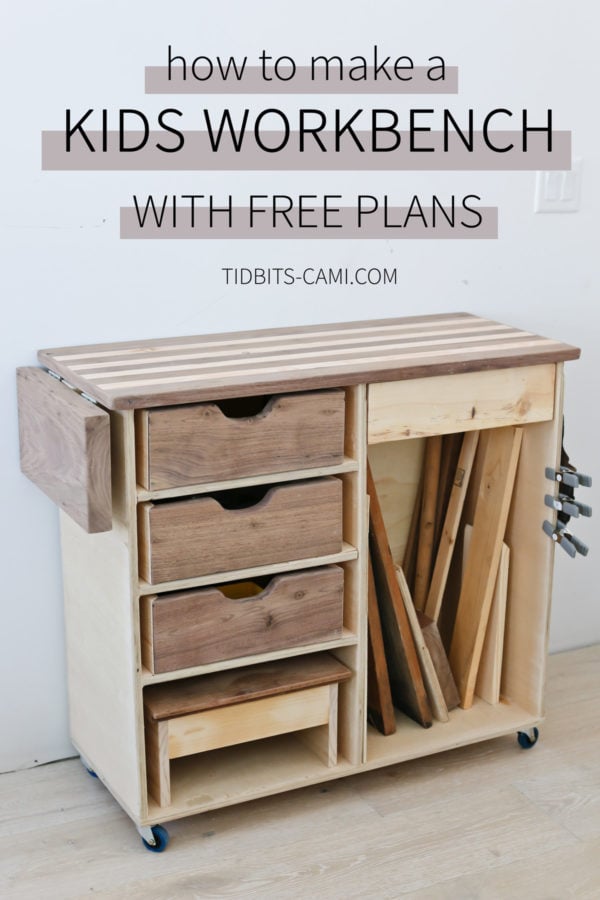
For the top of the work bench, he put together some scrap black walnut and pine boards for a fun look and a solid work surface. You could also buy a butcher block table top at most any home improvement store and cut it to fit or just use a piece of plywood.
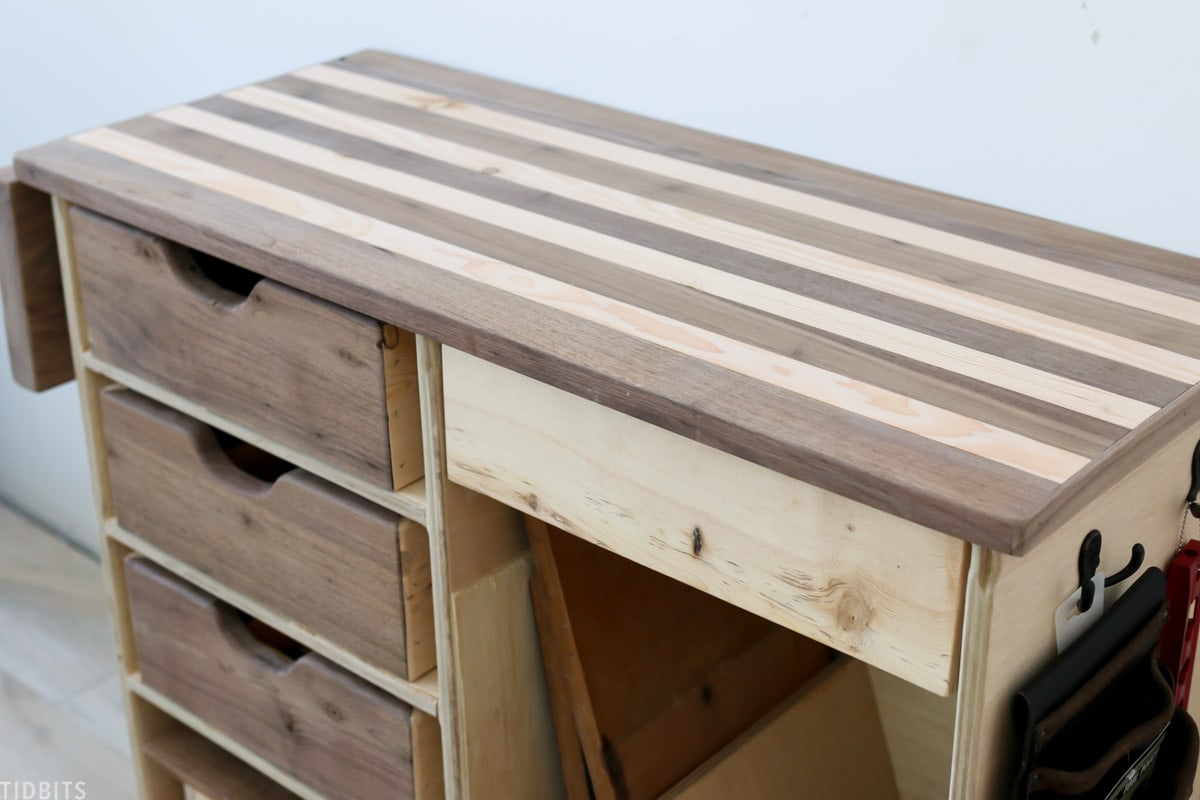
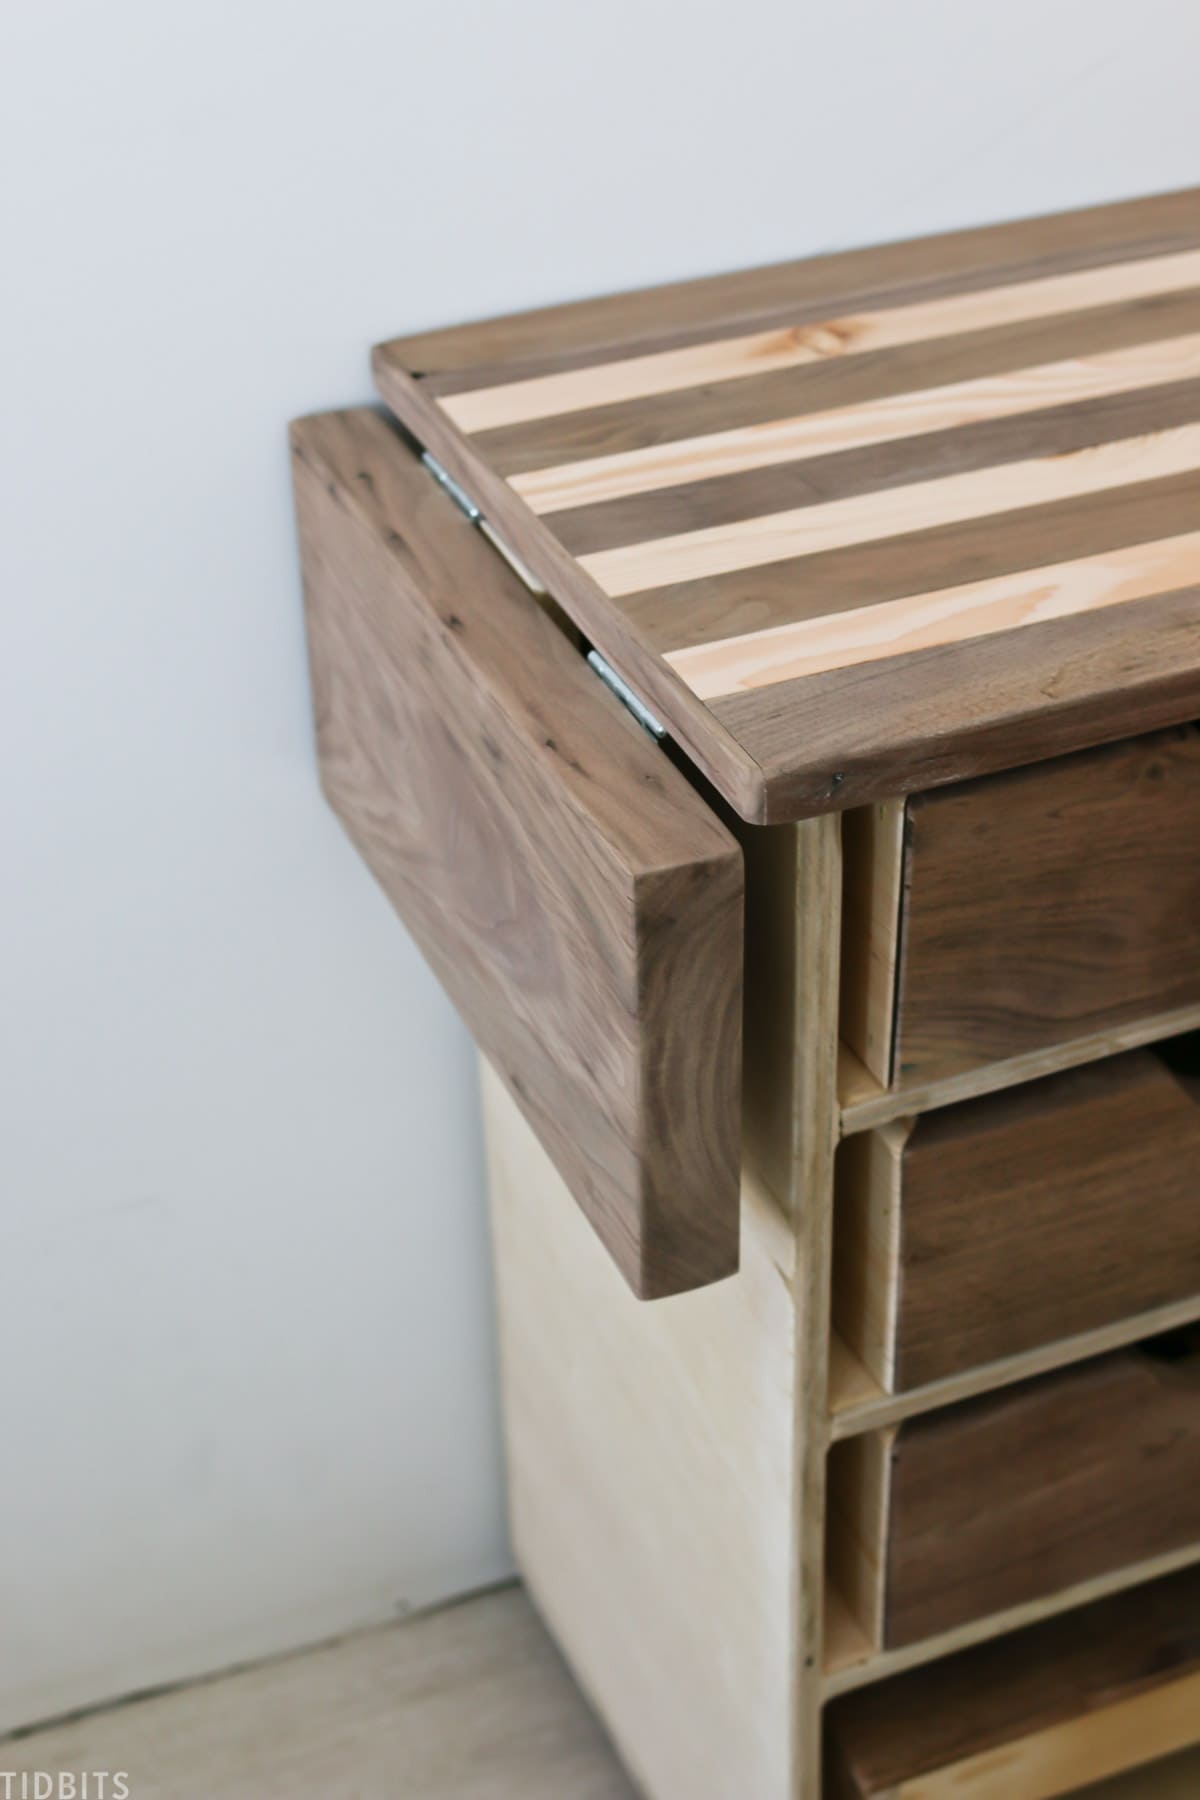
He added a drop down section on the left side of the table top that would be ideal for a kid safe drill, jigsaw and lathe combo tool to mount and be able to drop out of the way when he isn’t using it.
He put the entire workbench on casters so he can easily roll it to where he wants, and added a couple of hooks for hanging tools or his toolbelt.
To build this kids workbench we purchased a sheet of 4’x8’ ¾ inch sanded plywood and a sheet of 4’ x 8’ ¼” plywood. We also bought three 1”x4” x 6’ pine boards, a 1” x 4” x 6’ pine board and a ¾” dowel rod 4’ long. He cut all the pieces out using the plans I put on kregtool.com.
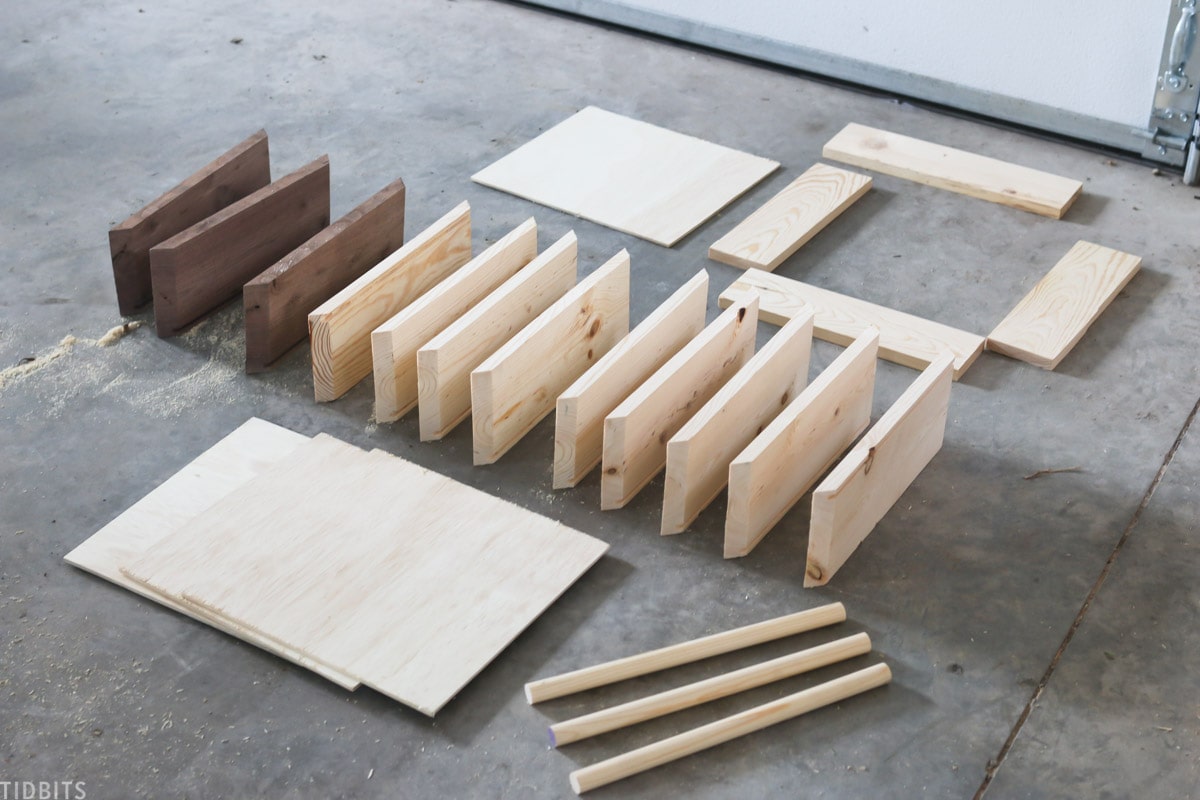
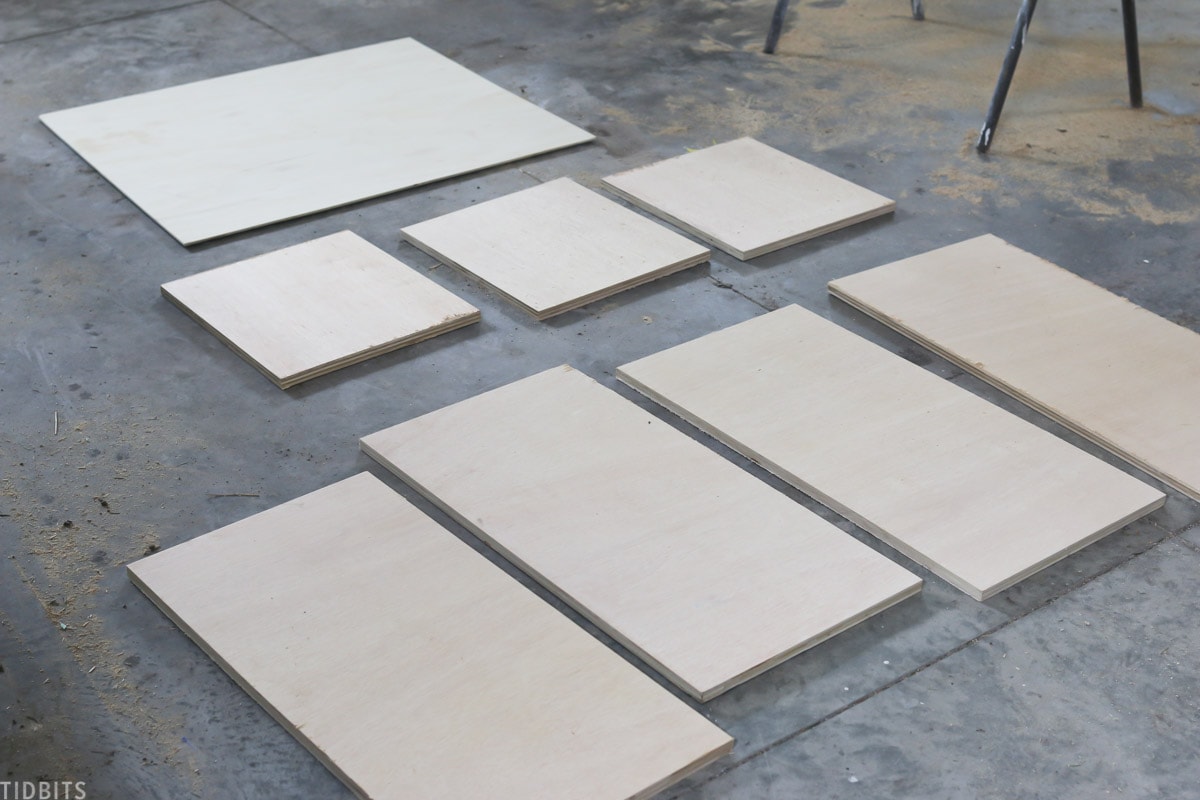
Kreg’s straight edge guide is perfect for cutting the plywood pieces. He used a miter saw for cutting the box and drawer parts and a router with a ¼” bit to cut the grooves in the boxes and drawer for the plywood bottom to slide in.
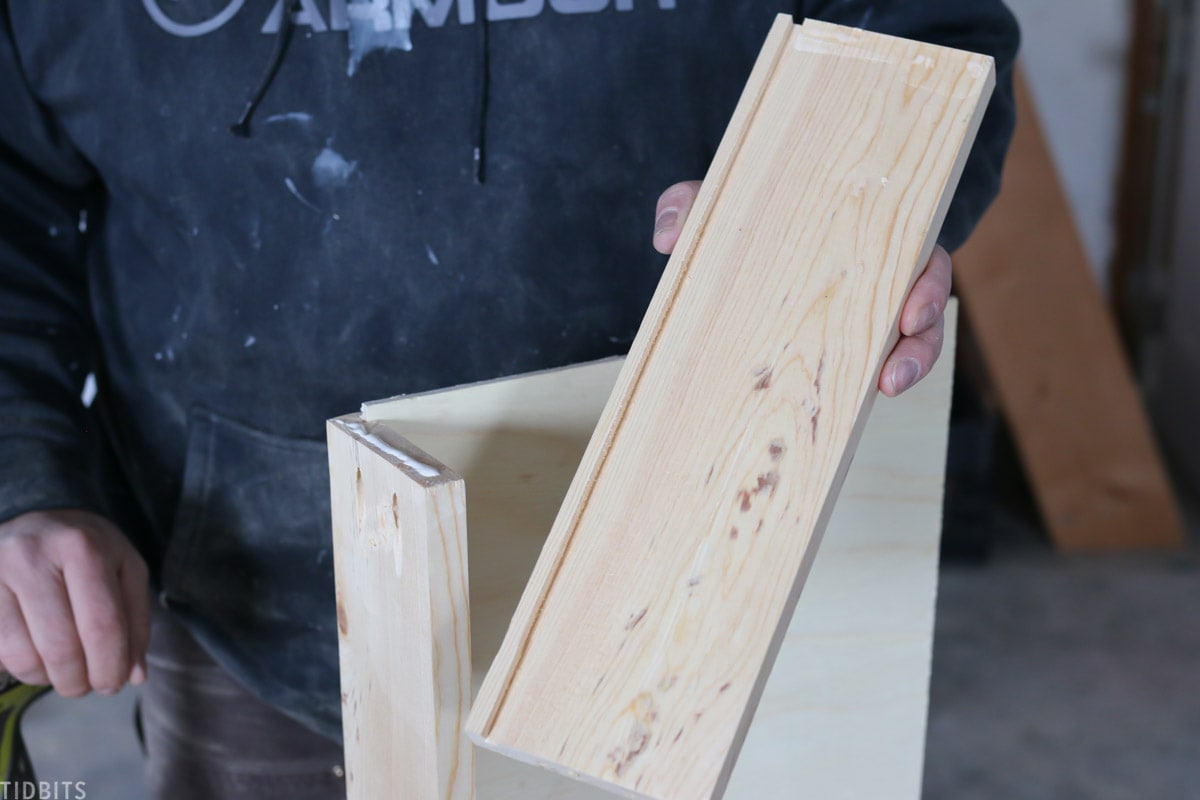
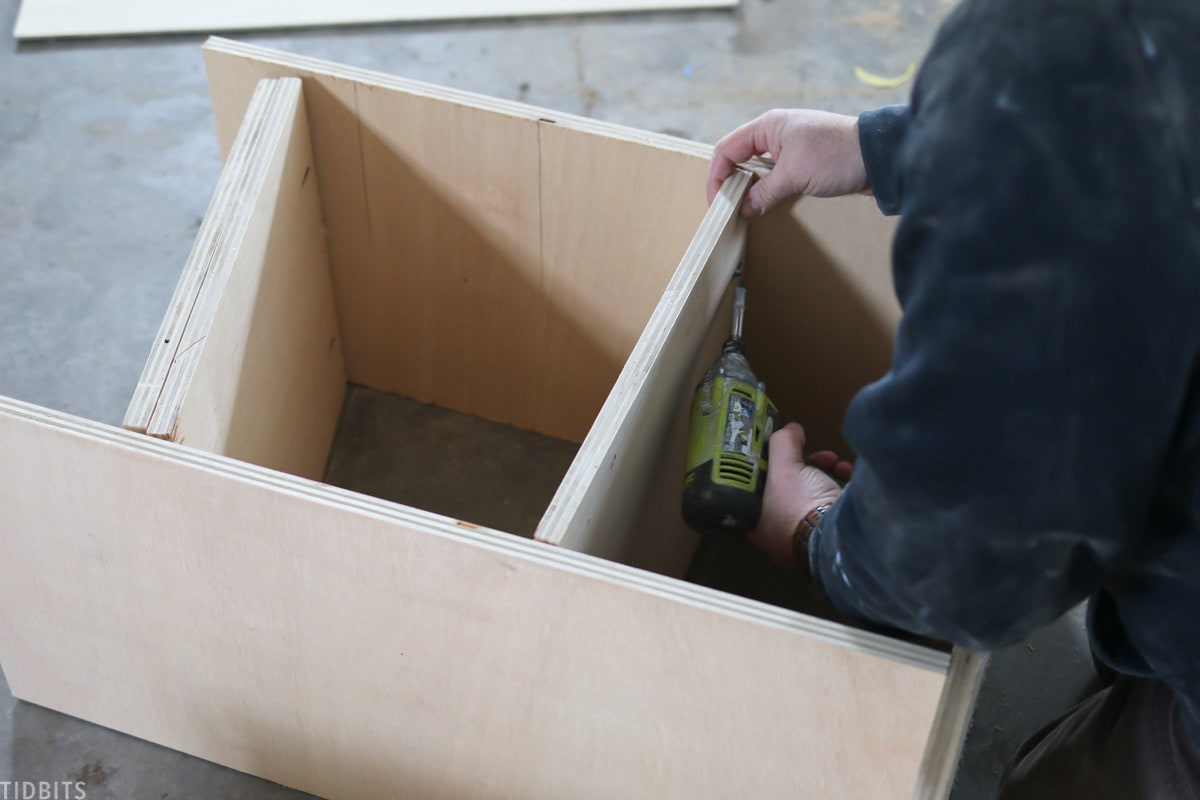
He assembled the boxes and the drawers first. The boxes he glued together then nailed the corners.
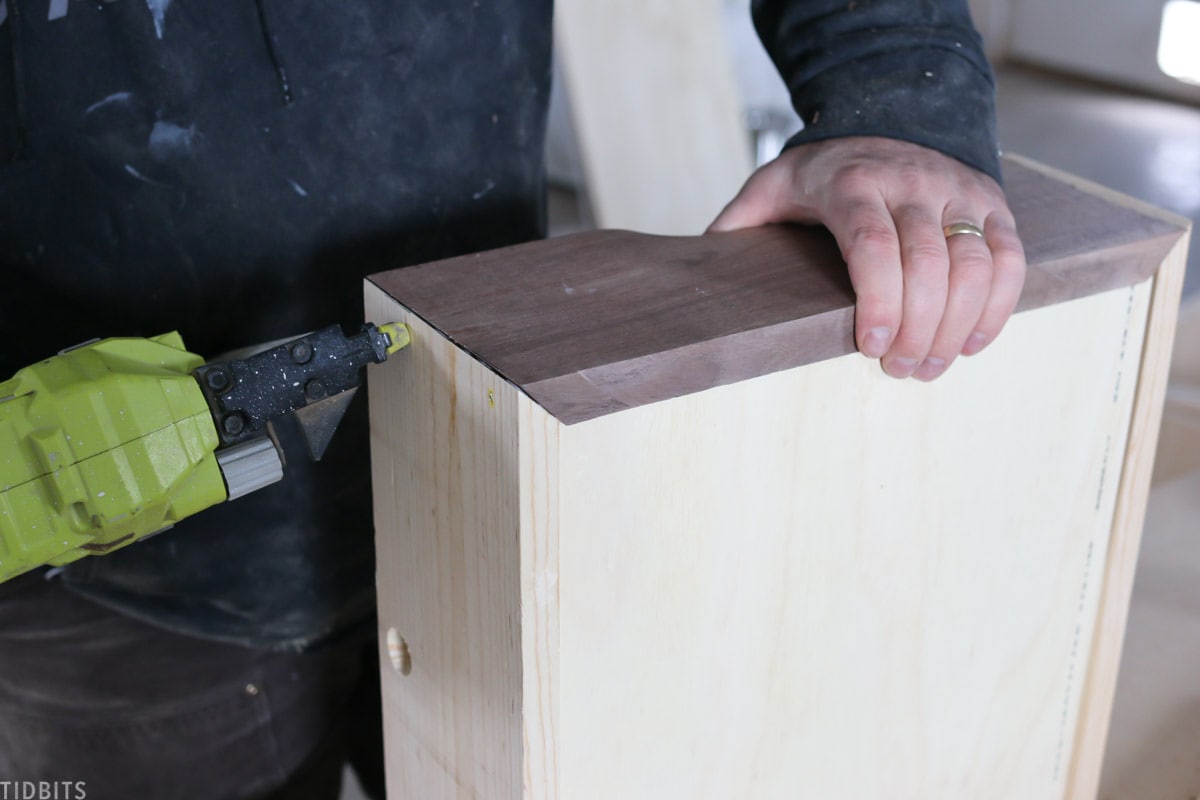
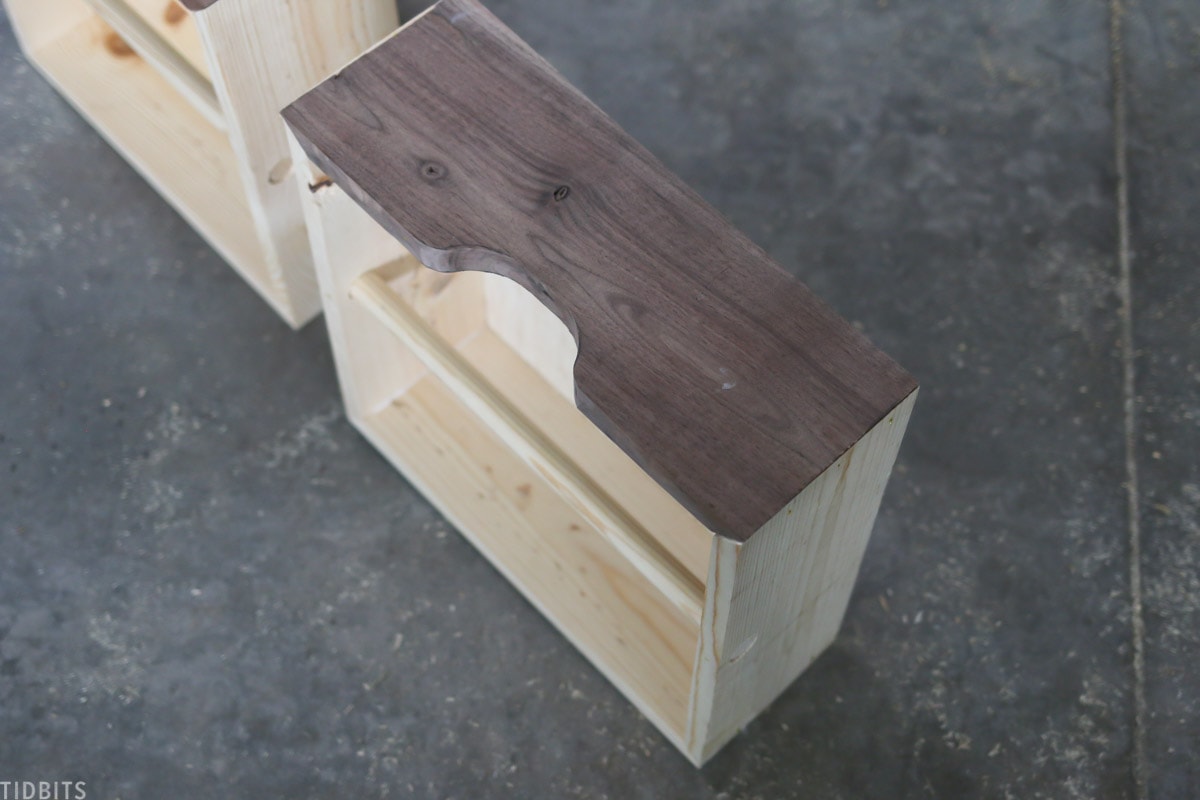
He happened to have some scrap pieces of black walnut that he used for the drawer fronts for aesthetics and cut in a half moon shape to make an easy way to grab the box.
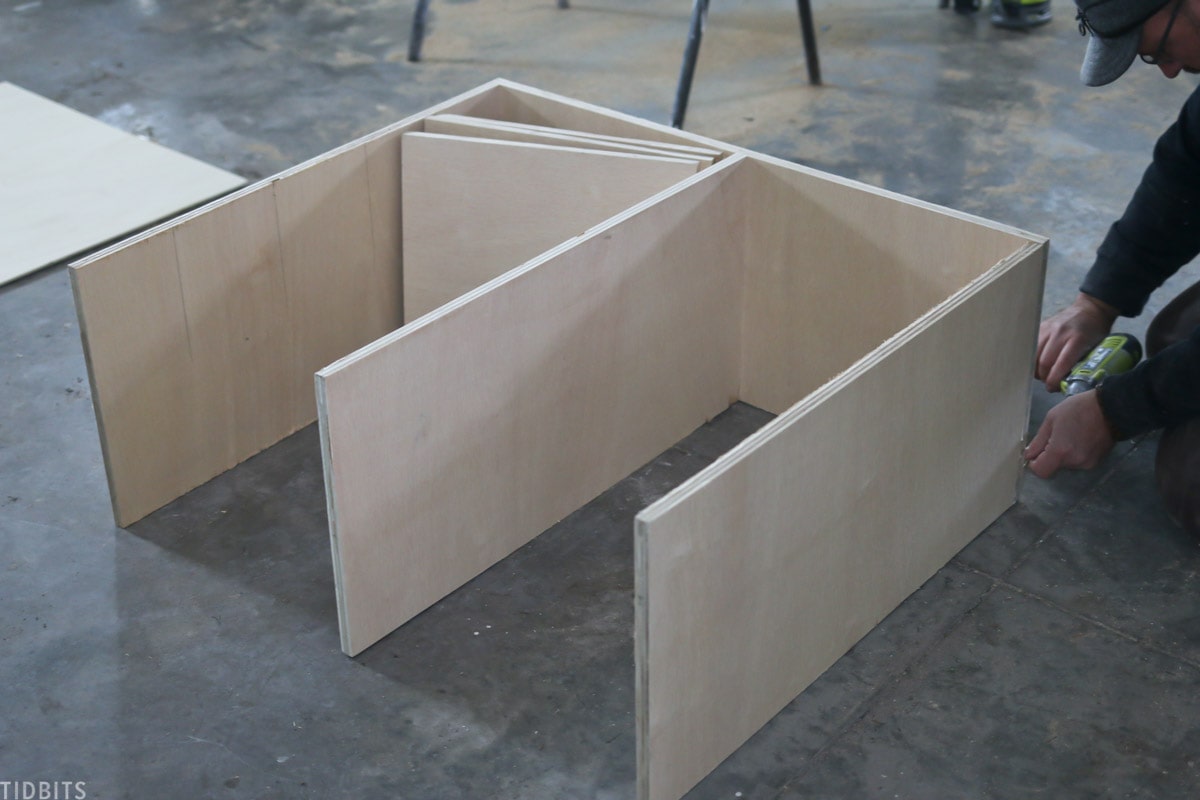
For the drawer he used the Kreg pocket hole jig to attach the back to the sides and the sides to the drawer front. He then attached the two sides and center ¾” plywood pieces to the bottom with glue and screws.

He used the Kreg pocket hole jig to create the body of the workbench and attach the 3 shelves and then nailed on the back.
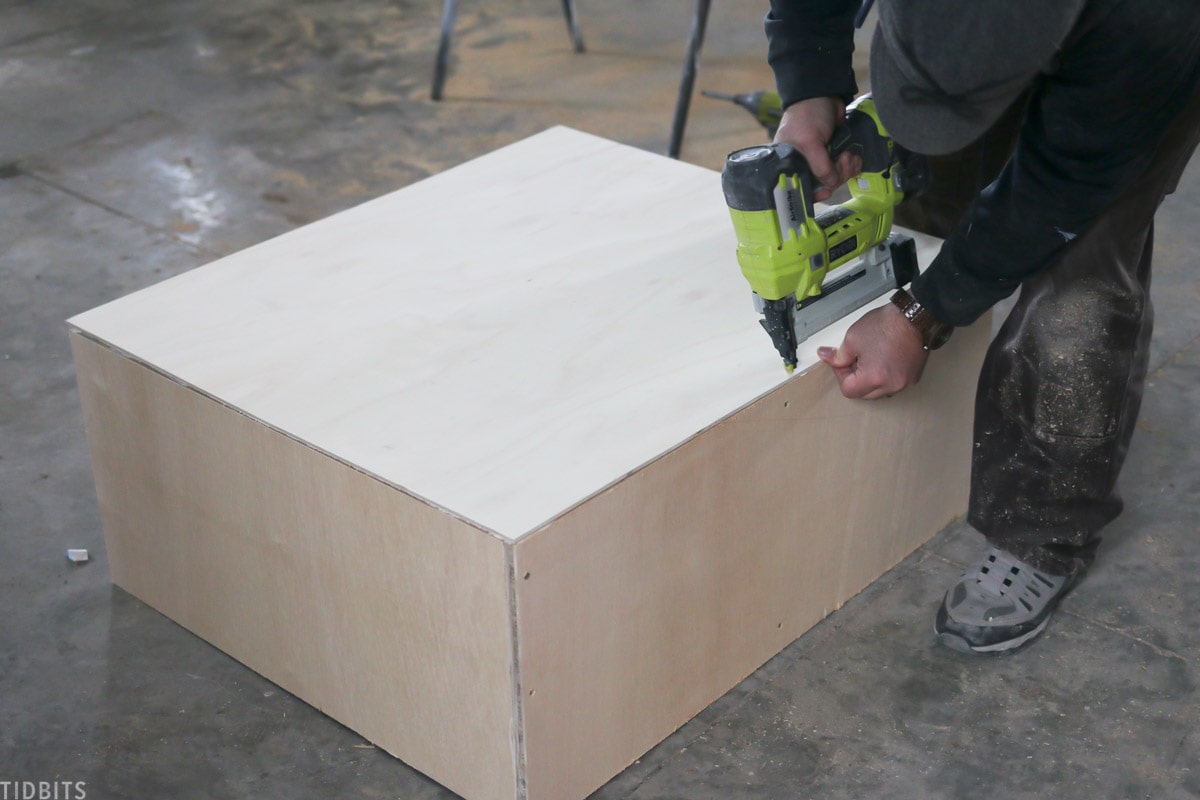
The next step is to make and put on the top and install the drawer. You can make a top similar to what we did here or just use plywood or buy a pre-made butcher block top.
He added the four casters last and then filled the boxes and shelves with all the fun tools.
We really enjoyed building this project for our boy and especially look forward to him leaving Mr. TIDBITS tools alone and using his own. It was truly the most epic Christmas gift at our house this year and our sweet boy has been building every day since.

I hope you take a chance to look at kregtool.com to find this and many more fun projects you can build for yourself or someone you know who needs them.
For more of Mr. TIDBITS building projects, you may enjoy checking out these posts:


Hi Cami. My little boy is several years younger than yours. He loves being around me in the workshop and helping out. This would warm his little heart! I may have time to do some painting to decorate it when ready! I worry when he accesses mine. The tools are just not for that age. Thanks for the great guide!
That is so cool! I love that y’all are encouraging and teaching your boy how to build things. This is such an awesome gift! What a treasure.
The Kreg pocket jig is a favorite tool of my husband’s too.
Cami! I love this!! My favorite part is the little cubbie for the step!!! Genius!!