This post may contain affiliate links, which means I get a small percentage of the sale at no extra cost to you. I only recommend items I love and have had a positive experience with. Thank you!
We had the most enjoyable winter evening dipping beeswax candles and making our own homemade beeswax tapers from our very own backyard bees. Let me show you the process for making homemade taper candles and give you some tips we learned along the way.
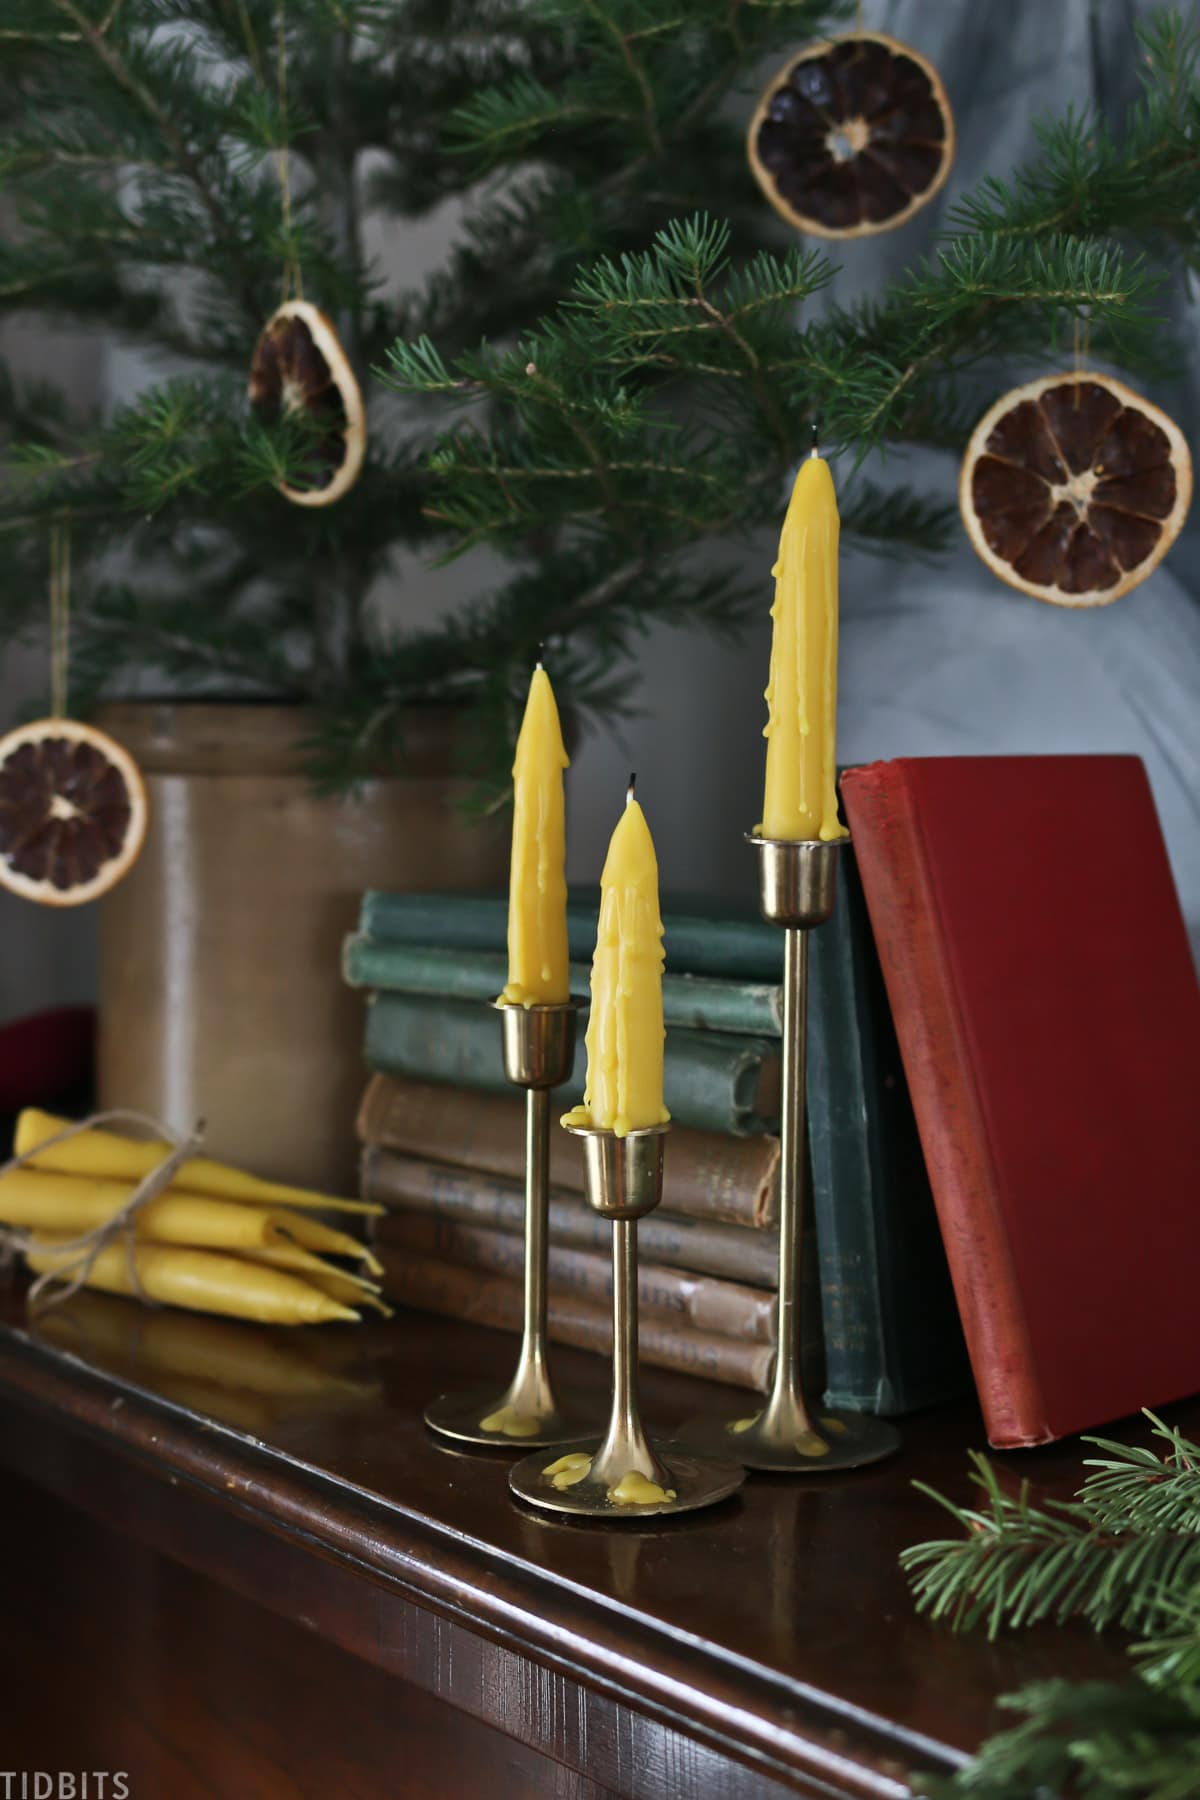
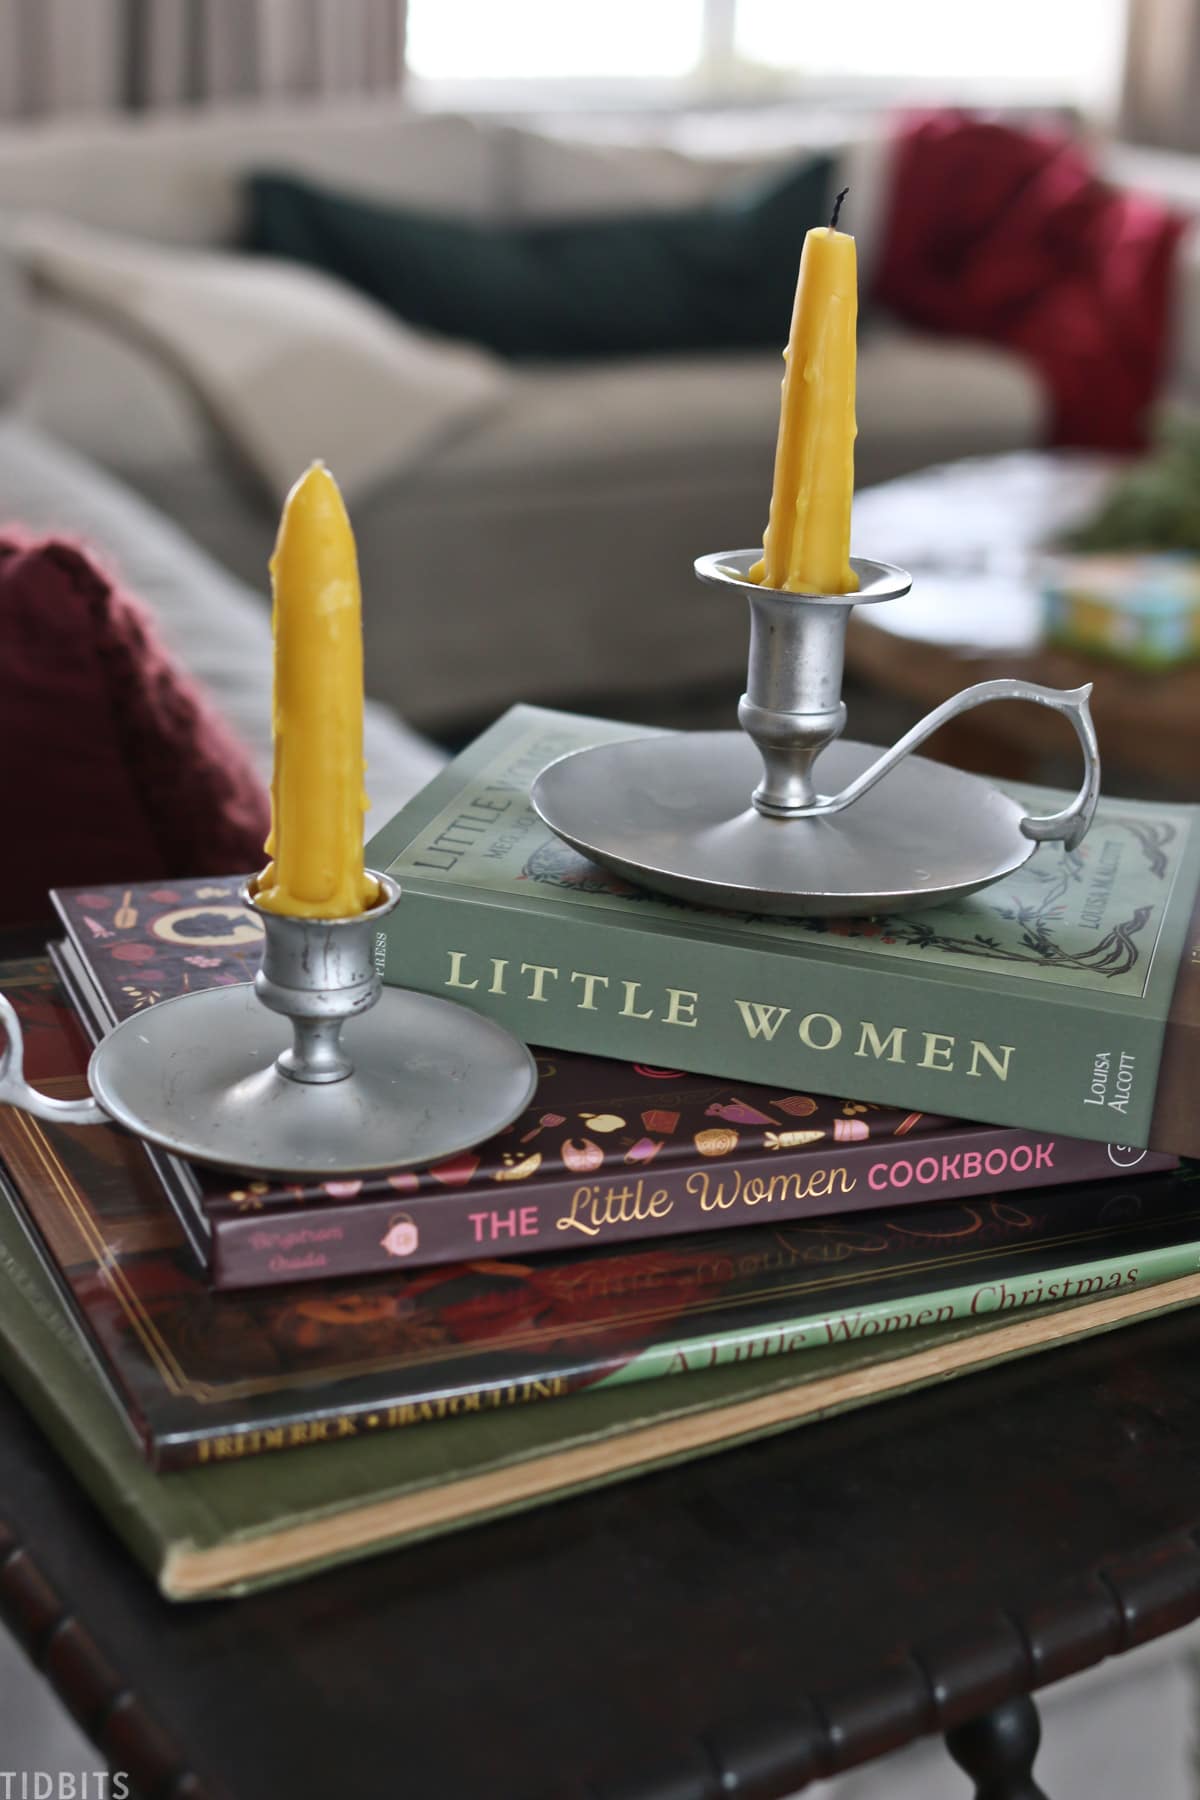
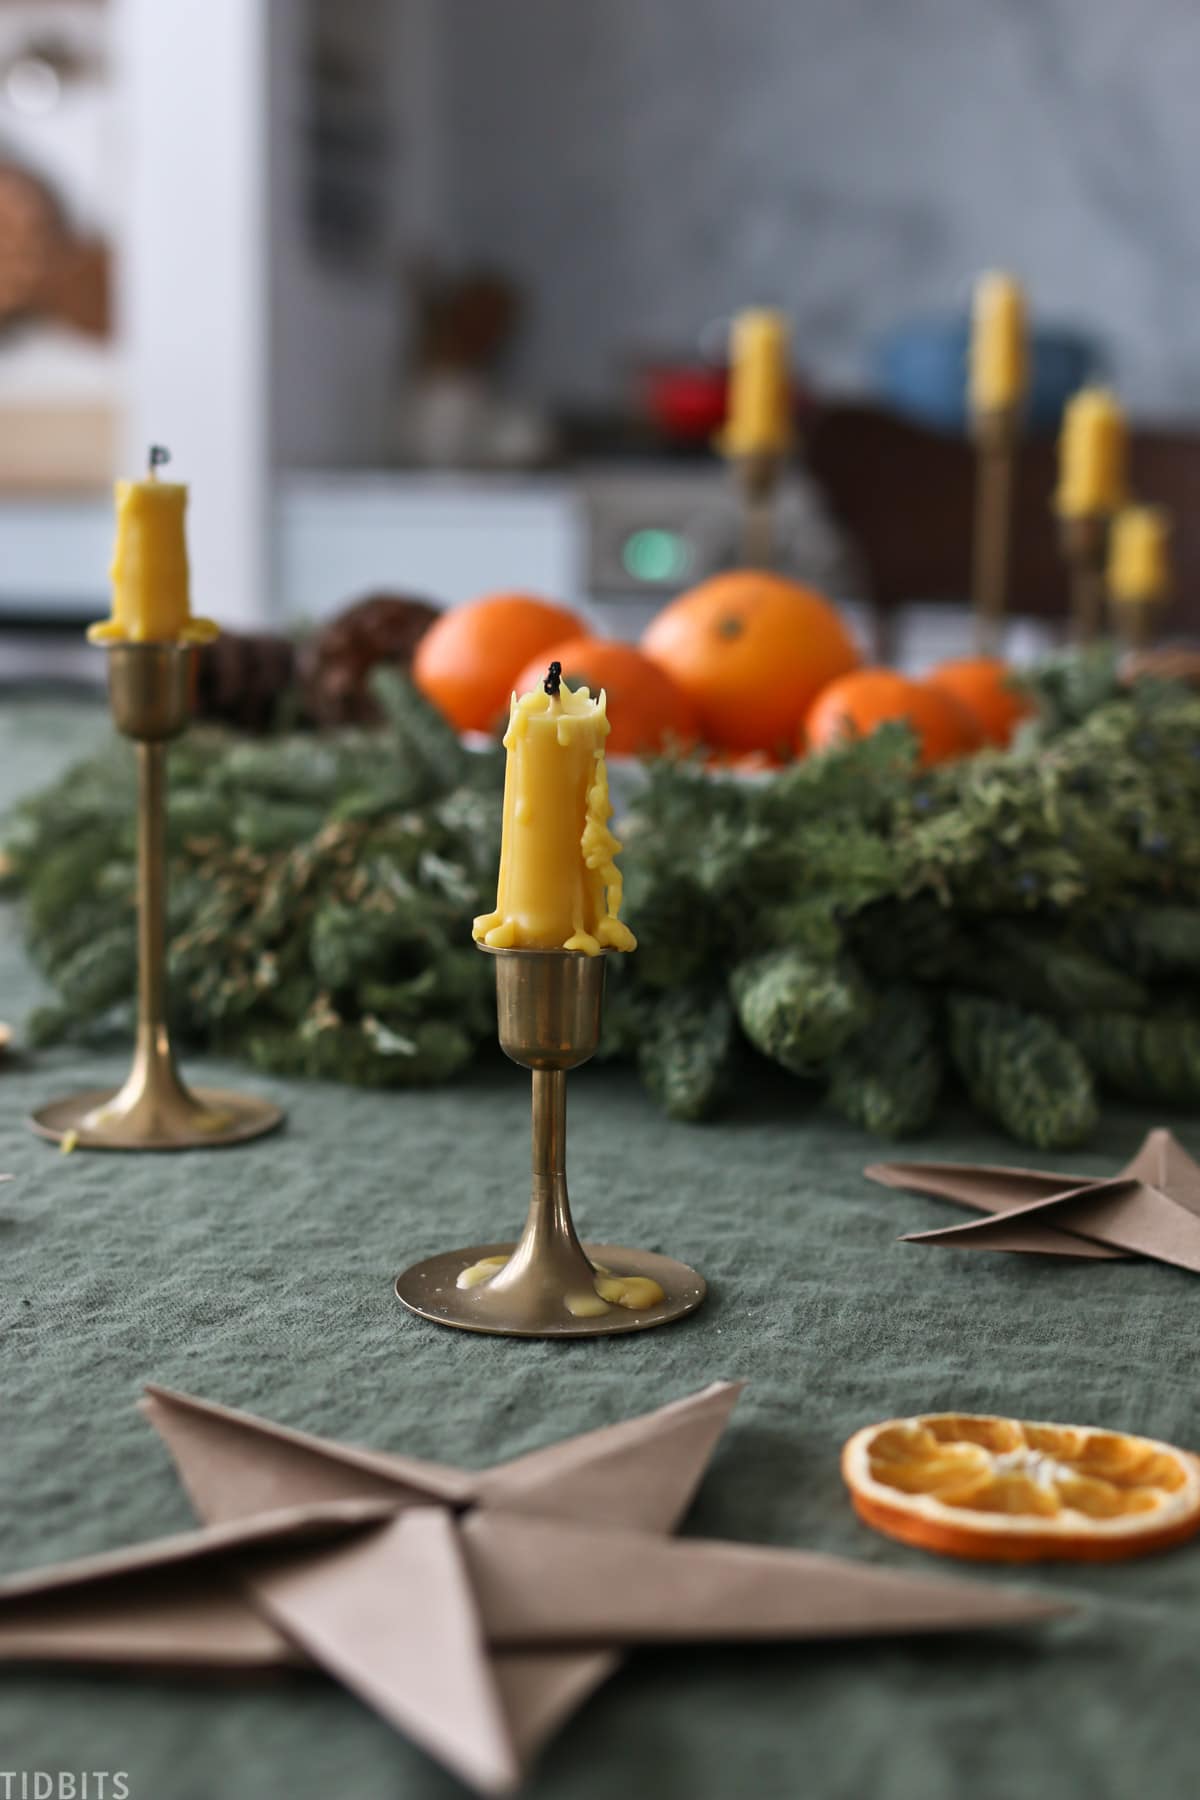
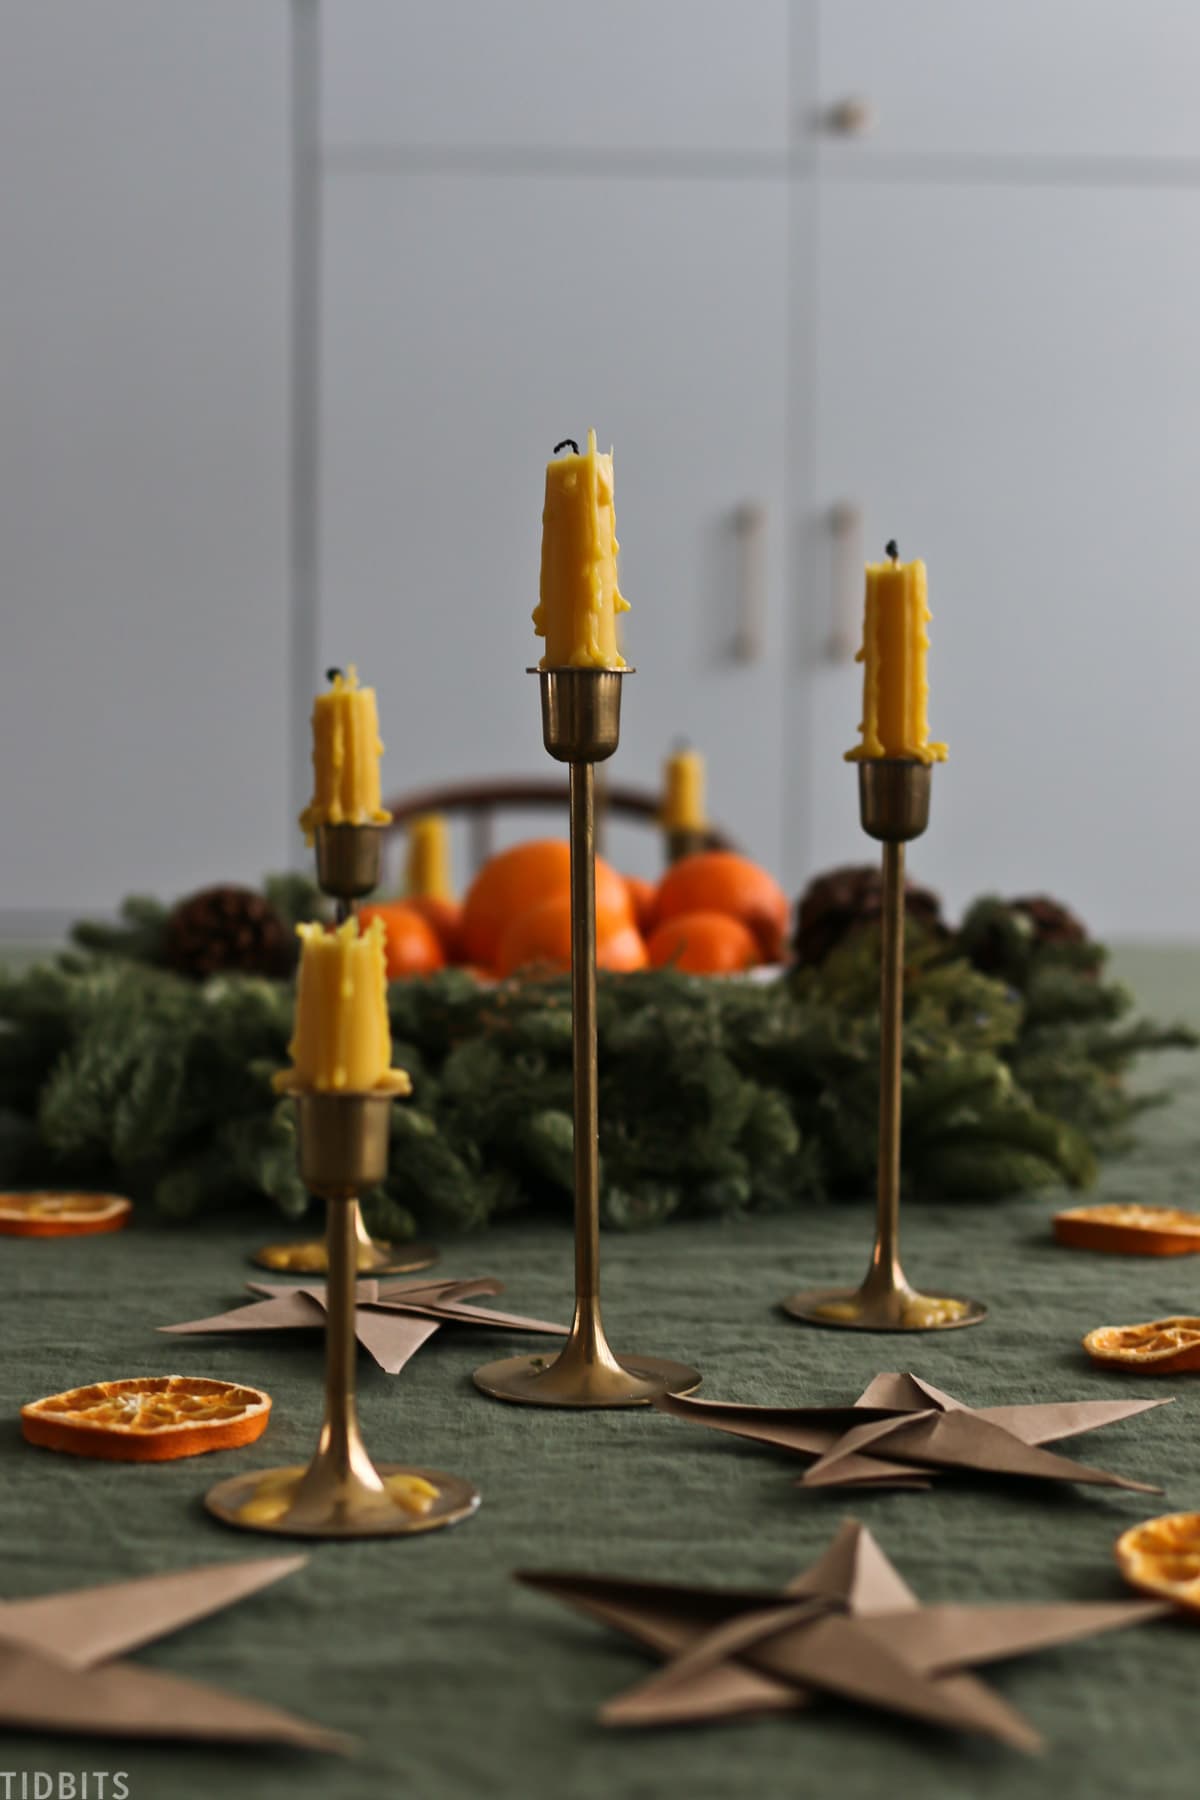
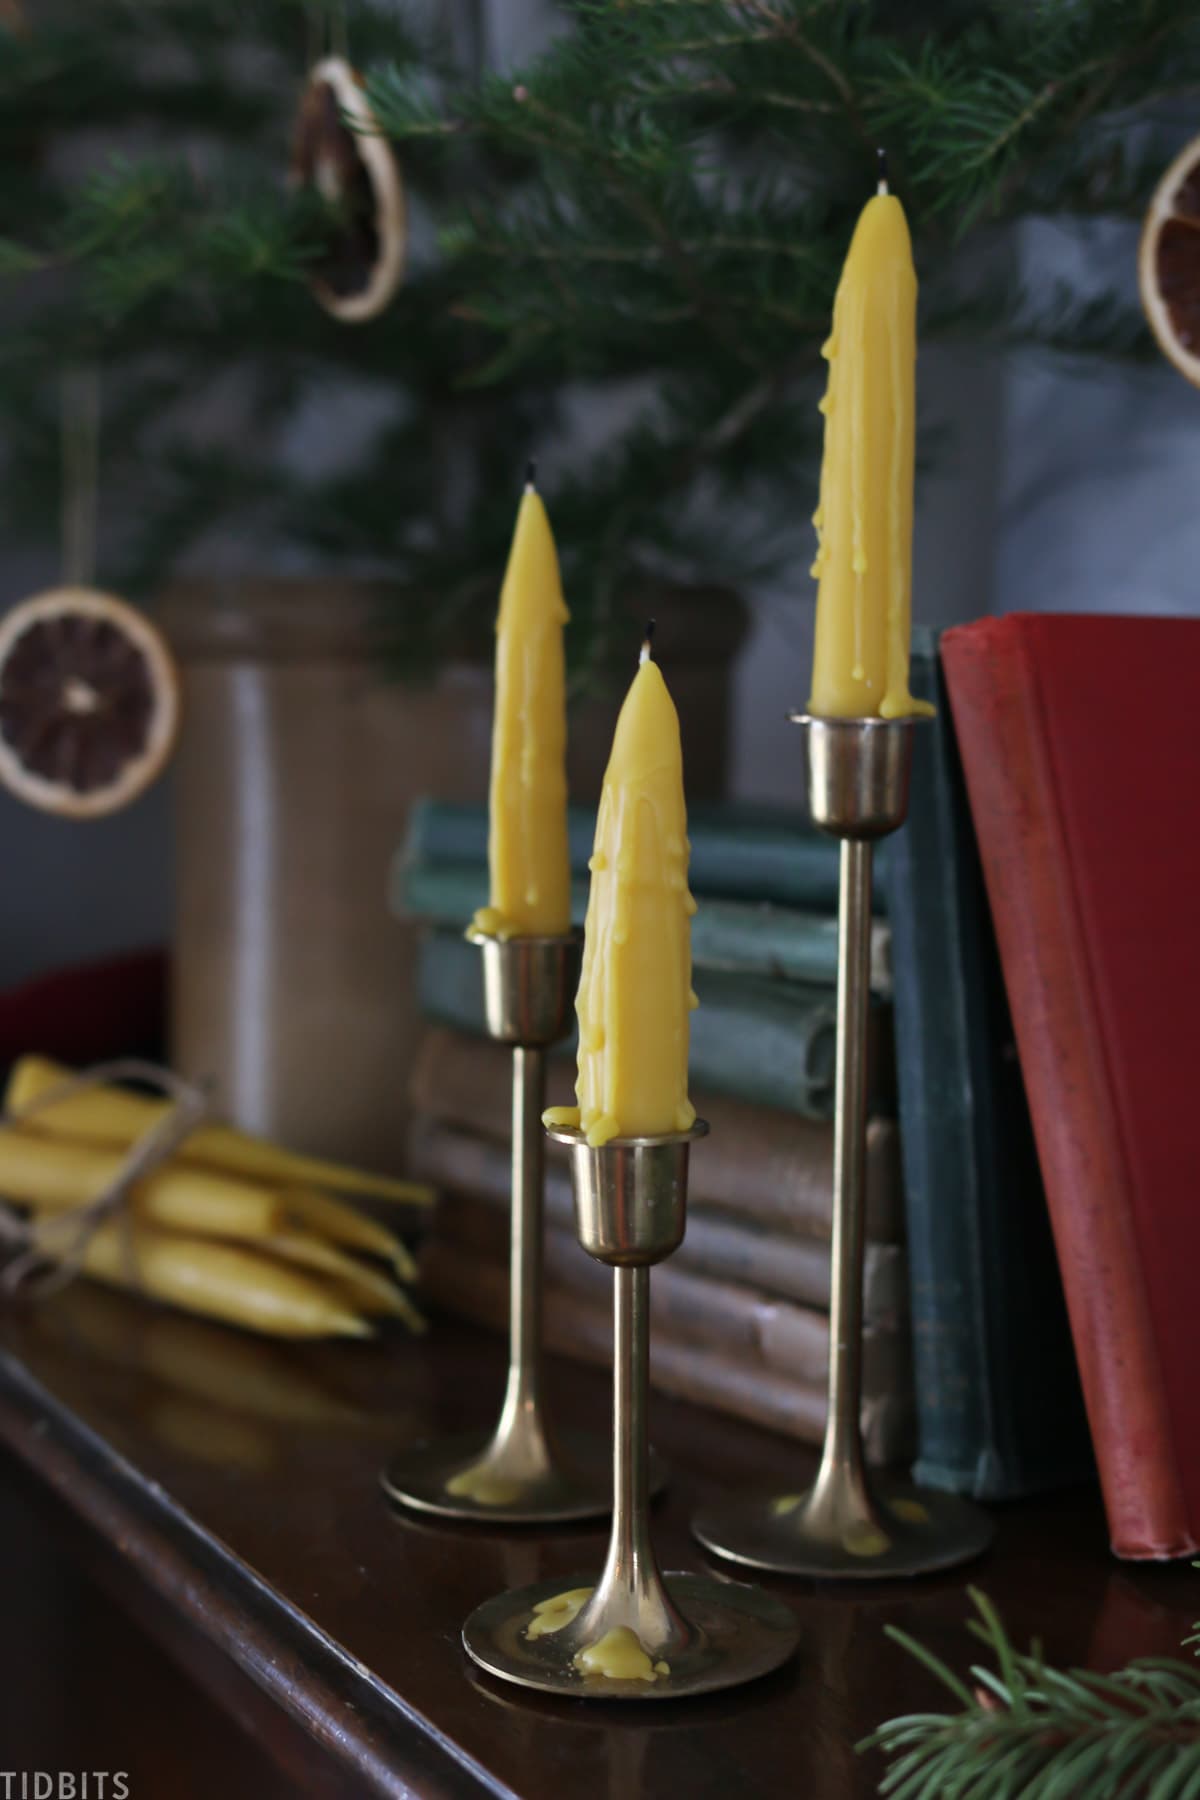
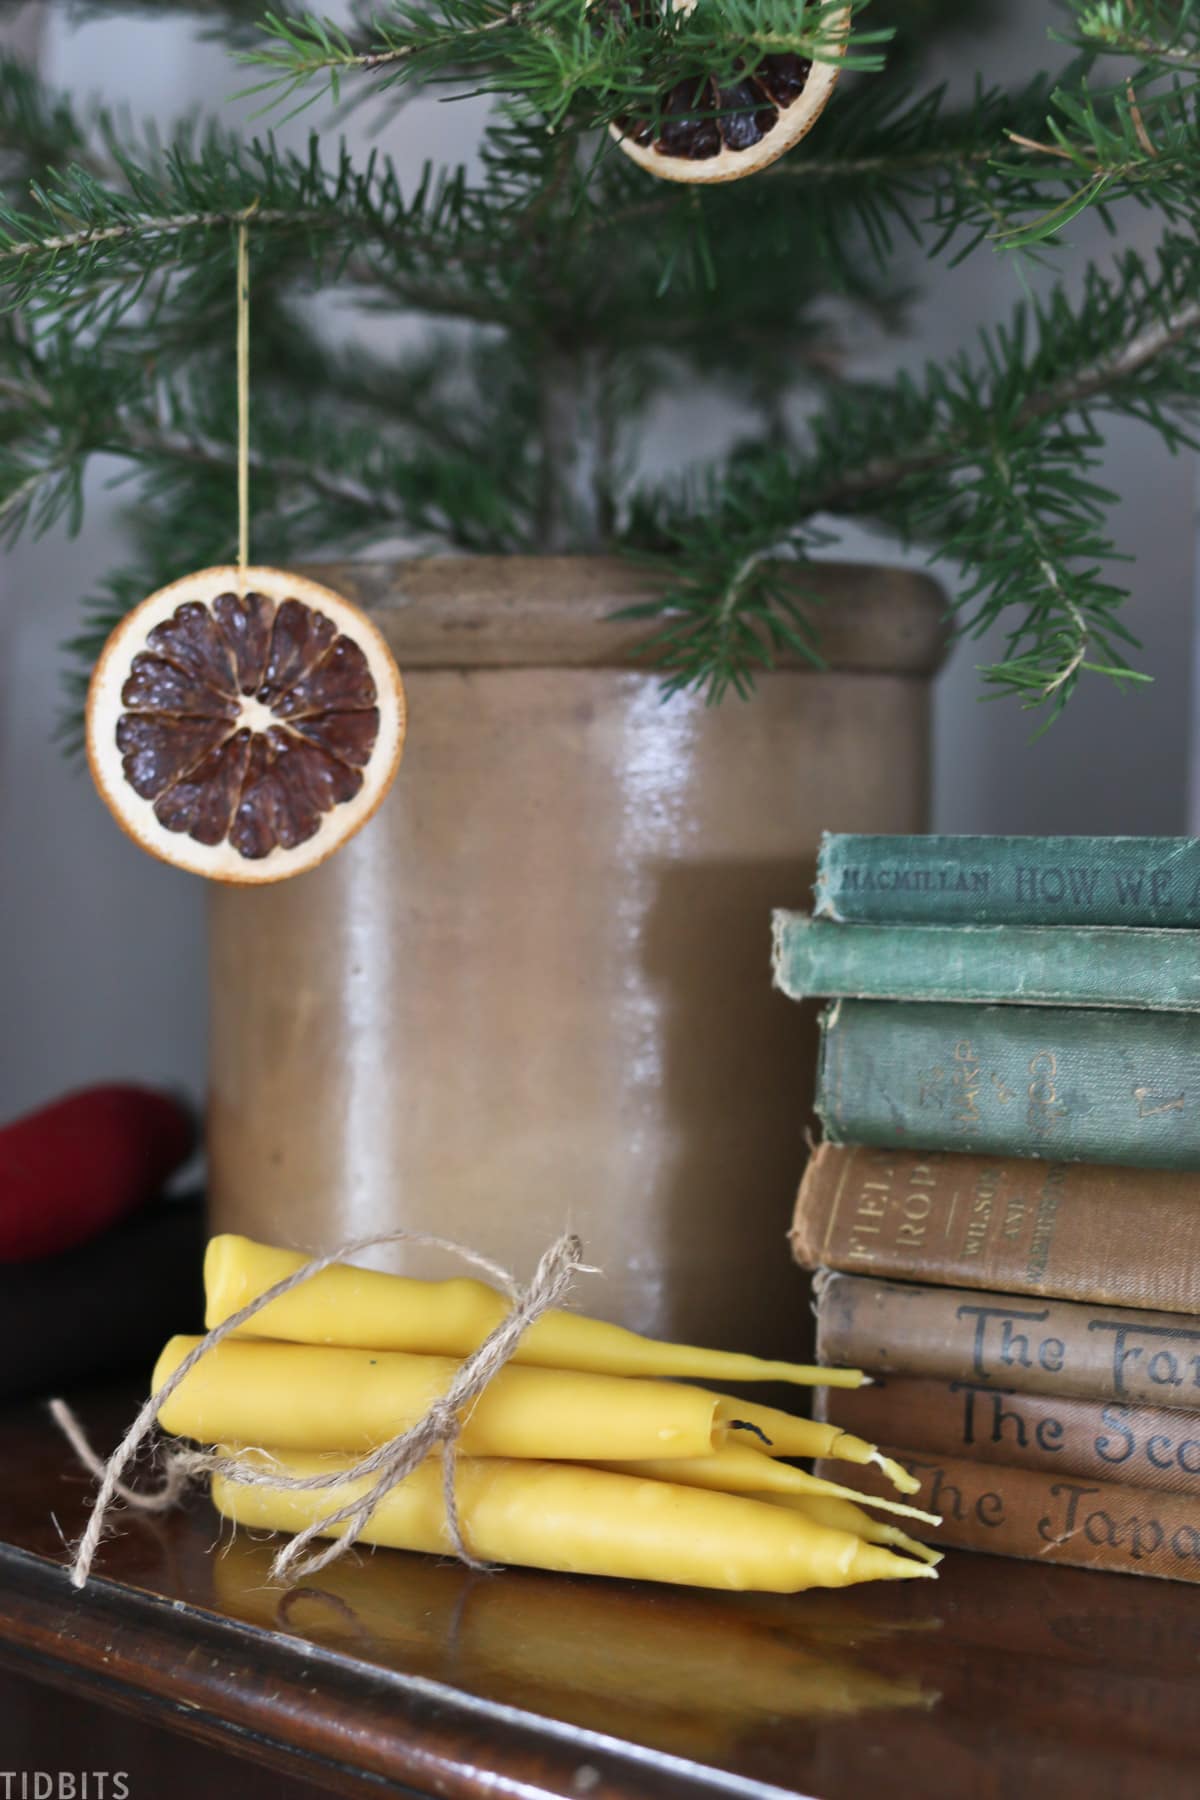
We are going for an old fashioned/Little Women Inspired Christmas theme this year, and this activity seemed just about perfect to give us these old fashioned vibes all winter long. I think you’ll really enjoy trying this simple DIY out yourself at home – no fancy candle making supplies necessary!
You could get hung up needed the perfect supplies, or just embrace a candle making process full of character. Use what you have, and enjoy the creative process!
WATCH THIS POST
For a much more detailed look at the candle making process, be sure to watch my video.
Supplies for making your own dipped beeswax candles
- String or wax wick
- You are going to need some string for your wick or a wax wick, long enough for the candle you want to make. We used simple household string and it worked great for dipping and burns great.
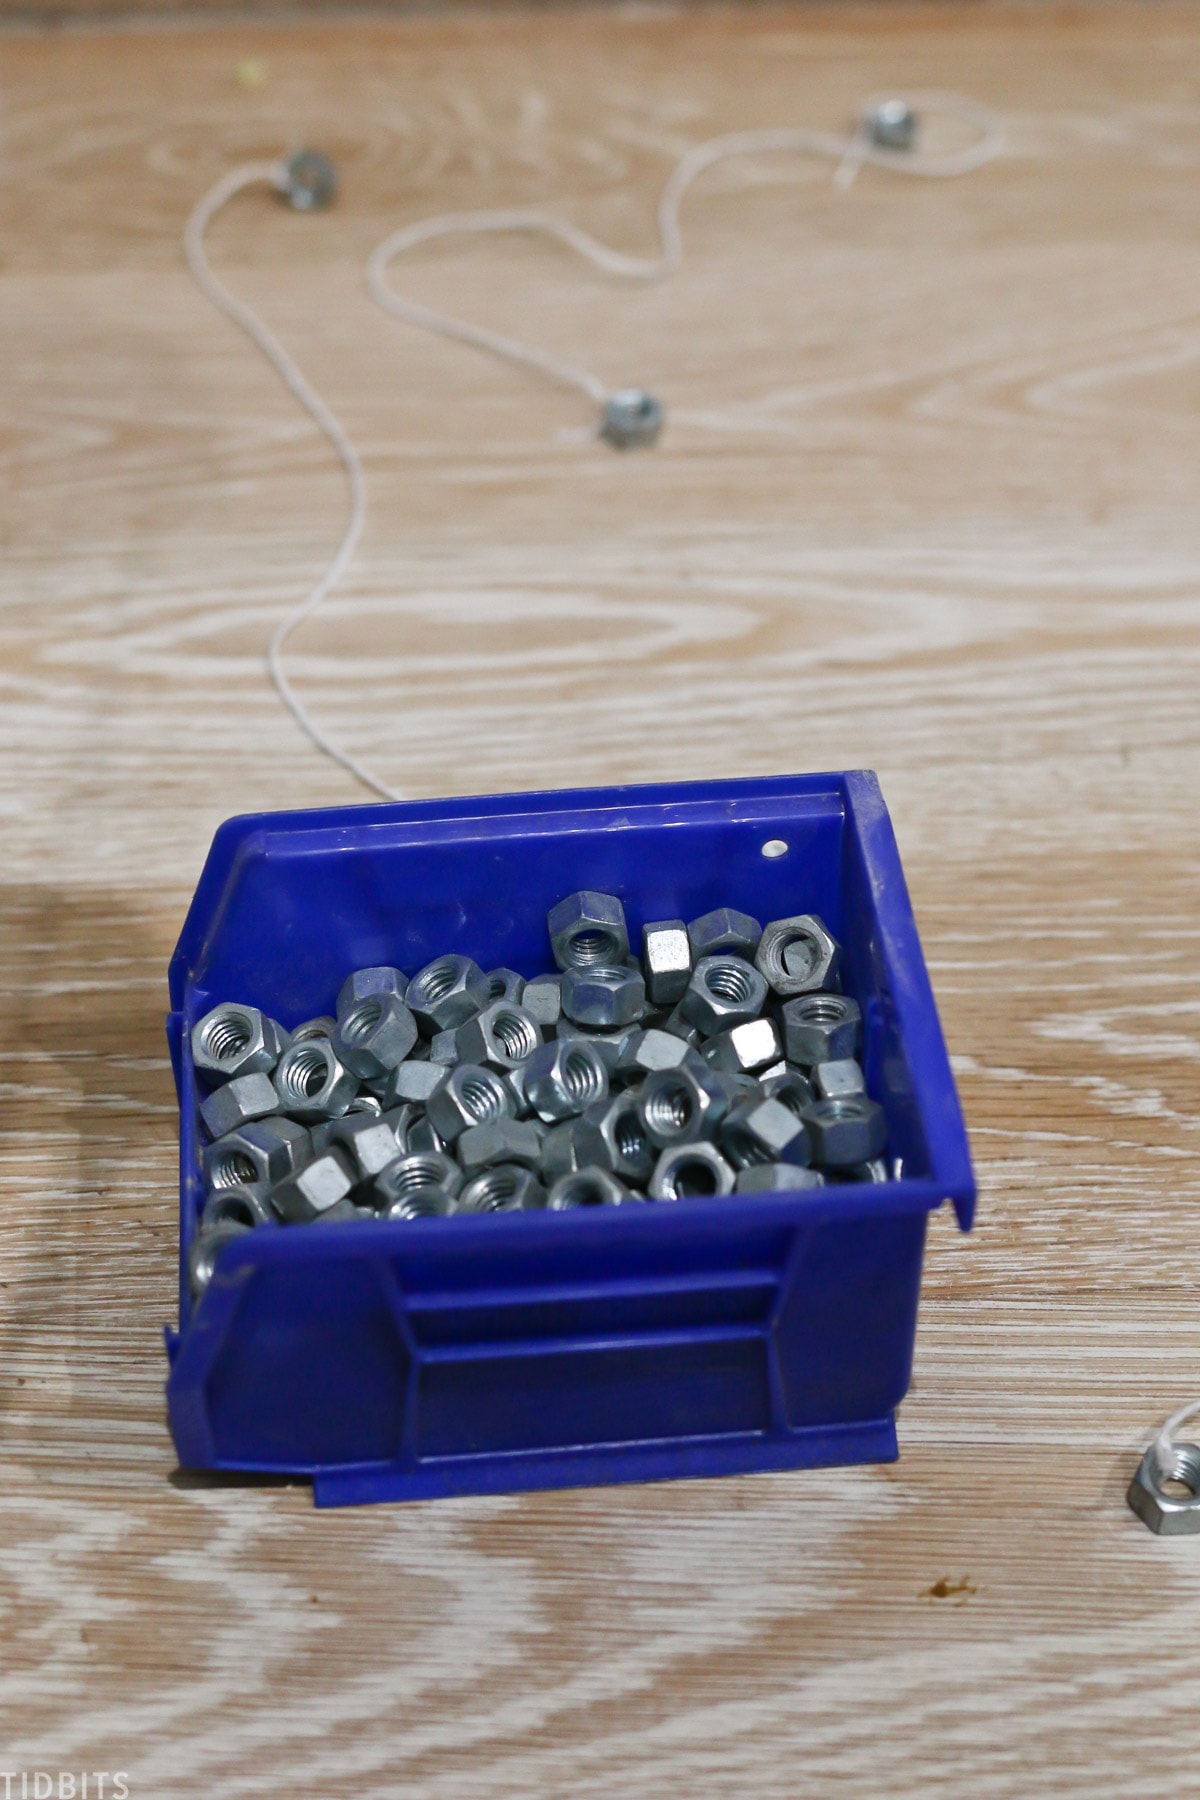
- Bolt Nut or Candle Weight
- You need some weight to pull down your string when dipping, so we used a bolt nut and tied it to the bottom of every string.
- Melting Pot
- To melt your wax, you’ll need a pan or pot you don’t care about – since it will be ruined with the wax. We went to the thrift store and bought a pot for a couple of dollars.
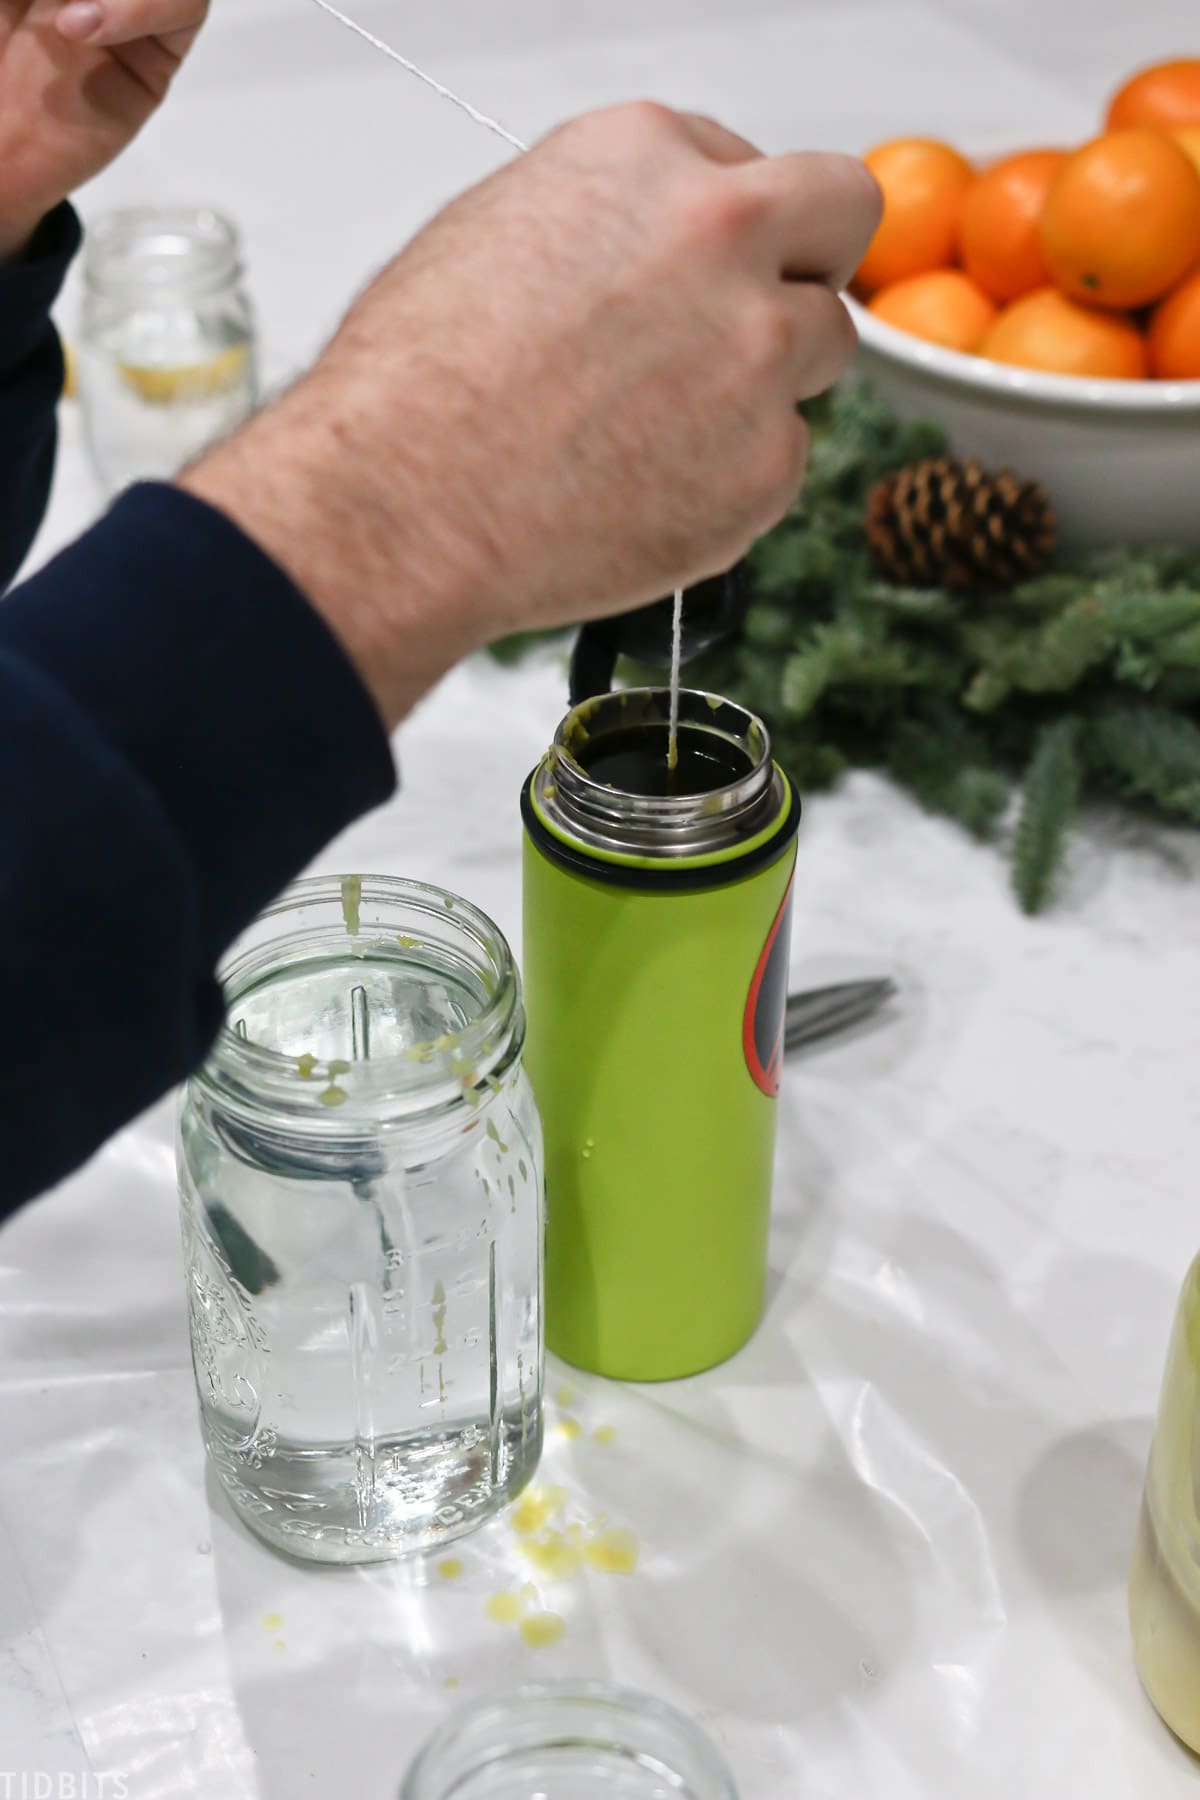
- 2 Tall metal or glass jars or thermos
- You’ll need two glass or metal jars that are about the same height. One is going to be for the wax, one will be for your cold water. I’ll suggest below what we ended up using and what we decided not to.
- Beeswax or Candle Wax
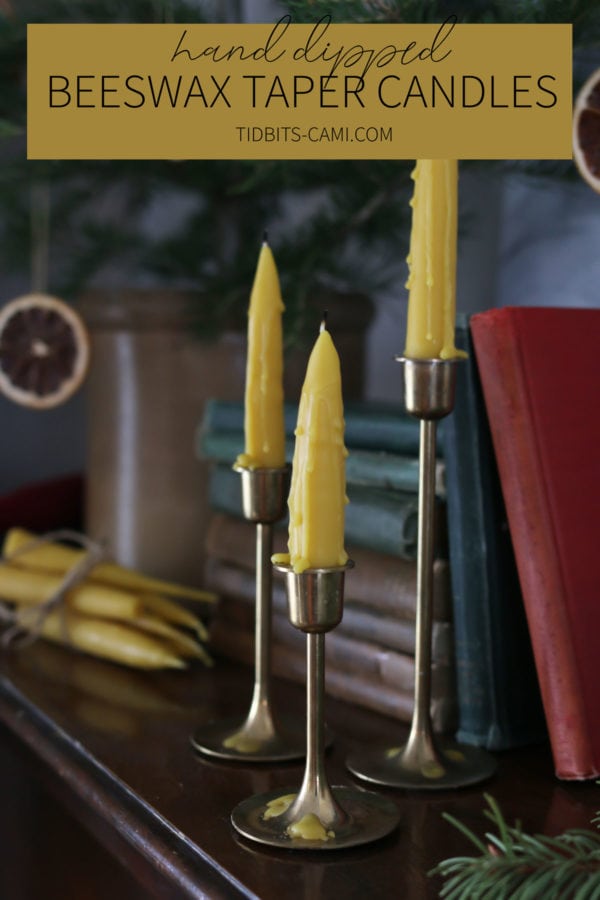
- Then of course you need beeswax or whatever candle wax you wish to have for your candles. I love the very natural imperfect look of the beeswax and the natural honey smell is absolutely divine.
- Scissors
- Surface protection
- I used wax paper to cover our table
How to make dipped beeswax taper candles:
The process for making tapered candles is actually very simple.
Step 1: Melt your beeswax slowly – you definitely don’t want it boiling or splattering. You could also use a double boiler method, but we just used our thrifted pot.

Step 2: Prep your area by covering it with some wax paper or plastic.
Step 3: Tie the nuts on to the end of the string. If your container is wide enough and if you have plenty of wax, you can double up your string so you are dipping 2 at a time on the same looped string. You just want to make sure they won’t touch as you dip them in and out.
Step 4: Pour the hot, melted wax into your jar. Be very careful – it will not feel good if you get it on your hands. Prepare your cold water in the other jar and have them next to each other.
Step 5: Start dipping your string – nut side down – into the wax. Lift it back up again, almost instantly and in smooth even movements.
Dip it right away into the cold water.

Repeat this process until your candle is as thick as you want it to be.
It may seem like you will have to dip a long time to build it up, but you’ll be surprised at how fast it goes before it is wide enough at the base of the taper to fit into a candlestick holder. It’s a very enjoyable, therapeutic process.
Step 6: After you are done dipping, carefully snip the bolt nut off and mold your base with your hands. It should still be pretty warm and pliable.
Step 7: Trim the string or wick about a half inch past the wax tip.
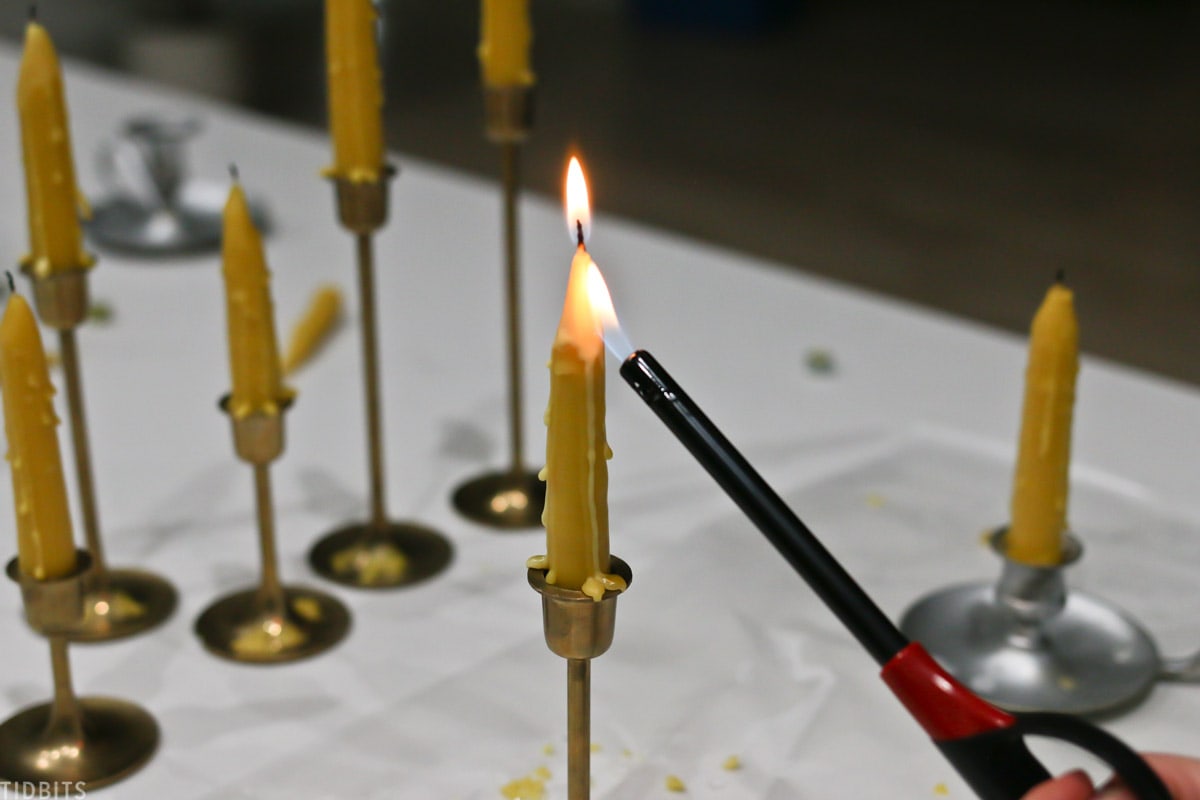
Step 8: This is if you want a beautiful vintage or old world looking candle. You can use a lighter to melt the tip of the candle and let the wax drip and build up on the candlestick. This was my favorite step by far, and gave the candles so much old world character.
Tips for making dipped beeswax candles:
So we learned a lot along this process. Our first few looked so bad we just threw the wax back in the melting pot. But by the end, myself, my husband and all my kids were making some beautiful candles!
Tip 1: Unless you have a ton of beeswax and can fill up a large container so you get a long tapered candle, it’s best to find a tall narrow container. We opted to use a tall narrow thermos that we didn’t want any more. I wish I would have looked at the thrift store for an even taller thermos. We started thinking we would just use small pint or quart sized canning jars but quickly realized that only made very tiny candles and used a lot of the melted wax. I’m definitely going to keep my eye out for a very tall, narrow thermos or glass container so I can try my hand at making bigger ones. But we thought the metal thermos was perfect because it kept the wax hot so it didn’t start to cool and clump on the outside or bottom, like we noticed the glass jars doing.
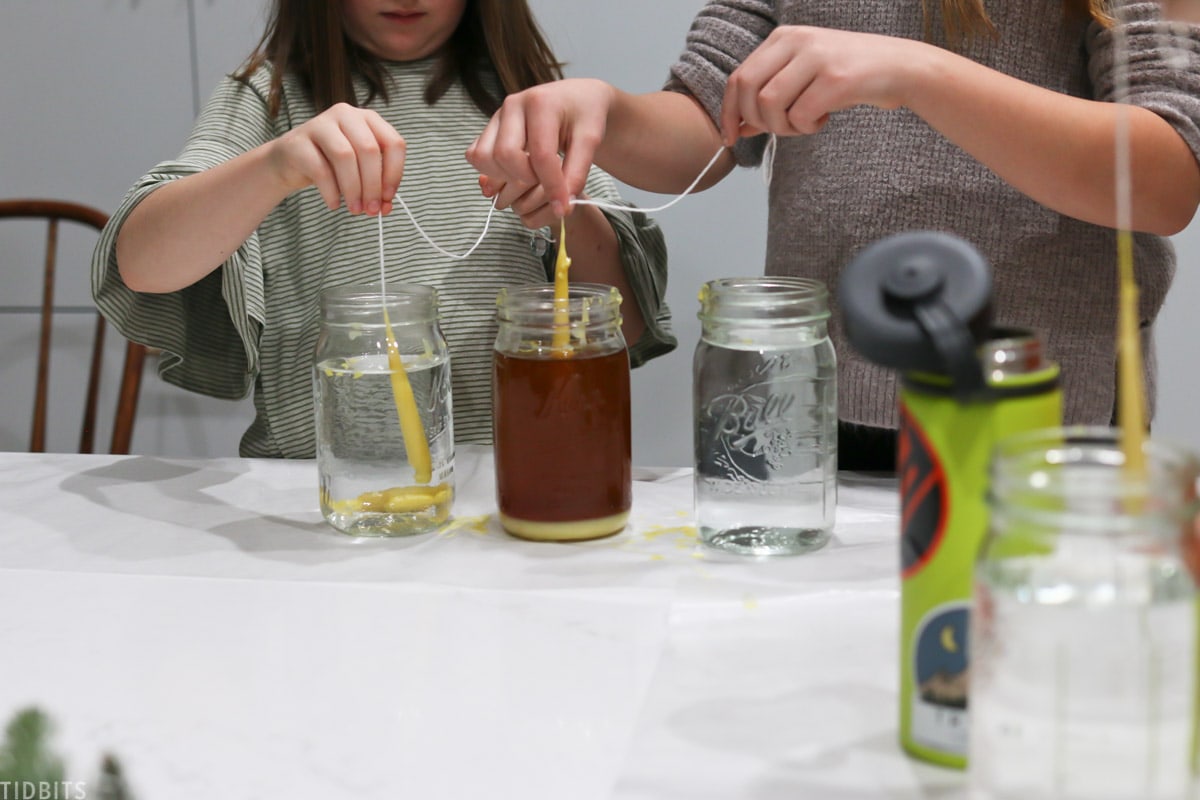
Tip 2: You’ll be tempted to clip off the metal nut before the candle is done. We found we needed to keep it on until the very end. The extra weight made for a much more even dip and then it didn’t float in the water when dipped in the cold water jar.
Tip 3: As you go along, there will form a protruding drop of wax at the bottom of the candle. We found we needed to keep that snipped so the candle would dip down evenly throughout the process and cover the entire amount of string each time – making for a more evenly distributed candle.
Tip 4: If you have extra wax, you can put a string or wick in the bottom of a jar and make a candle in a jar. My husband made a couple of those in half pint jars, but then he dumped the remaining wax into bigger jars to store until we try this next time and get more beeswax! There is definitely going to be a next time!

Common questions about making beeswax candles that I learned:
Yes! It’s absolutely possible to use 100% beeswax for jar or dipped candles. They make for lovely, natural looking candles. You can also add coconut oil to the wax for a more even burn on the candles.
Adding coconut oil to beeswax candles helps the candle burn more evenly, slowly and prevents tunneling. You should add 1/3 of cup coconut oil to every 1 cup of beeswax.
You can buy Beeswax pellets, which melt quicker here.
You may also like to buy beeswax in blocks and cut them up yourself for quicker melting. This is a great source.
Beeswax can store for a very long time, so it is great to collect and have on hand.
Yes, you can! It is recommended to use 20-25 drops of essential oils to every ounce of beeswax. An unscented beeswax candle has a lovely soft honey aroma, and you may enjoy it unscented as well.
It is recommended to wait 7-10 days for your beeswax candle to fully cure, before burning.
This was an extremely enjoyable activity for the family, and I would even enjoy this myself at any time. We finished up the night in our pajamas watching “The Christmas Candle” on Amazon. I couldn’t have asked for a sweeter night as a family.
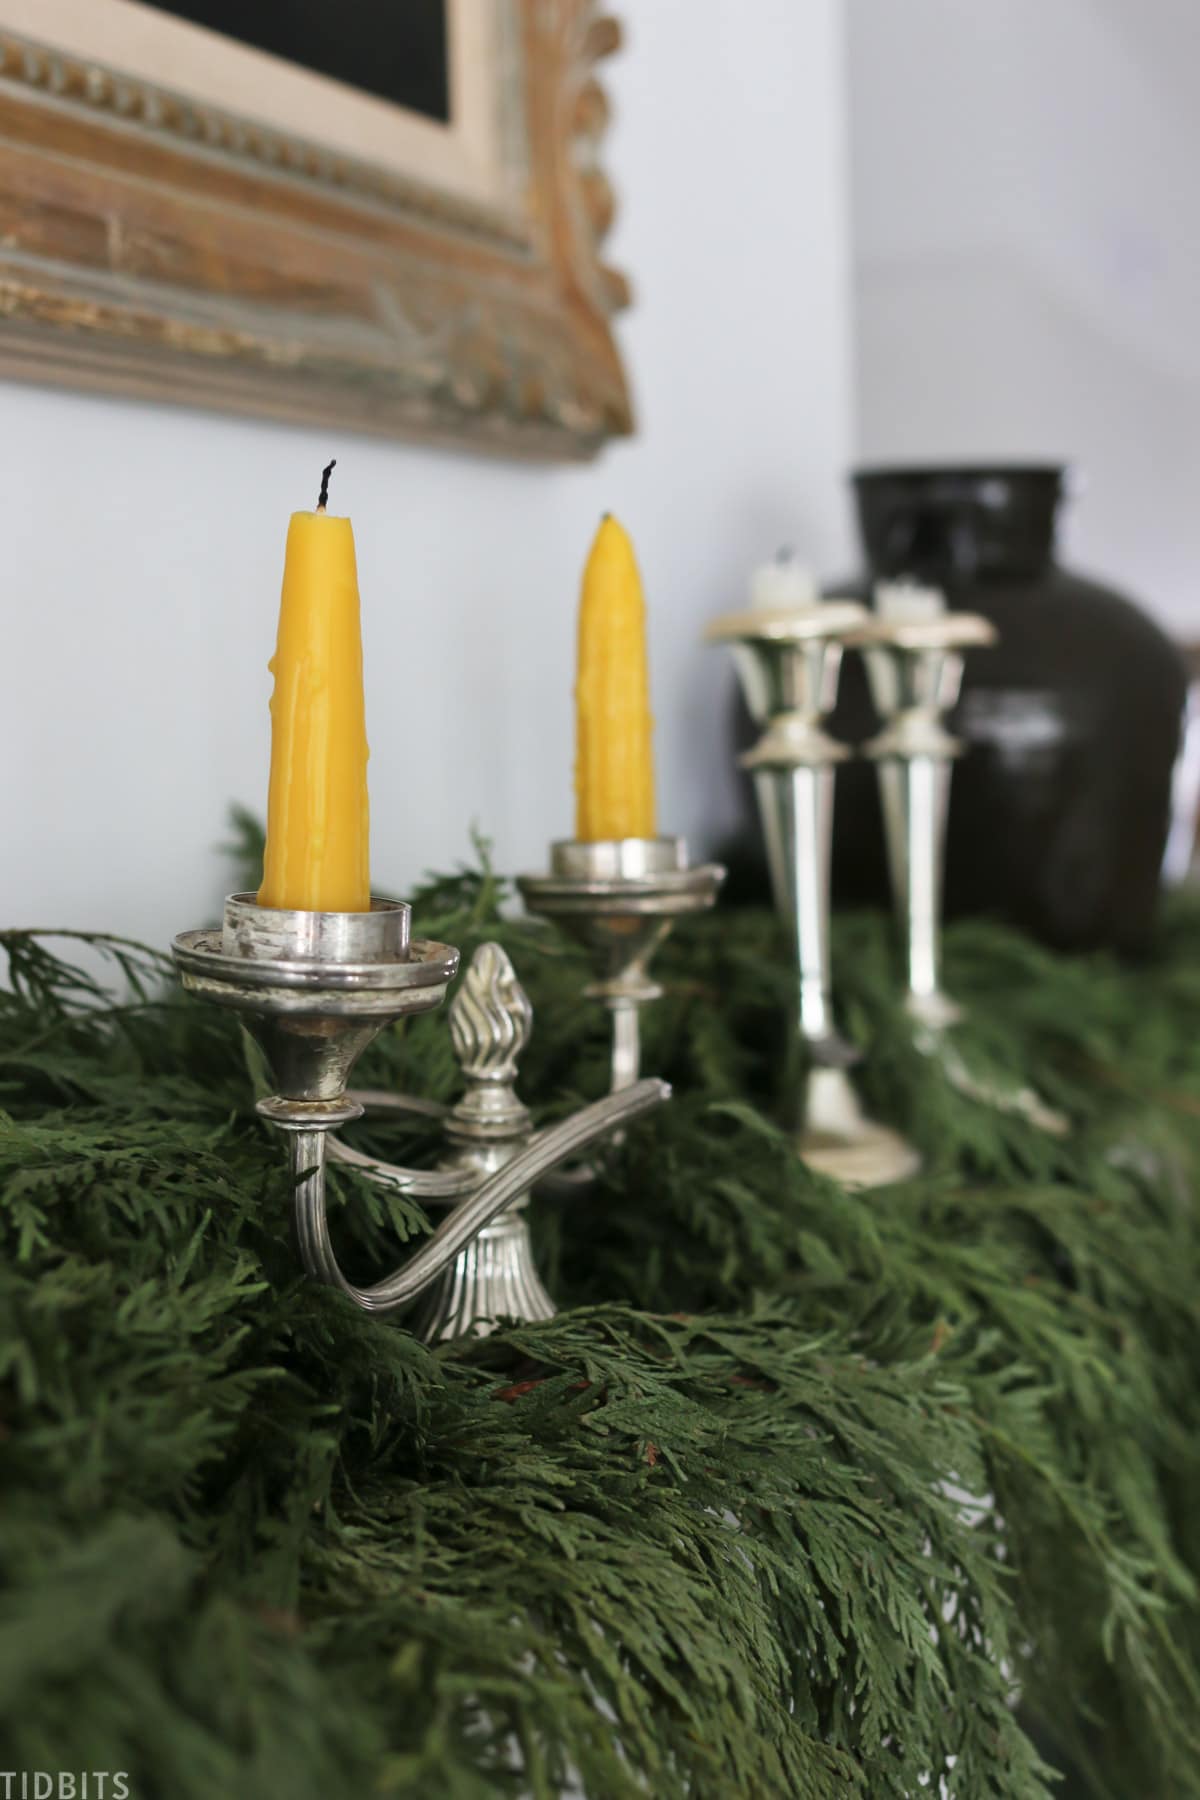
In the meantime, I’ve been decorating for Christmas and winter by adding these candles here, there and everywhere.
I hope you’ll enjoy this candle-making DIY sometime too. Don’t get hung up on having the perfect supplies, just gather what you can, have fun, and then join me as I constantly keep an eye out for more supplies to make bigger and better tapered candles again!
I’d love to have you take a minute to cruise my blog TIDBITS, and see if I have more fun DIY projects you might be interested in – and be sure to subscribe while you are at it to be the first to get my new content!
More fun winter time DIY’s from TIDBITS:
- 3 ways to customize a ceramic star
- Homemade Dry Potpourri
- Natural Winter Room Spray
- How to Force Bulbs Indoors
- DIY Snow Covered Pinecones
- Re-purposed Sweater Pillows
- How to Make Beeswax Rolled Candles
Thanks for reading and be sure to check back for more inspiration for do-it-yourself living.


Really enjoyed your Little Women themed home. Just perfect. Might try these candles someday!