This post may contain affiliate links, which means I get a small percentage of the sale at no extra cost to you. I only recommend items I love and have had a positive experience with. Thank you!
I’ve been getting my Christmas crafting game on and discovered three fun ways to customize and personalize these basic white ceramic star ornaments. Let me show you how you can create a Christmas star ornament like these for the holidays.
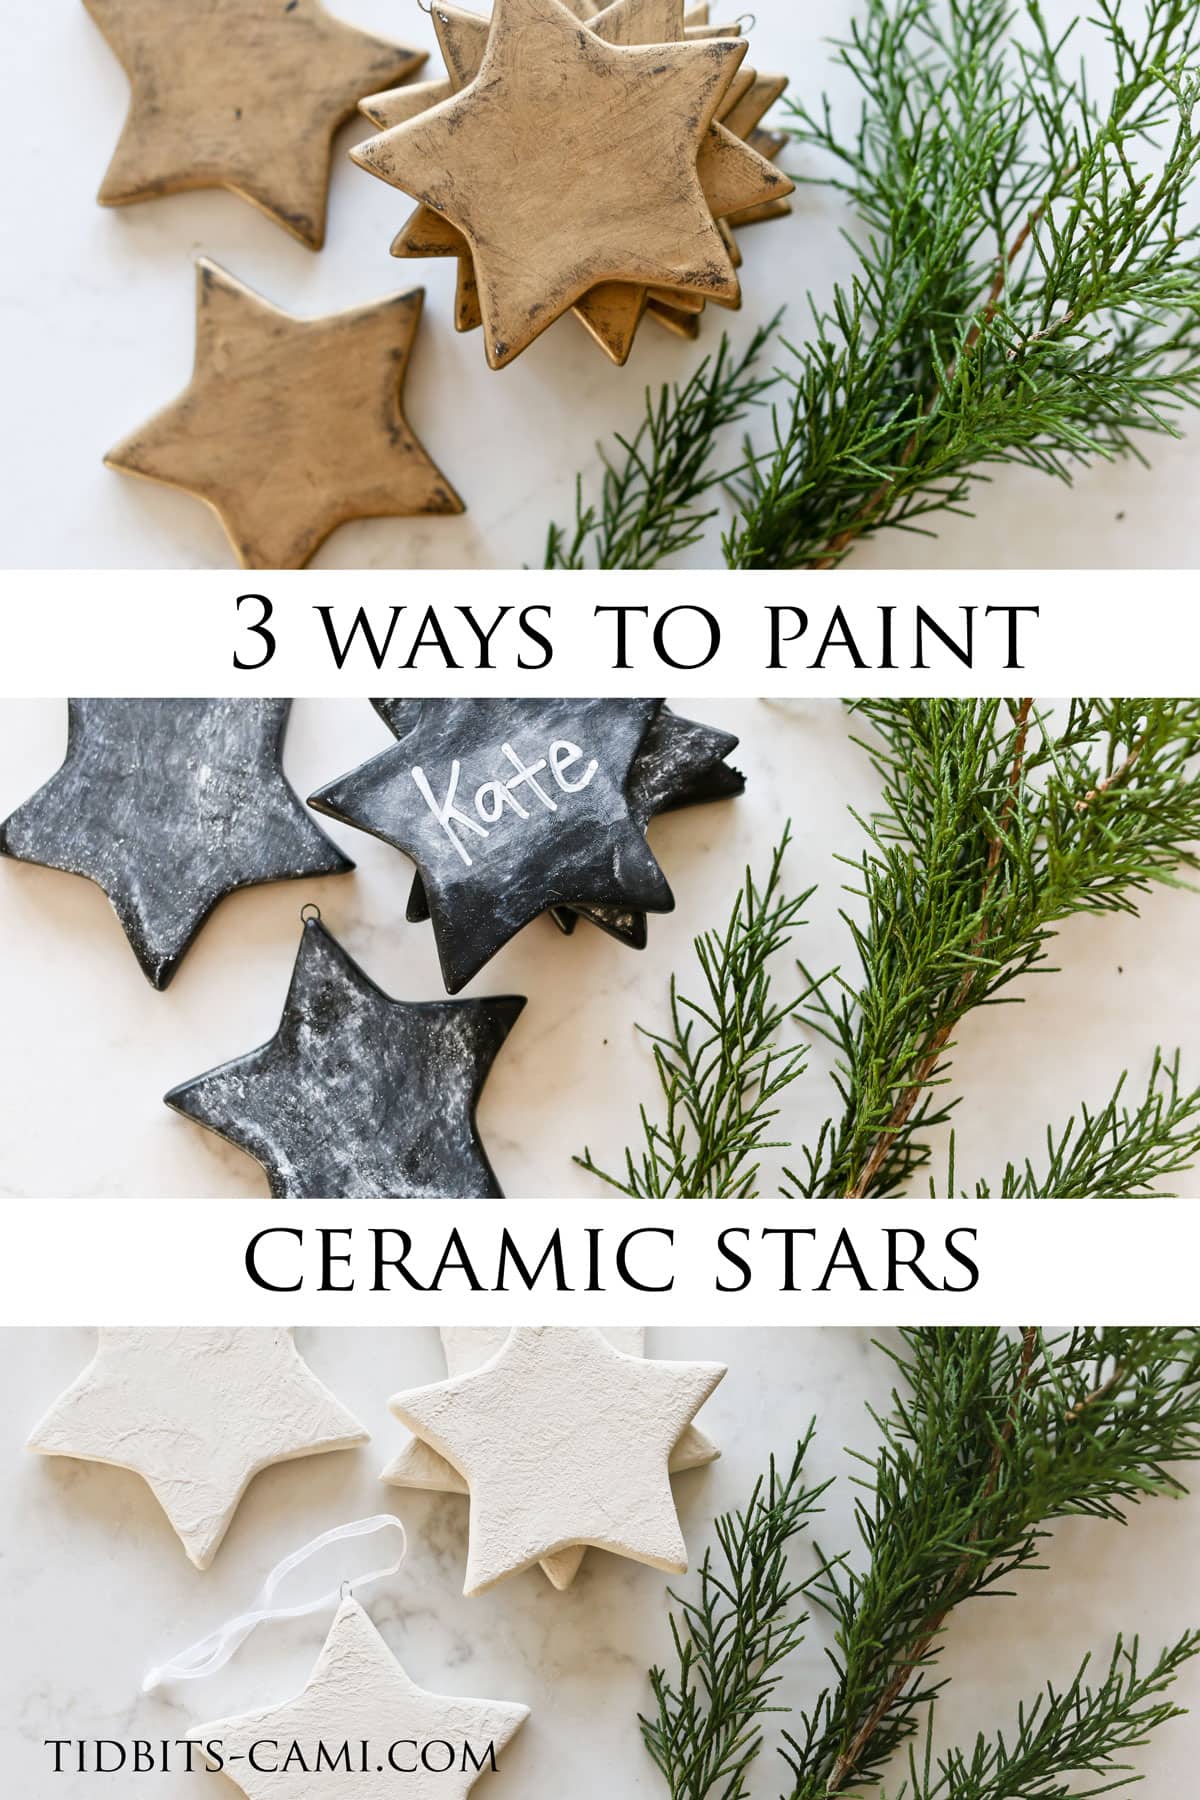
I found a pack of ceramic star ornaments on Amazon, and I think they are so darling.
They are super cute just as they are, but they are also fun to customize! I played around with 3 techniques and wanted to show you the results and how I displayed them throughout my Holiday home.
Watch this Post
Supplies
I’ve seen the exact stars I ordered sell out, so I will link a few star ornament options for you.
- Ceramic star ornaments from here, here or here
- Wood star ornaments
- Mixed ceramic ornaments
Other supplies you will need for these techniques:
- Rubb n Buff
- Chalkboard paint
- Twine
- baking soda
- paint (any color you want, but I used an off white)
- paint brushes
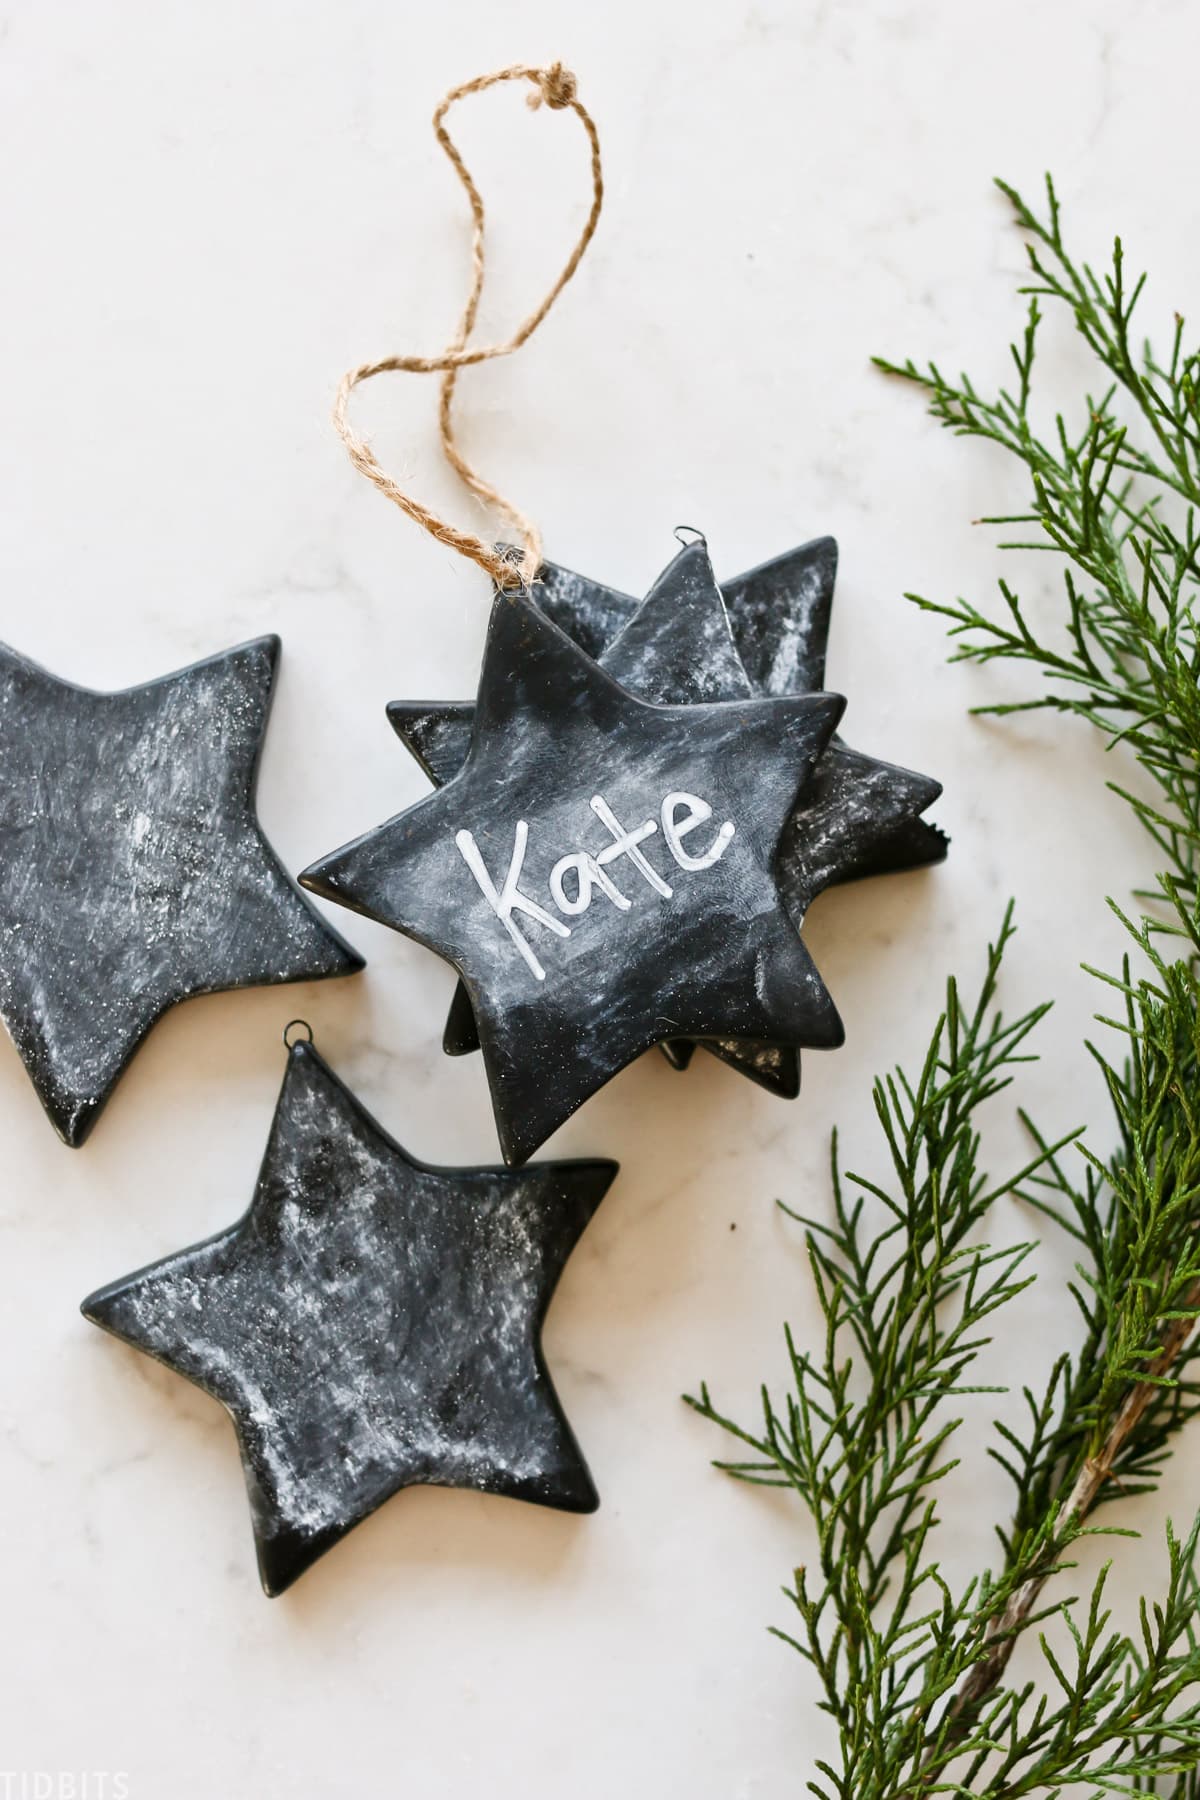
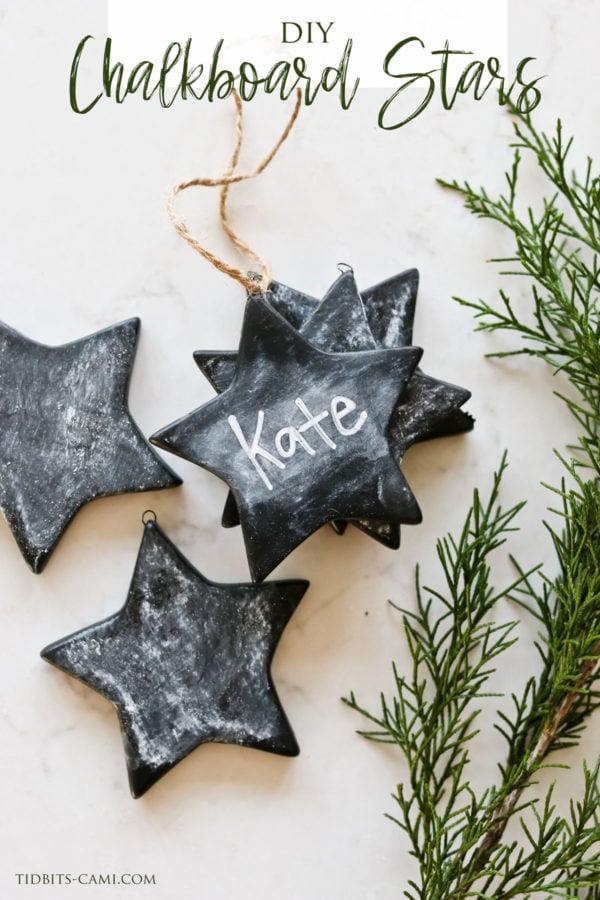
1) Chalkboard Ceramic Star Ornament
This first idea is for a really fun and customizable chalkboard ornament.
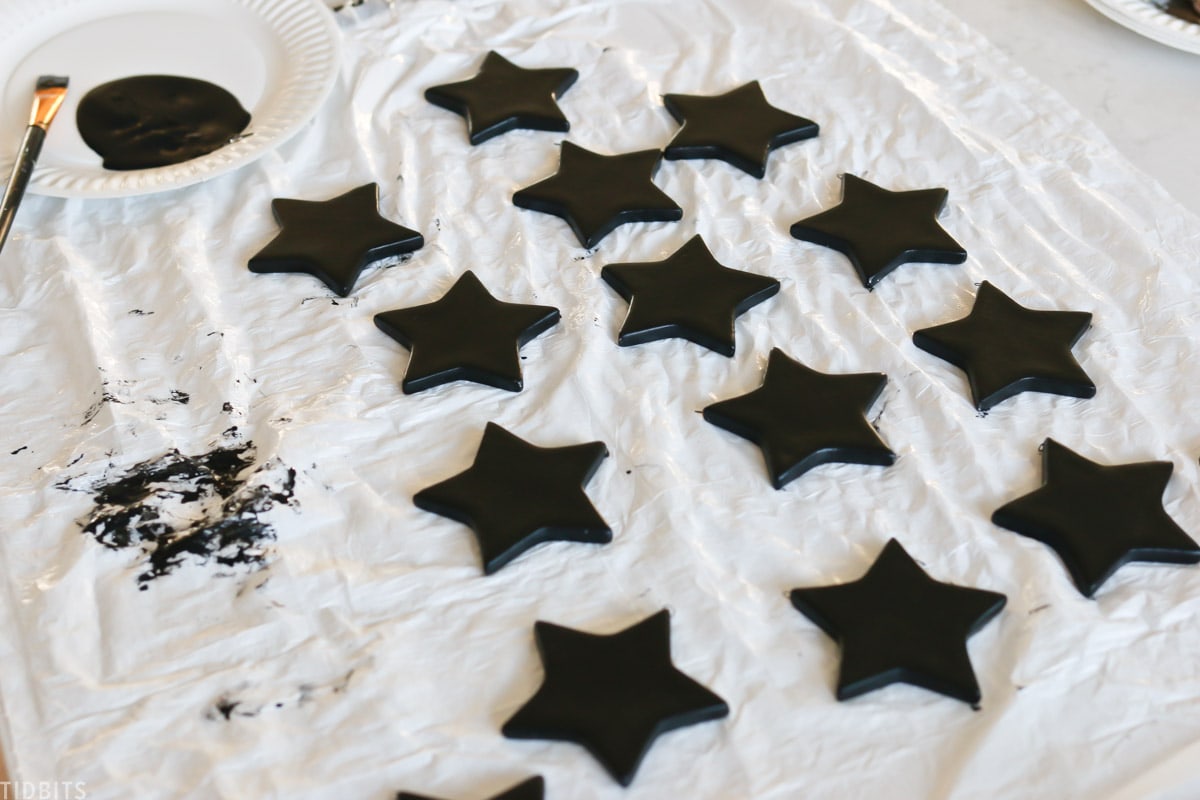
I first clipped off the chiffon ribbon hanger that came with it and laid all the stars out on the garbage back to protect my table.
Then I simply used some chalkboard paint that I grabbed from the craft store and applied one coat of chalk paint on the front and sides.
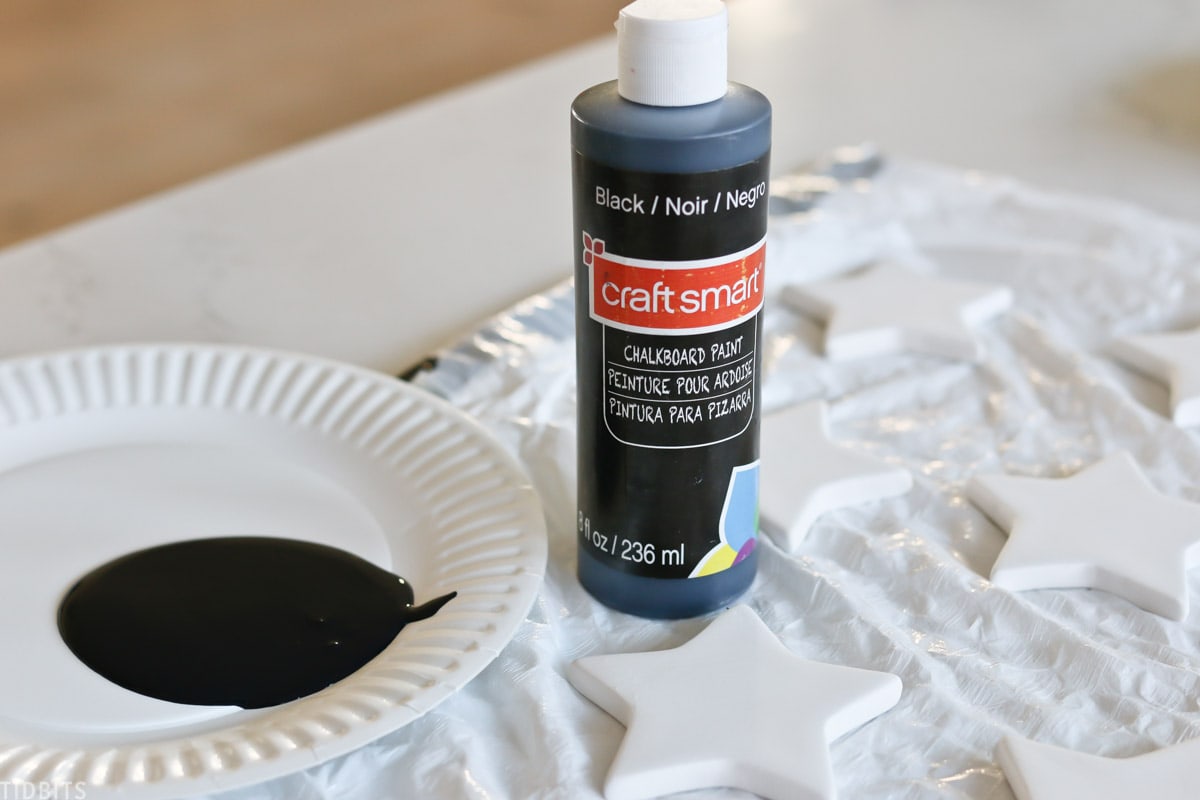
Once that dried, I flipped them over and painted the backside.
To prep them for writing and to get the chalky look, I rubbed some white chalk all over the star, using the sides of a chalk piece, then gently wiped that off.
Then I preferred the look when I used a liquid chalk pen to write the name on the star.

I used some brown twine as a hanger, as I feel it compliments the chalkboard look better.
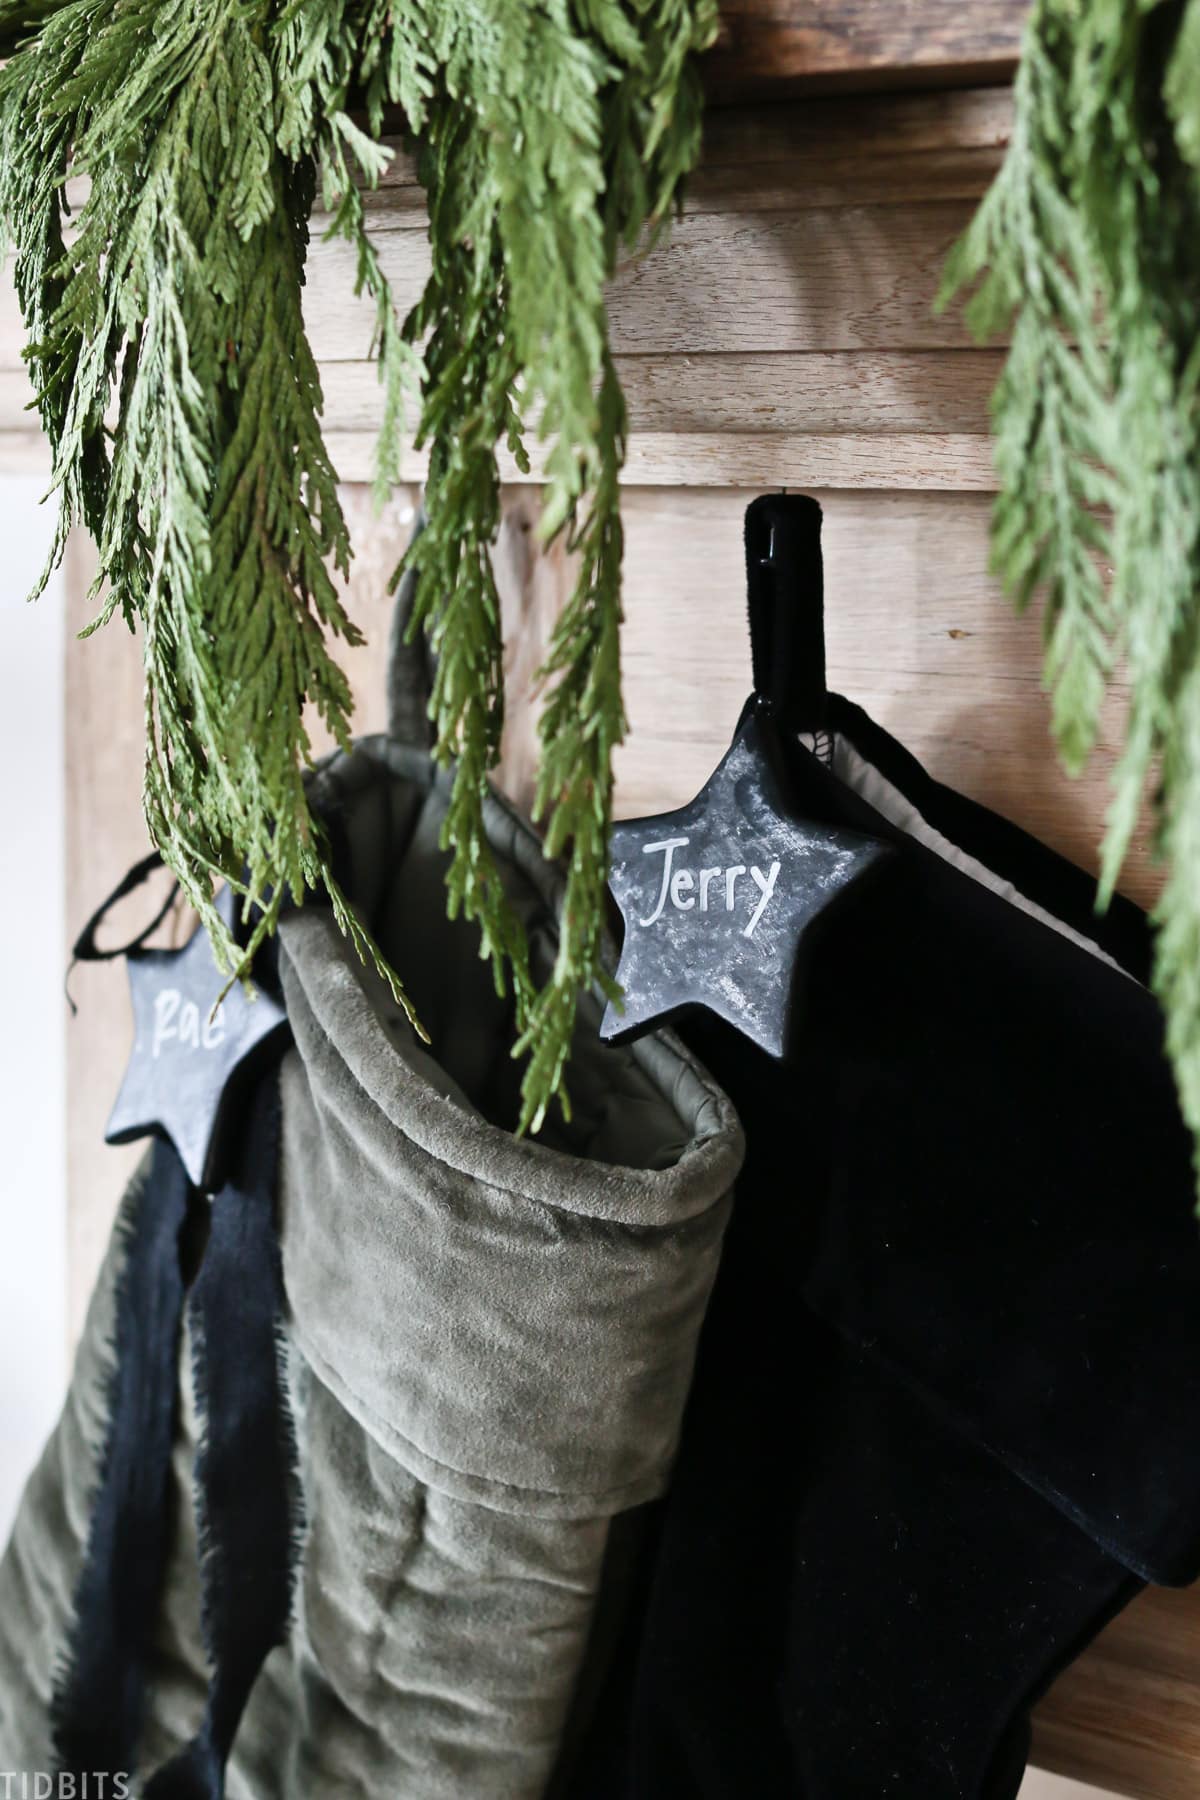
I think these chalkboard stars are so fun and can be used to hang on your tree, but I also love the idea of using these as present toppers and hanging with a stocking.
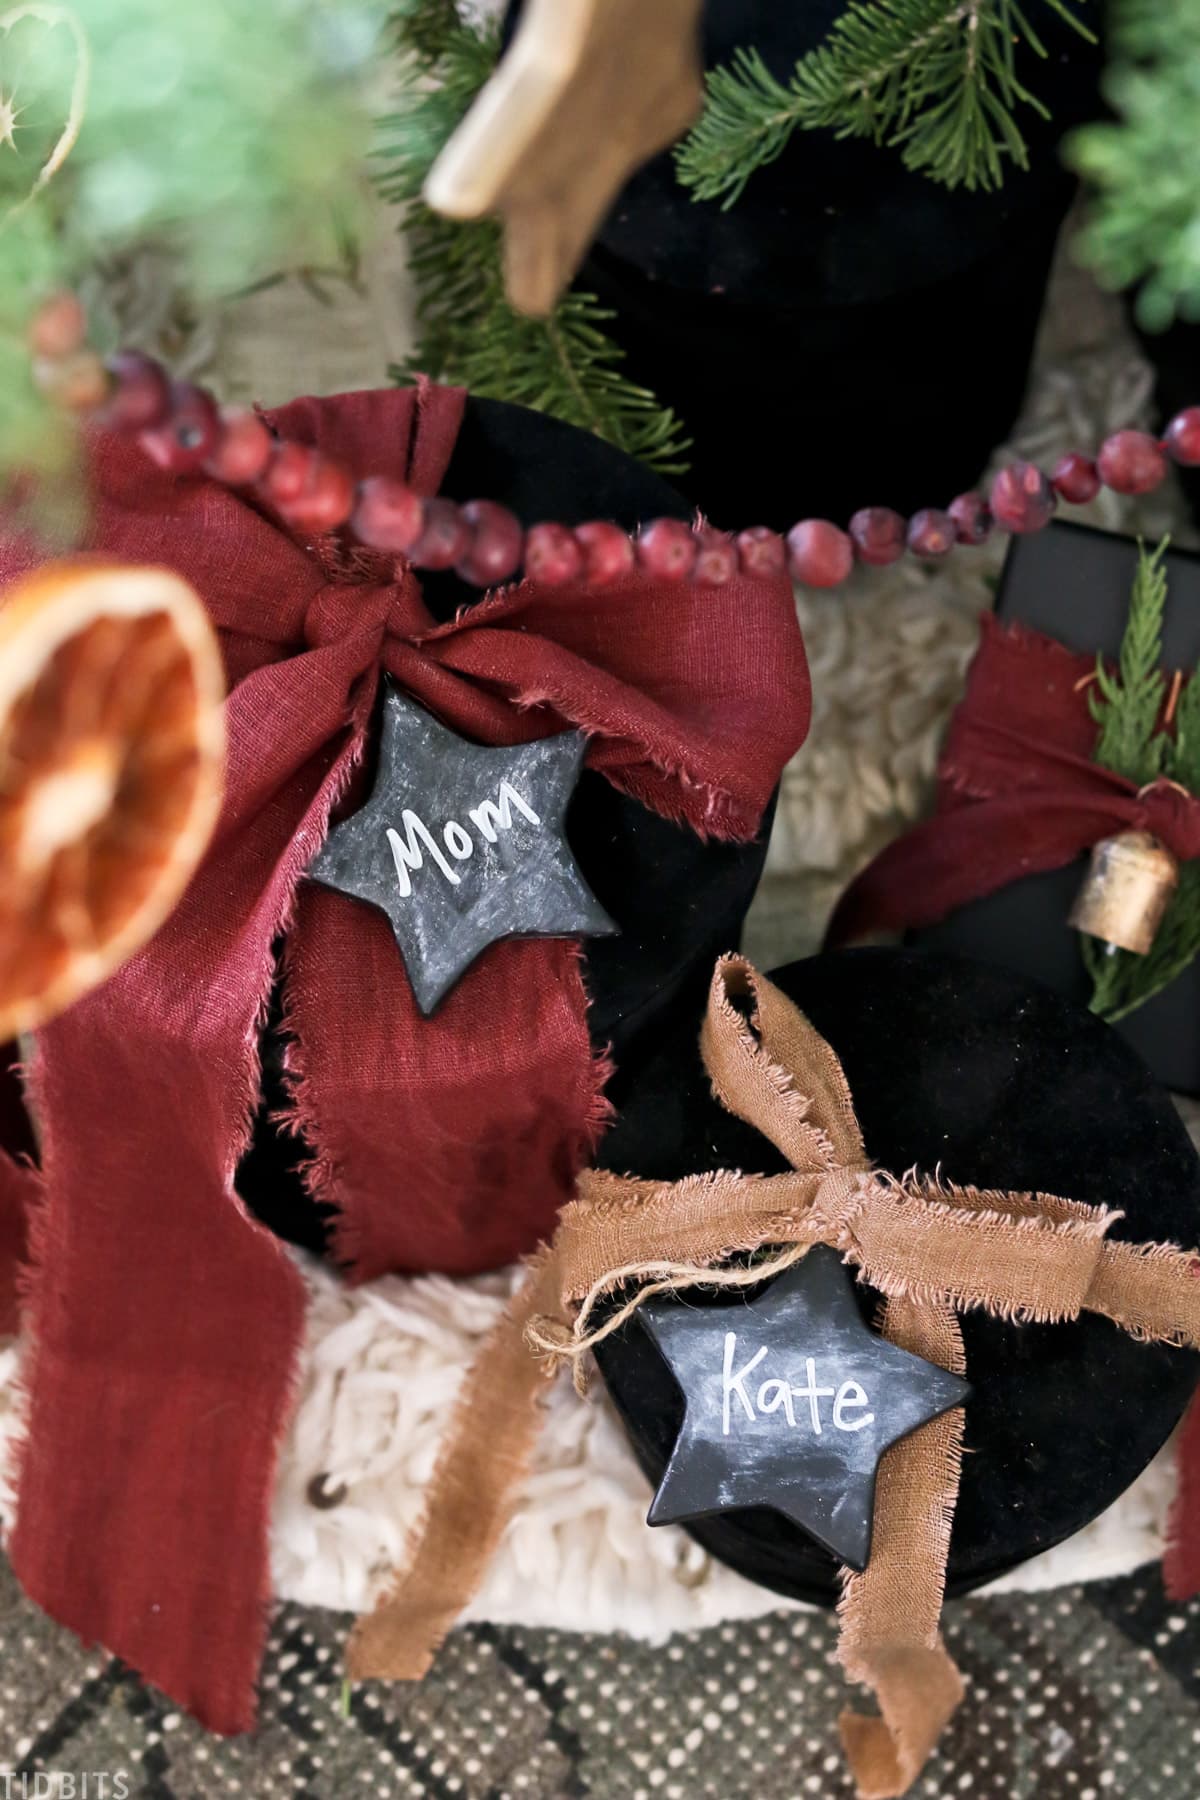
My kids are always concerned Santa won’t know whose is whose, so adding their name to their stocking is something they love to do.
2) Metallic Star Ornament
I really felt our tree needed more brass, and I looked high and low for some brass stars.
They were hard to come by and expensive if I did find them. So I decided to make my own!
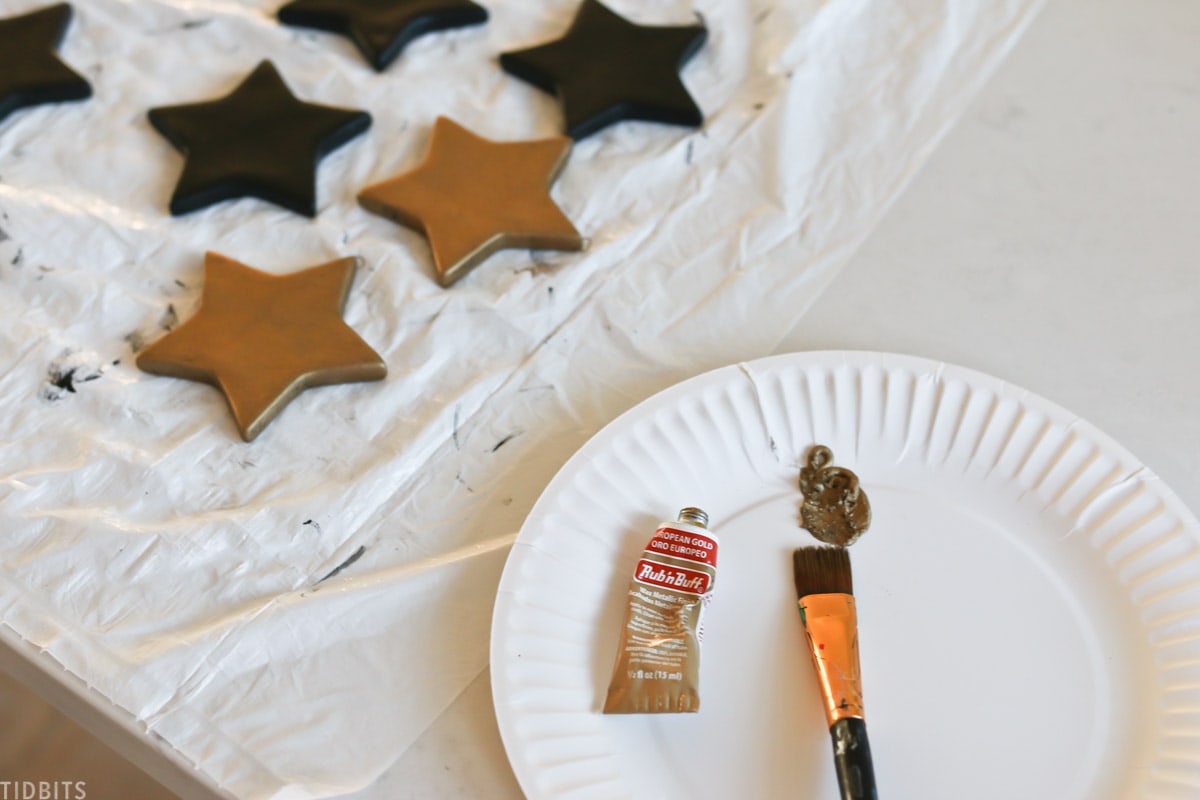
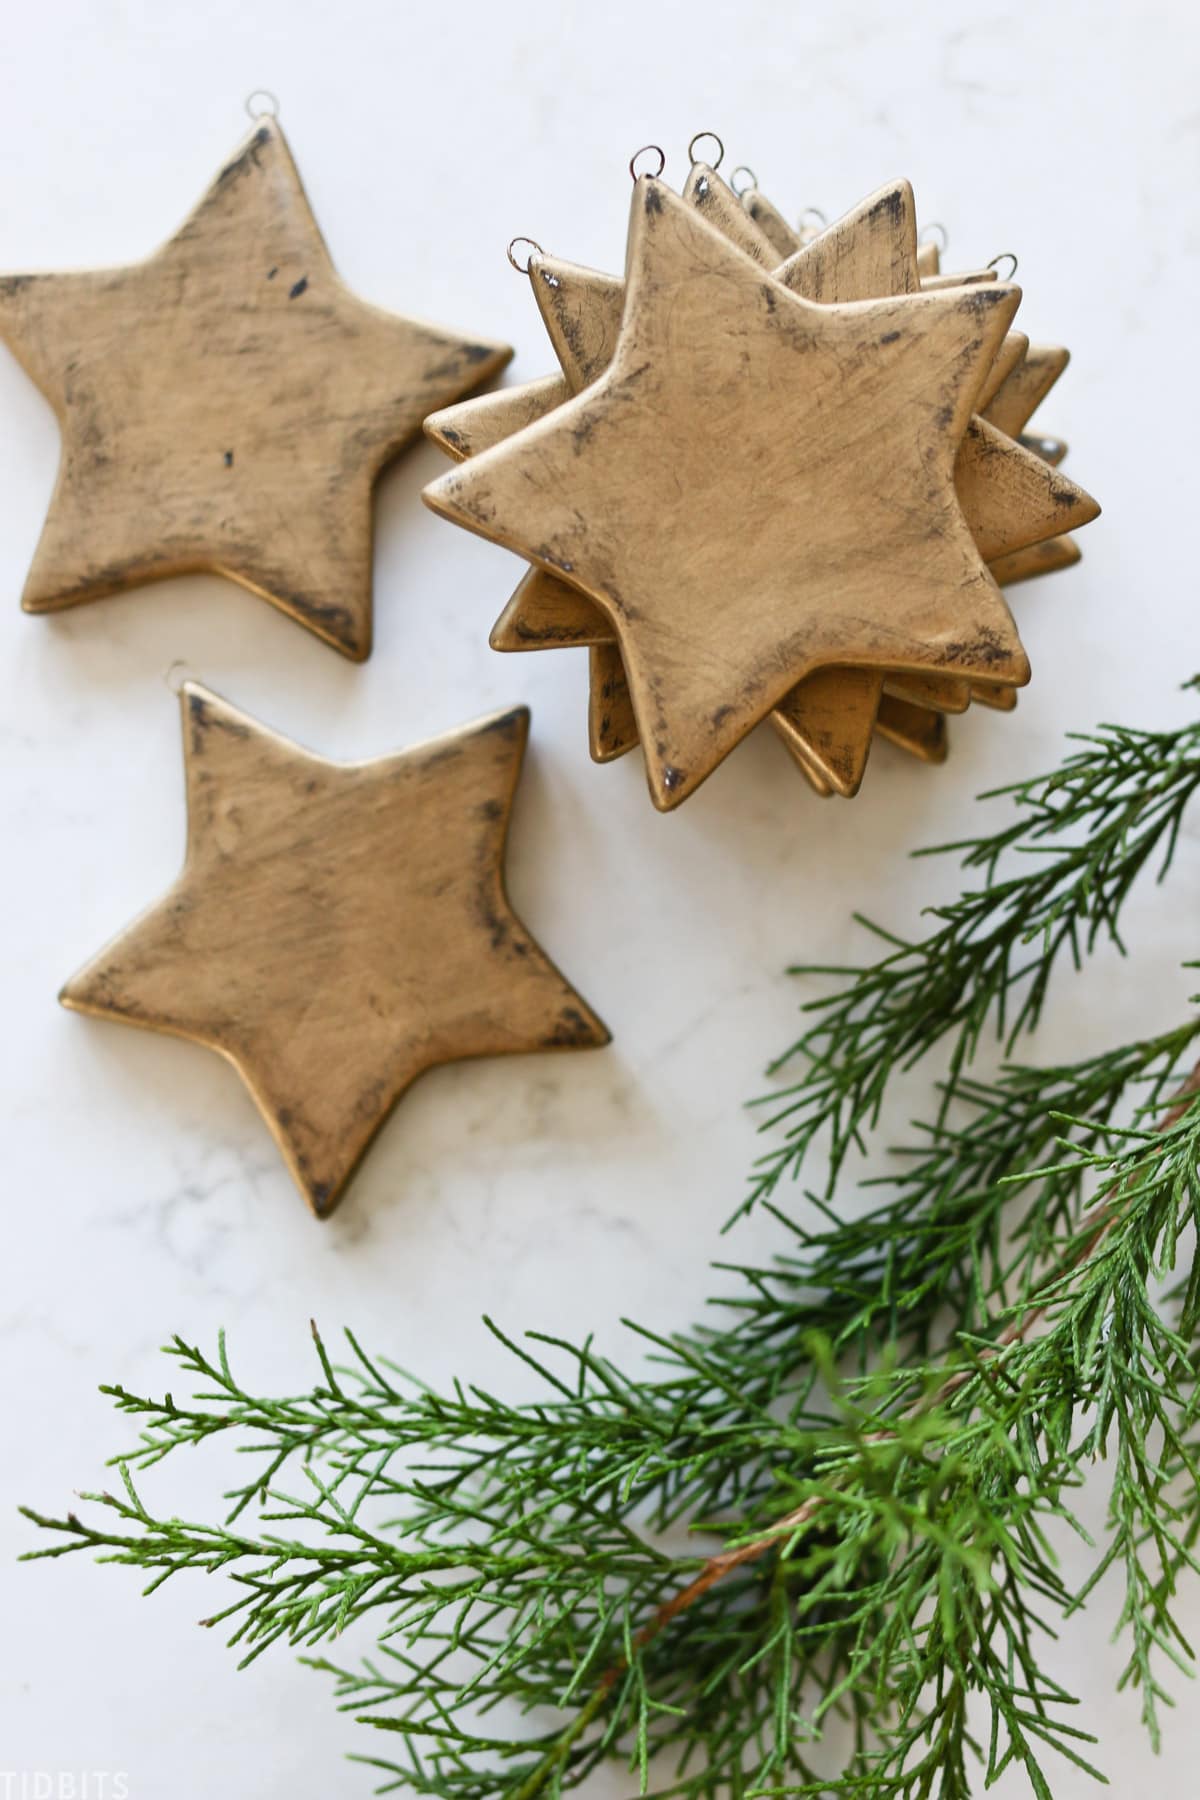
I wanted a base coat of black on the star, so I used the same black chalk paint to cover the white ceramic layer.
Then I used some leftover Rubb n’ Buff that I had to cover the star in the gold metallic product. It only took one layer and looked so pretty when it was done.
I decided to take it one step further and I lightly sanded the metallic surface to create more of an antique or aged look to the brassy stars.
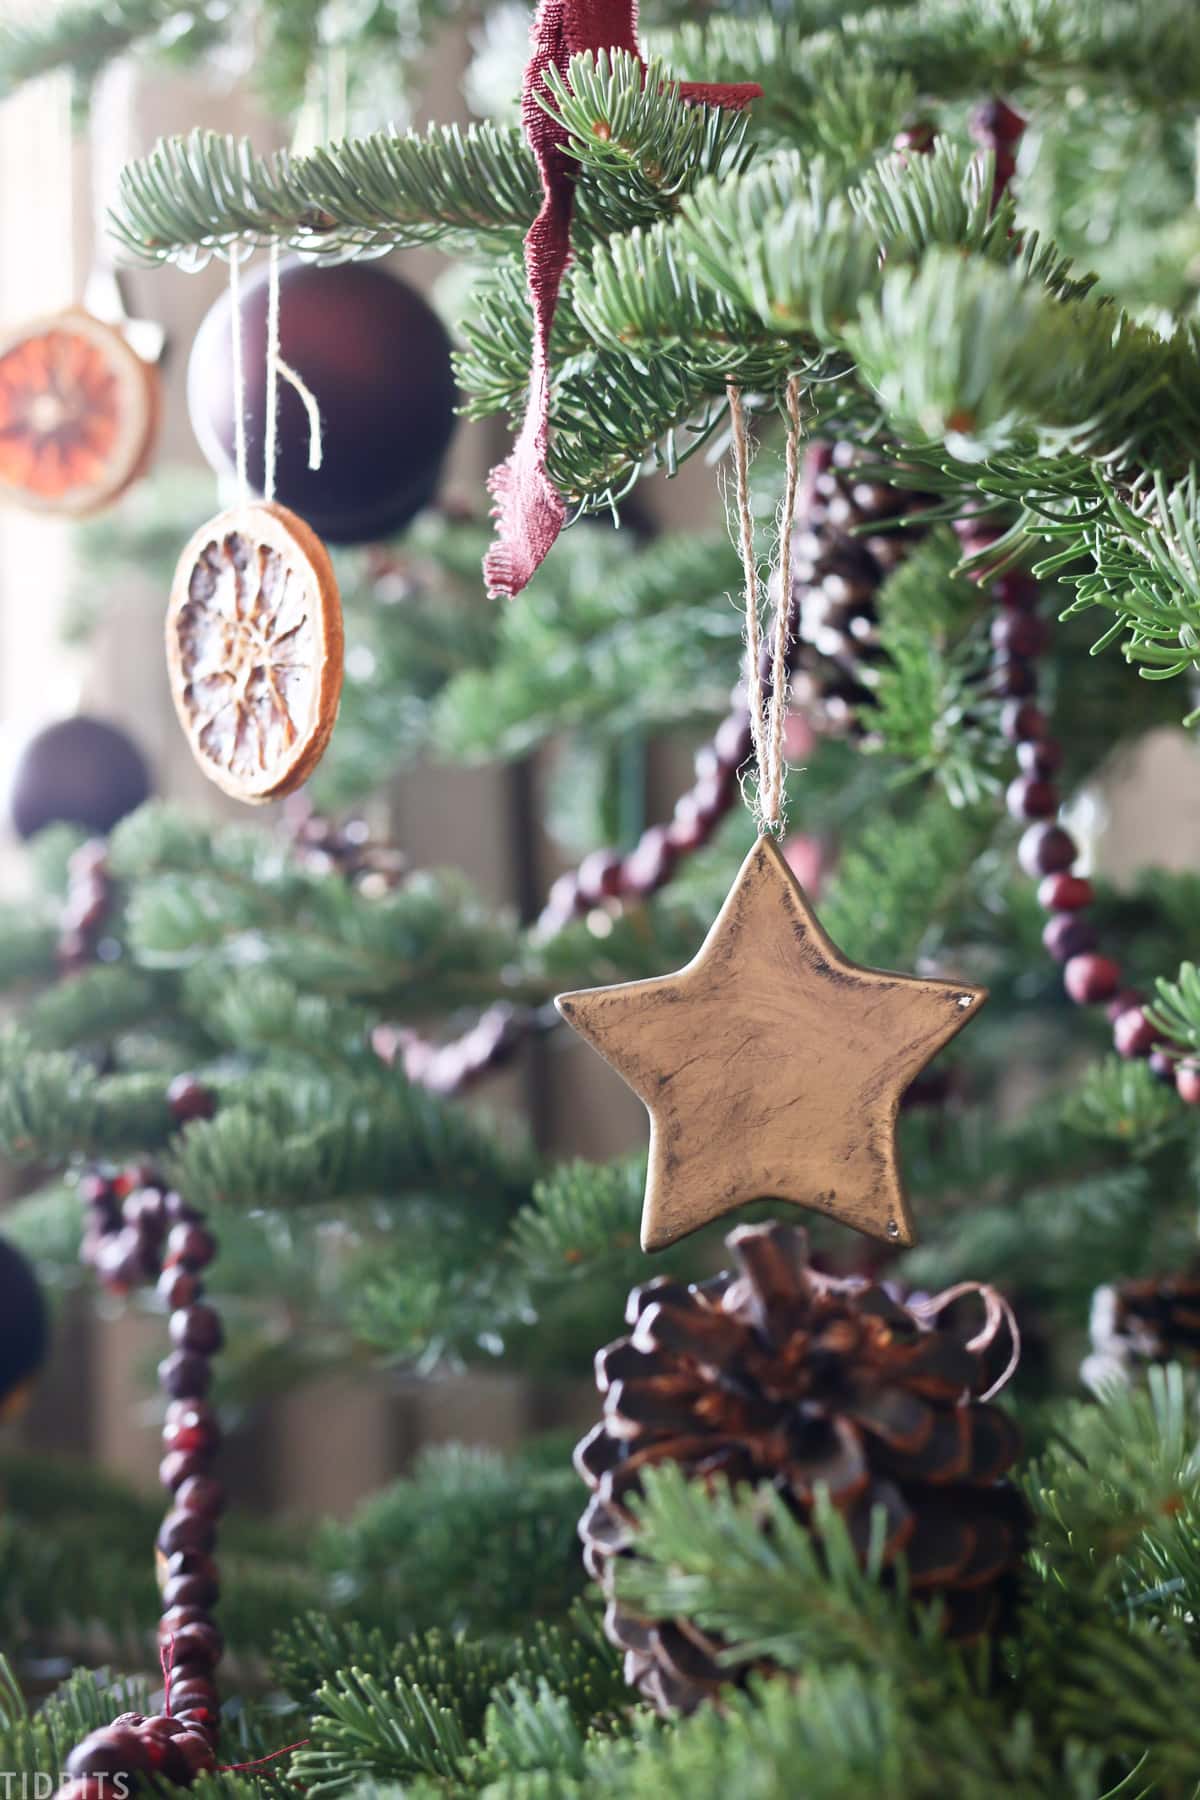
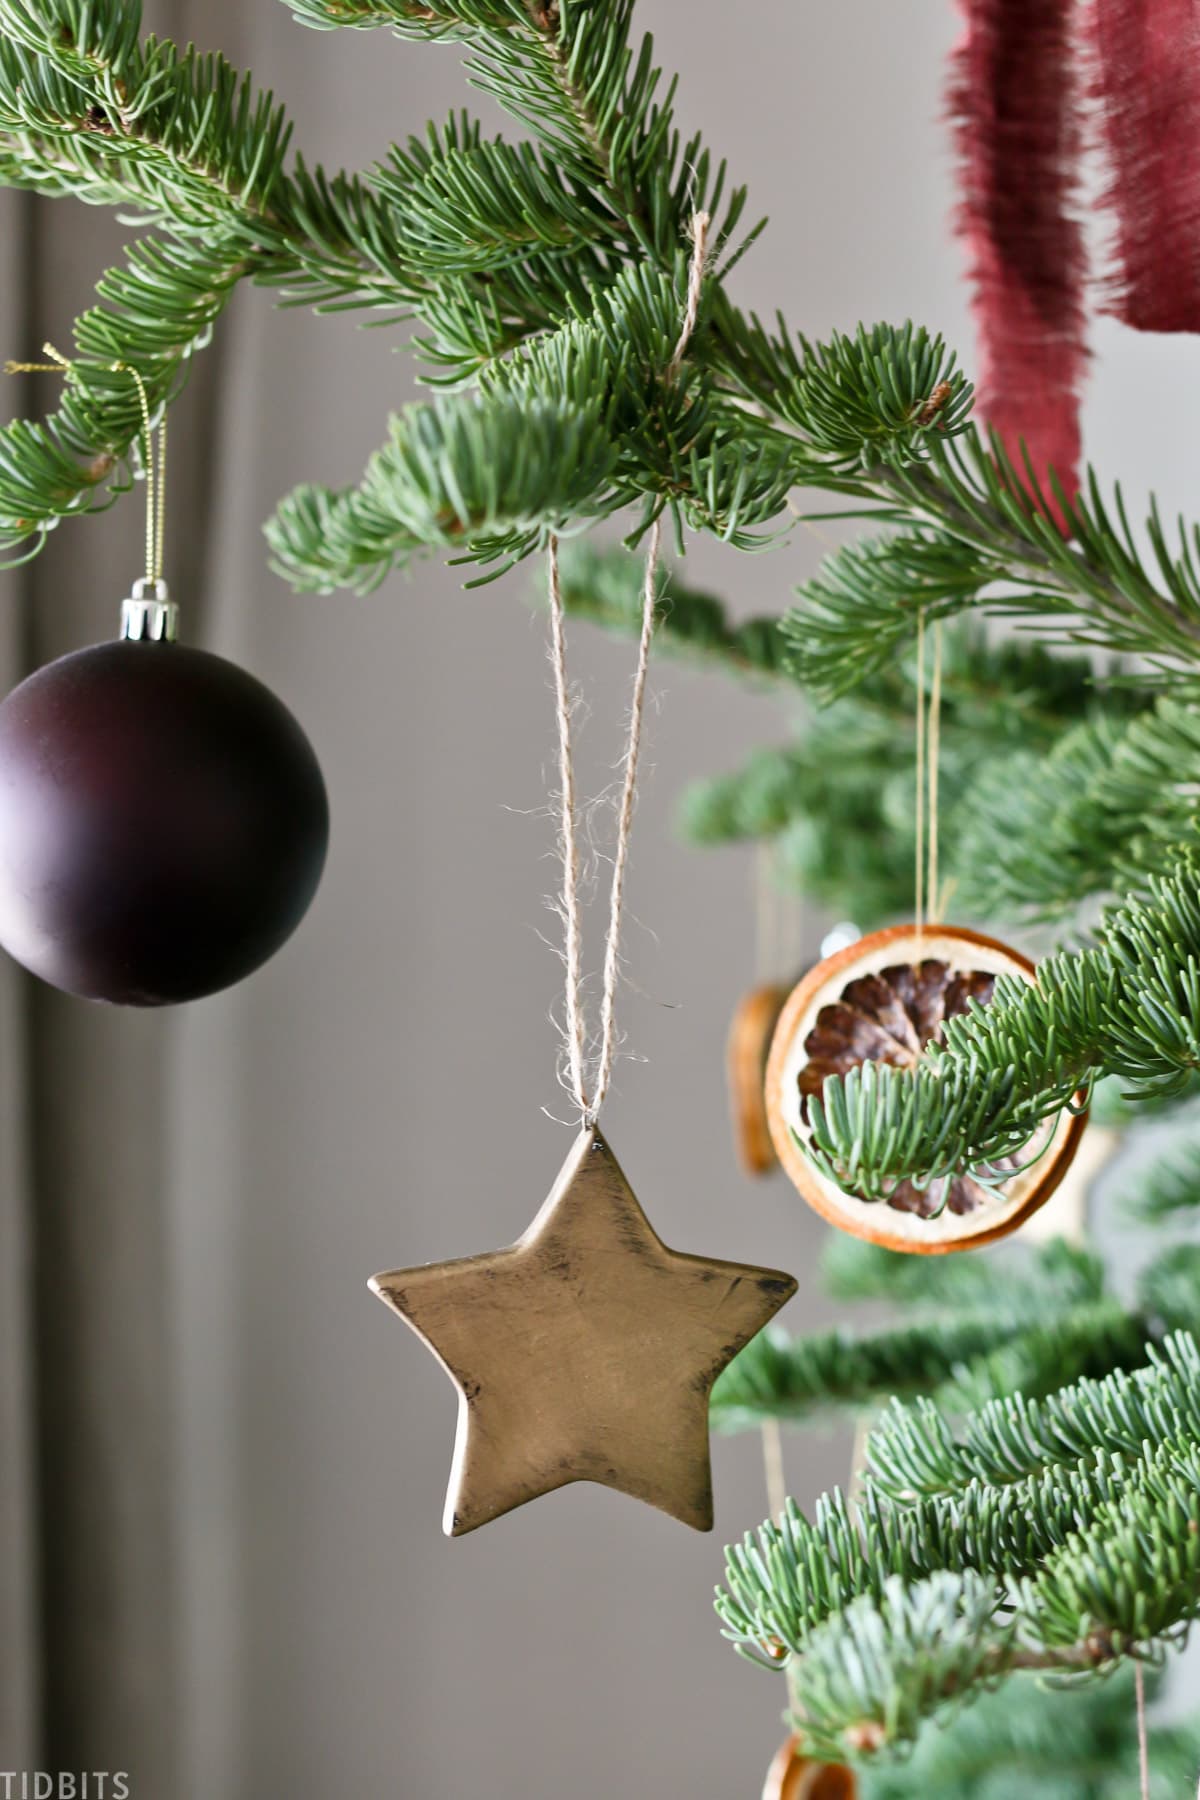
I think these would look darling sprinkled just about anywhere, but it added just the perfect amount of brass to our old world European farmhouse Christmas tree.
There are a lot of different Rubb n’ Buff colors so you could use this method to create so many fun looks.
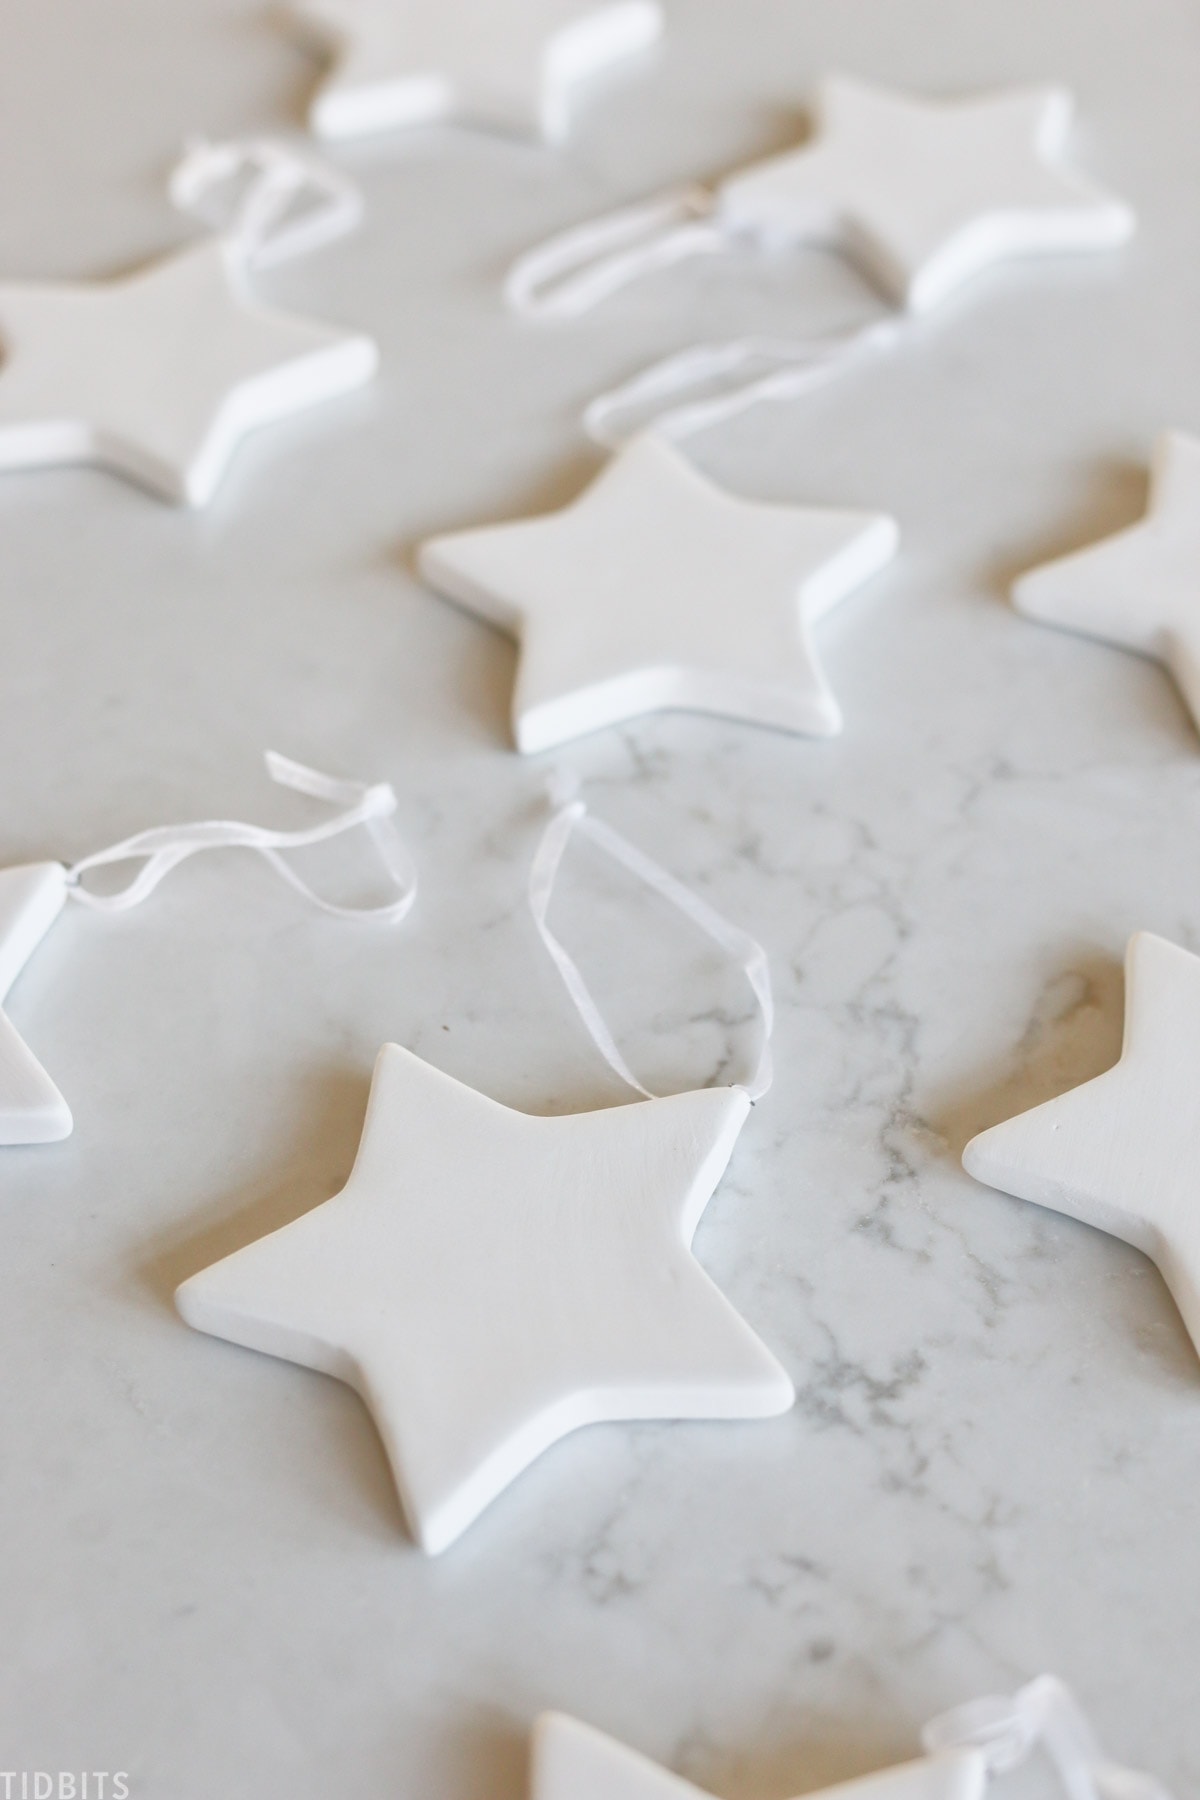
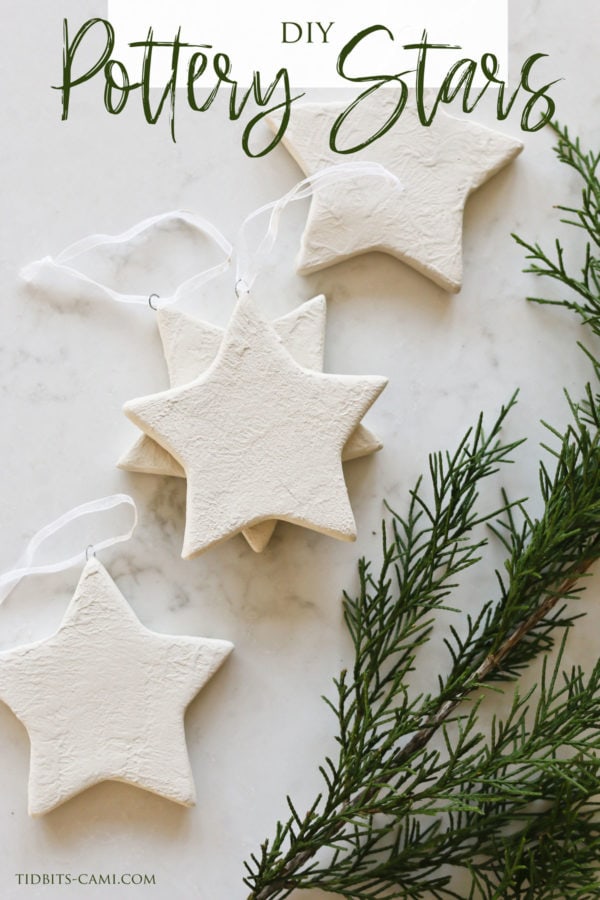
3) Pottery Ceramic Star Ornament
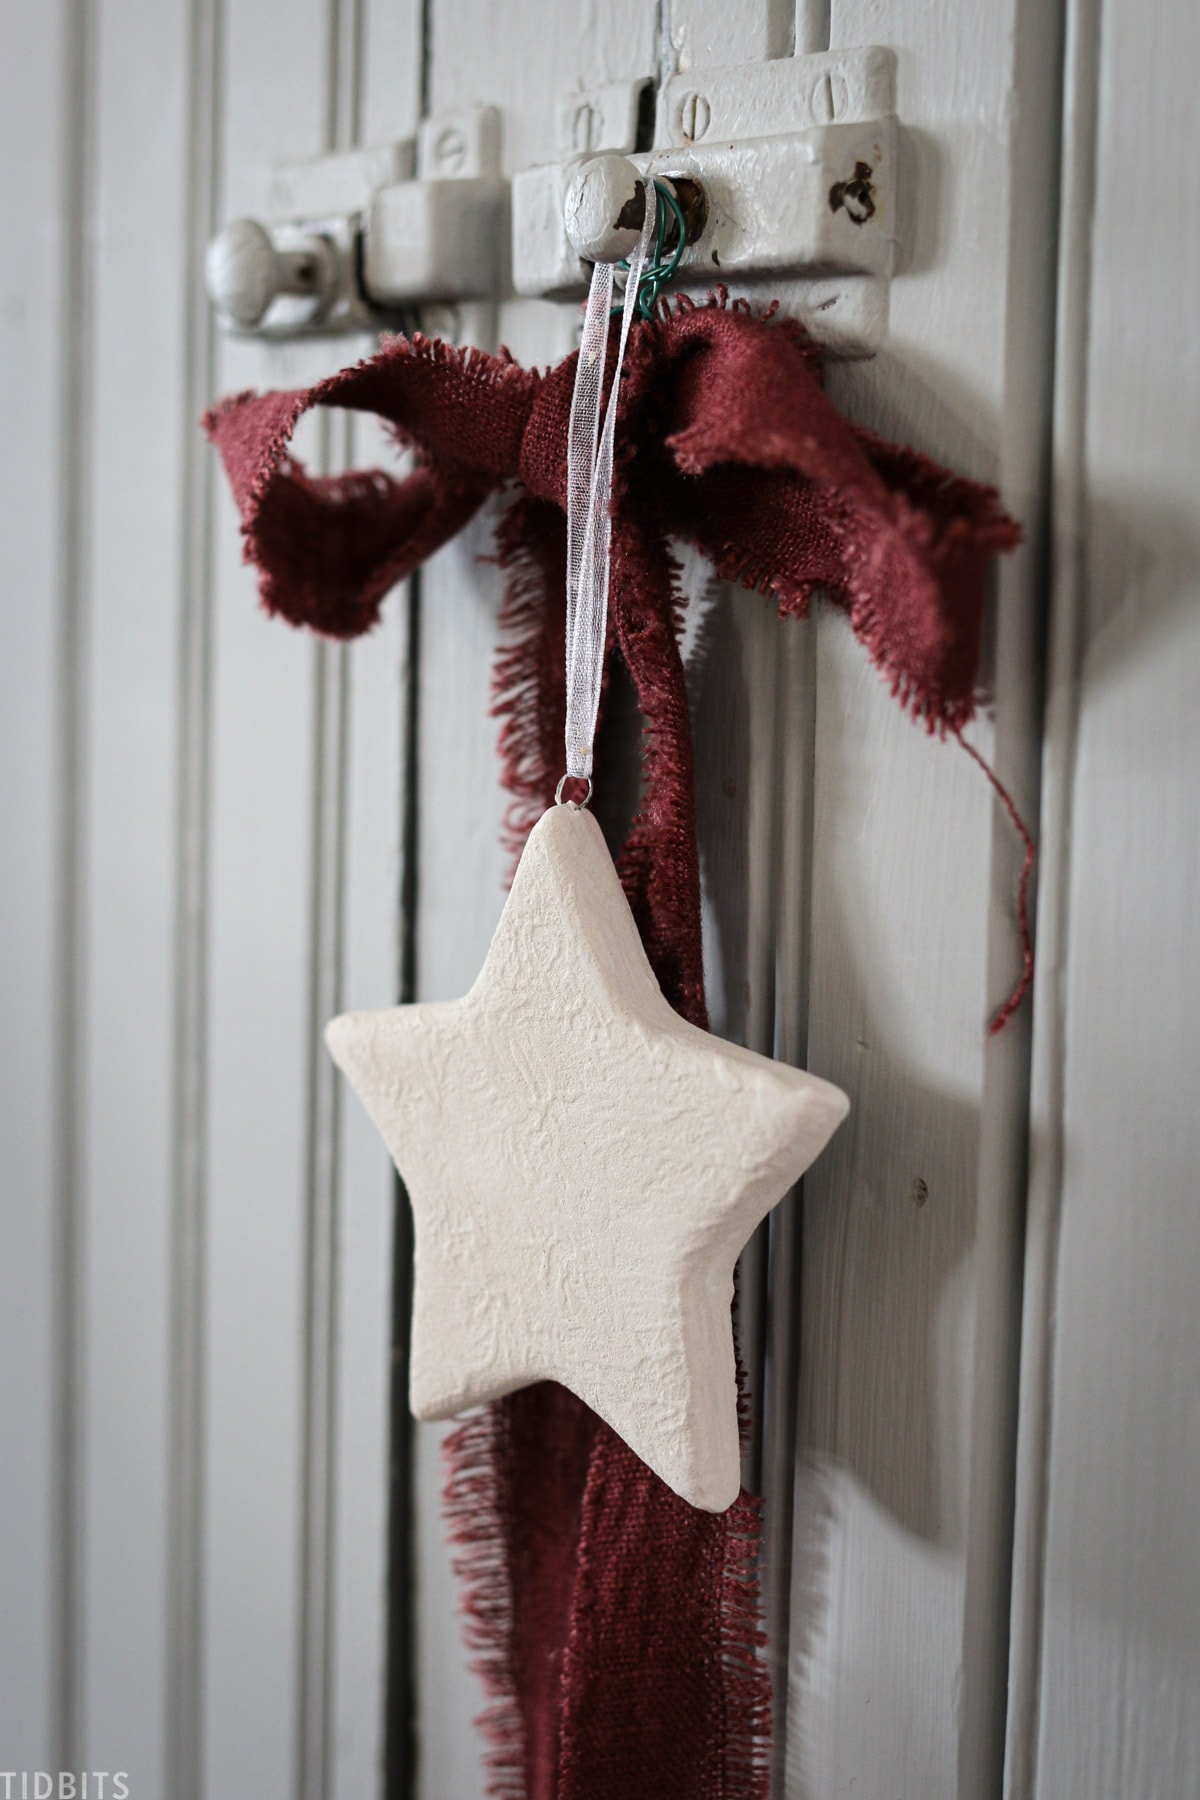
If you love the look of the white stars, but wish they had just a bit more texture, like say a piece of old pottery – this idea is for you!
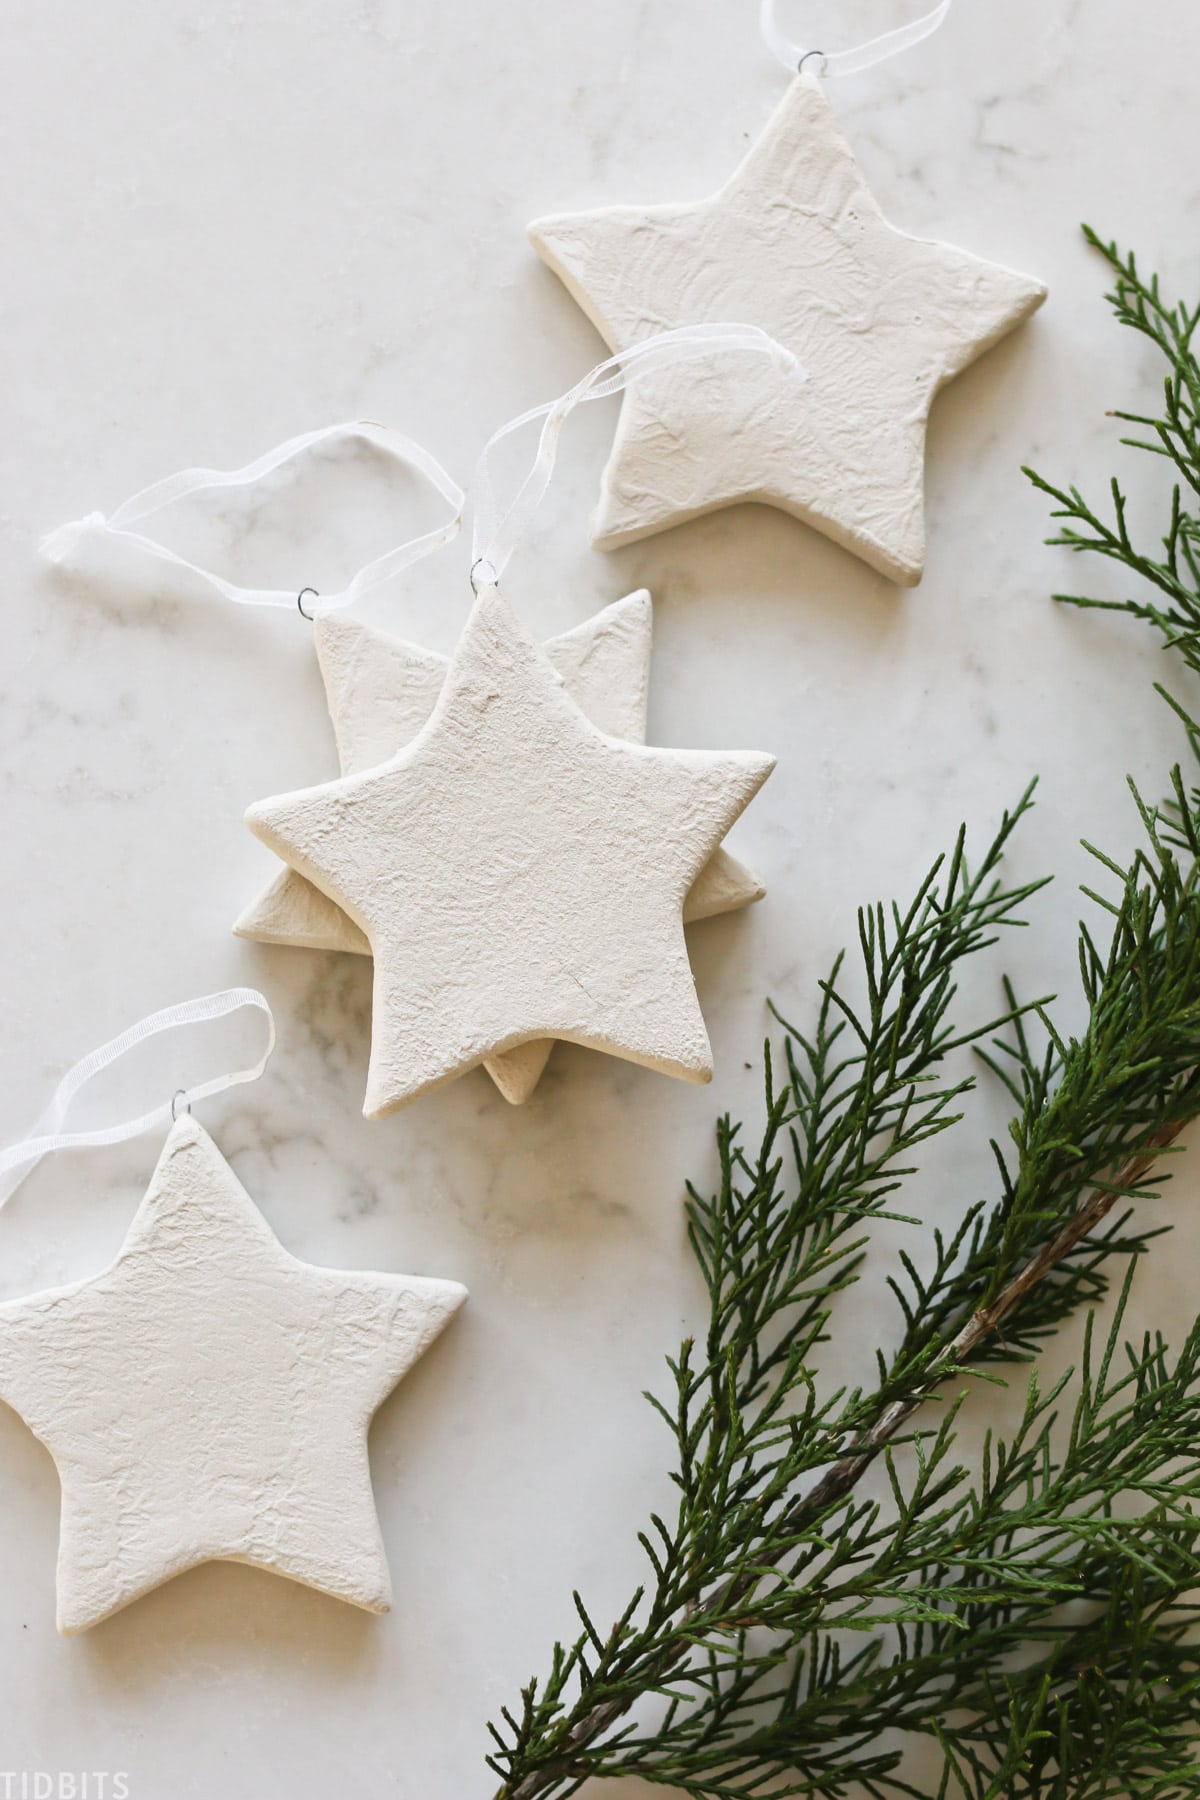
I took some off white paint I already had—really any type of paint would work here—and then I used the trending trick of adding some baking soda to the paint.
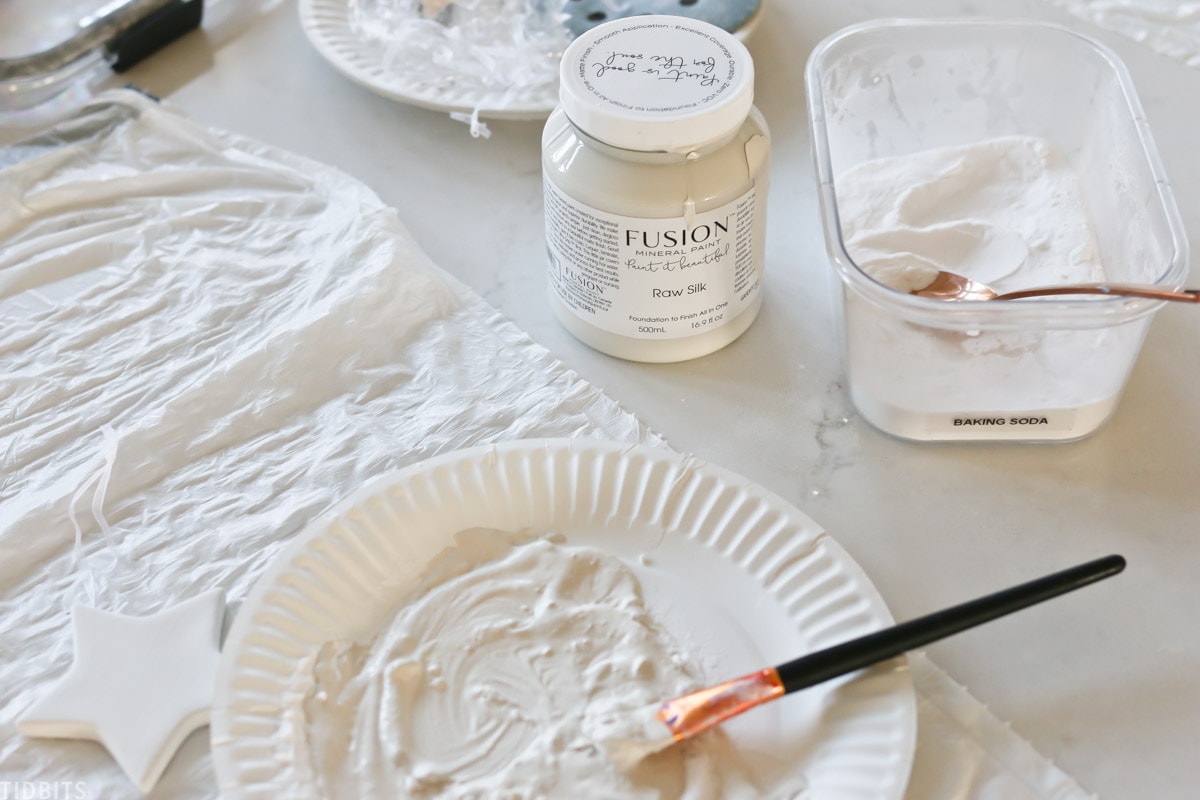
This makes your paint super thick and paints very textured instead of smooth.
I glooped that paint on each star, dabbing it on more than brushing, and then let it dry really well before I flipped it over and did the other side.
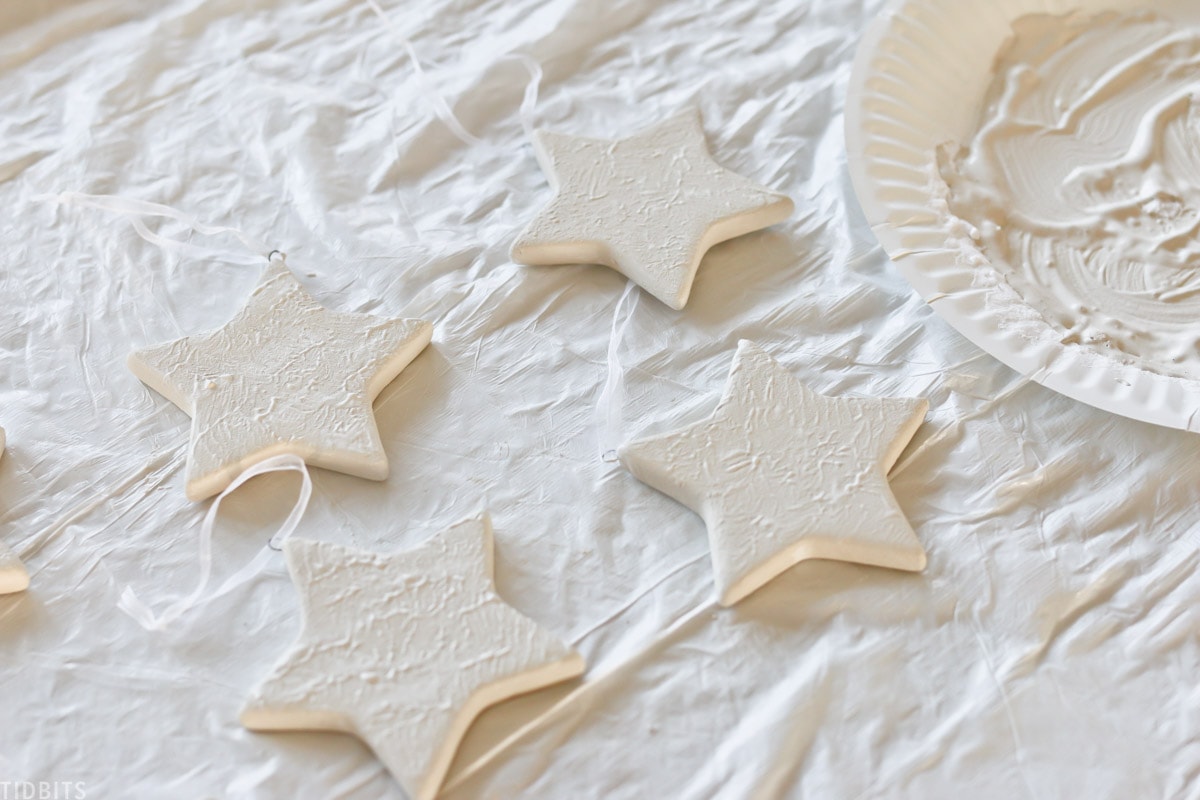
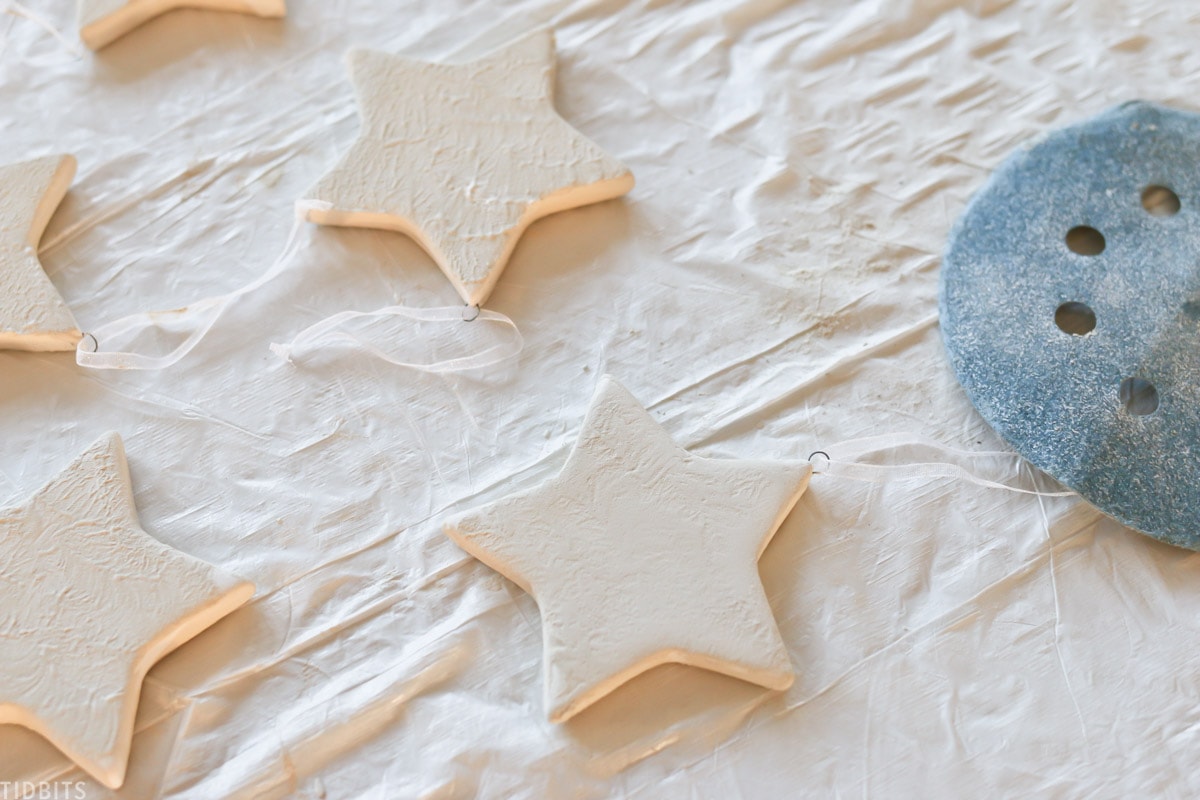
Once both sides are dry, you can take some sandpaper and lightly sand the star, leaving a perfectly imperfect layer of paint—with a whole lot of texture.
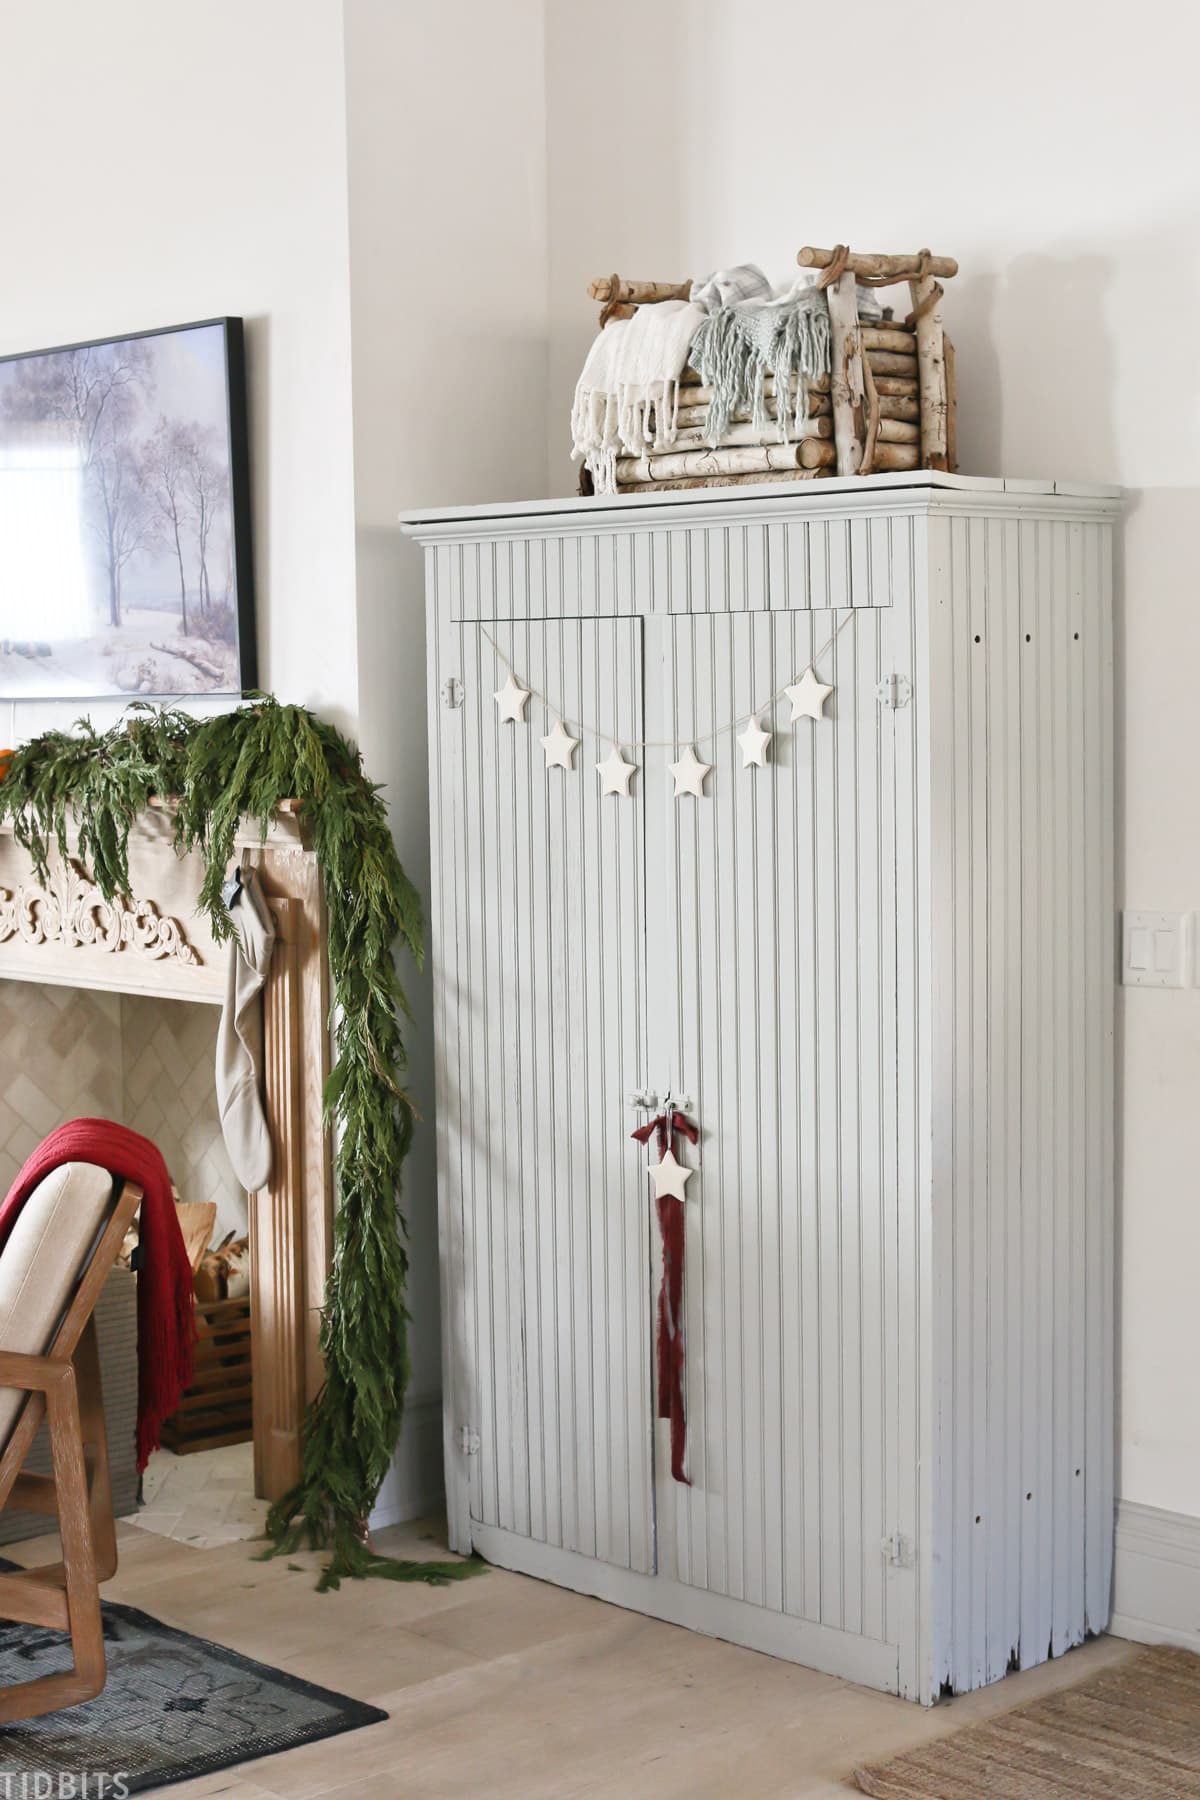
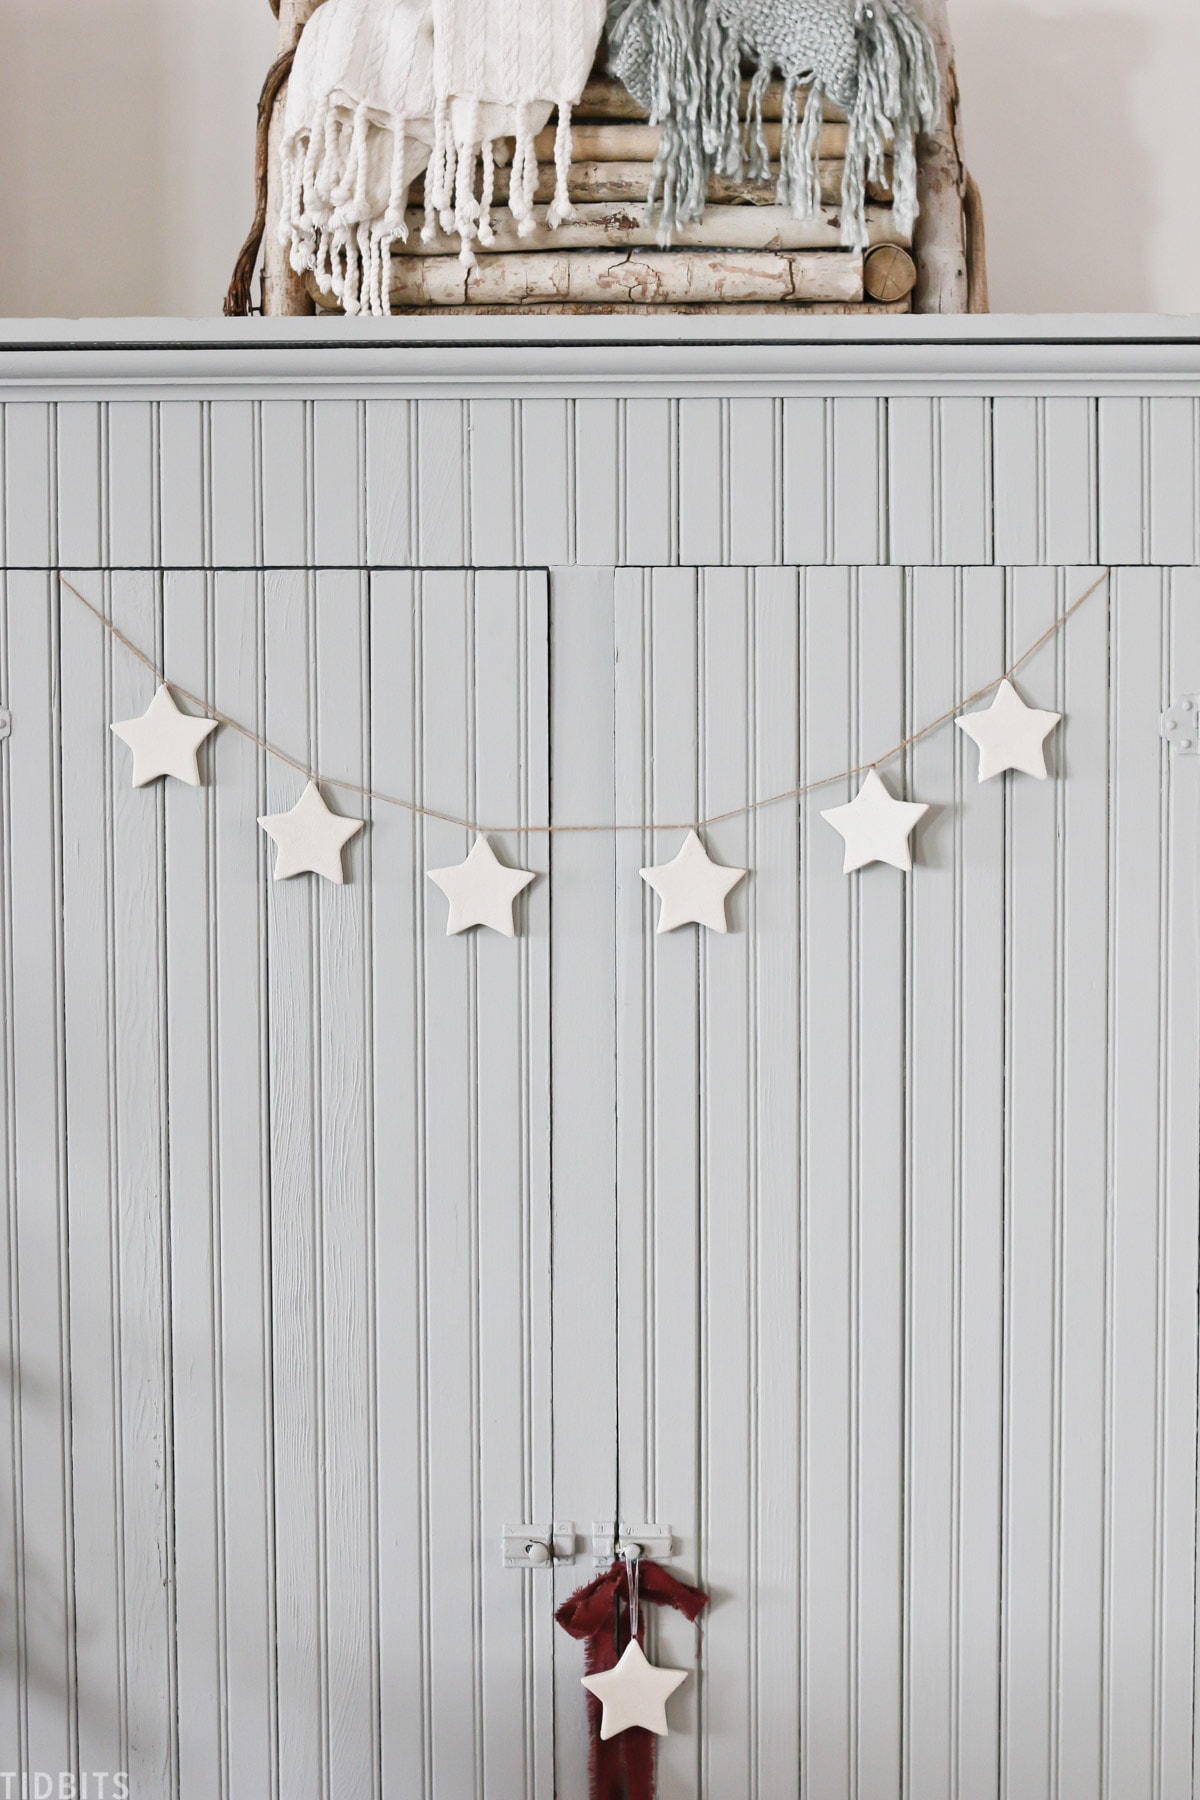
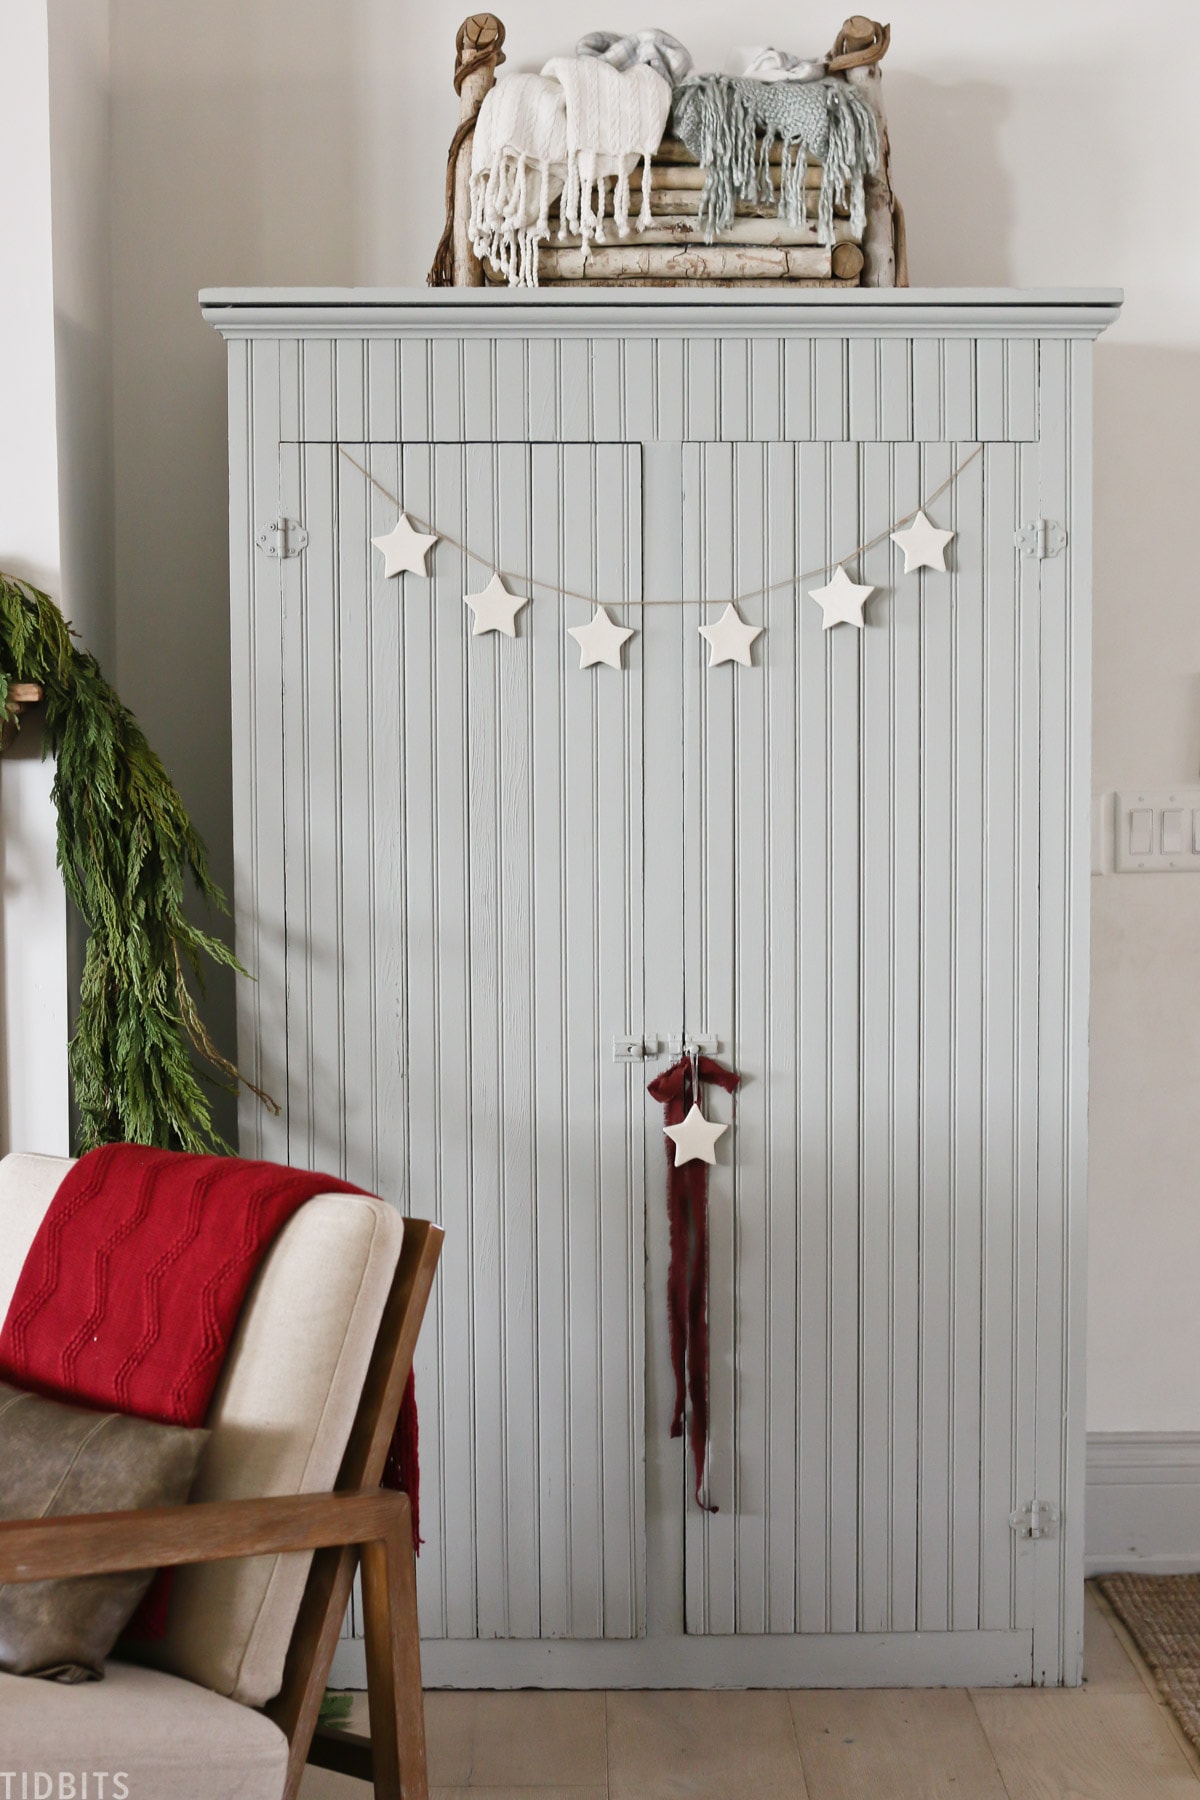
I couldn’t resist and made a little string of stars for our old blanket cabinet.
These fun little stars would be perfect just about anywhere too and don’t limit yourself to white paint if you want to go for some textured colored stars. You could absolutely do that too.

So there you have it! 3 ways to have fun with some basic ceramic star ornaments. I hope that I’ve inspired you to push up your sleeves and create.
If you have littles, handing them these white stars and some paint would no doubt lead to some very fun memories and treasured keepsakes.
Did you like these ceramic Christmas star ornaments? More holiday decor ideas below!


I love stars and your ideas on how to make them different, so pretty. Thanks Cami, i can’t wait to see the tour of your home you and your husband have done a beautiful job.