• Skip to primary navigation
  • Skip to main content
  • Skip to primary sidebar
  • Skip to footer

Tidbits

Inspiration for the Keeper of the Home

  • Home
  • About
    • About Me
    • Work with me
    • Media Kit
    • FAQ
    • Disclosure and Policy
  • Project Index
    • All
    • Decorating
    • DIY
    • Homesteading
    • Printables
    • Sewing
    • Crafts
    • Holidays
    • Recipes
    • Woodworking
    • Photography
    • Crafting with Kids
    • Other
  • Home Tours
  • Seasonal
    • Winter
    • Spring
    • Summer
    • Fall
  • Shop
  • Contact
You are at Home and DIY
Home and DIY
Food and recipes

You are here: Home / Crafting with Kids / Popsicle Stick Sled Ornament

Popsicle Stick Sled Ornament

December 21, 2015 • Crafting with Kids, Holidays, Winter

1006 shares
  • 6

It’s the week before Christmas, and all the kids are in the house!

24/7.

You and I are going to need to find some way to channel all that excited energy bouncing off the walls – before the whole house goes crazy.

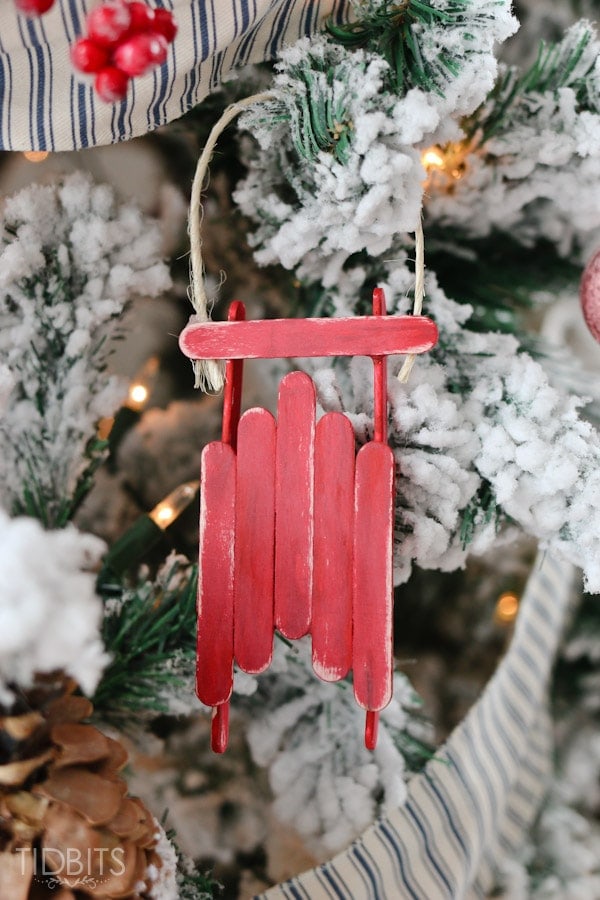
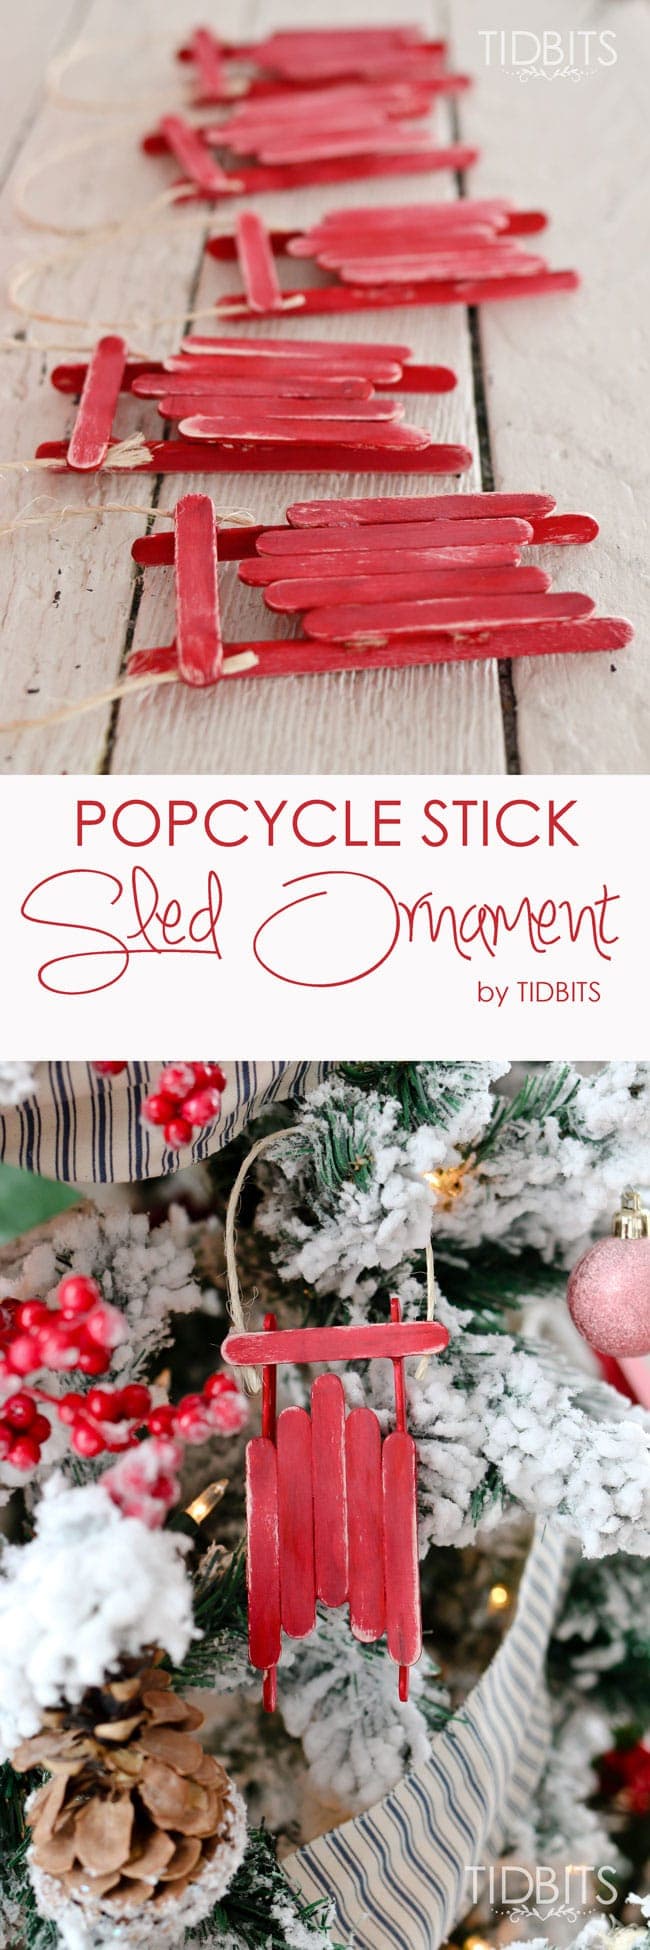
This is why I wanted to share the tutorial for this popsicle stick sled ornament, this very week.

Popcycle stick sled ornament tutorial - Fun craft for the whole family!

It’s a wonderful craft you can do with your kids (or yourself), made from basic materials you probably have lying around the home.

Popcycle stick sled ornament tutorial - Fun craft for the whole family!

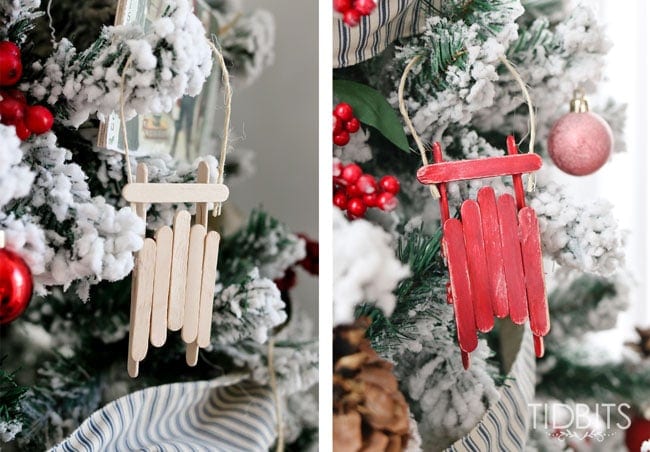
You can opt to paint them or leave them in their lovely, light wood natural state.

Popcycle stick sled ornament tutorial - Fun craft for the whole family!

Either way, they are an absolutely charming decoration for the tree.

Popcycle stick sled ornament tutorial - Fun craft for the whole family!

My husband actually made these a few years ago, and I briefly posted an image of the sled, HERE.  It is such a hit every holiday season, I decided it was high time to do a step-by-step tutorial for the popsicle stick sled.

Popcycle stick sled ornament tutorial - Fun craft for the whole family!

So we made up another batch to match our current tree decorations, and they were the perfect touch to our cottage Christmas theme.

Popcycle stick sled ornament tutorial - Fun craft for the whole family!

If you missed my complete Christmas home tour this year, feel free to come check it out!

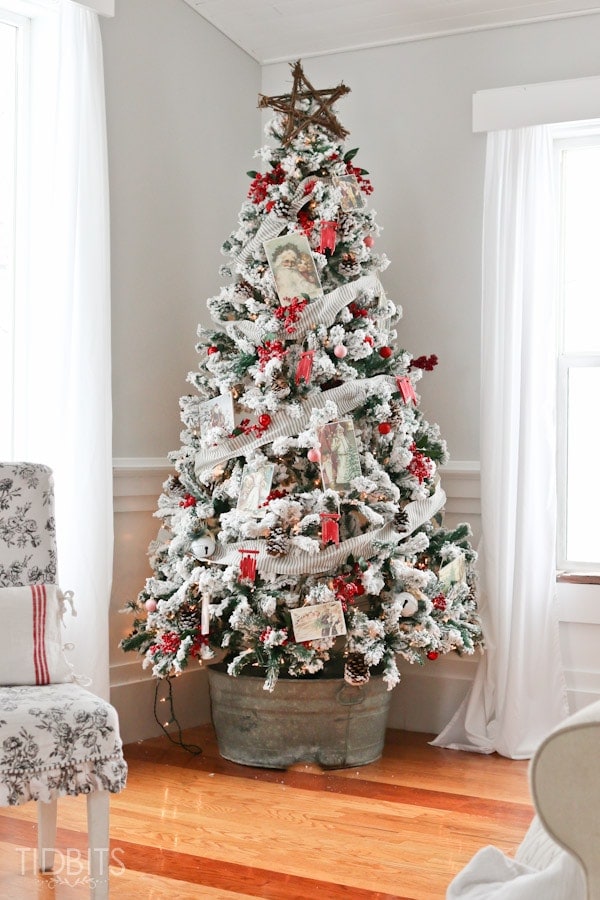
I haven’t talked a lot about how we pulled the tree together, so I thought I would share more details here.

Popcycle stick sled ornament tutorial - Fun craft for the whole family!

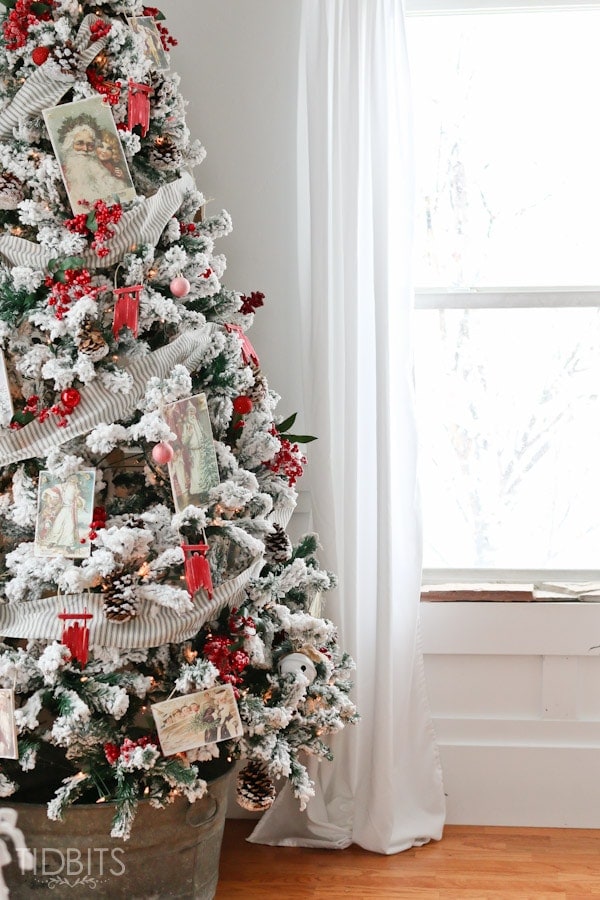
First, I wrapped it in some ticking wired ribbon.  I wanted to keep the decorations pretty basic and just started adding some natural elements, such as snow covered pinecones and cranberries.

Popcycle stick sled ornament tutorial - Fun craft for the whole family!

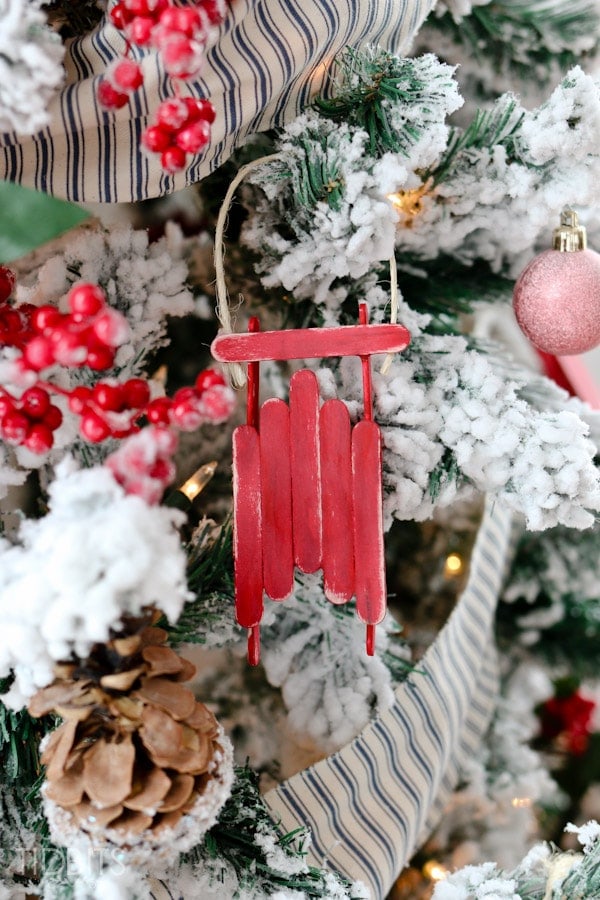
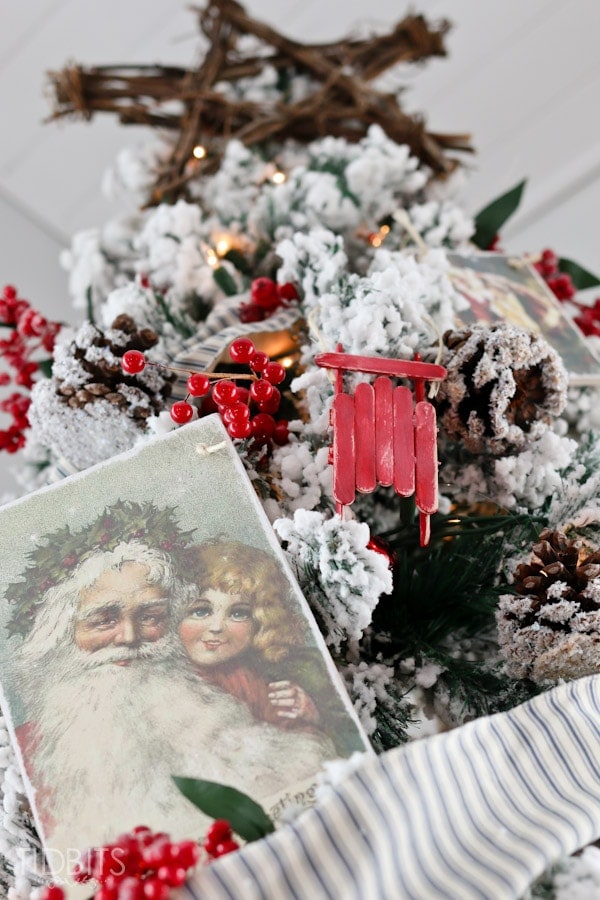
Then I threw in some dollar store mini red ball ornaments, some vintage Santa pictures and finally – THE SLED!

Popcycle stick sled ornament tutorial - Fun craft for the whole family!

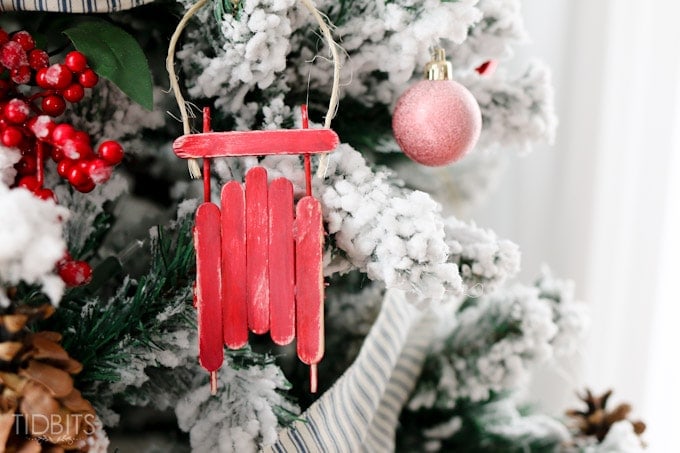
I love how the red pops against the flocked tree, and I love that it is not too busy.

Any way – Let my husband and I show you how easy these sleds are to make.  I have the kids help and watch as we put them together with the glue gun, and then I let the kids paint them entirely.  A quick sanding and distressing when the paint dries, unifies them all together.

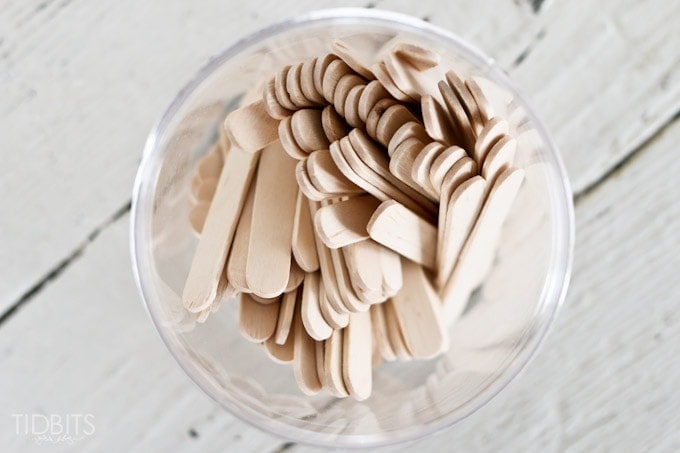
Supplies for 1 sled:

  • 8 mini popsicle sticks
    • Available in dollar stores or craft stores.
  • 2 Regular size popsicle sticks
  • Hot Glue Gun
  • Craft Paint (optional)
  • Ribbon or Twine
  • Sharp scissors or garden shears
  • Sand Paper

Popcycle stick sled ornament tutorial - Fun craft for the whole family!

Popcycle stick sled ornament tutorial - Fun craft for the whole family!

Begin by taking 2 of the mini sticks and cutting off about 1/4 inch from both ends of both sticks.  Sharp scissors will work for this job, but garden shears slice through it like butter.

Popcycle stick sled ornament tutorial - Fun craft for the whole family!

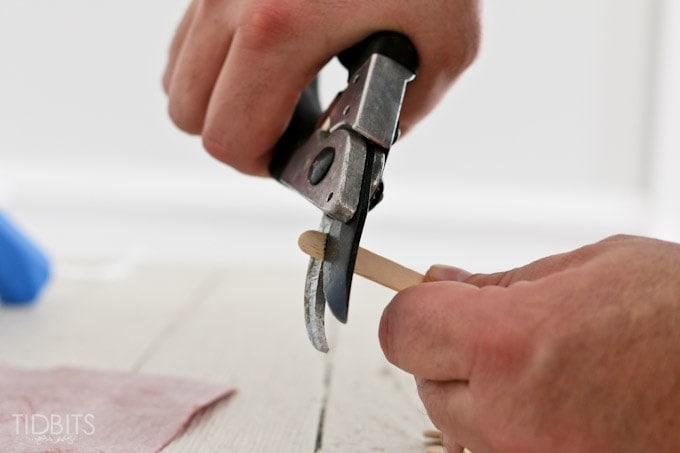
This may leave the ends rough, but can be sanded down easily with sand paper.

Popcycle stick sled ornament tutorial - Fun craft for the whole family!

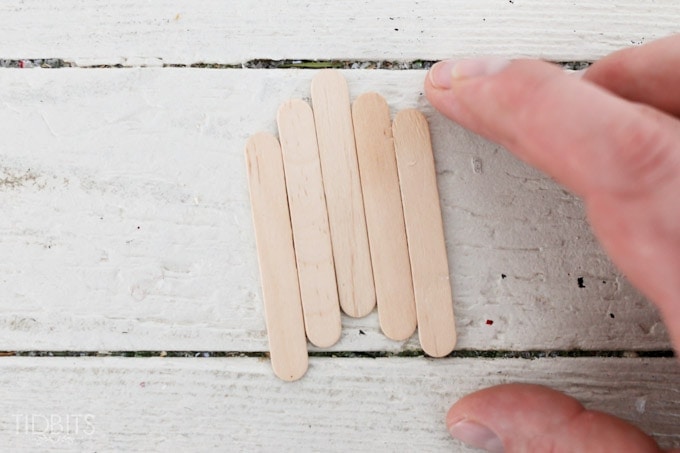
Take 5 of the mini stick and align them together like shown in the image below.

Popcycle stick sled ornament tutorial - Fun craft for the whole family!

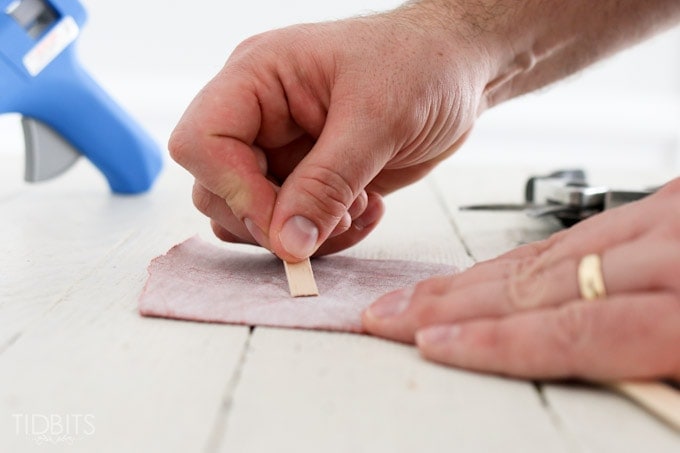
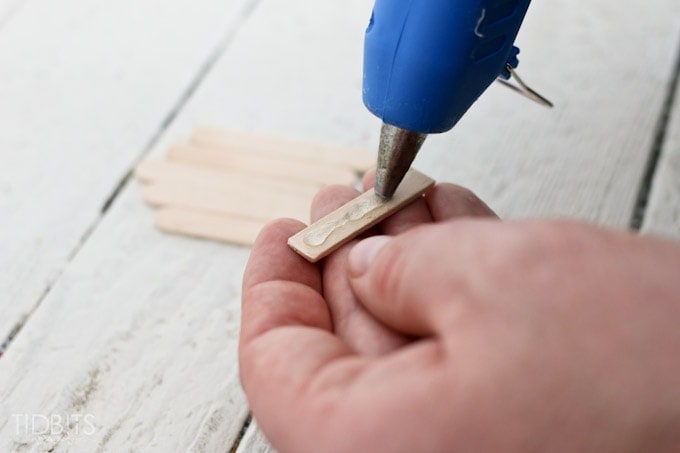
Apply glue to the back of one of the mini sticks with the ends removed.

Popcycle stick sled ornament tutorial - Fun craft for the whole family!

Adhere the piece on top of the 5 arranged mini sticks, like shown below.  Do the same for the 2nd trimmed mini stick, and glue it to the bottom.

Popcycle stick sled ornament tutorial - Fun craft for the whole family!

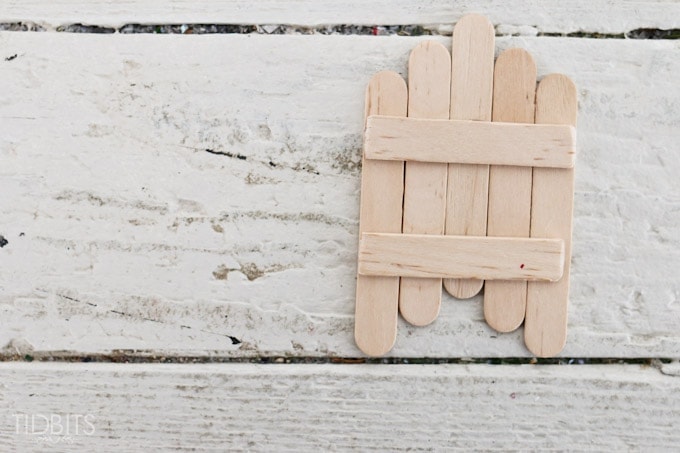
Place a dab of glue to the very ends of the cut sticks.

Popcycle stick sled ornament tutorial - Fun craft for the whole family!

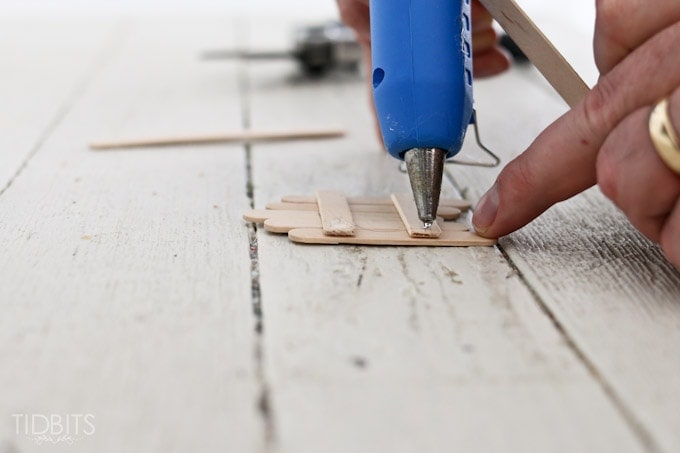
Carefully lay one of the regular sized popsicle sticks on top of those glue dots, on its side.  The bottom of this stick should almost line up with the bottom of the sled.  Or in other words, be sure the top of the regular sized stick is higher than the arranged smaller sticks.  Refer to the image below.

Popcycle stick sled ornament tutorial - Fun craft for the whole family!

Repeat these steps for the second regular sized stick.

Popcycle stick sled ornament tutorial - Fun craft for the whole family!

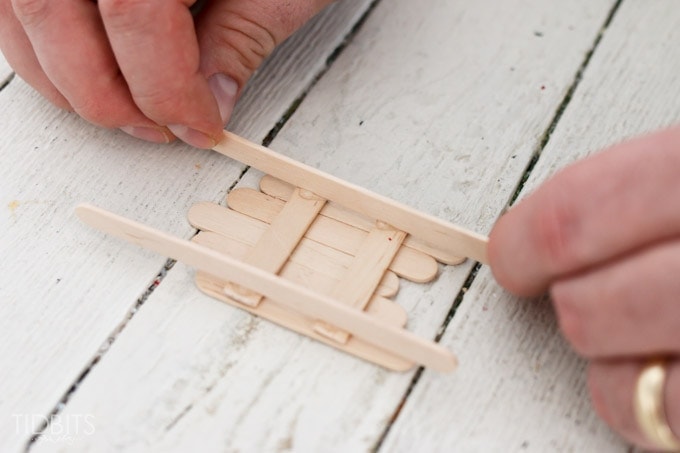
Once the glue is dried, flip the sled over.  Take the last mini stick and glue it to the top of the regular sized sticks, like so.

Popcycle stick sled ornament tutorial - Fun craft for the whole family!

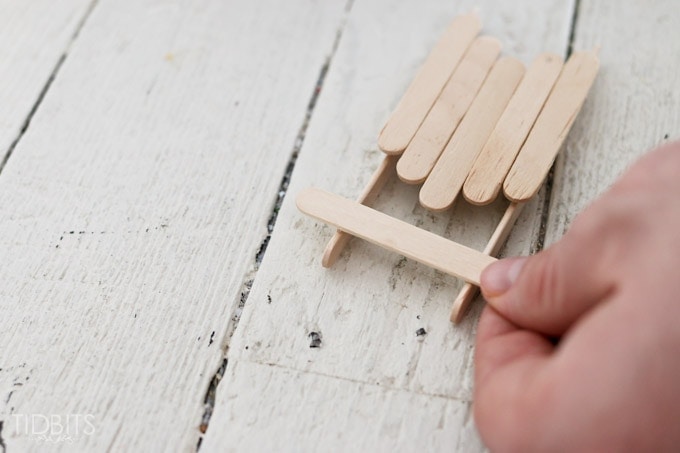
At this point, you can choose to paint it any color of choice.  Once it is dried, lightly sand and distress the sled.

Finally, cut your twine or ribbon to the desired length and hot glue the ends to the back side of the top mini stick.

Popcycle stick sled ornament tutorial - Fun craft for the whole family!

Once you have made one, the rest come together very quickly.

I do hope you’ve enjoyed this tutorial and I hope you have a very Merry Christmas!  I’m signing out for the week to soak it all it!

Thanks for reading!


*Linking up to these parties, HERE.


I’m Cami! Welcome to my blog TIDBITS. Follow me along for beautiful home decor ideas and inspiration for do-it-yourself living
Thank you for Subscribing to TIDBITS! Talk to you soon.

There was an error submitting your subscription. Please try again.

1006 shares
  • 6

Tags: christmas, home tour, Kids Craft, Popcycle stick, sled
Leave a Comment

You might also like

  • Classic Red and Green Farmhouse Christmas Bedroom | Holiday Housewalk TourClassic Red and Green Farmhouse Christmas Bedroom | Holiday Housewalk Tour
  • A Colorful Christmas Home TourA Colorful Christmas Home Tour
  • A Colorful Christmas Girls BedroomA Colorful Christmas Girls Bedroom
  • The Magic of ChristmasThe Magic of Christmas

Reader Interactions

Comments

  1. Linda says

    December 31, 2015

    Please learn how to properly spell popsicle. You blog is adorable, but spelling and grammar errors physically hurt.

    Reply
  2. chloe | boxwood avenue says

    December 27, 2015

    These are honestly SO cute!!! Who knew a popsicle stick could look so great!?

    Reply
  3. Sue says

    December 22, 2015

    The sleds are really cute and look fun to make. Thank you!

    Reply
  4. Barbara says

    December 22, 2015

    Cami,

    These sleds are adorable – I’ll put them on my “to do” list for January and get started making some for next Christmas. They’d be cute displayed on a vignette throughout the winter season.

    I love your tree – love the flocking, the cranberries, and especially the blue ticking garland! The tree is simply gorgeous!

    Reply
  5. Shawnna says

    December 21, 2015

    Love this! So cool! Have a Merry Christmas!

    Reply
  6. Ardith says

    December 21, 2015

    This is brilliant! And these sleds are so darn cute. Instead of envying the expensive vintage sleds, I can make these and hang them anywhere I want. Thank you so much, Cami, and Happy Holidays, Ardith

    Reply

Leave a Comment Cancel reply

Your email address will not be published. Required fields are marked *

CommentLuv badgeShow more posts

This site uses Akismet to reduce spam. Learn how your comment data is processed.

Primary Sidebar

Hi! I am Cami. My passion is to help you, as the keeper of your home, to feel inspired to create a home you love and to learn the homemaking skills to help you do so.


About Cami

My product lines

TIDBITS Planners
TIDBITS Linen

Our books

Front cover of 'Master The Electric Pressure Cooker' cookbook

Hot off the press
tidbits.
Right to your inbox.

Sign up to get post updates, monthly subscriber only content, and inspiration for do-it-yourself living
Thank you for Subscribing to TIDBITS! Talk to you soon.

There was an error submitting your subscription. Please try again.

Archives

Follow on Facebook

Footer

Welcome to my blog, TIDBITS! I am a homeschool Mom to 4 and a fanatical DIY'er. I absolutely love home - and I love to inspire others as the keeper of their homes!

Subscribe

Thank you for Subscribing to TIDBITS! Talk to you soon.

There was an error submitting your subscription. Please try again.

Privacy

Copyright

I love sharing my ideas and tutorials! I ask that you respect my work and follow these guidelines. 1. All images are property of Tidbits blog. 2. Feel free to use 1 or 2 images on your own webpages, provided a link back to my blog is clearly available. 3. Do not remove any watermark or crop/edit my images in any way, unless given written consent by myself. 4. All tutorials/ideas/designs are for personal use only and are not to be copied and distributed in any way. 5. Sharing and pinning through social media is always welcome!

An elite Cafemedia Home/DIY Publisher
Branding + Website By Coded Creative

1006 shares