This post may contain affiliate links, which means I get a small percentage of the sale at no extra cost to you. I only recommend items I love and have had a positive experience with. Thank you!
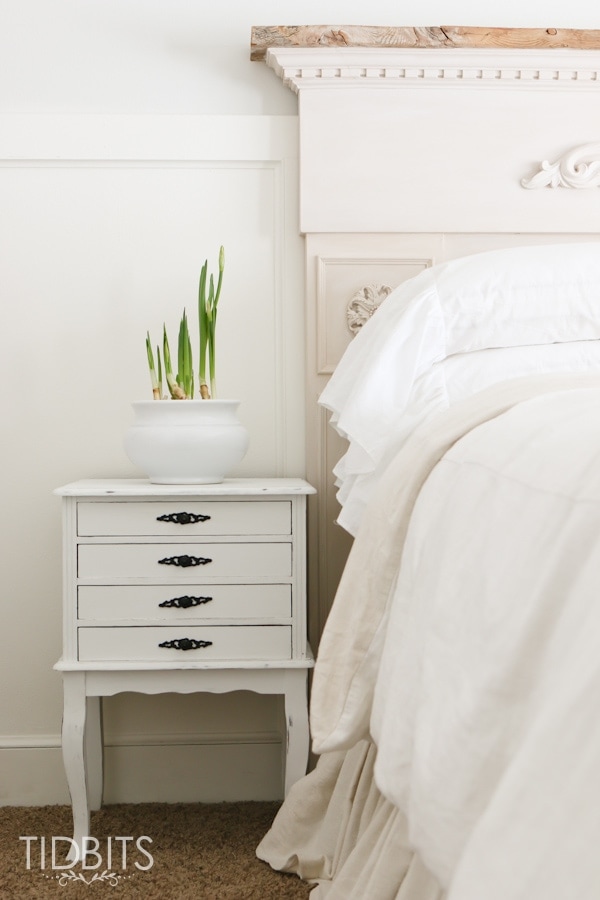
Discover how to force bulbs indoors, to have fresh greenery and blooms any time of the year. I’ll be sharing 2 methods to do it, and which one I liked best! Video included.
It’s been a long cold winter around my parts. With record breaking snow days, biting cold, and the dreaded inversion, I’ve been desperate for a pick-me-up.
After seeing a couple of images on Instagram of blooming bulbs, I thought it would be the perfect project to try with my kids to beat off some of those winter blues.
(P.S. Be sure you make it to the end of this post for an extra creative treat)!
I only wish you could have seen the look my husband gave me when I told him I was going to grow something in our home. He knows my track record all too well for keeping plants alive, and he had little hope.
Bought I took the advice of the friendly garden store clerk, when he said that anyone could grow paperwhites, and he sent me home with some bulbs to try.
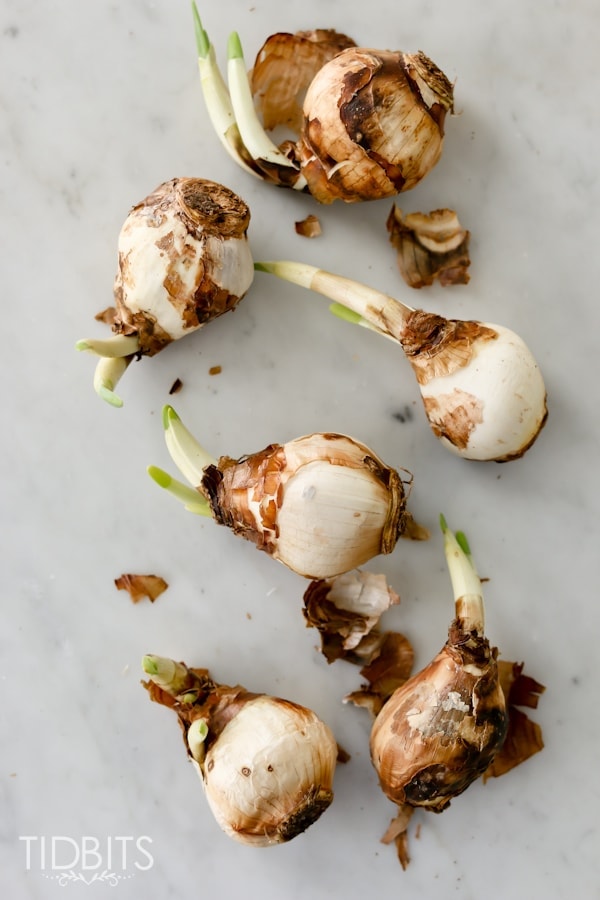
He also recommended a couple of ways to plant them, and I came home excited to prove my husband wrong!
It’s been thrilling for my children to watch them grow so quickly. My sweet oldest daughter measured them every day after school. We discovered a period where they grew 4 inches in one day!
We’ve made the most of every stage of these beautiful bulbs, as we planted them, watched them grow and finally bloom.
I invite you to watch this short clip where I walk you through the process, and then I’ll continue on with instructions and tips for success.
Carefree by Kevin MacLeod is licensed under a Creative Commons Attribution license (https://creativecommons.org/
Source: http://incompetech.com/music/
Artist: http://incompetech.com/
(This is only our second video, and we have much to learn and master yet. But we are having fun with the process and hope you’ll enjoy it, quarks and all!)
Let me discuss the 2 methods we used.
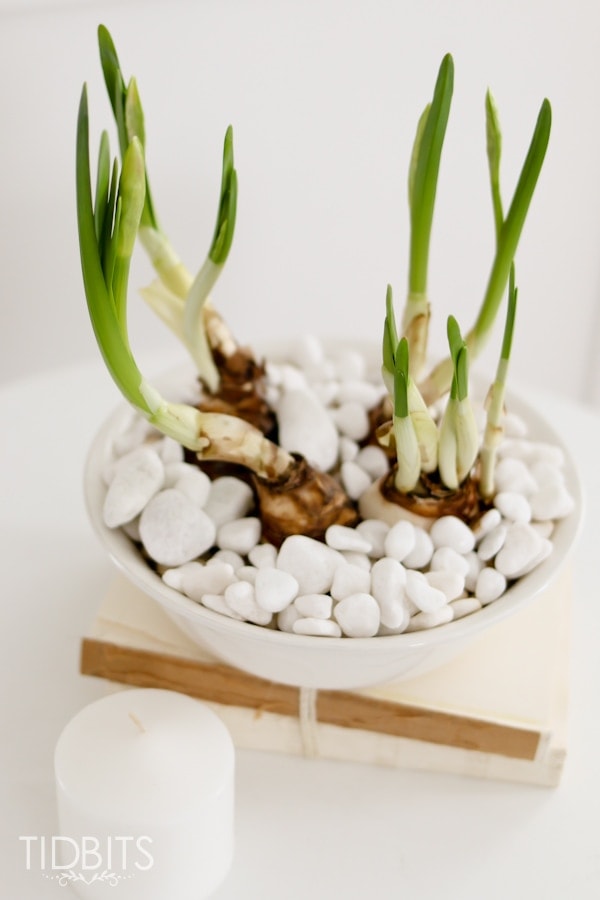
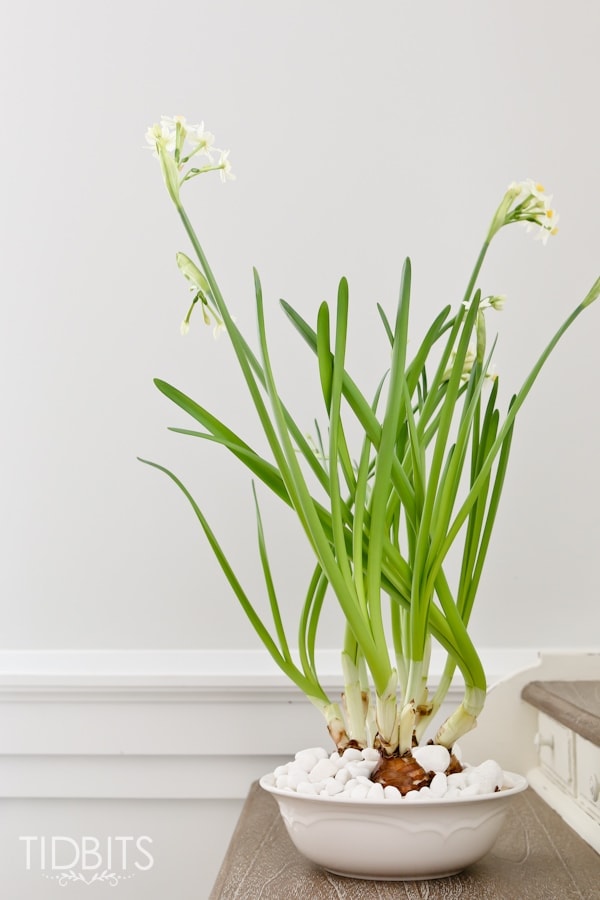
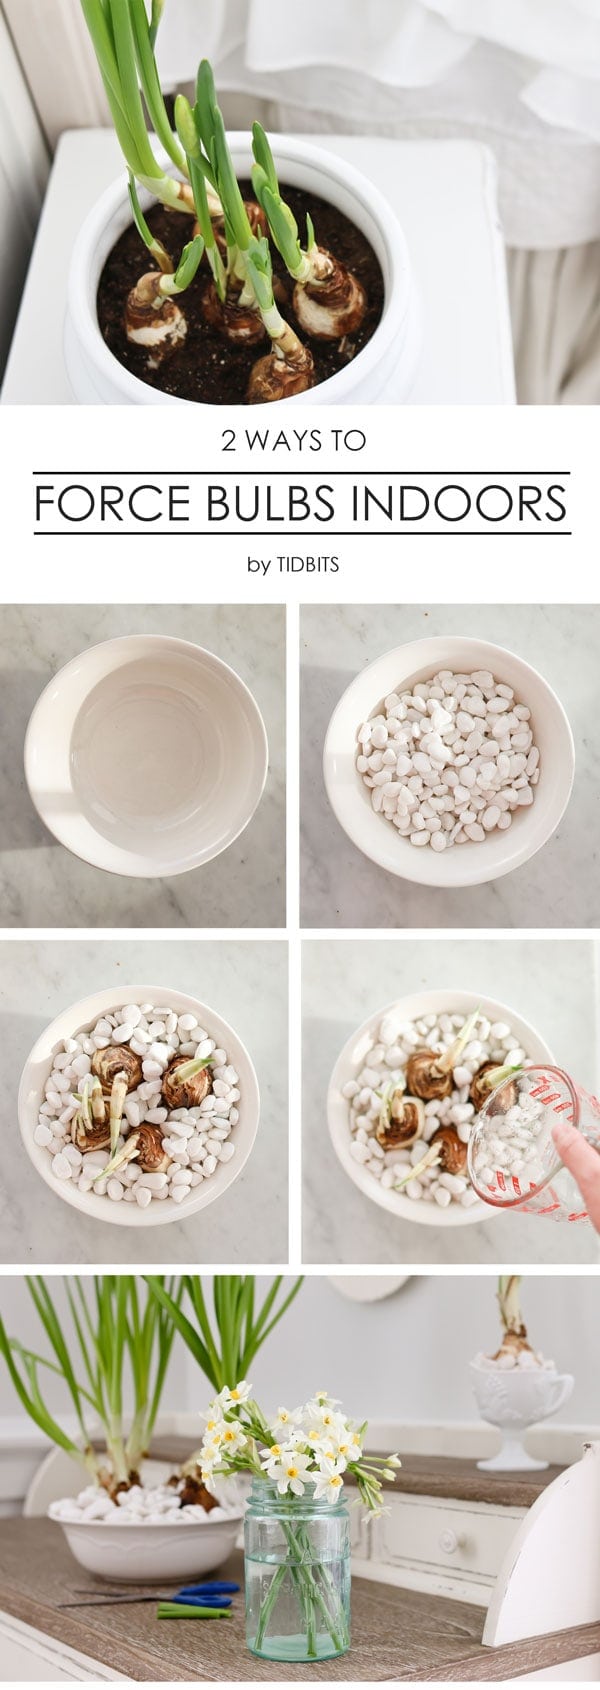
1st Method: PLANT IN ROCKS
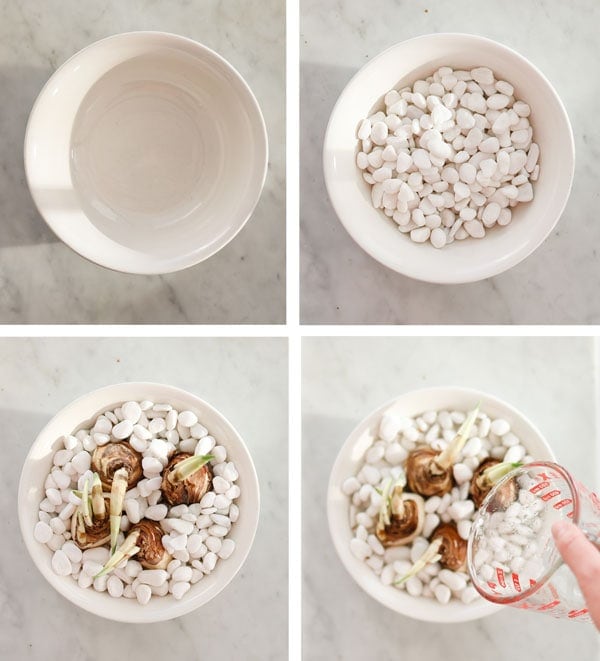
- Find a bowl, vase, or other waterproof container and fill it about an inch from the top with rocks. (I found my white rocks at Hobby Lobby).
- Wiggle your bulbs into the rocks, until mostly covered. How much of the bulb you want exposed is visually up to you. Be sure the pointed part/the sprout is facing up.
- Add water until only approximately half of the bulb is exposed to the water. You never want to cover the bulb completely with water.
- As the water level goes down, continue to add water just to soak the bottom half of the bulb at all times.
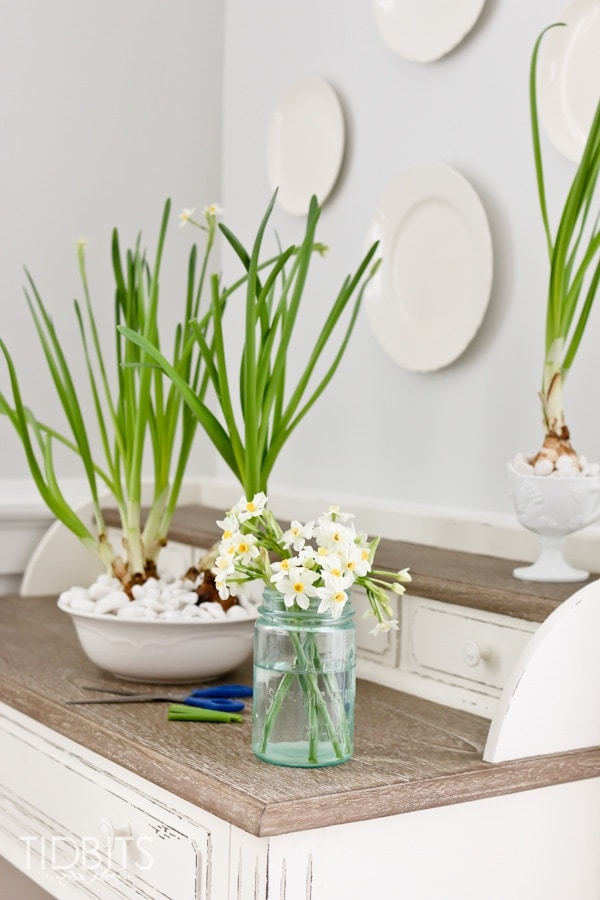
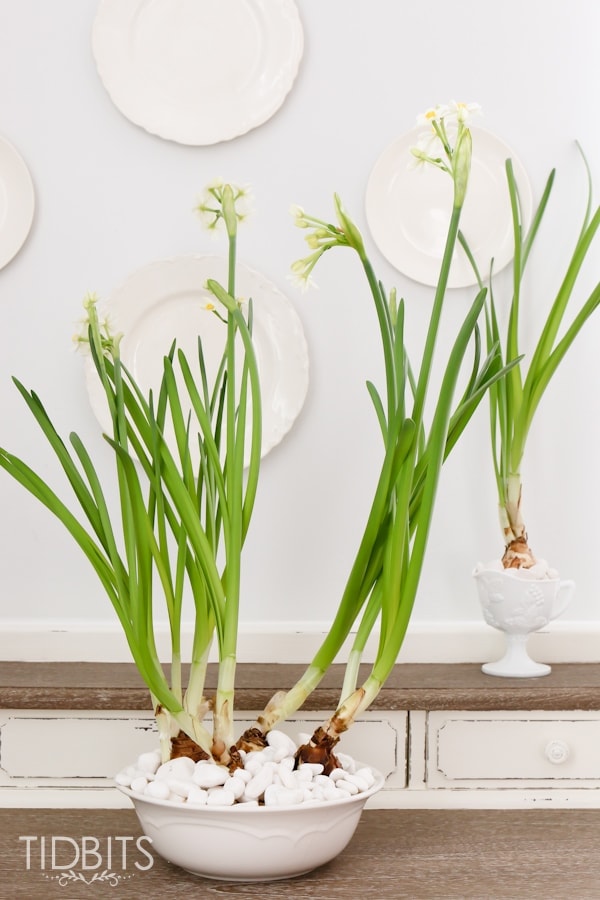
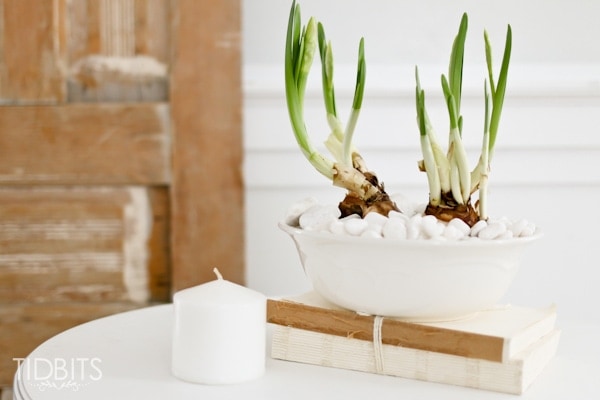
Planting in rocks proved to be the quickest way to get blooms. They grew rapidly in the rocks, and our blooms came on only 2 weeks following the day we planted. From all my reading on the subject, it typically takes 4-6 weeks. My guess is it was faster because we bought bulbs that were already sprouting a bit. That, or I’ve suddenly sprouted a super green thumb 😉 Planting in rocks was by far our favorite method!
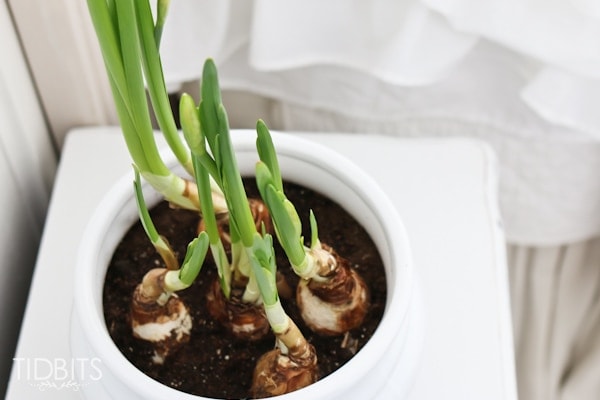
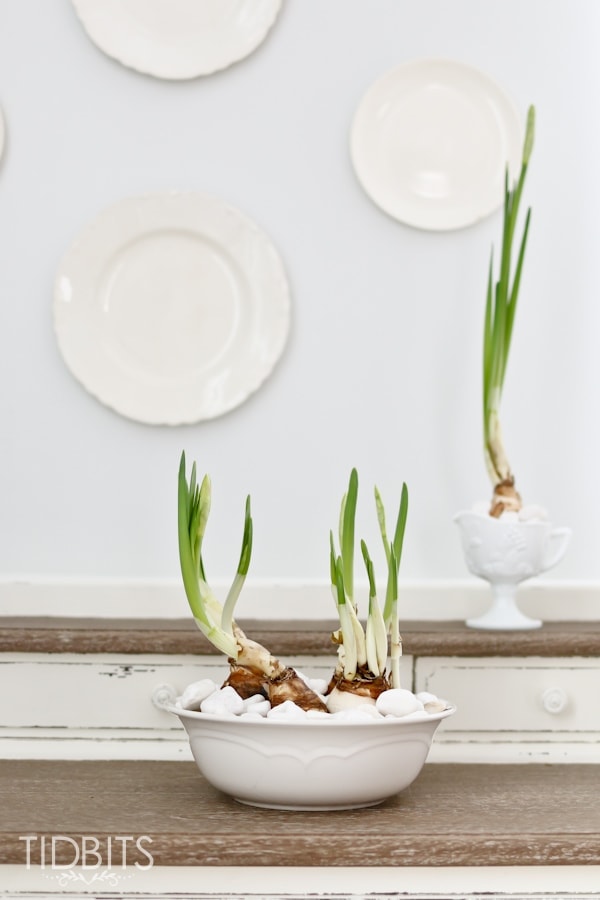
2nd Method: PLANT IN DIRT
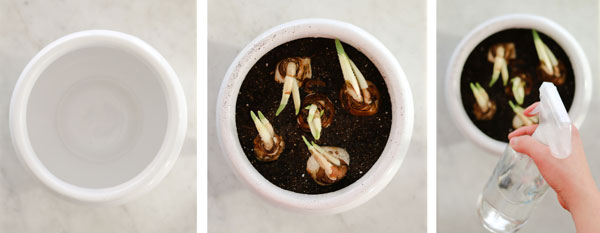
- Again, you will need a pot, bowl, or other waterproof container.
- Fill it with potting soil, leaving at lease an inch from the top of the bowl.
- Insert your bulbs, pointed side up, into the dirt, leaving about 1/4 of the bulb exposed.
- Keep your soil moist, not soaking wet, at all times. Avoid dumping water directly onto the bulb, as that may cause rot or mold.
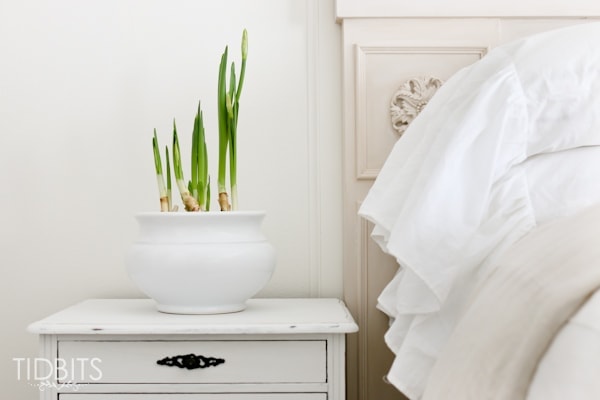
I think the dirt option looks absolutely lovely, but they do grow slower – at least mine did. You can add rocks before the dirt for drainage, but I found that unnecessary. I took the image below at the same time I took images of the other plants in rocks as they had bloomed.
They were planted at the same time and kept in the same spot in our house. If you want to enjoy the growing stage longer (which is still so lovey), I suggest planting in dirt. If you want to see how fast they can grow, plant in rocks.
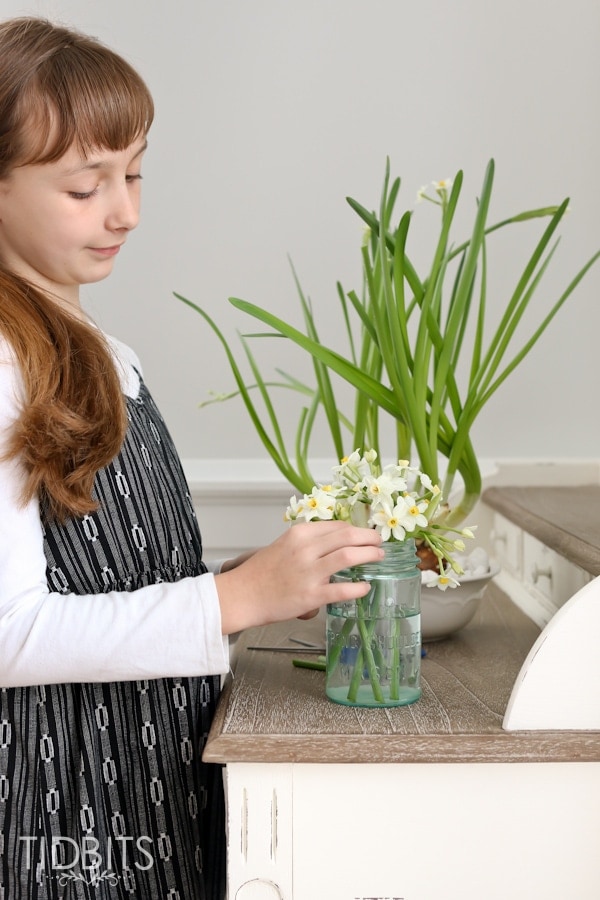
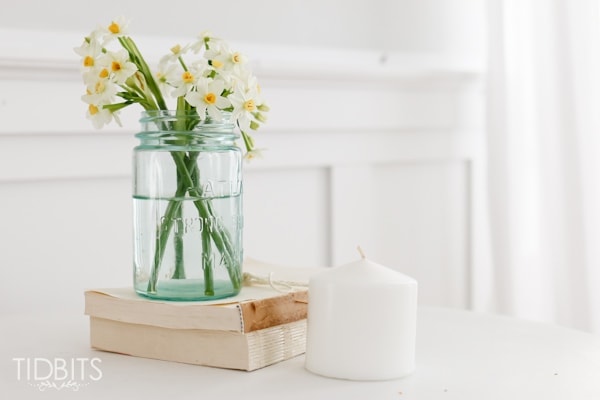
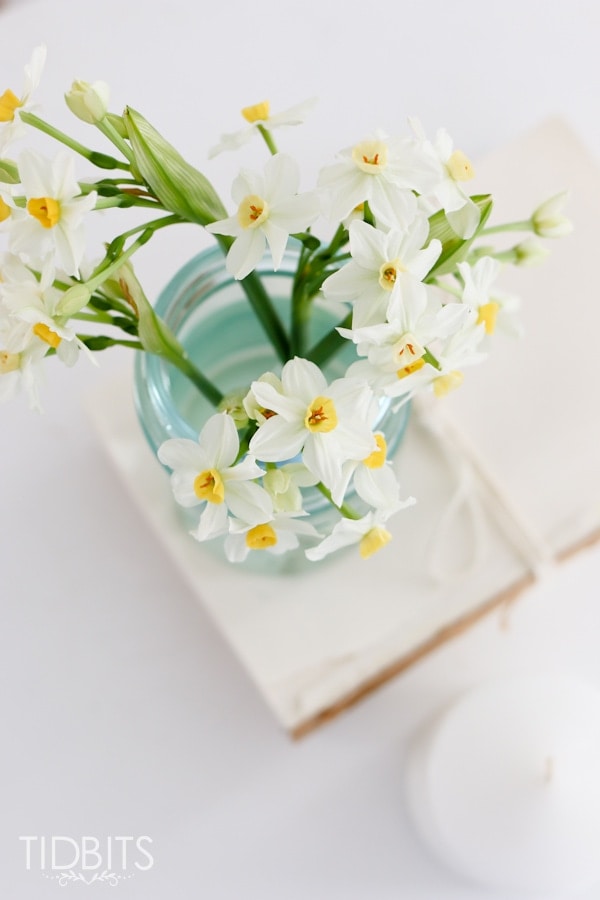
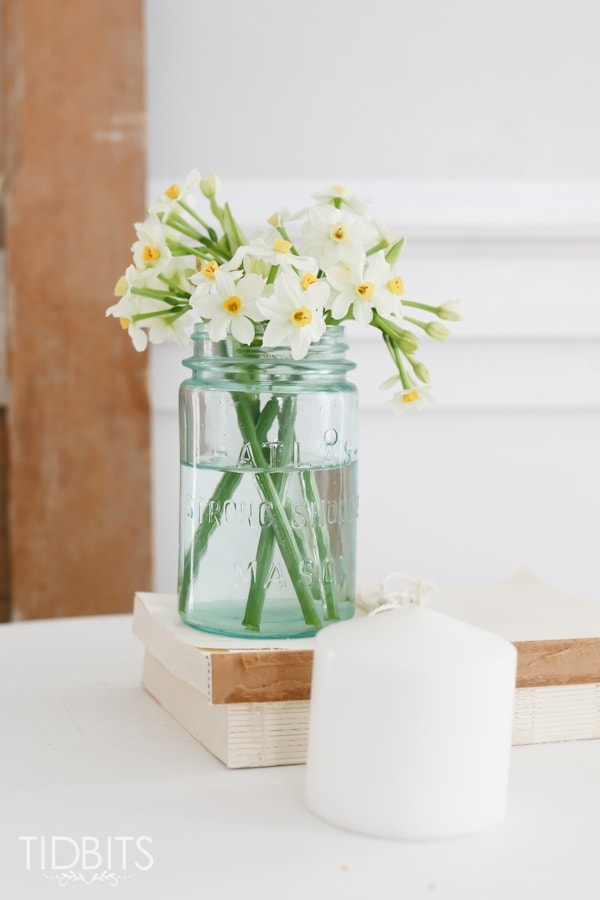
Then be sure to enjoy the clippings from your bulbs around the home as well.
HELPFUL TIPS and FUN OPTIONS:
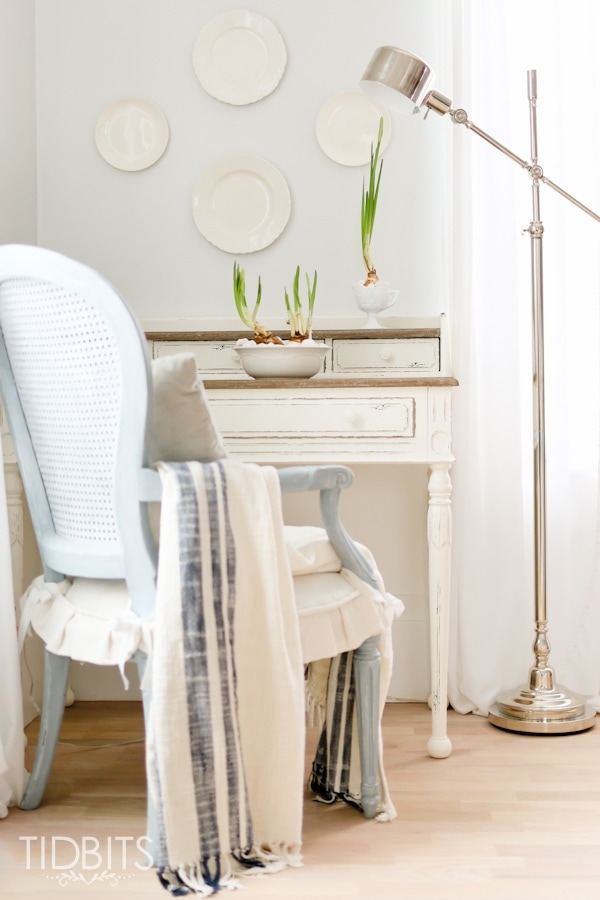
- Keep your plants near a window, but preferably not in direct natural light.
- Paperwhites are among the easiest bulbs to force indoors. But you can try other varieties like tulips. I’ll be picking some of those up on my next trip to town. 😉
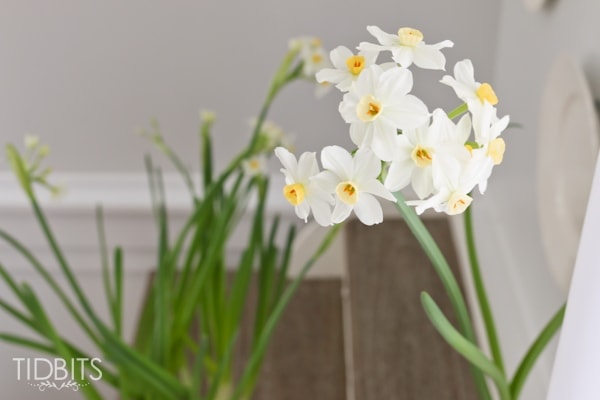
- Paperwhites are a very fragrant flower and popular to grow during the Winter and Holiday Seasons.
- Try planting in clear glass jars or bottles to watch the roots take shape.
- Share your clippings or plants with a friend in need of a bit of cheer.
- Get your kids involved with watering and measuring the bulbs.
- You don’t need to worry about crowing the bulbs. You can fill your containers as full as you can get them.
- Search your home for unique containers to plant in, such as tea cups or metal buckets.
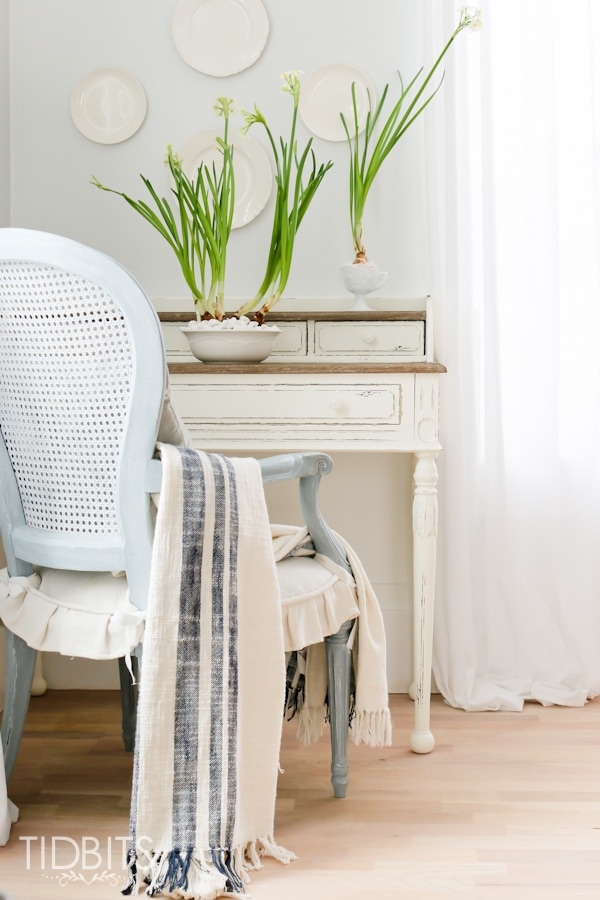
- I love the somewhat sporadic look of the stems, but some bulb enthusiasts like to stabilize their plants by tying the growth onto sticks to keep them growing strait up.
Thank you so much for joining me today. I had so much fun trying my hand at forcing bulbs, and I’d love to hear if you give it a try! Feel free to pin the below image so you can find the instructions later!
I’ve got an extra treat for you. I’ve joined up with some amazingly talented bloggers who are all sharing Simple Farmhouse DIY’s for you today. I love anything and anyone who inspires us to create! I hope you’ll take a minute to cruise around to my friends and be inspired even more! Big thanks goes to Lisa from Farmhouse on Boone for organizing us together.

Farmhouse Style Mantel Shelf from The Mountain View Cottage
Simple DIY Angled Blanket Ladder Tutorial from A Burst of Beautiful
Printable Barn Quilt Wall Banner from Delightfully Noted
How to Force Bulbs Indoors from Tidbits
DIY Linen Pillow Covers from Boxwood Avenue
Easy DIY Chalkboard from A House and a Dog
Farmhouse Hanging Glass Bottles from Seeking Lavender Lane
DIY Rustic Wooden Tote from Little Glass Jar
Simple Farmhouse Decor from The Homemaking Momma
DIY Linen and Flannel Throw Blanket from Farmhouse on Boone


I know you can force Amarillo’s inside, but does anyone know if they do well outdoors? I live in Georgetown, Indiana and my climate is 6a.
We are going to try this year!
Wondering what you do with the bulbs once they’ve bloomed? Is it over then? Throw them away and have to buy new or do you cut them off and they’ll sprout again?? Love the idea of this, but don’t have a green thumb myself. 🙂 Thanks!
AS soon as it is warm outside , cut the stems back and plant the bulbs outside in the ground (or a pot). Next spring , and every Spring thereafter these bulbs will rebloom outside naturally.
What a wonderful idea! I’m totally kicking myself because I threw away the bulbs after they were done blooming! Why didn’t I think about holding onto them until spring!! Next year 😉
Love this idea, brings Spring a little faster and the fragrance will be a plus. Thanks.
Hey girl -love the flowers! So pretty!
I can’t wait to try this Cami. I think they will look so pretty for spring decor!