This post may contain affiliate links, which means I get a small percentage of the sale at no extra cost to you. I only recommend items I love and have had a positive experience with. Thank you!
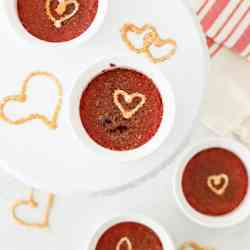
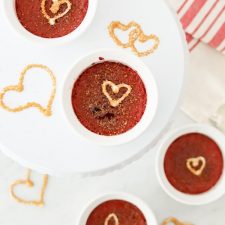
Red Velvet was made for Valentines Day! Impress all your loved ones with this super easy pressure cooker Red Velvet Creme Brulee.
Hey everybody! It’s Marci from the food side of TIDBITS. Valentine’s Day might be my favorite holiday ever. Thoughts of this “Day of Love” fill my heart with sweet, sweet memories that I will forever cherish. Am I the only one that considered the passing of Valentines in elementary school the event of the year?! I would so carefully decide which friend got which card, being sure to never give ANY of the boys anything remotely suggestive . . . well except for that ONE boy. THE ONE BOY, that I would so boldly write “To: “???” (ie: the bad boy with messy hair who bragged about his beat up dirt bike) – From: Marci.” And for just a moment, imagine what he would think when he saw the romantic line, “Be Mine Valentine” next to Ken and Barbie in their pink convertible. Oh, the magical innocence of young love!
Year after year, I have looked forward to Valentine’s Day. It didn’t matter if I was single, dating, married, or enormously pregnant. It’s a day that symbolizes love and covers it in all things pink, red, sparkly, and sweet. Now THAT is a reason to celebrate!
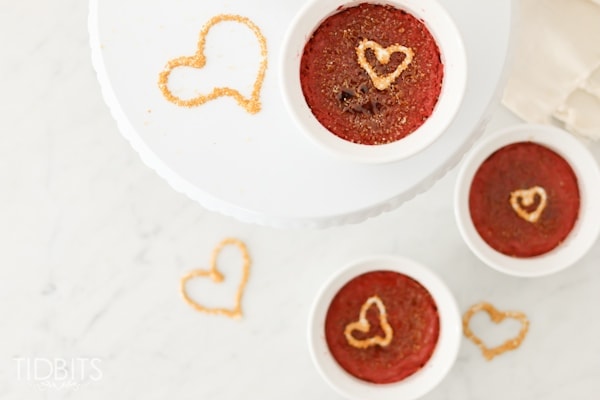
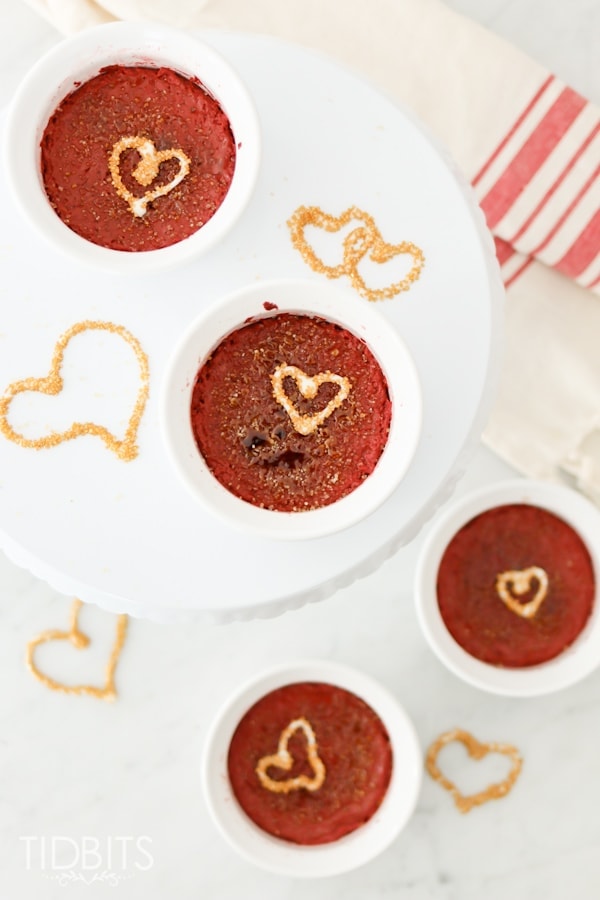
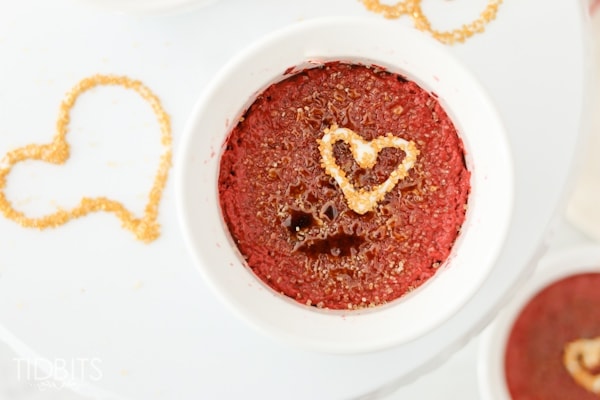
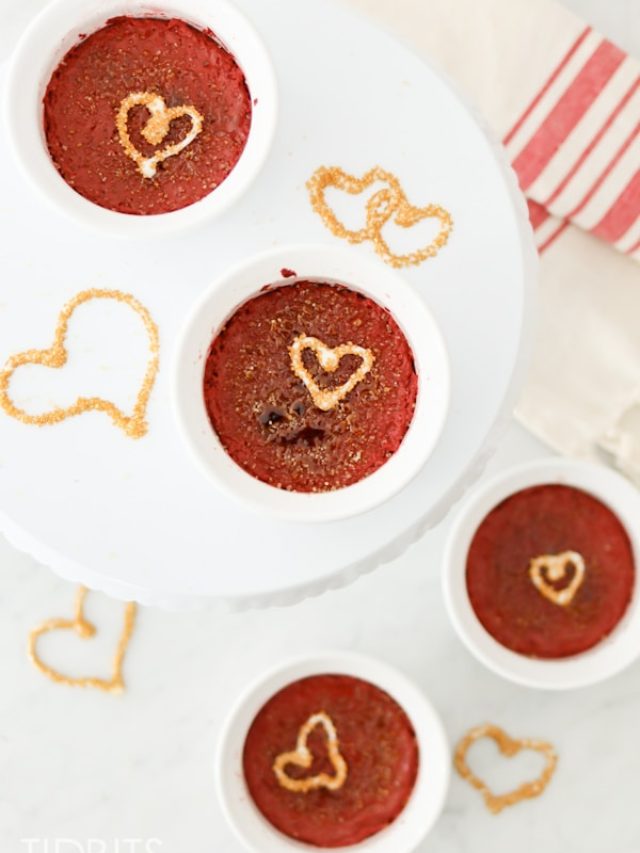
So for your Valentines pleasure this year, I’m bringing you the red, sweet, and fancy – in the form of Red Velvet Creme Brulee! Does it get any more romantic? I think not! I believe I’m breaking about 6 rules when it comes to classic creme brulee, but this recipe is ridiculously easy to throw together and the results are to die for. The batter gets whipped together in the blender, then cooked up in mere minutes in the perfectly moist environment of the electric pressure cooker (which is perfect for creme brulee magic). If that wasn’t enough, the pudding can be cooked up to 3 days in advance and stored in the fridge. When ready to serve, sprinkle it with sugar, caramelize it to get that perfect crunchy topping, and dessert is done!
Three quick notes.
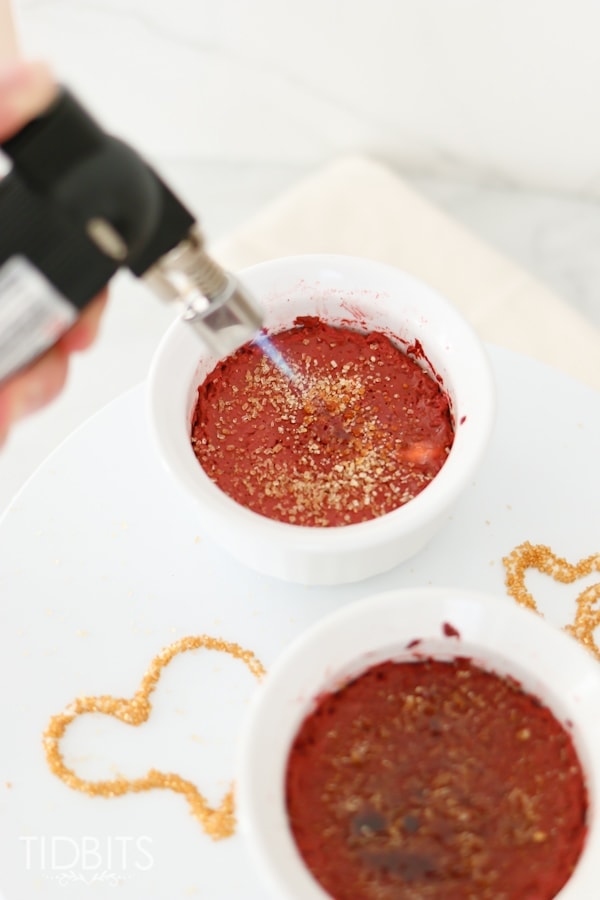
First regarding the topping, I prefer to use Turbinado sugar for the ultimate thick crust, but superfine sugar and coconut sugar also work. I LOVE my small kitchen torch for precise browning, but the oven broiler will work if your moo-la gets spent on jewelry and chocolates. (The above is my Amazon Affiliate link. Thank you!)
Second, I’ve cooked the custard with just foil as well as with the foil/coffee filter method (as explained in recipe below). The coffee filter keeps internal condensation off the pudding and it seemed to cook up nicer. However, if you don’t have coffee filters handy, the foil only method works just fine. Third, if you’re not into food dye, just omit it and call it Chocolate Creme Brulee!

Now go on and indulge all those sweet, cheesy Valentines notions! Starting with this Red Velvet Creme Brulee and then perhaps ending with that ridiculous hot pink nightie trimmed in sparkly feathers and gobby rhinestones. Not that I would ever do that, Mother! Happy Valentines Day!
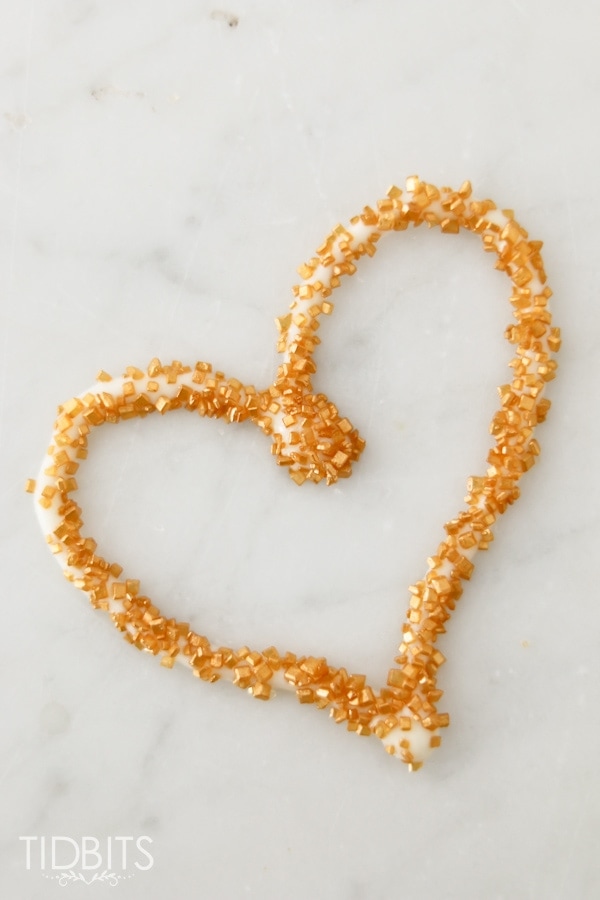
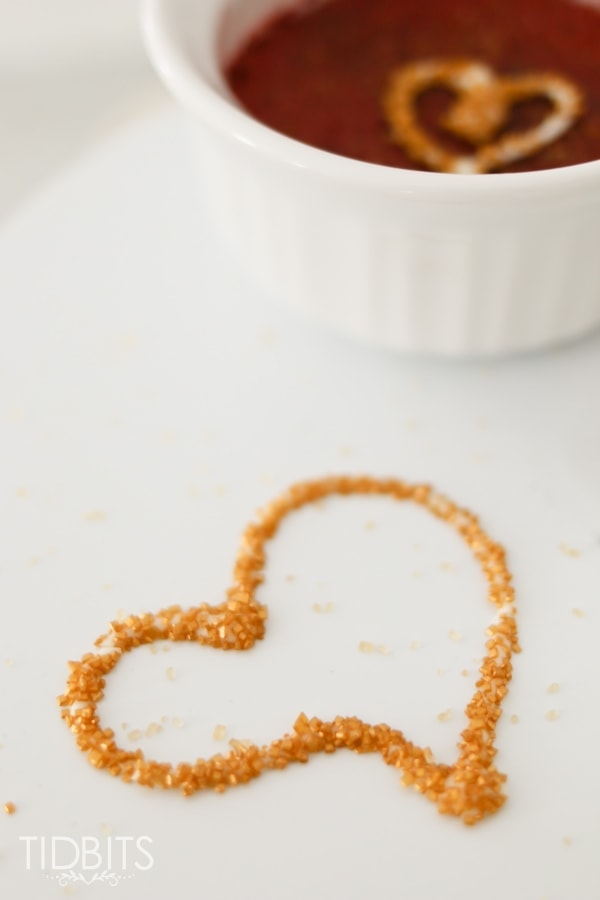
Note: If you have an extra 5 minutes, this heart bling here is soooo easy and a blast for kids to do! Just melt some white chocolate, pour it into a plastic ziplock bag, snip the corner, and squeeze the chocolate onto parchment paper into heart shapes (or whatever shape or words you’d like). While the chocolate is still wet, quickly sprinkle edible gold glitter over the white chocolate. Let set for an hour or 2 and then shake off the extra glitter. That’s it! Dessert Bling!
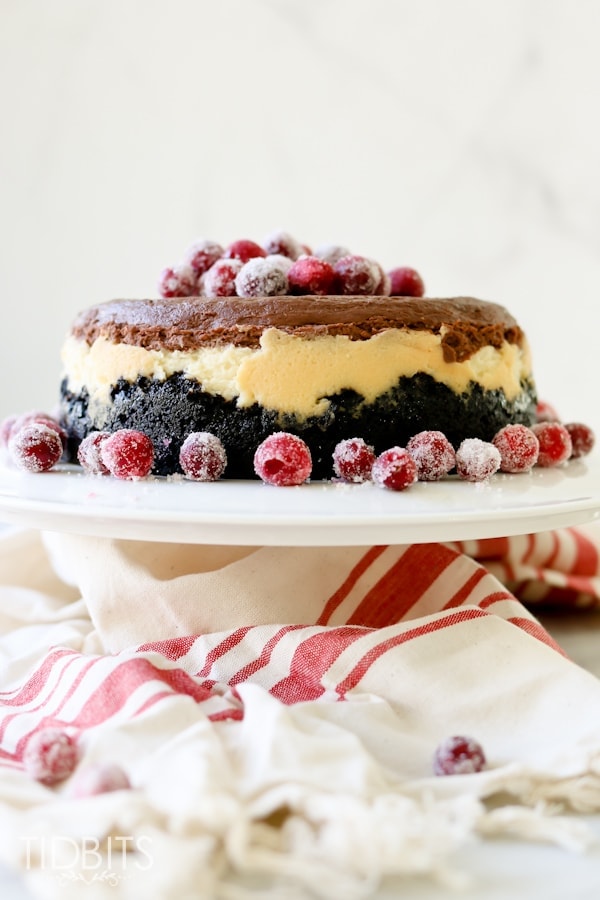
For other wonderfully fancy dishes for your loved ones on special occasions, try our pressure cooker triple chocolate layered cheesecake.
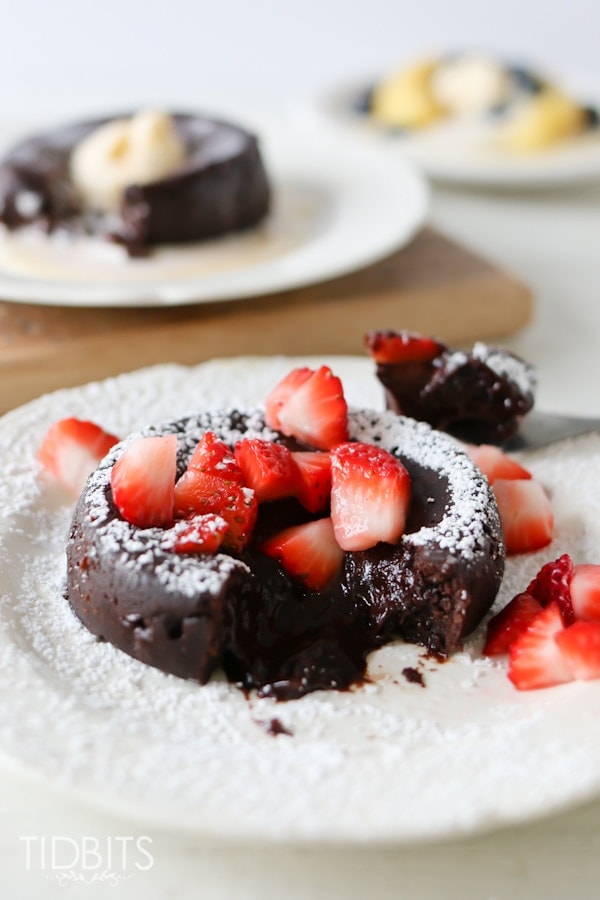
Or discover our lava cake recipe in our book, Master the Electric Pressure Cooker Cookbook.
Red Velvet Creme Brulee
Ingredients
- 1 cup buttermilk
- ½ cup sugar
- ¼ cup cocoa powder
- pinch of salt
- 1 teaspoon vanilla
- 8 egg yolks
- 1 cup heavy cream
- ½-1 teaspoon red food coloring
- 6 teaspoons turbinado sugar
Instructions
- Add buttermilk, sugar, cocoa powder, salt, and vanilla into a blender. Pulse a few times to combine the ingredients, then blend on medium speed for 1 minute. Scrape down the sides. Add egg yolks and heavy cream and blend on low speed for 15 seconds until ingredients are well combined, scraping the sides again if needed. Add ½ teaspoon of food coloring and pulse until well incorporated. Add more food coloring if a darker red color is desired.
- Divide batter evenly into six 6 ounce ramekins. Place a coffee filter on top of the ramekins and trim so it just barely hangs over the sides. Then cover the coffee filter with a piece of foil just large enough to cover the filter.
- Add 1 cup of water to the pressure cooker pot and place a trivet inside. Place three ramekins on the trivet, top with another trivet, follow with three more ramekins. You can also carefully stack the top three ramekins on top of the bottom ones if you do not have a trivet that will work for this. Secure the lid and turn pressure release knob to a sealed position. Cook at high pressure for 8 minutes.
- When cooking is complete, use a natural release for 10 minutes and then release any remaining pressure.
- Place ramekins on a cooling rack and remove foil and coffee filters (you can reserve the foil for covering the ramekins and storing them in the refrigerator later). Cool on wire rack until room temperature, about 2 hours, then cover and chill in the refrigerator for at least 4 hours or up to 3 days.
- To serve, uncover the ramekins. If there is any moisture on the custard, dab it off with a paper towel. Sprinkle 1 teaspoon of turbinado sugar on top and tilt for even coverage. To caramelize the sugar, hold kitchen torch 3-4 inches from custard and move flame continuously over the sugar until is golden brown (this can also be done under the oven broiler. Watch closely! It will brown quickly). Serve immediately.
Enjoy!


Discover more TIDBITS
Love this article? Make sure to connect with me on your favorite social platform below, and leave a comment so we can chat!