This post may contain affiliate links, which means I get a small percentage of the sale at no extra cost to you. I only recommend items I love and have had a positive experience with. Thank you!
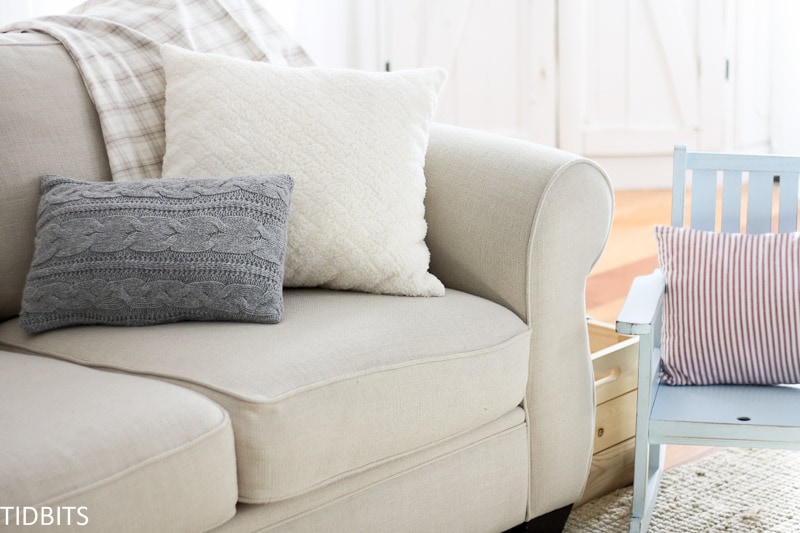
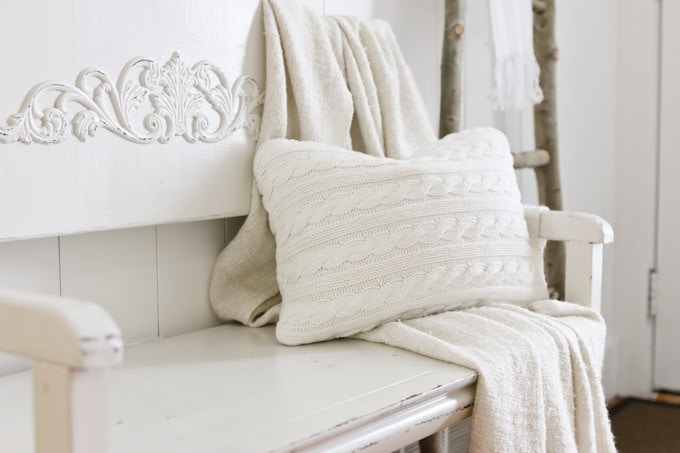
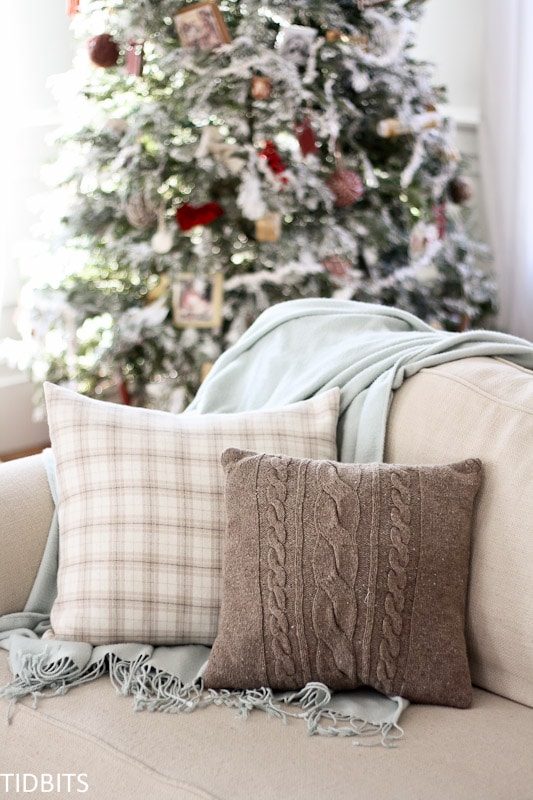
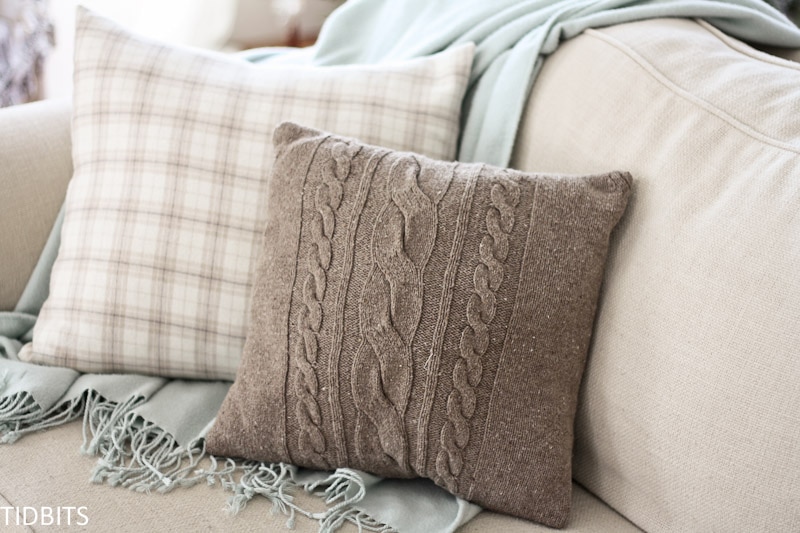
Sweater pillows are a wonderful way to cozy-up your home during the winter months! I’ll share an easy and inexpensive way to take an un-loved, chunky knit sweater and turn it into a cozy re-purposed sweater pillow for your home.
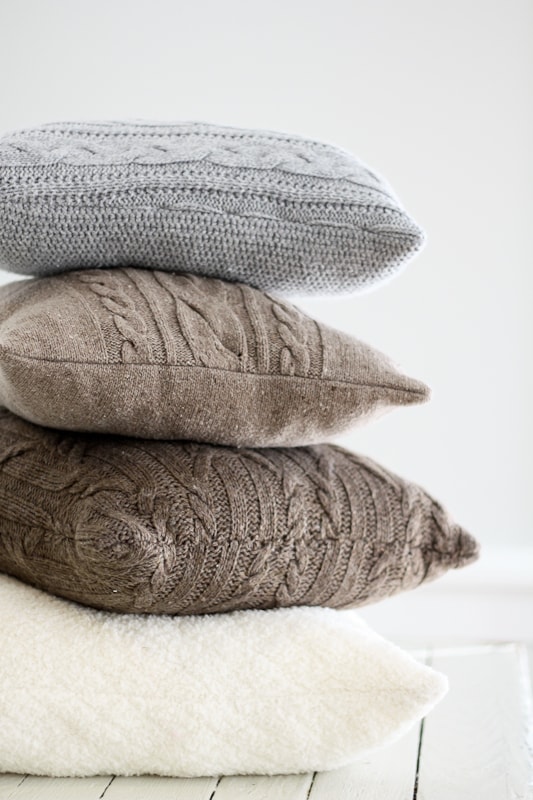
Do you love a good re-purposed or thrifted project? I sure do! My re-purposed sweater pillow cover is one of those project goodies. This sweater pillow is an inexpensive and easy project to make with a group of your friends or family. Give it a try and you’ll see how fun this project can be!
Feel free to pin this tutorial to your boards and share with your friends!
Table of contents
The Problem with Sewing Sweater Pillows
Sweater pillows are adorable, but I learned the hard way that they aren’t the easiest thing to sew if you don’t know one special trick. Because of this, I can’t wait to share with you the simple technique I used to make sewing with knit sweaters easy and successful!
Without this tip, cutting apart a sweater and trying to sew with it can lead to a lot of frustration. You’ll end up with less-than-appealing wavy seams, and a pillow that stretches and warps easily. Once you’ve learned how to sew on knit sweaters successfully, there are so many fun projects you can do with re-purposed sweaters.
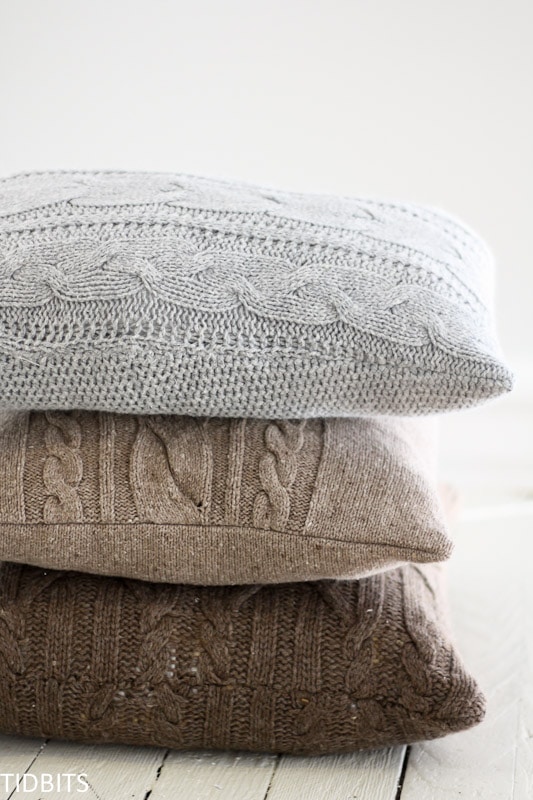
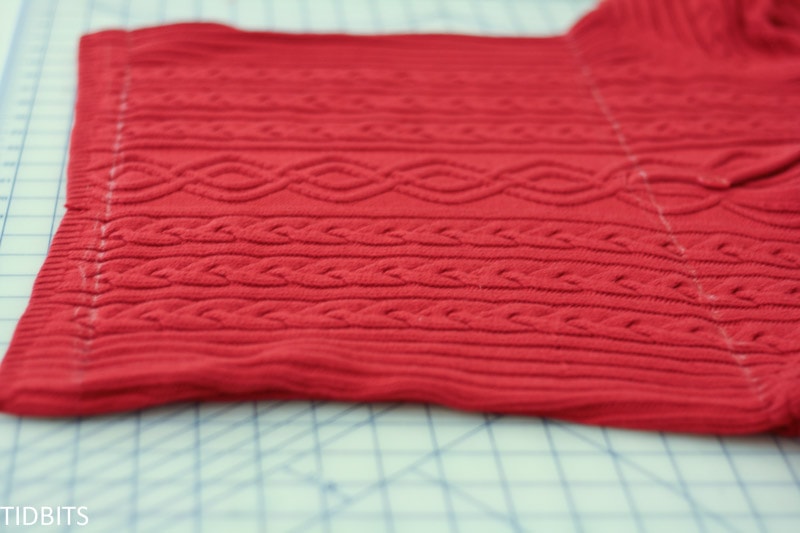
For this pillow, all you need are some old sweaters that wouldn’t make you feel bad to cut up. Check your closet first and then search the thrift stores for something that is large enough to go around your pillow insert of choice.
Once you find the perfect sweater, you’ll need either a pillow form or some sort of fiber-fill stuffing. I’ve even been known to cut up old pillows and re-purpose the filling for a new pillow. This inexpensive project really can be done super cheap!

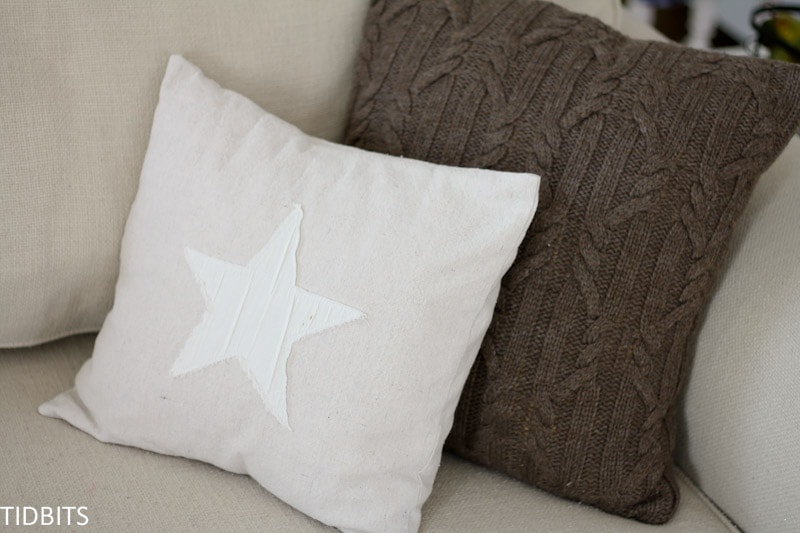
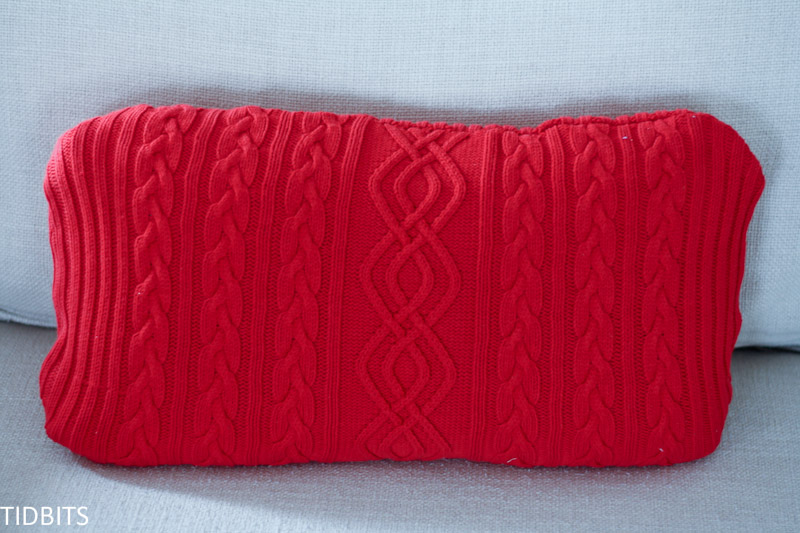
Don’t be afraid to use sweaters with buttons or zippers on one side. You can use those as decorative accents for the front of the pillow or use them on the backside for easy, built-in closure options. That is what I did with the pillow below.
When you try to sew with knitted materials, the fabric will easily stretch, leaving you with wavy seams and a less than appealing project.
This is the very first pillow I sewed . . .
. . . and the very last of its type. Gah!!! I quickly learned an important step that needed to be taken in order to achieve a professional look – and not a wonky look.
And lest you think my couches stay perfectly tidy . . . this is more like it.

These pillows are durable, kid tested, and mommy approved.
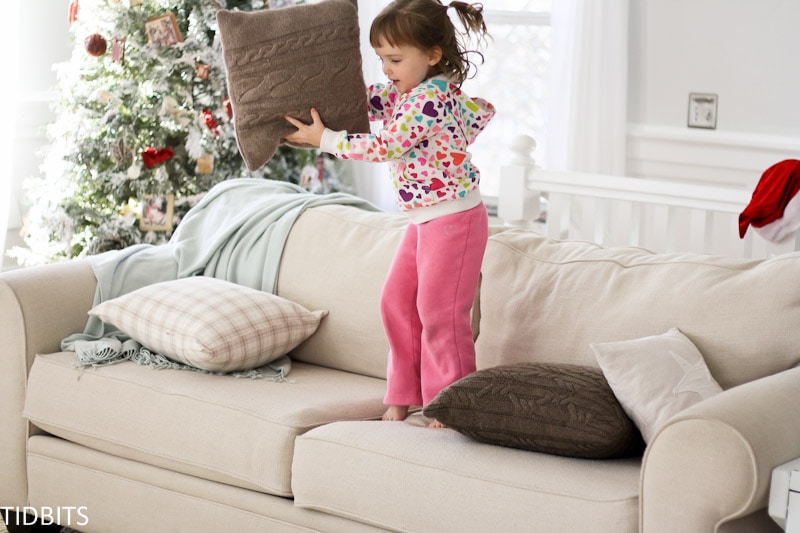
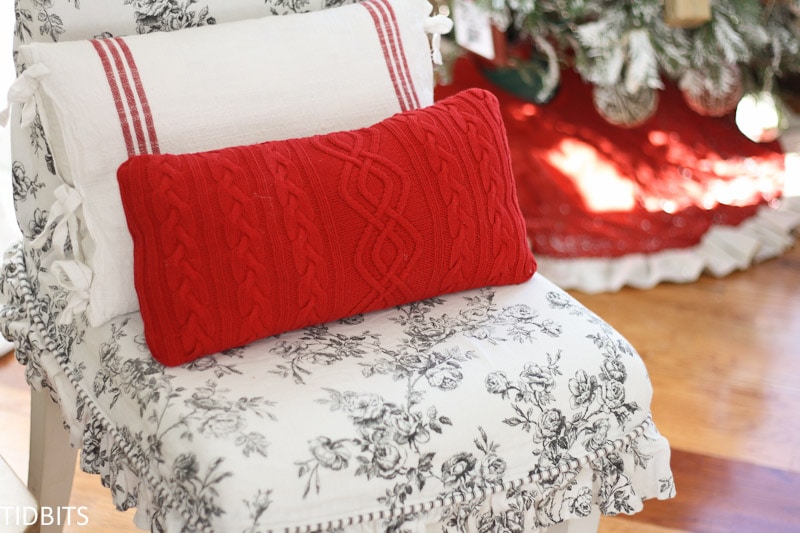
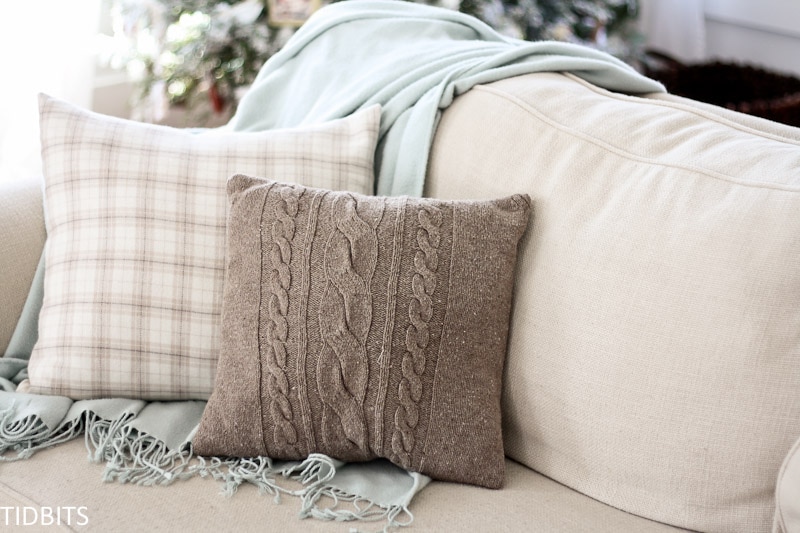
And yes, it was Christmas time when I took these pictures. But I love that these pillows will be a cozy piece of decor all winter long.
If you don’t sew, but love this look – I’ve seen some pillows that look exactly like this at my 2 favorite affordable online home retailers. Check first at Wayfair and Joss and Main.
Sweater Pillow Supplies and Materials
For this project you will need the following:
- Sweater
- Pillow form or stuffing
- You can thrift a pillow form, buy stuffing, or buy a new pillow form.
- Lightweight Fusible Interfacing
- Regular sewing machine (serger not needed)
- Thread
- Pins
- Iron
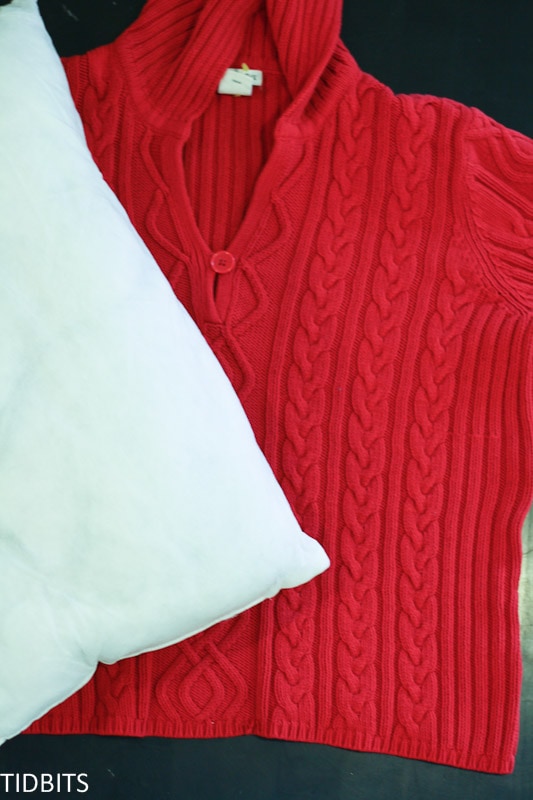
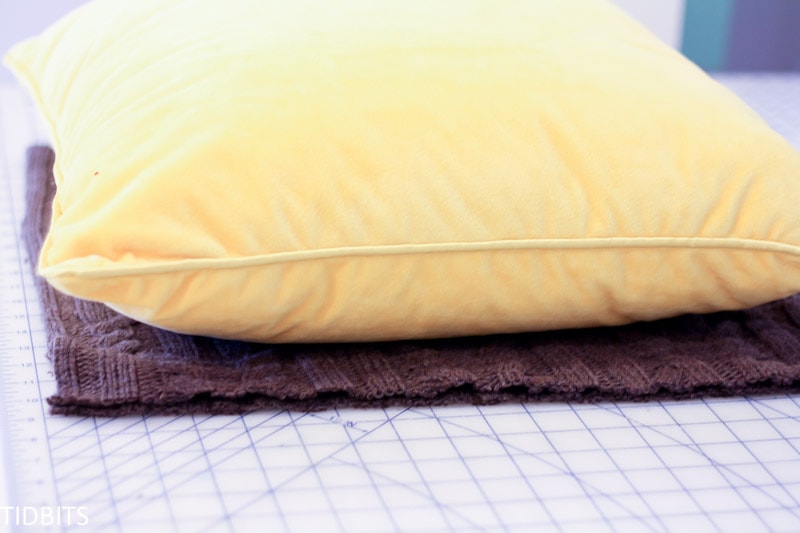
If you are using a pillow form, you will need to be sure that the body of sweater has enough room that when cut, it will be the size as the pillow (front and back). You’re only going to be using the body of the sweater, so line up your pillow below the sleeves like I’ve done in the picture below.
Normally, you would add enough room on your sweater for seam allowance, which would be ideal. But if you are tight on room, I actually found that because it is a sweater, it stretches nicely and fits a pillow snugly even if you don’t have an extra 1/2 inch around all sides for the seam allowance.

Once you’ve lined up your pillow to your sweater, use a fabric marker to draw the shape of the pillow onto the sweater to mark where you will cut.
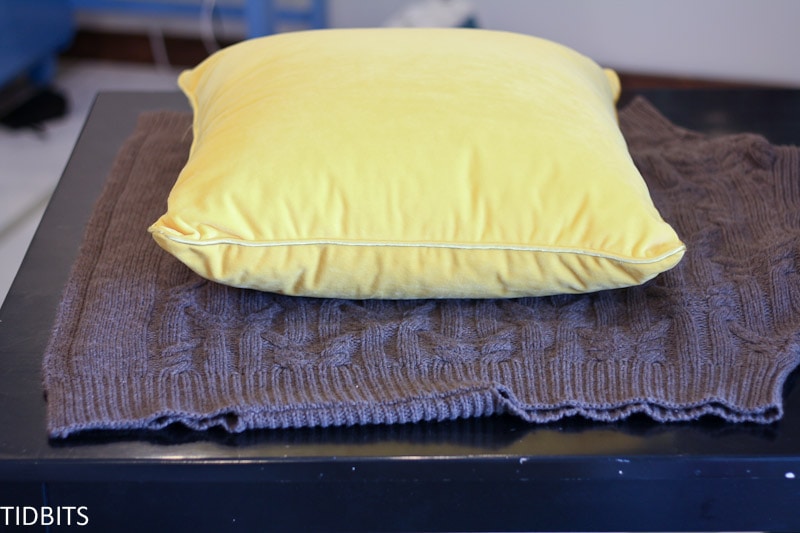
(Yes, I used a yellow pillow to stuff inside. It was thrifted and it is the softest down pillow I’ve ever laid on! – I couldn’t resist.)
Cut along your markings. You can leave the side seams if they are already there and work with the dimensions of your pillow. Leaving these side seems will require the fewest lines of sewing. However, if you pillow form isn’t wide enough to reach seam to seam, simply cut all four sides.

You will be using both the back and front of the sweater.
The Secret to Sewing Sweater Pillows
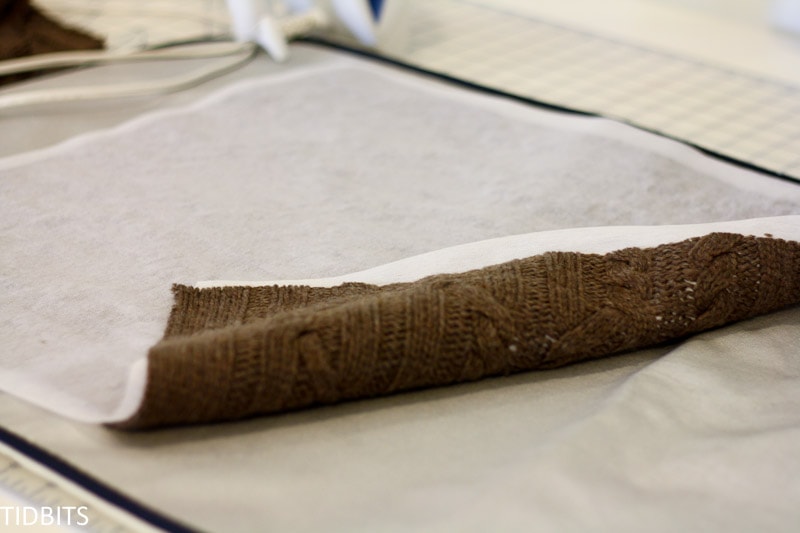
Now here is the key keeping your sweater the shape you want it to be! You will cut 2 pieces of lightweight fusible interfacing the same size as your cut sweater pieces.
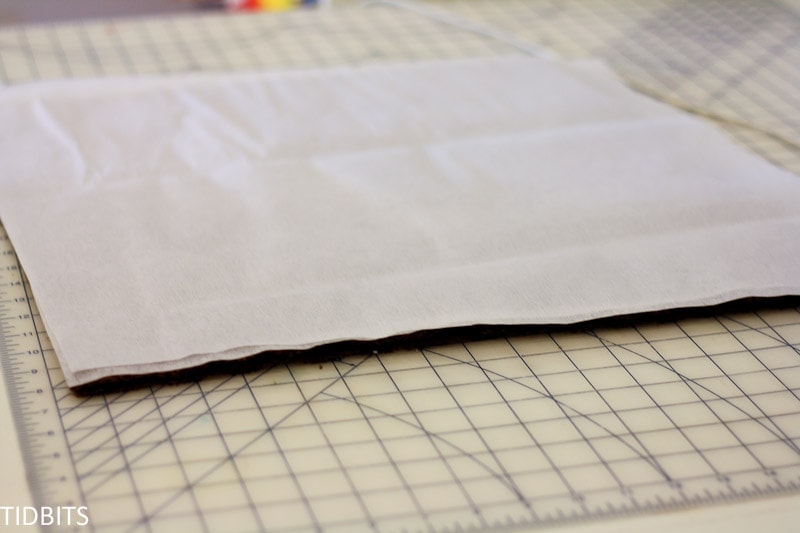
Then you need to iron the interfacing onto the wrong sides of the sweater – both front and back. Your interfacing should then be fused to your sweater fabric. By doing this important step, your knit sweater will not stretch or move when you sew it with the sewing machine. It keeps the exact shape you cut it as. The difference this step makes is huge!
Another thing that will help, is having a walking foot on your machine – though this is not necessary.
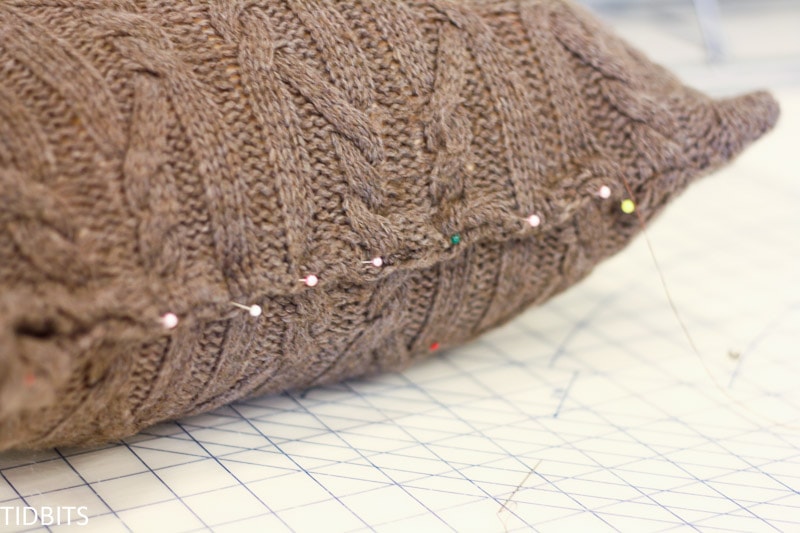
Take your sweater pieces with the interfacing fused on, and line them up right sides together. Pin all around your sweater sides and note a space to leave open for the filling or pillow form. If inserting a pillow inside, you will need a larger opening. If simply inserting stuffing, you can leave a smaller opening. I left about 10 inches in order to get my yellow pillow form inside.
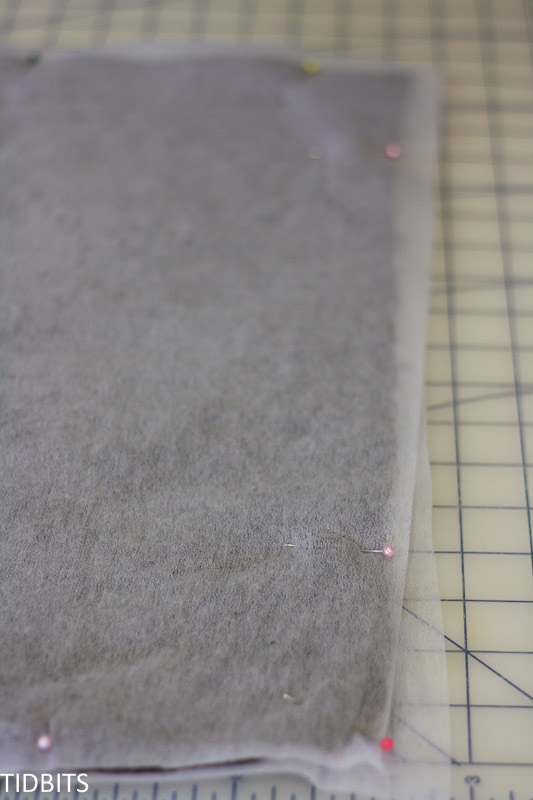
Sew all the way around the 4 sides, leaving your opening.

Flip it right sides out and shape your corners. Fill it with your pillow or stuffing.

You will need to fold the edges of the opening and tuck them in to match the seam. Pin your opening together securely. Then, take a needle and thread and hand stitch the opening shut.
And that is it! You’ve got a darling sweater pillow with tons of cozy charm.
It’s so easy, you’ll want to make one for every corner of the couch!
I totally did.
More Sewing Projects
If you would like to see more pillow projects, checkout one of the links below. And for more sewing inspiration of all types, see my TIDBITS sewing project collection. See you soon!


I love the sweater pillows and have been wanted to do this as my mother knitted and I want to save some of those sweaters – perfect idea! Now I have a granddaughter who I am trying to lure into sewing.
I cannot wait to try this out!
I have another use for re-purposed sweaters, however, it only uses the sleeves. Now, I can use up the whole sweater without needing to send unused parts to the landfill.
Thank you for the helpful tip on how to not allow the sweater to come unknitted. That trick will also work for the above project, using only the sleeves.
Have a fabulous day 🙂
Hi. Terrific ideas, and I love that you get to make a living (or part of one) making a home, and creating beautiful things. I wanted to give you a heads-up that the links to Joss & Main and Wayfair in your article are not active (they have some sort of notice that affiliates need to activate their links), so you may be missing out on some affiliate payments. Keep doing the thing! Your ideas are super!
That’s a really creative idea. I have many old sweaters. I’ll try to turn them in pillows
Would it be possible to put a velcro closure on the sweater pillow? If so, do you have any suggestions how to do it? Thanks for this great idea to salvage my sweaters!
Thanks so much for this tutorial. I’ve collected great sweaters from thrift stores for years, but since I really don’t know how to sew, I’ve been reluctant to try this. I think this afternoon may be the day I try, thanks to your post.
Your interfacing idea is genius! Beautiful work on the pillows, photography – thanks for the great post!
Wow…..these pillows are amazing. The pattern and design of the pillow are totally unique and just love it. Thanks a lot for sharing such pillows.
The fusible lining is genius. I knit pillow covers and they never keep their shape so i’my definitely going to try this idea. So annoyed I just took clothes to a charity shop! I’ll have to have another clear out.
What a great tutorial! I can’t wait to try it!
So beautiful! We love these, and shared them on our blog today. I am so excited to make some!
wow just what I was looking for to sew my very stretchy Ikea throw into pillows (got it for a deal $9 in the as- is section). This is by far the best tutorial for these oh so adorable and highly needed pillow for the holidays, and even after. Just one question I cant seem to find anywhere, what needle and thread worked best for you?
Thanks ahead and great work!
-Iris
wow just what I was looking for to sew my very streachy Ikea throw into pillows (got it for a deal $9 in the as- is section). This is by far the best tutorial for these oh so adorable and highly needed pillow for the holidays, and even after. Just one question I cant seem to find anywhere, what needle and thread worked best for you?
Thanks ahead and great work!
-Iris
Hi Cami, I’m pretty new to your blog, but am wondering about using a cardigan to do this, with the buttons. It looks like one of your pillows (the red one) had buttons. Or did you just work around them? I thought it might be cute with the buttons, but don’t sew much, and wondered if it would just make it much more difficult. I’m loving your blog! Thanks for the tips.
Welcome! So glad you found your way here. I actually get pretty excited to find a sweater with buttons or some kind of closure on one side. I just barely sewed one that had a nice chunky knit on the back and used the front zipper for the back closure for my pillow. It works great if you have a pillow insert. Then you can easily remove and clean and replace, and you don’t have to leave a side opening to fill it and hand stitch it closed. Have fun sewing!
Thanks for the tips!
Agh! I have that same red sweater!! Now I can justify getting rid of it as clothing and making a Christmas pillow! Thanks for the tips.
How beautiful! I felt warm and cozy just reading this tutorial!! 🙂 I don’t wear sweaters, so I will see what my local thrift store has and will try this project! Thank you for sharing.
i am interested in using assorted sweaters to make a couch blanket for my MIL. Questions: could I use flannel as the backing rather than iron on interface? I am tring to make a backing without so much weight that a quilted style would create.
Can you wash the pillows in the washing machine?
I do, with my front loader.
Is that iron on interfacing you’re using? What I also found works well is solid heavy-duty felt! It stiffens the sweater to sew and also keeps the white pillow insert from showing through sweaters with larger stitching!
Yes, it is iron on interfacing! And the felt idea is fantastic. I think I will try that next time, as I think the thickness added to the sweater will help it keep it’s shape even better. Thank you for sharing!
Beautiful! thanks for that very detailed tuto!!
So adorable.. great job!
I love how stylish the pillows look and how simple they are to make. You picked some great colors for the season too which would make any couch look warm and cozy.