This post may contain affiliate links, which means I get a small percentage of the sale at no extra cost to you. I only recommend items I love and have had a positive experience with. Thank you!
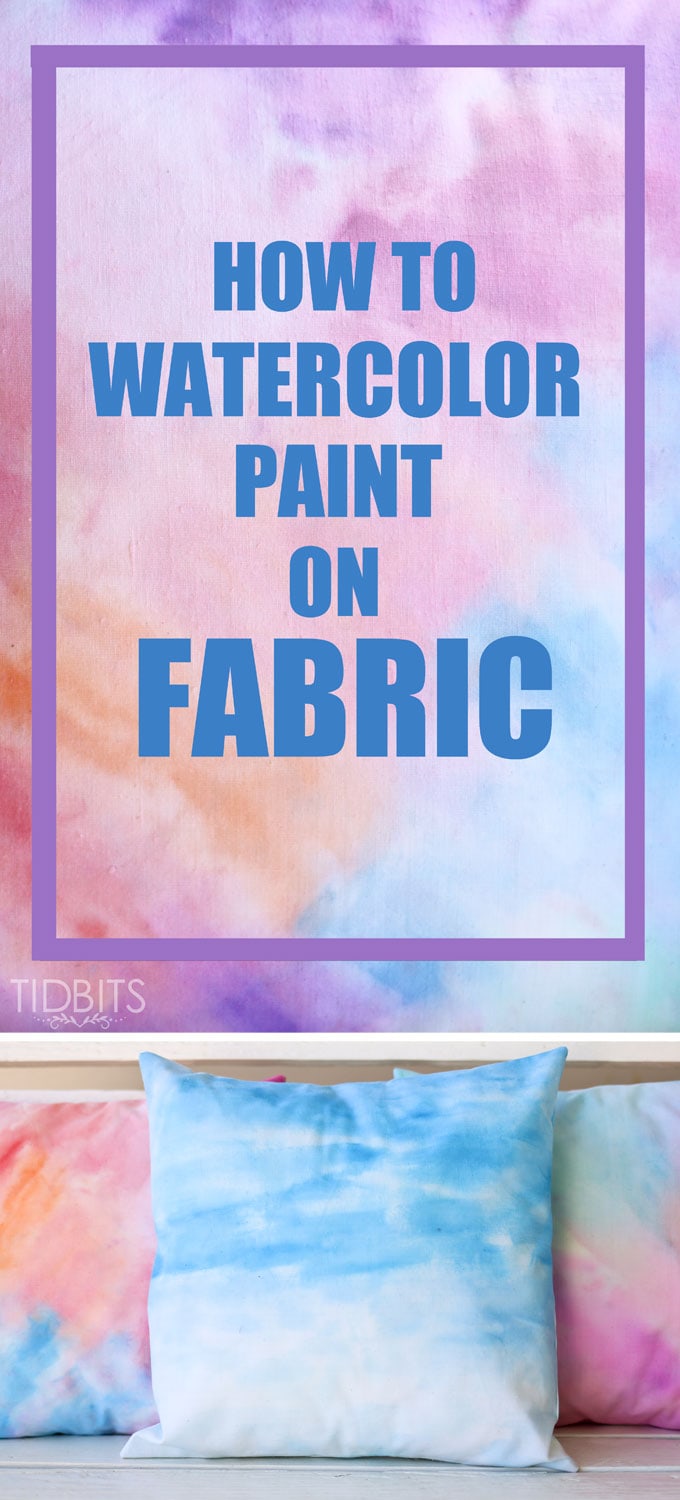
I am bringing home this tutorial for “How to Watercolor Paint on Fabric”, which was originally shared on Ella Claire, here.
If you are looking for a tutorial to turn your watercolor fabric (or any fabric for that matter) into a envelope closure pillow, I have those instructions, here.
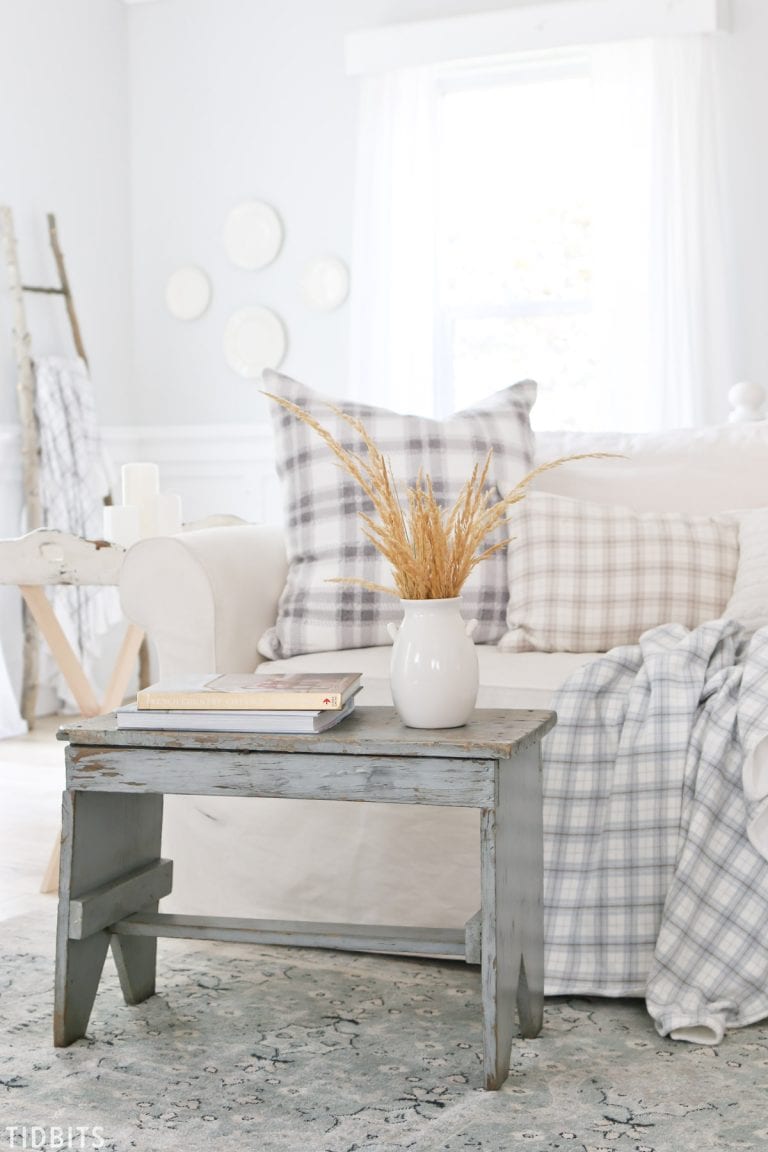
If you have seen any of my work, you know I love mostly white spaces, with subtle hints of color (like found in our home here, here and here). However, there is something about Spring time that always makes me crave color, color and more color!
I have to feed this craving, or it gets out of control 😉 So the other day, I busted out my “mommy only” watercolor paints, and discovered a way to watercolor paint on fabric, for amazingly beautiful results! (Especially considering I am no Artist).
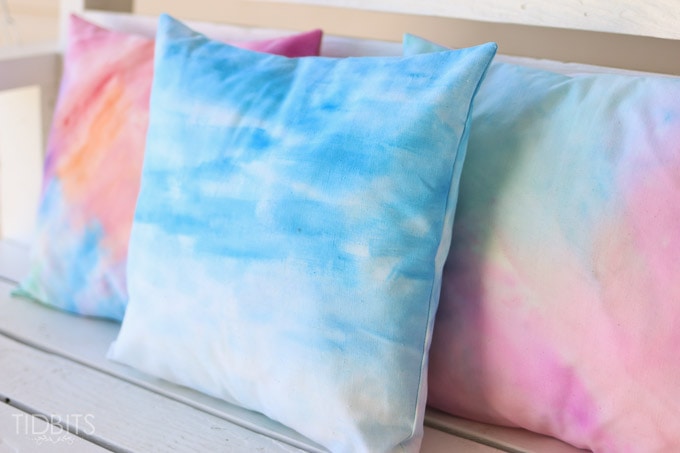
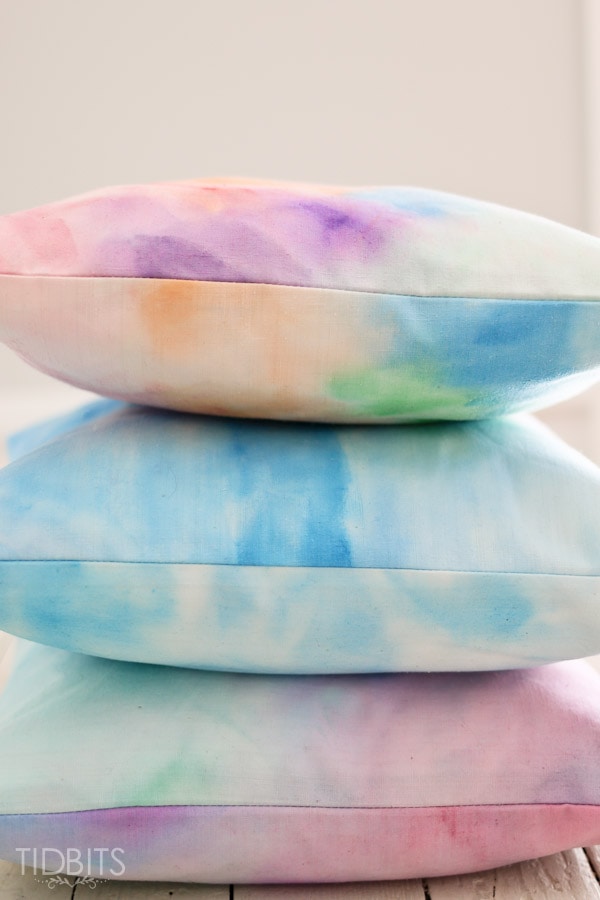
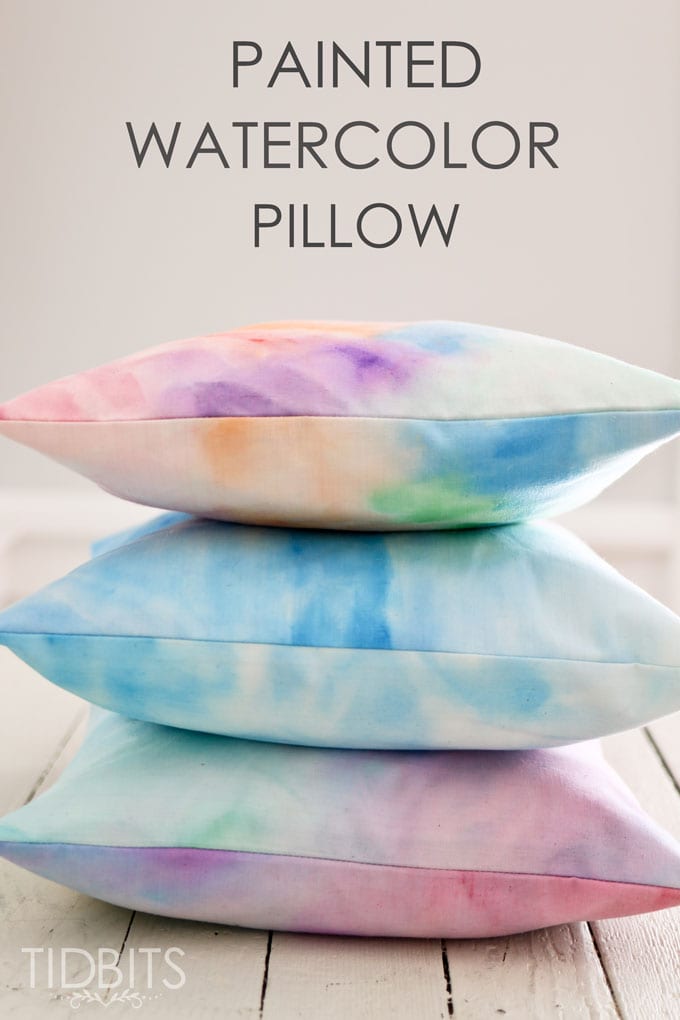
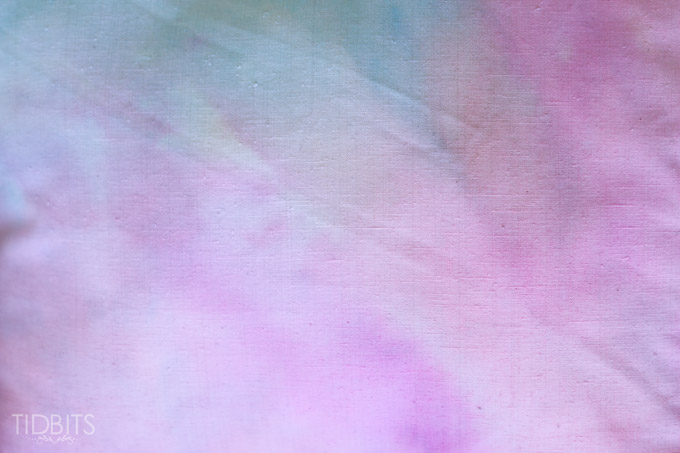
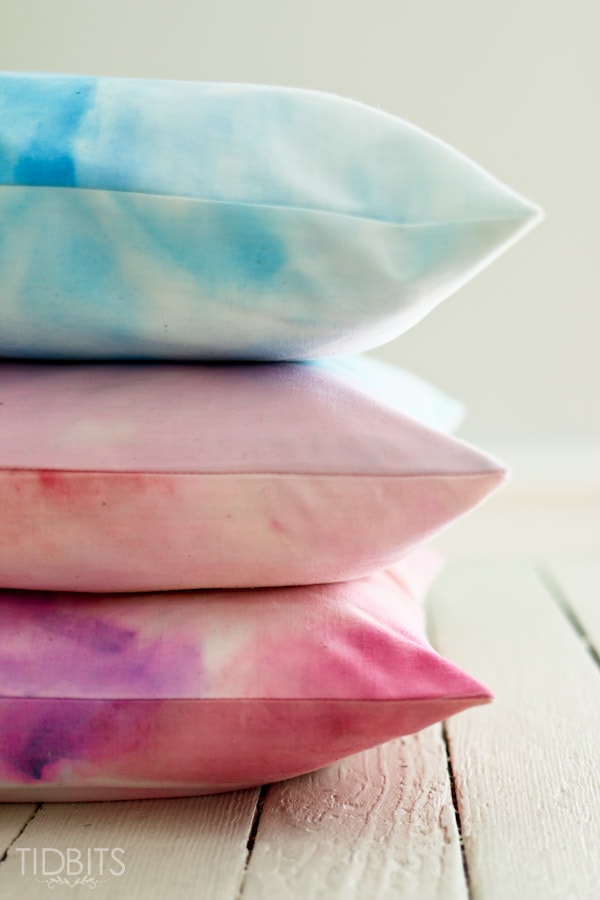
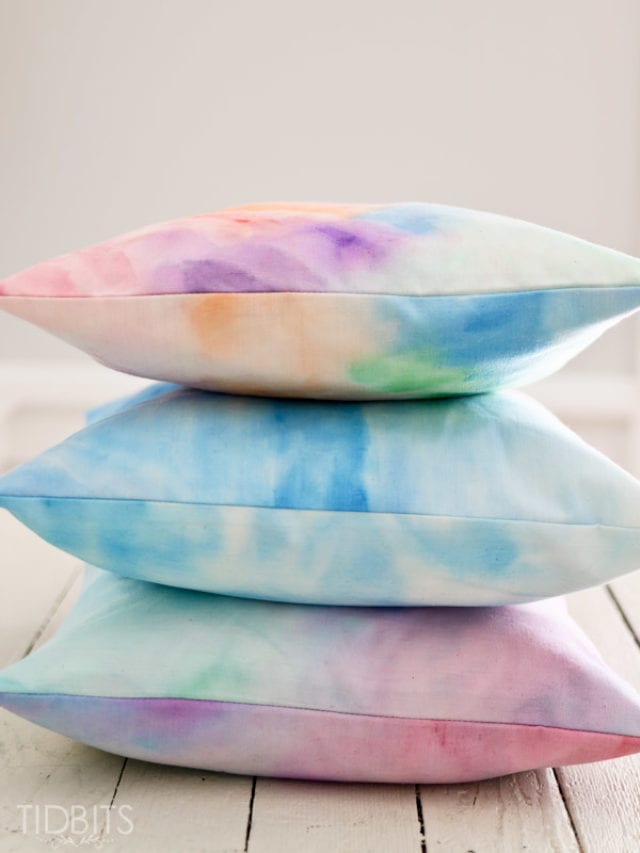
I painted and painted on some white fabric samples, and then determined they would make the most beautiful pillow throws for our porch swing.
The kiddos really love them as well.
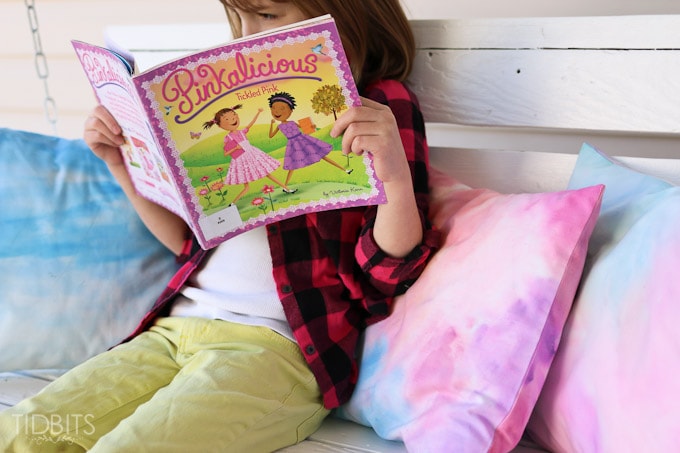
They are the most satisfying pop of color I’ve enjoyed in a long time!
Keep reading here, and I will teach you how to watercolor paint on fabric – and some tricks to the trade I learned along the way. But, don’t feel limited to pillows for this project. There are so many projects you could make that are no-sew. Go buy some white cloth napkins and color them up! Or a plain white T-shirt from the craft store. Or Tea Towels, or curtains, or burp cloths, or . . . Oh the possibilities!
But if you love the pillows, get painting and then head over to follow this tutorial, here, and I’ll teach you how to sew a simple envelope closure pillow cover, for any size of pillow form.
Alright, let’s get painting!
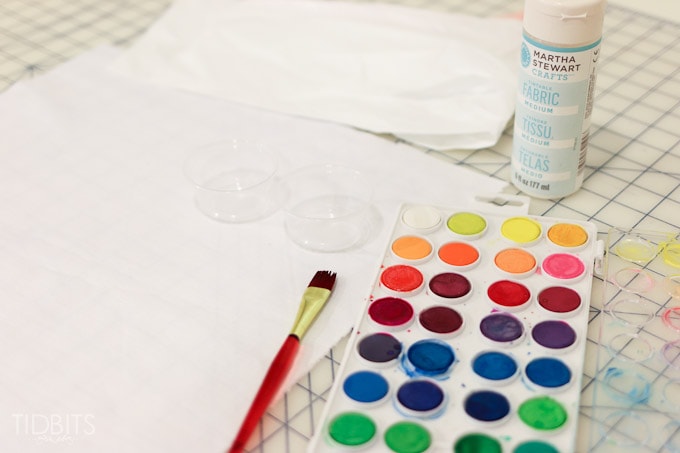
Materials:
- Watercolor Paints
- Don’t fret about whether or not they are fabric paints. This was all experimental for me, but it totally worked! I have these watercolor cakes from Michaels, found here. I LOVE them! But here is a set you can get on Amazon, that looks about the same, for a little cheaper with free shipping. (Loew Cornell 1021095 Simply Art Watercolor Cakes
).
These paints are so much better than your kids crayola watercolor paints. The pigment is so strong and a little goes a long way.
- Don’t fret about whether or not they are fabric paints. This was all experimental for me, but it totally worked! I have these watercolor cakes from Michaels, found here. I LOVE them! But here is a set you can get on Amazon, that looks about the same, for a little cheaper with free shipping. (Loew Cornell 1021095 Simply Art Watercolor Cakes
- Fabric Medium
- This stuff makes it so you can use any kind of paint for fabric, if you add this to it. This Martha Stewart Brand works wonderfully.
- 2 Small cups or containers for water.
- Brushes
- Make that 2 Brushes (so you don’t have to constantly wash)
- Something to cover your surface
- I use garbage bags
- White Fabric
- Any kind of white fabric should work, just be sure it is the appropriate type for your project (my pillow tutorial details the fabric I used, here).
To get started, fill your 2 cups with water, half way. One of the cups will be used to wet your paints. In the other, you will need to add some of the fabric medium to the water. I wasn’t too specific on proportions here, but for about 1/4 of a cup of water I used approximately an 1/8 cup of fabric medium. Having 2 brushes comes in handy here. You would not want to use the brush with the paint medium for dipping in your paints.
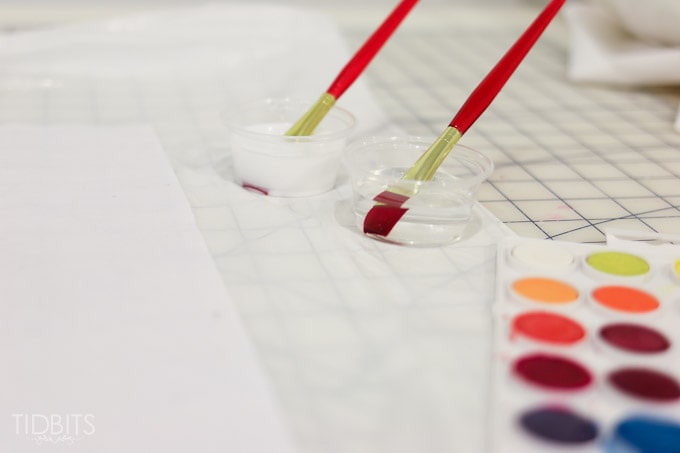
With your brush nice and wet in the plain water, wet your watercolor paints.
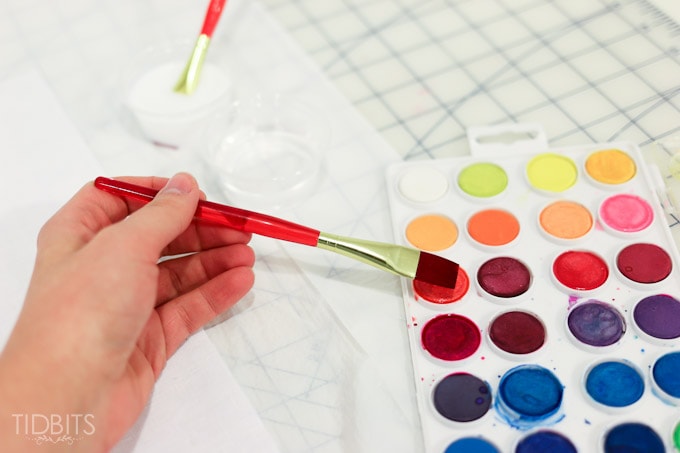
This leaves plenty of pigment on your brush, and you are ready to spread it on your fabric.

The less watered down your paint is, the stronger the color. The wetter the paint is, the lighter the color and the more it will spread.
Once you have painted your fabric as desired, use the water with the paint medium added to it and paint over the entire surface.

When you do this, the colors really start to blend together beautifully.
At this point, your fabric is very wet. You need to heat set this paint to the fabric, so I threw my samples into the dryer on high heat until they were dry. You could also let them air dry and then press it with a hot iron. I actually did both.
It is best to read your instructions for the paint medium you are using, but I was able to wash and dry my fabric at this point with no color loss visible. (Which made me super excited that it worked)!
You’ll want to test your painting methods out, before using it for an actual project, but here are the 3 different techniques I used when painting to get the specific looks I achieved for my pillows.
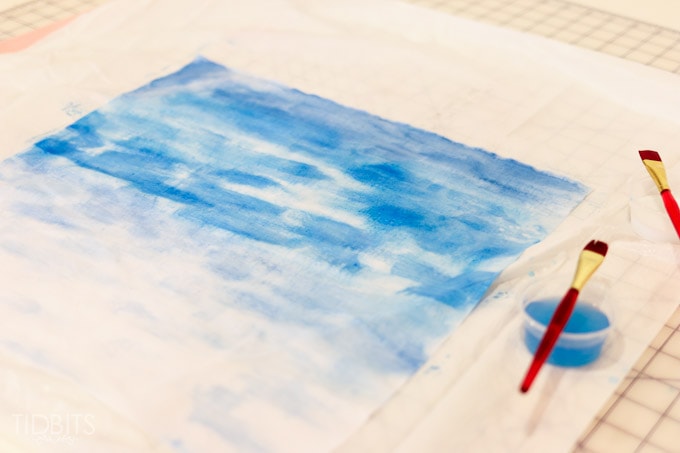
1) For the all blue pillow with somewhat of an ombre effect, I used highly saturated paint (with less water) at the top and kept getting it wetter and wetter as I went down.
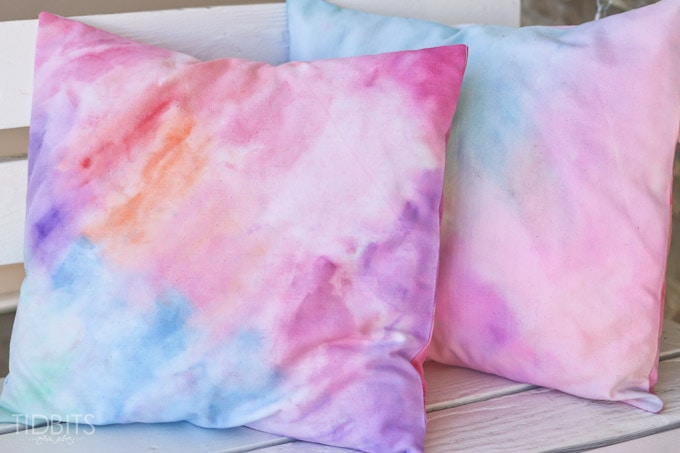
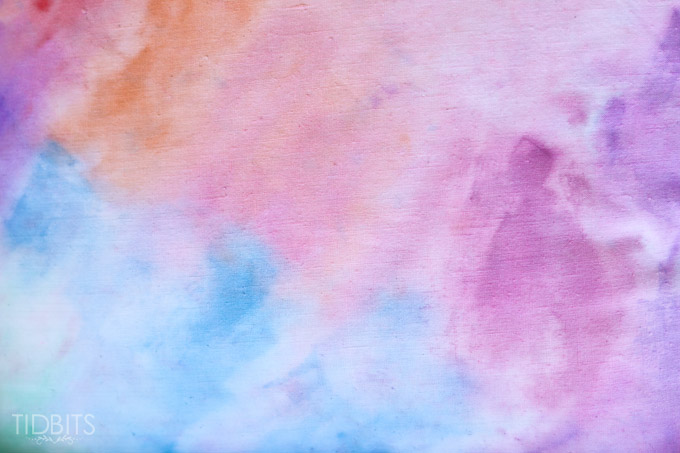
2) For this multi-colored pillow, I used circular strokes of varying colors. It looked kind of funny to me until I soaked it with the wet fabric medium and dried it. Then the colors all blended wonderfully.
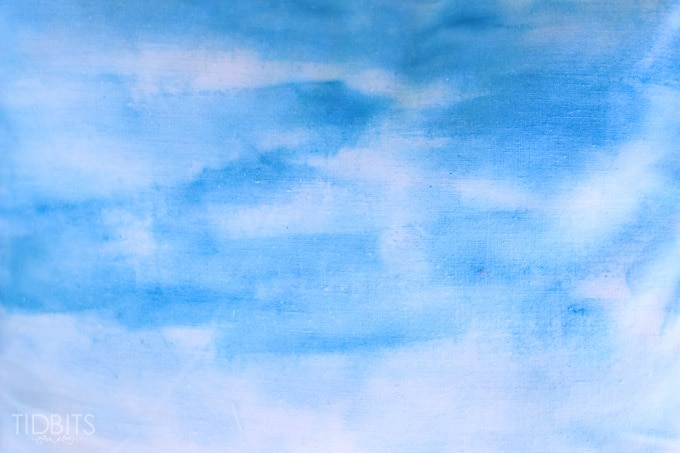
3) This last technique was a game changer. I decided to soak my fabric with water first. This made it so when I painted, the paint spread easily and blended all together. This was really fun to try, and I really like the results. I think this would also work great for an ombre look.
I would love to hear if you give this a try! It was really so much fun, and I plan to let my kids try this on their own projects.
Be sure to go here, if you need help making your handcrafted fabric into a pillow.
I also have other projects that include fabric, paint, and creativity!
Did you know you can use shaving cream and fabric paint to create a marbled look on fabric? Funnest project I’ve ever done!
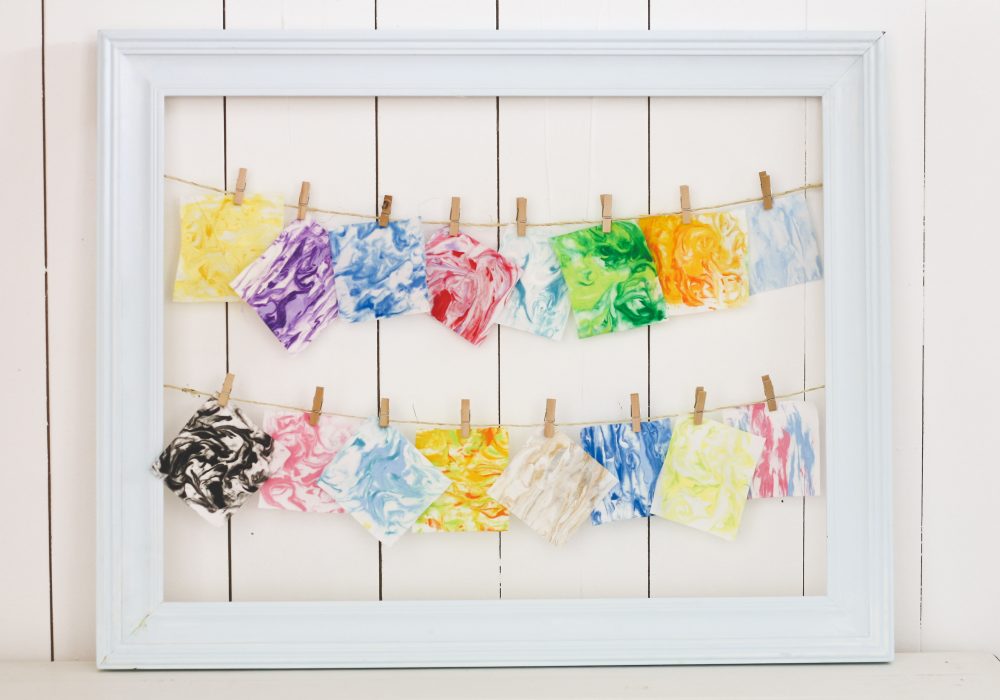
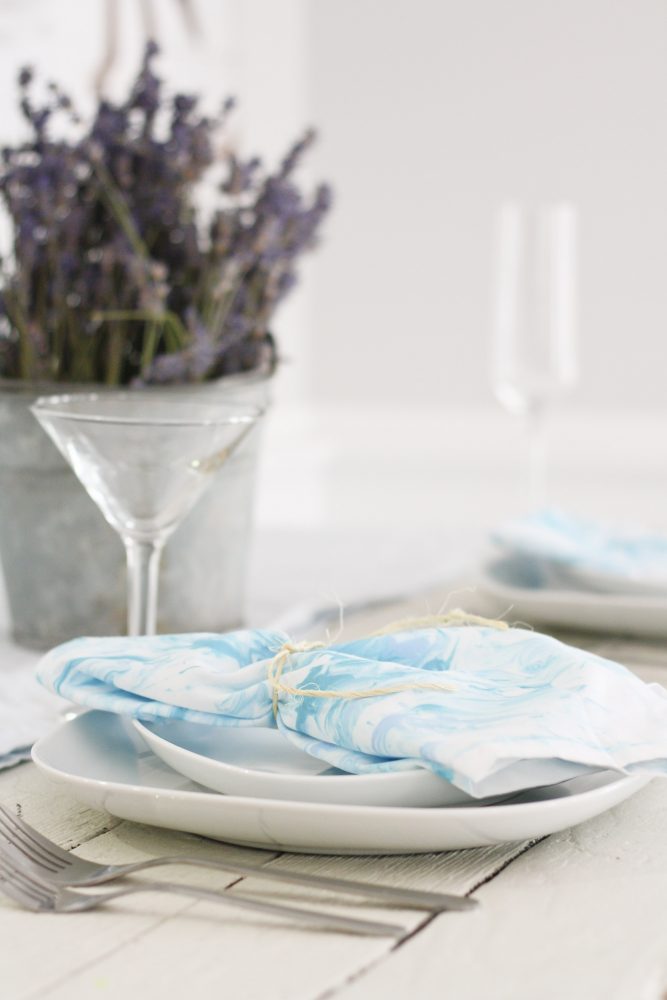
I made lots of samples, and I still love these marbled fabric napkins I made using this technique. Click here, to see all the details.
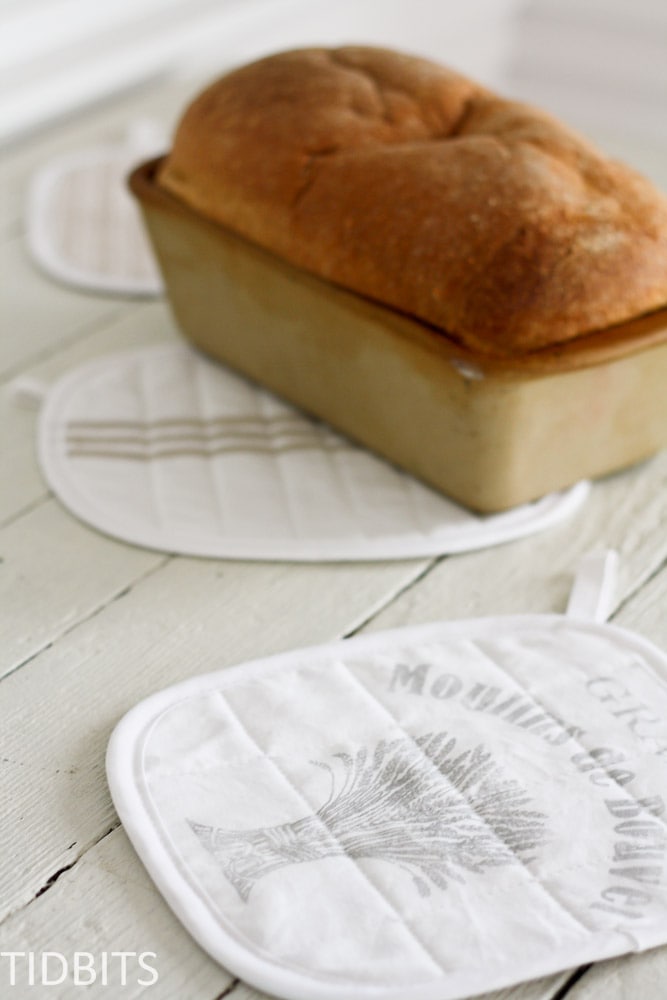
I also wanted some French inspired hot pads, but couldn’t find any. So with a simple transfer technique and some grainsack stripes – I made my own, here.
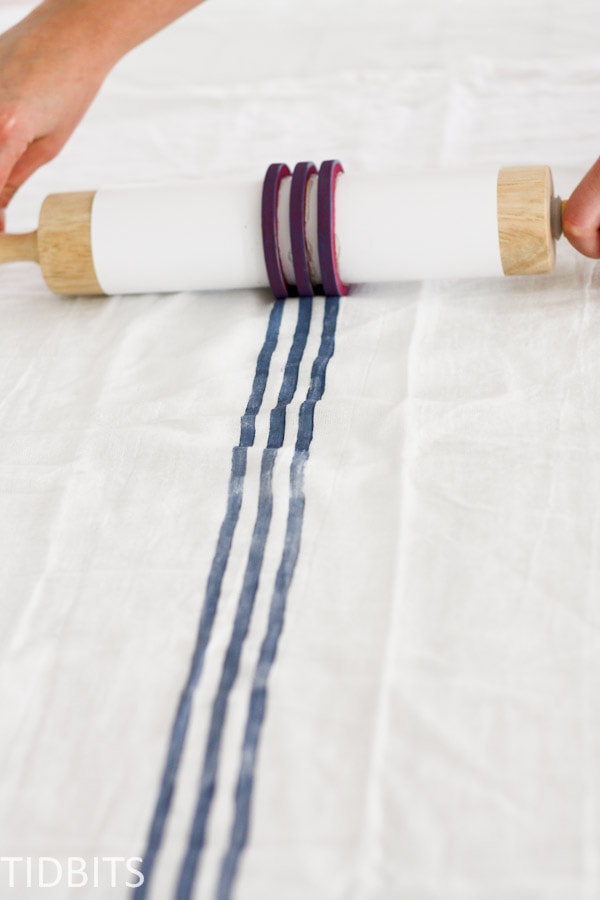
Finally, if you saw my post – how to make your own grainsack stripe stamp – you know you can easily paint this attractive stripe on any fabric you want.
I guess you could say . . . I really like to paint fabric.
Thanks for reading!
*This post contains affiliate links. But rest assured, I only recommend products and services I love!
**Linking up to these parties, here.


Ginna try this on Aida cloth. They make alot on 22-36 count and linen but I want 16-18 ct.
And I already have everything. Woo Hoo
Would you be able to do this on an already made pillow case/pillow? I’m not a great sewer and in fact am new to most diy projects, so I’m trying to find an easier way to do this. As long as the pillow is white it should work, correct?
Thanks for any advice! Love your blog!
Thank you for this fantastic tutorial! I’ve wanted to try something like this and your tips made me curious enough to try it myself. I had a blast with this and learned so much. I was able to make a fabric banner for my booth at shows and events. I paint in watercolors and sell my artwork so it seemed perfect to have a watercolor painted banner to get shoppers’ attention. It turned out beautiful and I’m writing a post to share with readers. I’ll be giving you credit for helping me know what to do! Thank you!
We do appreciate this helpful tutorial. Blog seems pretty in fact in covering importance of fabric painting. Cheers!
Hi there
I love your site…im sure this is a silly question but could you use the water colour on clothes or would it just wash off?
Hi,
Water color washes off easily from fabrics. Using the Fabric Medium helps turn any other paint medium ( water color, acrylics, etc.) into a fabric paint…which means it “sets” onto fabric and doesn’t wash off.
🙂
Can you tell me exactly what a fabric medium is please? I have Googled Martha Stewart Fabric Medium and looked in Amazon and it’s £64 in the UK!!!!!!!!!!!!!! 🙁
I just love the effect and have been trying to do this over the past week with Acrylic paint. But it didn’t blend like your watercolours do. Absolutely LOVE it x x x x
Yikes! That is highway robbery! Have you tried looking on amazon for just “fabric medium”? I saw plenty of different brands, so you don’t need to go with just Martha Stewart. I am not sure what it is made of, but you simply add the medium to your paint in a 2:1 ratio. Normally, this is what you do anyway. Of course I tried it with the different method of adding it to water for the pillows, and it seemed to work fine. It thins out your paint and has something in it that helps it adhere to fabric. I do wonder if you used just ordinary fabric paint and simply added some to a cup of water to tint the water, if that would work the same. It would be interesting to try. Best of luck to you. Hope you can find something affordable that will work.