This post may contain affiliate links, which means I get a small percentage of the sale at no extra cost to you. I only recommend items I love and have had a positive experience with. Thank you!
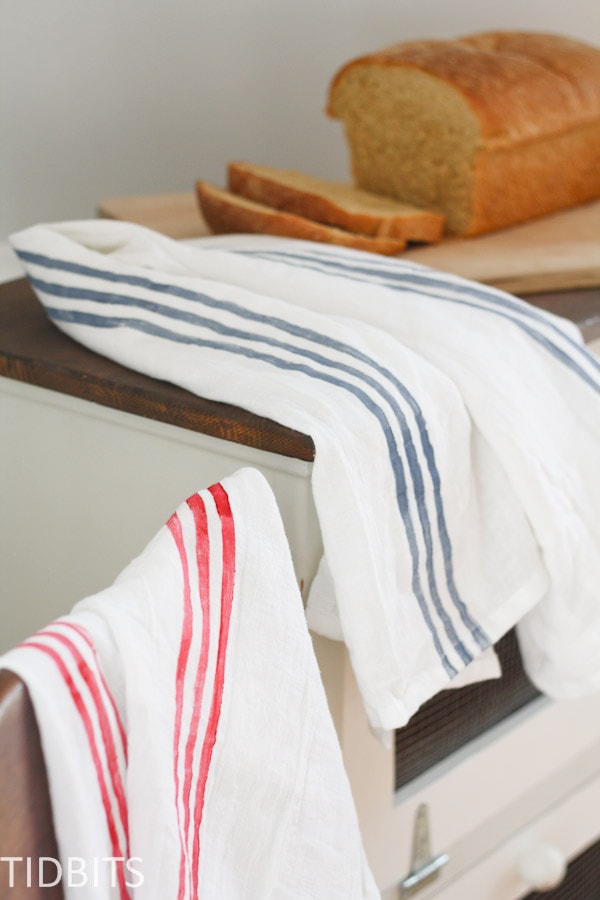
These easy DIY tea towels are the perfect project to spend an afternoon on. Add some trendy towels with grain sack stripes easily for hostess gifts or to update your kitchen effortlessly.
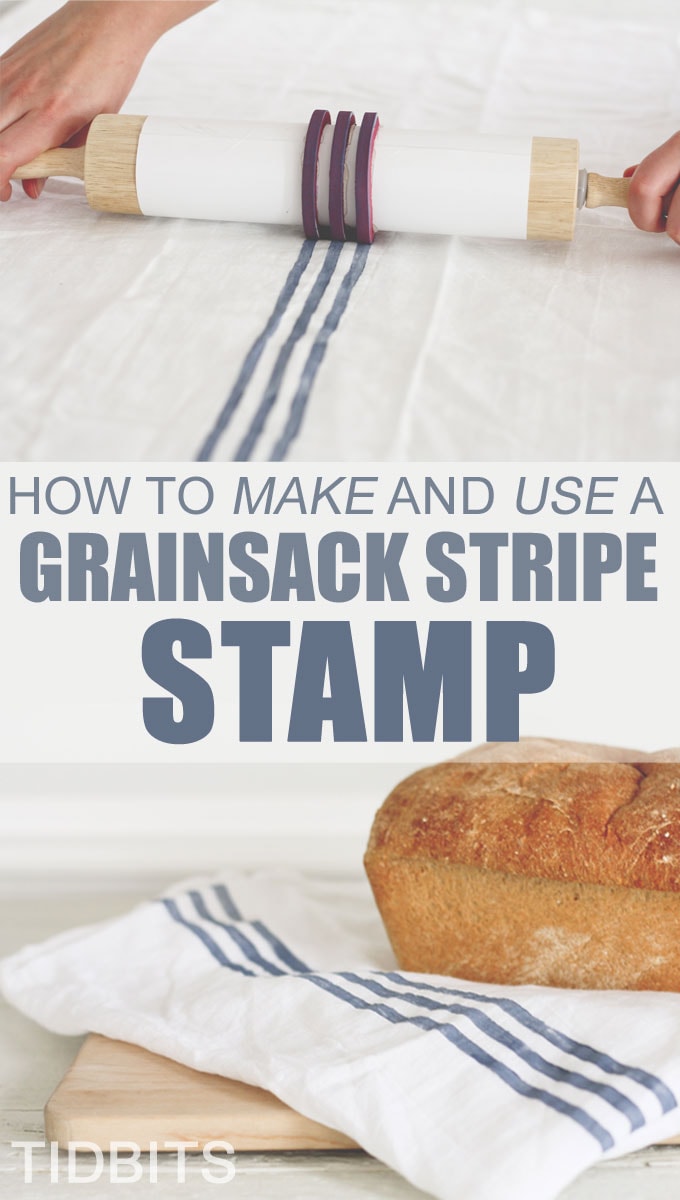
You will love how easy it is to transform a simple flour sack towel into this stylish new towel that you can customize to match any decor. All you need to do to get started is to make a grain sack stripe stamp out of a rolling pin. Genius, right?
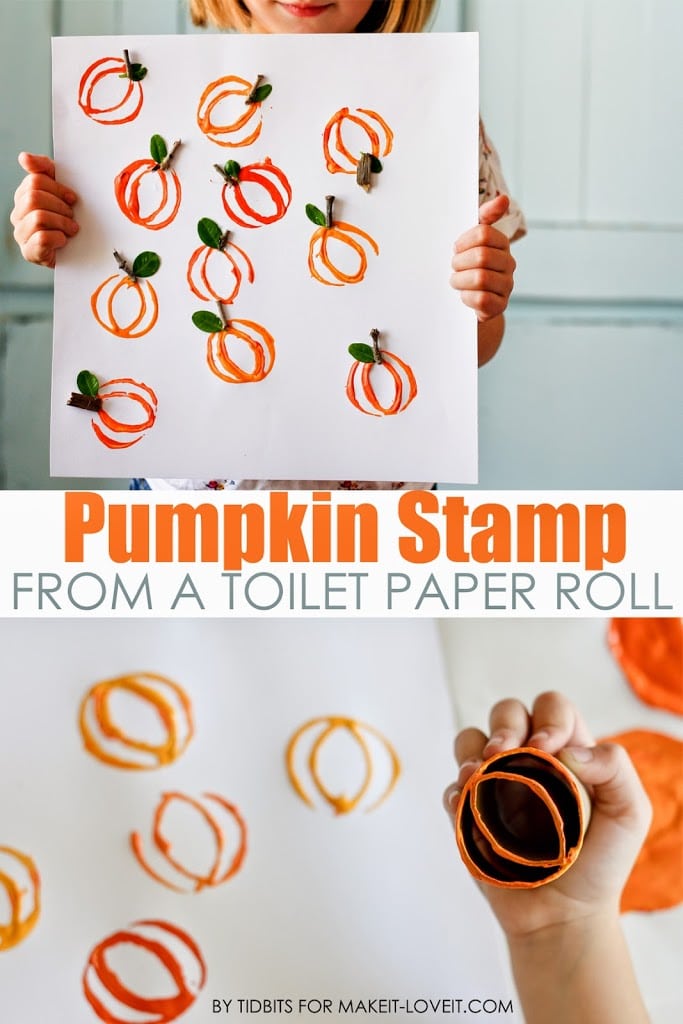
Once you’ve made your stamp, you can create the perfect stripe on all the towels you’d like. The stamp can also be used on other projects like wood, paper, or even wallpaper. Simply choose your choice of stripe widths, and get started.
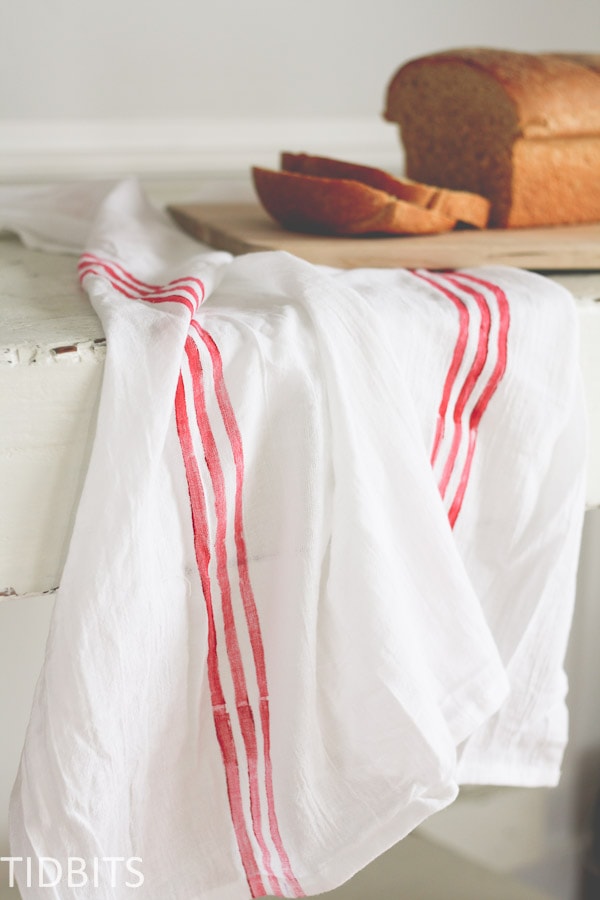
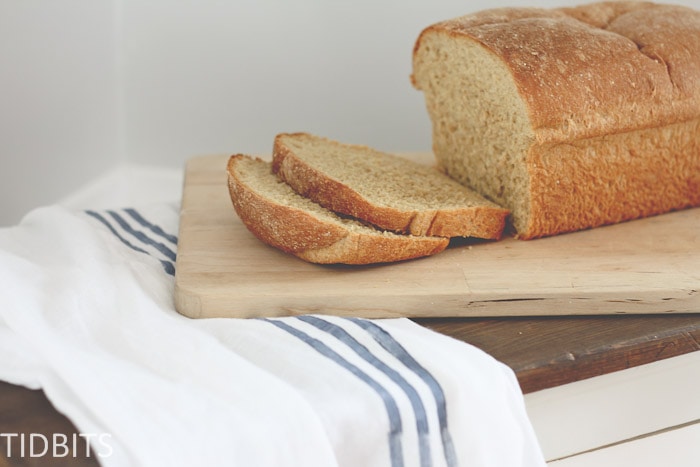
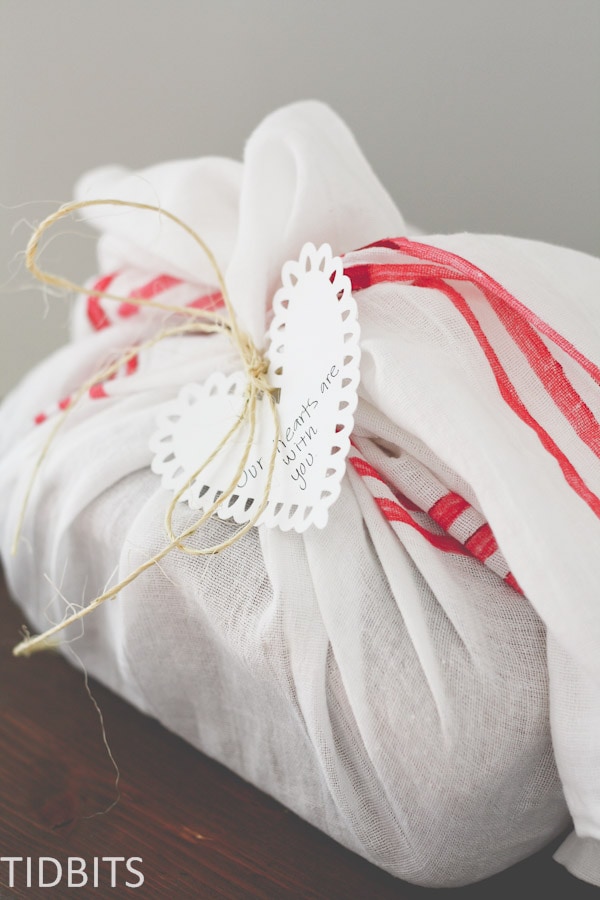
The best part is that there is NO SEWING required for these DIY grain sack stripe towels. These DIY tea towels with a grain sack stripe are not only a great addition to your own kitchen decor, but they also make for a thoughtful and personalized gift. Wrap up a loaf of bread in a flour sack towel with a personalized stripe, and you have a unique and thoughtful present for a friend or loved one.
So, why not toss the tape and grab a rolling pin to add some trendy grain sack stripes to your kitchen tea towels? Your guests will be impressed with your DIY skills and stylish decor.
I have my husband to thank for today’s project. He noticed I had a bit of an obsession with the grain sack stripe – in all its forms. One day, I was trying to think of a way to quickly paint the stripes on a number of projects I was making, and he thought of a way to make a grain sack stripe stamp – out of a rolling pin! That meant no need to tape off my lines ever again, and painting the stripe was a thousand times faster.
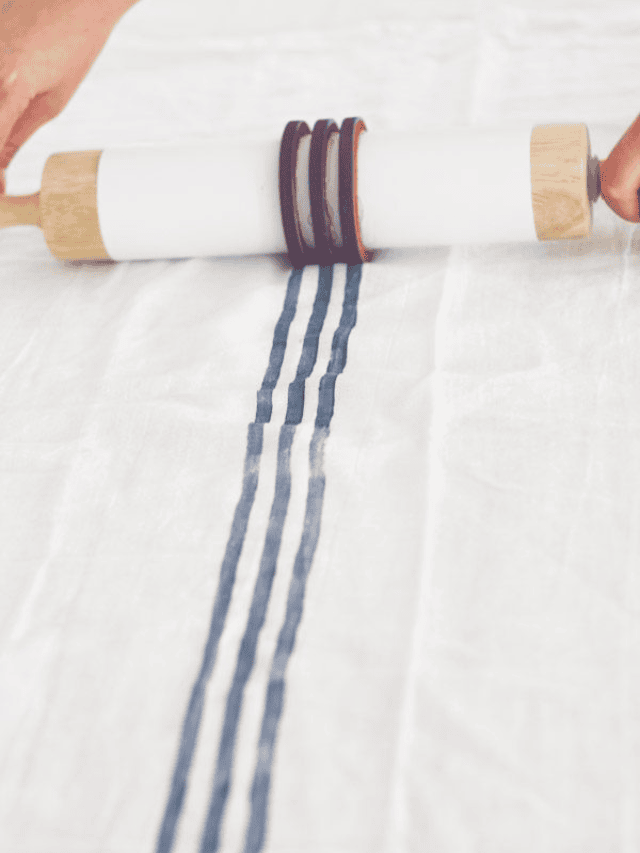
I’ve painted the stripe on some inexpensive flour sack towels, to show you just how easy it is to whip out the perfect grain sack stripe in a matter of minutes. You’ll be adding this popular French style stripe to everything in your path!
I totally have 😉 I love the simplicity of the design and have used it in many of my projects on my blog, TIDBITS. Here is a small round-up of all things grain sacks in my house (links below).
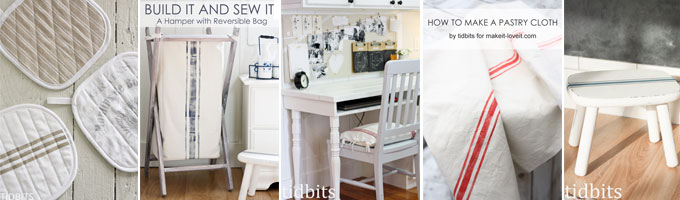
- French Inspired hot pads
- Hamper with reversible bag
- Office space
- 6 reasons why you need a pastry cloth, and how to make one
- Girls shared bedroom
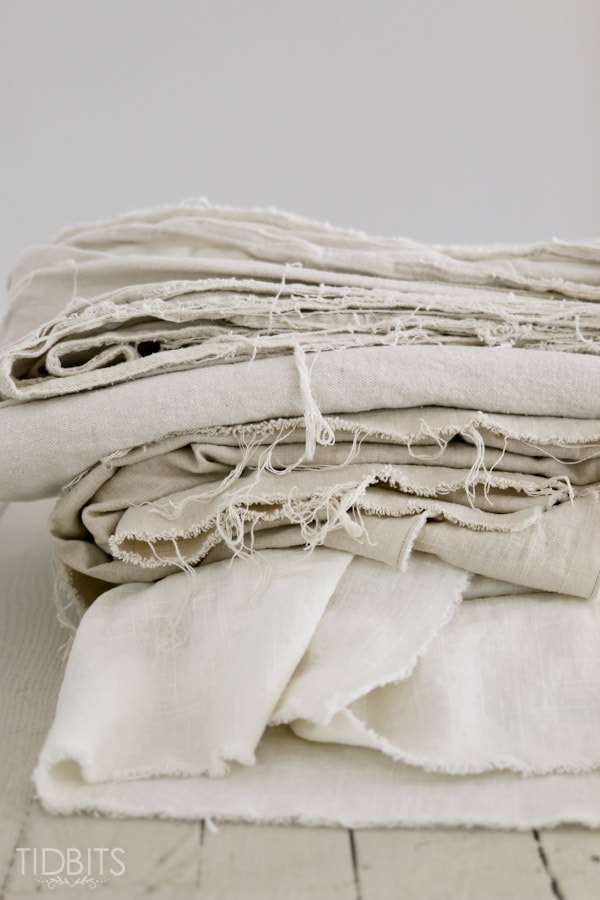
And now I have a whole handful of flour sacks to add to the list!
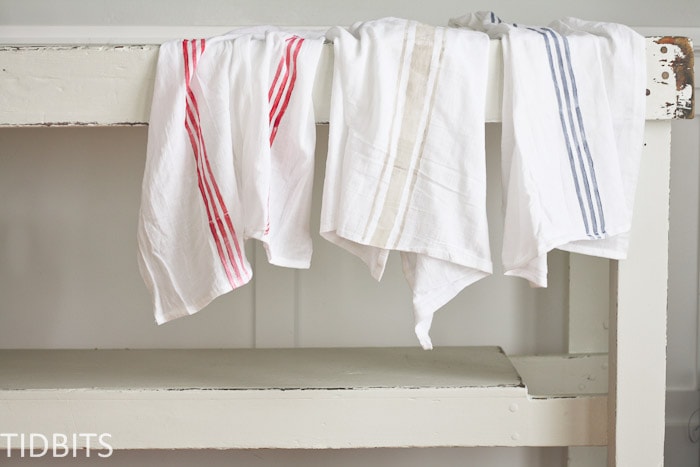
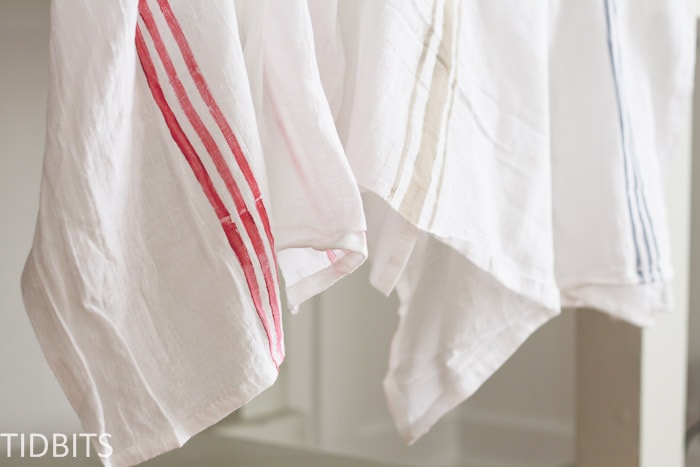
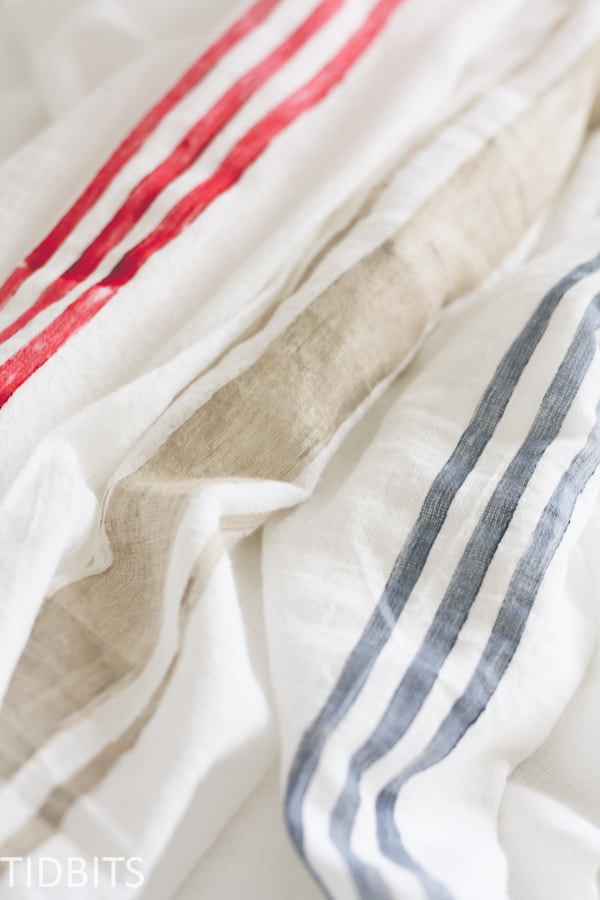
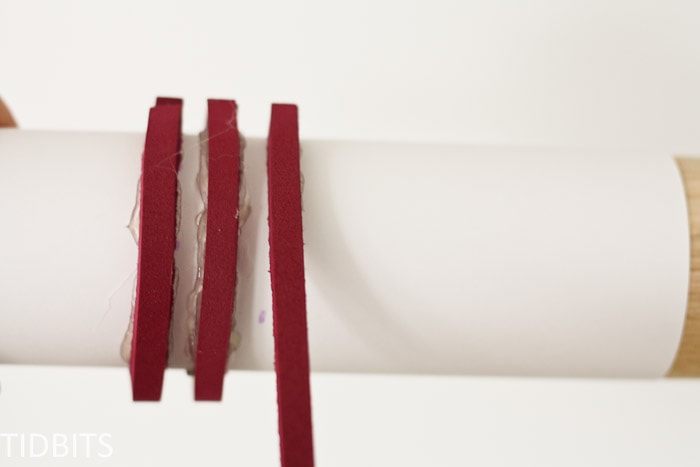
You can make the stripe any way you like. I’ve used the 3 stripe look in my projects, with all 3 the same thickness, or the center stripe wider than the outside stripes.
I love working with textiles, but you could also use the same stamp for paper, wood, or with whatever type of paint you need.
These flour sacks were so easy to add the stripe to and required no sewing.
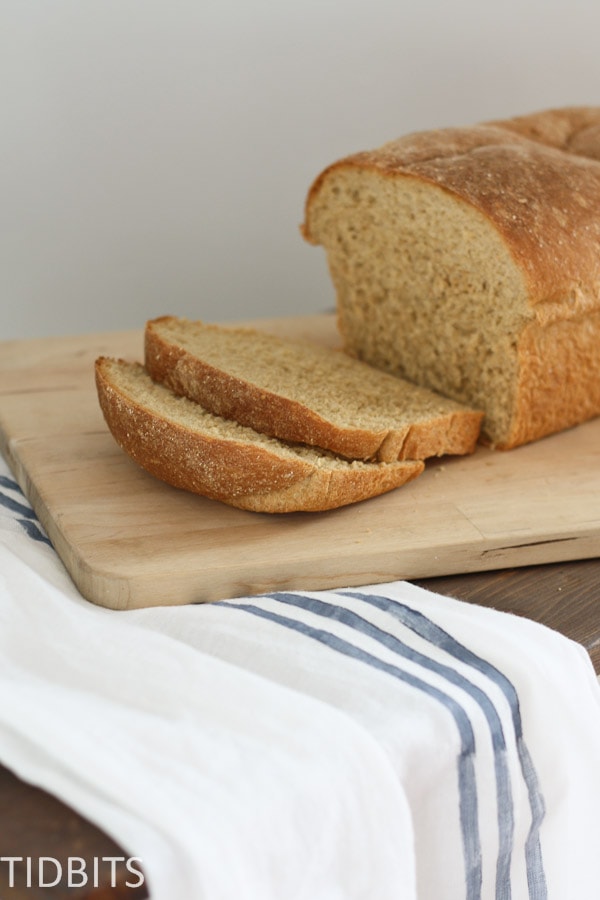
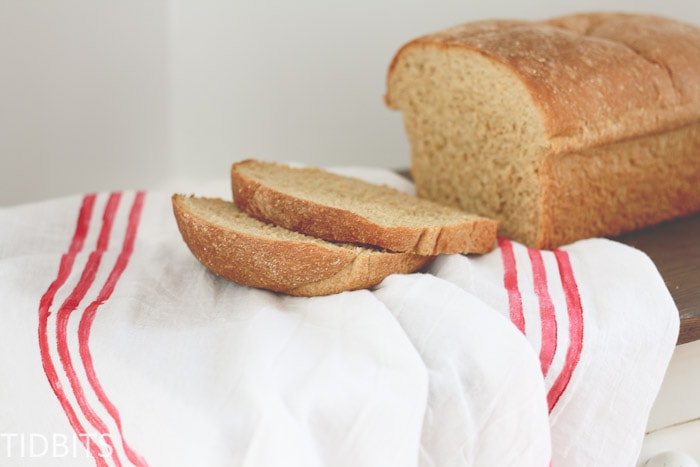
I even wrapped up a loaf of bread in the flour sack, for a personalized gift for a friend going through a hard time.
They look great hanging here and there in my kitchen as well.
So, toss the tape – and grab a rolling pin. Together we will grain sack stripe the world! (And what a better place it will be).
I will show you first how to make the stamp, and then how to use it.
Making your grain sack stamp:
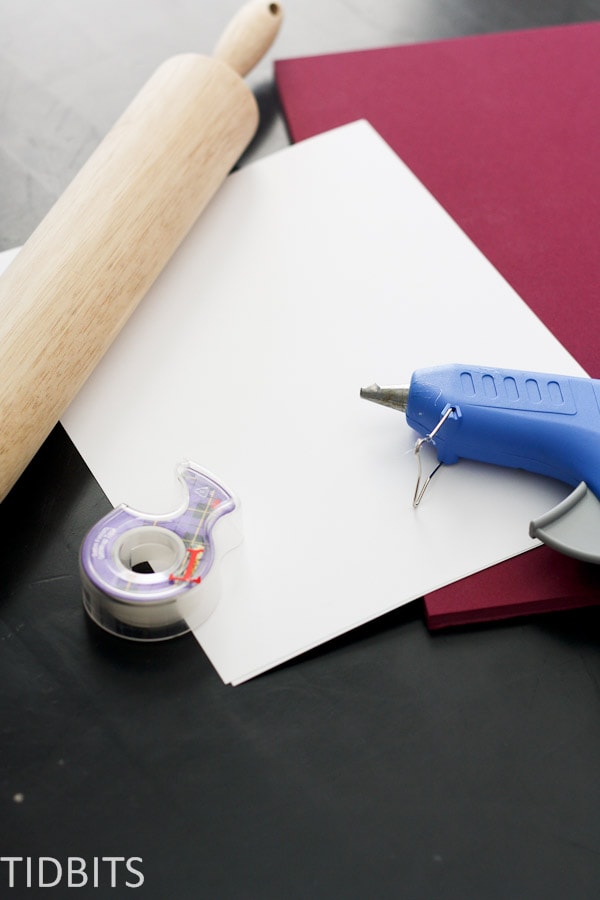
Materials:
- Rolling Pin
- You can buy a new one and designate it as your grain sack rolling pin, or use the one in your kitchen. I will show you how you can make the stamp so it doesn’t ruin your rolling pin at all, and you can use it for your pastry’s when you are done stamping.
- 1 Piece of cardstock paper
- Tape
- Hot Glue Gun
- 1 Rubber Stamp Making Sheet
- I found this at JoAnn’s Fabric store, but I imagine any craft store will have it if they have stamp-making supplies. Or, you can order it from Amazon (link below)
- Speedball 6-Inch by 12-Inch Speedy-Carve Block
If you want to re-use your rolling pin, you will first need to cover the rolling pin with your piece of cardstock paper. Wrap the paper around the rolling pin, and overlap the ends slightly. Cut off any excess paper you don’t need.
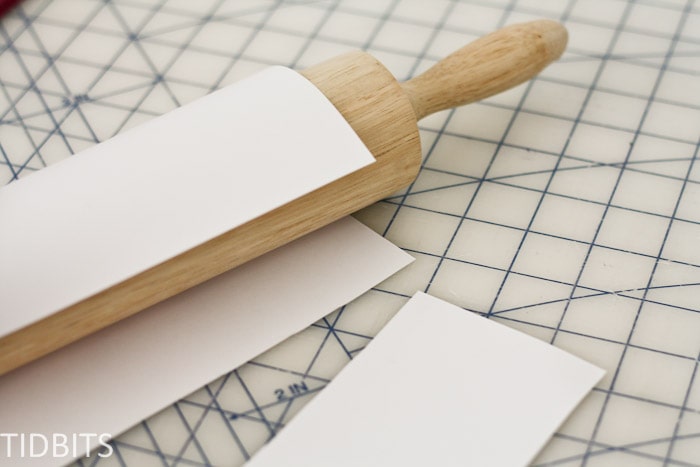
Be sure the paper is tightly fitted around the rolling pin, and tape the ends of the paper down. Now your rolling pin is covered and only the paper will get paint on it and you can simply remove the paper to have your rolling pin back.

The best way to cut the rubber stamp sheet is with a long ruler and a rotary cutter. This ensures a clean cut and straight lines. However, I am sure you could use any kind of blade you have available.
Determine what size and style of stripe you want, and cut the rubber sheet to that thickness.

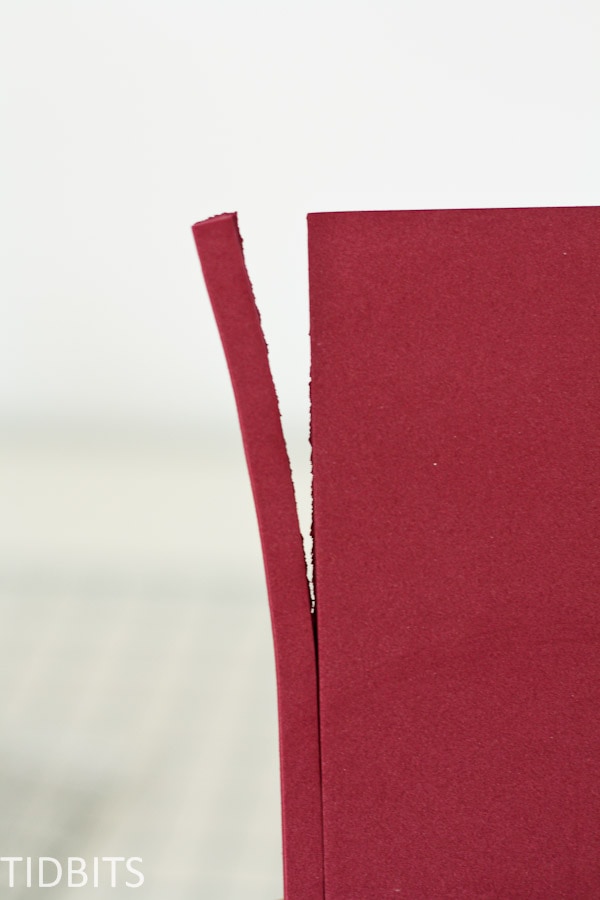
My rotary cutter will not slice through the whole thickness of the rubber stamp, but it makes a nice clean cut through most of it.
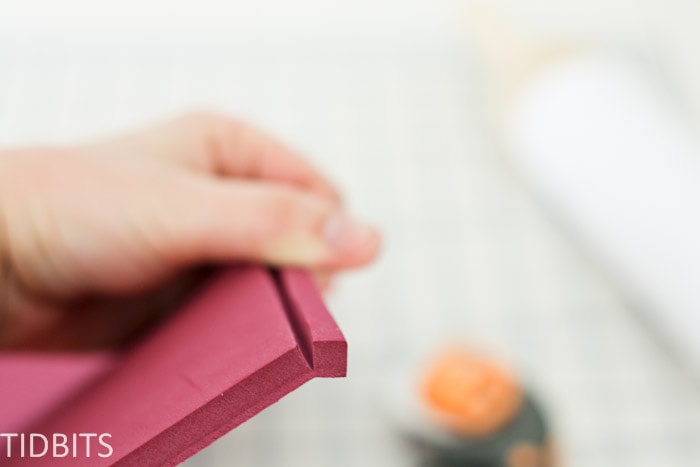
Then I just take the rest off. The part being torn is a bit rough, but that doesn’t matter at all. I will be gluing the messy tare side down and the clean-cut end is used as the stamp part.
Cut enough of the rubber stamp for the type of stripe you are using.

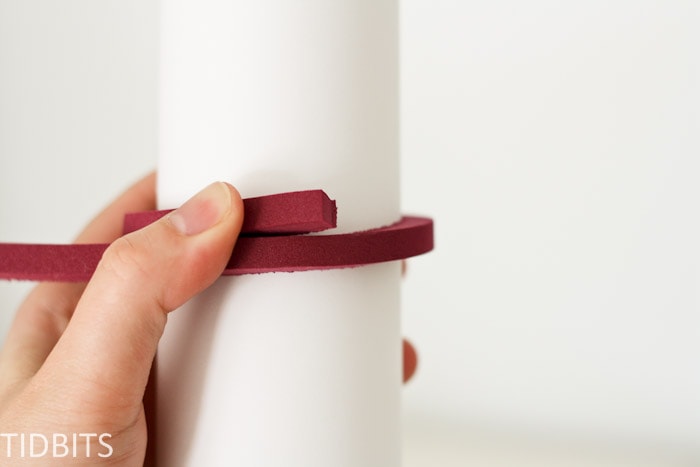
Next, you’ll want to wrap the cut stripe around your rolling pin to determine how long you need it. Cut off any extra.
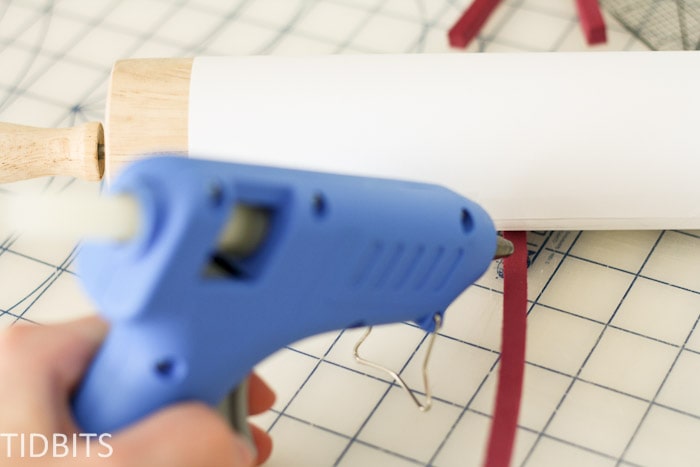
Working from approximately the center of the rolling pin, begin by hot gluing the rubber stripe down at one end.
Continue adding glue to bits of the rubber stamp and quickly adhering the stamp in place. You’ll want to be sure you are keeping the stamp even all the way around.
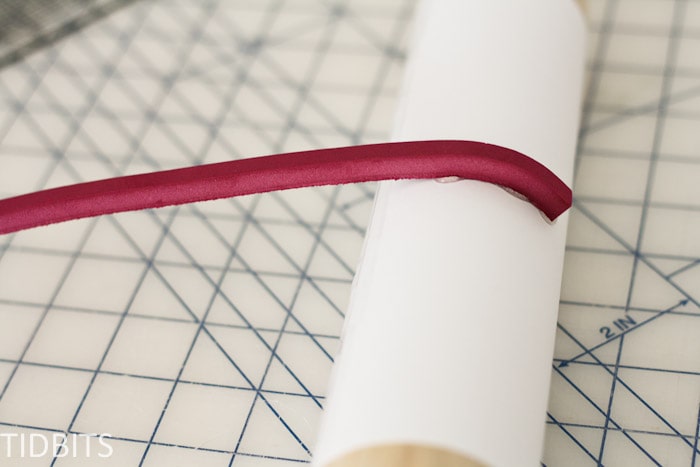
For my ends, I don’t actually have them touching. It is a bit difficult to do, but I also found it is beneficial to have a start and stop place on the stamp, so that when you paint on the rubber stamp, you know where to stop and apply paint again so your whole project has the same thickness of paint through the whole stripe.

Once you have the center stripe down, use some type of measuring tool to mark lines evenly away from the first stripe, so you know where to place the second stripe.
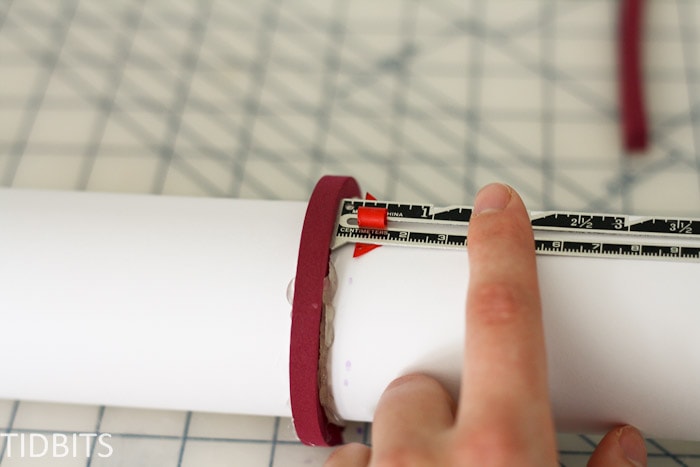
Then you can glue the remaining stripes down following your lines as a guide, and it will be evenly spaced all the way around.
I’ve made a couple of rolling pin stamps using the different thicknesses, as well as experimented with gluing the rubber stamp stripes onto a piece of foam board.
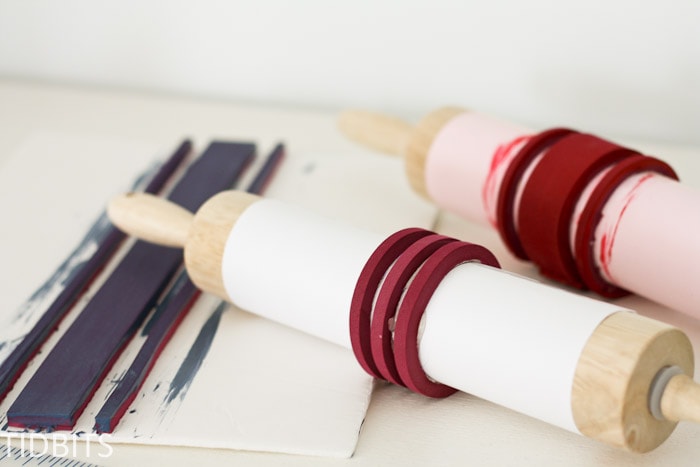
The foam board stamp works great as well and allows you to make the stamp a bit longer if needed. But I do like the rolling pin method the best as it is easier to see in front of you when stamping to ensure you are following a straight line.
How to use your grain sack stamp:
Materials:
- Paint of choice
- Flour sacks or any type of surface you wish to paint.
- I bought mine at a bulk store called Sam’s Club, but these (link below) flour sacks from Amazon look like the exact ones I bought.
- Bakers & Chefs Flour Sacks – 12ct
- Something to protect the table
- I use garbage bags
- Foam paint brush
- Grainsack rolling stamp
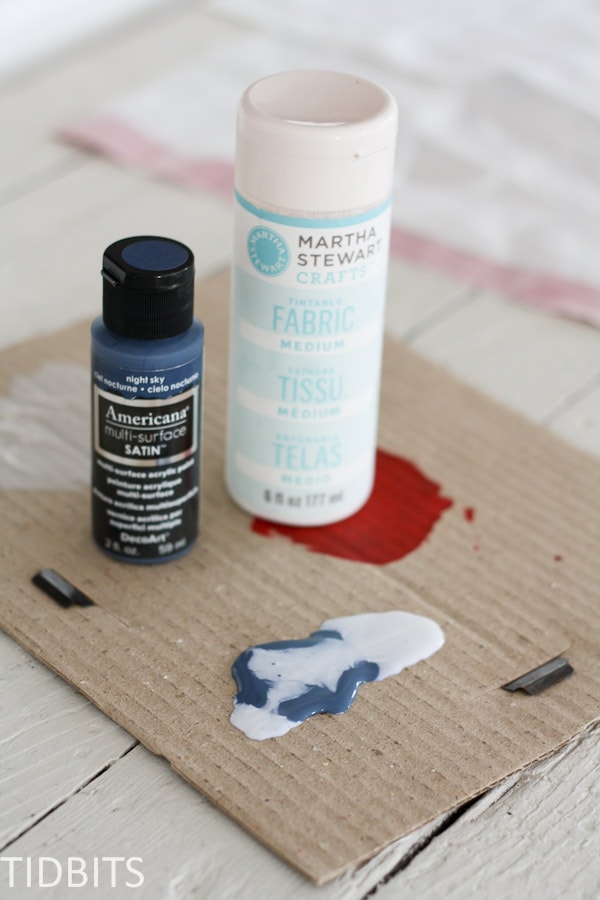
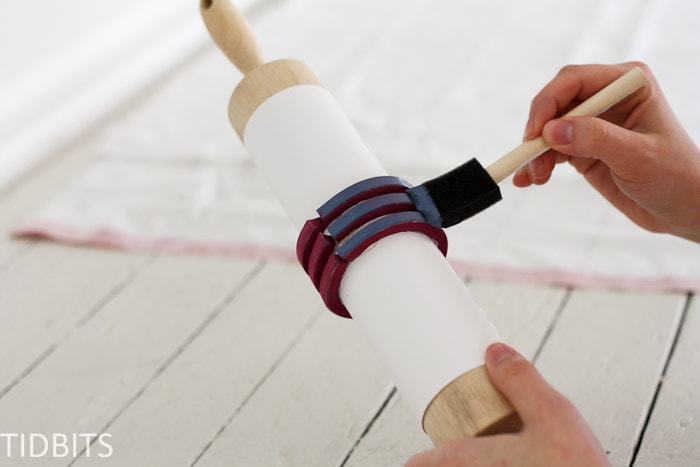
Prepare the paint you will be using first. For painting on textiles, I like to use up my acrylic craft paint stash and add a fabric paint medium – like the Martha Stewart brand you see below. But you can also use any type of fabric paint.
I have found it works much better to add your paint to the stamp with a foam brush, rather than rolling the stamp into the paint itself. Gives a more even distribution of paint to your project.
Before you stamp your project, you will want to mark the center line somehow to act as a guide for your stamp. For the flour sacks, I folded it down the center and used a fabric marker to mark the center line.
Starting at one of the ends of the stamp, roll the stamp down your fabric, stopping at the other end. Re-apply the paint around the stamp again, and continue to stamp from where you left off.
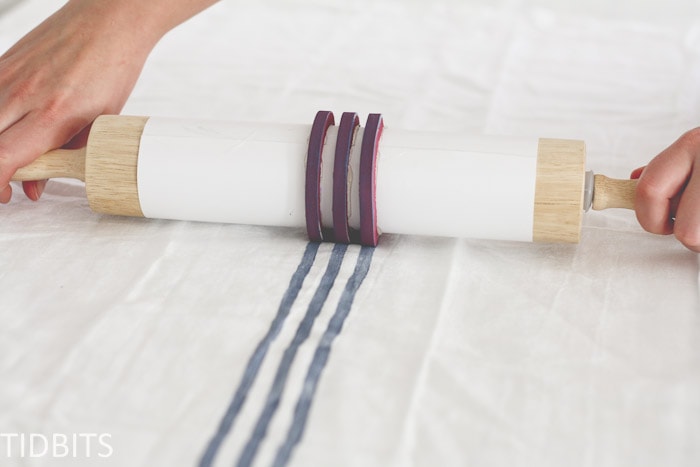
Easy as that! Once I am done with one color I use baby wipes to remove the paint from the stamp and use it again and again – never to have to tape off my lines again!
This stamp has been a life saver!
Hope you’ll give it a try!
*This post was originally seen on Ella Claire, on February 17, 2015, here.
**This post contains affiliate links, but rest assured I do NOT recommend anything I don’t know and love.


What a genius you are! When I think of the time spent with painters tape, I hope this is as easy as it looks!
This seems simple enough that I think I can actually do it! I love the look of this stripe pattern. I think I’ll make mine with the center stripe more thick than the outer stripes, though. Have you tried doing this with any other shapes or patterns?
I love this idea. But I am having a hard time getting the stamp material to stay on the rolling pin with hot glue. The ends want to pull up. Any suggestions?
I purchased those rubber bands that you use on the ends of your rolling pin to adjust the height for the thickness you want your pie crust. Don’t remember what they are called but I had a couple of sets of them so I had plenty to make the stripes. You just roll them on the pin and space them. You could also use thick rubber bands. I also used ink, not paint, so my design would be a little less messy. I am a card maker so I have plenty of ink. Hope this helps! Here is a link similar to what I used. P.S. I also just covered my rolling pin with plastic wrap instead of card stock.
Great idea but how do you get them straight end to end? Just eye it?
I always mark my line with a fabric marker or chalk that disappears. Just fold your fabric in half and mark the center line. Thank you!
I think after I mark where I want the stripe to start & end on each side. I will clap the fabric to the table so that it doesn’t move when rolling.
I’m getting excited just thinking about all the things I can stamp. I’ve been looking everywhere for pillows for my sofa with the grainsack stripe…think I’ll try making them myself now! Thanks for sharing 🙂