
This post may contain affiliate links, which means I get a small percentage of the sale at no extra cost to you. I only recommend items I love and have had a positive experience with. Thank you!
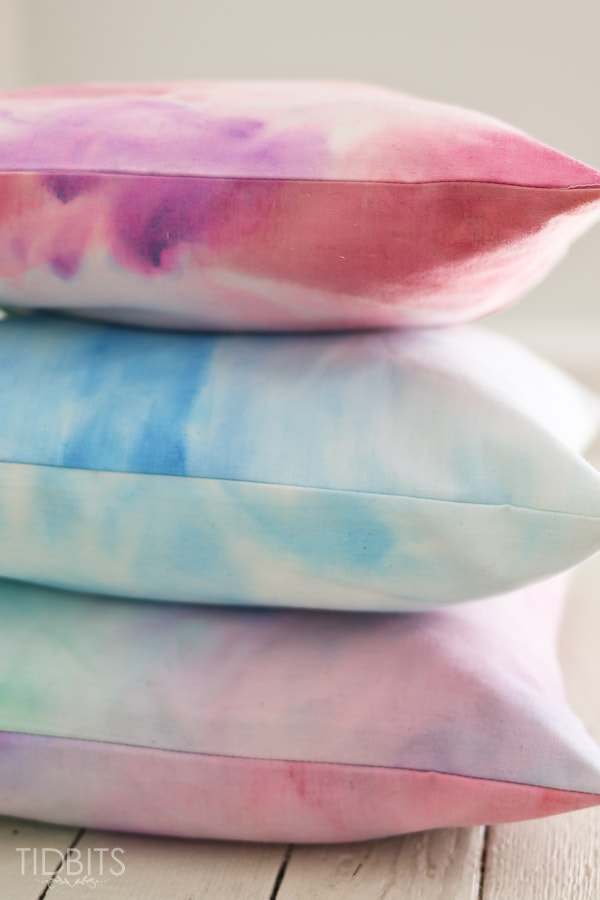
I’ve been in the watercolor mood lately.
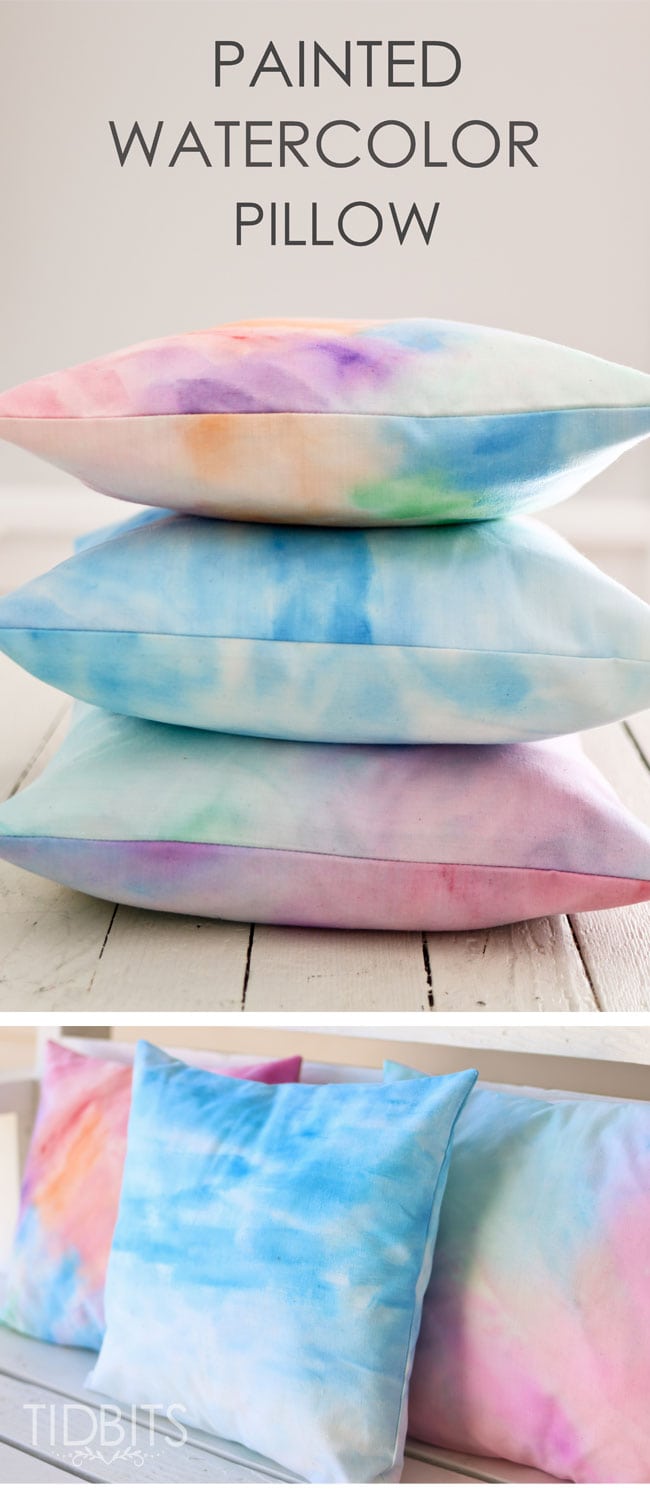
After making this watercolor pennant banner with my sweet little girl, the wheels started churning and I wondered what would happen if I took some watercolor paints to white fabric.
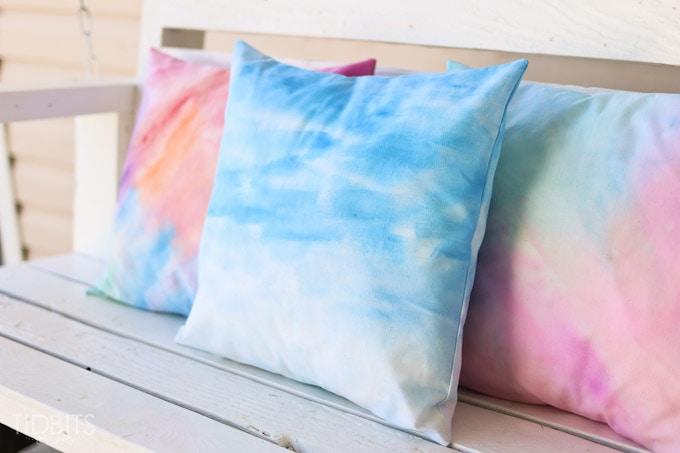
Magic is what happened.
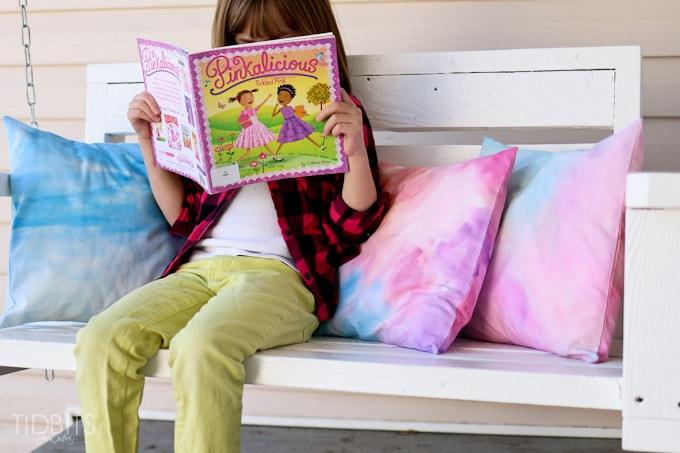
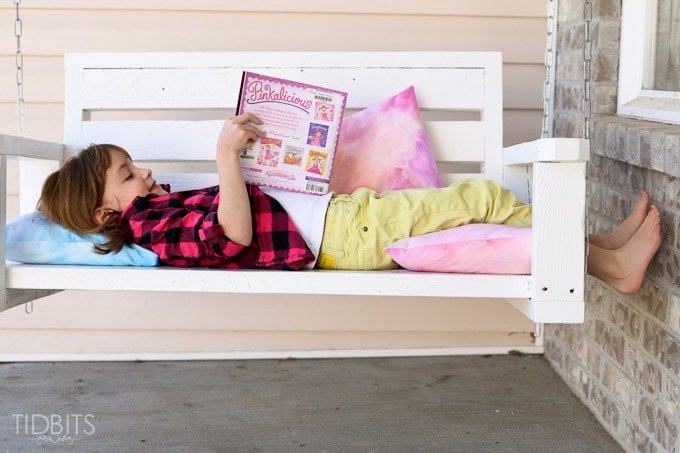
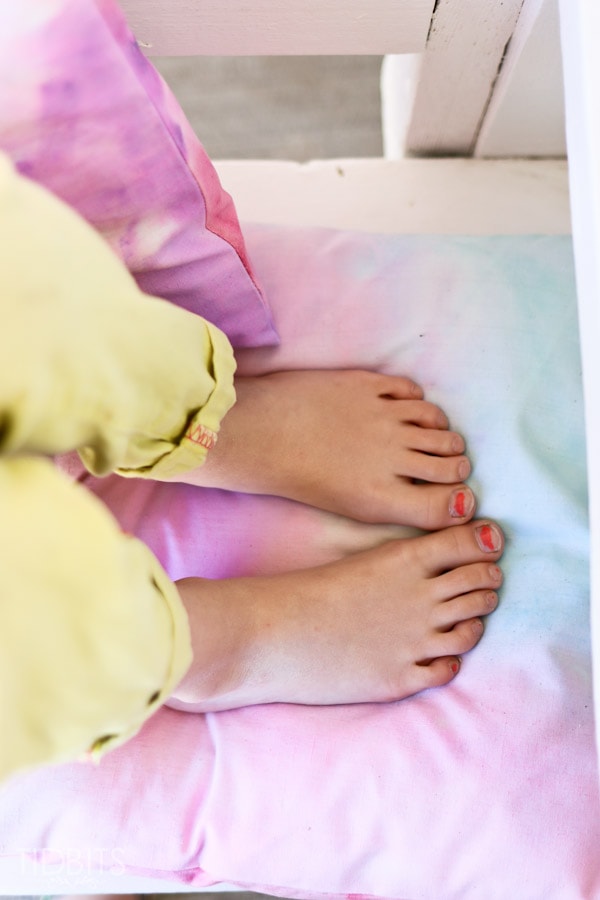
I absolutely loved the results so much, I decided to make some pillows for our porch swing out of my painted watercolor fabric.

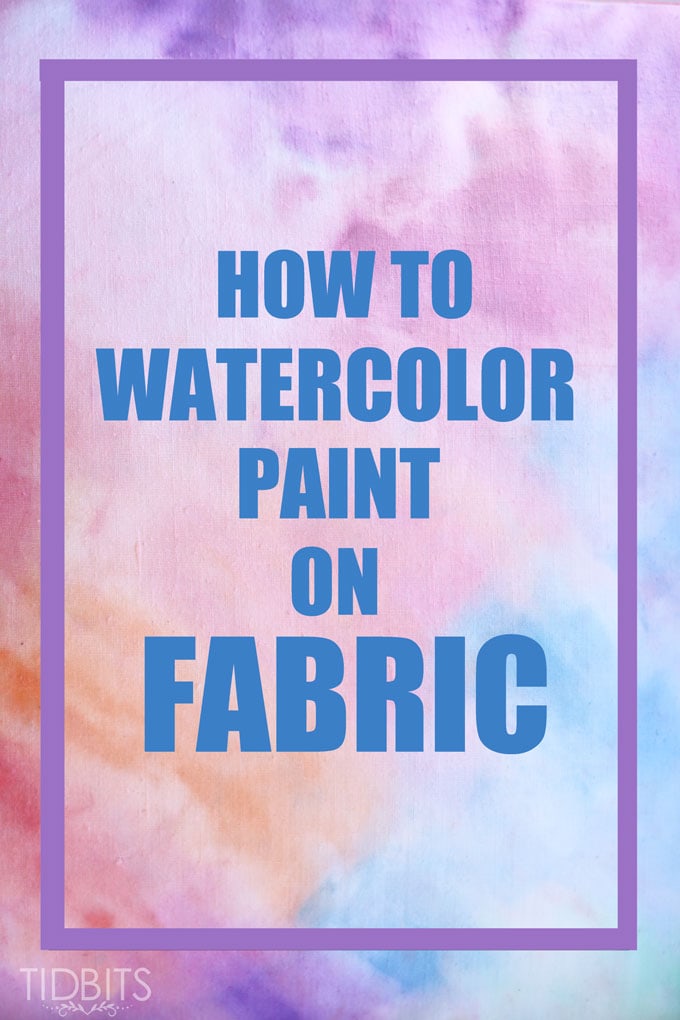
I am sharing the how-to for watercoloring on fabric, in this post HERE.
But stay here if you want to make your fabric (or any fabric for that matter) into a simple envelope closure pillow.

I am going to show you how to make the cover for any size of pillow form you might have.
I make so many pillow covers this way, because it is so quick and easy and the results are beautiful and professional.
These pillow covers are also super easy to take off and clean, if the need arises.
Here is what you will need:
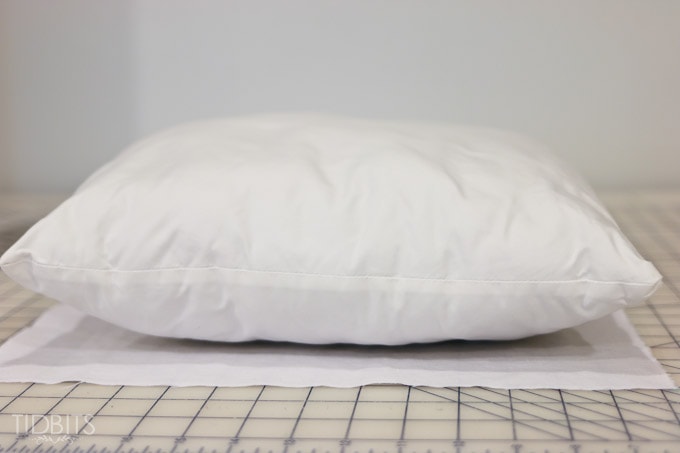
- Pillow Form
- You can buy pillow forms at most craft stores, Wal-Mart, or online. Here are some options from Amazon.
- Mountain Mist Pillowloft Pillowforms, 14-inch-by-14-inch

- Pillowflex Pillow Form Insert, 16 by 16-Inch
- I have made some pillow forms out of stuffing from old pillows I cut up. Great way to re-use and re-cycle.
- Mountain Mist Pillowloft Pillowforms, 14-inch-by-14-inch
- You can buy pillow forms at most craft stores, Wal-Mart, or online. Here are some options from Amazon.
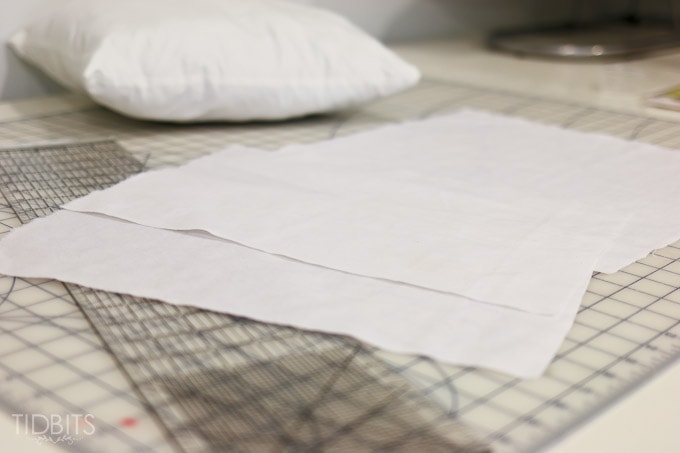
- Fabric
- Of course it depends on how big your pillow is for how much fabric you need. We will get to the measurements, but for now let’s talk fabric type. A thicker type of fabric usually works best for pillow covers. The fabric I had was kind of a thick linen fabric, but any type of canvas, twill, denim, or outdoor fabric will work great. You want it to feel sturdy and keep it’s shape, and also not be see-through to where you could see the pillow form through the fabric.
So to find out how much fabric you need and what measurements you should cut, do the following:
- Measure your pillow form along the edges and determine it’s dimensions. Mine came to 13 x 13 inches.
- For the front piece of the pillow, you’ll want to add anywhere from 2 inches – 4 inches to those dimensions of the pillow form. My pillow forms were not too full and puffy, so I added 2 inches, which meant I cut my front piece at 15 x 15 inches. I wanted the covers to fit snug, and adding 2 inches worked great for that. If you have a very full pillow, you may need to add 3 or 4 inches. Go larger if you also want the cover to hang looser, which is a nice look for feather down pillows.
For the back envelope side of the pillow cover, you need to do the following:
- Take the width measurement of the front fabric piece and add 5-7 inches. Keep the same length measurement. For example, my front pillow cover is 15 x 15 inches. So, I added 5 inches to the width and cut a fabric piece at 20 x 15 inches. My closure in the back just slightly overlaps, which makes it easy to take on and off. If you want it to overlap more add 6-7 inches to your width measurement.
- Now take that back piece you just cut (the 20 x 15) and fold in in half, width wise. This marks the center point.
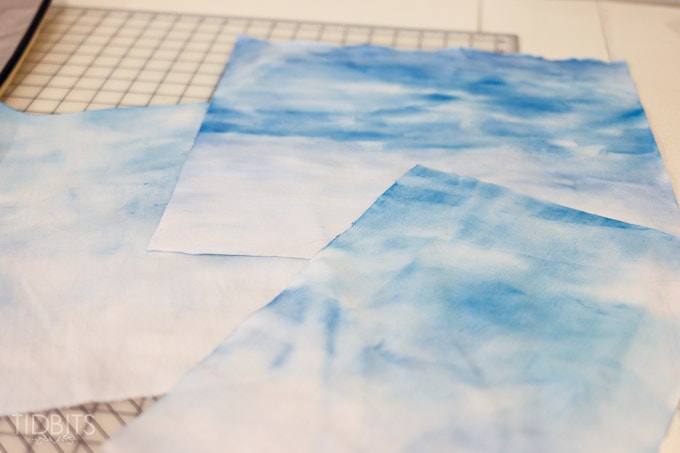
- Cut along that center point, forming 2 pieces. I now had 2 pieces at 10 x 15.
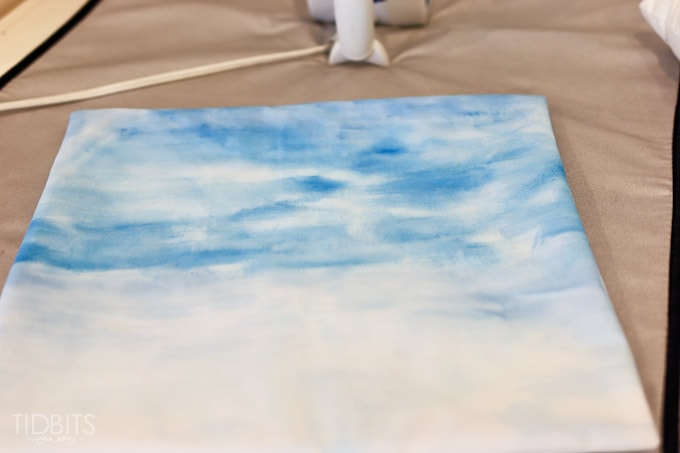
At this point, I did my watercolor painting on all 3 pieces, as described in this tutorial here.
Now you take the 2 back panels and fold and press the inside edges towards the wrong side of the fabric. Begin by folding and pressing the raw edge in 1/4 inch, then fold and press again about 1 inch, encasing the raw edge inside the fold.
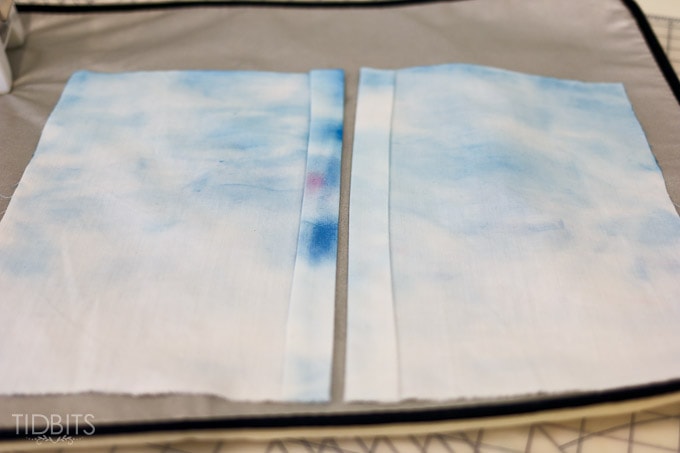
Top-stitch down the edge of each of those folds, first at 1/8 of an inch seam allowance.
Then again at 1 inch seam allowance. Do this for both back pieces.
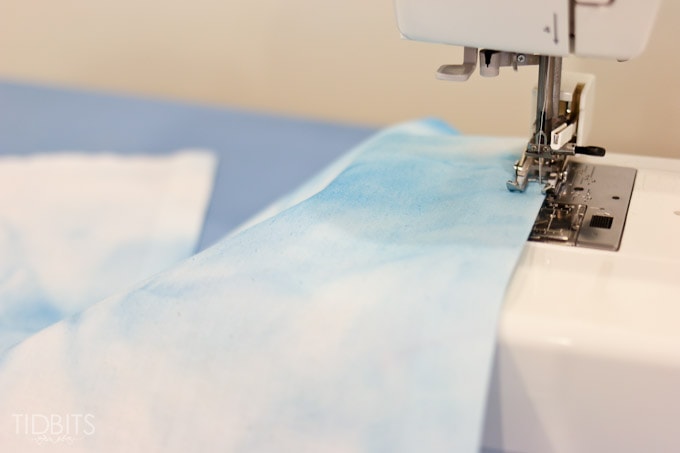
Lay your front piece down on the table with the right side facing up. Then line the back pieces up evenly with the front piece, right sides together and overlapping those panels in the center. Pin all the way around to secure in place.
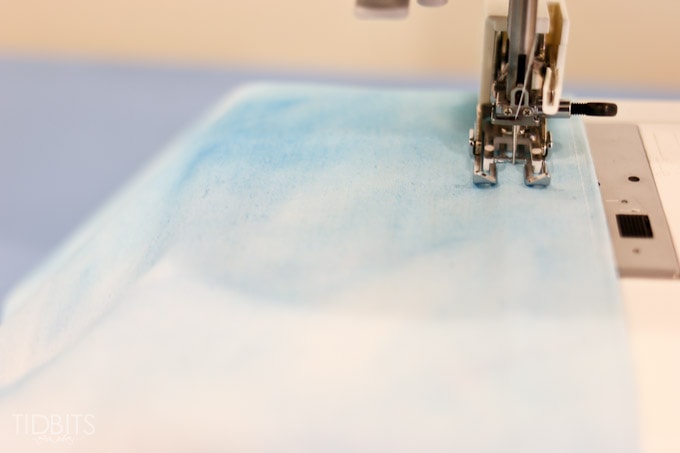
Starting anywhere you like, sew 1/4 inch away from the edge all the way around. No need to leave an opening.

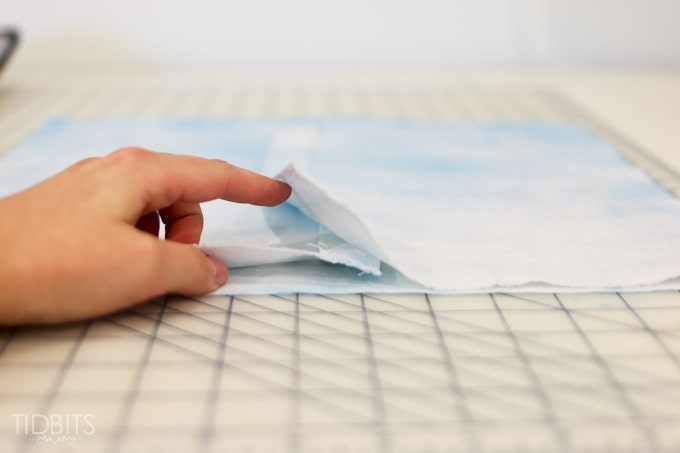
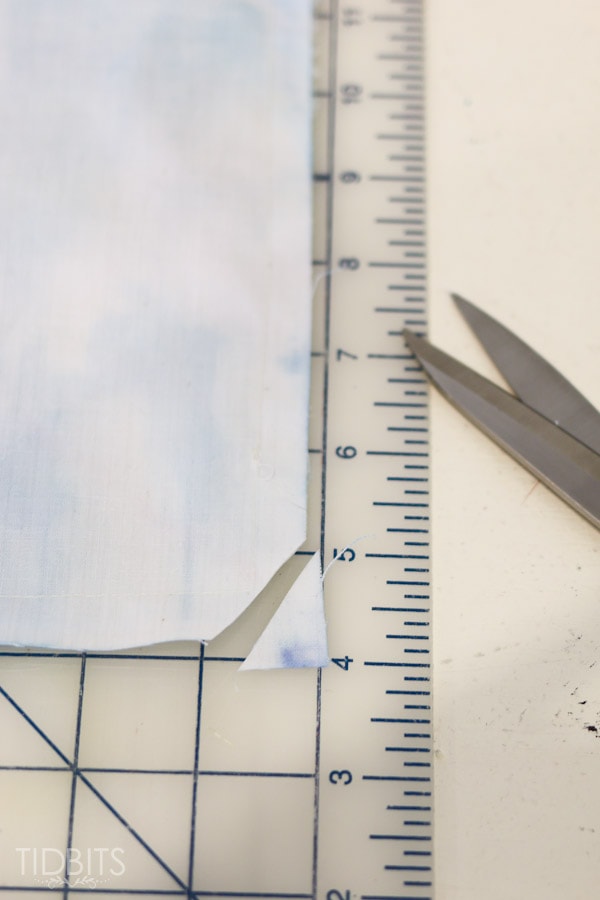
Clip your corners.
Press your seams open. (Don’t skip this step!)

Turn your cover right side out through the opening in the back panels.
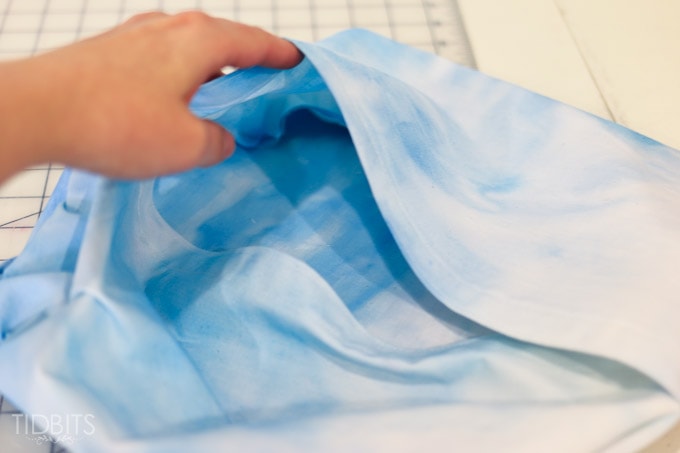
Using something pointy, but not sharp, to shape the corners better. Give the cover one final press along the seams to make them nice and crisp.
Insert your pillow form through the back, and admire your work (that’s the most important step).
It’s that easy.
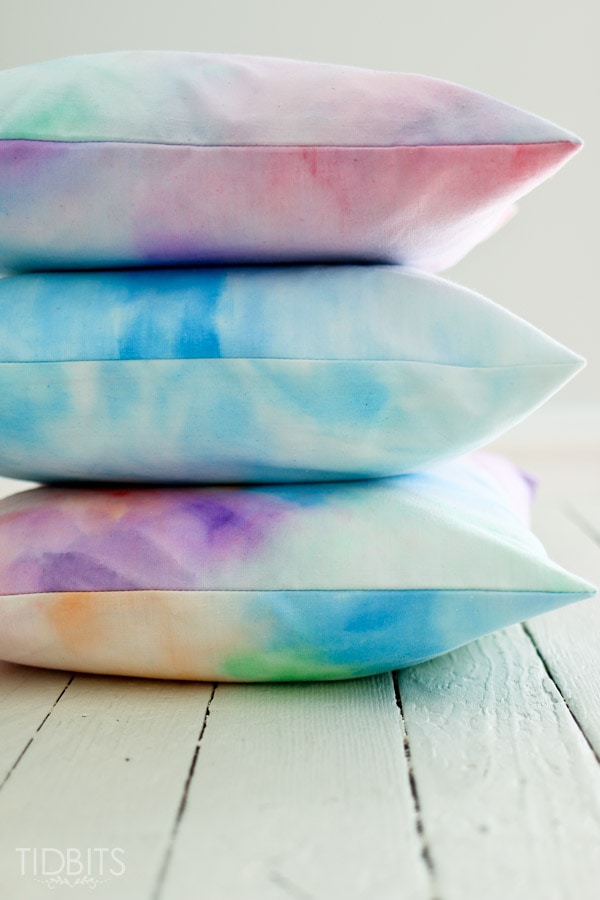
And the results are lovely.
If you enjoyed this tutorial, there are sure to be more. Subscribe below.
*This post contains affiliate links. But rest assured I only recommend products I know and love!
**Linking up at these parties!


These are beautiful pillows! Soo cool 🙂
Wow, these are absolutely gorgeous! I need to try it, thanks for sharing
This tutorial is incredible. Thanks for sharing.
loves this tutorial, very good.
Excelente dicas esta de parabéns.
Good taste is for the few and I loved your … I’m delighted ..
I can’t wait to try this. I enjoyed this tutrial as well. I would love to join your group board if you will have me.
Have a great day and happy pinning and sewing:)https://www.pinterest.com/lynnjworrall/
I love this idea! Thank you for sharing 🙂 My daughter and I are always looking for crafts to do together. This will be fun!
love this tutorial! I was wondering how many yards of fabric you bought for your size pillow? Thanks 🙂
These turned out so beautiful Cami. They totally look like watercolor…xo
Lovely as always!
Thank you Diana! And your work is breathtaking!