
This post may contain affiliate links, which means I get a small percentage of the sale at no extra cost to you. I only recommend items I love and have had a positive experience with. Thank you!
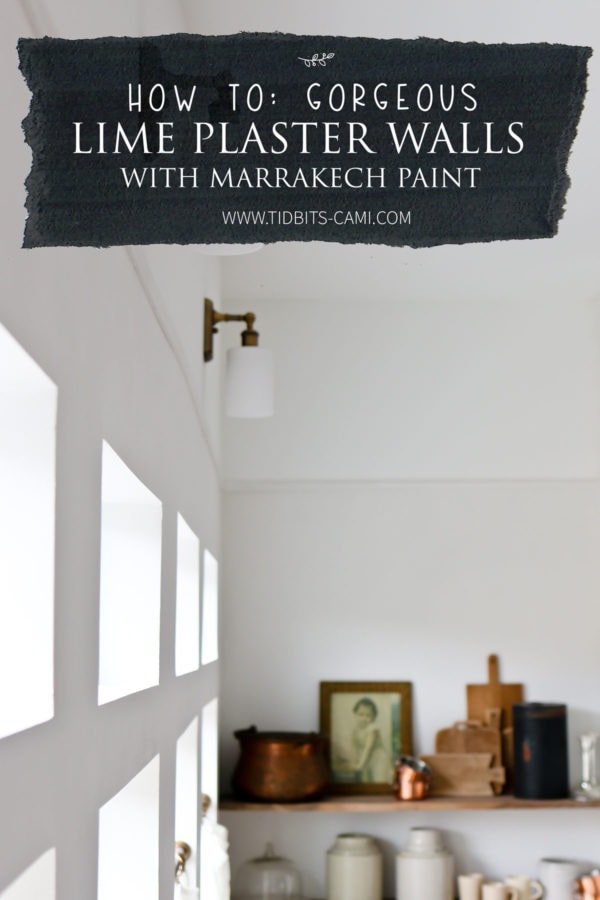
Step by step instructions for how we painted our walls with Pure & Original Marrakech mineral based paints, to achieve a lovely faux concrete, Venetian plaster or suede like textured appearance on our walls.
*This post is sponsored in part by Pure & Original. I share our own experience and opinions here on this post.
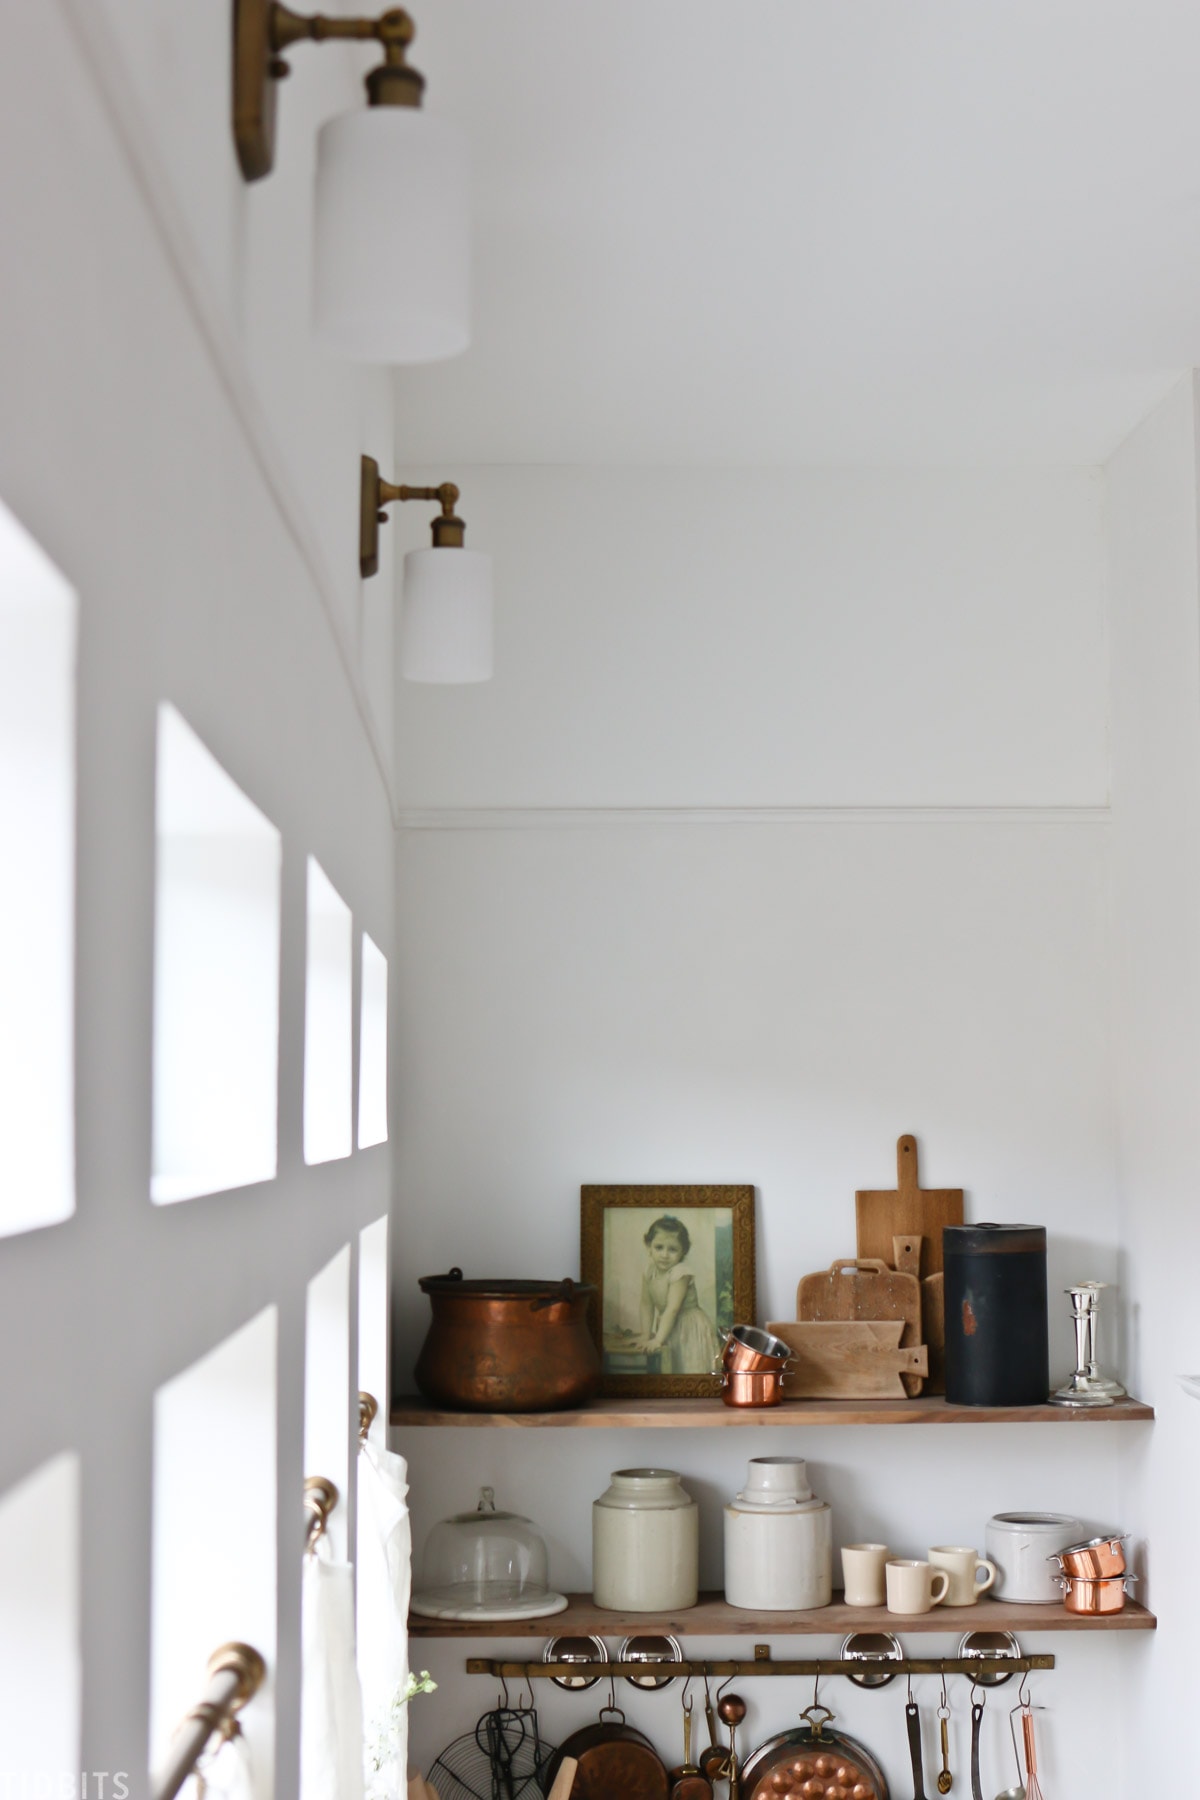
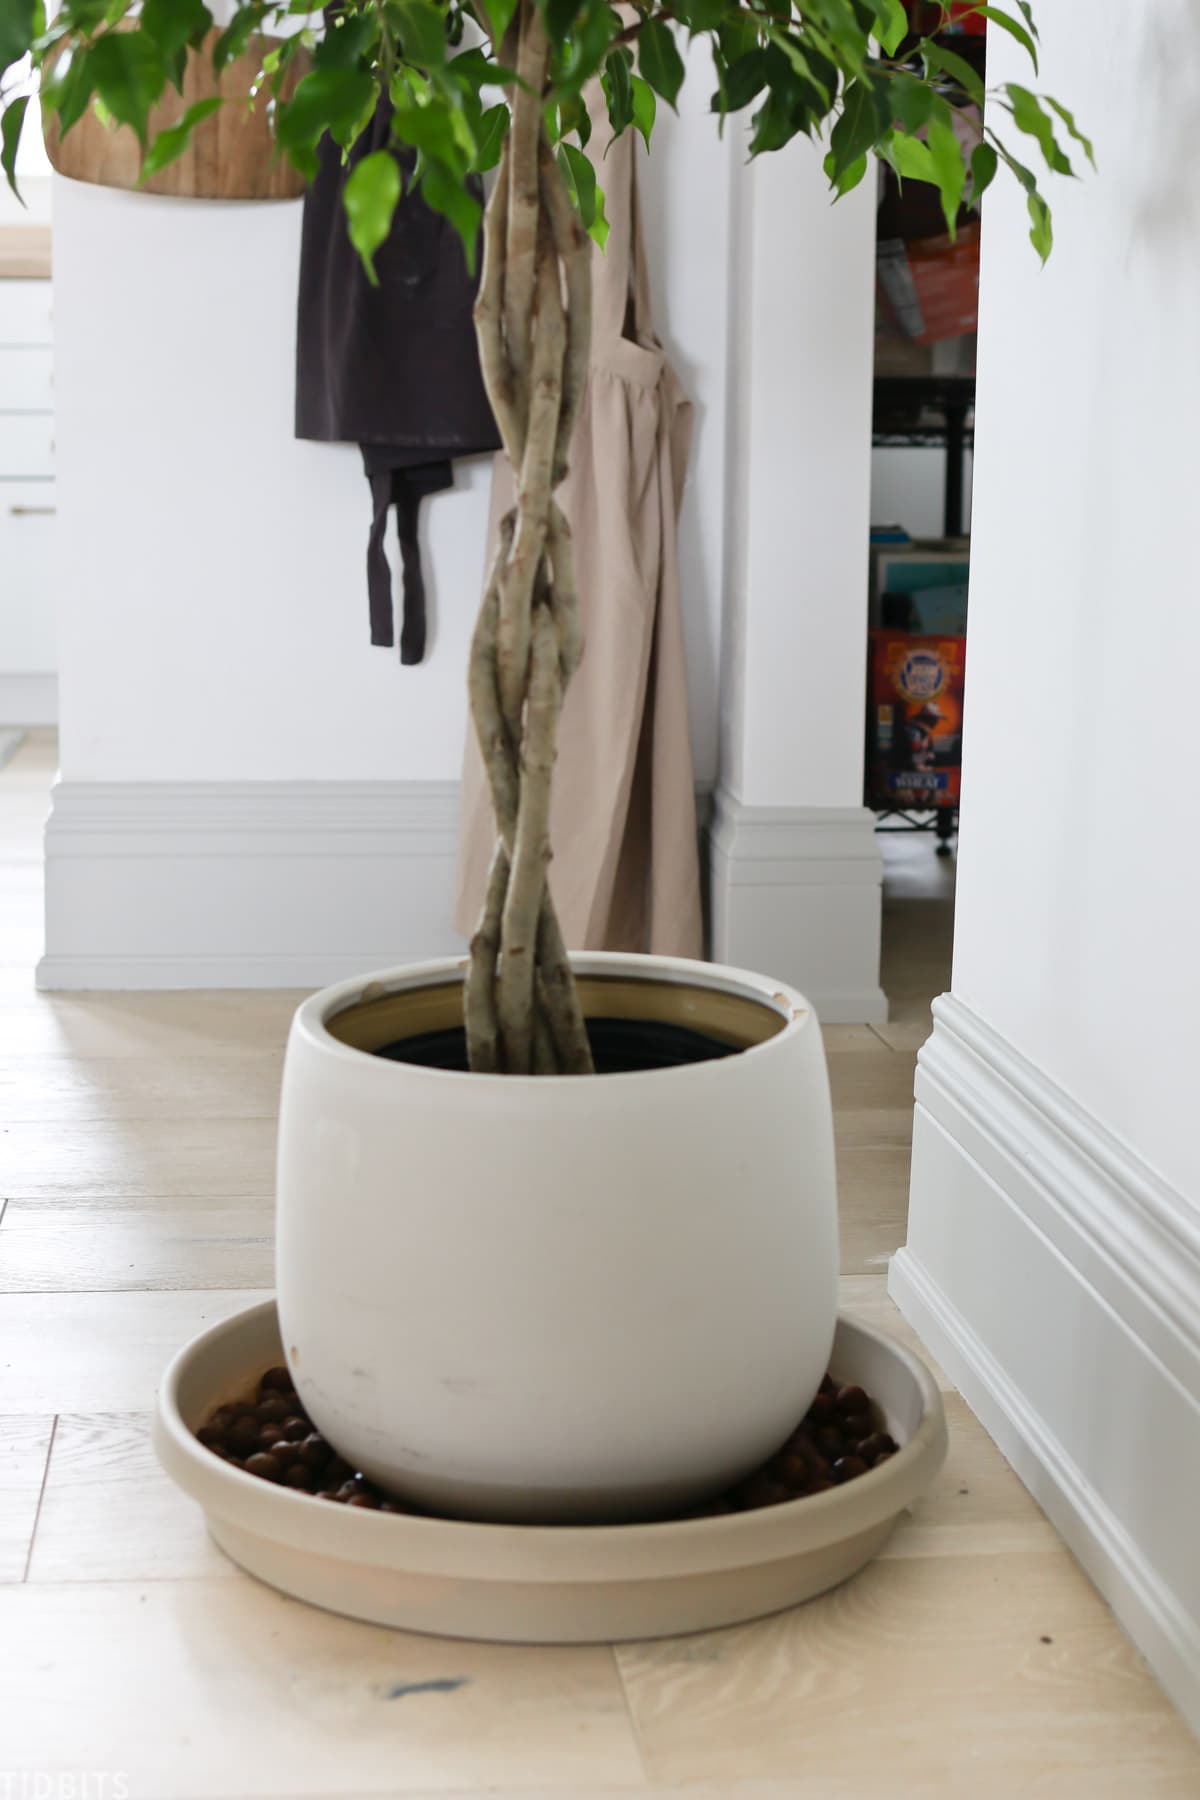
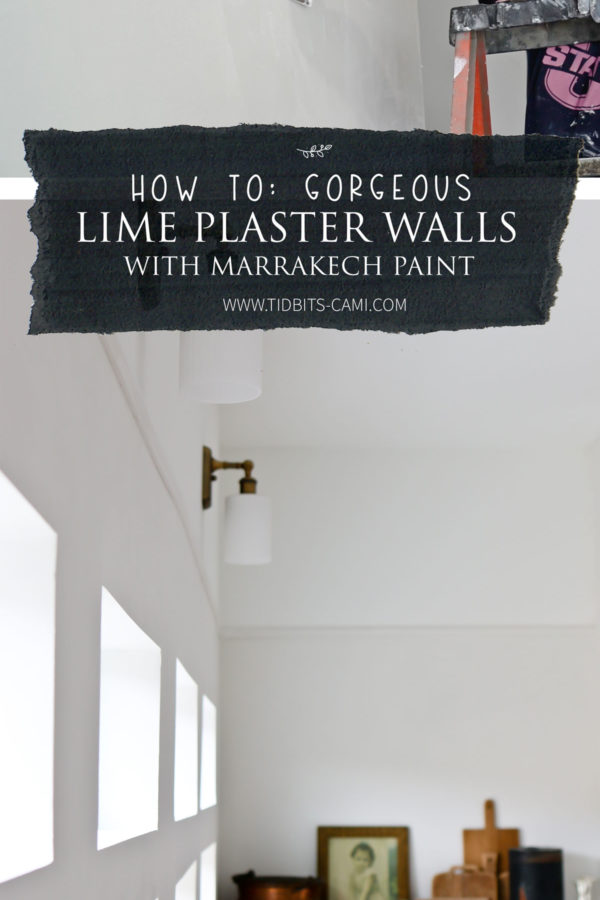
With our kitchen finally finished, I wanted to share all about our process for applying Pure & Original Marrakech paint, which is designed to give your walls a concrete or suede like appearance – similar to what you might imagine really old plaster walls might look like. The results are stunning and I’m thrilled to open your mind up to the possibilities of helping your walls truly talk.
WATCH THIS POST
To get a more visual idea of how the application goes, you can see in on my YouTube video!
WHAT IS MARRAKECH PAINT?
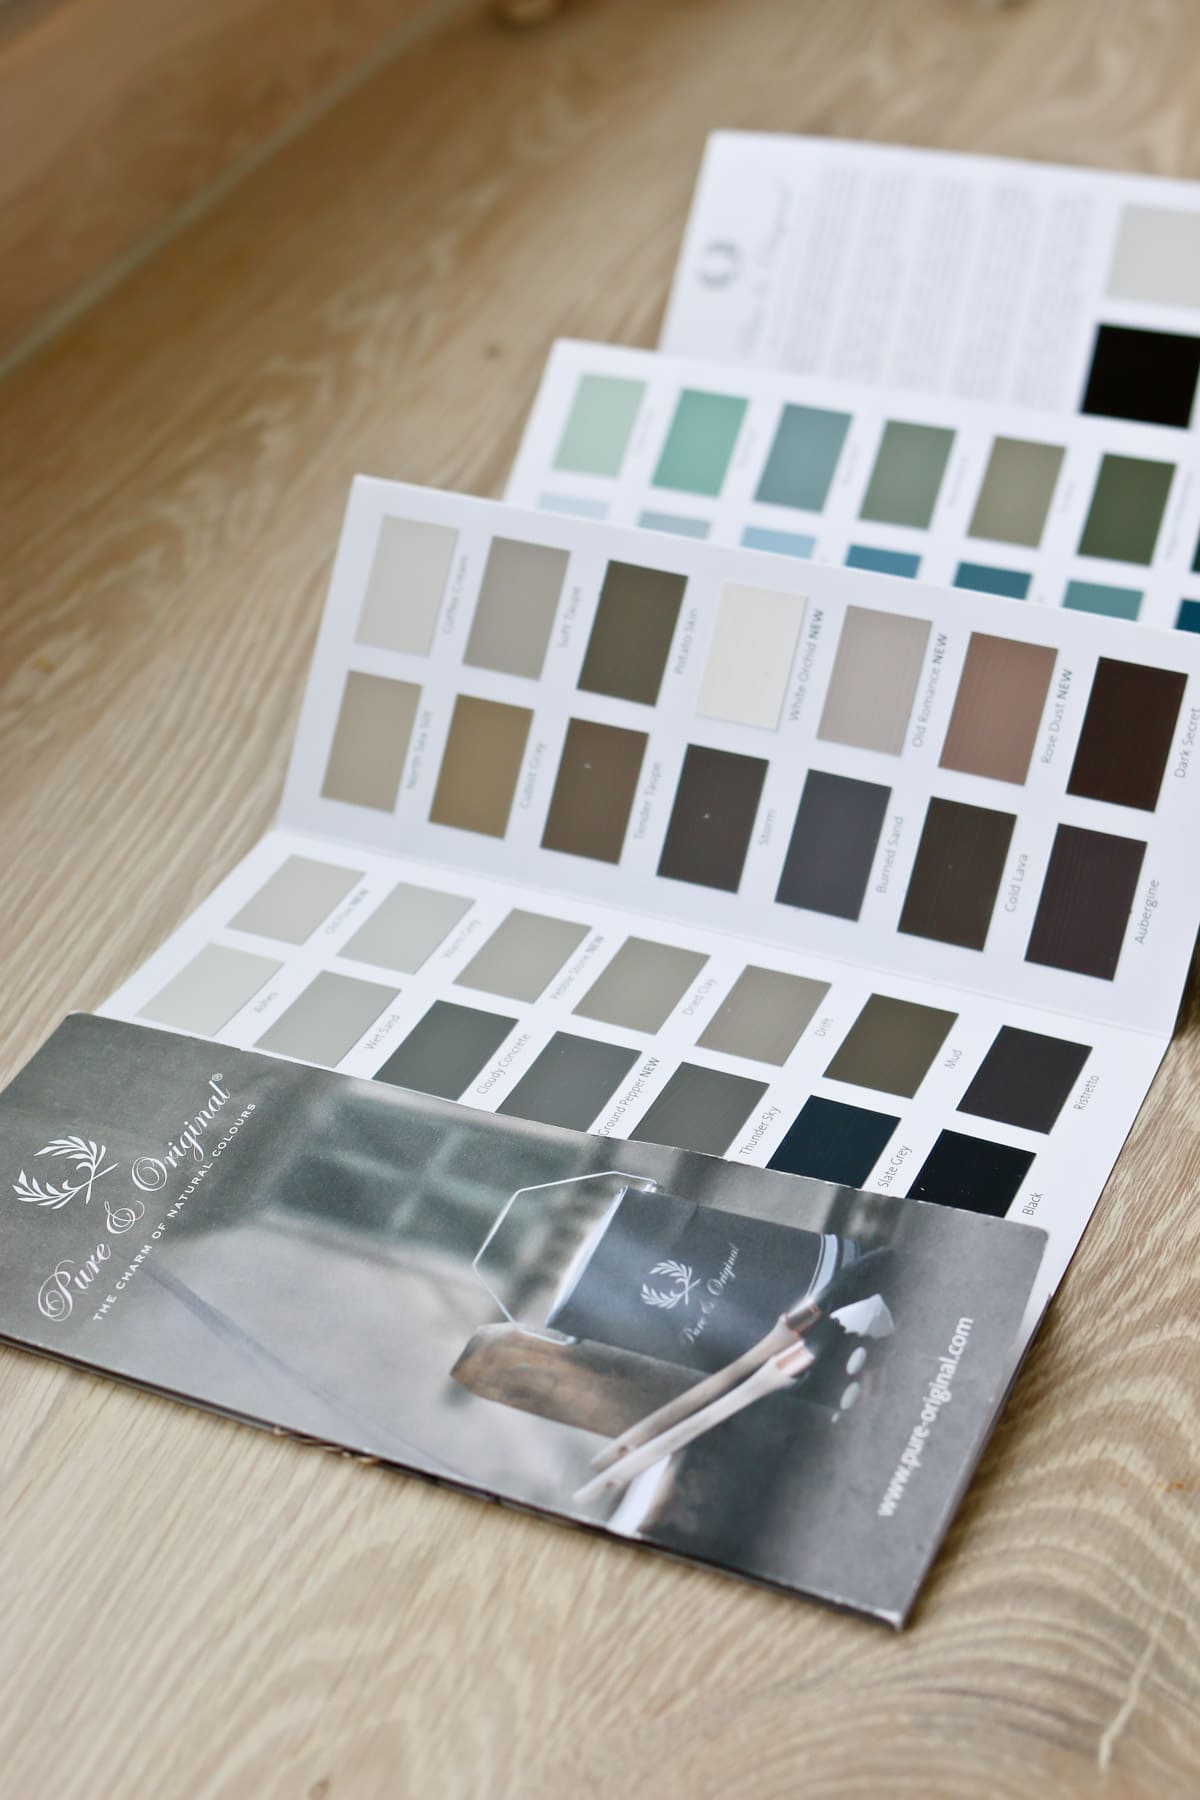
If you haven’t heard of Pure & Original paints, they are a company originating in Belgium and they create a variety of natural lime and mineral based paints that each achieve their own unique looks.
After discovering all they have, I was dying to try my hand at their Marrakech line, which is a paint that is brushed and then troweled to create a look of movement and subtle color variation on your walls – much like concrete, plaster or suede fabric.
I’ve already wrote a blog post all about Pure & Original paints, where you can see several images that highlight the amazing features of many of their paints and learn more about it. If you want to get a really good idea of the possibilities and different looks, I encourage you to read that post.
One very important thing to note about Marrakech is that the darker the paint color you choose, the more color variation and movement you will see. You can opt for a very bold statement wall, or choose lighter colors for a more subtle effect.
OUR COLOR SELECTION
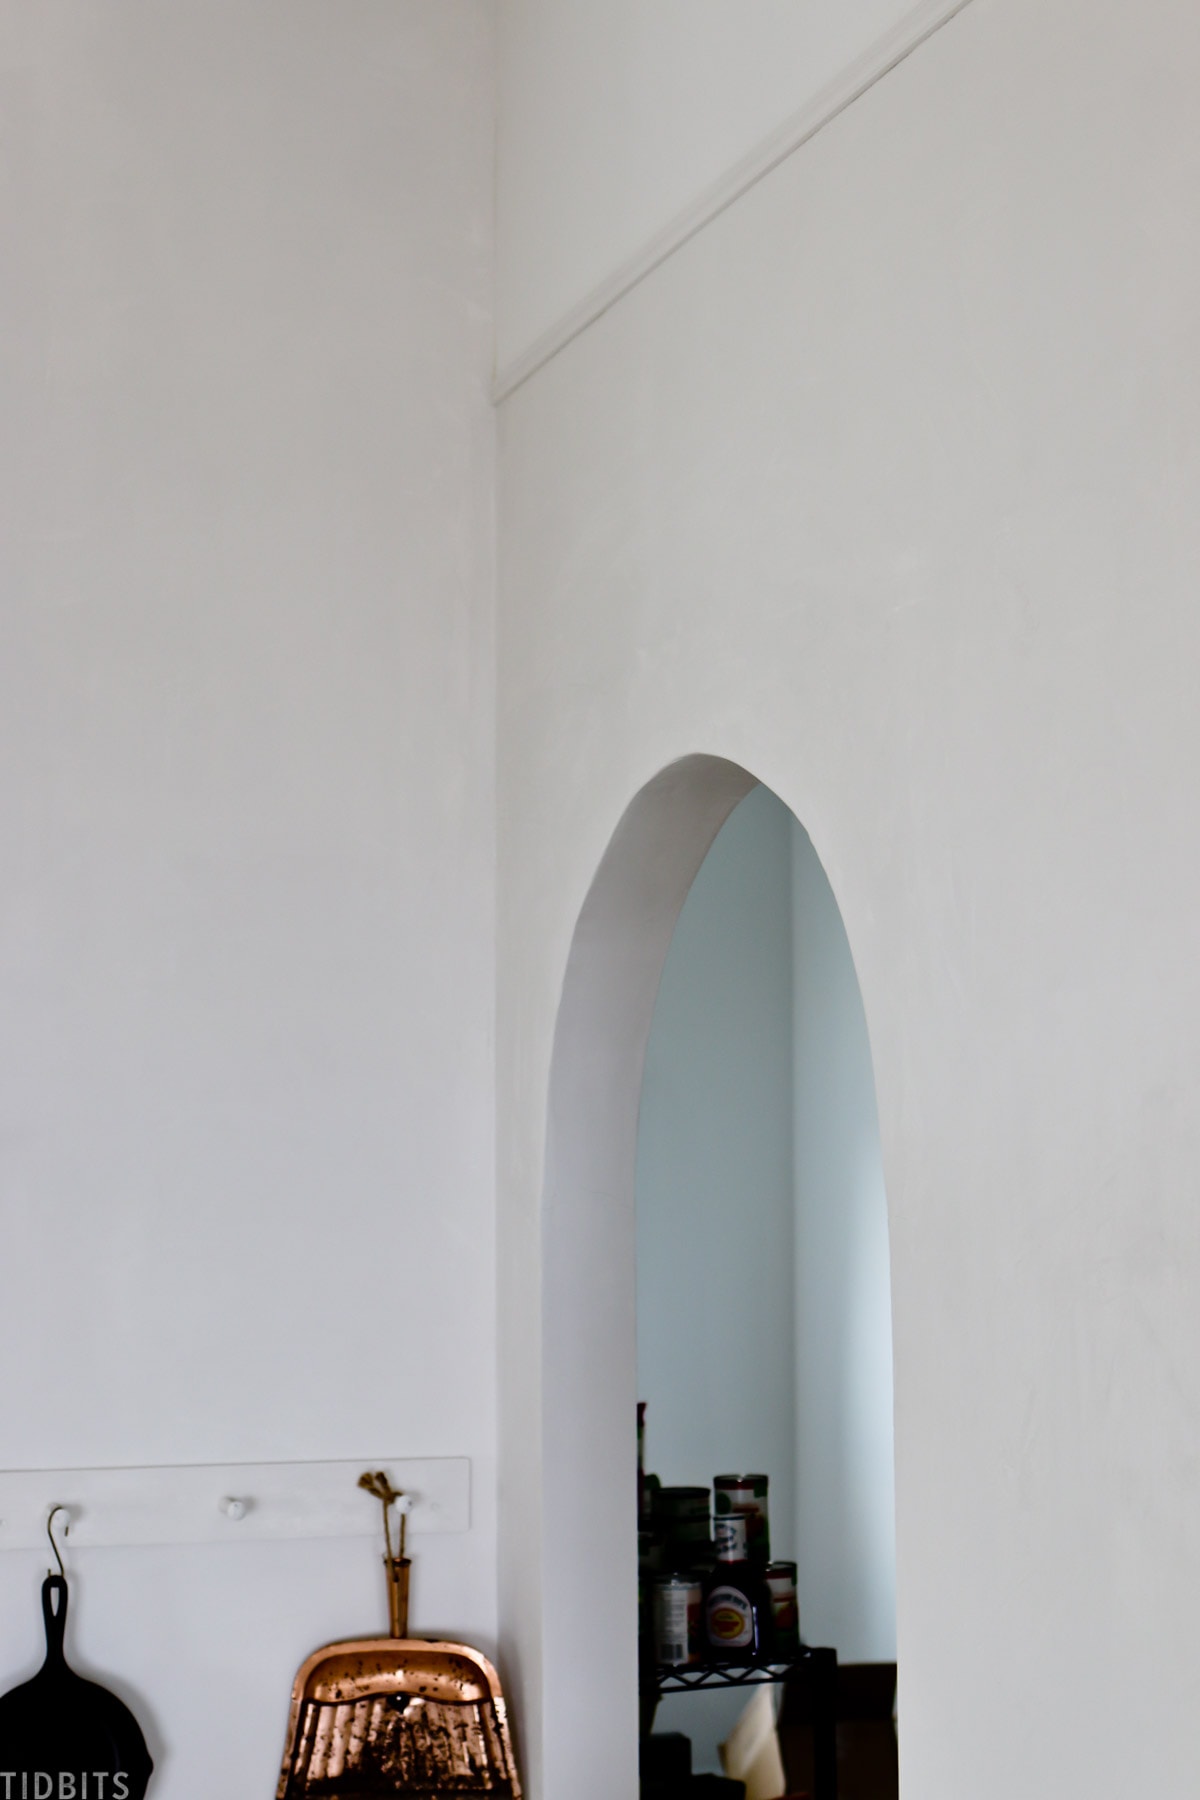
While I fully intend on trying some darker colors to create some statement walls in our home (particularly for inside my pantry and my office when we go to finish those spaces) I wanted this main area that adjoins the kitchen and living room to feel very light and bright.
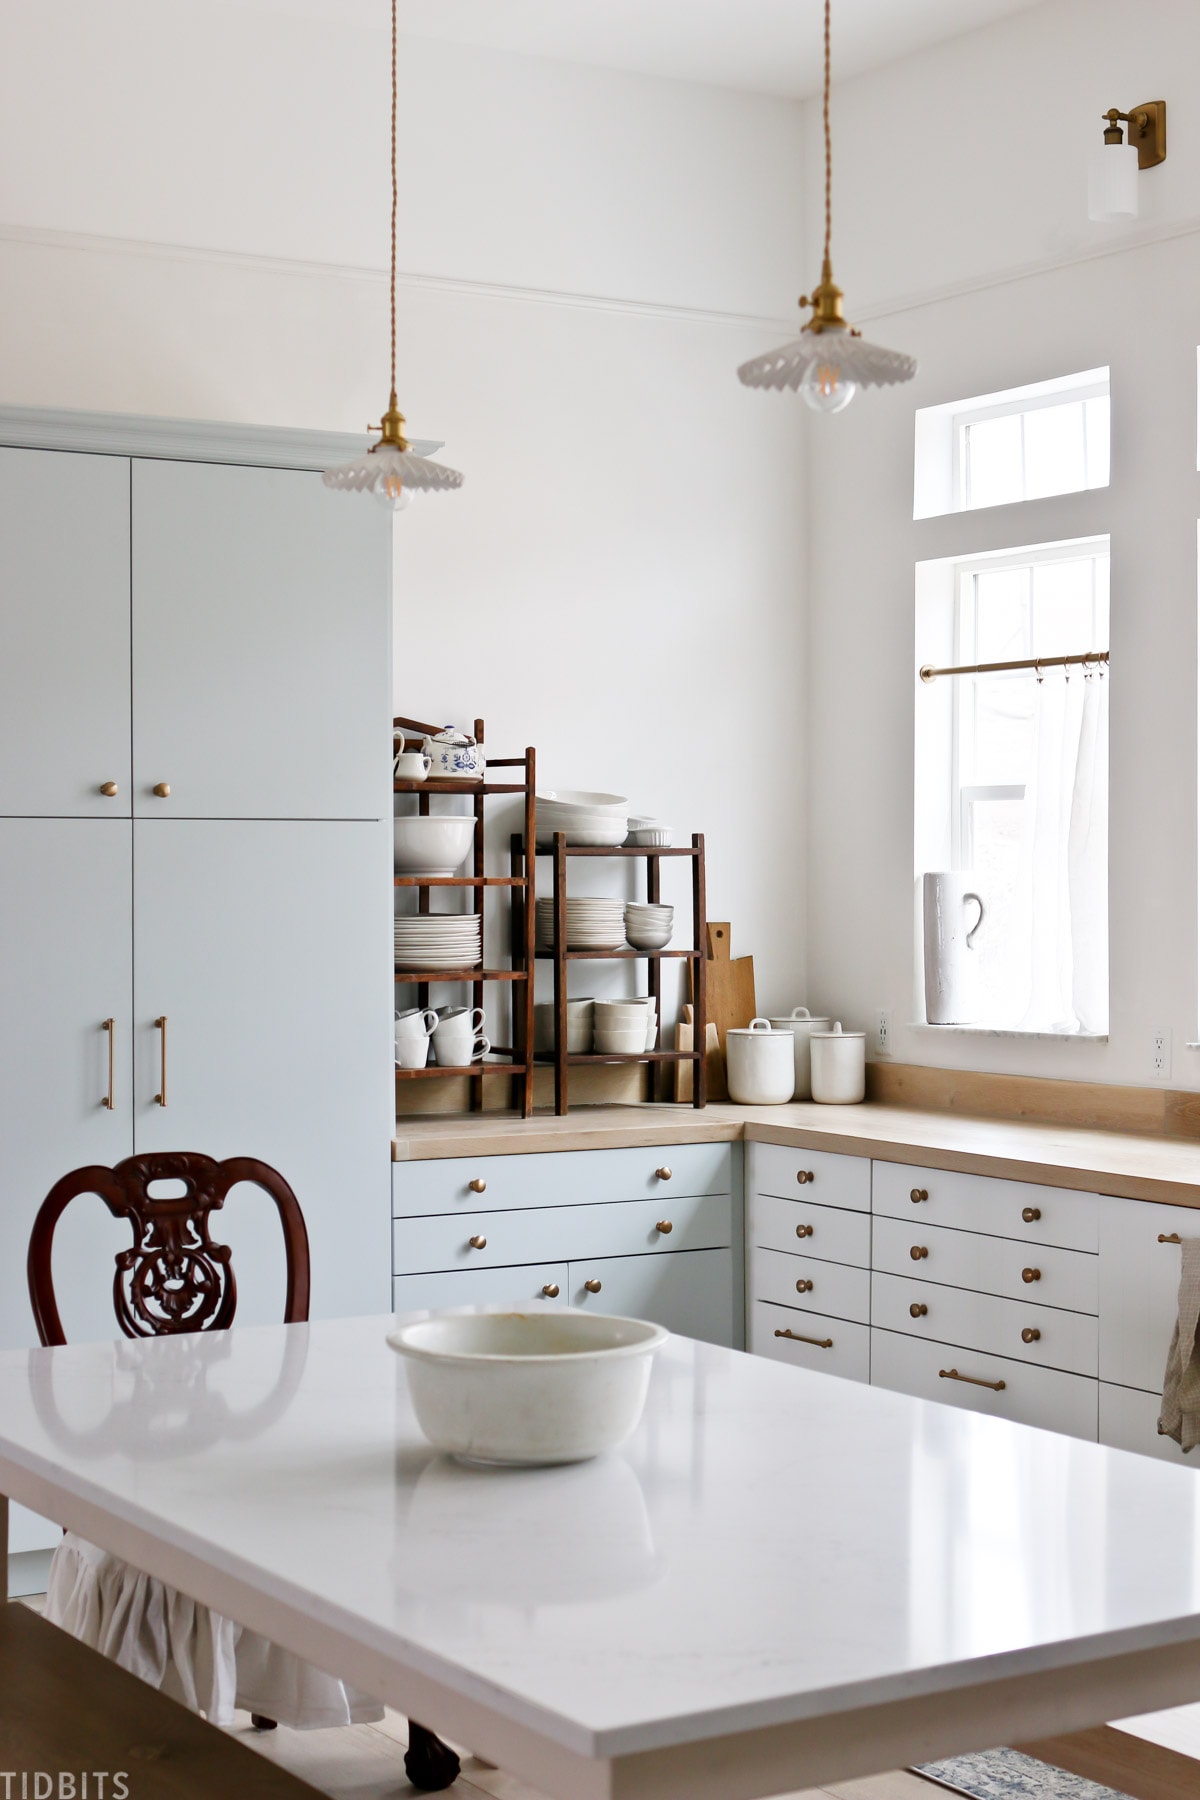
The Marrakech paint still appealed to me because I wanted to see if it could help the walls have more texture and depth, like plaster, even though it was going to be a creamy white paint.
While it’s hard to see the true effect through a camera lens with this white paint, I have to say, the results are just as I dreamed up! The creamy tones, the matte plaster like feel, and the subtle variations are just stunning in person.
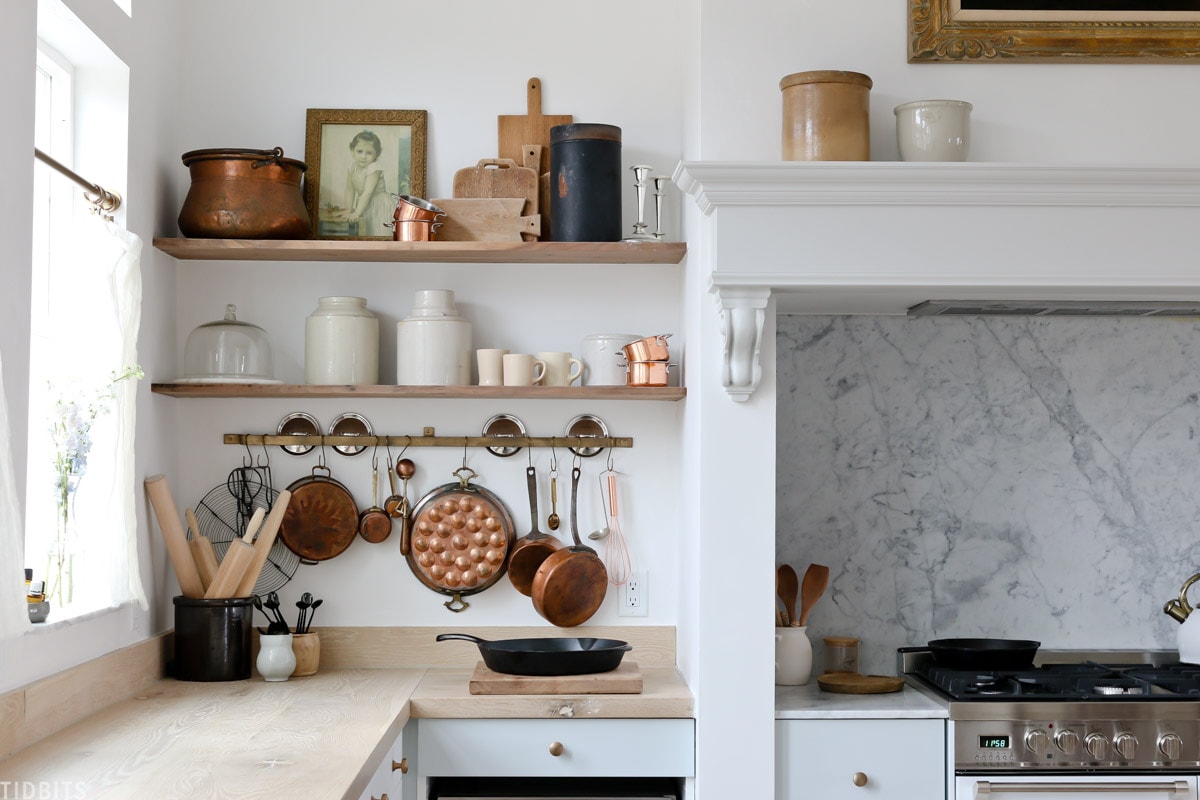
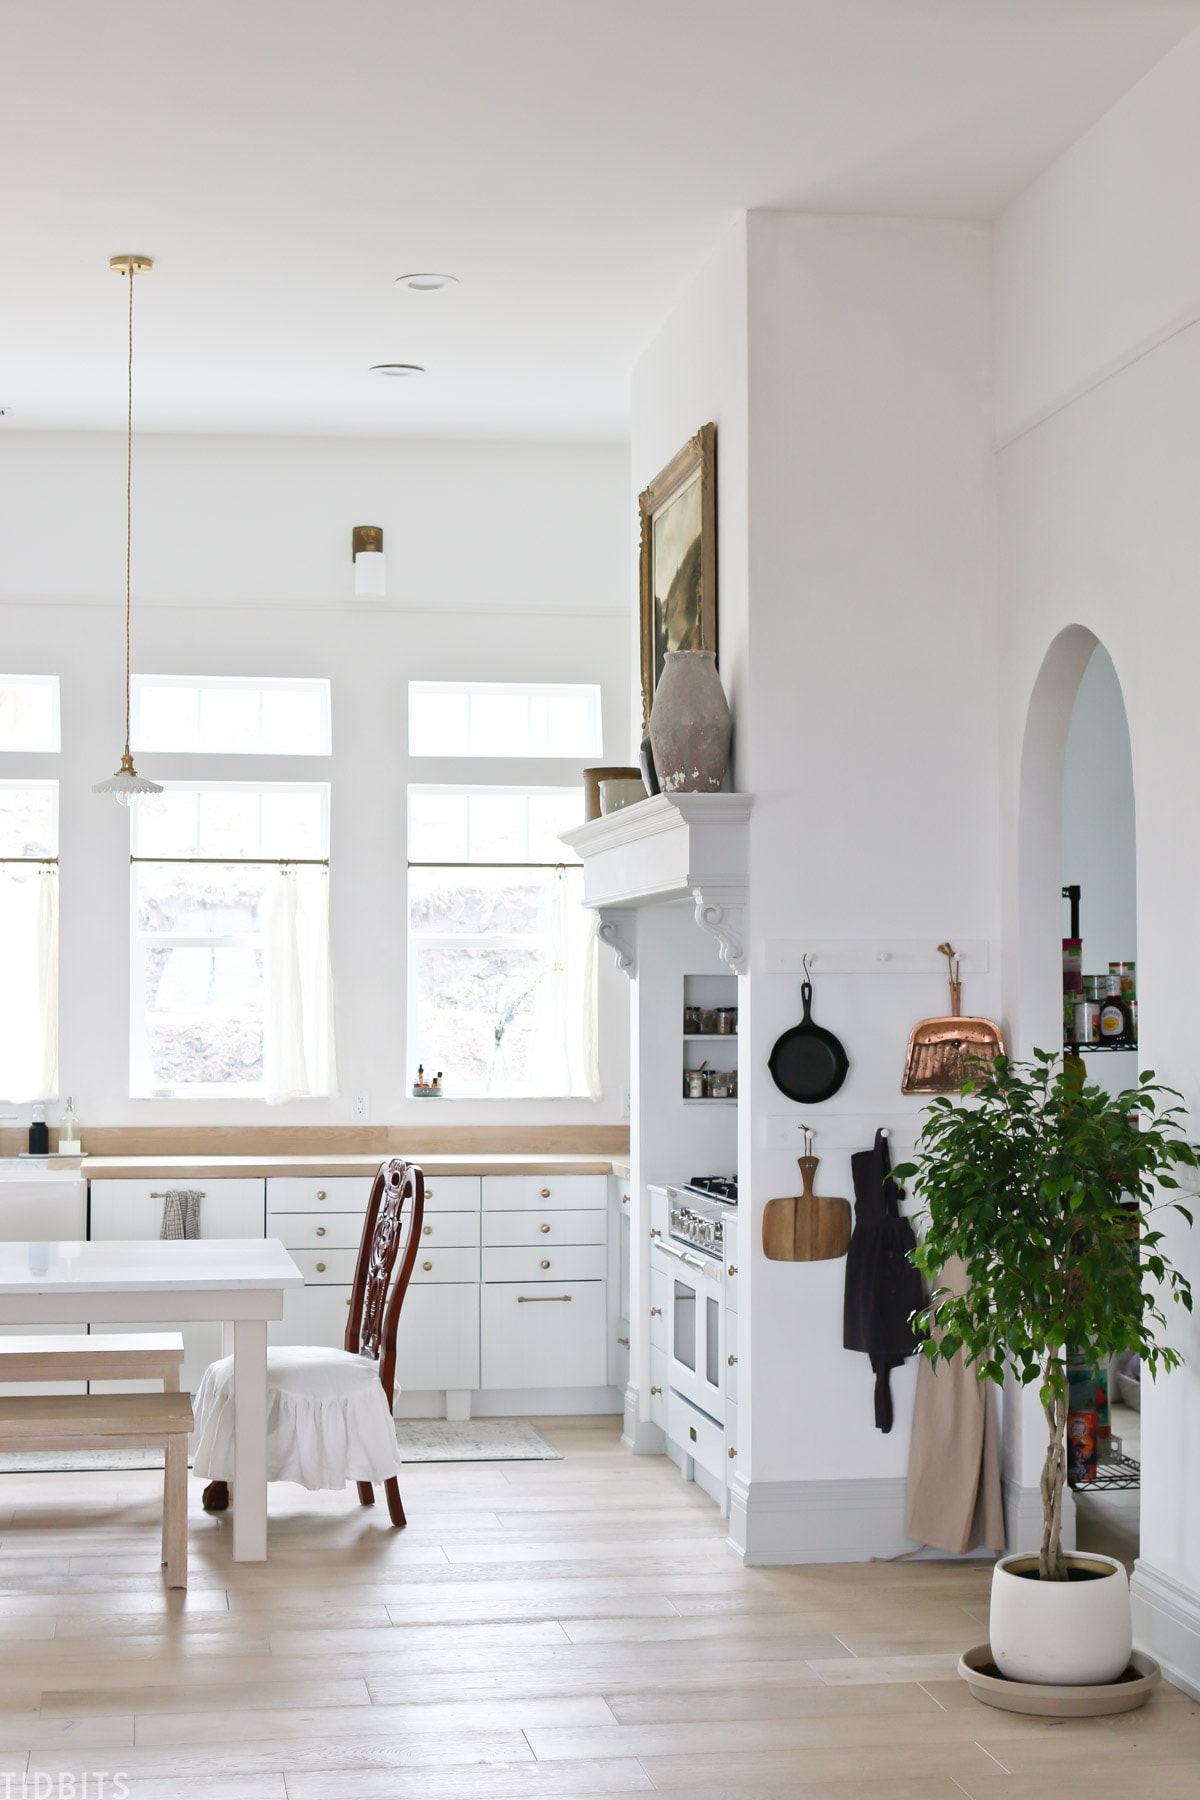
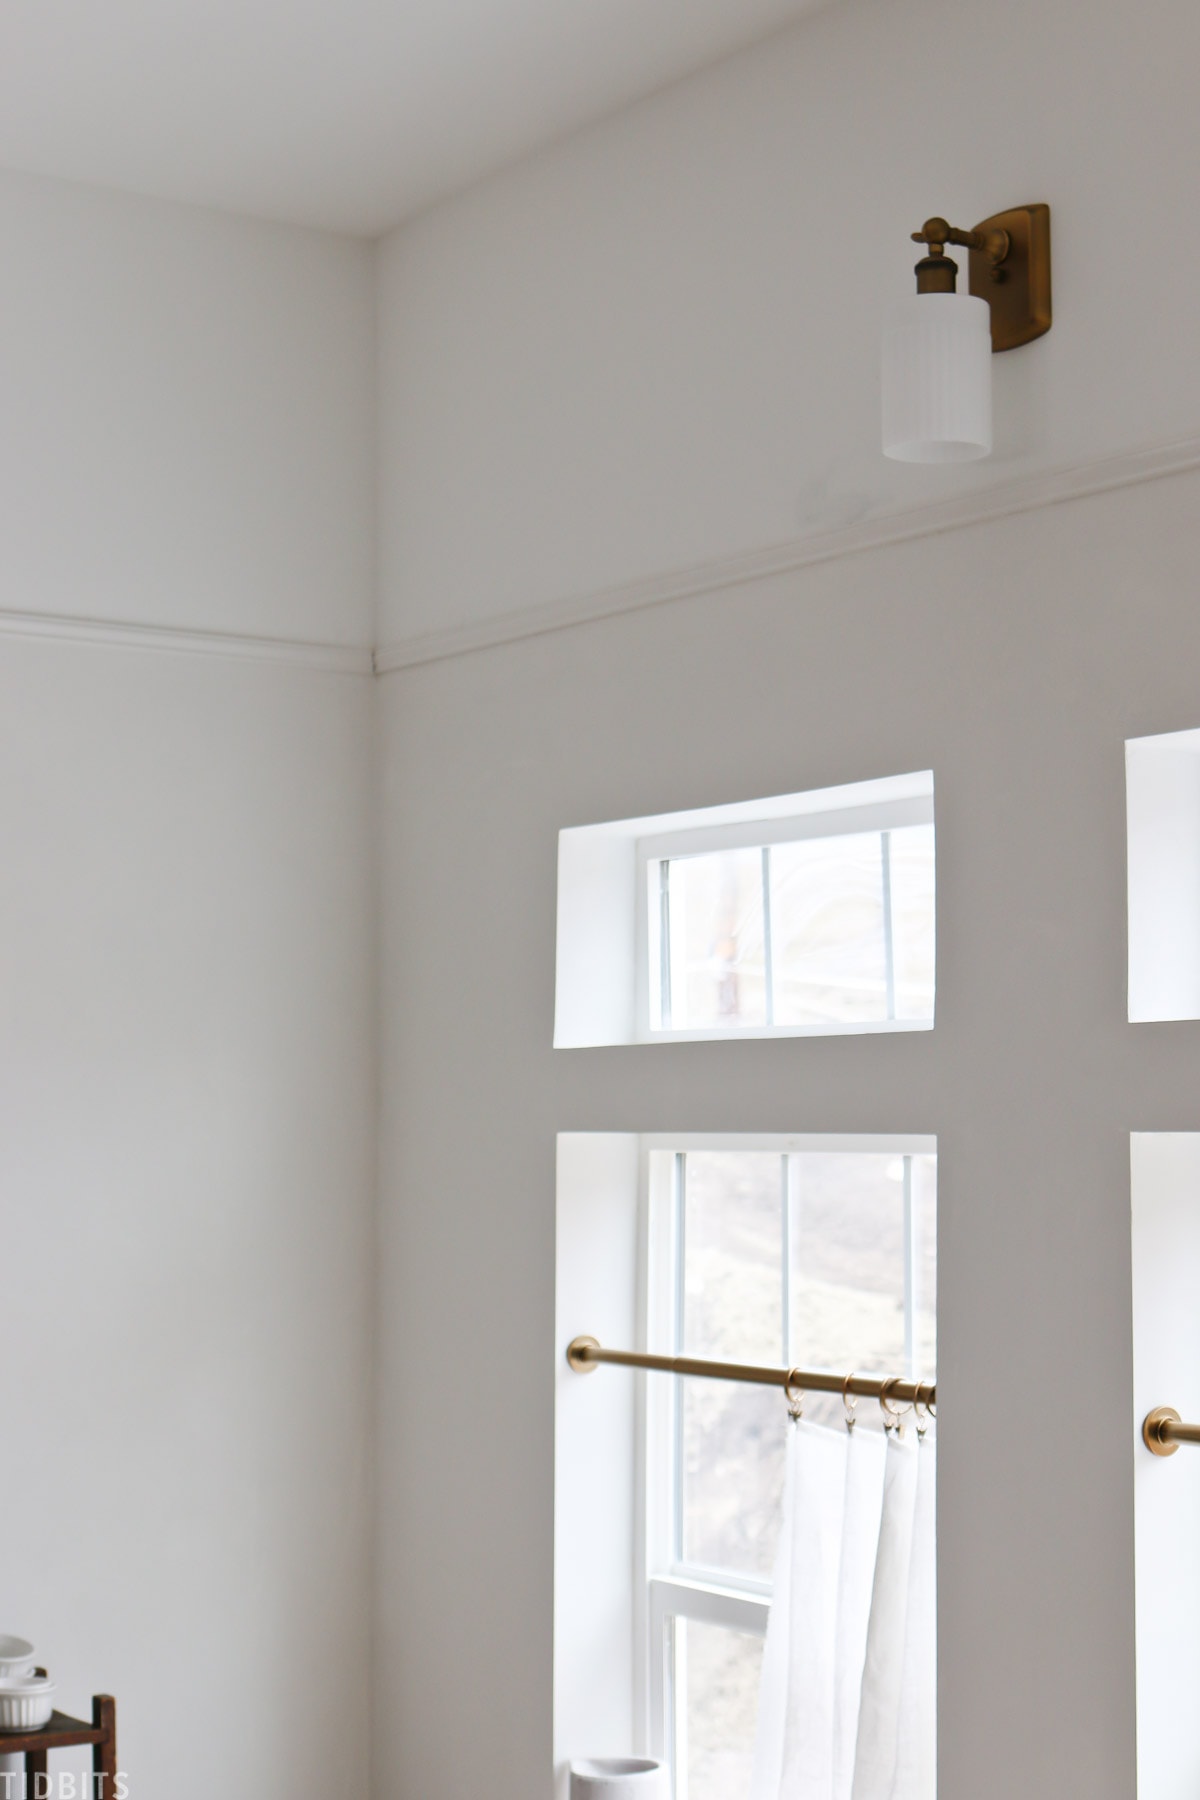
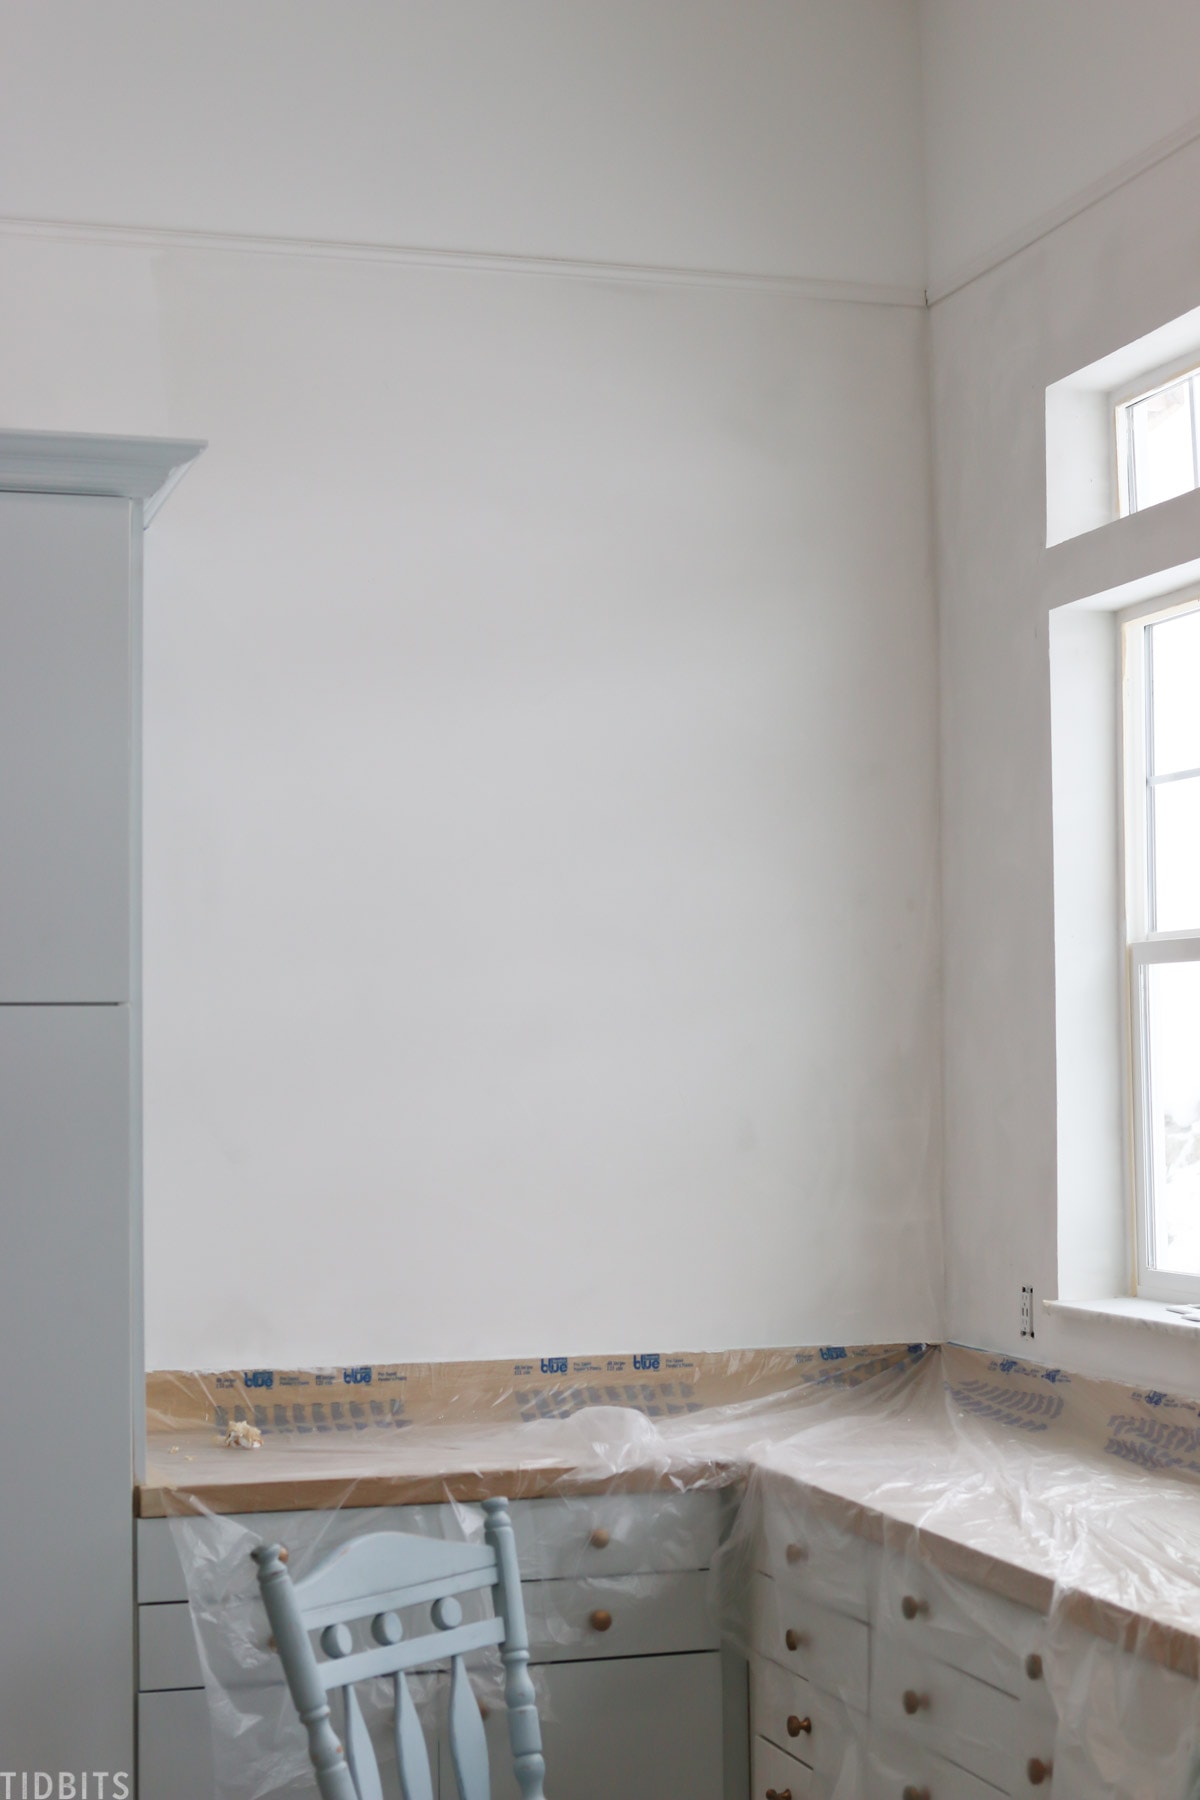
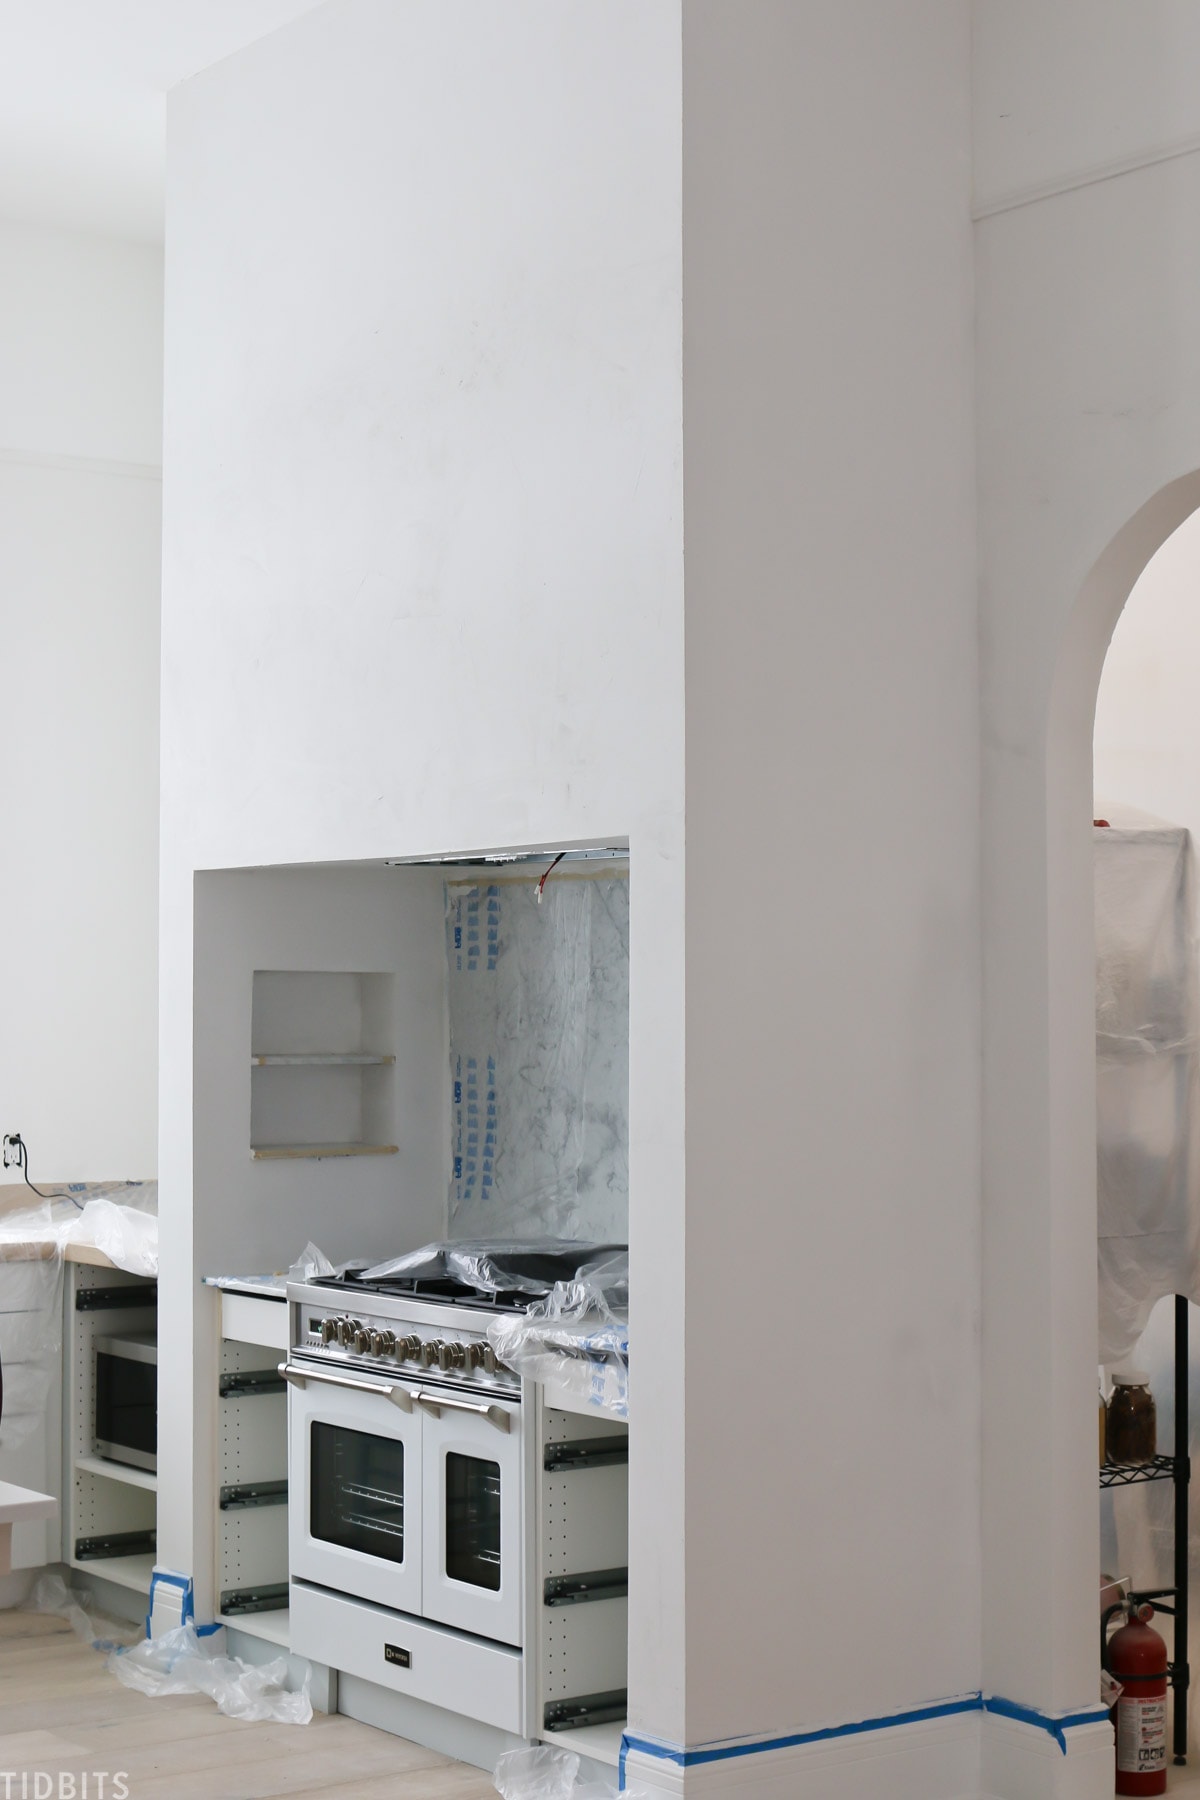
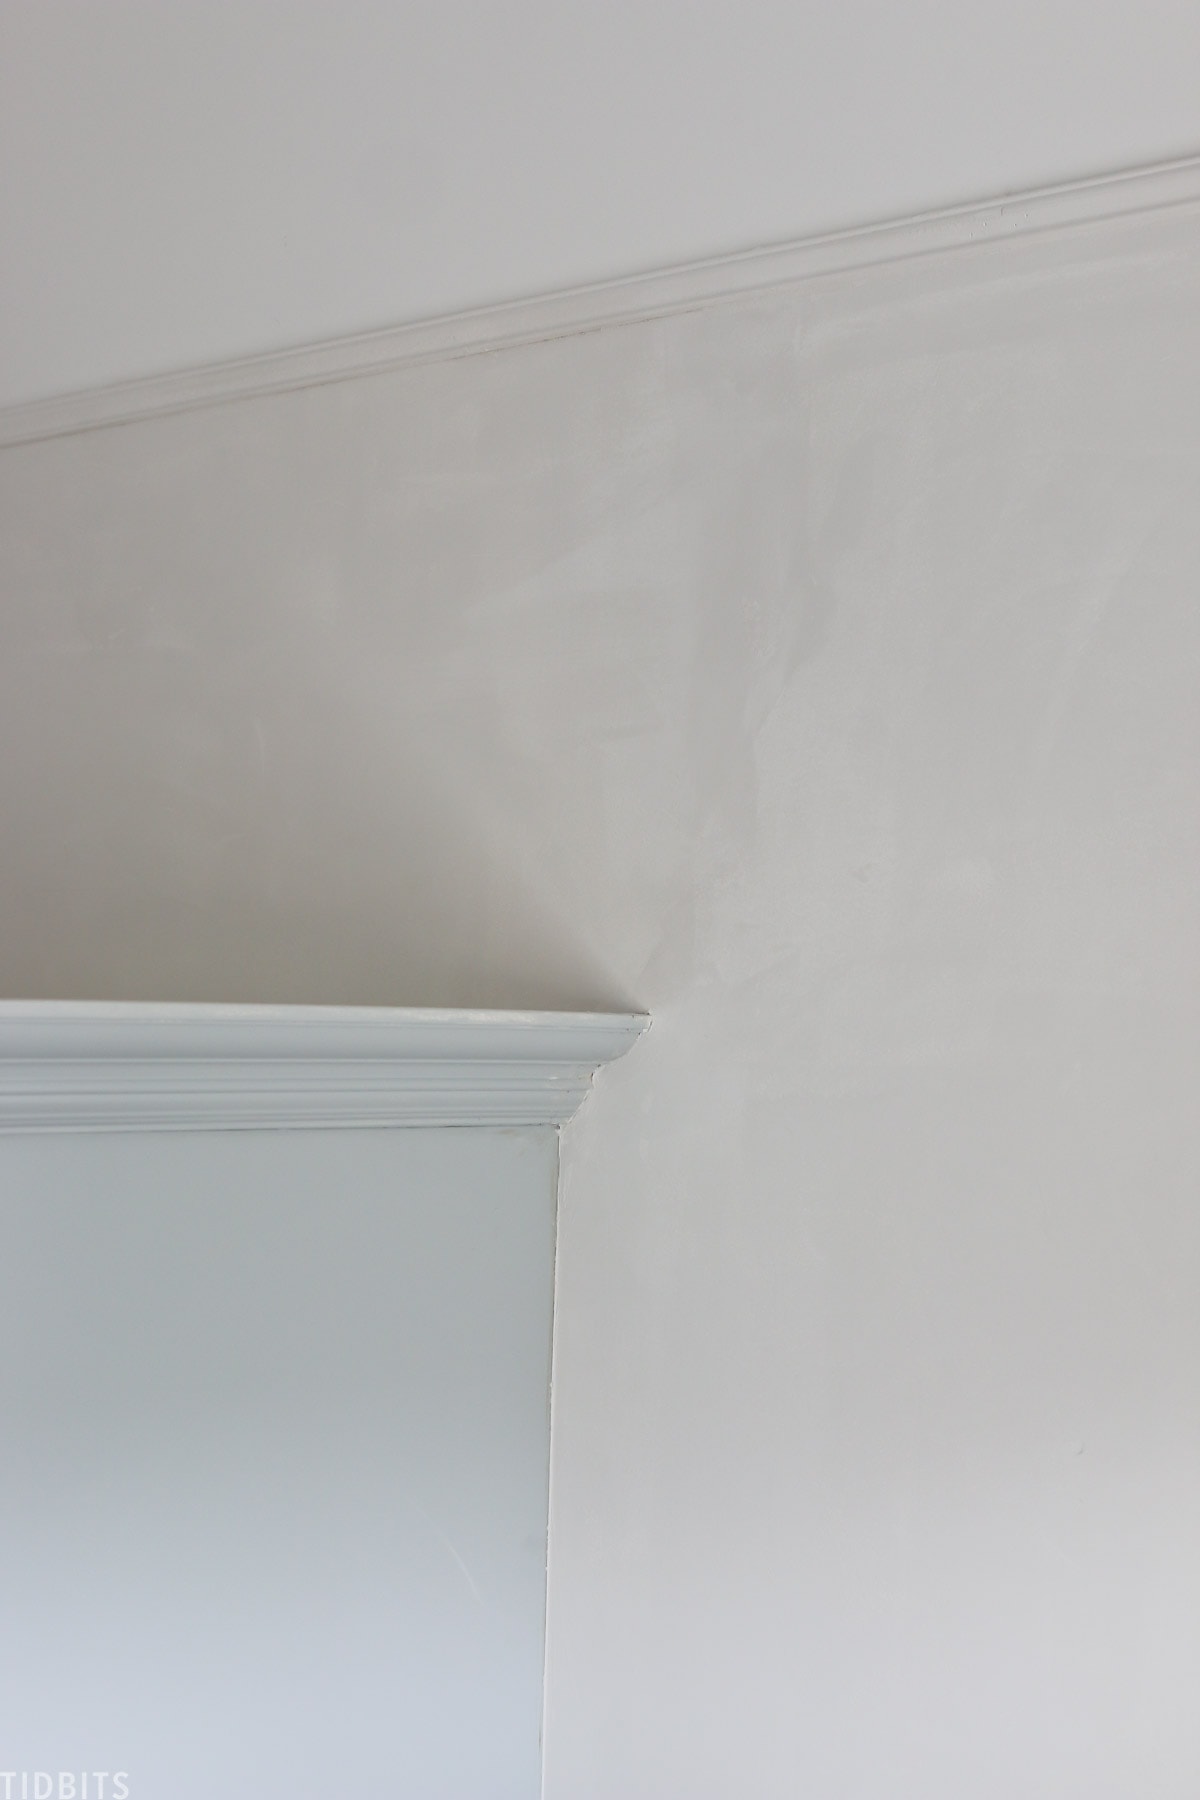
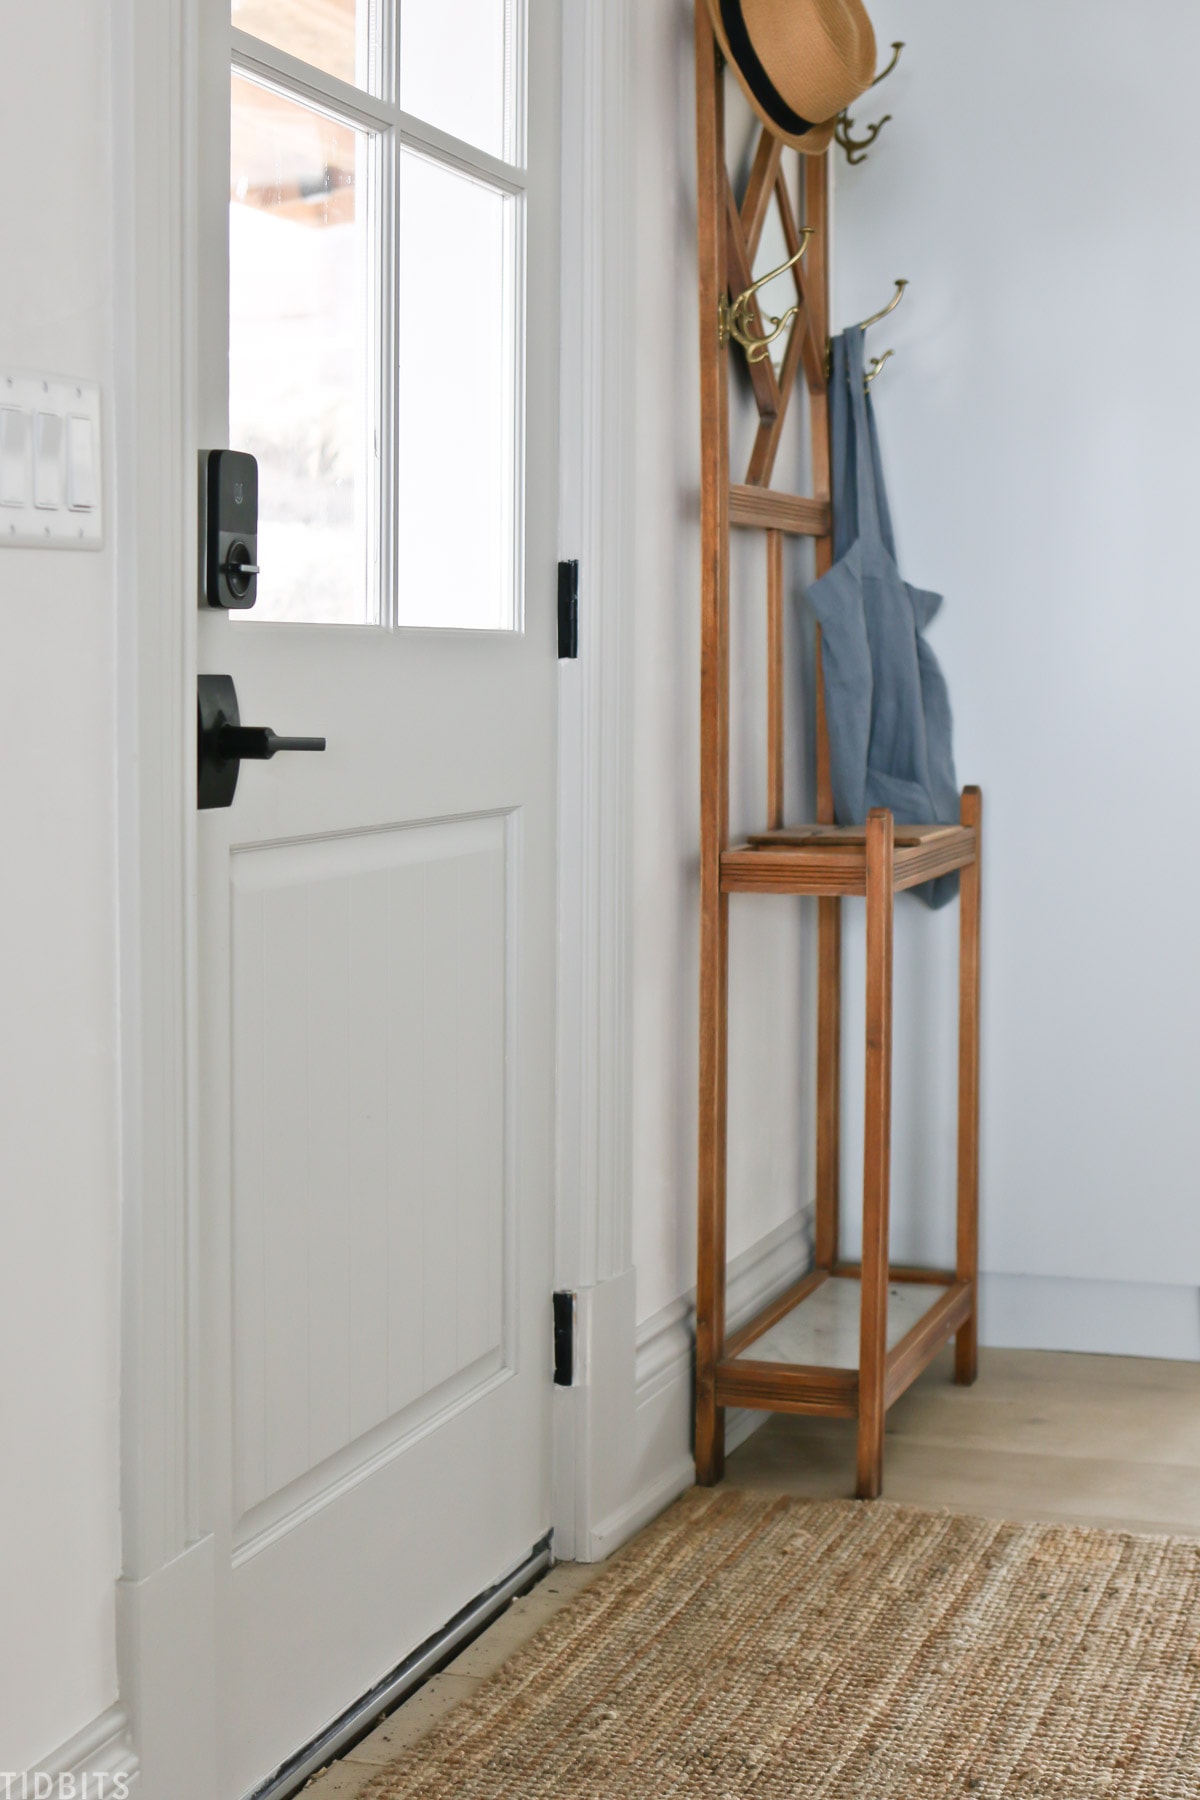
Before we moved in, we painted the ceiling and 2 feet down the wall with a standard latex paint, with the color “Chantilly Lace” by Benjamin Moore. Then I had my husband install a small trim piece to clearly divide where I wanted the Marrakech look.
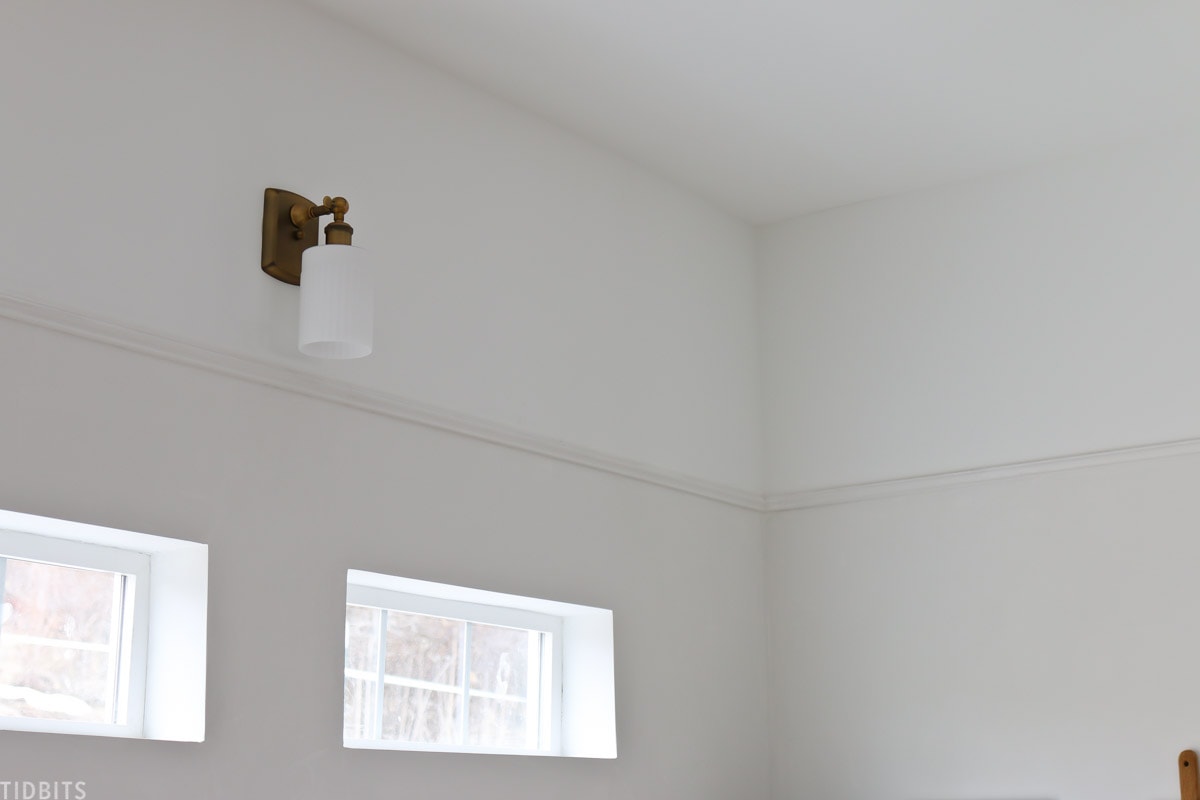
This trim also helps bring down the visual height of our 12 foot walls and makes the space feel a bit more cozy.
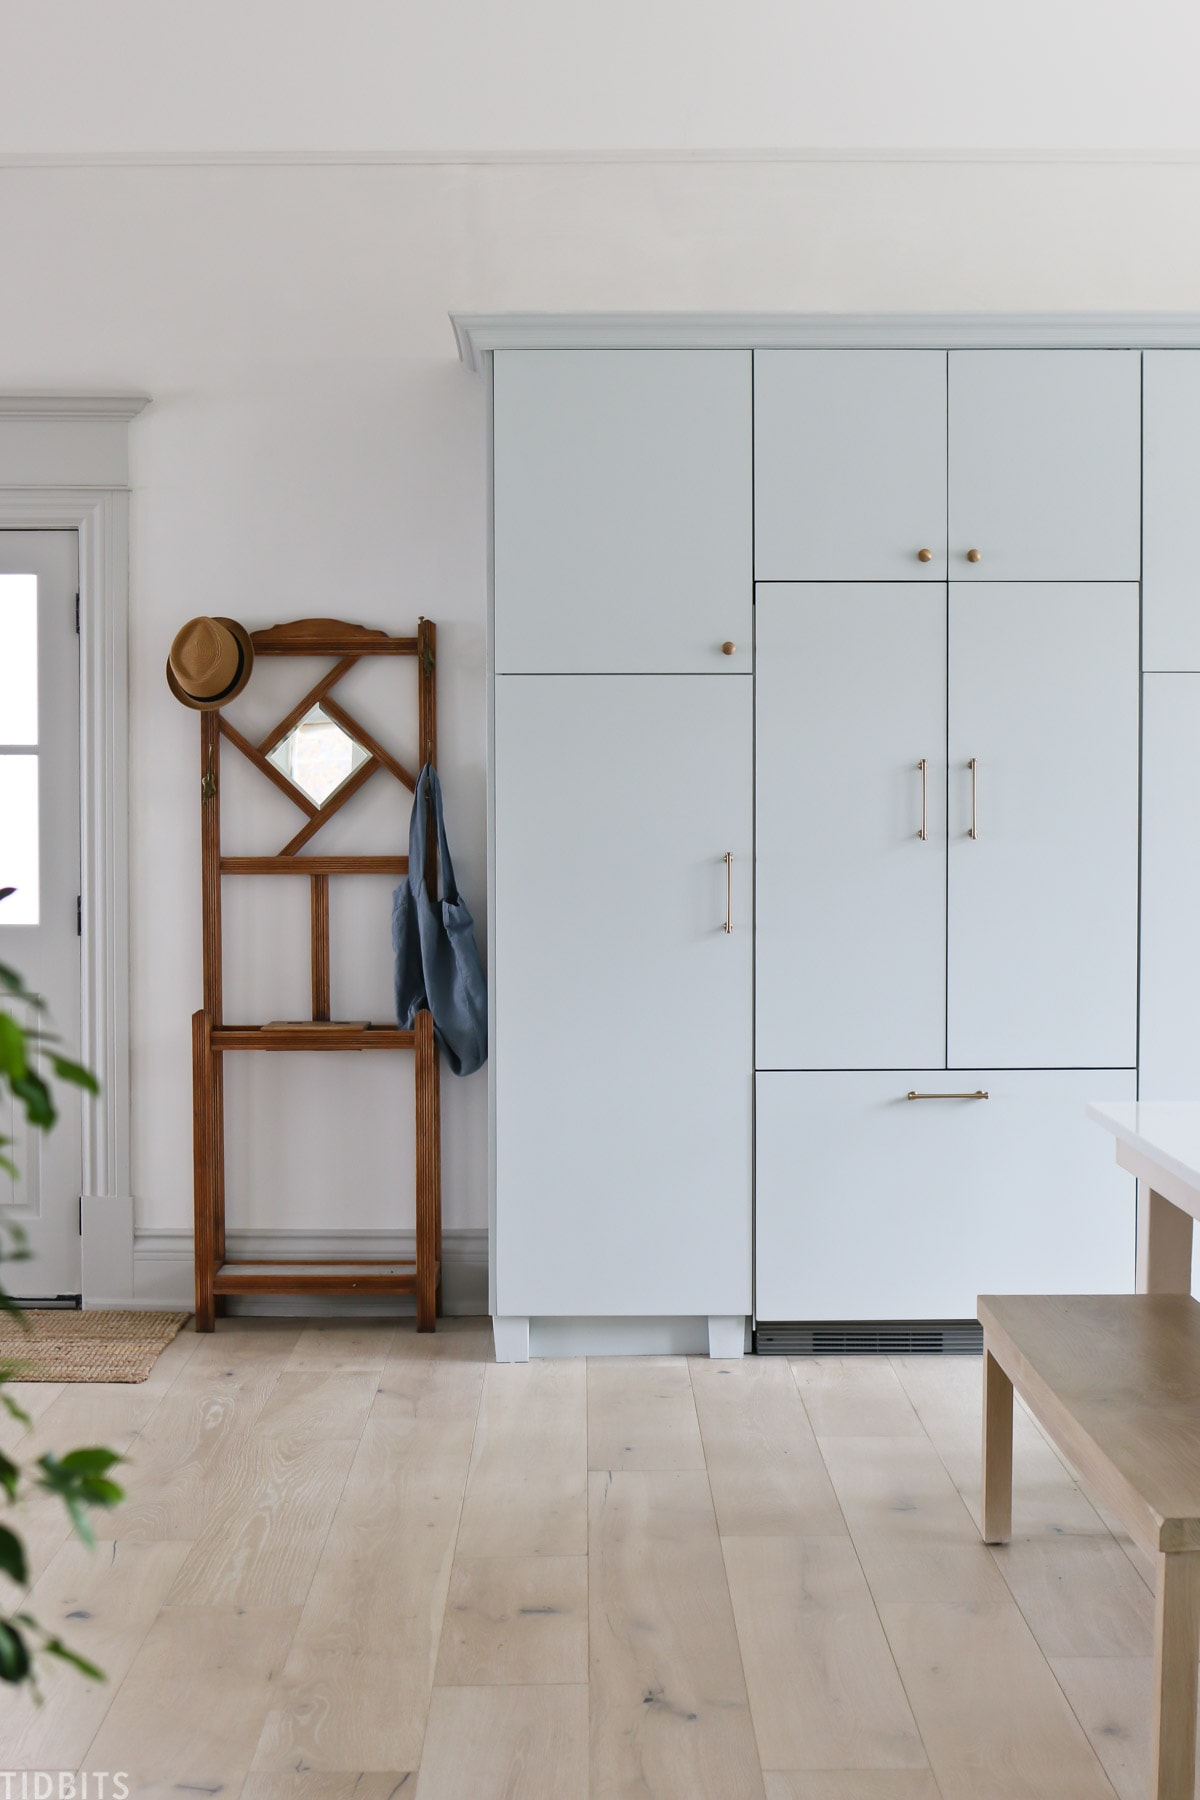
I opted for the Pure & Original color “Milk White”, which is slightly warmer than the Chantilly Lace, giving me my desired white tone on tone look.
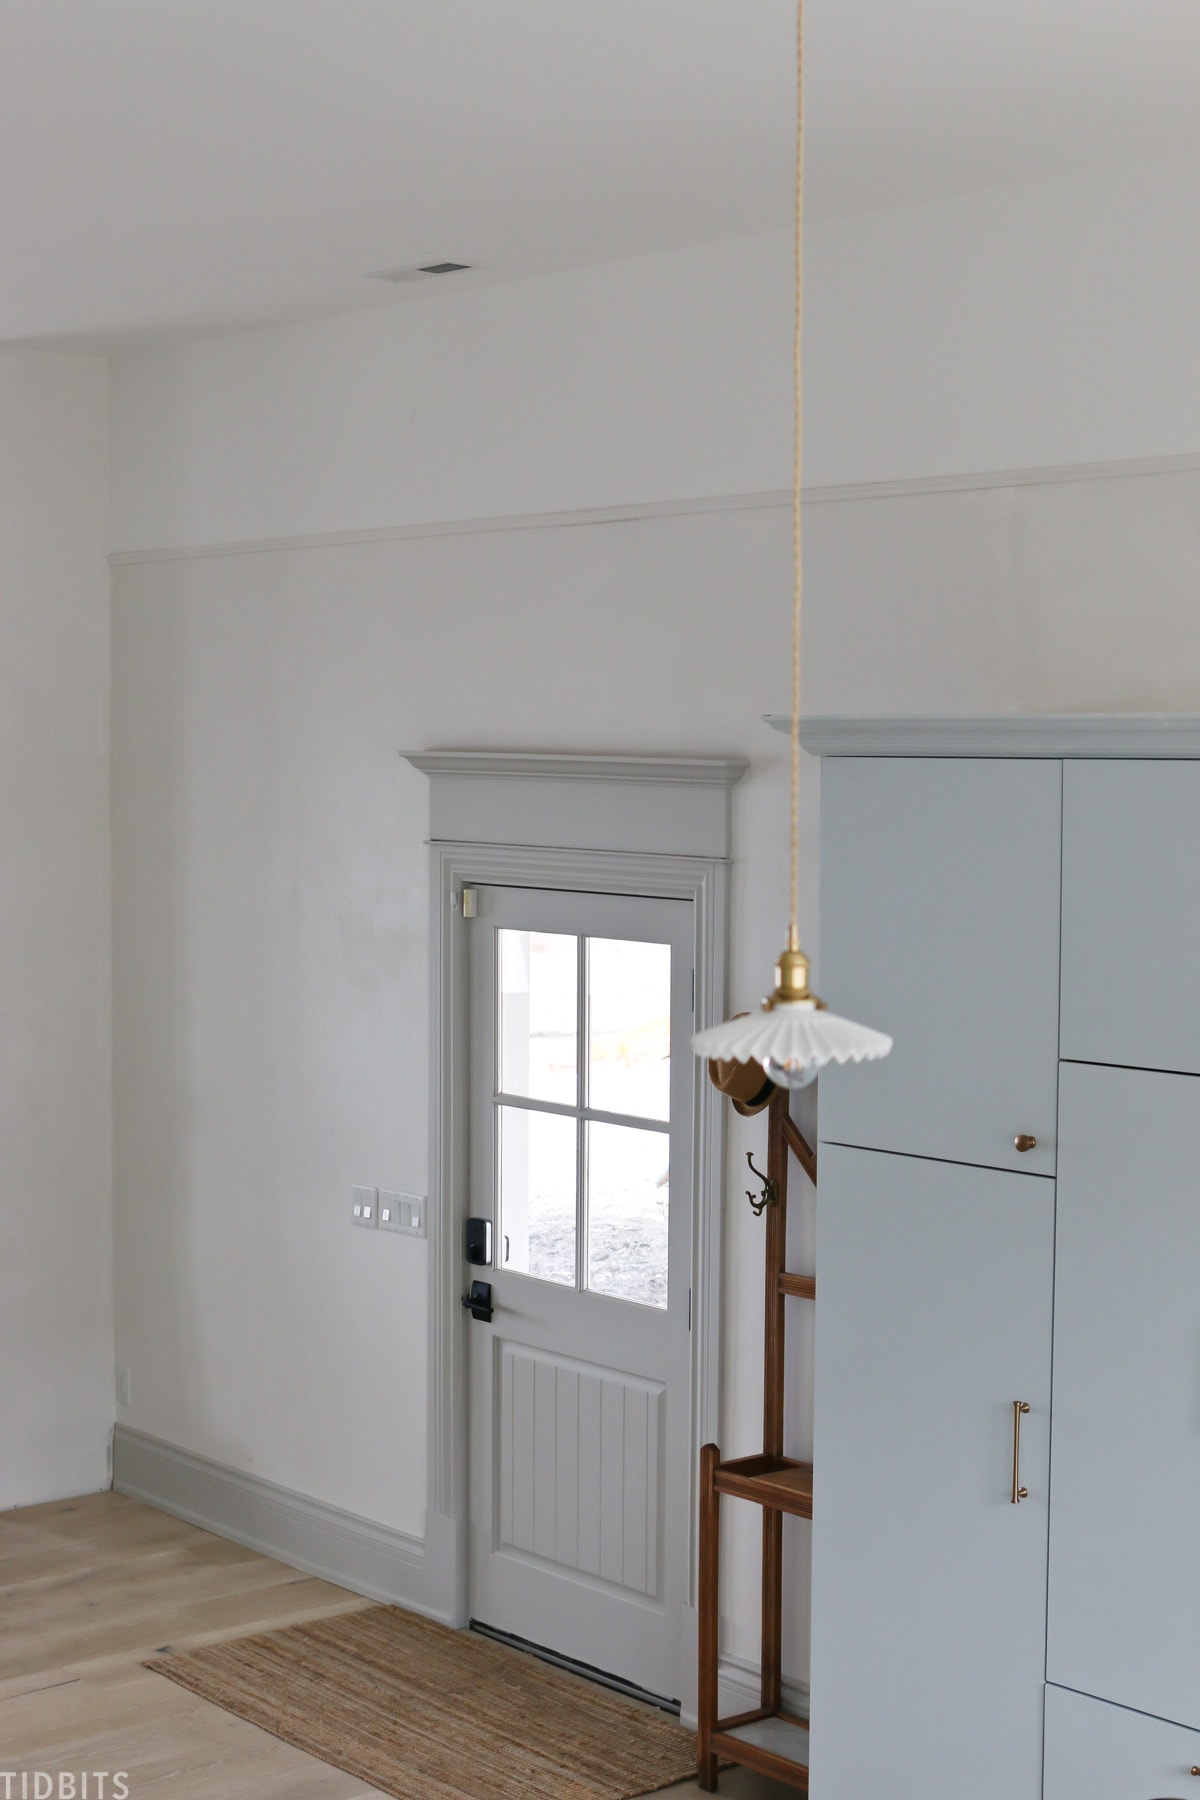
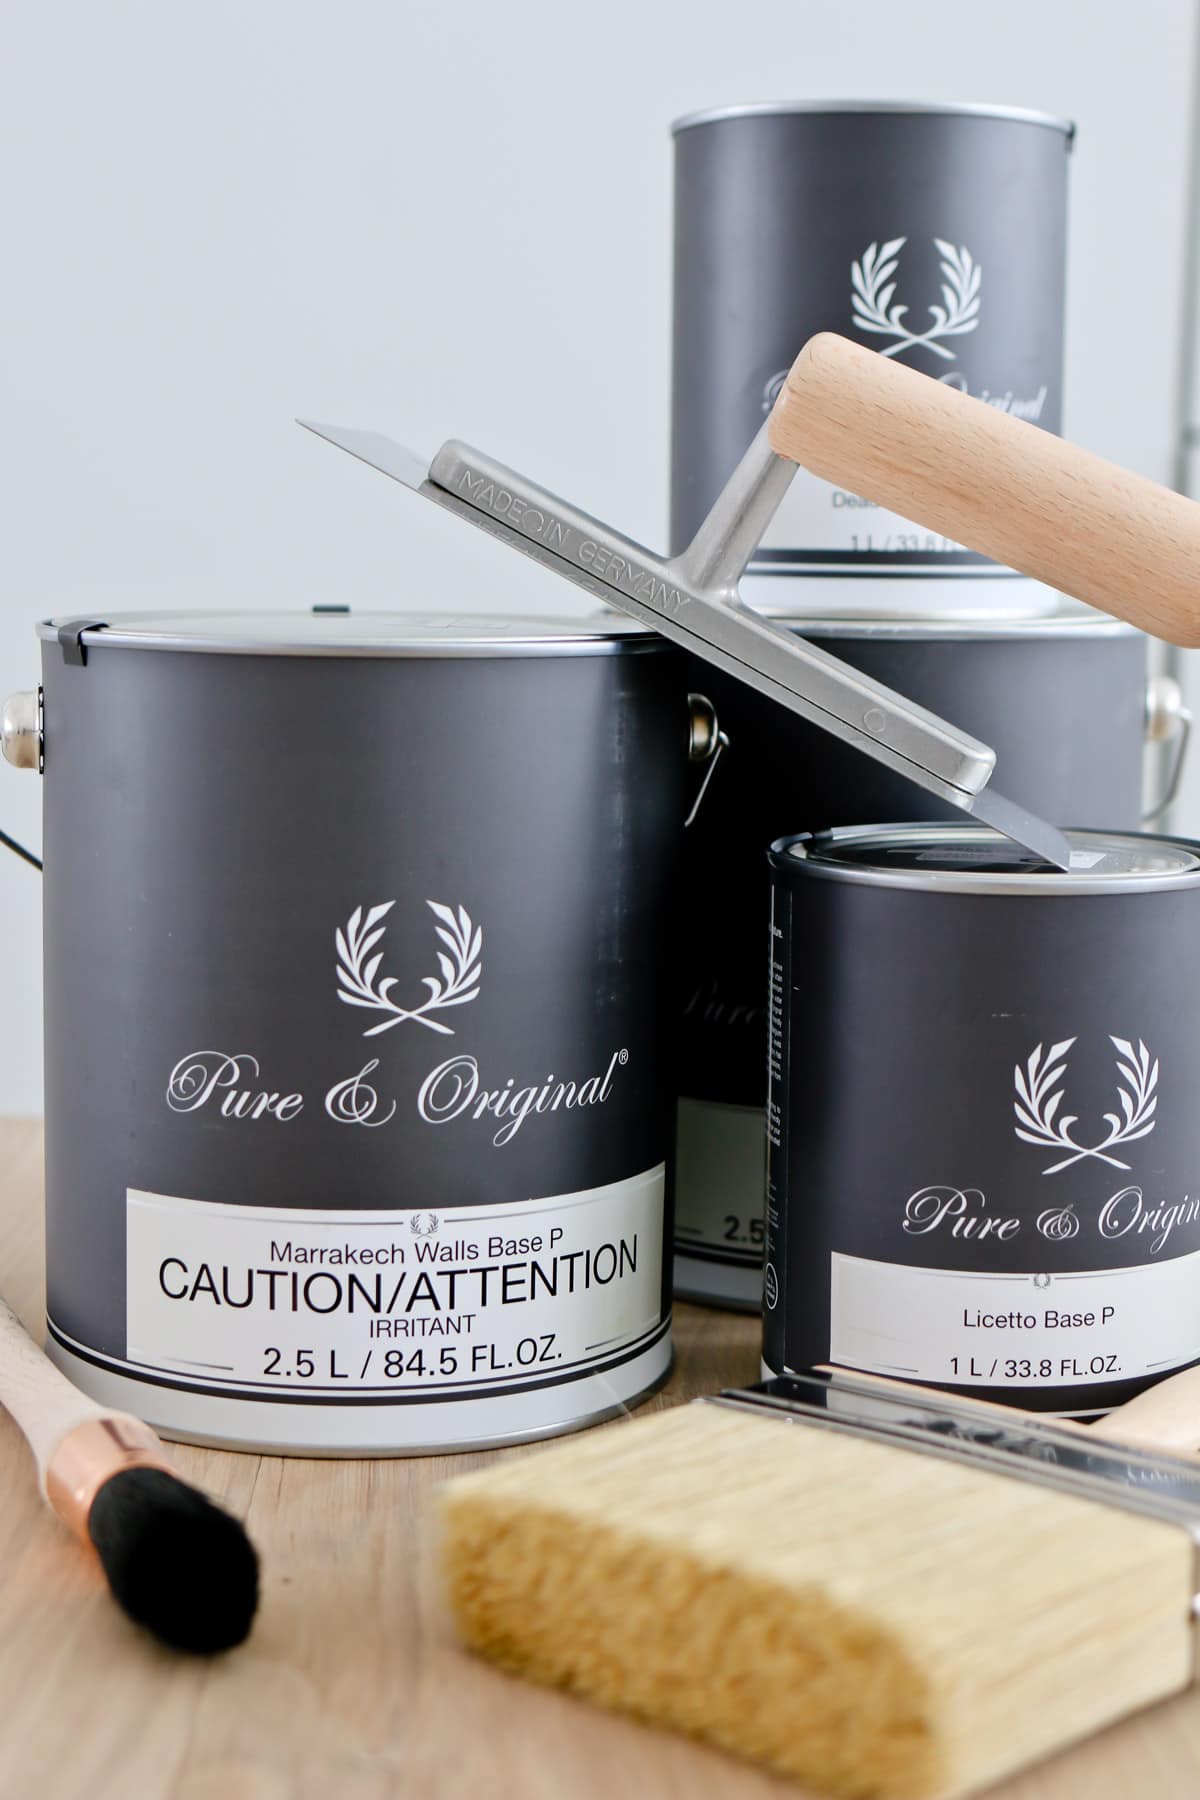
Our doors and trim in this space are also painted with Pure & Original paint, but I was instructed to use a better suited option which is from their Licetto line.
Their Licetto paints are still a nice matte finish, but you get a paint that is more durable and scrubbable without a sealer. You can also definitely use Licetto on your walls or furniture even, which is basically a nice even matte paint. I picked the color “Ashes” for our trim and doors, which is the most lovely greige.
As far as picking out colors go, you can order a color card to see all they have to offer. Because their paints are made with natural pigments, the colors feel very earthy and organic, which I just adore.
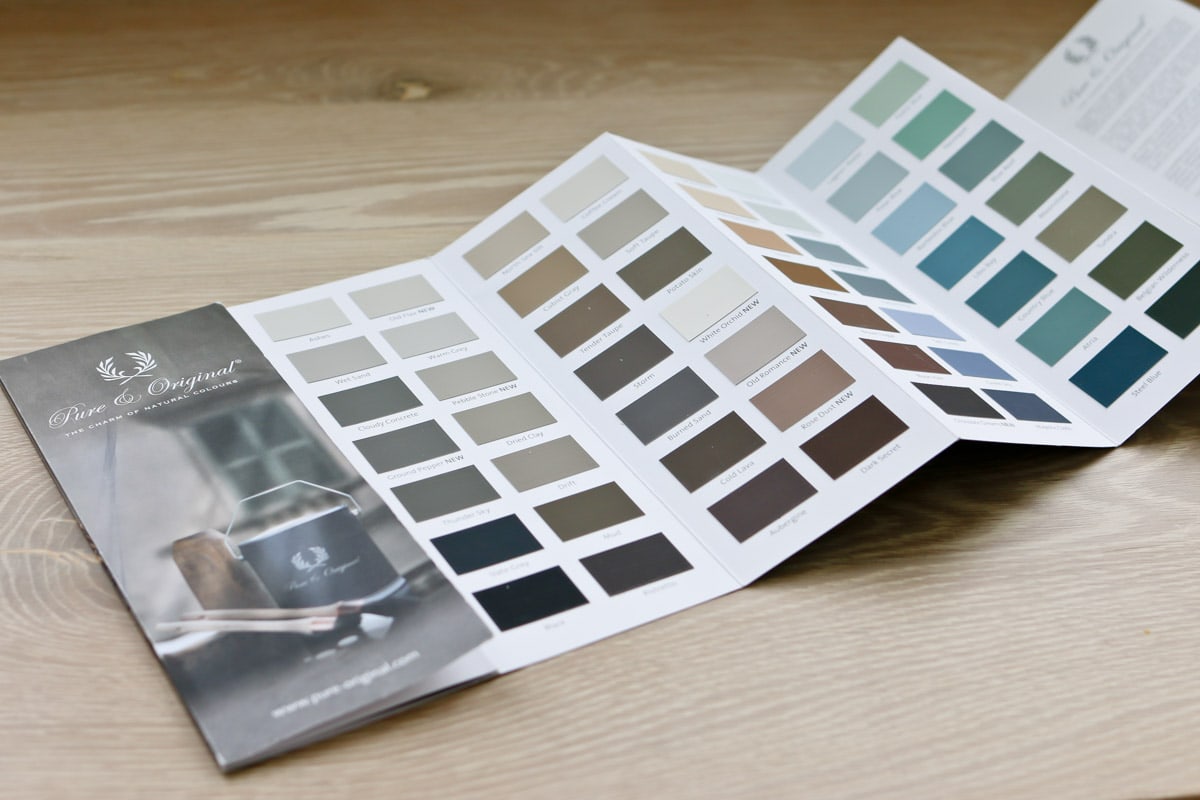
There are many colors I am dying to try.
SUPPLIES AND PRODUCTS YOU NEED TO APPLY MARRAKECH PAINT
Speaking of products, before I show you each step for Marrakech application, let’s go over the products you need.
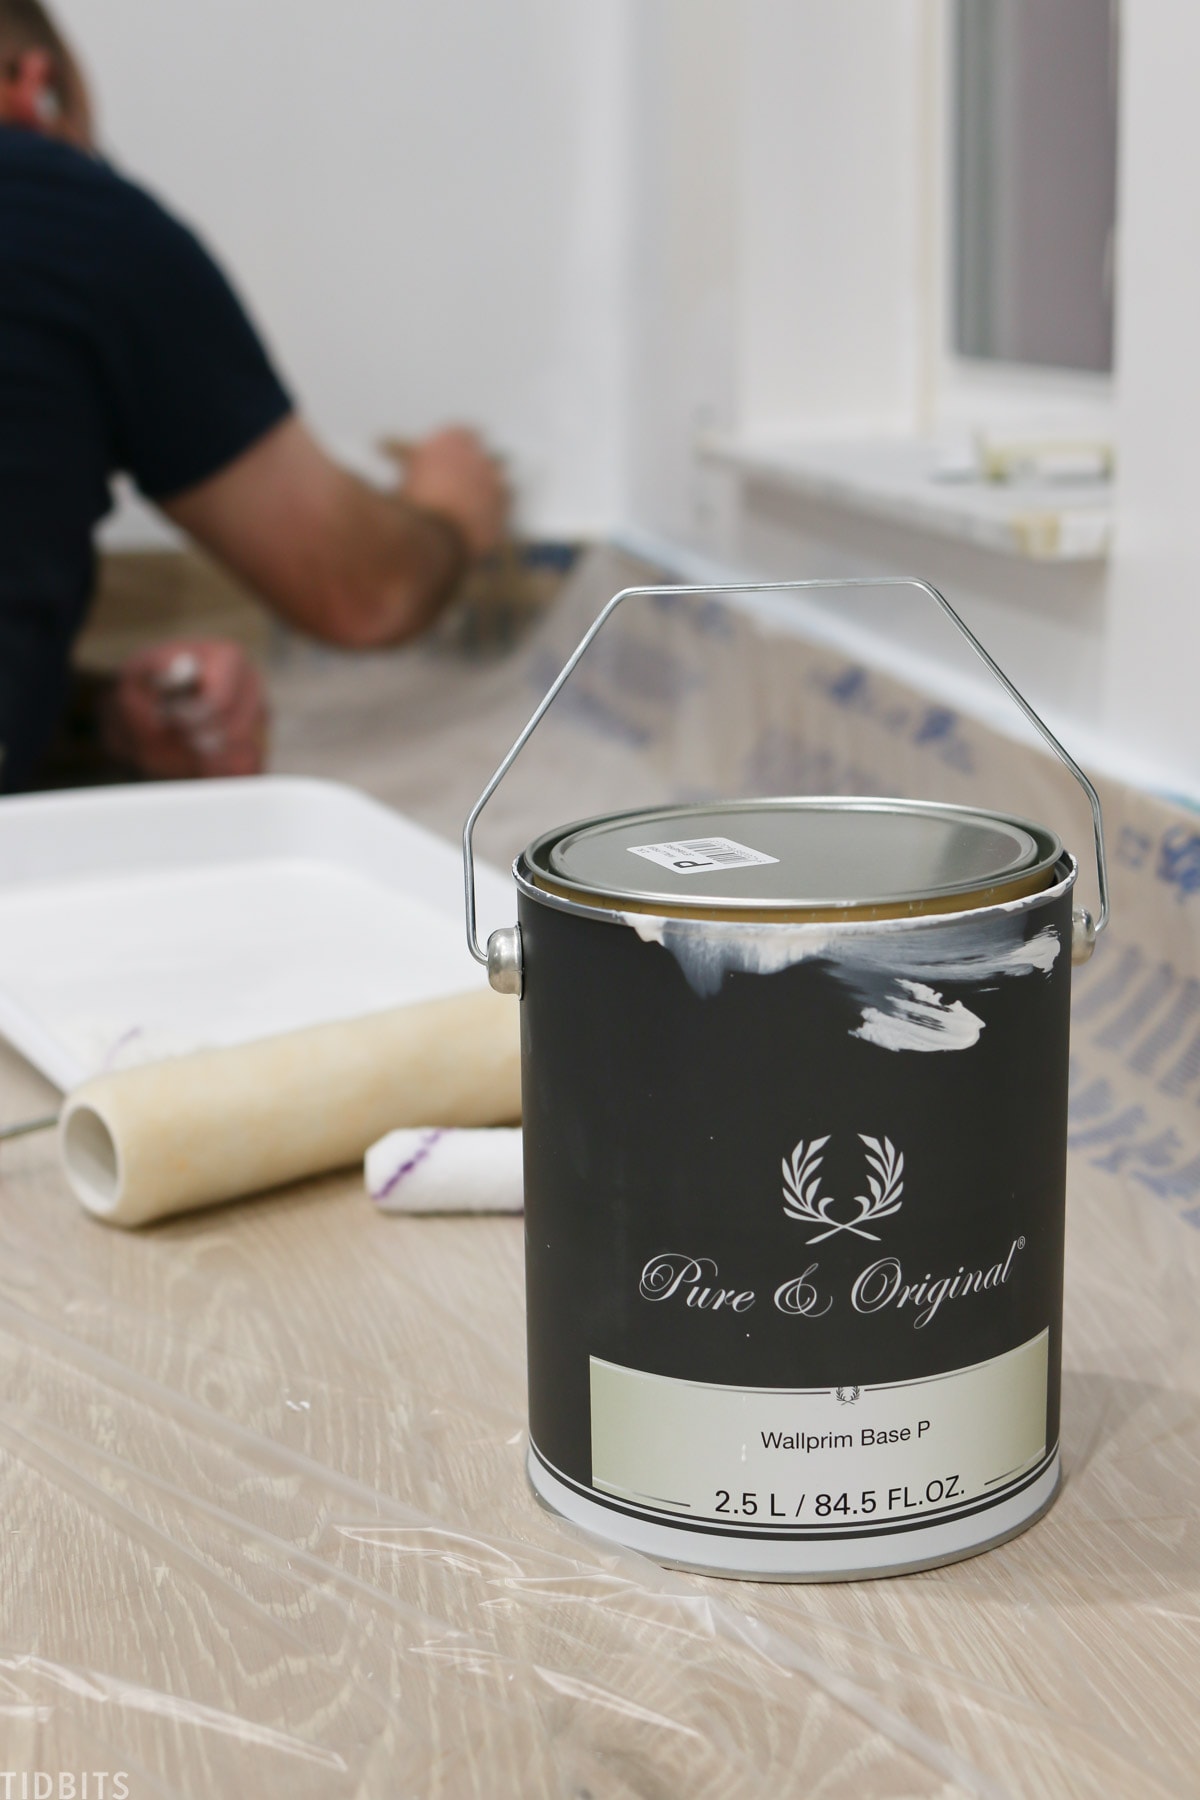
PRIMER
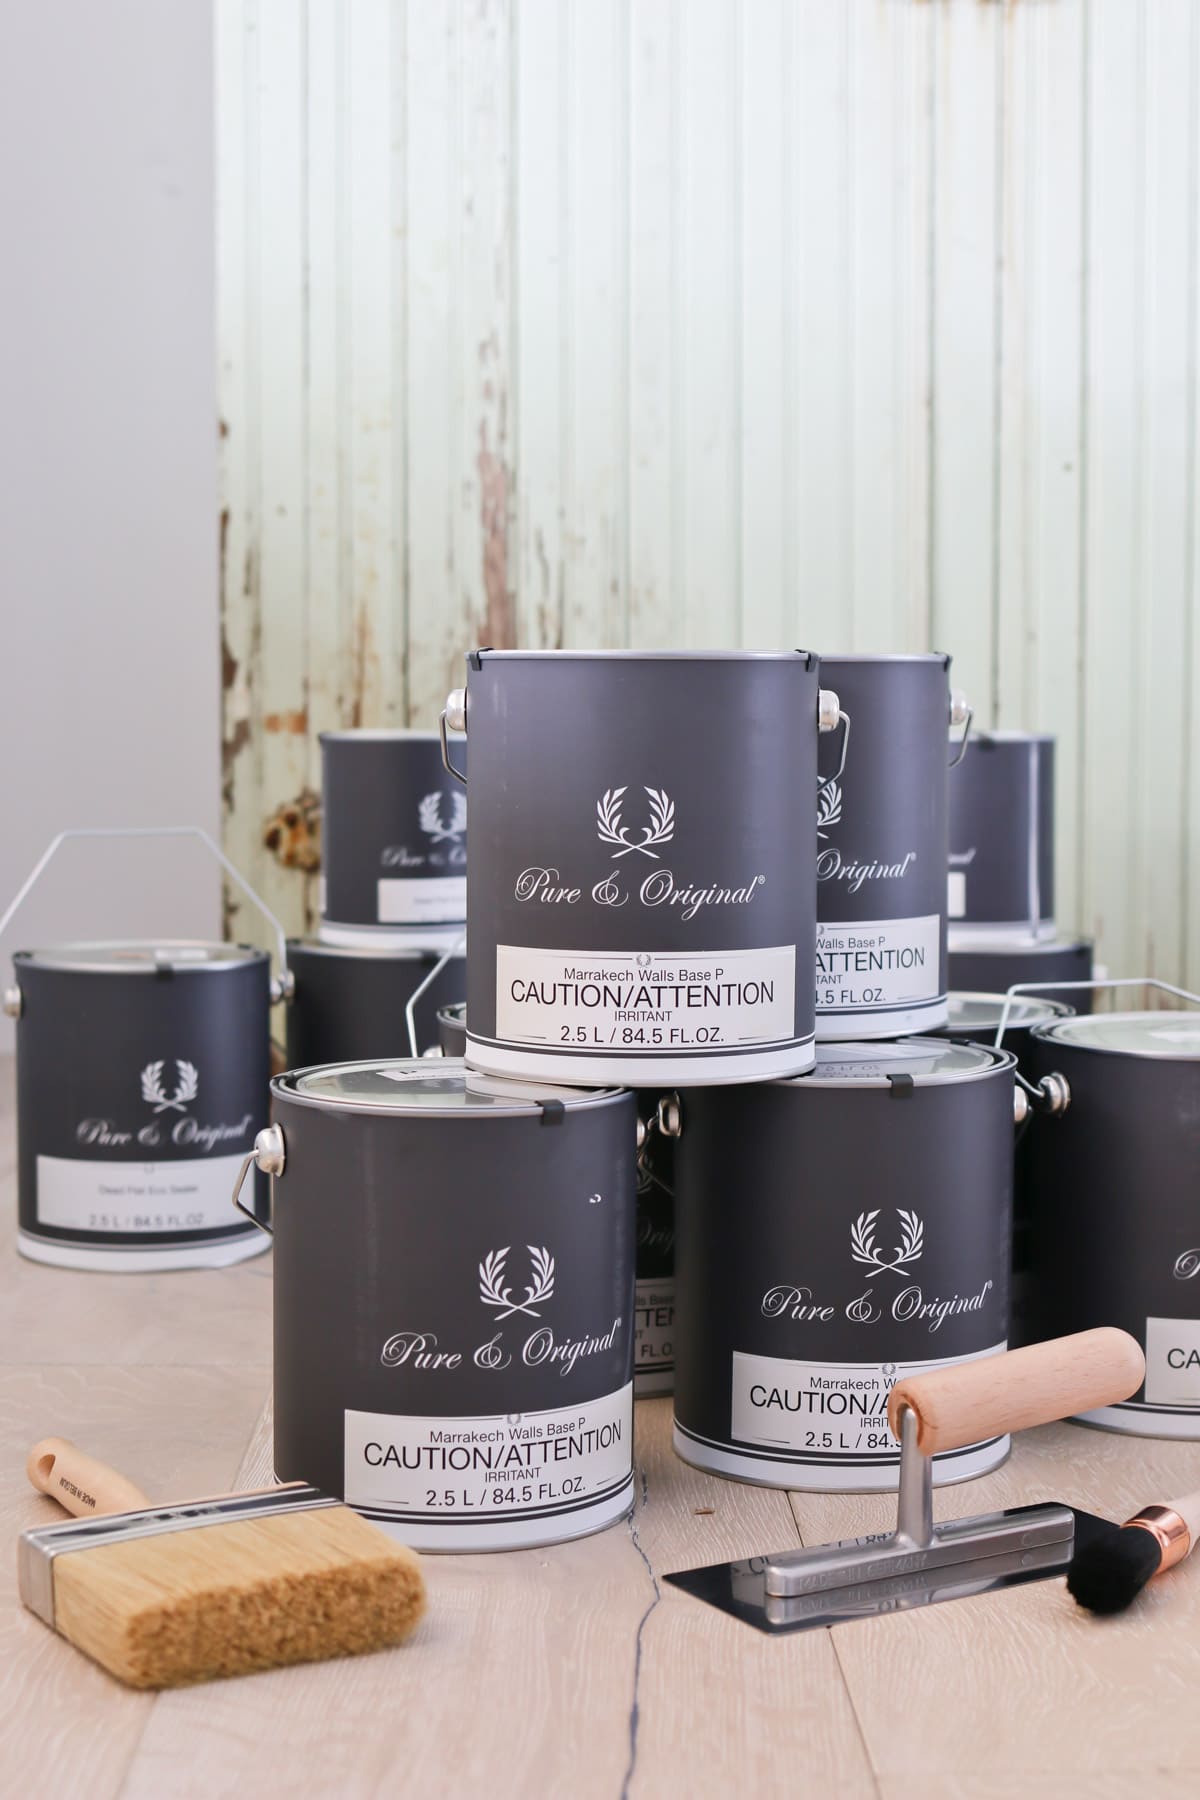
For most every surface, Pure & Original recommends applying one layer of their primer called Wallprim. It’s best to have them tint this the same color as your wall paint.
MARRAKECH
After the primer, the Marrakech paint is applied, which you should only need one layer of. The site says that sometimes a second thin skim coat is required, but we didn’t need that.
SANDPAPER
Once the paint dries, you will give it a light sanding with 400 grit sandpaper.
SEALER
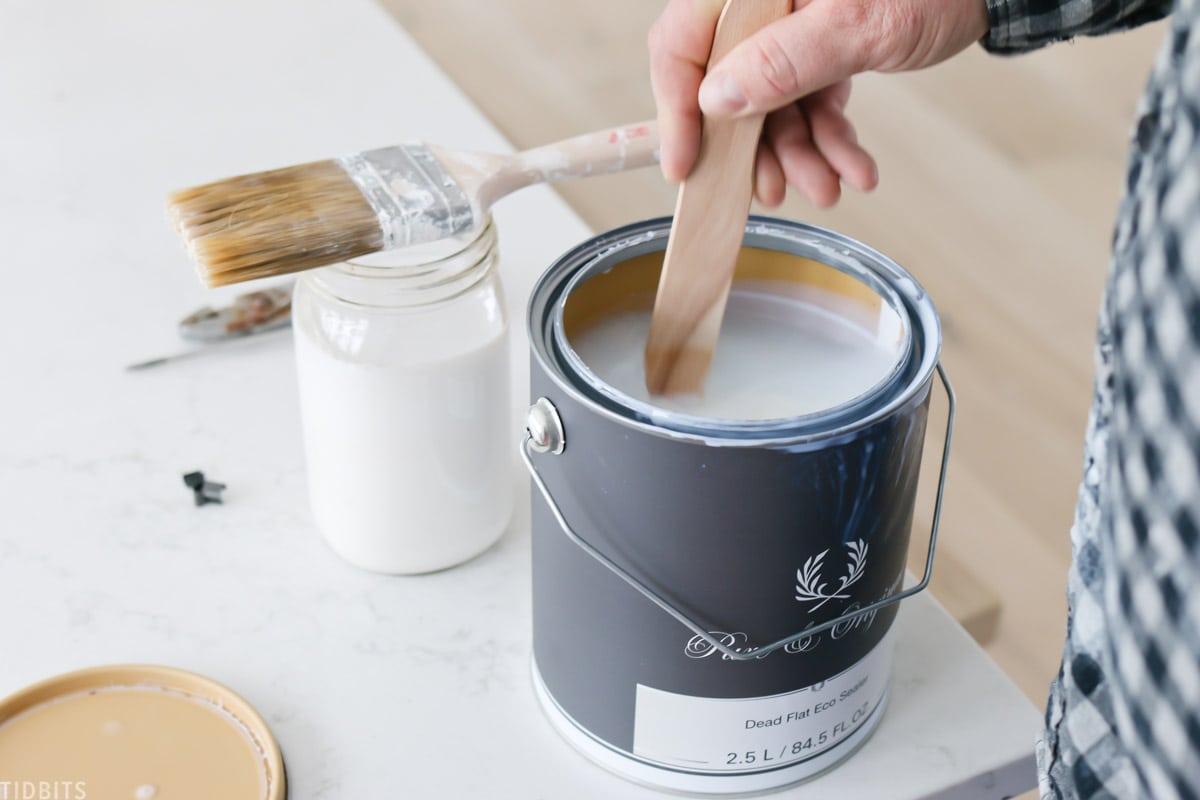
Marrakech isn’t stain and water resistant, until you apply a sealer, kind of like you would after painting a piece of furniture. Pure & Original has a product called Dead Flat Eco Sealer which seals your walls and makes them scrubbable, leaving a nice matte finish. 1 coat is sufficient in most areas, but we applied 2 coats where it might be heavily scrubbed and soiled, such as around the sink and oven.
TOOLS FOR APPLICATION
To apply the products, you will need:
– a wide brush, like their Fresco Brush
– and/or a lint free roller (we used both the brush and roller)
– a metal spatula or trowel
– and any items for protection such as painters tape, floor coverings, etc.
HOW TO APPLY MARRAKECH PAINT
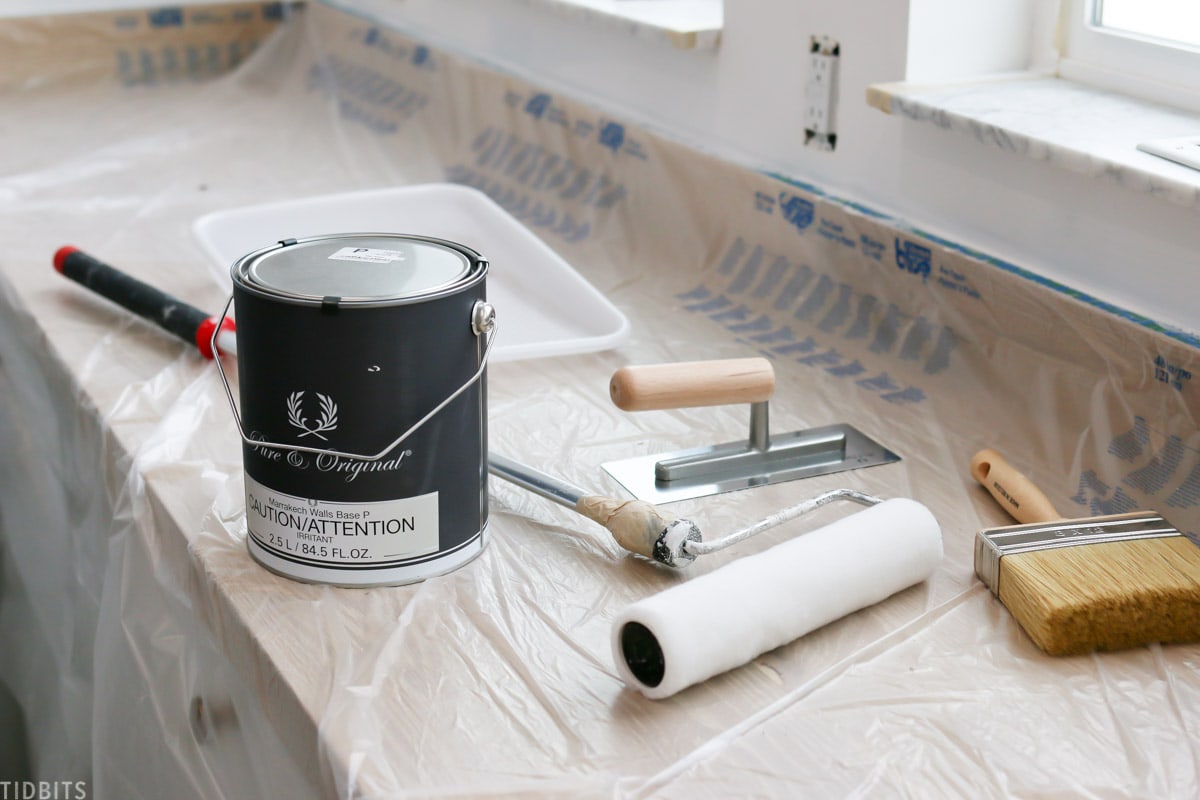
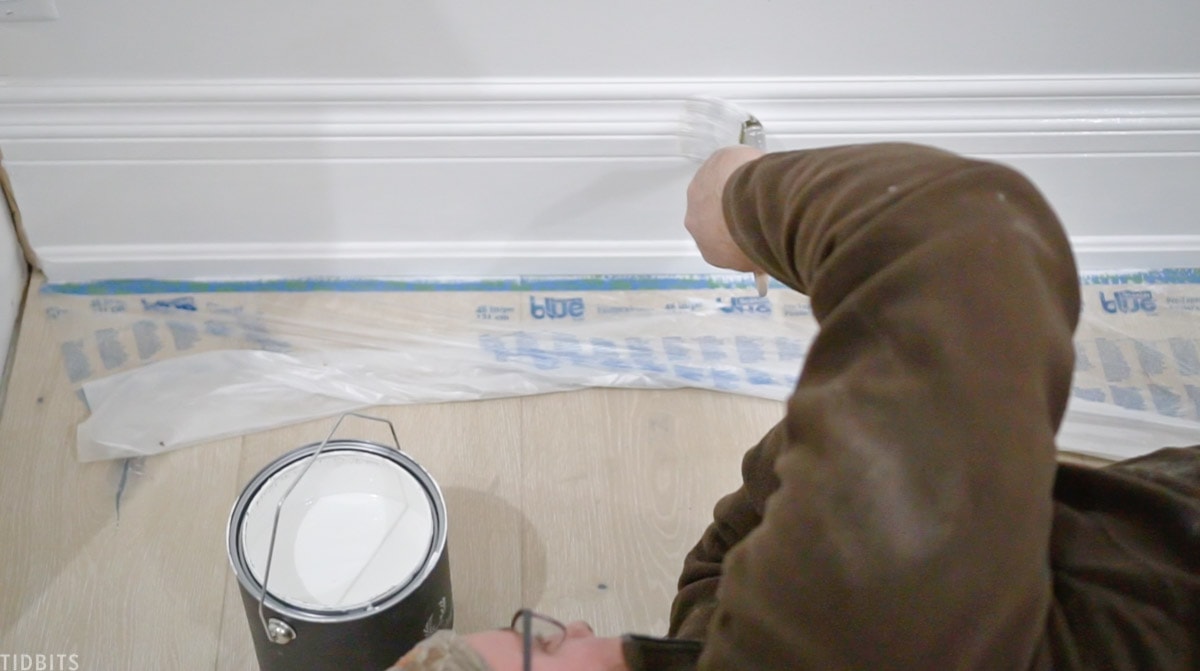
Step 1 – Prepare your area.
How you prepare is just like any paint job. Cover surfaces you want protected, tape of trim, and so on.
If you need more assistance than that, I have created a detailed guide for painting rooms, which you can grab the download for free by filling out the form box below.
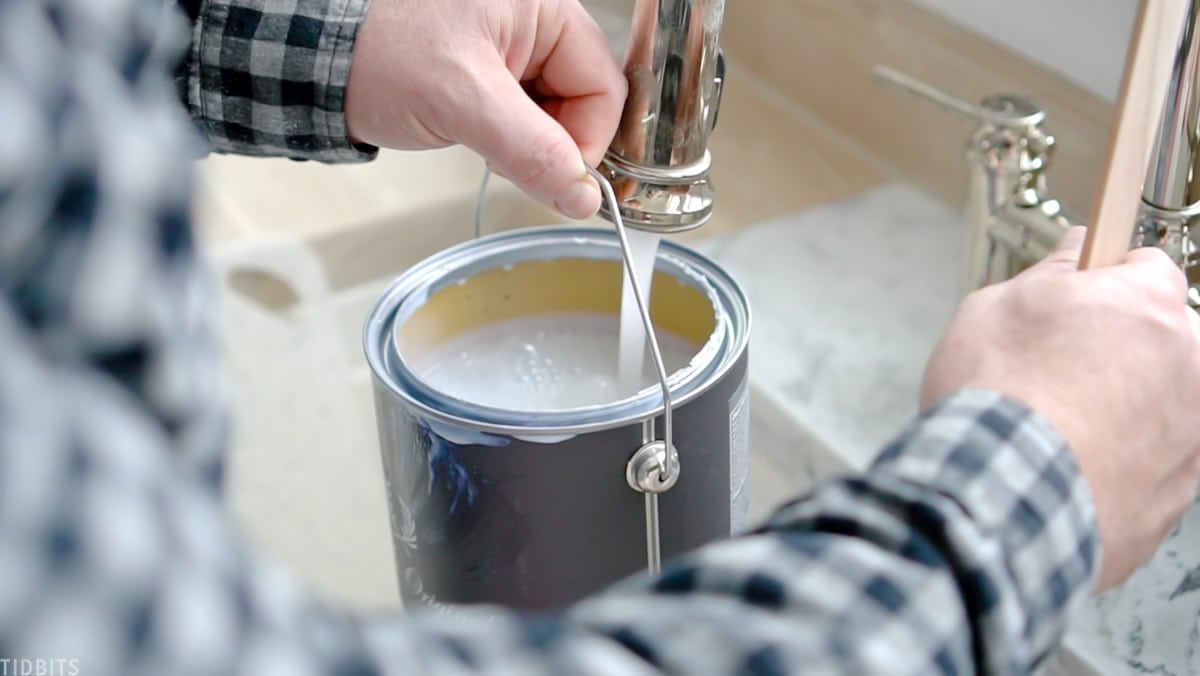
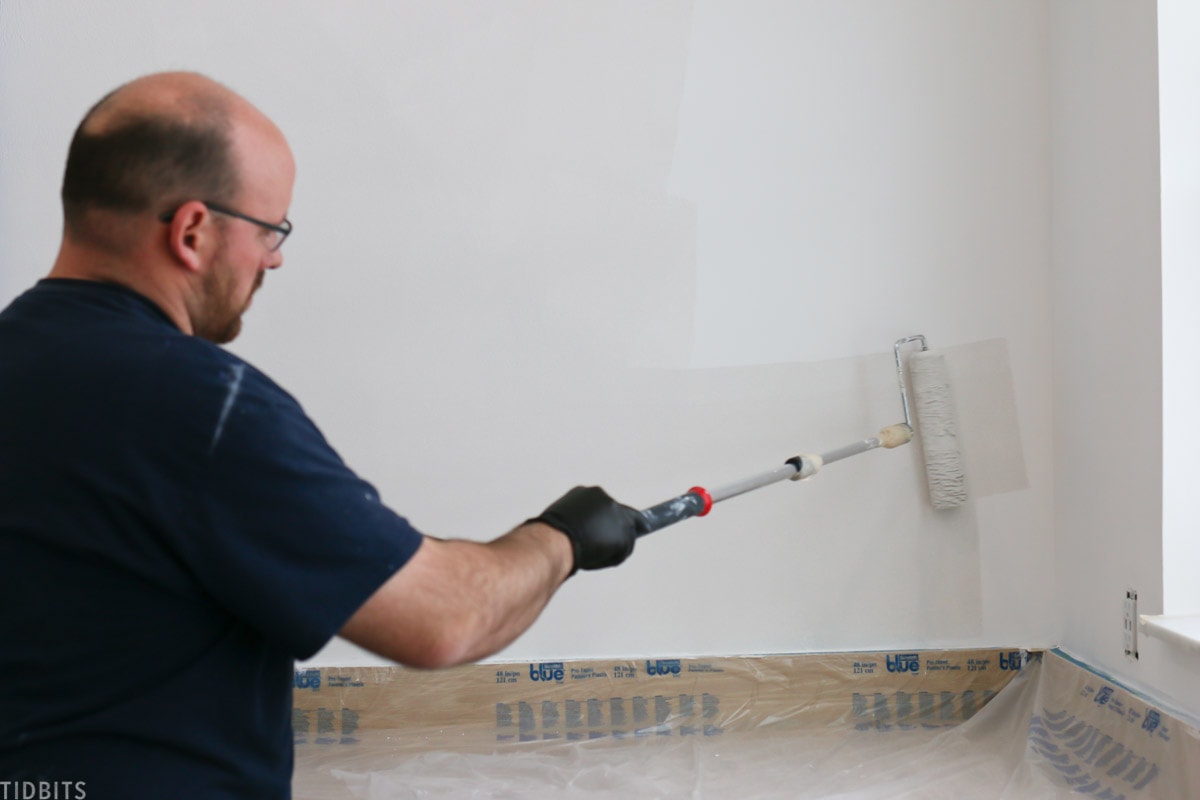
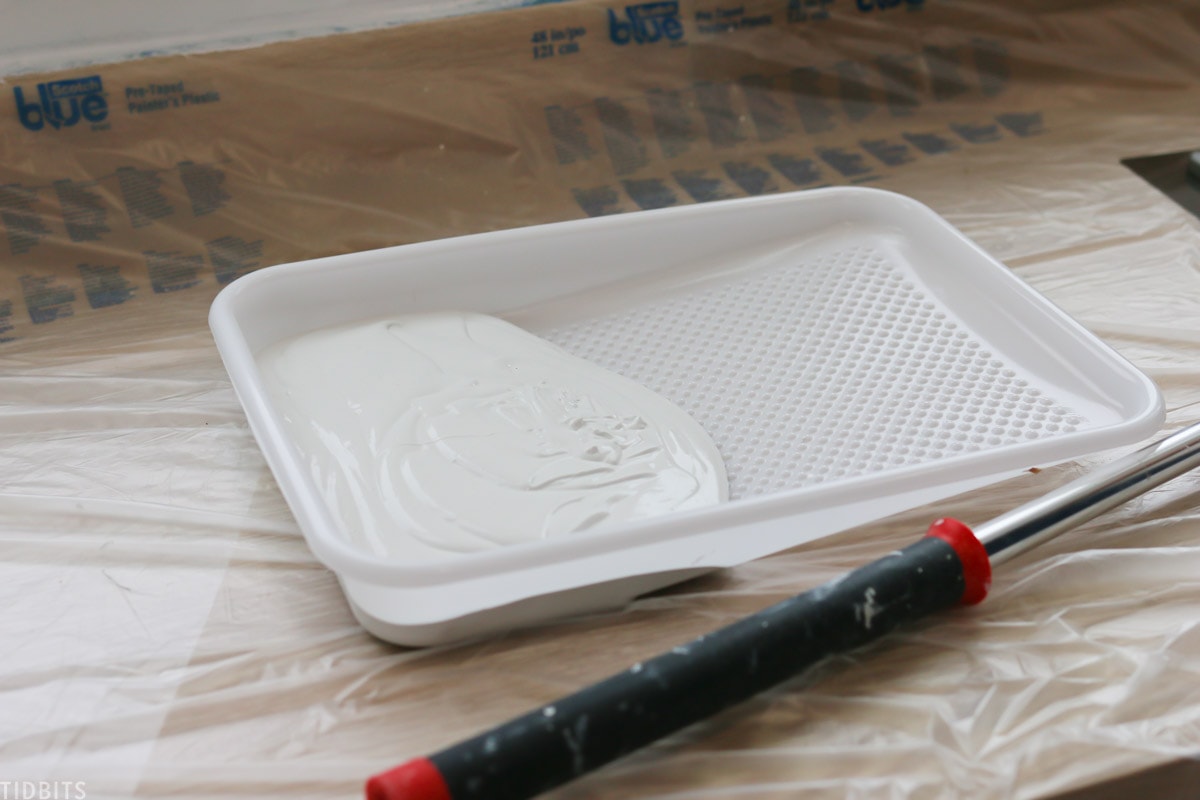
Step 2 – Priming your walls or surface with Wallprim.
You can do this quickly with a lint free roller, or a brush if that is easier for you. The instructions on the Wallprim say to dilute the primer with a 10% max of added water, which you can do right inside the can.
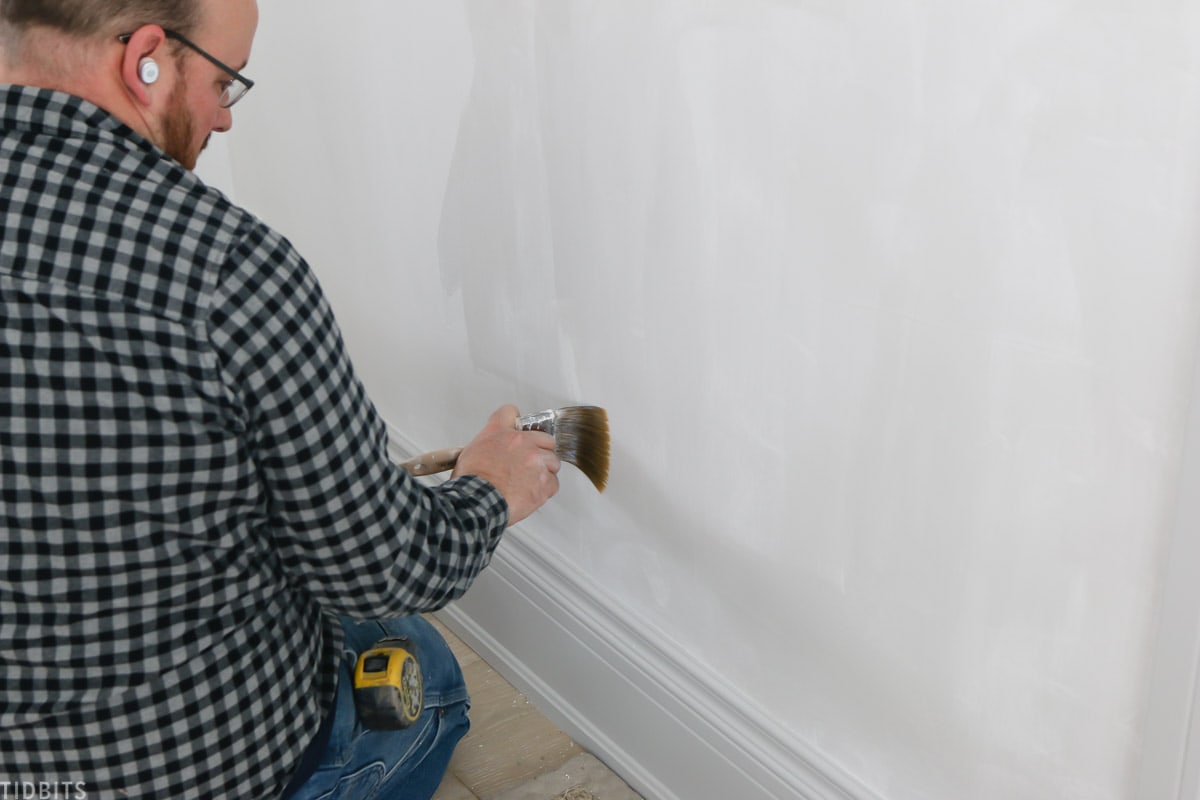
Step 3 – The fun part!
After your primer is dry you can apply the Marrakech. A couple of suggestions after working with this paint.
TIP 1: You might be nervous at first, but don’t sweat it. Any imperfection or variation in application is hardly perceivable once the job is done. We were so nervous we weren’t doing it right on the first wall, but it is pretty forgiving paint.
When first applied, it will look really blotchy – which we found to be quite lovely. Then as it dries, the variations will even out – which is still lovely!
The whole process was just fun to watch change!
TIP 2: As suggested by Pure & Original, this is best done as a 2 person job, if working on an entire room or bigger project. Have a dedicated person for the troweling, as their own unique technique for moving the paint around will be more consistent throughout the space if they do the whole project. We found it best if I brushed or rolled the paint on a little ahead of Kevin, and he worked behind me to trowel and move the paint around.
We preferred to brush the paint around corners and windows, and we rolled it on the walls with greater flat surface area.
*You can see this in action a bit better in my video above.
TIP 3: Something to note – This paint is thick!

You’ll want to roll or brush it on richly, but not too thick. Just enough that there is enough paint to move around with the trowel, but not too much that you get thick edge lines when you move it.
You’ll quickly get a feel for what is not thick enough or too thick.
TIP 4: Another thing to know – be sure you don’t cut it – meaning going around and doing all your edges first. You need to work on the wet edge throughout the room. If you’ll look at this spot where we started and eventually stopped, you will notice a line or variation.
We should have started in a less conspicuous spot, like a corner – but if you cut in on the edges, you’ll get this distinct line once it dries and you try to come back and finish.
TIP 5: It is suggested to wait 10 minutes after brushing or rolling on the paint before you trowel. We noticed if we were under a heat vent, that was too long and the paint was drying too fast. So the ideal amount of time to wait before troweling will really be determined by the temperature and humidity of your room. You’ll quickly get a feel for what is too wet or too dry for troweling.
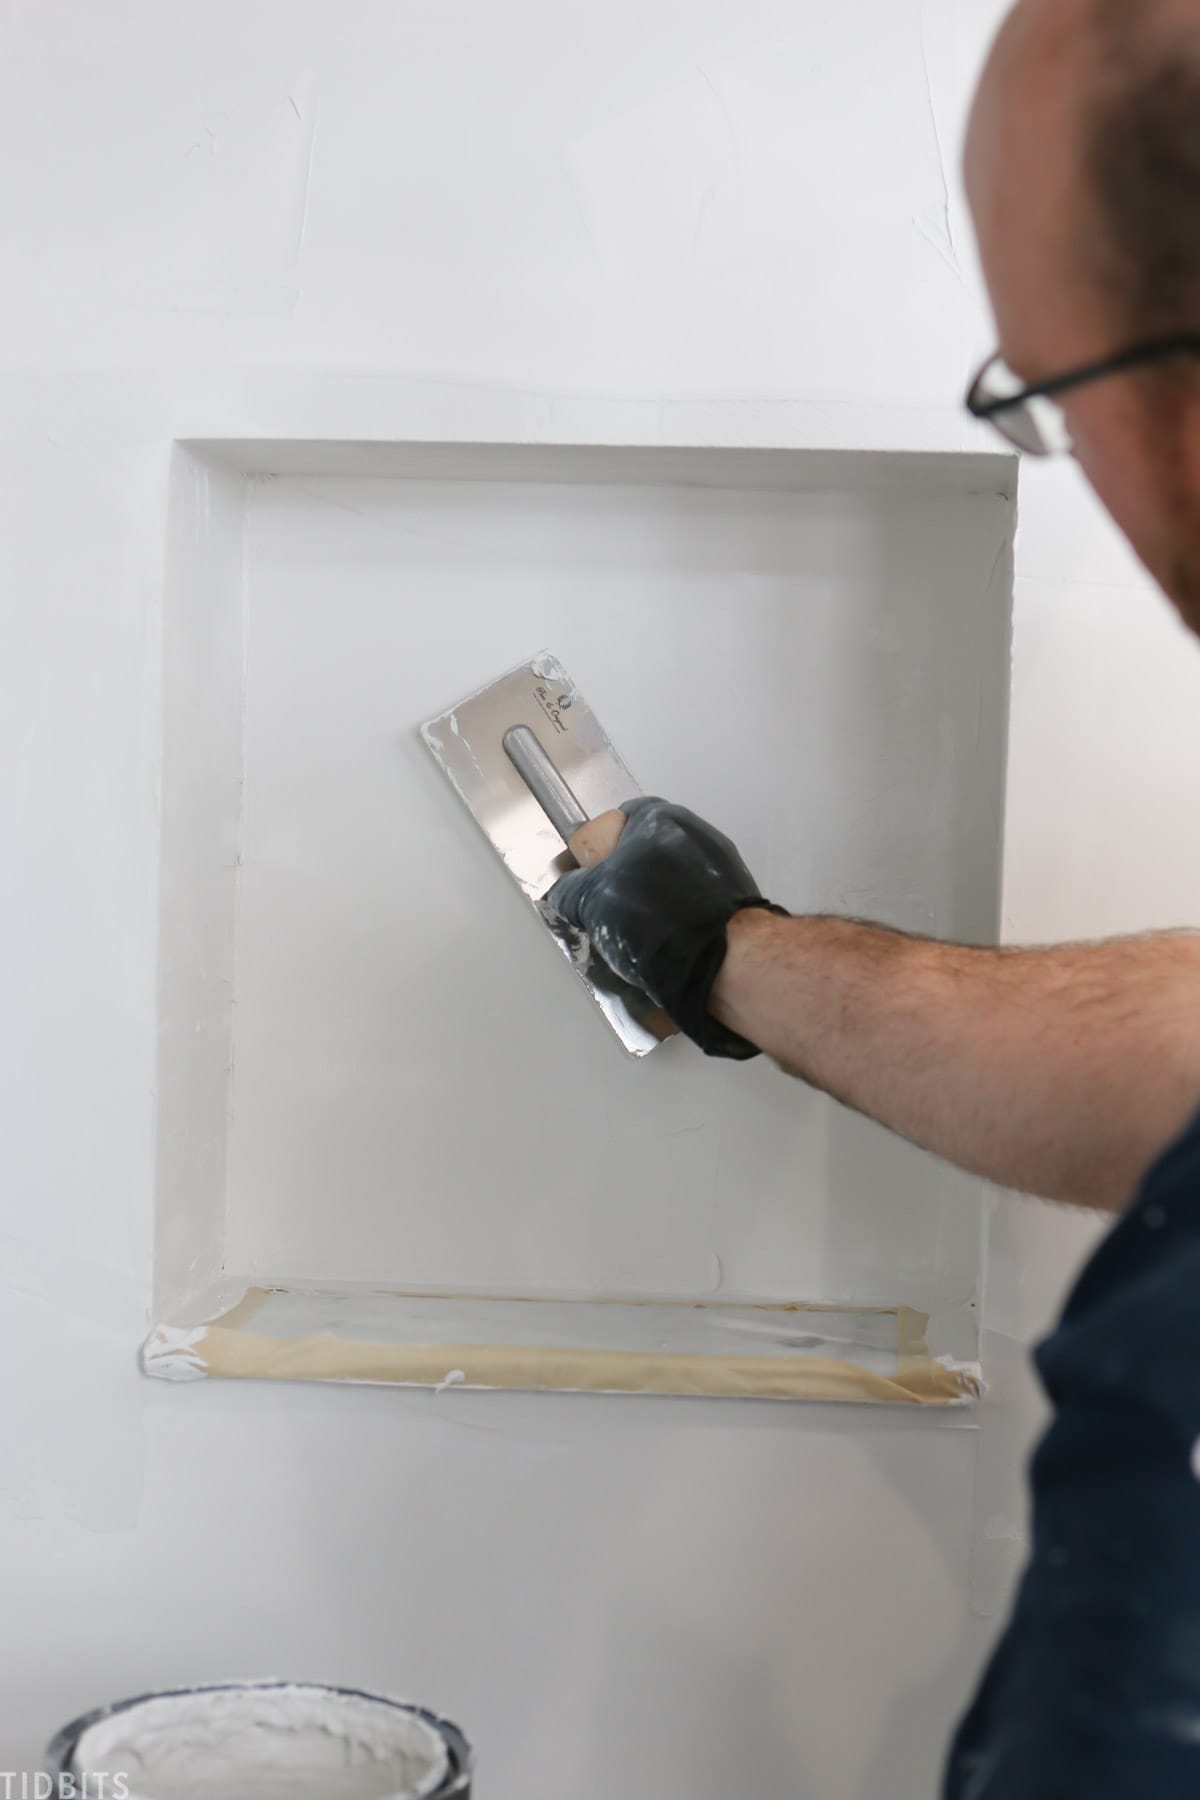
TIP 6: When it comes to your troweling technique – go with your gut! The more movements you make, the more variation in color and texture.
Step 4 – The easy part . . . let the paint dry.
It will need about 6 – 8 hours.
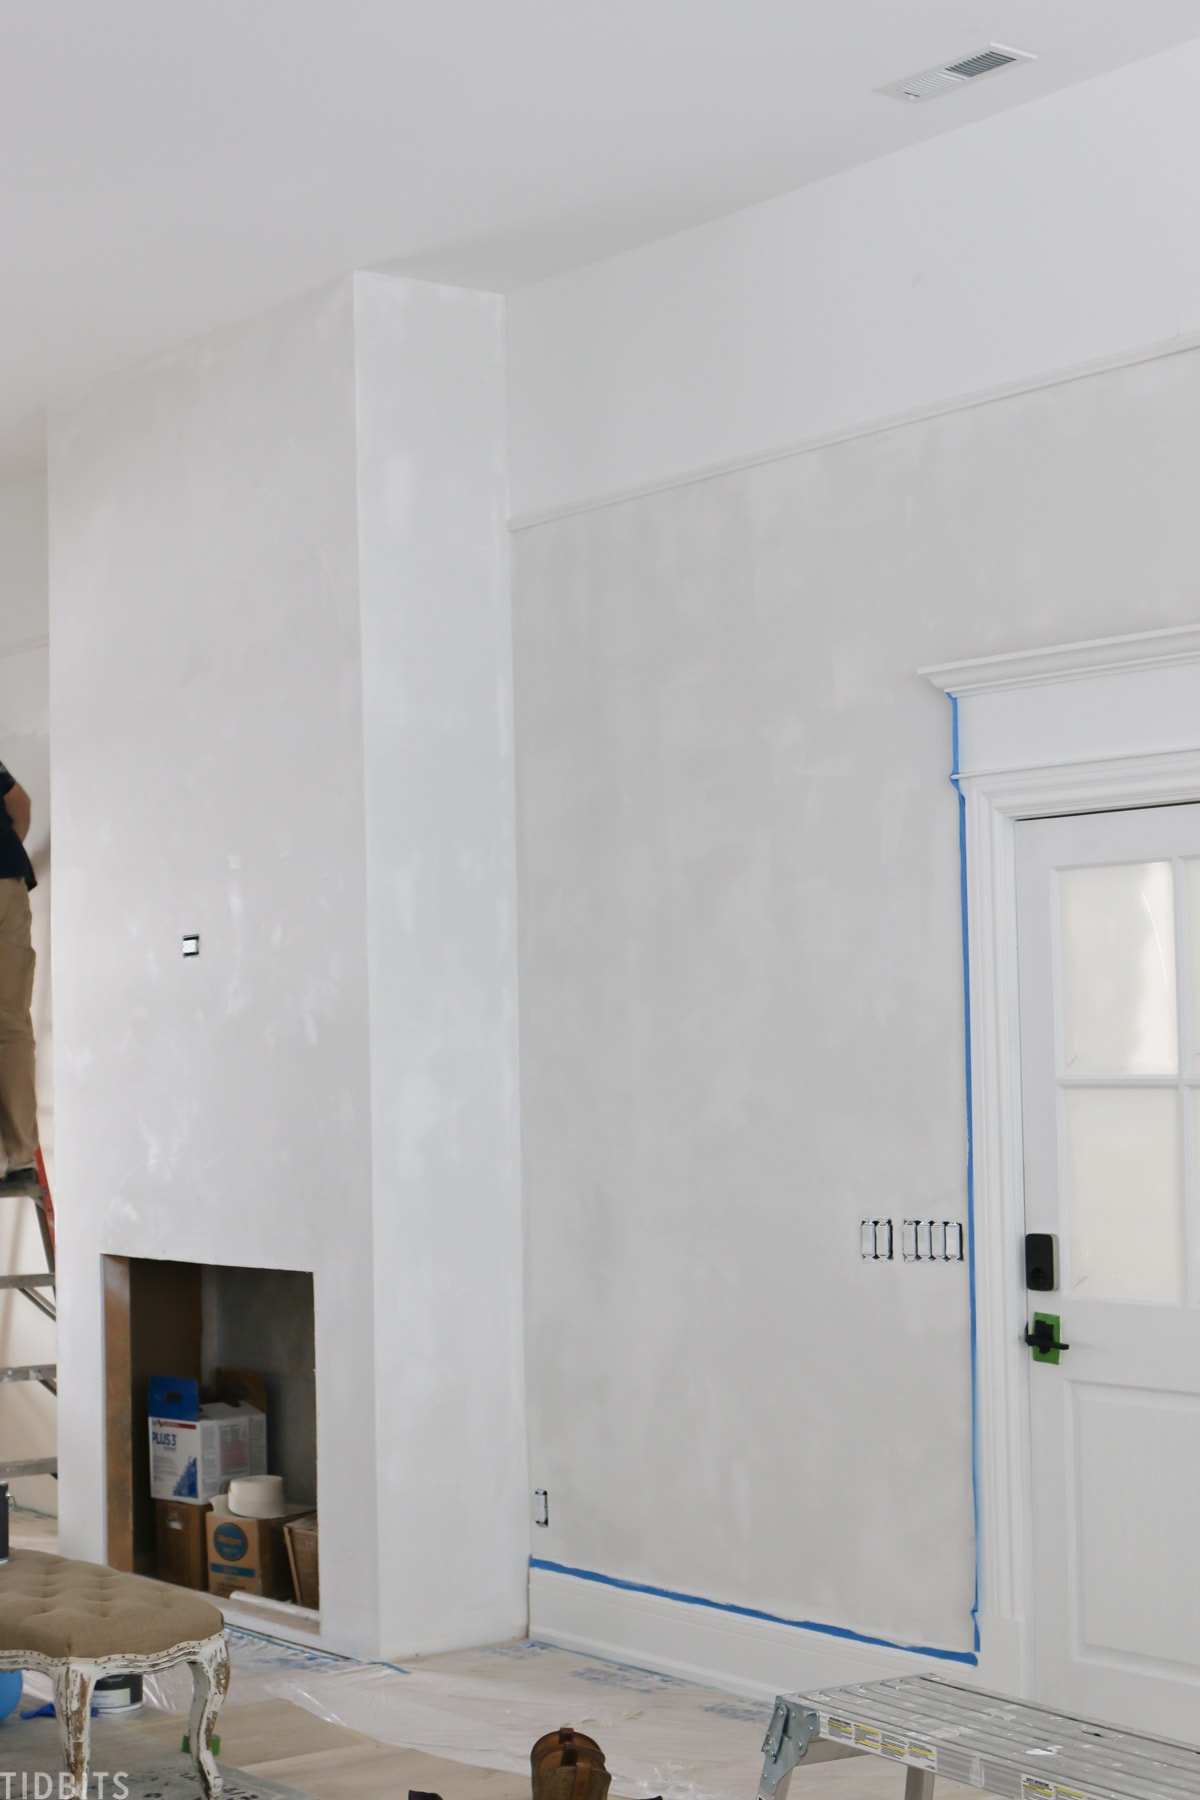
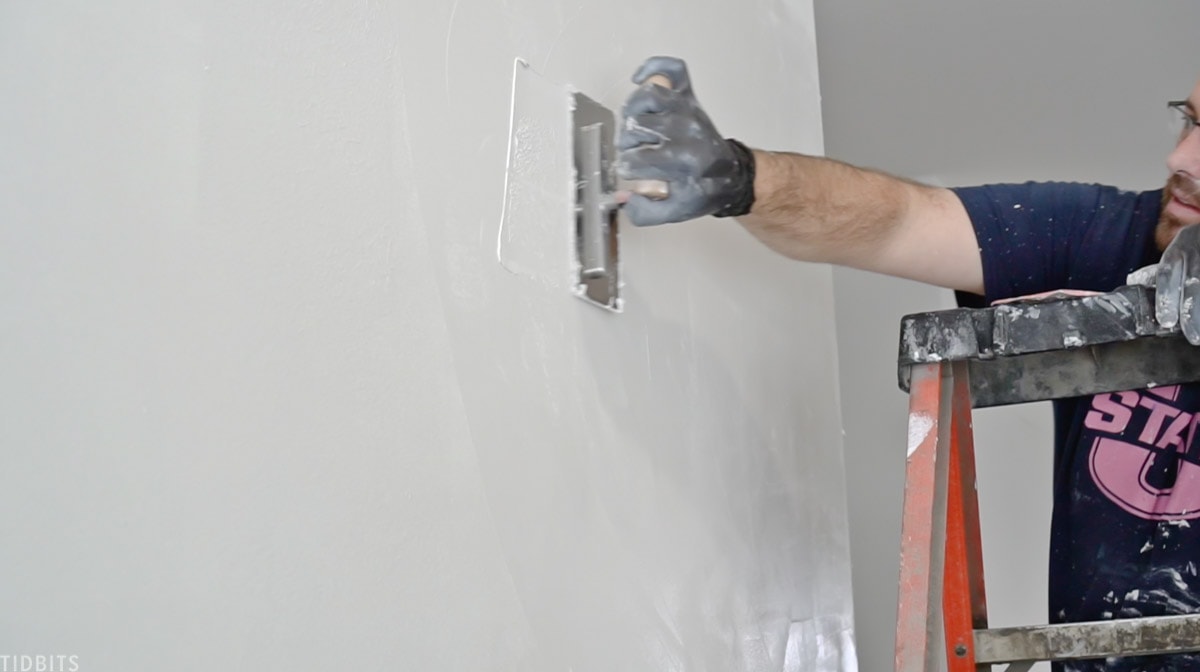
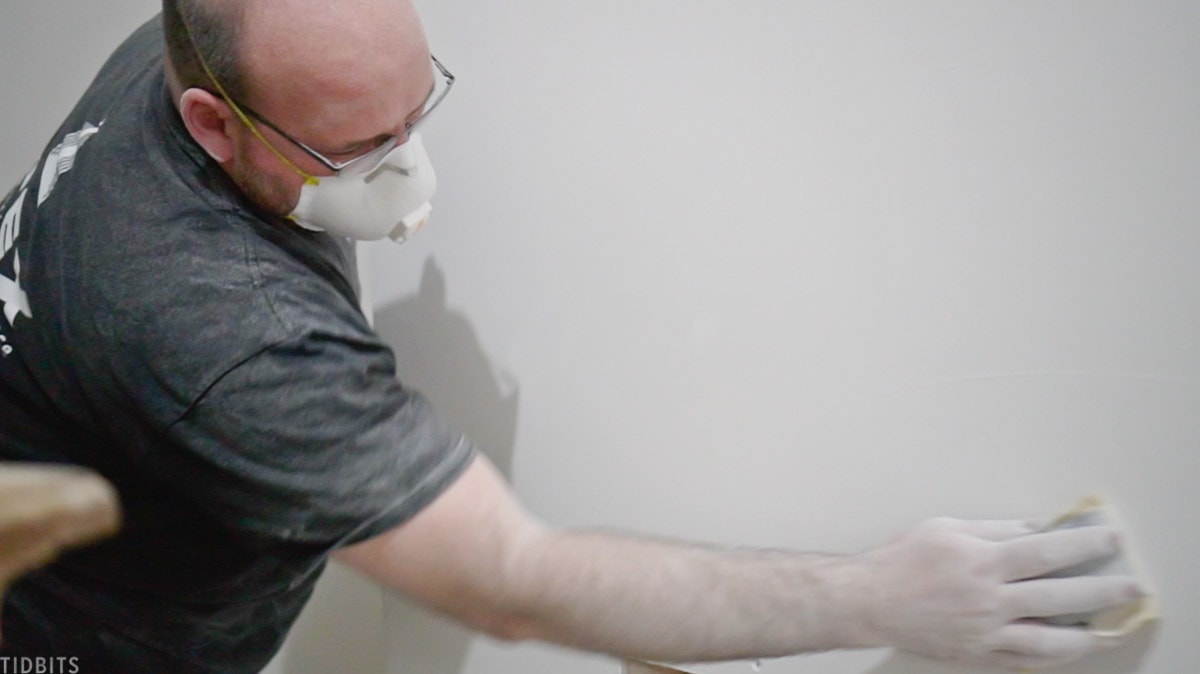
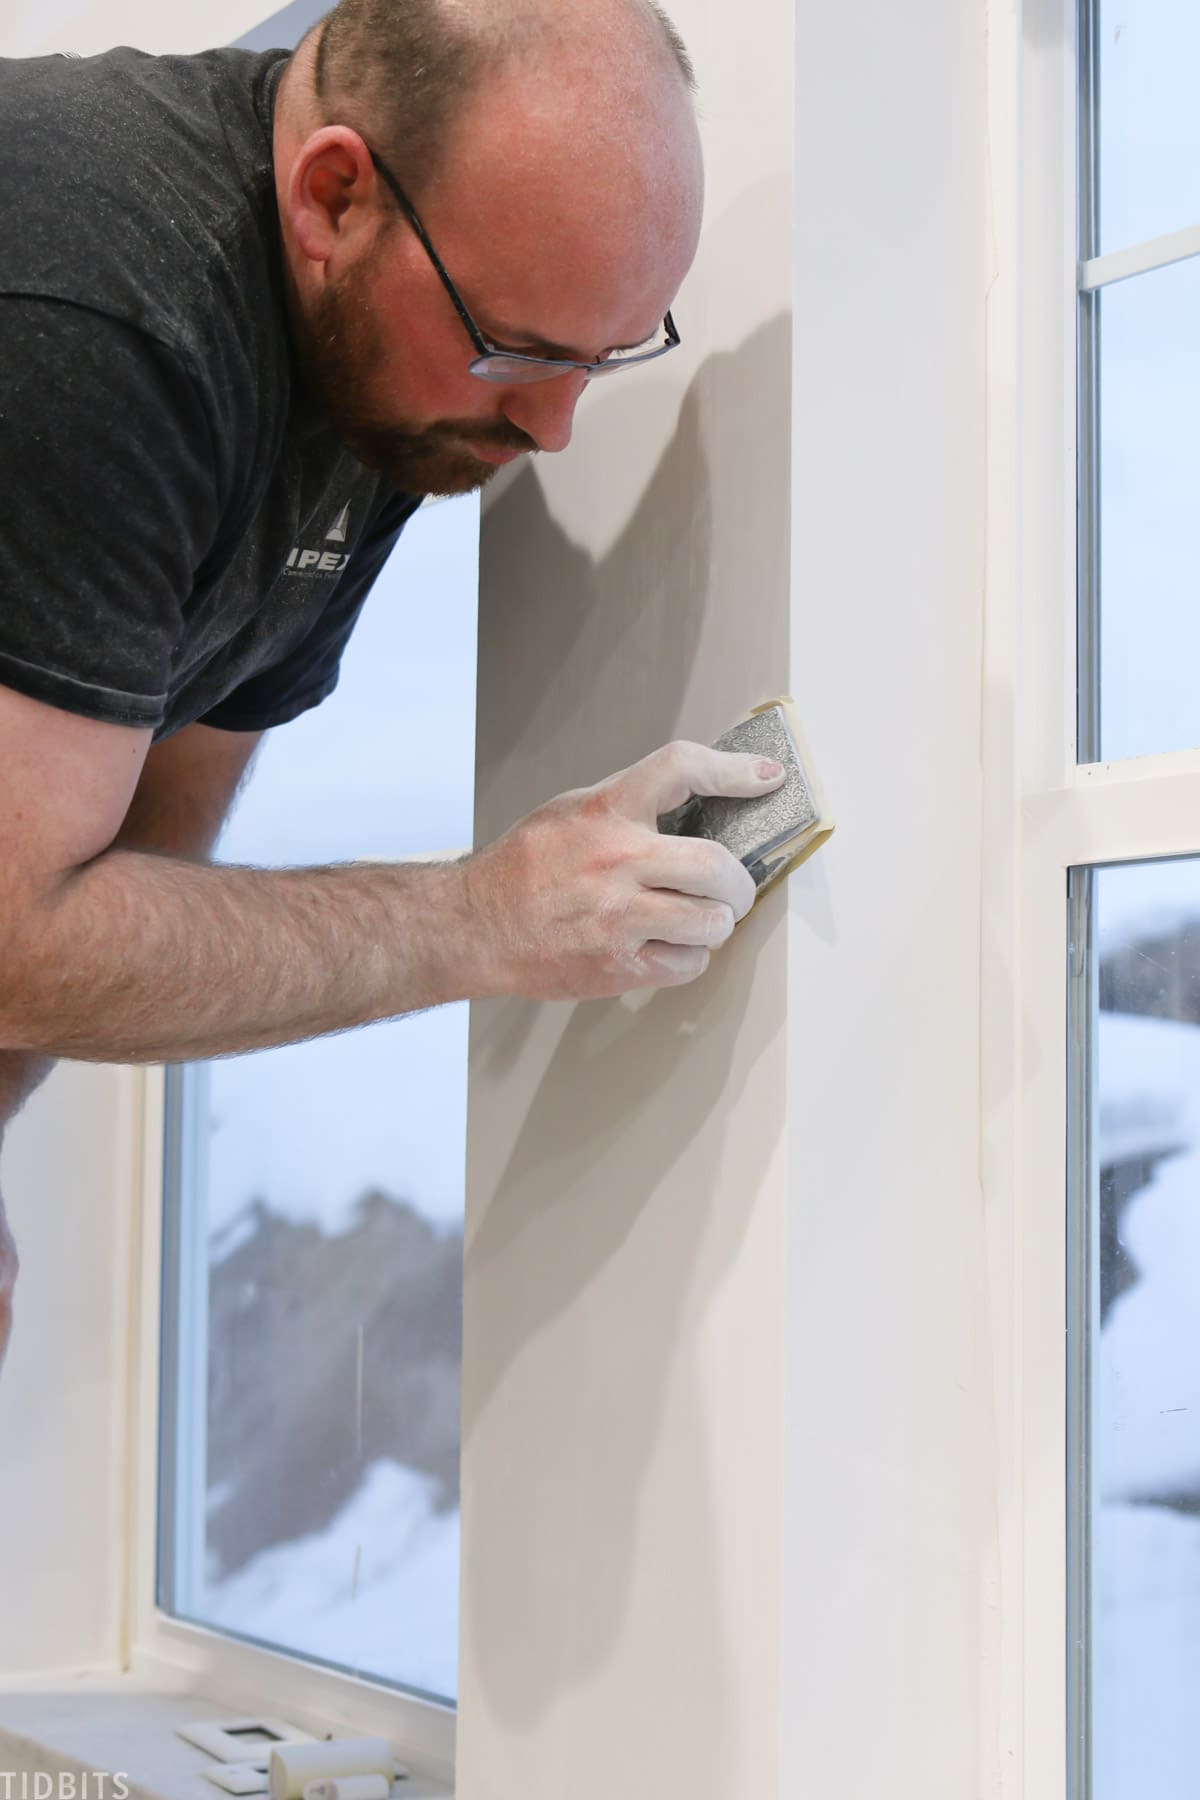
Step 5 – Sanding.
I’ll be honest, this is messy. Cover everything if you can. Block off rooms you don’t want covered in dust, cover cabinets, floors, and anything else you don’t want to wipe dust off of. But it’s the sanding process where you finally start to see how beautiful this paint is! If you want a more concrete look, a light sanding is all that is needed.
You can make it have more variation in sheen and give it a Venetian plaster look by also taking the metal spatula and polishing the walls. We opted to just sand it, as we didn’t think it would change all that much with the white color. I imagine your finishing process will be more changeable with darker colors as well.
Step 6 – Just requires a bit of patience.
You need to let the paint cure for 7 – 10 days before you seal it. During this time, try not to let your walls get soiled or scuffed.
Step 7 – Seal your walls.
Finally, you can seal your walls with the diluted dead flat eco-sealer, or other sealer option from the Pure & Original product line.
They don’t recommend rolling the sealer, as that can leave too many air bubbles. Your options are to brush it on or use a rag. We found the rag method to be very messy, so we brushed it on – which was time consuming, but left beautiful smooth to the touch walls.
PAINTING DOORS AND TRIM WITH LICETTO
I’ll touch real briefly on painting the trim and doors. The Licetto paint is applied pretty typical to your normal latex or acrylic paints.
We primed the trim and doors with the same Wallprim.
Once that was dry and then brushed or rolled on the Licetto. No sanding or sealer needed for this durable matte paint.
SUMMARY – WHAT DID WE THINK OF MARRAKECH PAINT?
In a nutshell . . . loved it! I want to use it in every room! I’m dying to play with other colors and paint varieties they have and see the difference and mood we can create. Their Fresco Lime paint looks just as endearing!

I will say, the application process was a little intimidating at first, but only because it was new. The sanding process created a lot more mess but if you are diligent with covering, it’s not too bad to clean up. The actual process of painting and troweling didn’t take any longer than applying several layers of traditional paint, it was just different.
I think if you were to start with a single accent wall instead of an entire space, the whole process would be very enjoyable. It feels more artistic and less like a chore.
I would love to hear what you think of Pure & Original paint! Is it something you would like to try? Would you opt for a darker color with more noticeable color variations or do you like the look of the subtle whites?
Either way, I hope this was helpful, interesting, and inspired you to take up a brush!
If you haven’t already seen it, check out my European Farmhouse kitchen reveal, and come back for more inspiration for do-it-yourself living.
Thanks for reading!


Hello. Love your space. We are wanting to do our modern drywalled fireplace in this paint. Our familyriim walls are snowbound and the ceiling and trim are extra white. We are interested in a tine on tone look or a slightly darker that looks good with woven natural fiber rug (leans more towards yellow side). What color would you recommend?
What coverage did you get per 2.5 liter can? I’m trying to calculate what this might cost. Really lovely project!
Hi!
Came across this post and ordered the sample board in Bone from Pure and Natural. There is no variance in color. From your post, looks as if there is a slight variance. I am looking for a a “concrete” look in the lightest color possible. Is this what the final effect looks like in your kitchen? Thanks!
I really would like to implement this at my home.
Wow…this is gorgeous! Love your color choices.
Your work on your walls is truly a making of a masterpiece.