
This post may contain affiliate links, which means I get a small percentage of the sale at no extra cost to you. I only recommend items I love and have had a positive experience with. Thank you!
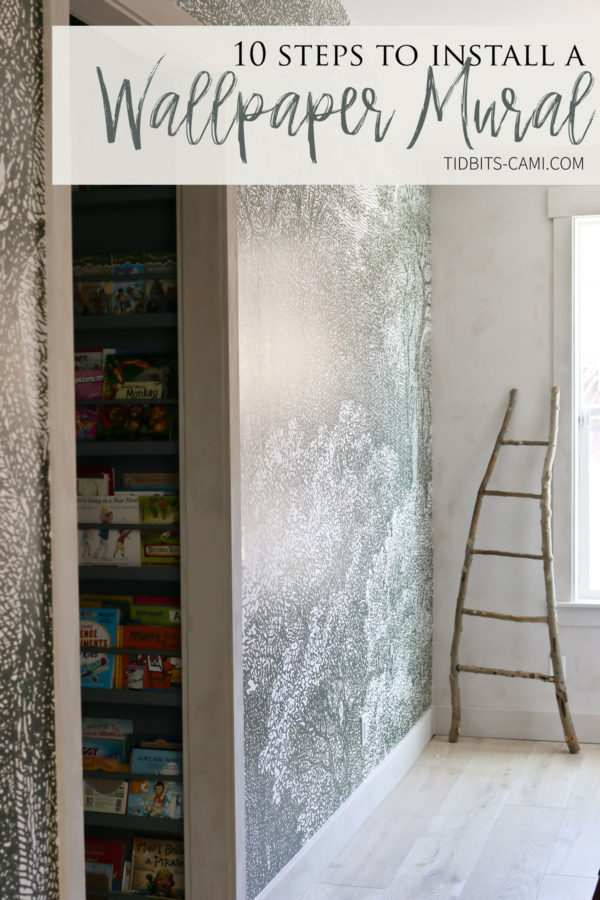
Want to learn how to apply mural wallpaper to your bedroom wall? We purchased a forest mural wallpaper online and are really pleased with the interior design of our kids’ bedroom. We’re sharing our tutorial and giving you some helpful tips for successful wallpaper installation.
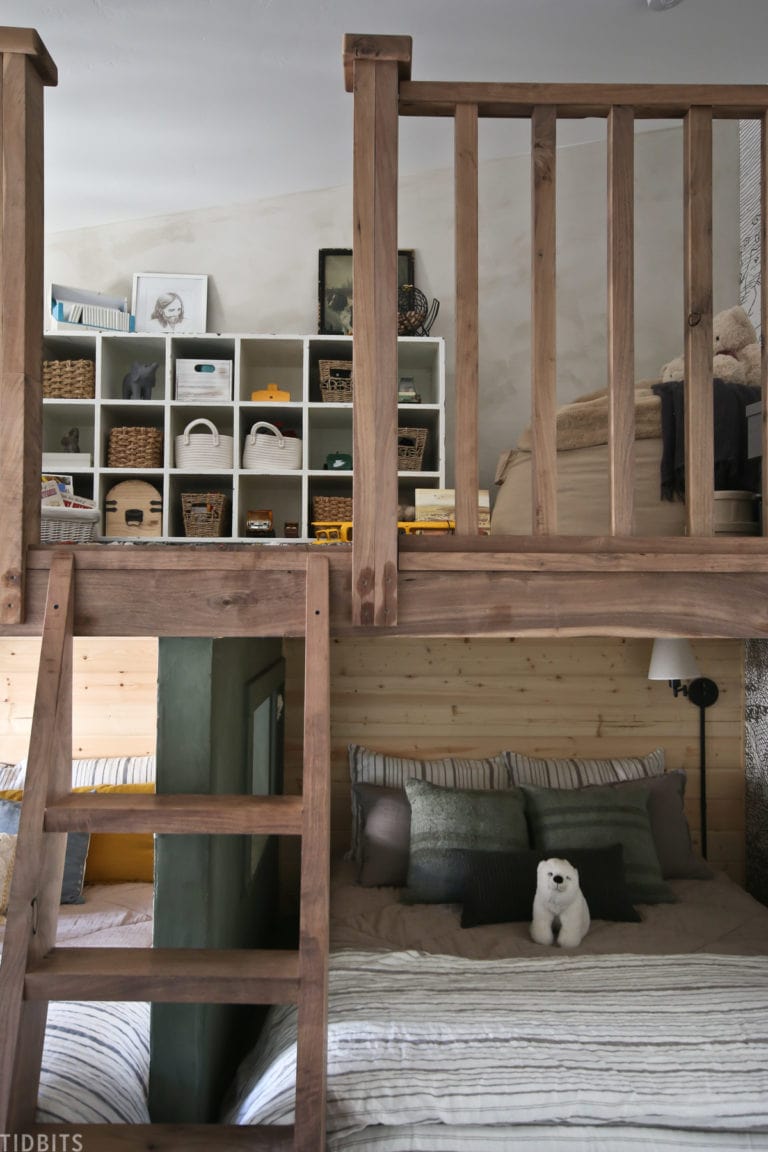
We have completed some exciting projects for our nature inspired shared kids’ bedroom that I introduced here, starting with the application of our giant 12-foot mural wallpaper that expands the length of 2 walls in this room.
This is one room in our pole barn home. You can see the interior design in our living room, European farmhouse kitchen, master bathroom, kids’ split bathroom, laundry room, homeschool room, and the home exterior too!
I’ll admit, this was the first mural wallpaper (or wallpaper in general) that we have ever applied in a home, but it was a huge success!
We learned a lot along the way that I want to share with you to empower you with this DIY, even if you’ve never done it yourself.
Go ahead and watch this quick video while I share the results and the 10 easy steps to apply wallpaper to your walls.
Watch This Post
Why We Chose a Mural Wallpaper
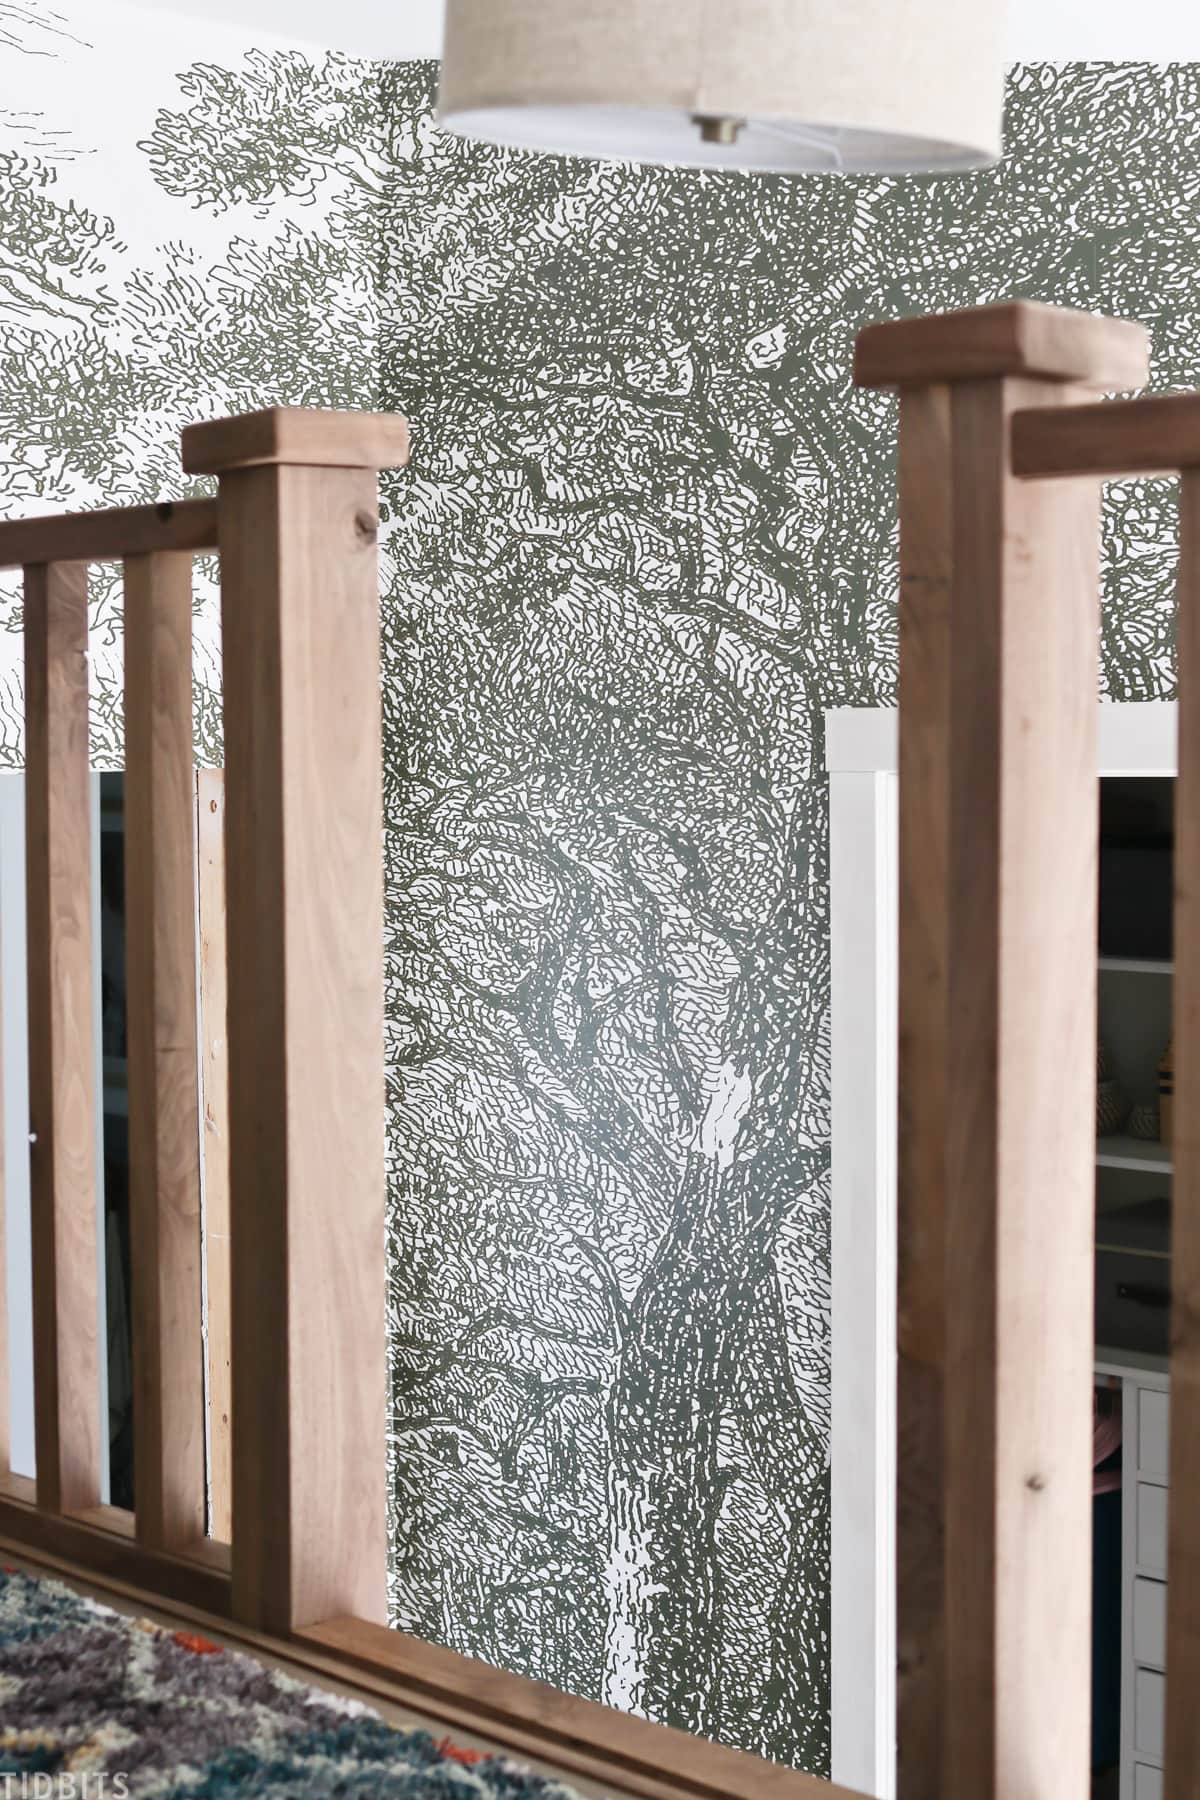
First up, I want to address the specific wallpaper mural that you see in this space. I am thrilled to have the opportunity and blessing to work in collaboration with Murals Wallpaper.
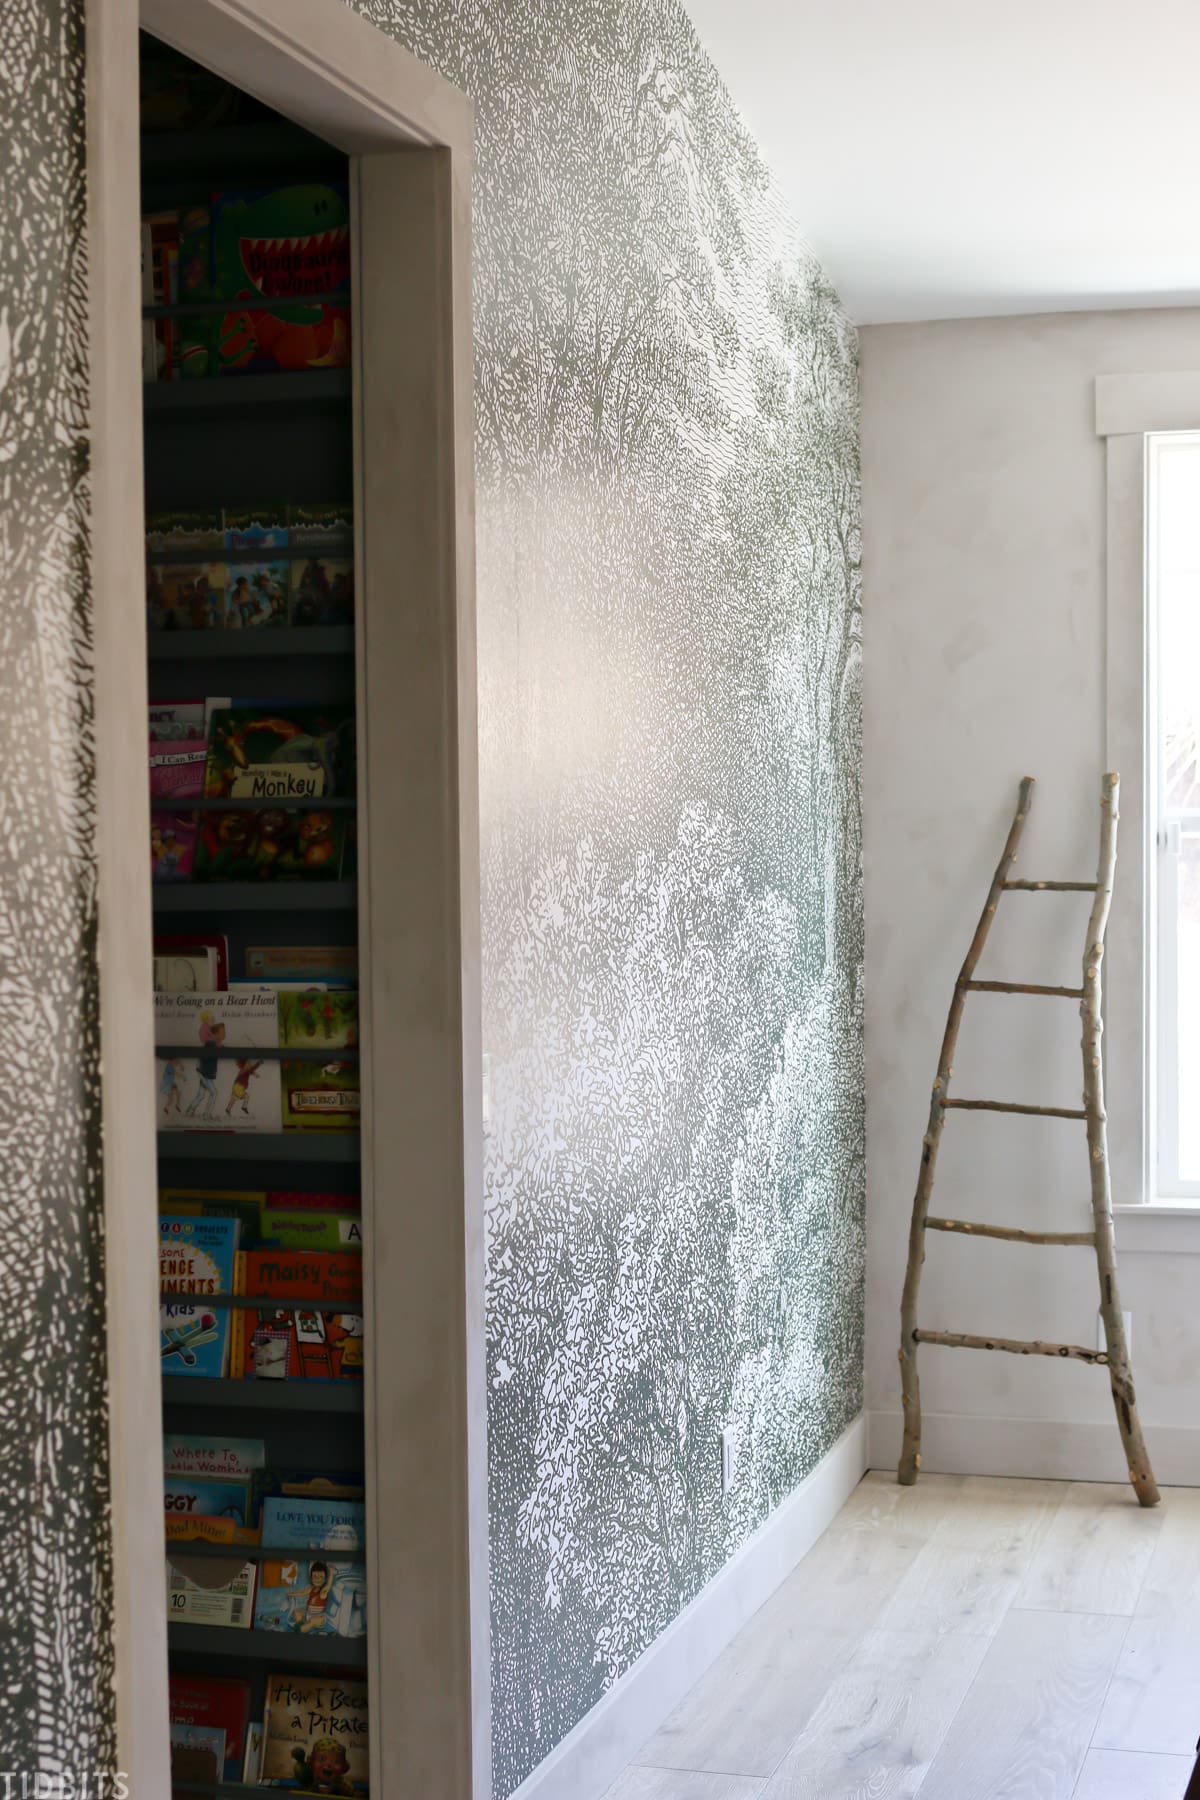
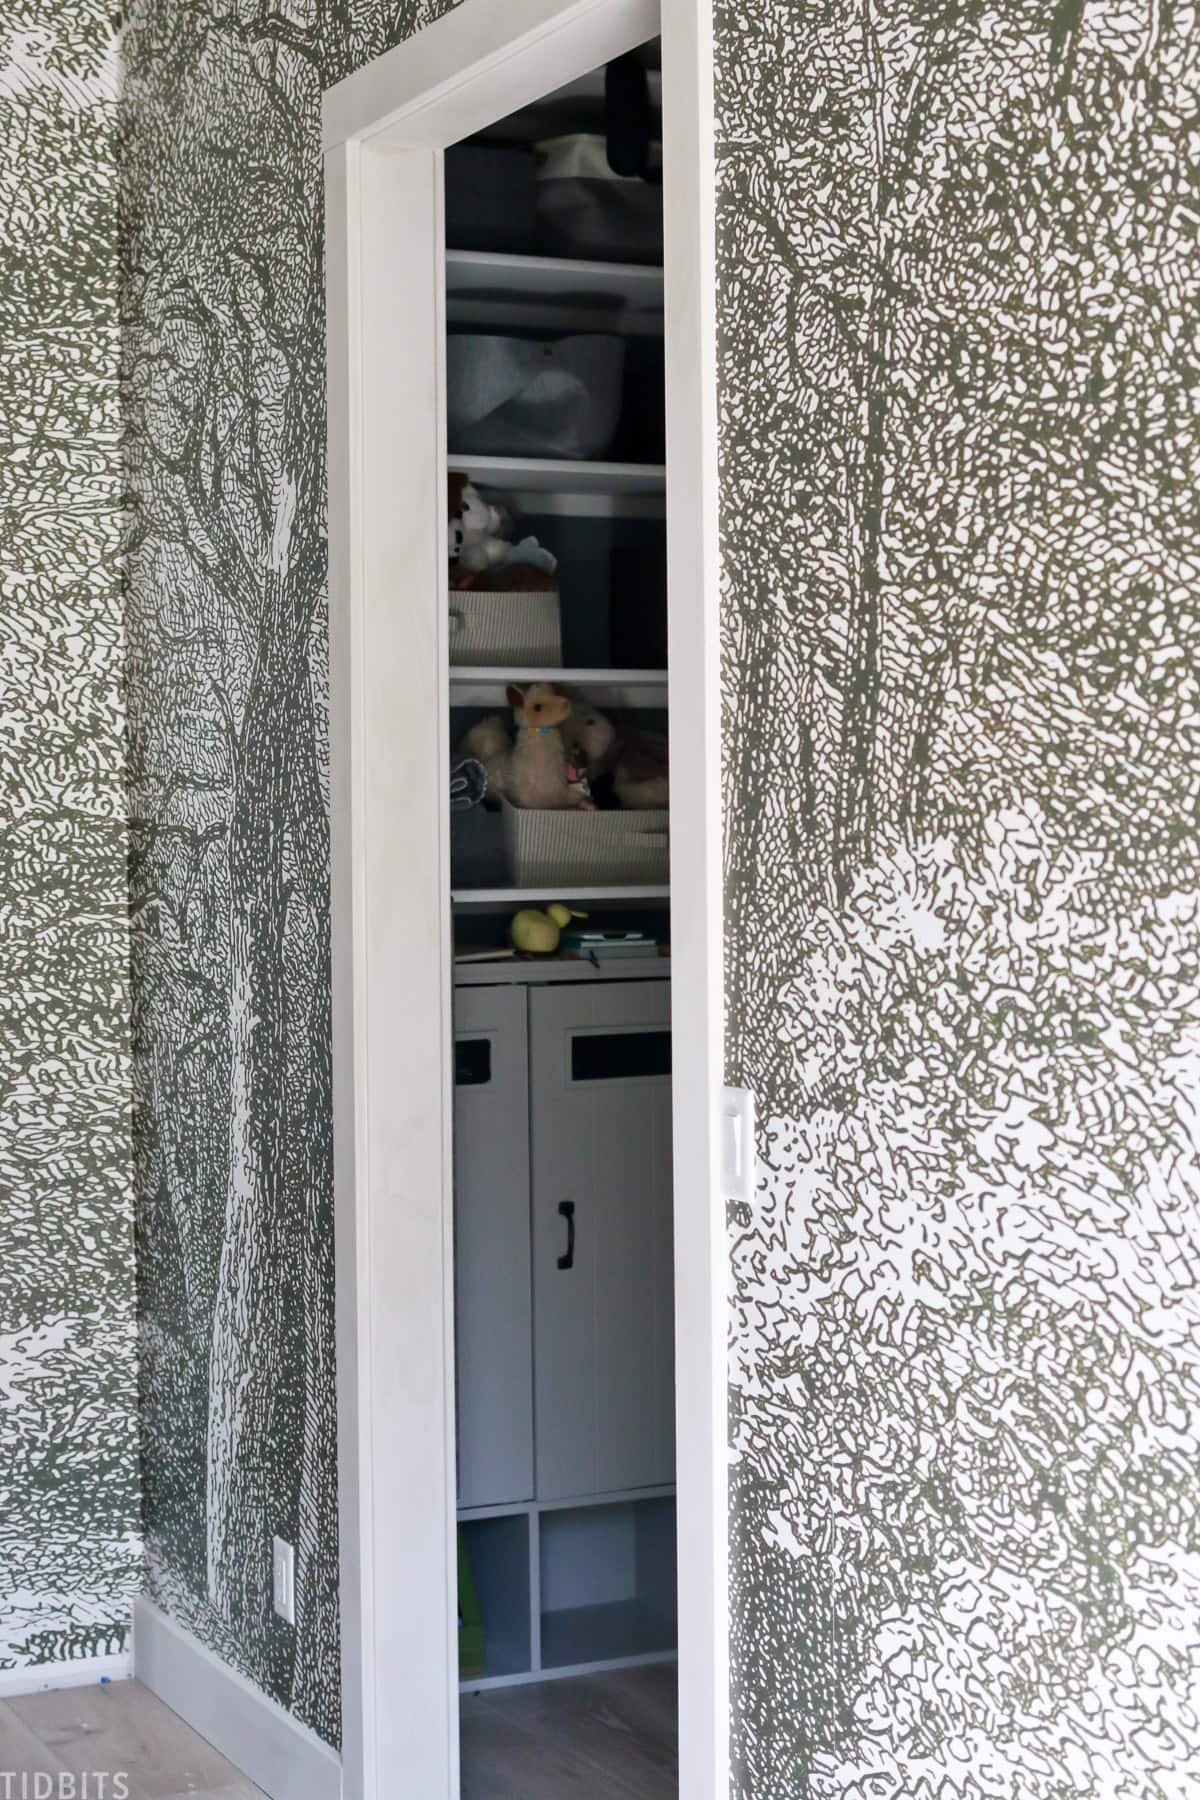
I picked Hackfall Green, and I’m excited to share this forest mural wallpaper with you.

It appealed to me because I really wanted something that would bring in the outdoors for this space to go with the natural and adventurous theme my kids wanted for their bedroom. But I didn’t want to go too cutesy with it as I really need it to grow with my kiddos.
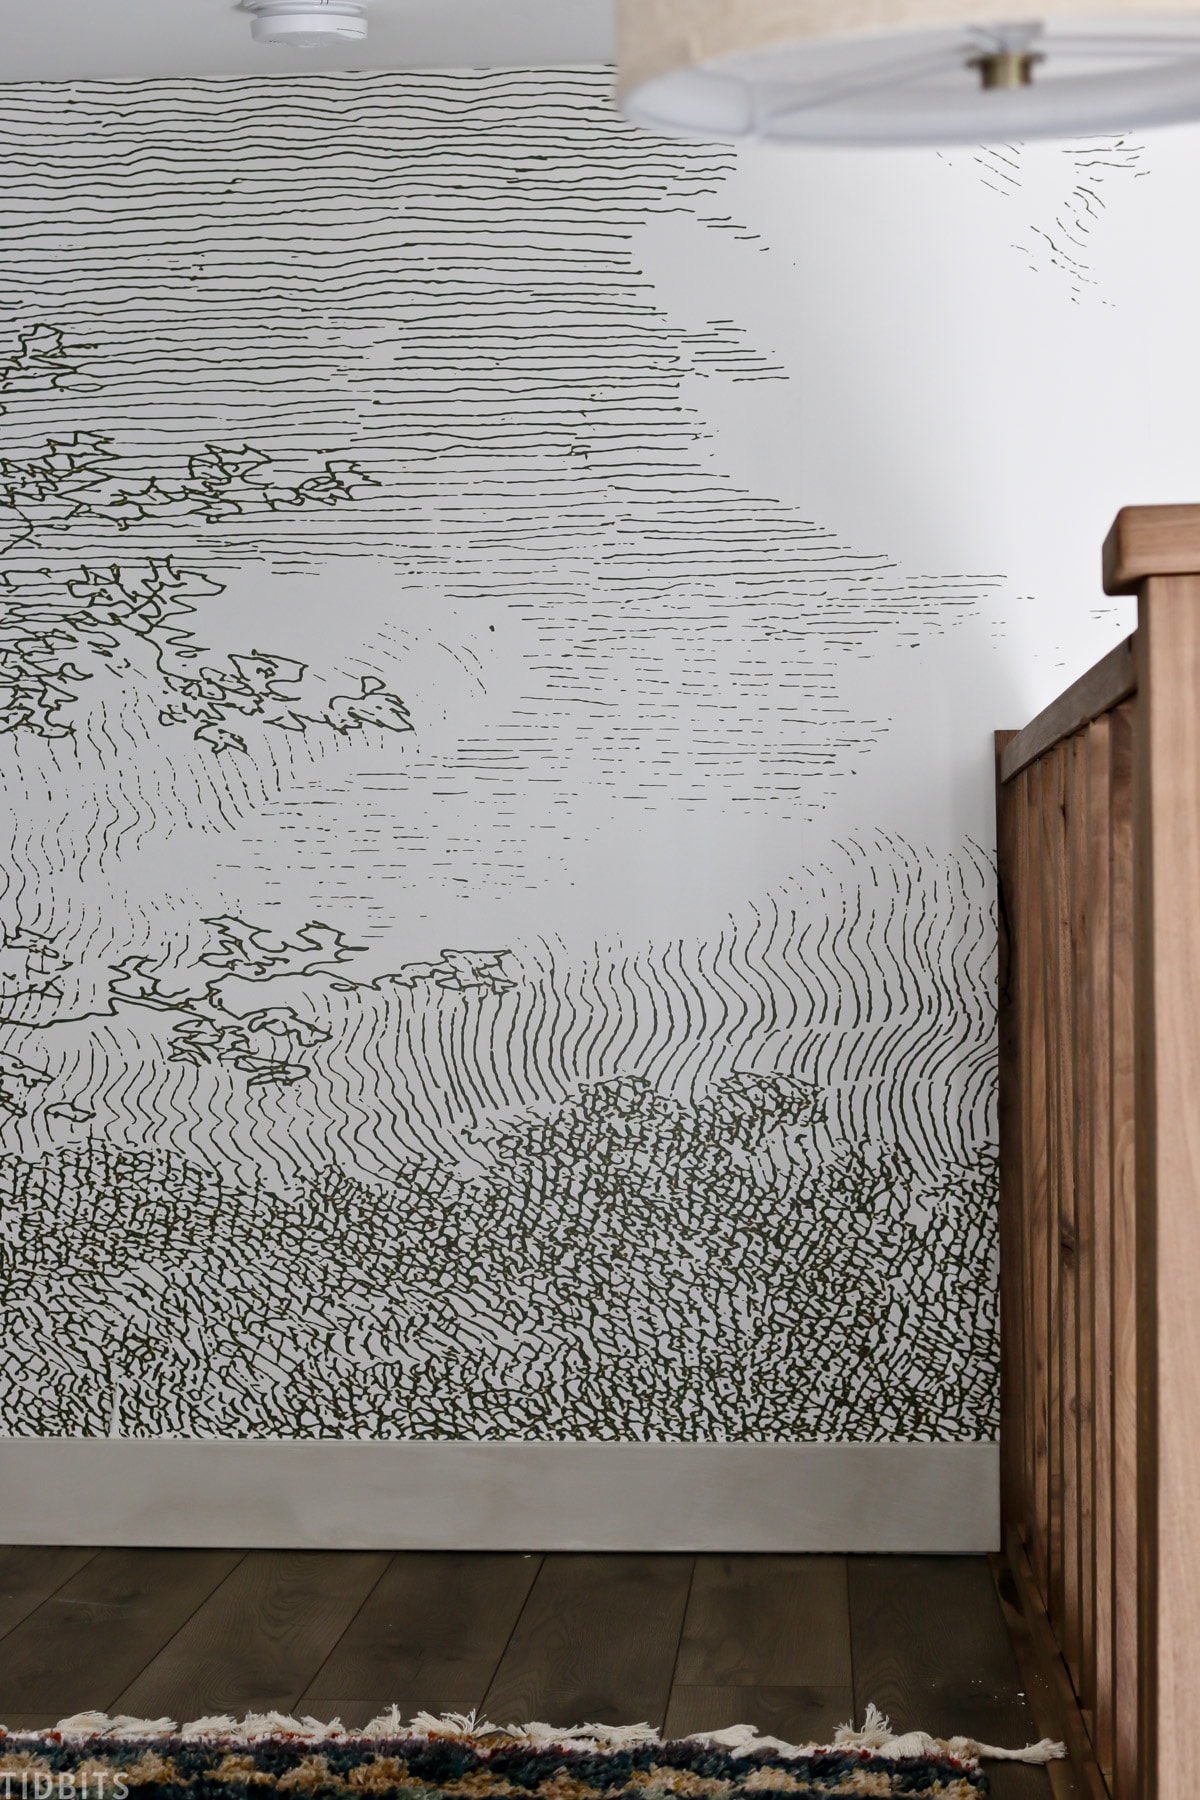
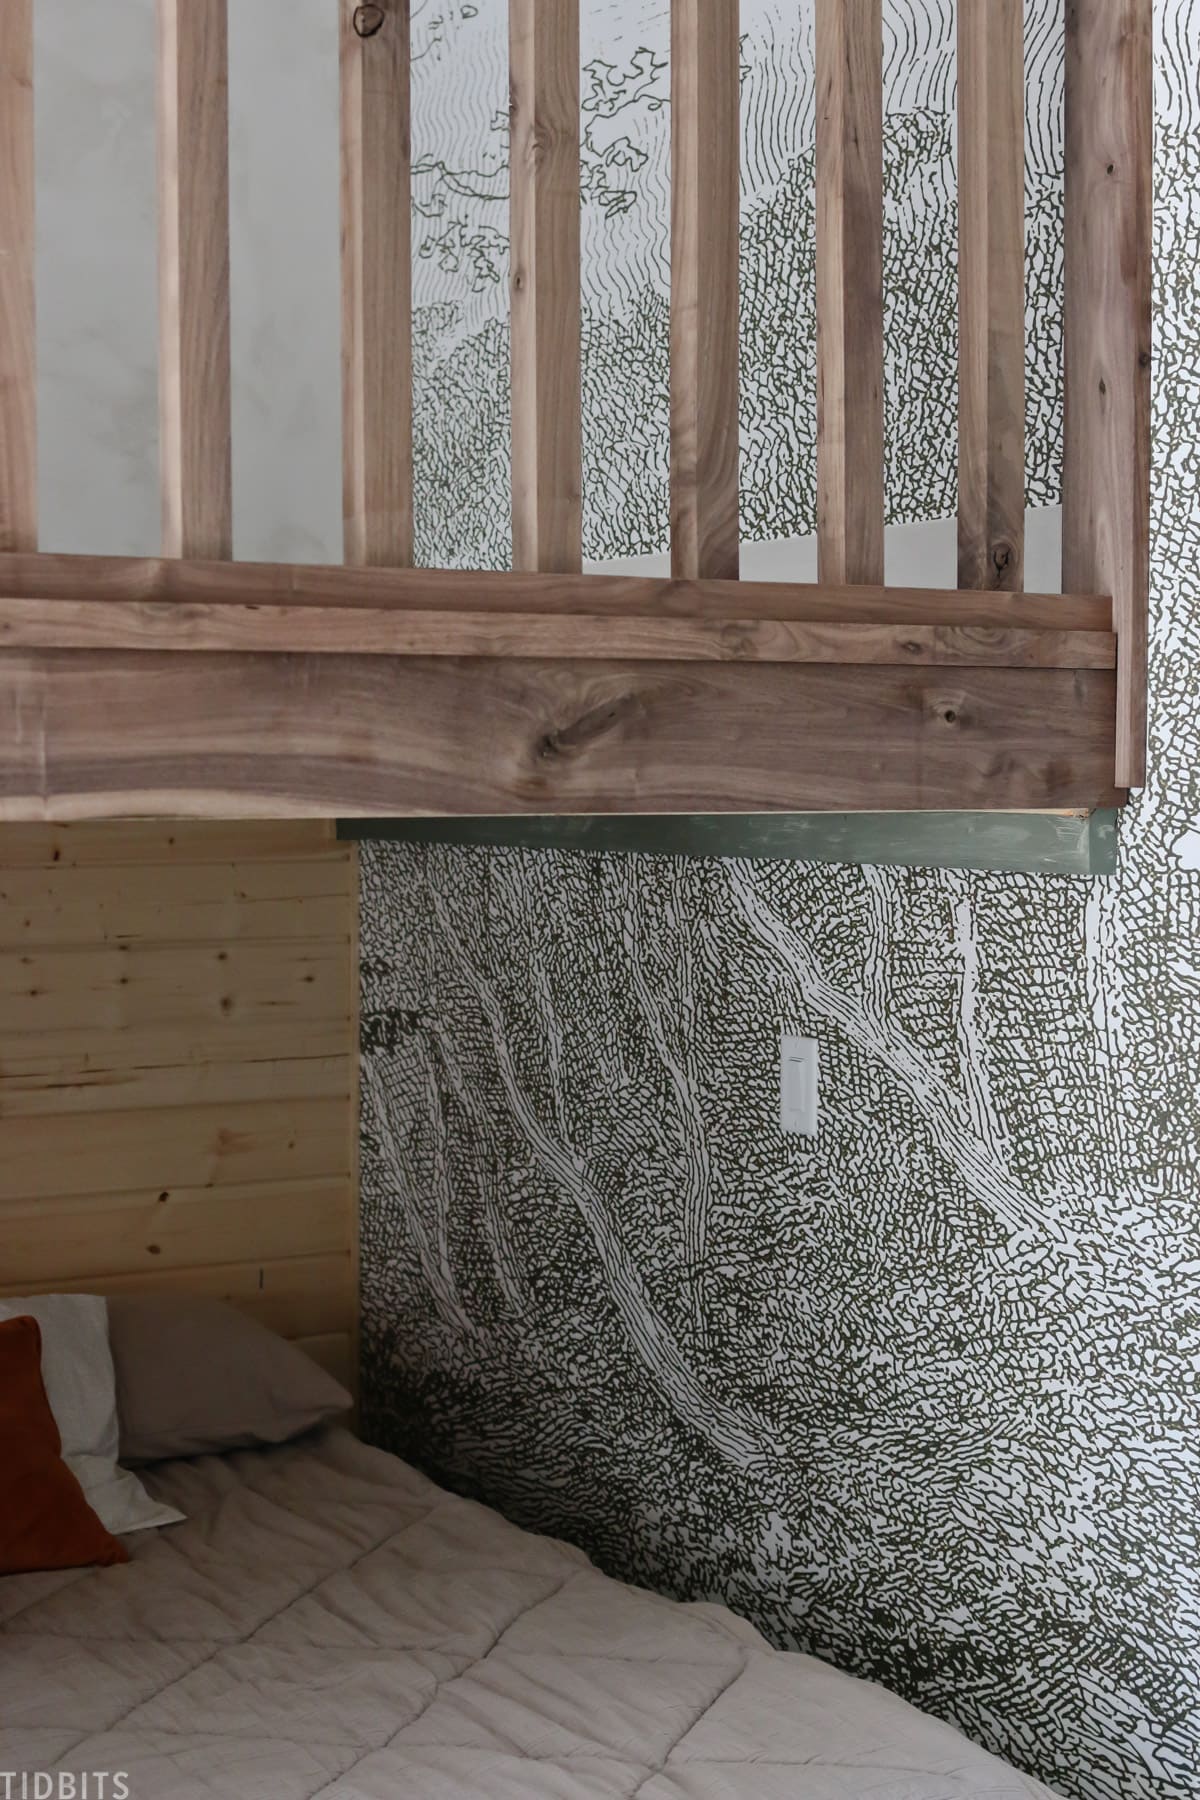
I love that this mural image is an etching, giving it just a bit of a vintage or European vibe. It has a neutral green/gray color that just feels like this huge forest scene. I’d definitely say if you like Earth tones and the outdoors, this forest mural wallpaper may be right up your alley!
Murals Wallpaper has an amazing ability to size its products for your exact space. I was also able to see a digital proof of the mural before the order began, which was very reassuring. I really just could not believe that they were able to print a mural big enough for these two 12-foot walls, and was ecstatic when I knew my vision for that would work out.
How to Apply a Mural Wallpaper
Let’s go through the 10 steps for applying a wallpaper mural to your walls.
1) Prep the Wall Area
Before you begin anything, be sure to prep your walls and the space. These walls haven’t been touched since we built them so we didn’t need to fill any holes or sand down bumps, though that is certainly something you will need to do if you have them.
Do a quick clean and touch up on your walls and remove any furniture that might be in the way.
2) Gather Supplies
Here is a list of supplies that we used to apply this mural which I will link below in the description and on my blog post for this video.
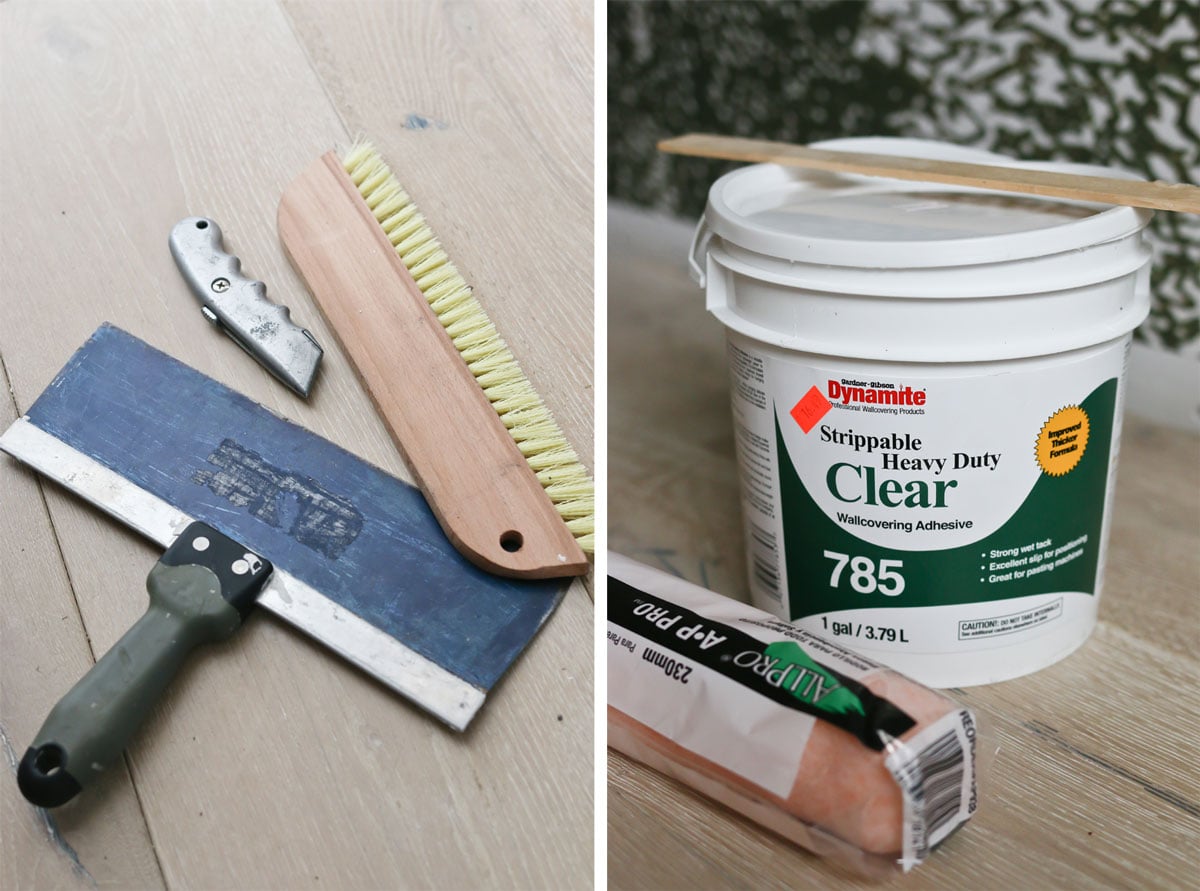
Supplies Needed
- Strippable wallpaper adhesive
- Paint tray and paint roller
- Trimming knife or blade (This is to cut the excess overlap with a nice crisp line)
- Straight edge smoothing tool or brush
- Plastic
- Brush
- Trim guide (This is handy when you go to cut off the overlap)
- Rags for drips and clean up
Note: You’ll need a wallpaper adhesive, unless of course yours is prepasted, in which case, you’ll need water to activate the paste.
We talked to the paint store and they recommended the strippable paste which will make it easier to remove the wallpaper, should that time ever come.
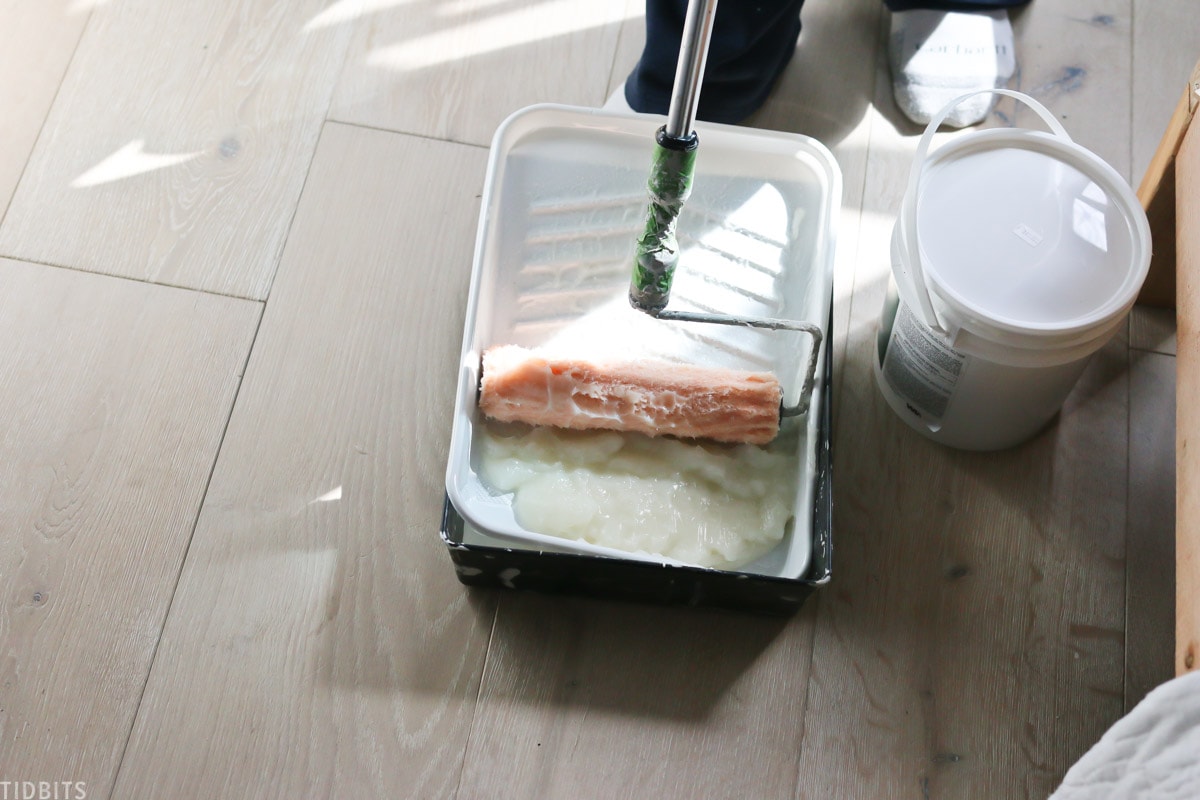
We found it easiest to apply the glue with a paint roller and to use a disposable paint tray. No need for any fancy rollers here, just grab the cheapest ones available.
There are lots of wallpaper smoothing options, but hubs really liked the smoothing brush as he felt he could get a little more vigorous with it without leaving scratch marks on the paper.
3) Cut and lay out mural and check for accuracy and proper order
We did not want to mess this up, so we opted to cut all the panels first and lay them out on our floor. I also needed to feel good about how it would look before it was permanent!
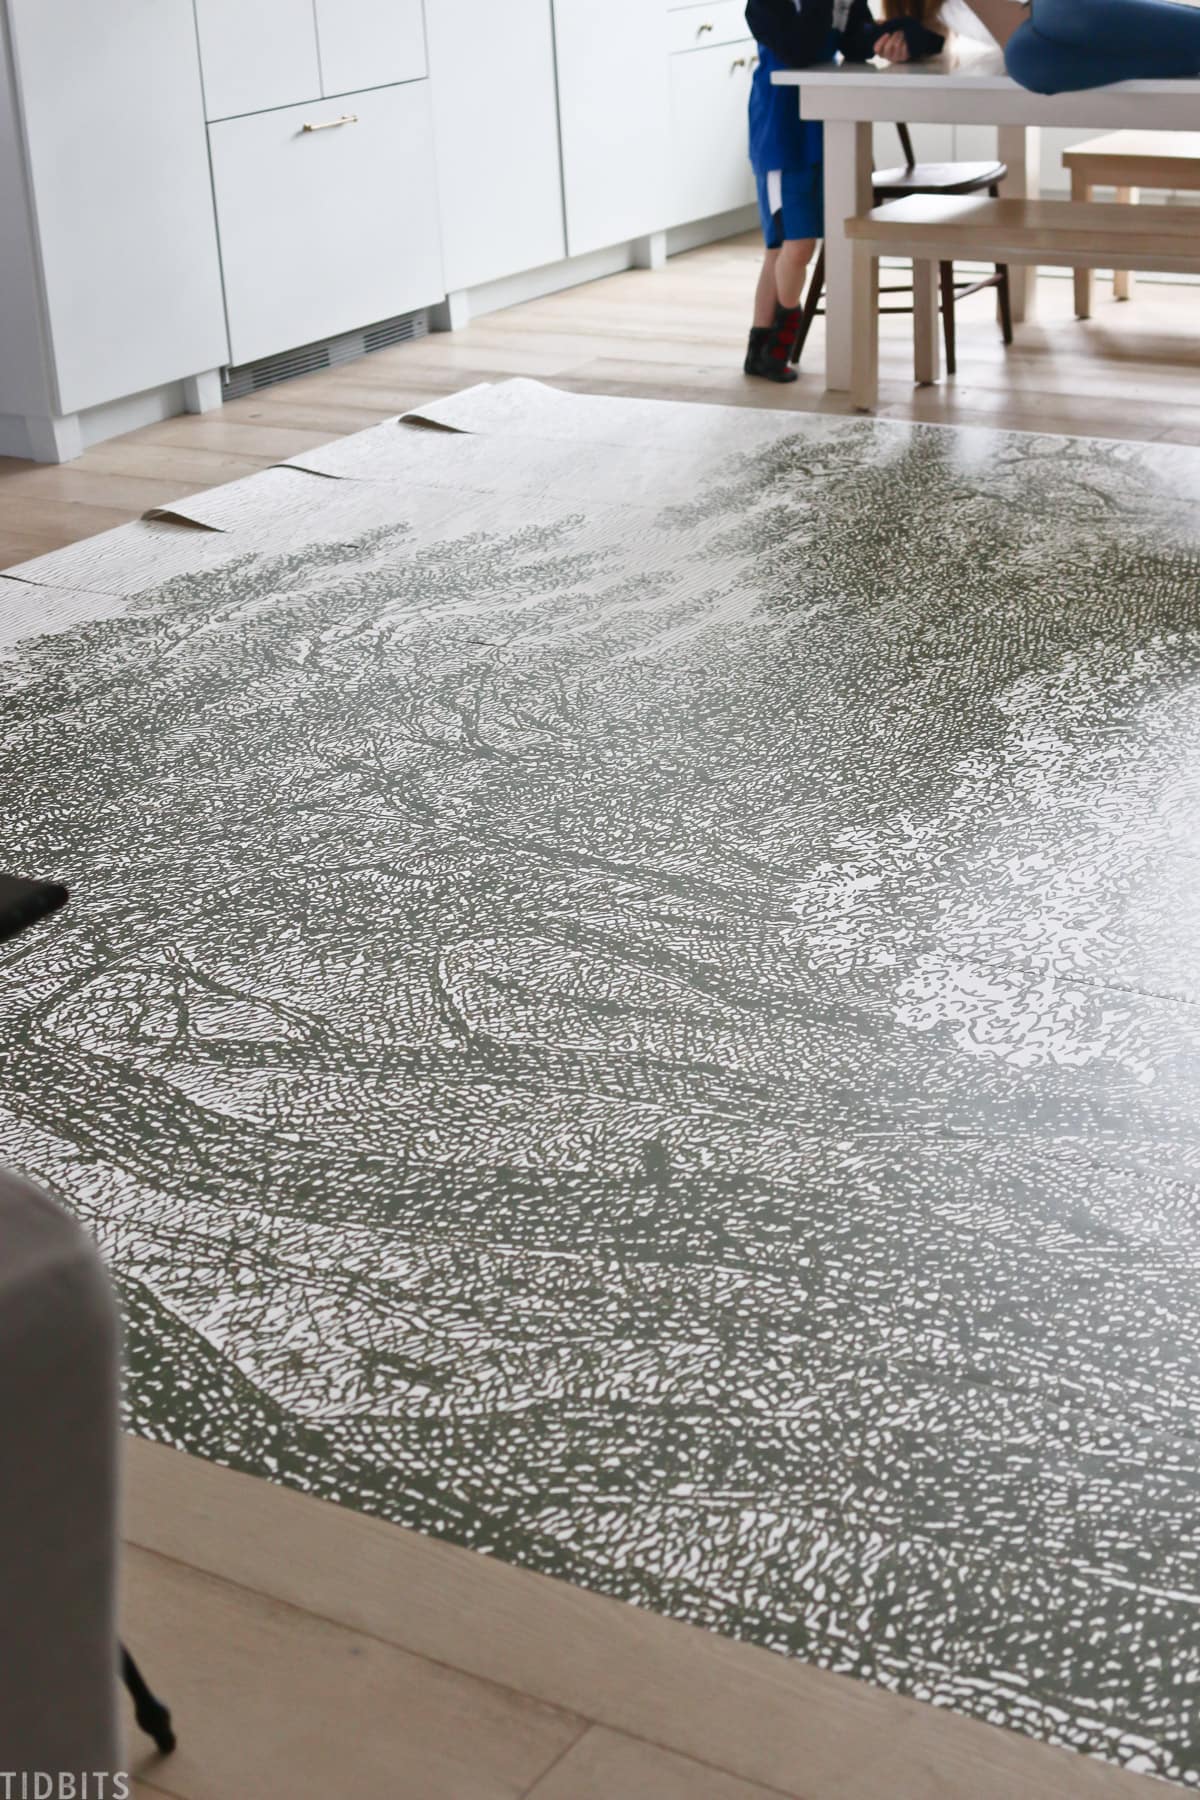
Because this image was so blown up to cover the two walls, up close the wallpaper doesn’t look like much but a bunch of green blobs.
But when you step back and get the big picture, it is incredible how it comes together. It was also helpful to see the big picture to make sure we were starting on the right panel and wall.
4) Measure and mark the placement for the first panel
The first panel is your most important one! This will ensure even application throughout.
We found we didn’t need to measure and mark an application line for each panel if we could get the first one perfectly even. If it is not, you would definitely have problems moving forward.
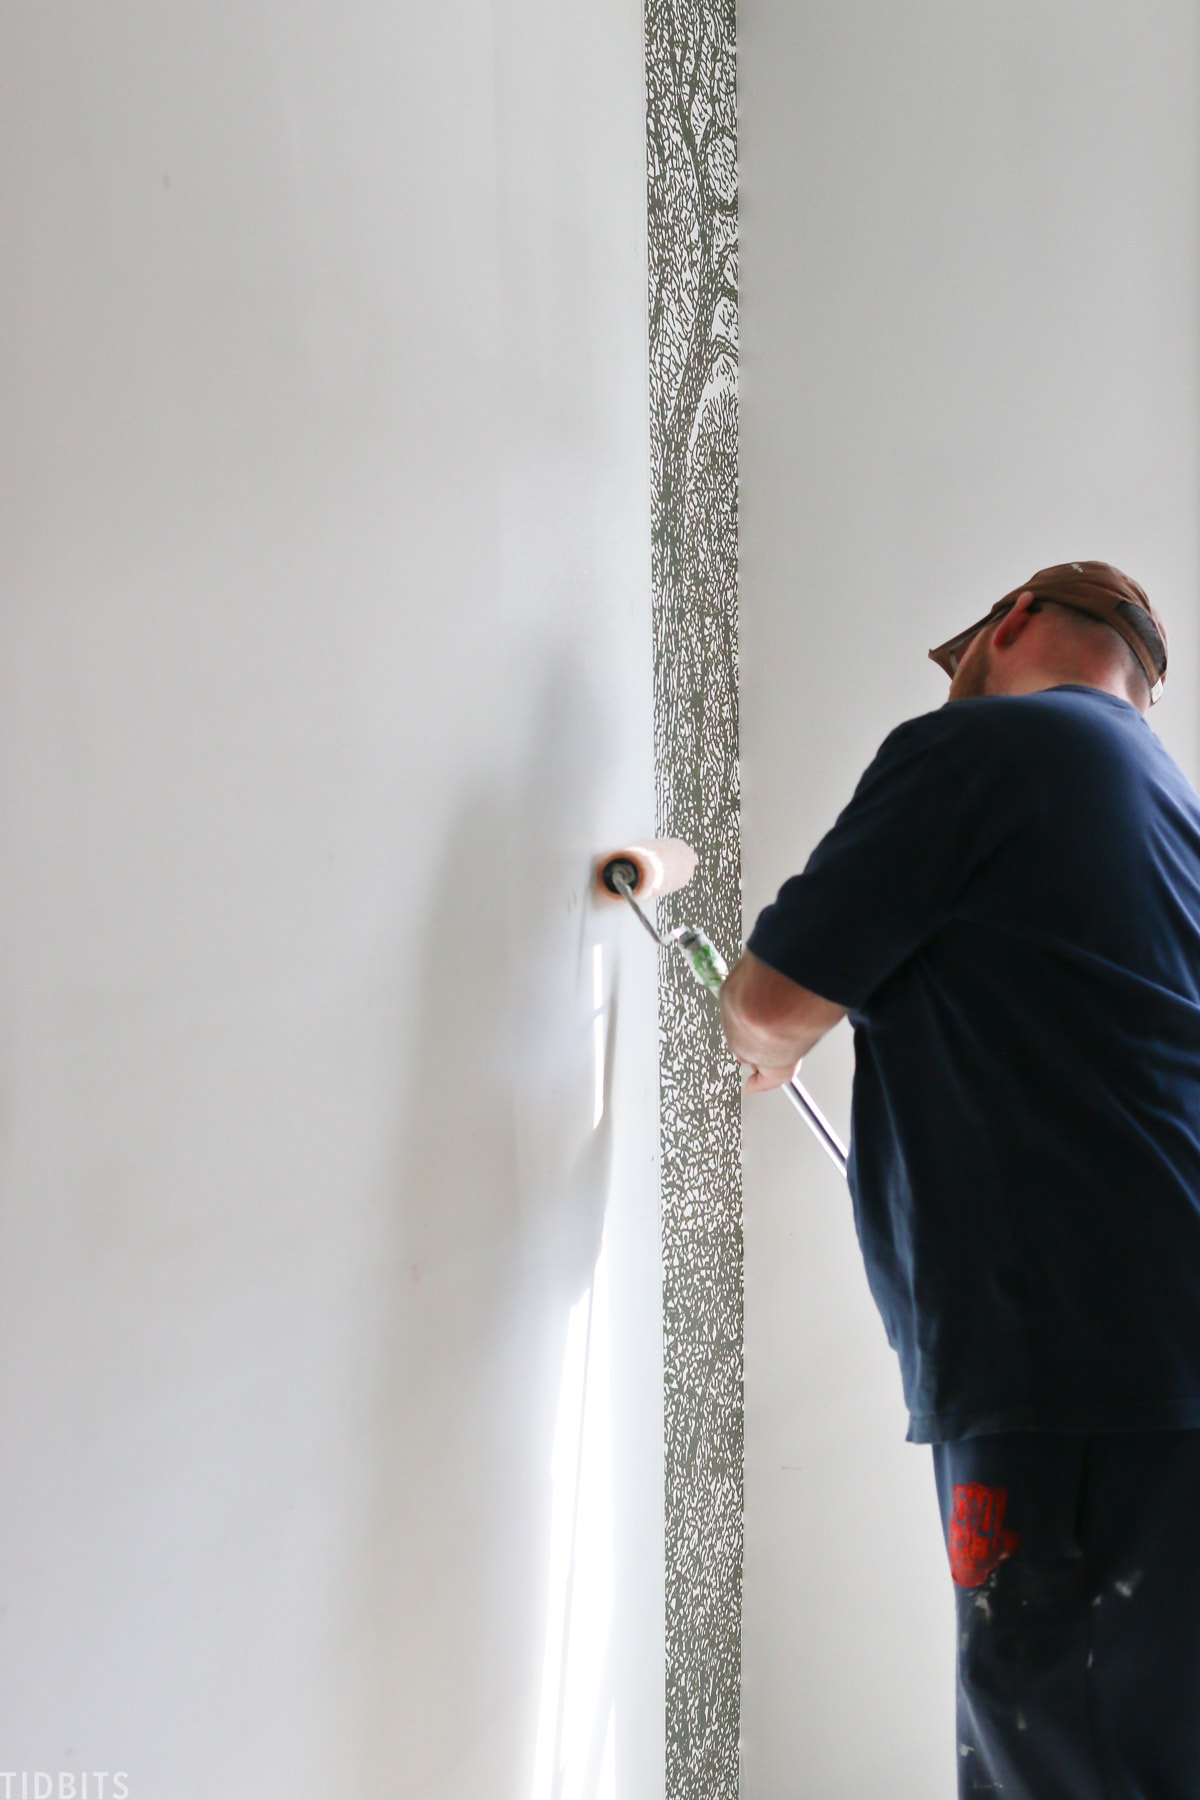
5) Roll wallpaper glue on the wall a panel at a time
To apply each panel, we just rolled the glue right on the wall. It is important to do this one panel at a time, otherwise, the glue would dry out and you would have to reapply or risk an uneven surface.
If you’ve done wallpaper before, there is also the bookend method where you apply it to the back of the wallpaper first and then hang.
We find that method to be incredibly messy and frustrating since we tried that in our RV makeover.
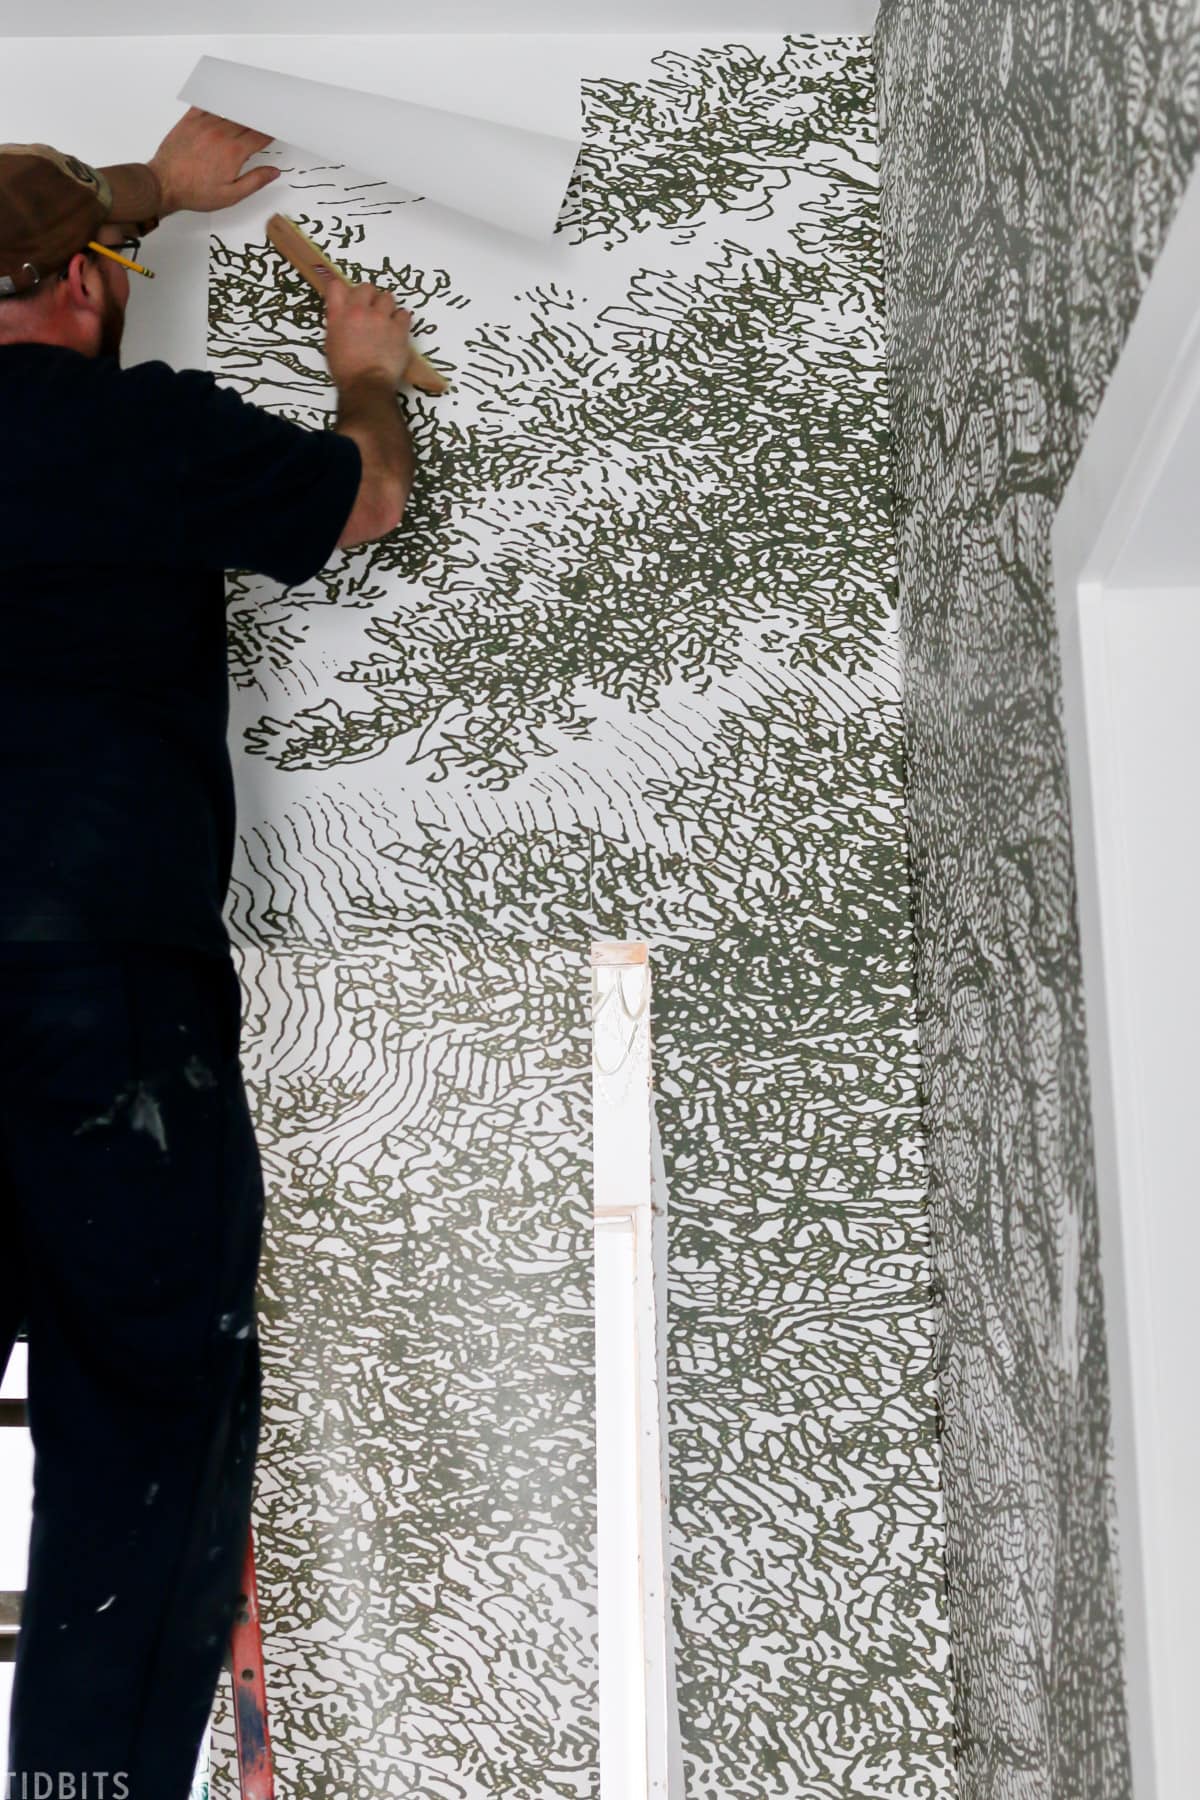
6) Apply panels from top to bottom
You always want to apply the paper at the top and let gravity do most of the work on its way down.
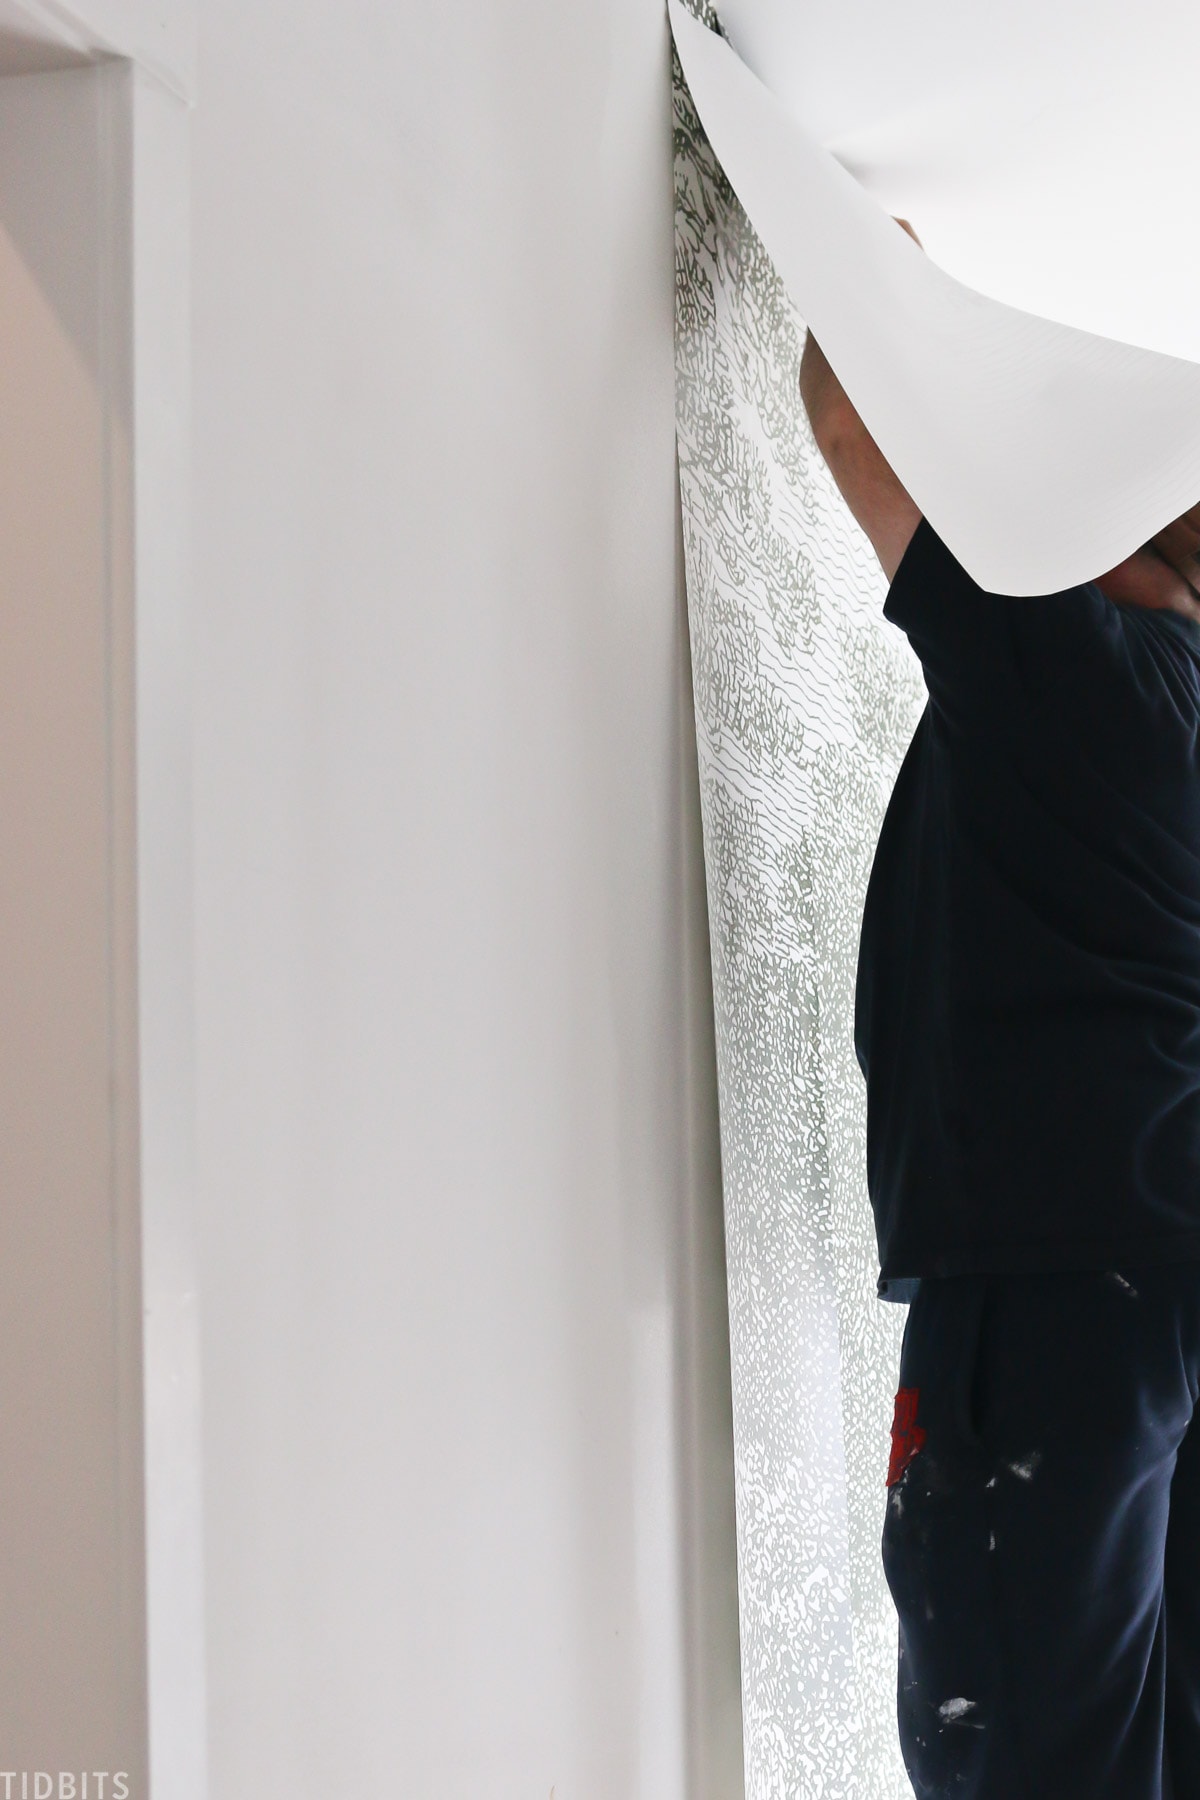
Your job is to match up the images between the panels and get it to line up right – which isn’t too hard if that first panel is nice and straight.
7) Smooth out bubbles or creases
As you are applying each panel, be sure to use your smoothing tools to work out the air bubbles and creases that will arise.
Don’t wait until the whole project is done to do this, as that glue will start to dry and make it impossible to avoid the paper creasing.
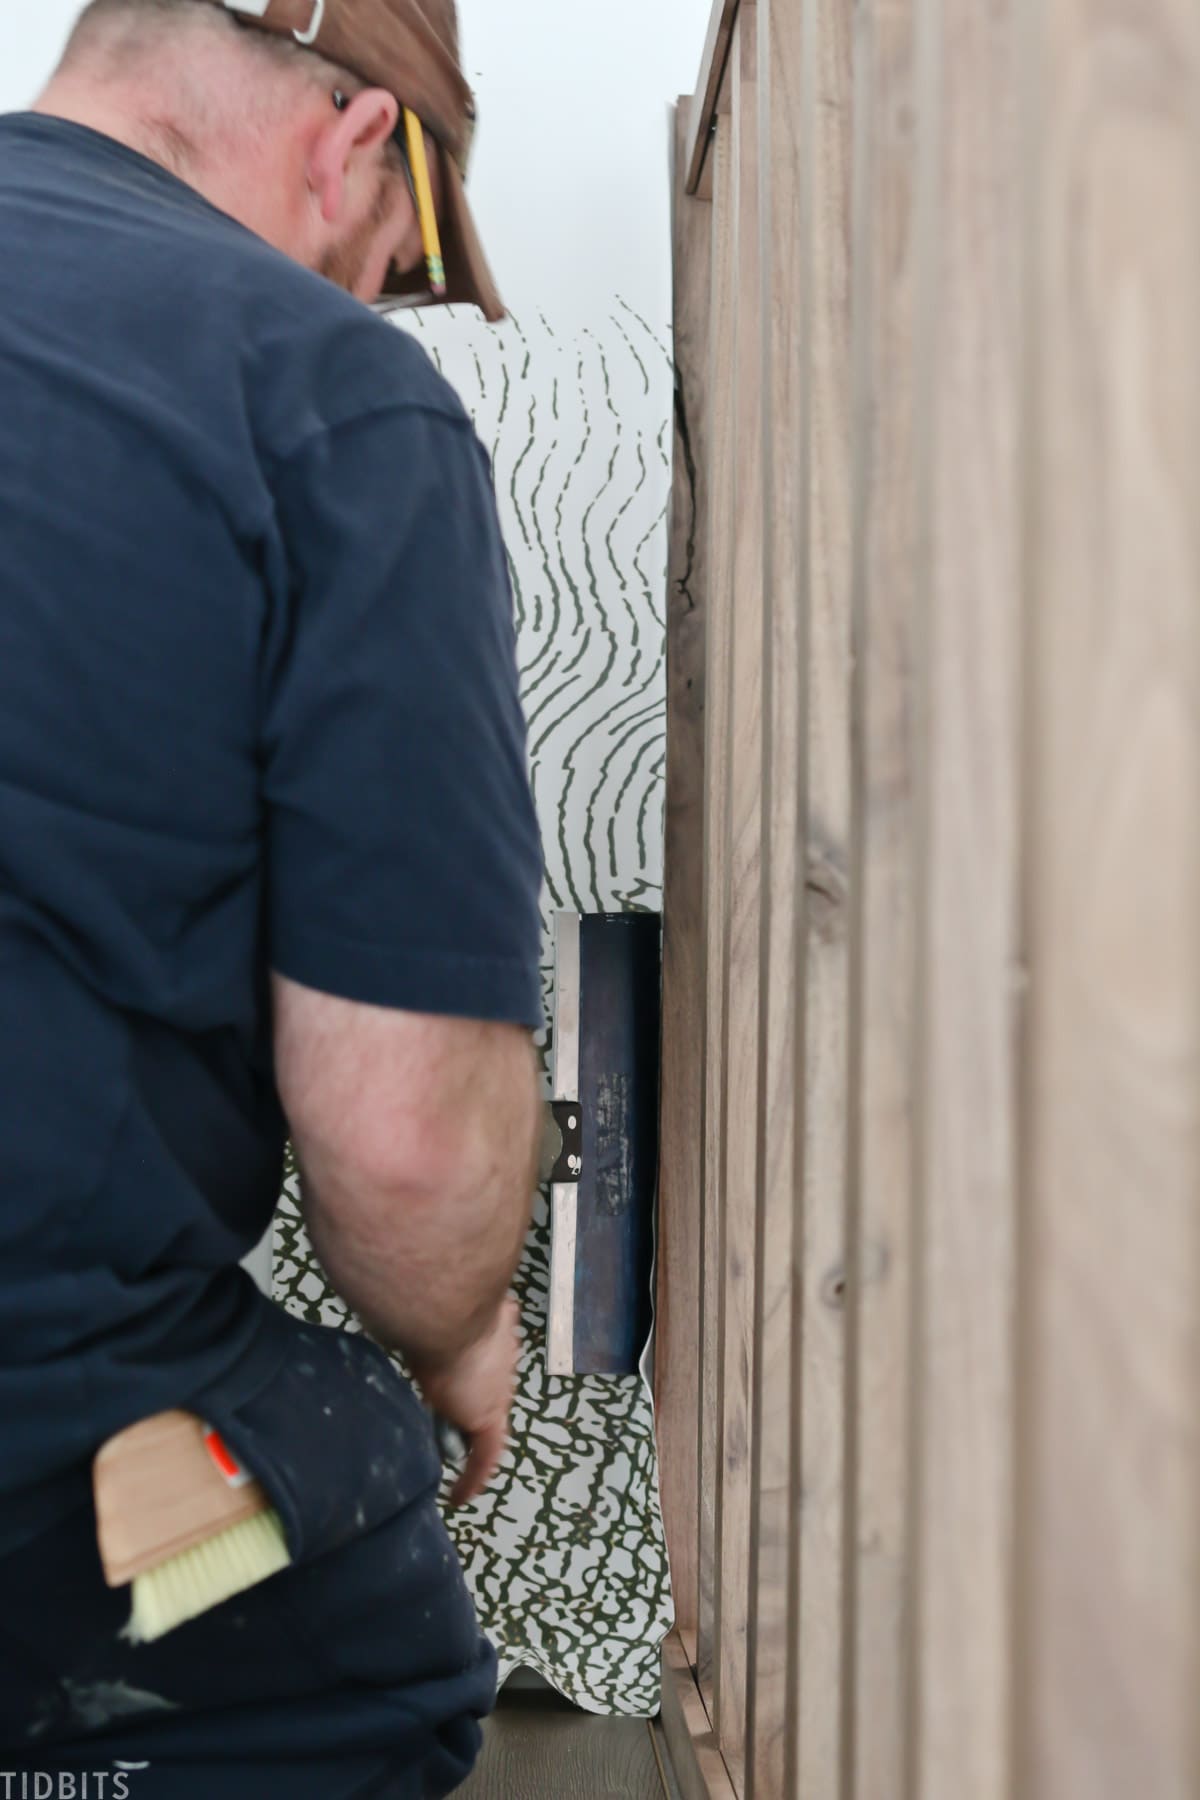
8) Cut off overlap on edges and corners
To get nice crisp edges, use a trim guide edge and your razor blade to trim off the excess overlap on the edges, if you have them.

Our ceiling actually slants, so we had to do this a lot.
9) Cut around outlets and woodworking
Be sure to also cut around the outlets and any trim or woodworking while you are applying each panel.

Things got trickier on this job when we had to work around the doorways and the wood railing, but I think Mr. TIDBITS did a fantastic job working around it all.
10) Repeat until complete
Finally, just repeat the panel hanging process until the whole room is complete, then do any clean up that is needed.
I asked the hubs if he would prefer painting a wall or hanging wallpaper and was shocked to hear he really enjoyed the wallpaper process.
It gave us a fun variety and actually went much quicker than a paint job. Unfortunately, this may be the only wallpaper we hang in this home, as I am a bit scared of patterns and busyness on walls.
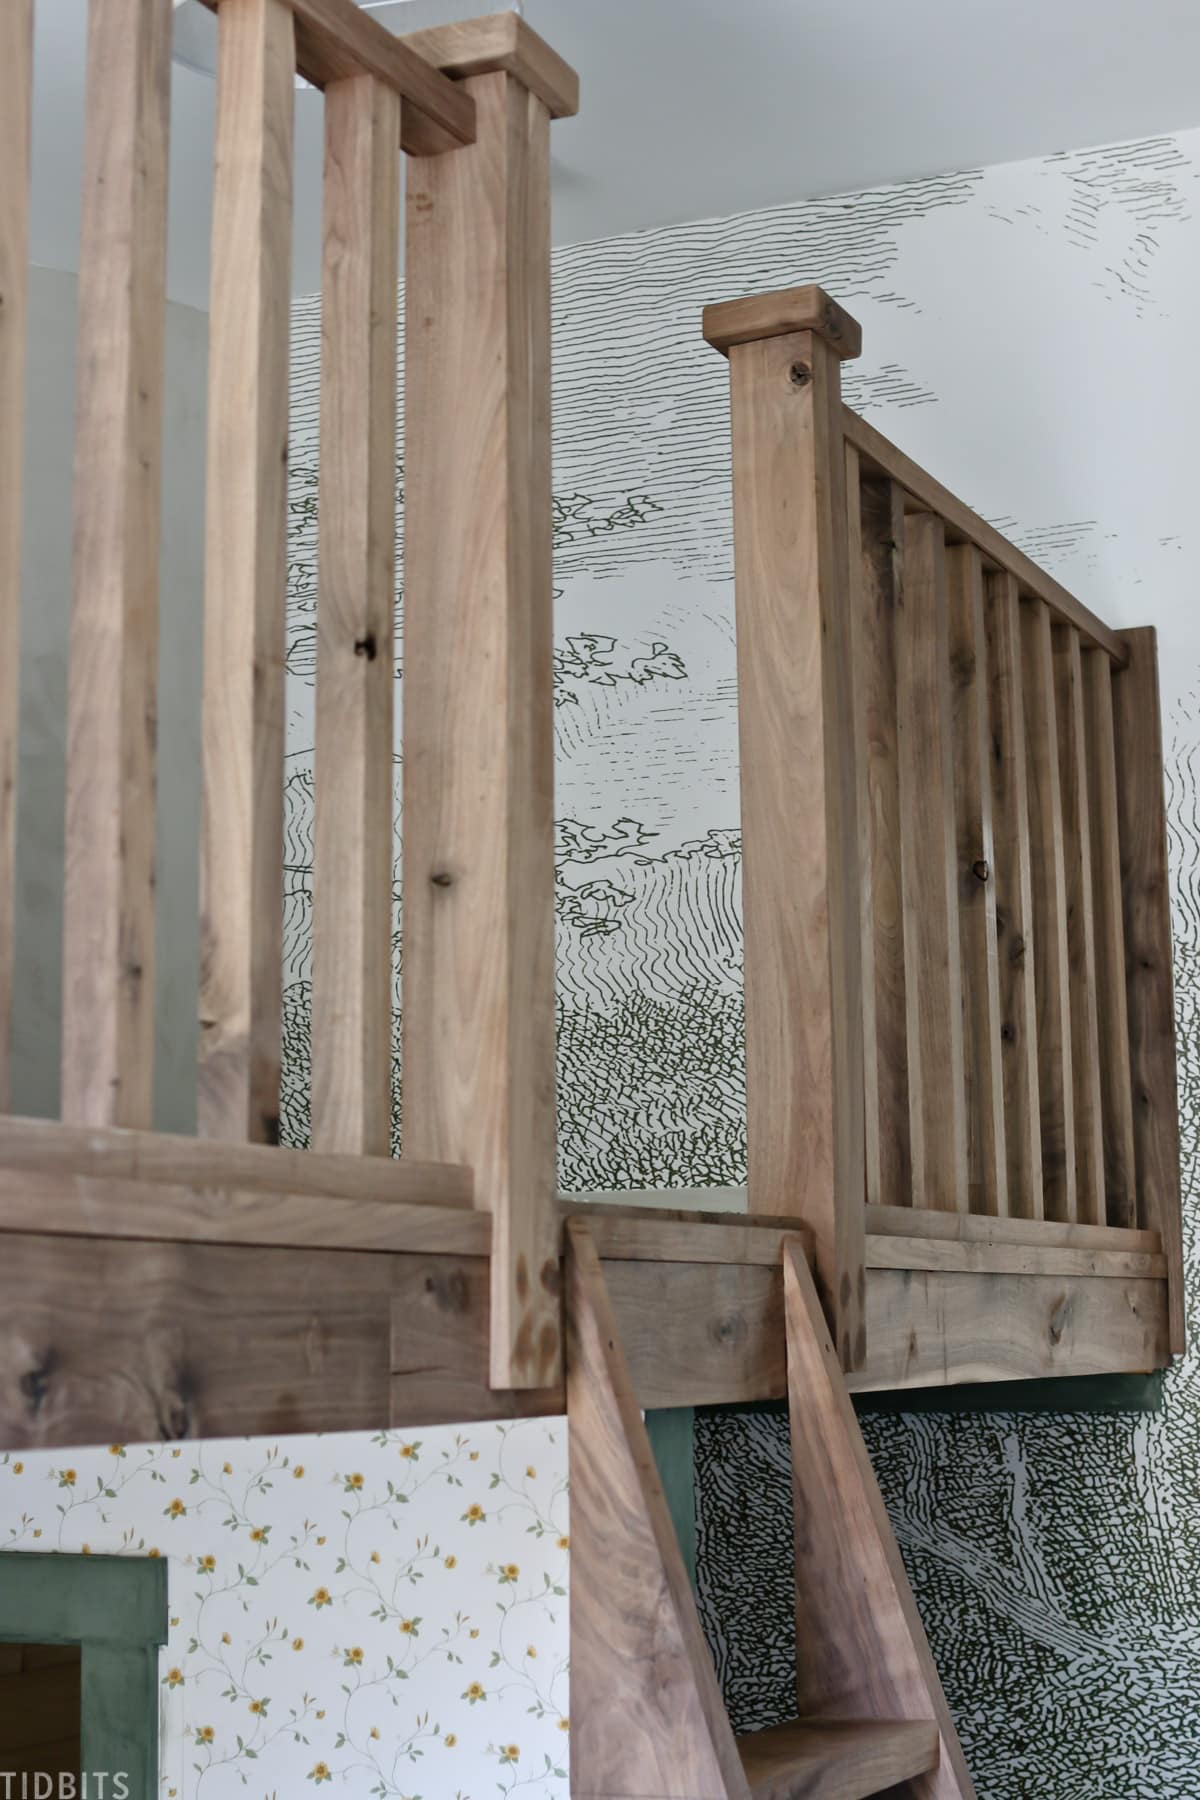
But I have to say… this forest scene is so perfect for this room and has brought the perfect amount of playfulness to the space. I can’t wait to show you more when this room is done!
And that’s our tutorial on how to apply a mural wallpaper. I would love to hear what you think in the comments! Are you a wallpaper or mural fan, or do you prefer just painting your walls?


Loved your wall paper choice, very classy but also fun especially for a kid space. I haven’t hung wallpaper in years but have removed a lot from other houses. So many more cool options available now. Great tutorial and made me rethink wallpaper for future decorating projects. Thanks so much & great job!!