
This post may contain affiliate links, which means I get a small percentage of the sale at no extra cost to you. I only recommend items I love and have had a positive experience with. Thank you!
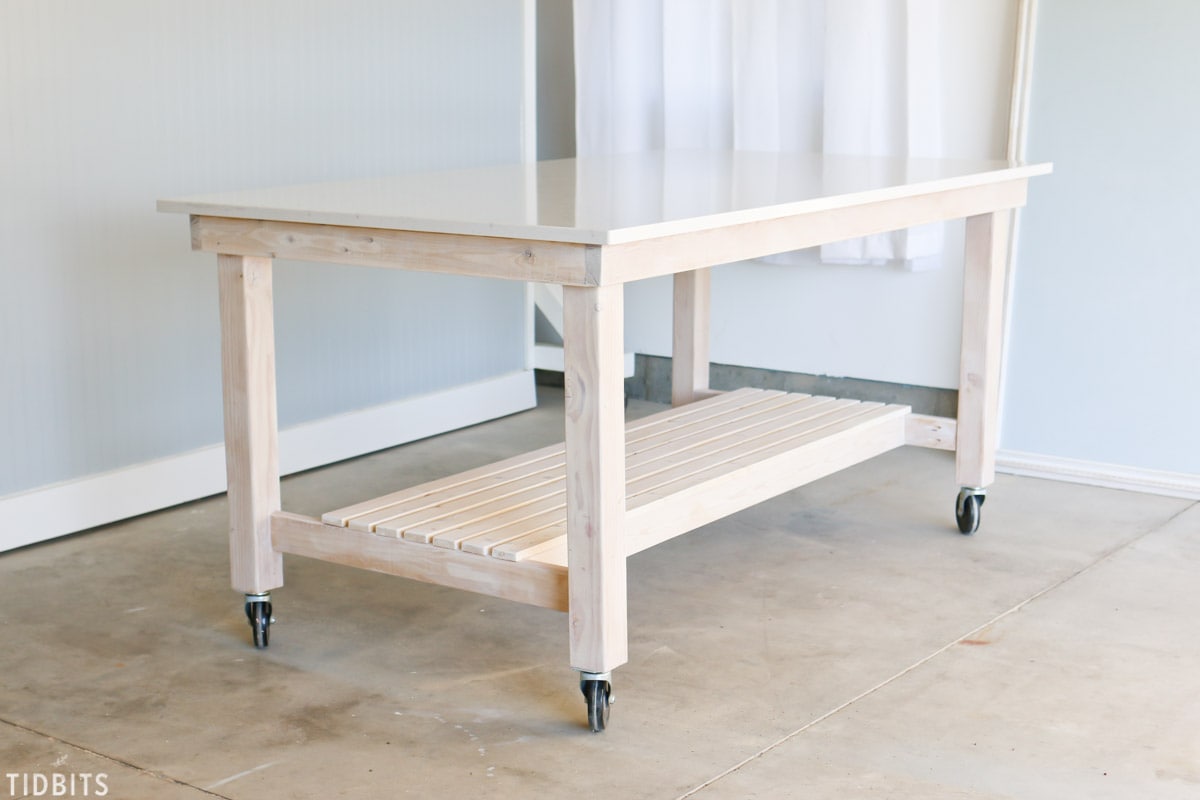
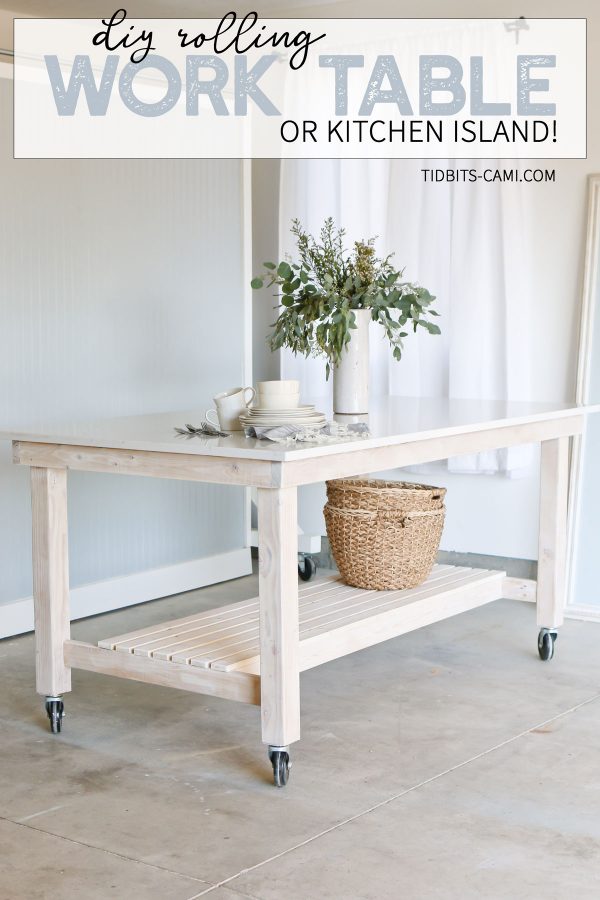
Oh yes you can! Build this beautiful Quartz countertop DIY rolling work table for a creative space or kitchen island. Picture and video tutorial included.

*This post is sponsored and made possible by Hanstone Quartz. All opinions are always my own.
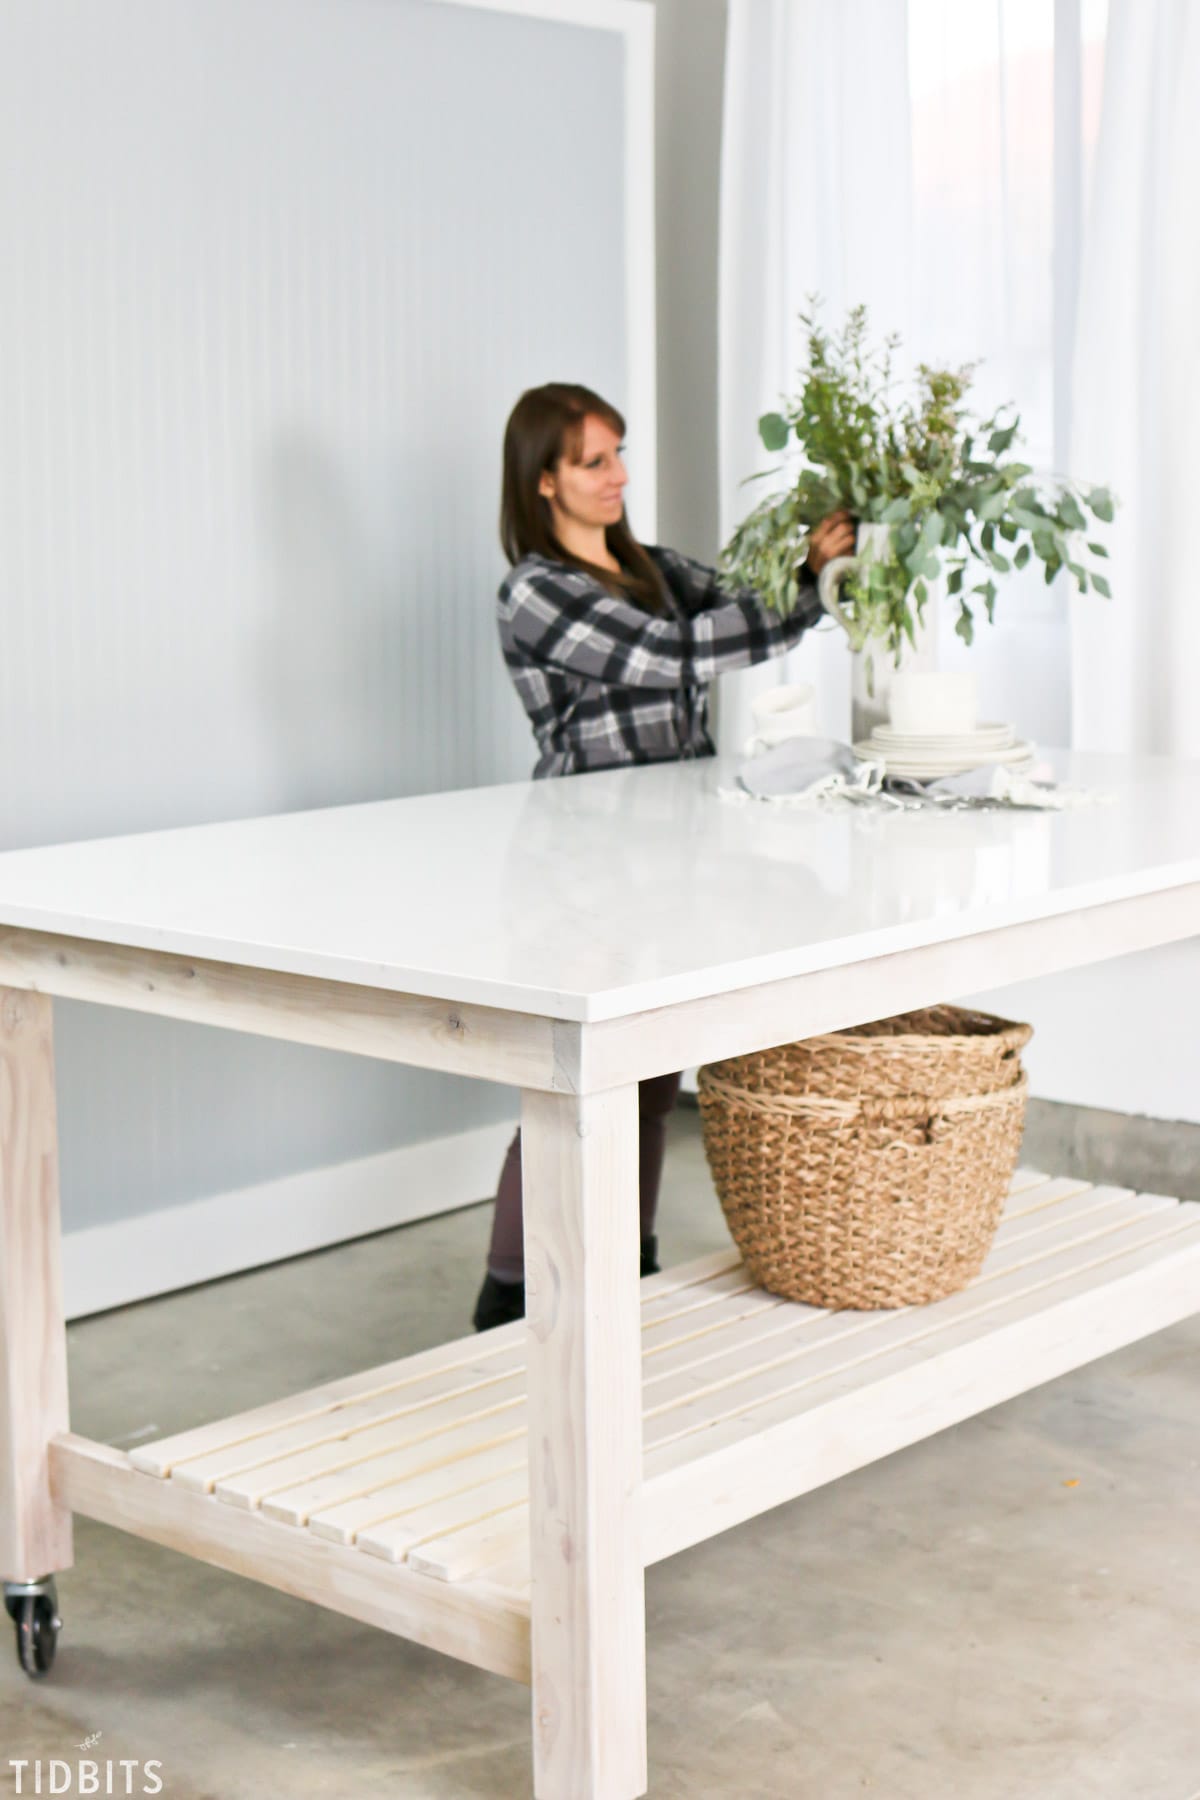
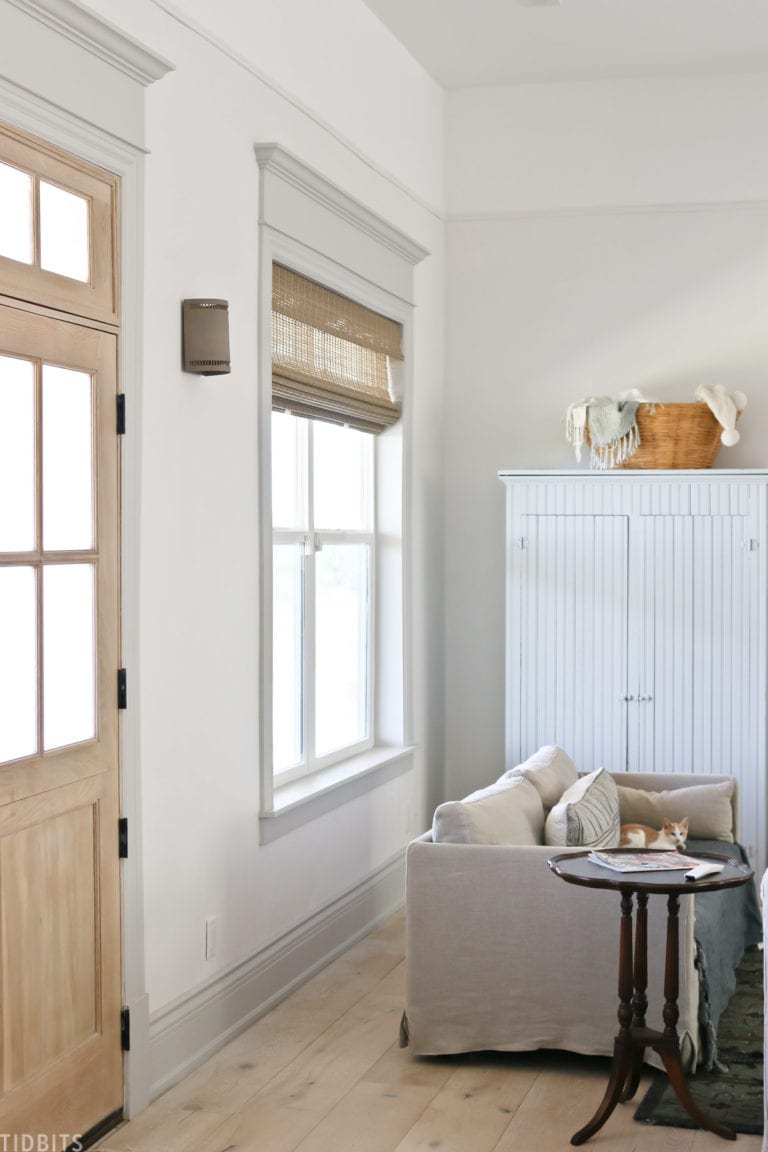
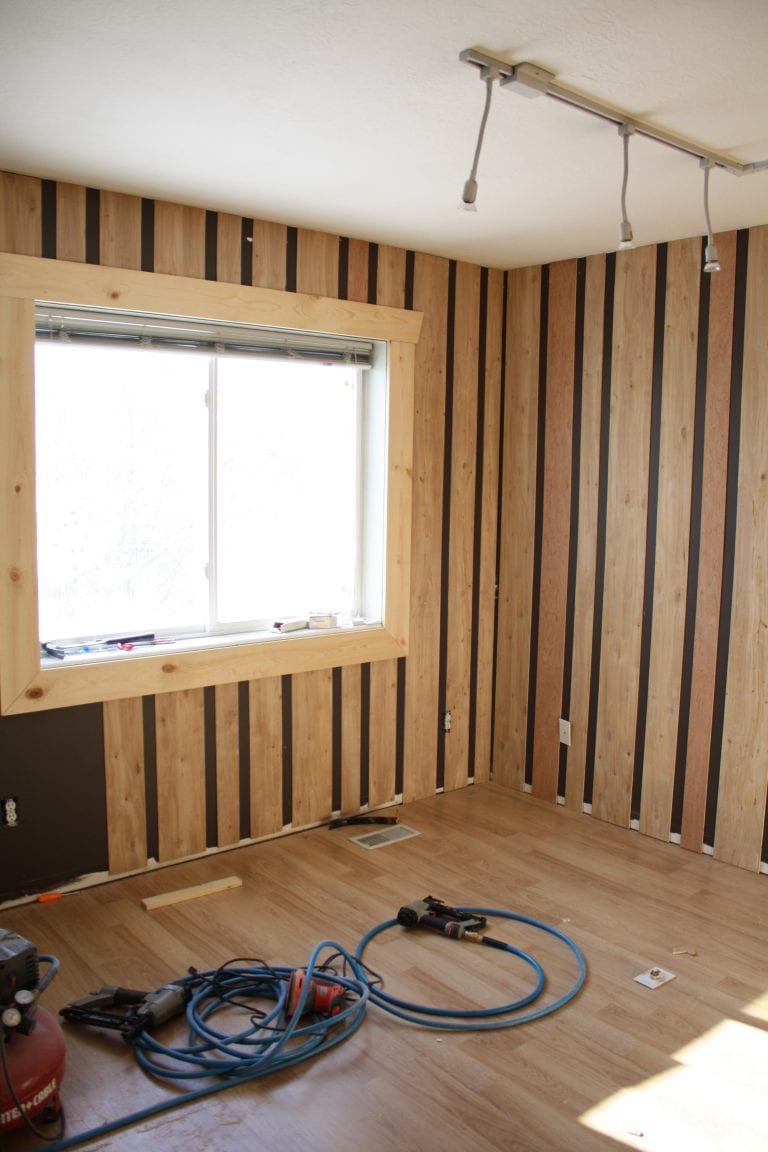
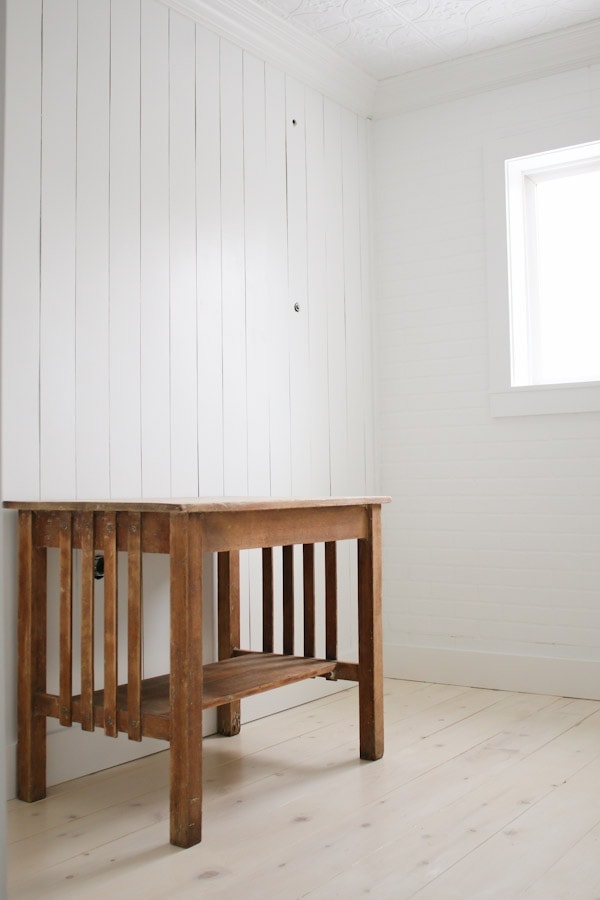
If you’ve been following along, you know my solution to being a home and DIY blogger in a dark and limiting rental home has been to transform the bit of garage space I have into a studio of sorts.

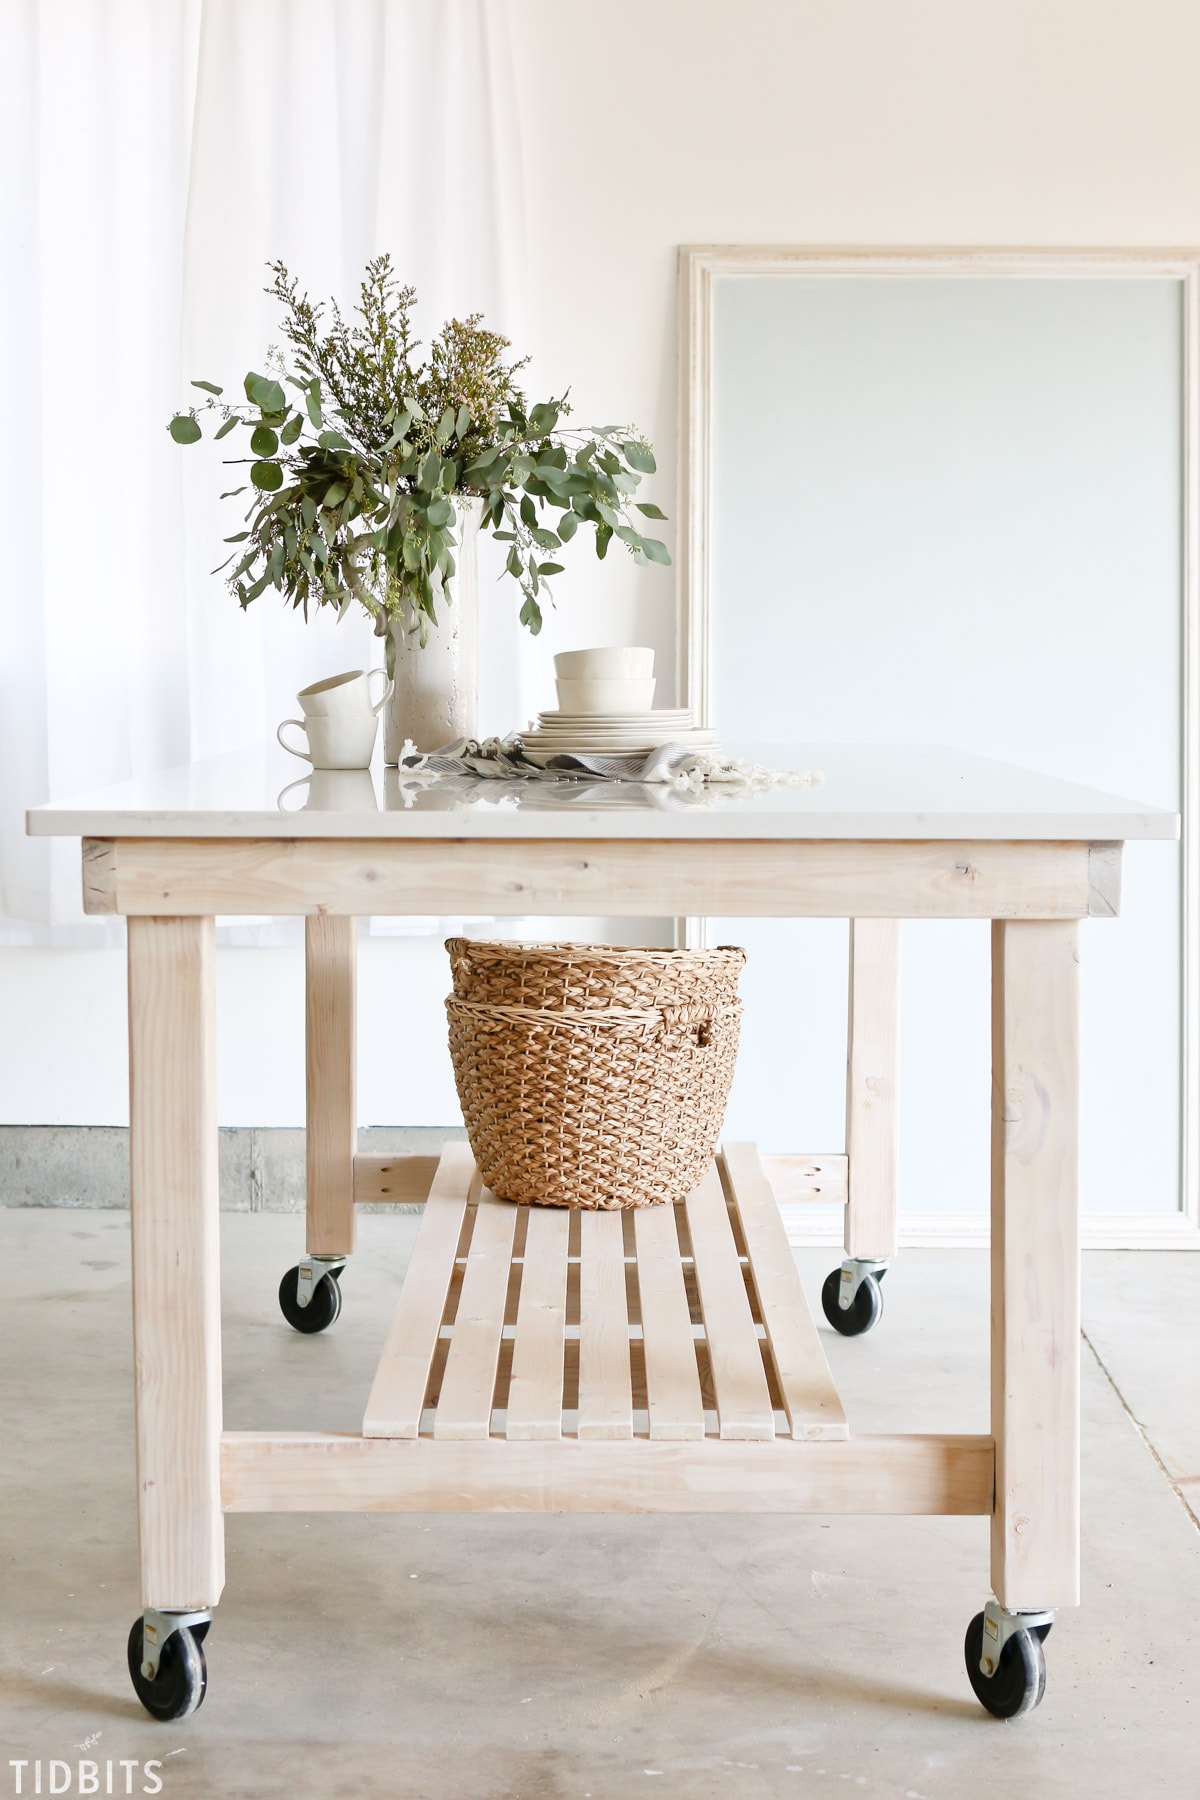
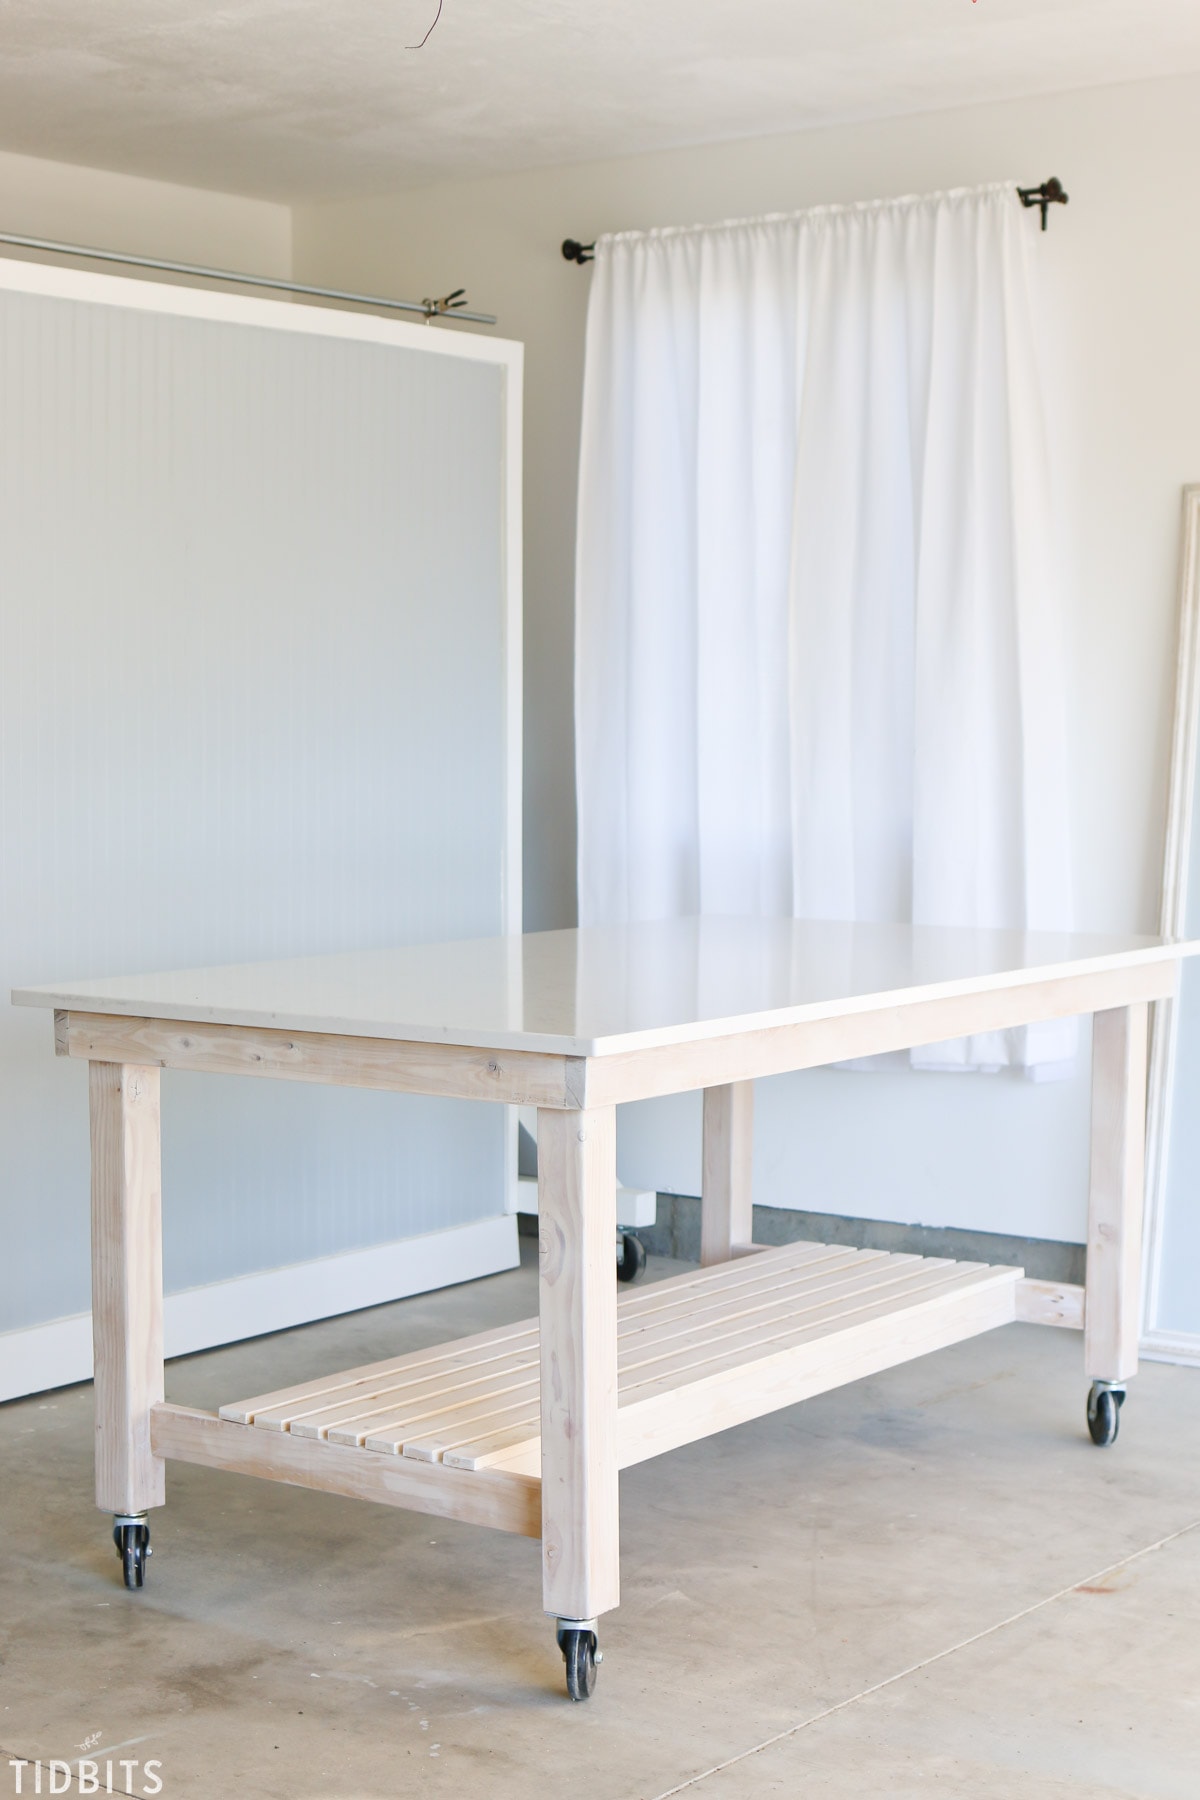
The key to this working temporarily for me was a dual sided wall on wheels, and this project I am going to show you today – our Hanstone Quartz DIY rolling work table . . . which I am so in love with, I’m thinking it might also have to be my kitchen island in our future dream home.

HOW TO BUILD A ROLLING WORKTABLE VIDEO
Mr. TIDBITS and I are going to give you a video glimpse into what it was like building this built-to-last worktable. Lucky for you, we also have the free detailed building plans here on my website, which my hubs, Kevin, will walk you through.
Make it for your kitchen, your craft room, or any work room where you need a beautiful surface to create, photograph or film. Feel free to adjust the sizes to suit your own needs.
BENEFITS OF CHOOSING A QUARTZ COUNTERTOP
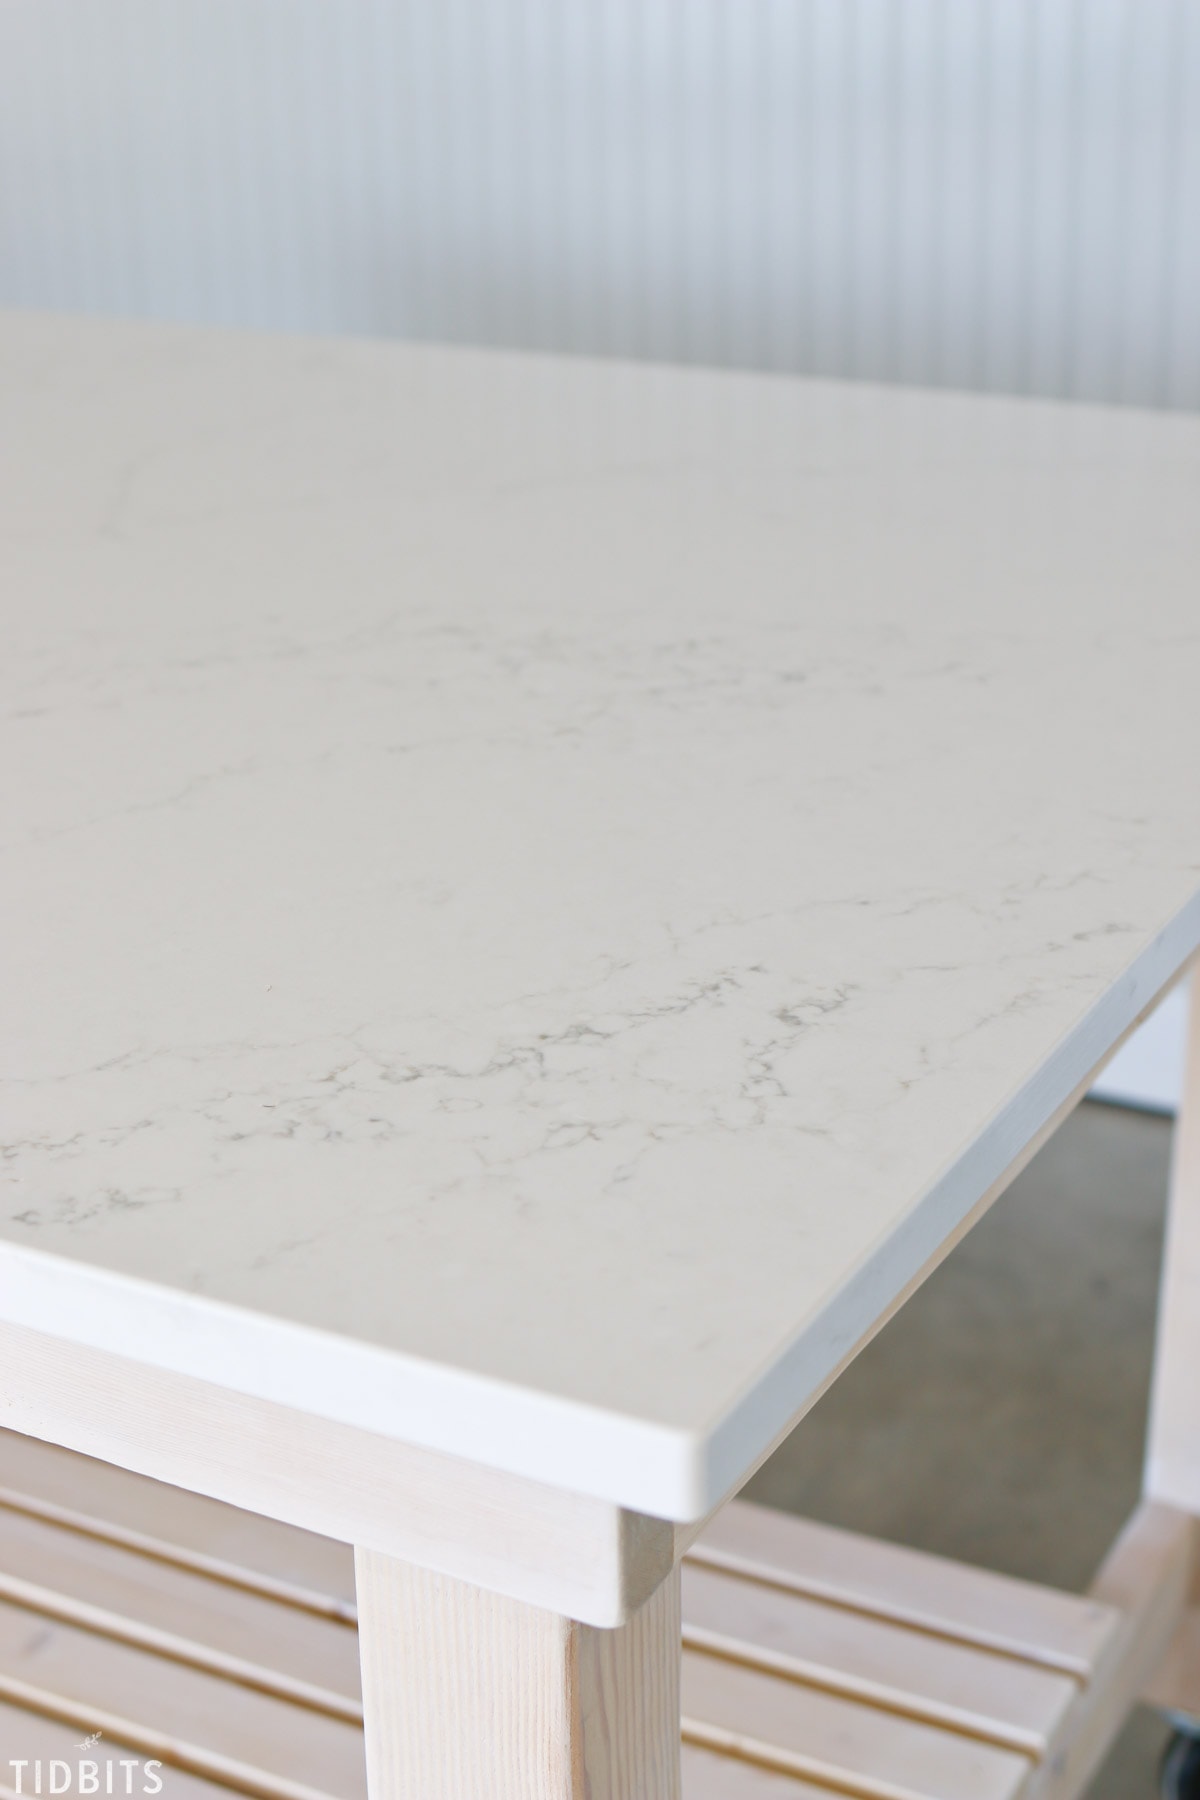
While the base of the worktable is completely doable on your own, I have happily partnered up with Hanstone Quartz to top this table with beautiful marble-like Quartz.
After researching many table top options, I knew I wanted Quartz for its durability and natural beauty. Did you know that Quartz has 6 times the strength and durability as granite? I plan to create many a masterpiece on this surface, and I knew Hanstone Quartz was just the product to help me do that.
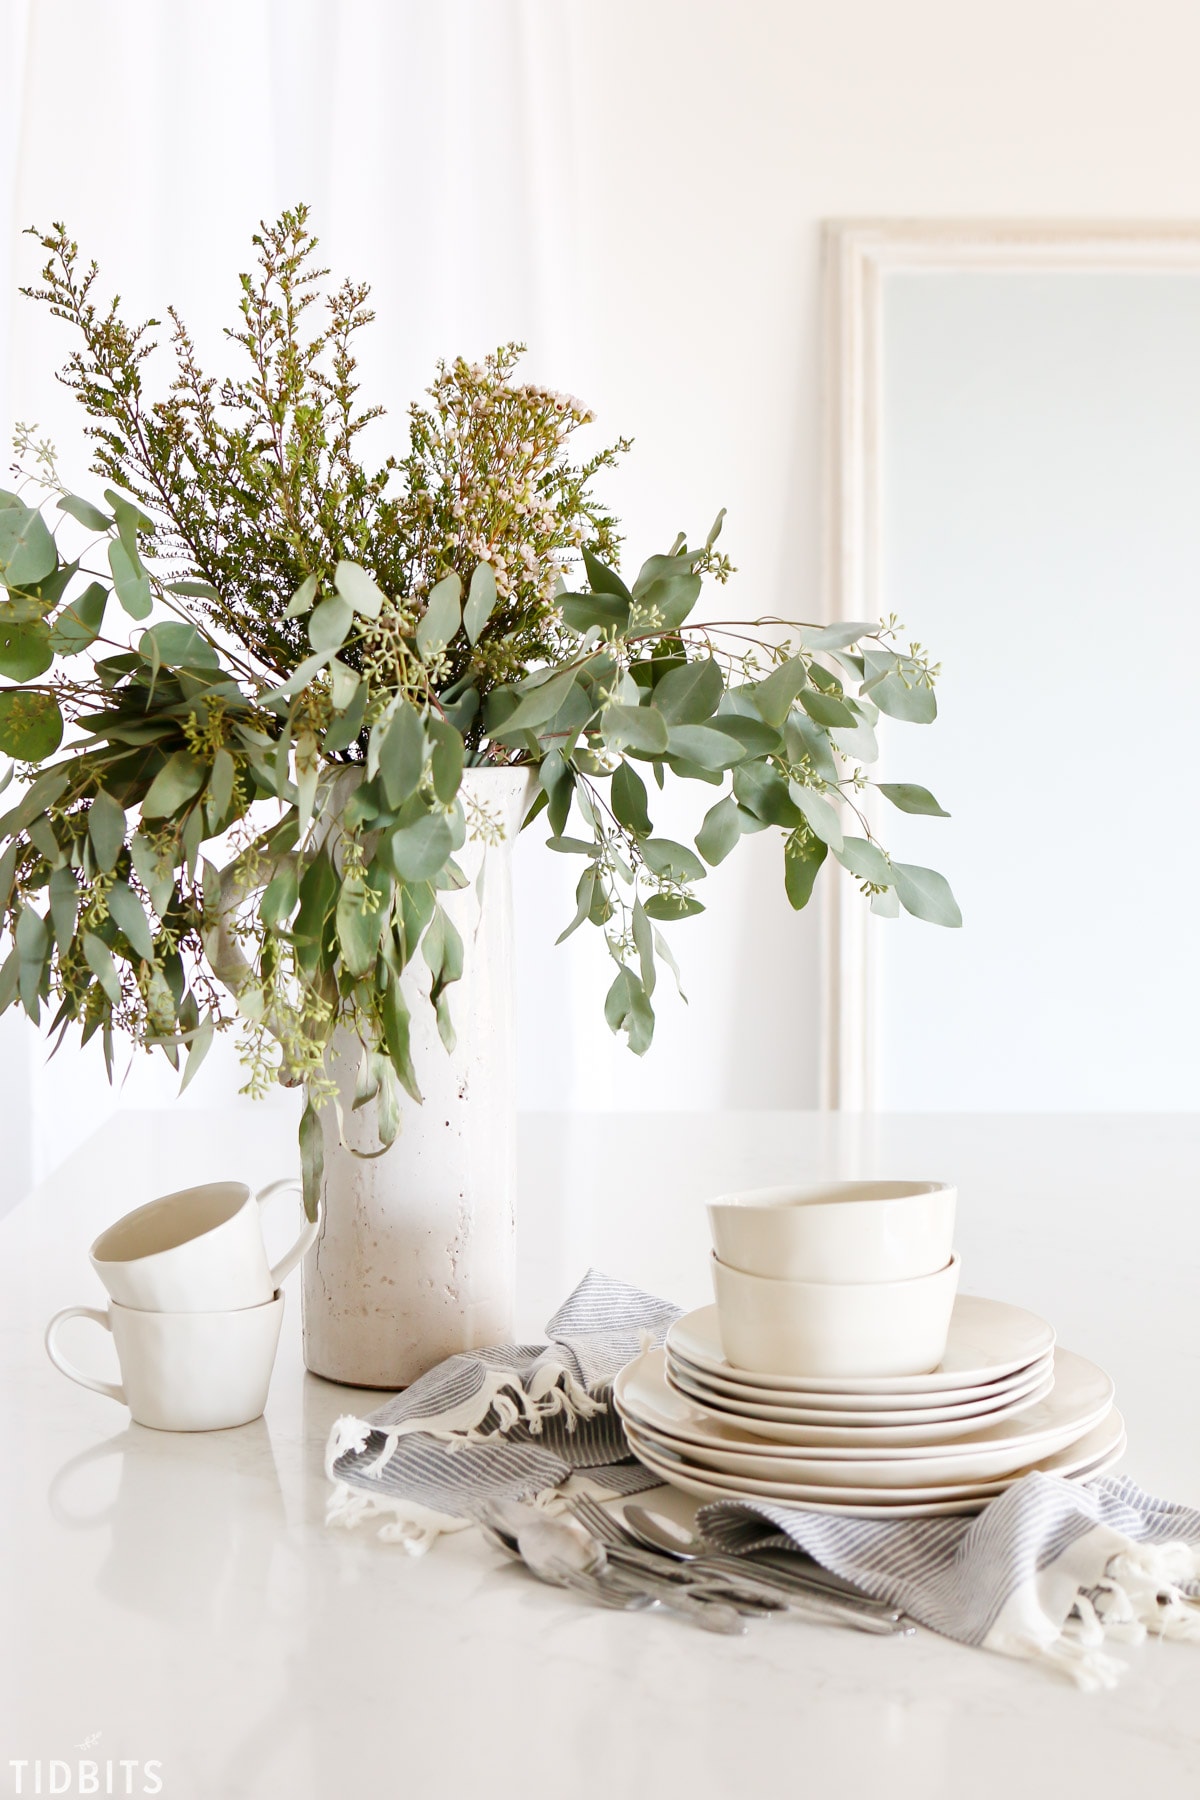
You can see in my images what a lovely backdrop the shiny marble Quartz brings to the photographs.
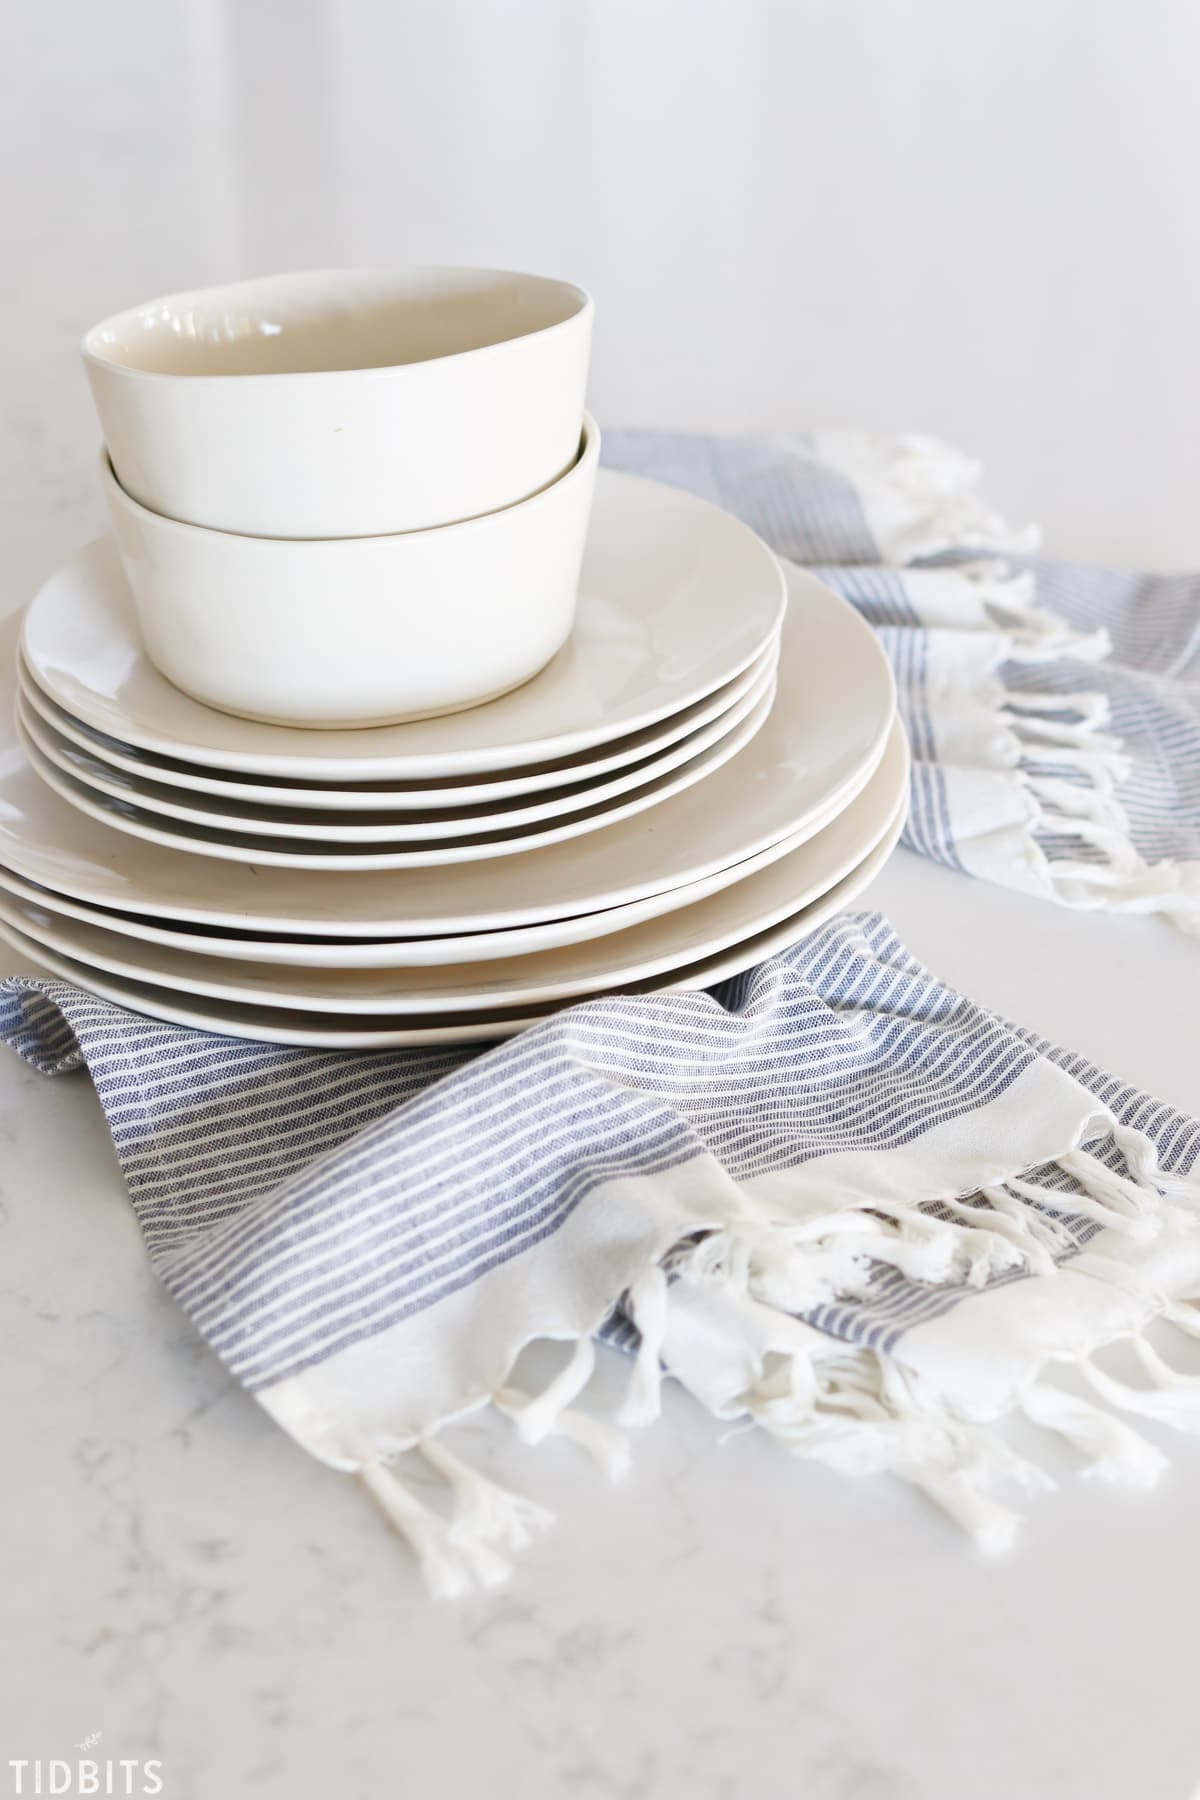
Mixed with beautiful direction garage lighting, and I get the images of my dreams.
CHOOSING A QUARTZ COUNTERTOP
I want to talk briefly about how I decided which Quartz to select.
Unless you are near the supplier, it can be hard to know which surface you want and choosing a countertop is not a decision to take lightly. Hanstone can send you any sample of their products, which is extremely helpful. I was immediately drawn to their Boutique Collection which is full of marble like surfaces with that creamy white base and subtle grey veining.
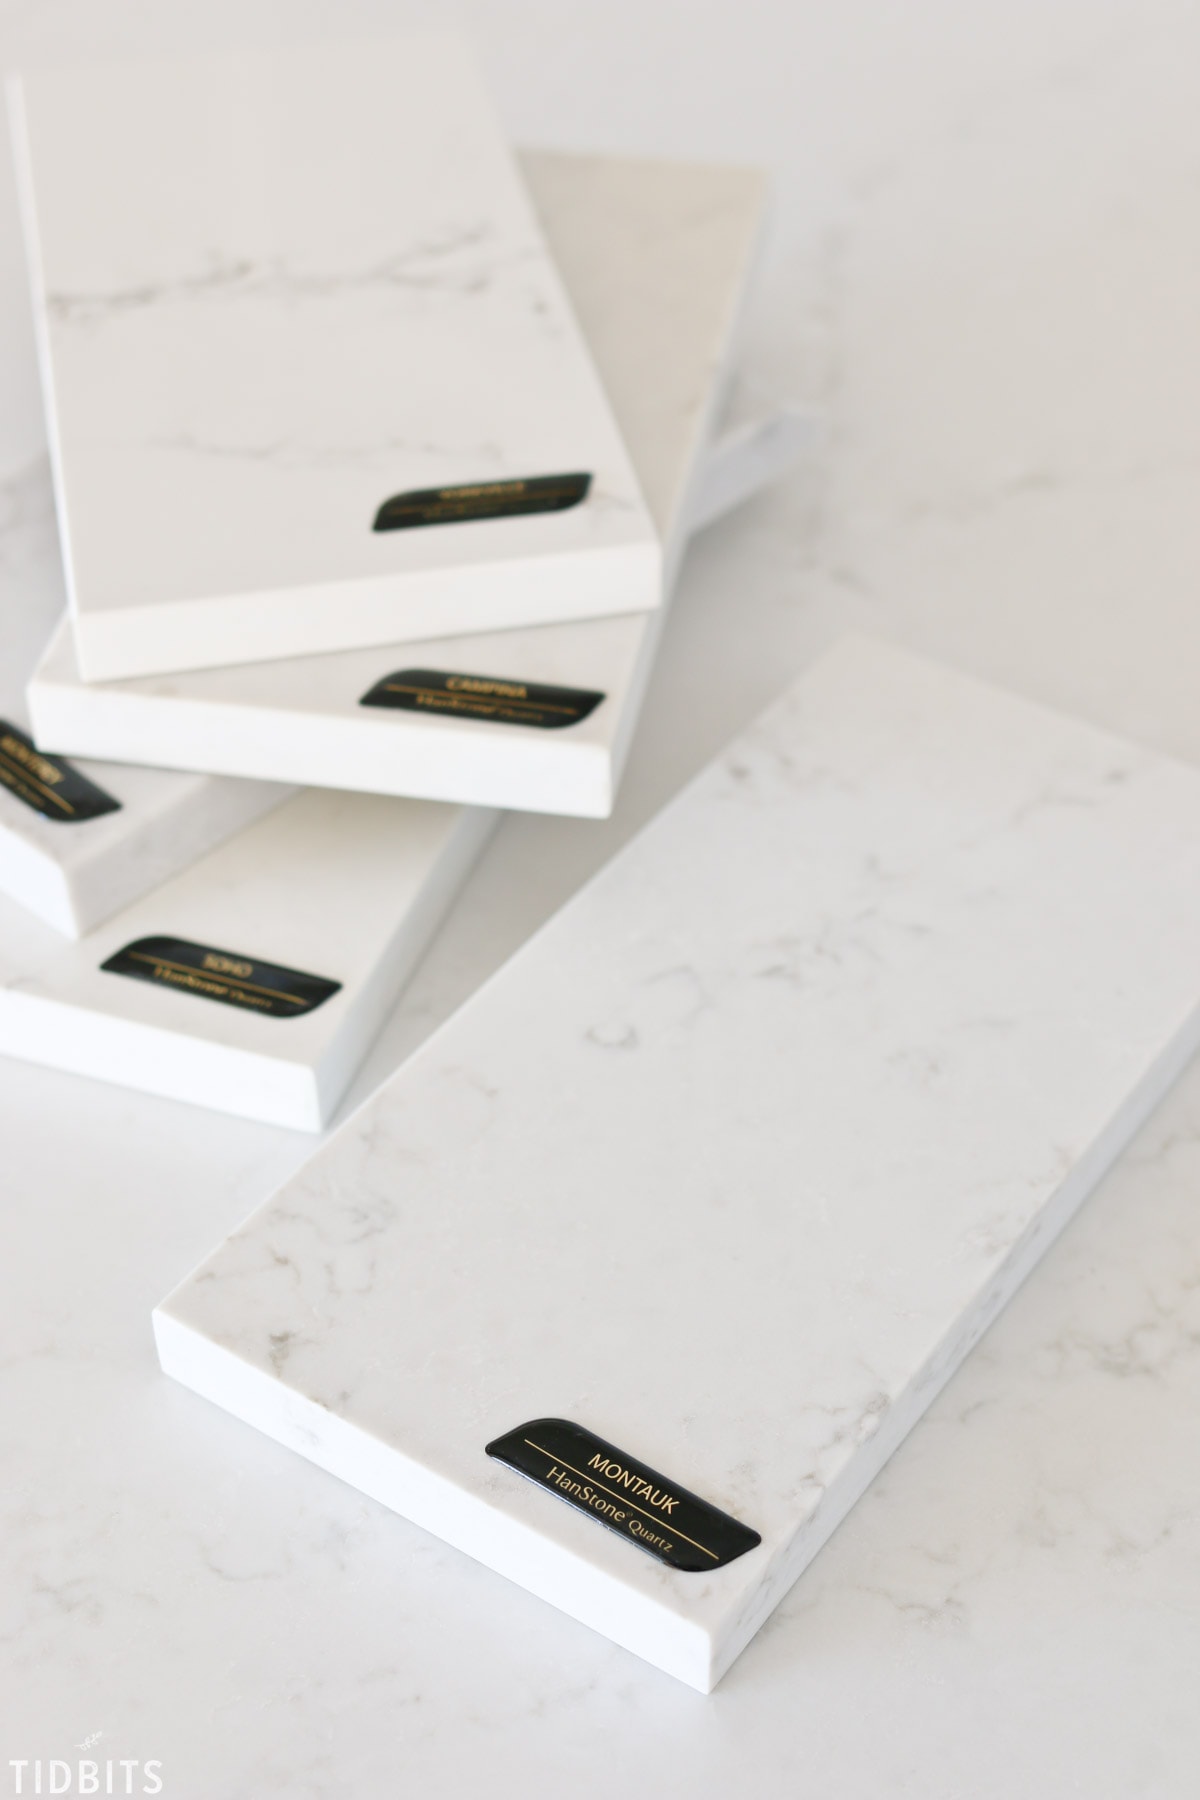
After deliberating for some time, and coming up with an almost unanimous vote from my family and my followers on Instagram Stories, my final decision was to go with Montauk – this warm sandy backdrop gives the quartz a vintage yet modern feel.
I love it soooo much!
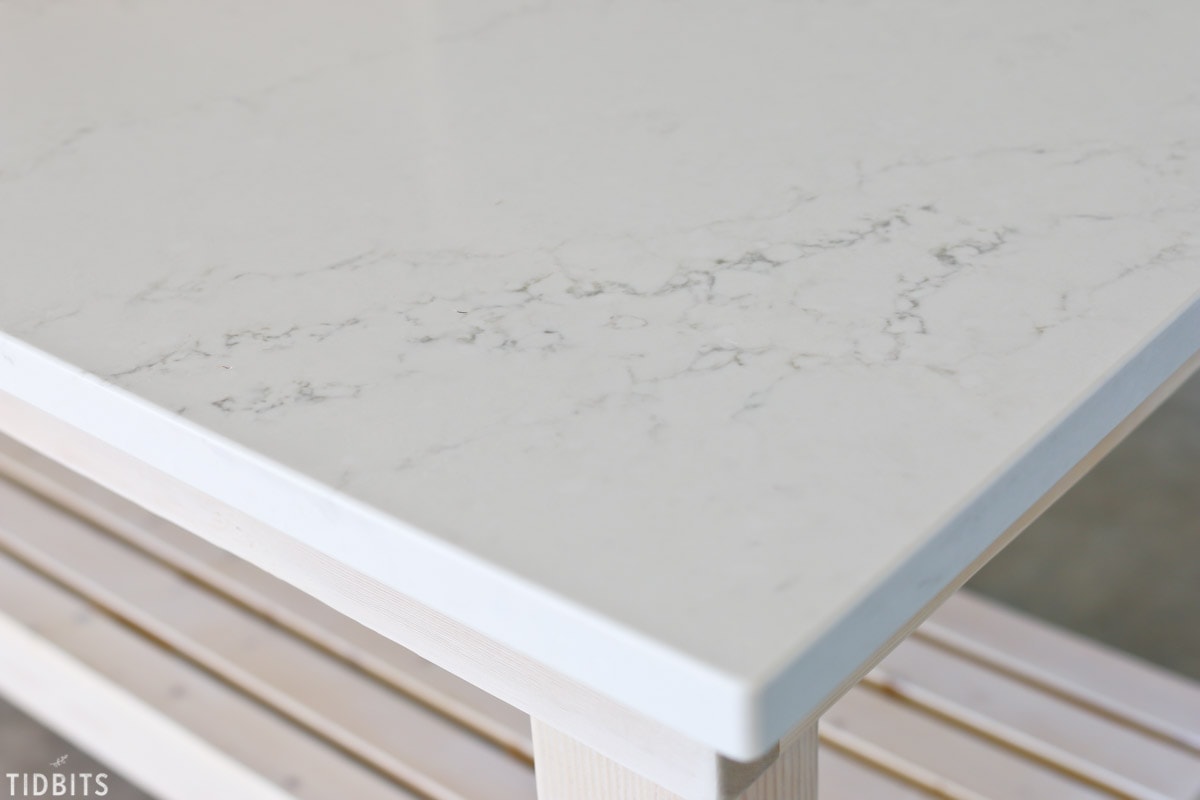
FABRICATION AND INSTALLATION OF QUARTZ COUNTERTOP
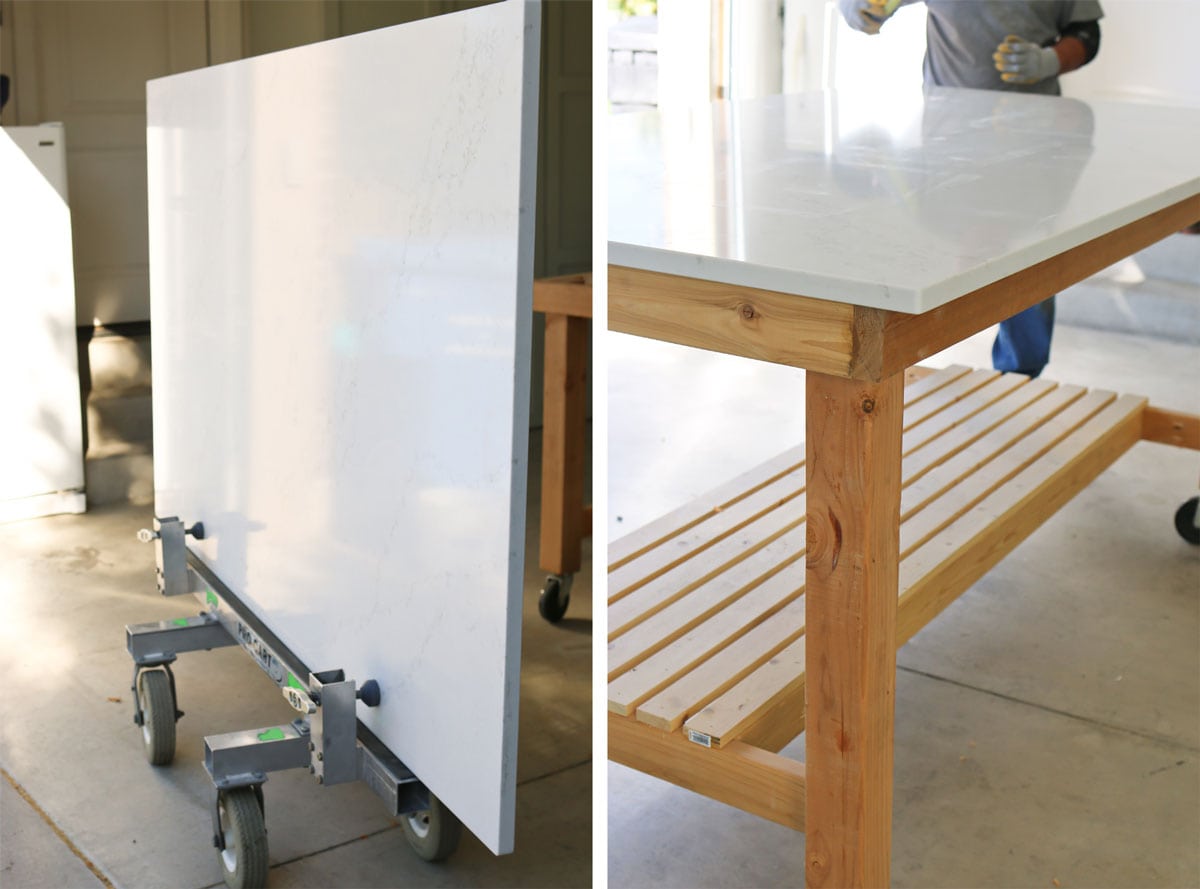
After we built the base, the Quartz was sent over to a local fabricator, which for me was a company called Bedrock Quartz. They cut and polished it to size and delivered it right to my door to glue and place on our rolling base. The process went very smoothly and the results couldn’t be better!
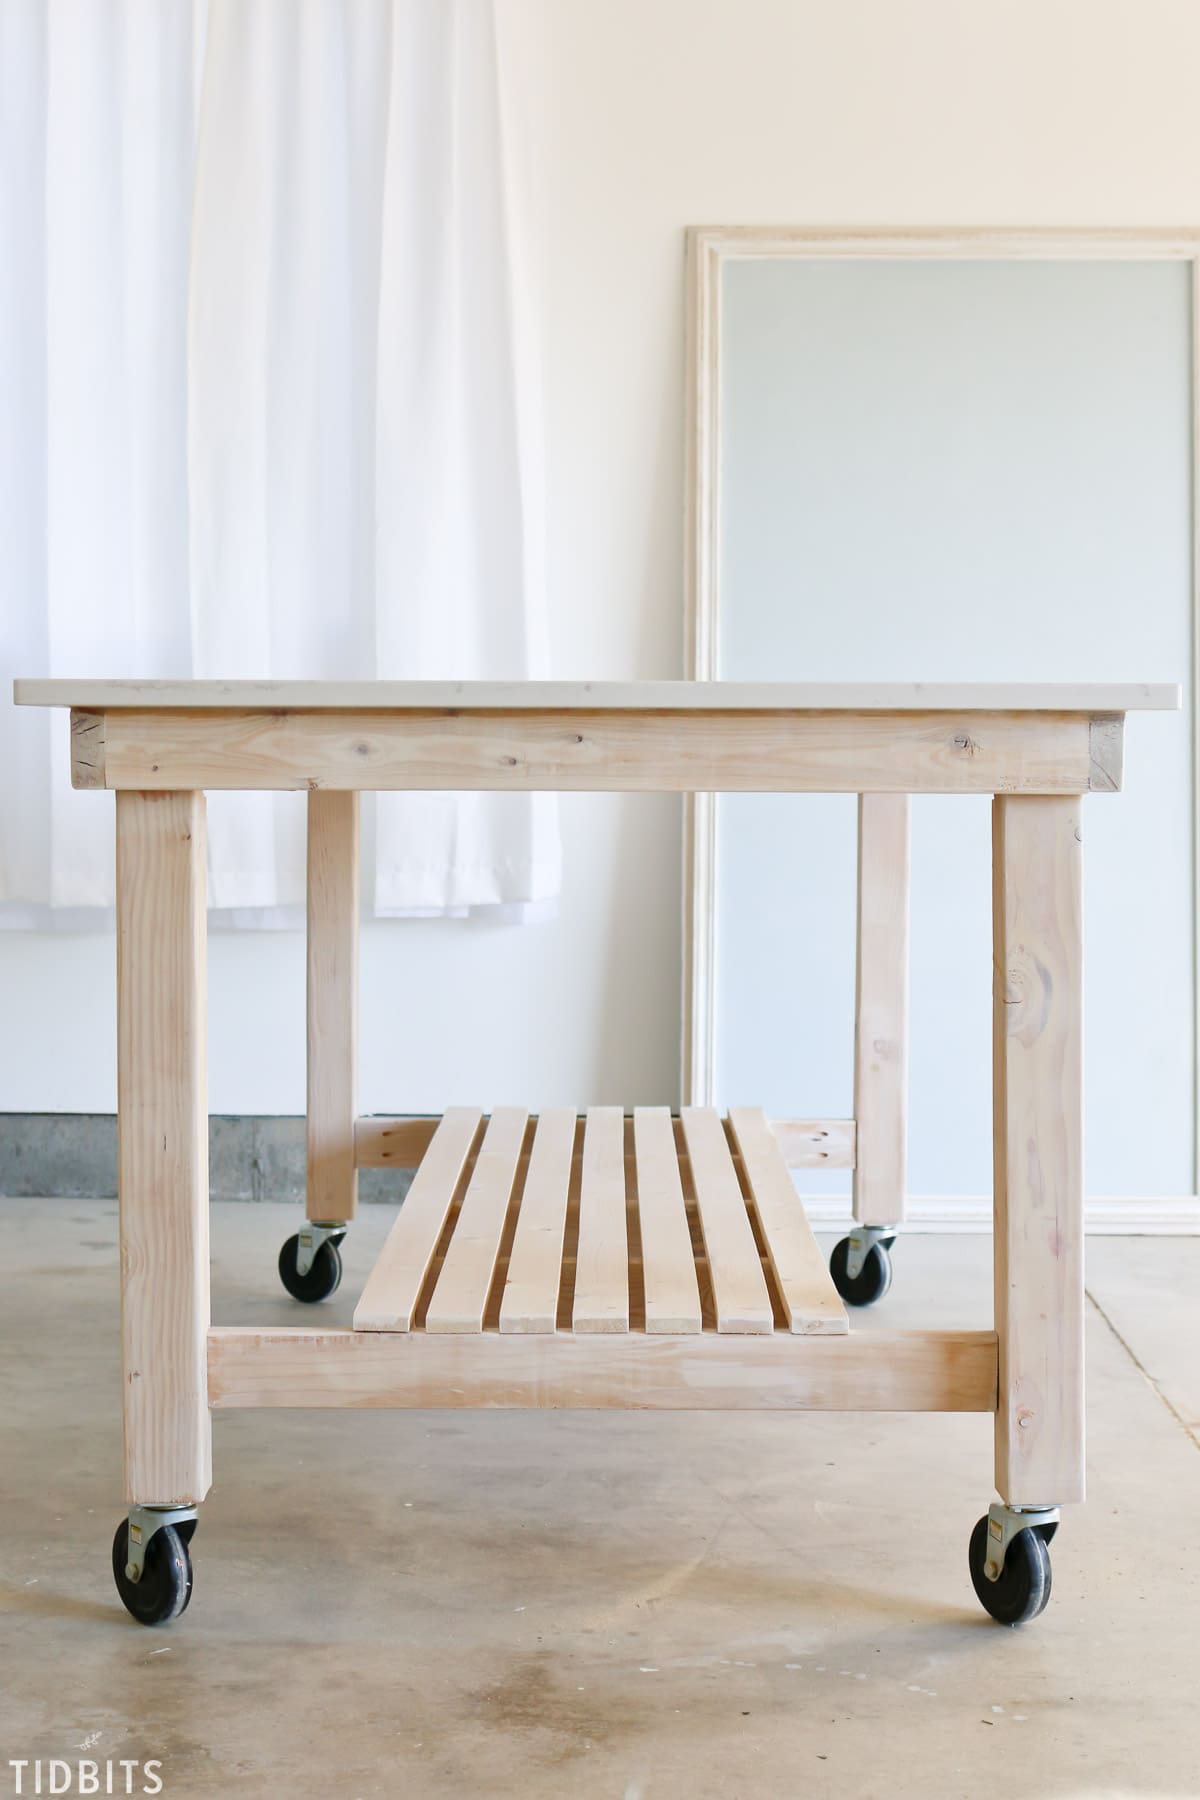
WOOD FINISH FOR BASE OF ROLLING WORK TABLE
Once the top was installed, I knew there were two directions I could go with the wood finish, and get beautiful results either way. I could take the wood darker with something like a walnut stain or go for a lighter feel with some white-washed wood.
Believe it or not, it was a hard decision for me! In the end and after testing several pieces of scrap wood, I opted for a white washed lighter wood. Despite trying several methods for getting the look I wanted, I ended up simply using some creme wax found at the craft store – which successfully lightened and sealed the wood at the same time, all while letting the wood grain shine.
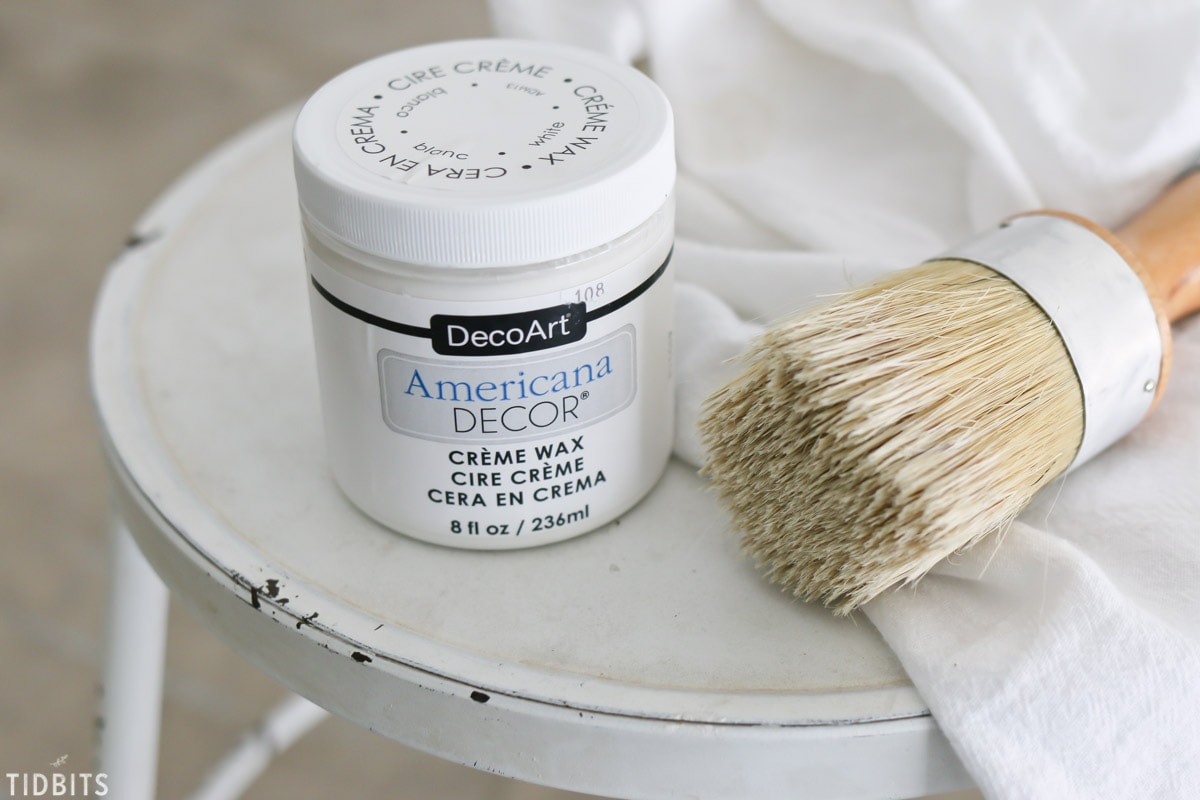
To apply, I simply brushed a small amount onto the wood with a round thick brush and going in the direction of the wood grain. After waiting a few seconds, I wiped off the residue.
Stained and sealed all in the same step!
STEPS TO BUILDING ROLLING WORK TABLE
I turn all things woodworking and building over to Mr. TIDBITS, to explain and take you through the process for building his creations. He carefully designed this project in his fancy engineering programs before he set out to build it. We wanted to get this right and build it to last!
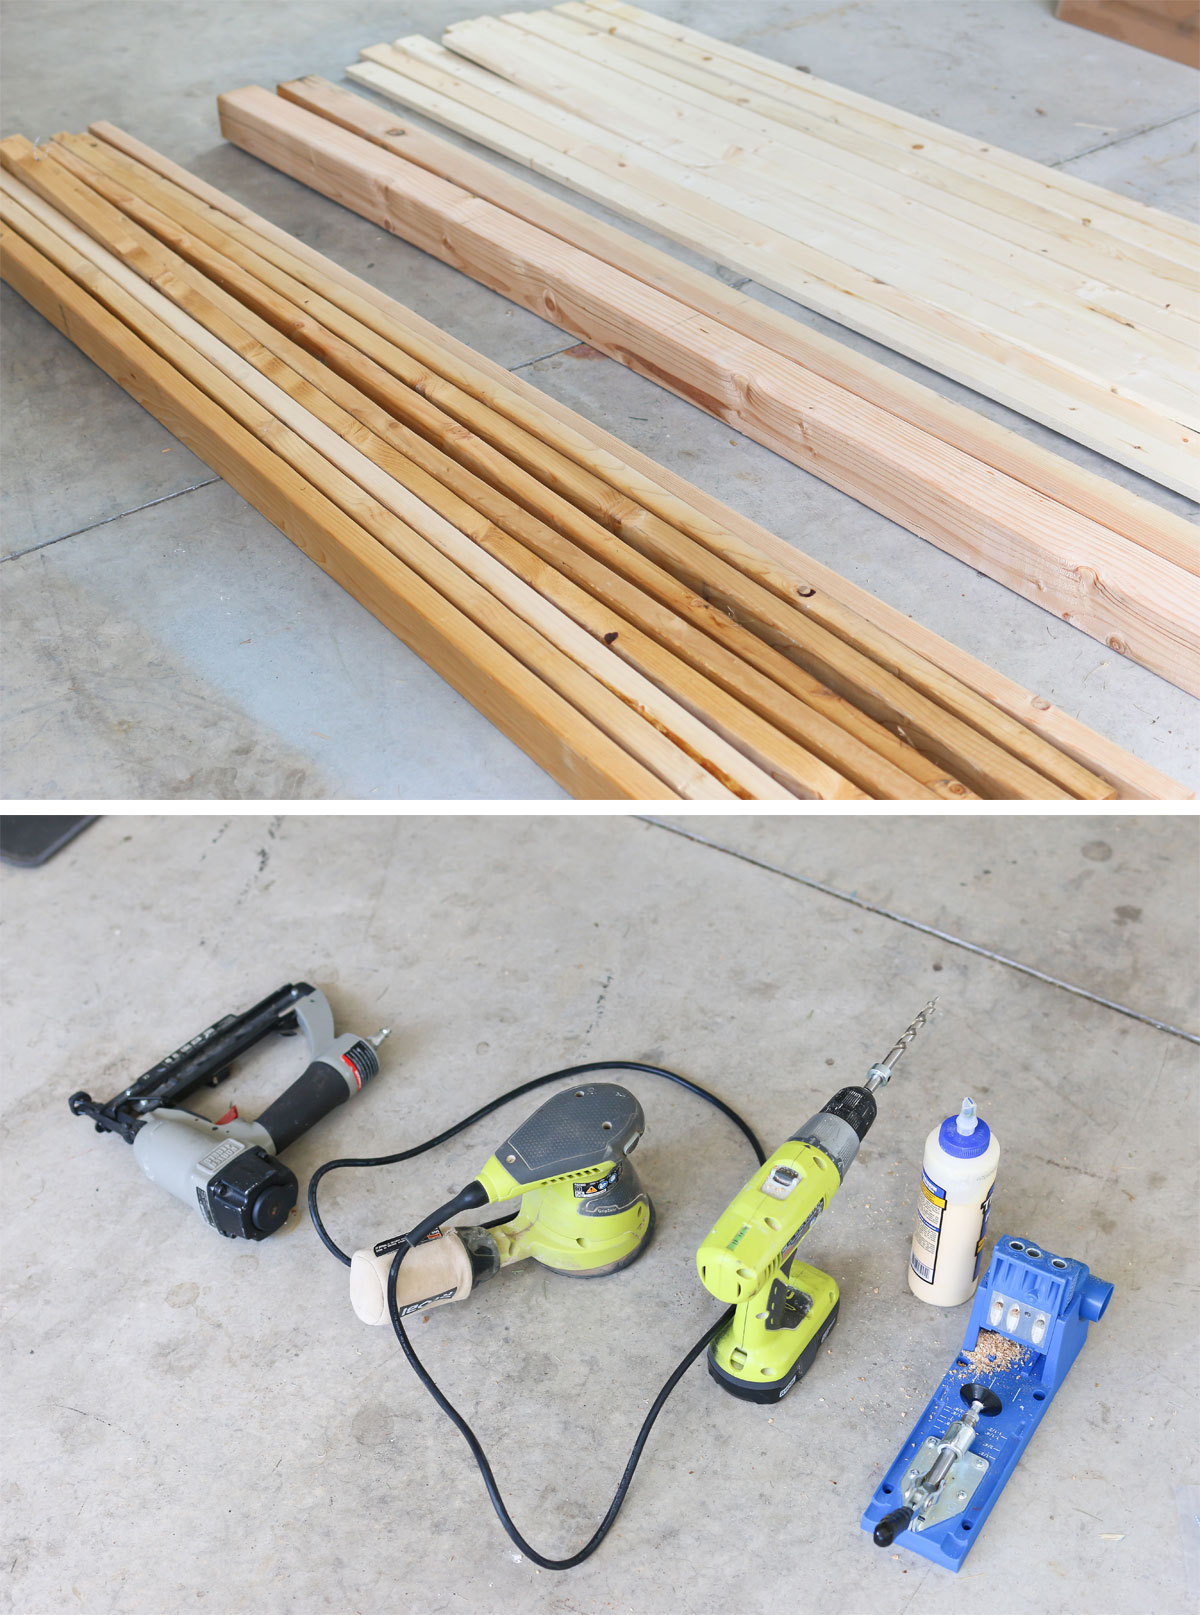
SUPPLIES FOR ROLLING WORK TABLE
- WOOD
- 2x4x8
- 2 cut to 80″
- 4 cut to 41″
- 2 cut to 34 1/4″
- 3 cut to 18 3/4″
- 2 cut to 70″
- 4 cut to 11 1/2″ on a 45 degree angle
- 4x4x8 (2 of them)
- 4 cut to 34″ (can vary depending on desired height of countertop)
- 1x3x8 (7 of them)
- 7 cut to approximately 73″
- 2x4x8
- TOOLS
- Wood Glue
- Drill (can be used for drilling pilot holes and screws)
- Impact drill (optional but better for driving in the screws and lags than the drill)
- Sander
- Kreg Jig pocket hole joinery jig
- Nail gun
- Tape measure
- Wood clamps
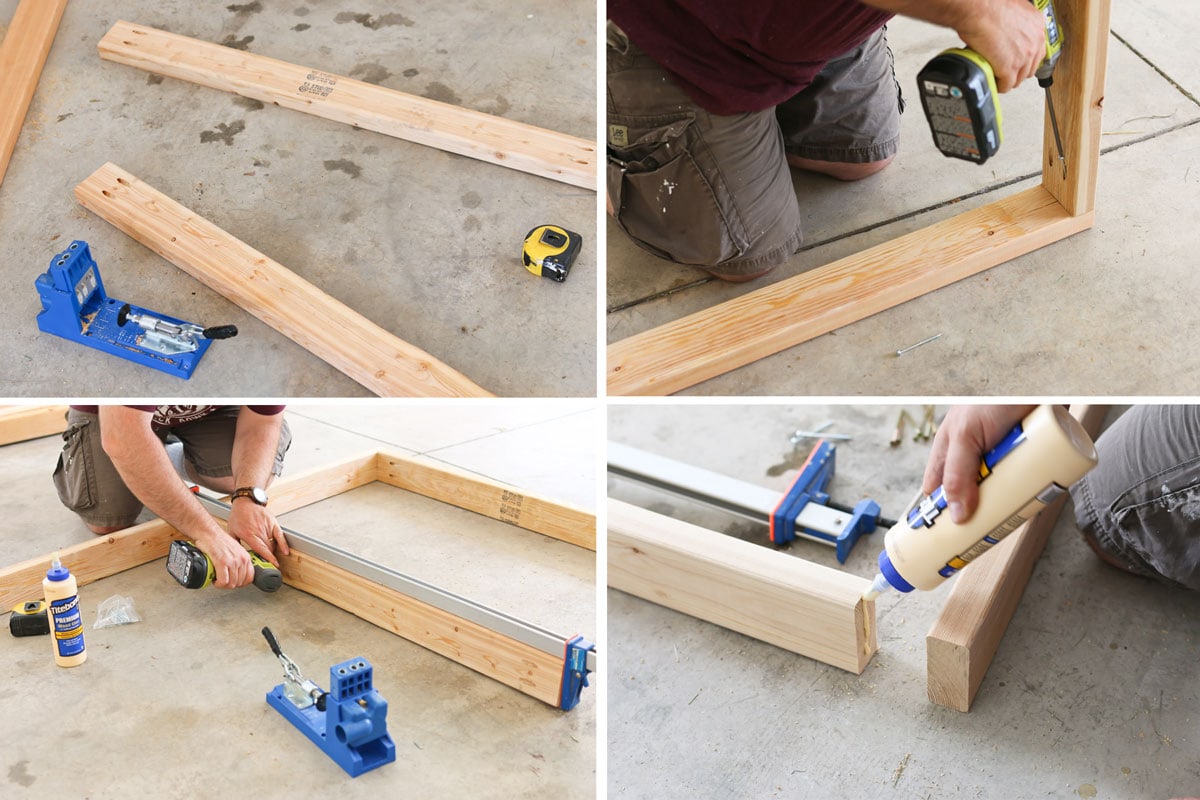
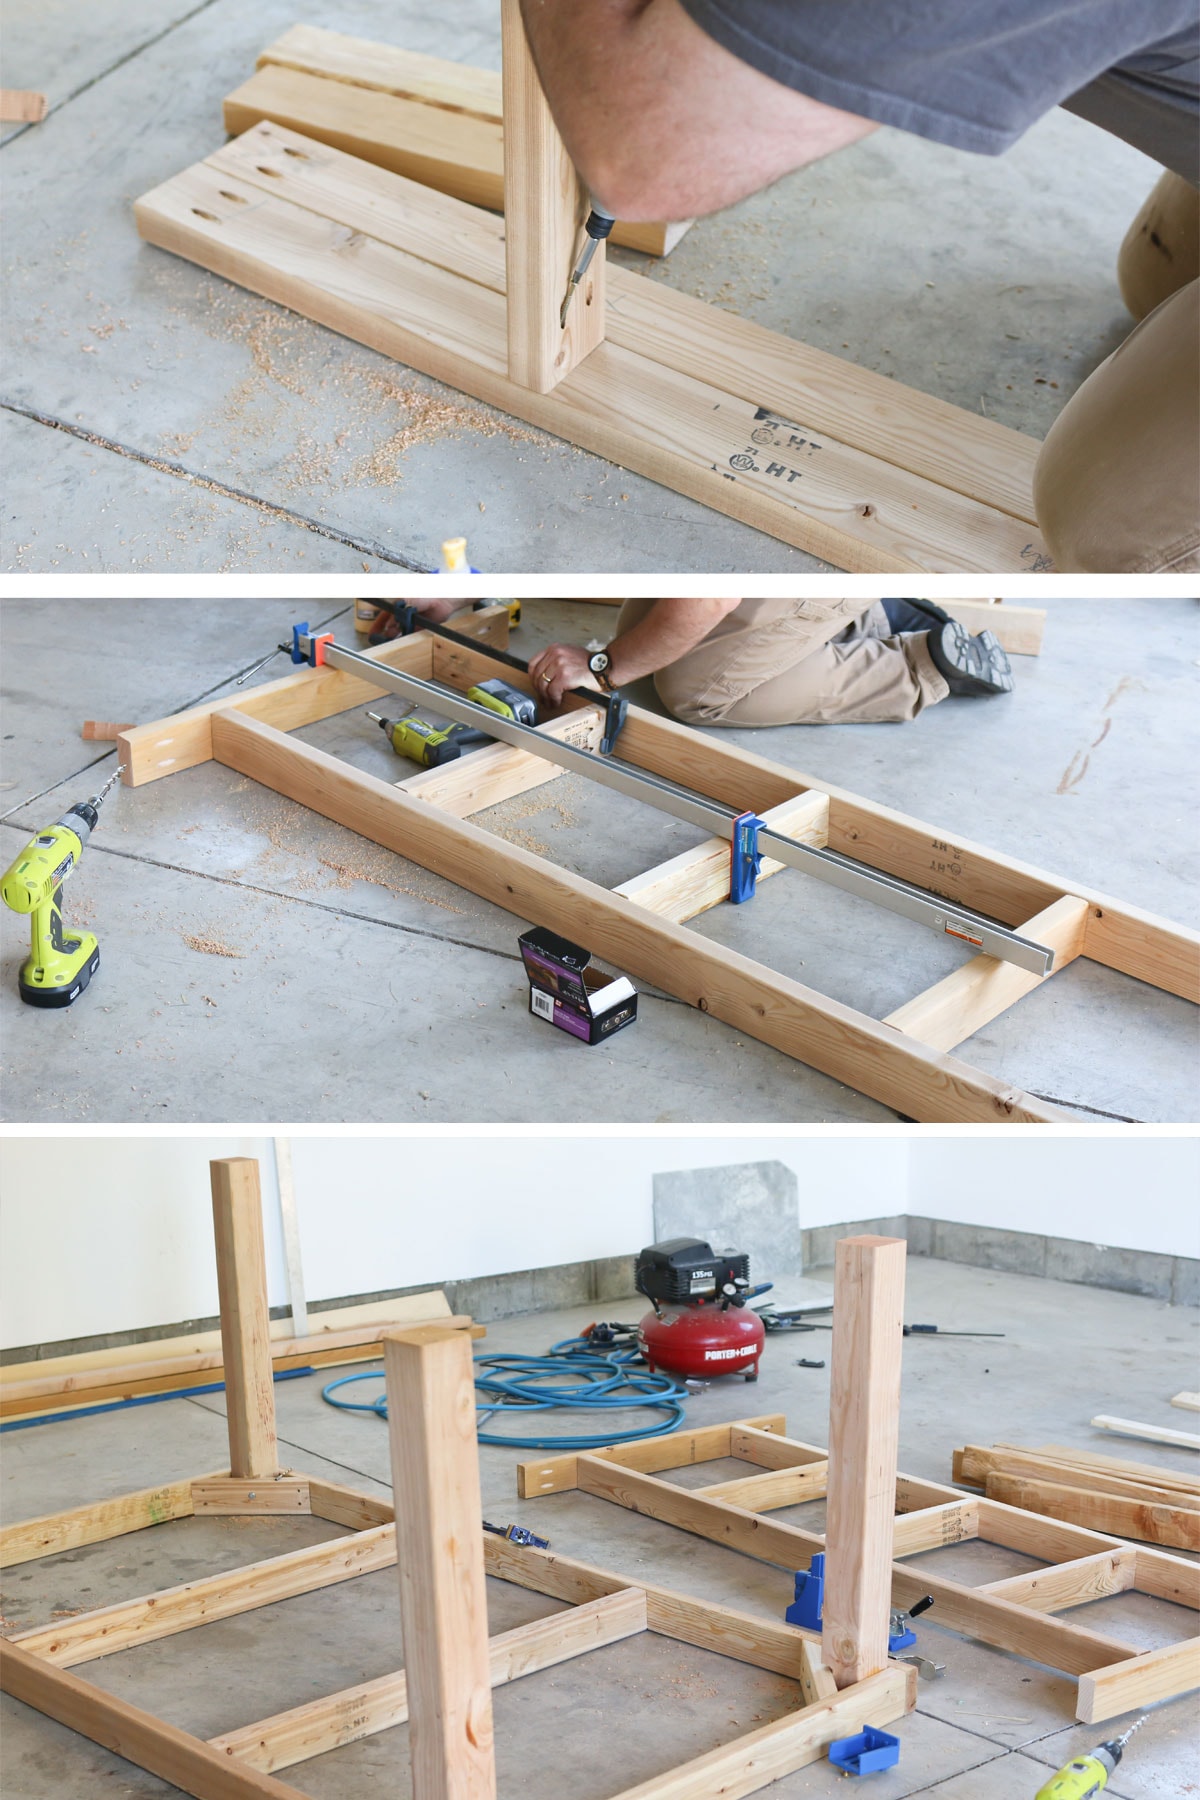
BUILDING THE TOP FRAME
Start by building the frame for the top. Using the Kreg Jig, drill two holes in the ends of each of the four 2x4x41″ boards. Use glue and screws to attach them evenly along the length of the two 2x4x80″ boards, forming a square frame. Use a wood clamp to make sure the joints are tight as you screw them together.
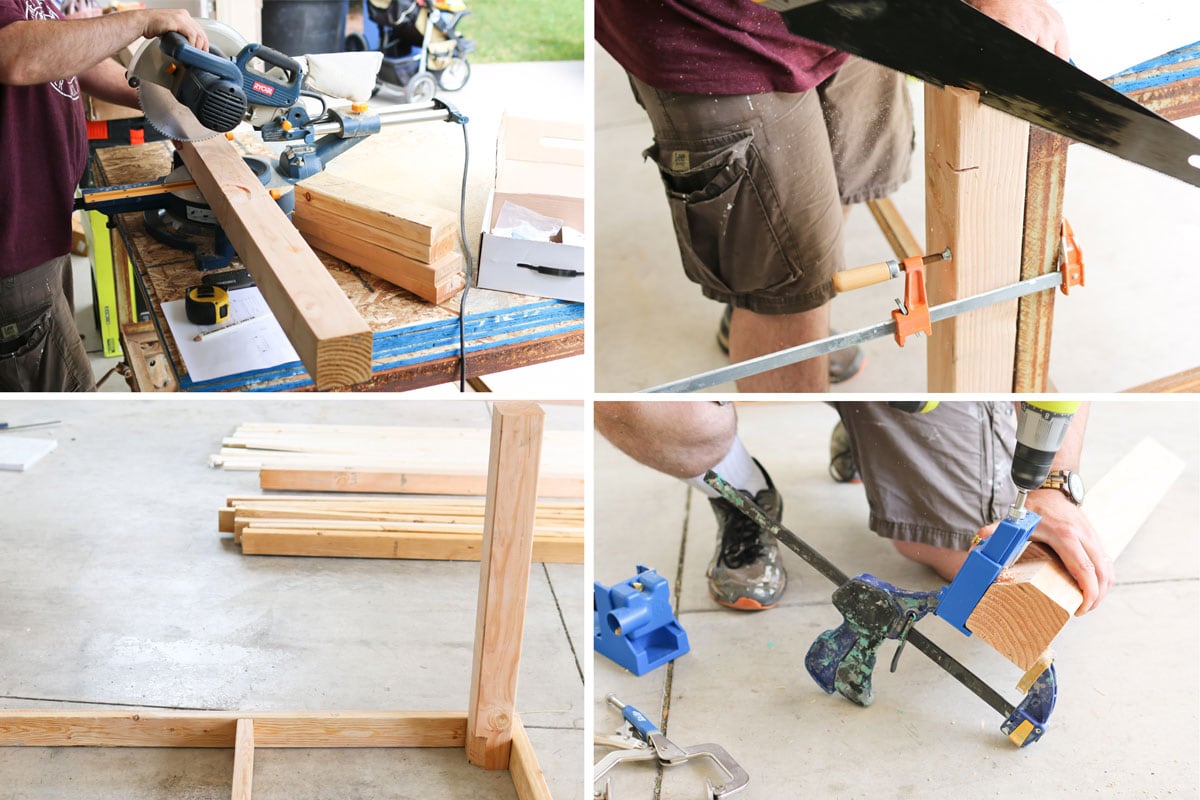
BUILDING THE 4 LEGS
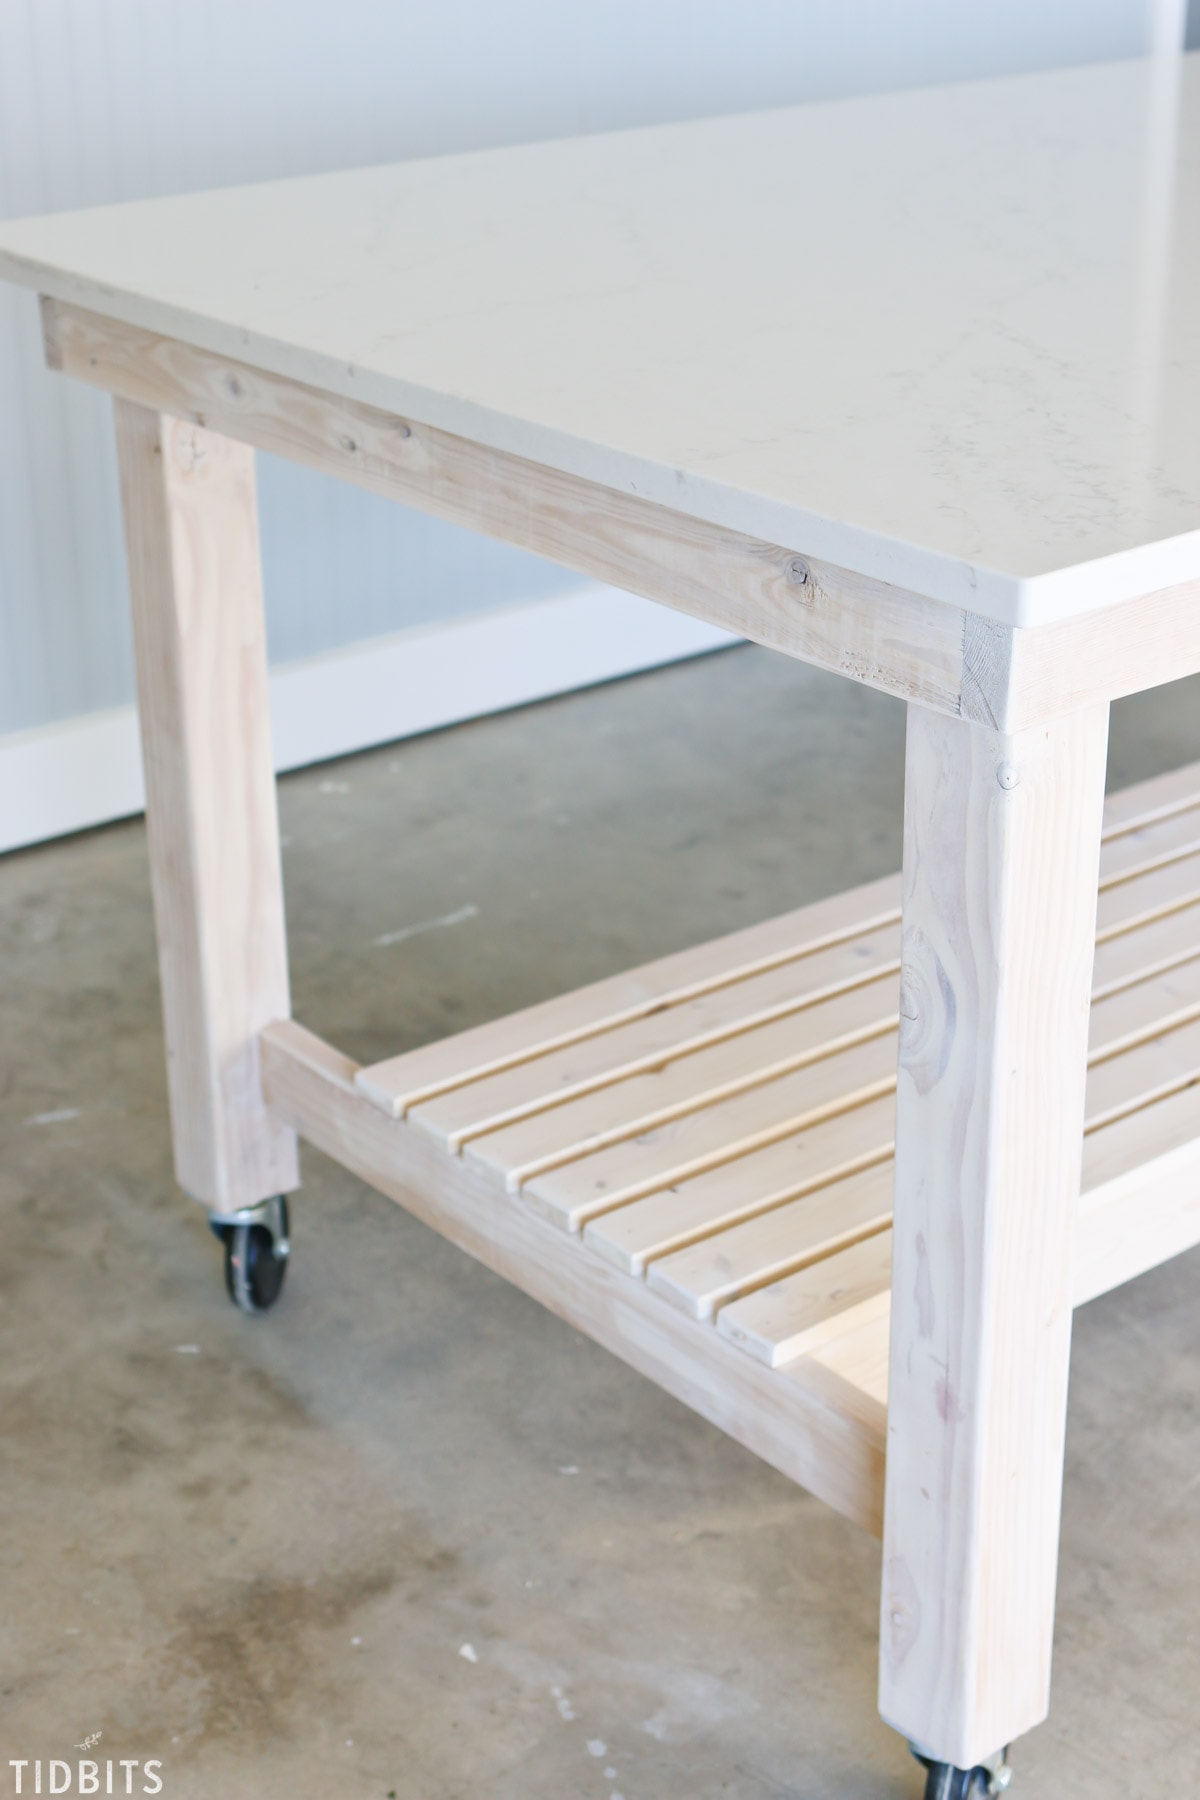
Next build the four legs by cutting the 4x4x8 boards to 34 inches long. With the 4.5″ casters this dimension will make for a countertop height of 41 inches which is on the tall size. You can adjust the leg length to match your desired height. Pick a corner and measure on inch on either side of it then make a mark 4 inches down. Using a hand saw, cut this wedge out of the corner as seen below. Use the Kreg Jig to make 4 pilot holes on the face of the wedge you just made. Repeat for all 4 legs.
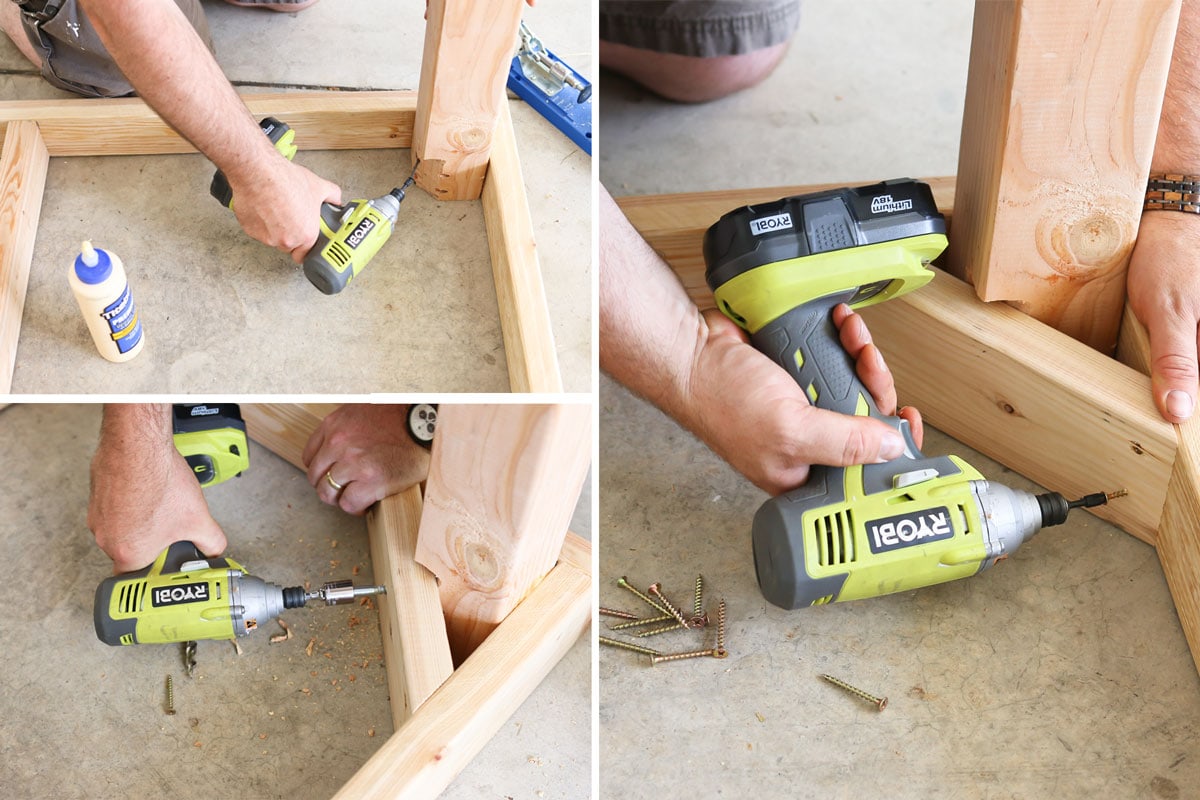
ATTACHING THE LEGS
Screw the legs onto the top frame with being sure to use glue and facing the wedge cutout to the middle of the frame as pictured below. Take the four 2x4x11 1/2″ boards cut on a 45 degree angel and screw these onto the face of the wedge and the sides of the frame. Again be sure to always use glue. This will make the table legs sturdy enough to withstand the weight of the Quartz top. Drill a 1/4 inch pilot hole into the face of the wedge through the corner support and screw in a 3/8″ x 5″ lag for added strength.
BUILDING THE BOTTOM SHELF
Next we will build the shelf. Start by using the Kreg jig to form pocket holes in the ends of the three 2x4x18 3/4″ boards and the two 2x4x70″ boards. Space the 2x4x18 3/4″ boards evenly along the length of the 2x4x70″ boards ( It’s about 16 inches apart). Attach the two 2x4x34 1/4″ boards to the ends of 2x4x70″ boards using clamps, screws and glue to make a tight fit. Do not use the Kreg jig to make pocket holes in the ends of the 2x4x34 1/4″ boards as seen in my picture below. I didn’t realize until after that I couldn’t fit my impact gun between the shelf and the screw. I had to screw them in by hand (not fun) and then added a screw into the bottom which is shown later.
ADDING THE DECKING TO THE BOTTOM SHELF
Next step is to add the decking to the shelf. I mentioned above that this measurement is approximate as it will vary depending on how you assembled the shelf and variances in wood thickness. Measure the length of the shelf and use this measurement which should be around 1x3x73″. I used glue and my nail gun to attach the decking. I wanted a 3/4″ gap between the deck boards so I cut 3 small pieces of the 1×3 decking boards and used them as spacers. Make sure to dry fit the boards to be sure the spacing will work as board thickness can vary.
You are now ready to set the shelf in place. I used the two left over pieces of 4×4 boards cut to 23 inches to make a rest for the shelf to sit on while I set the shelf in place. Use clamps to help hold the shelf in place and go to the next step.
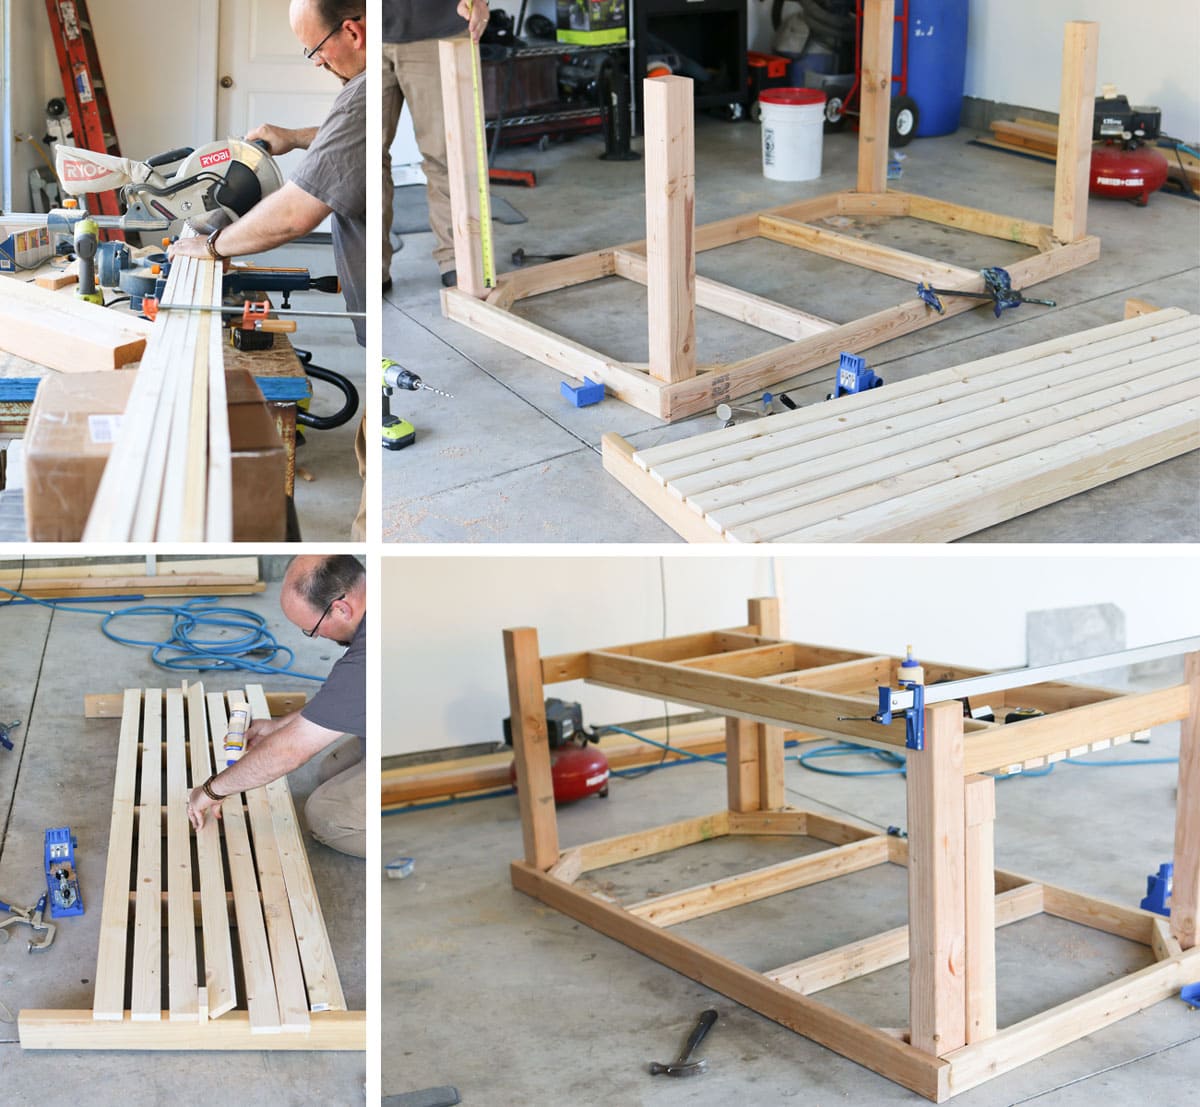
SQUARE THE TABLE
With the shelf in place measure the diagonal distance between the legs making sure to measure at the bottom and not the top since they may not be perfectly straight up and down. I used tie down straps to square the table. The two diagonal lengths should be the same once the table is square. Then drill a pilot hole in the bottom of the shelf into the leg making sure to glue the joint. See picture below and ignore the two pocket hole jigs as mentioned above. Flip the table over, sand and admire.

I hope you’ve enjoyed seeing this project for our makeshift garage studio! If you are interested in building it, or sending the link along for someone else to build it for you, be sure to pin this project so you can always find it! Also, if you make this project, be sure to email me or tag me on social so I can see it! @camitidbits

So grateful to my sponsor Hanstone Quartz for helping me create this content for you. Be sure to follow them along on Instagram to see even more Quartz in action!


Hi, I’m wanting to do this as a counter and dining table dual purpose furniture piece. My contractor said the quartz would be too heavy for wheels. What thickness did you get for the quartz and how heavy is this table to roll around? Thanks! Lisa
How much did it cost you
Beautiful job and great directions! Thanks for the inspiration!!!♥️
Is there any way to block the wheels so the island doesn’t accidently move during the family diner?)
That is incredible data. I did a hunt and discovered your blog. It’s been a major assistance!
Thanks for sharing.
This table looks amazing I guess my readers will like it too sharing it on twitter!
That’s great information. I did a search and found your blog. It’s been a big help! Thanks for sharing this blog.
Really amazing cut. Thank for sharing awesome content. Really your Idea is great.
Hey girl! I love this and think it would work really well in my floral studio. What are the overall dimensions of your table and what size did you get for the countertop?
Thanks! I can’t wait to try this!
Could this be modified to fold in half? I have no room for the table size I need!?
This article shares creative ideas of building rolling work table / Kitchen Island. It comes with an interesting, clear picture and video tutorial on how to get this done. This is a very classic article, after reading it; you will be addicted to DIY rolling work table / Kitchen Island. It worth the time spent reading the article.
Fantastic job! What a great work surface!!!
Oh thank you so much! Yes my dear, you need lots and lots of clamps! My hubs has an addiction to them. We also built the wall, which I linked to above. Tutorial for that as well! Thanks so much for visiting!
Beautiful table!!! But where’s the video? I like to watch it ….
Thank you! You must have scrolled right past it. It’s right under the subtitle “How to build a rolling work table Video.” Let me know if you still can’t see it and I’ll investigate.
Nothing to click on after the subtitle, just goes into Mr Tidbit and I ..