This post may contain affiliate links, which means I get a small percentage of the sale at no extra cost to you. I only recommend items I love and have had a positive experience with. Thank you!
It’s been awhile since I’ve had something to show for on this here blog.
I’ve decided that is just how summers go for us.
And that’s OK.
But finally we have completed the makeover of a teeny tiny space – that really took longer than it should have.
And that’s OK.
I am learning patience lately. Can you tell?
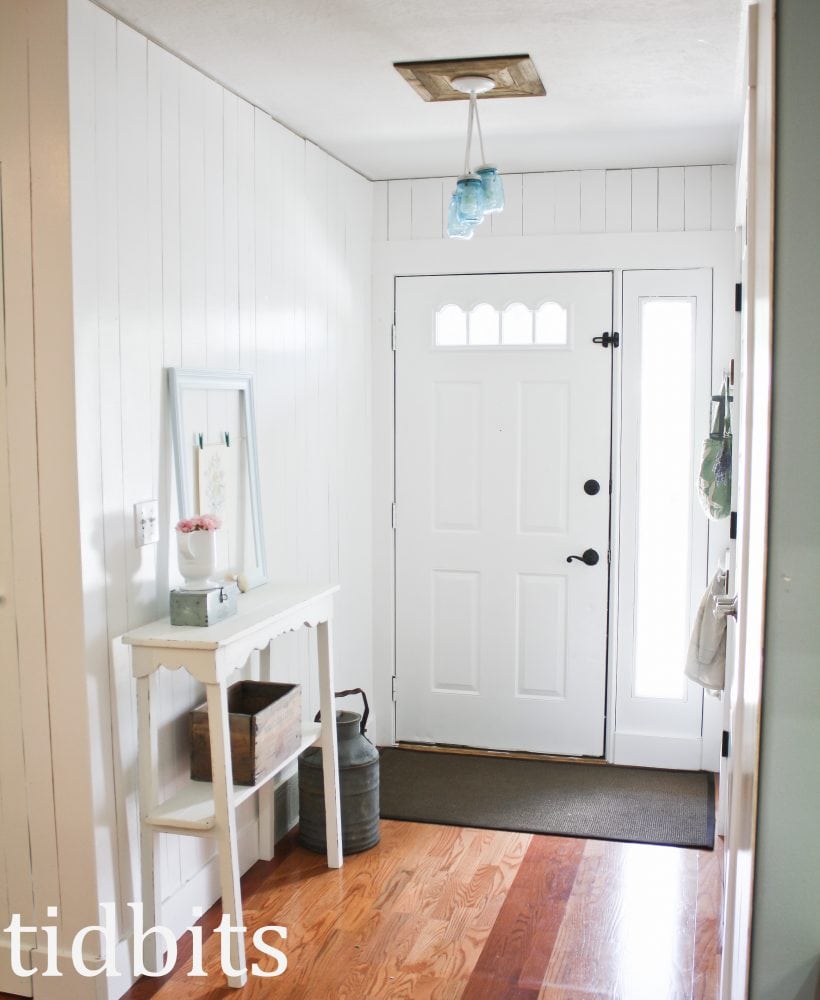
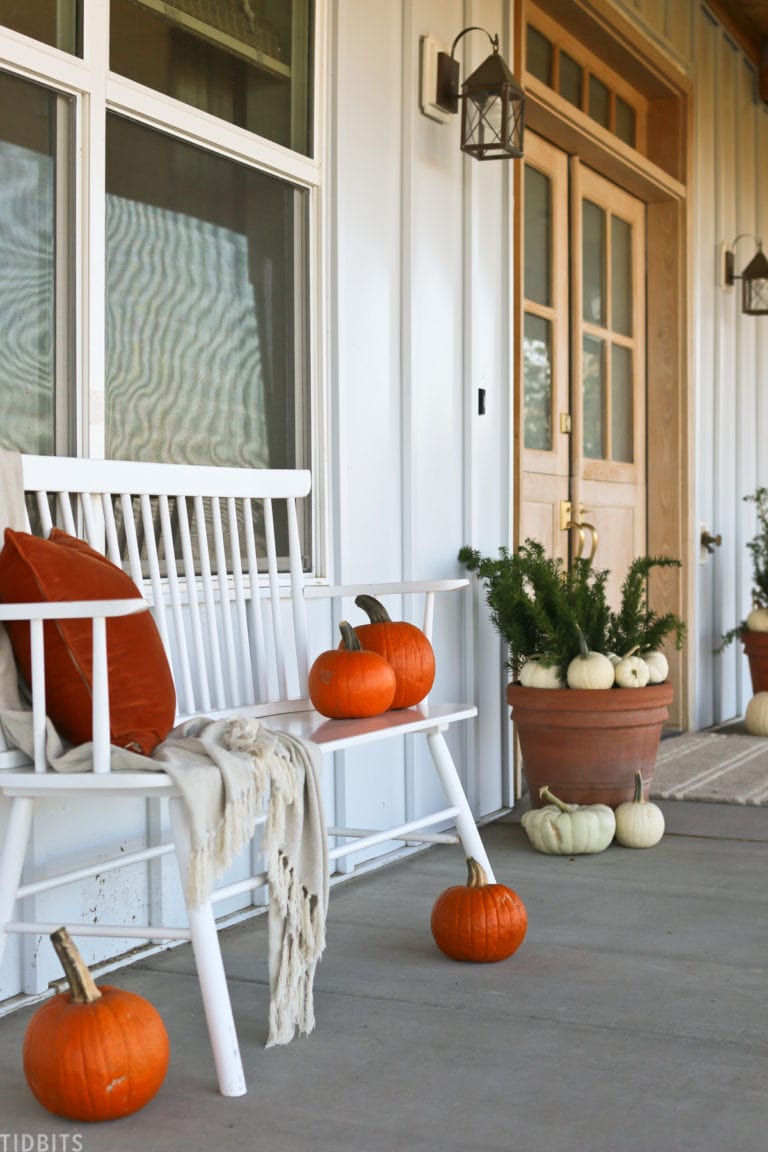
An entry way is the first thing people see when they walk in your house. I really felt it was important to create a simple space, with little clutter, and small touches that represent the look of the rest of the house.
Basically, I needed white paint and planked walls.
And maybe some of my husbands handy dandy skills.
It came together just like I wanted.
Just don’t look too close. We still need some crown molding and a coat of paint on the ceiling, but I couldn’t wait any longer to call the space finished and snap some pictures.
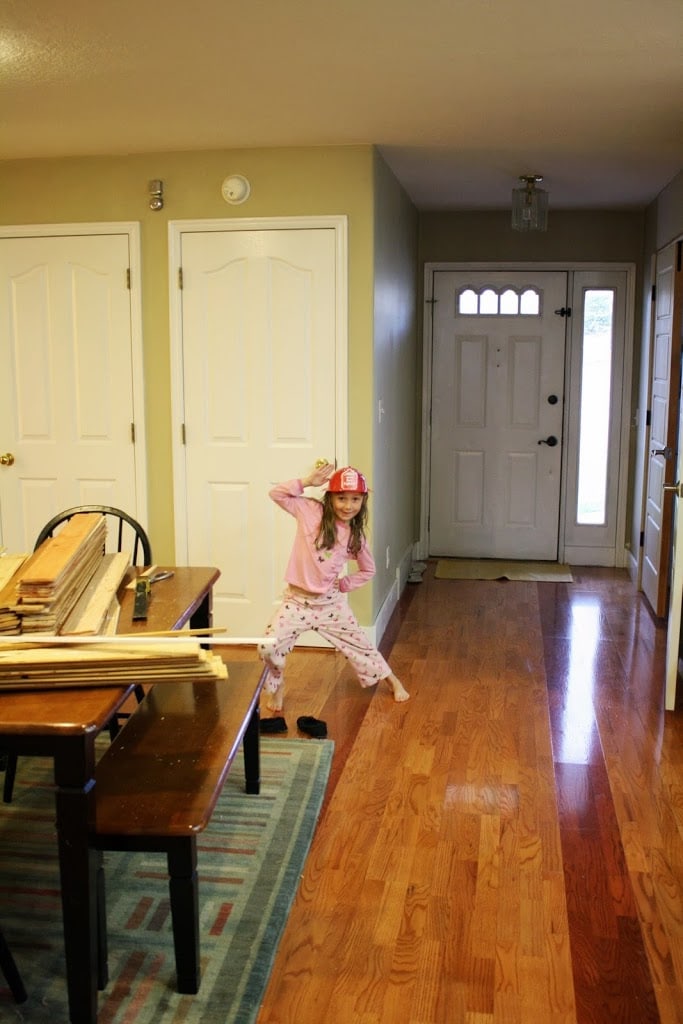
Here is the best BEFORE picture I could find. I must say, my daughter was the only pretty thing in the room, at that point. Even if she is a little goofy.
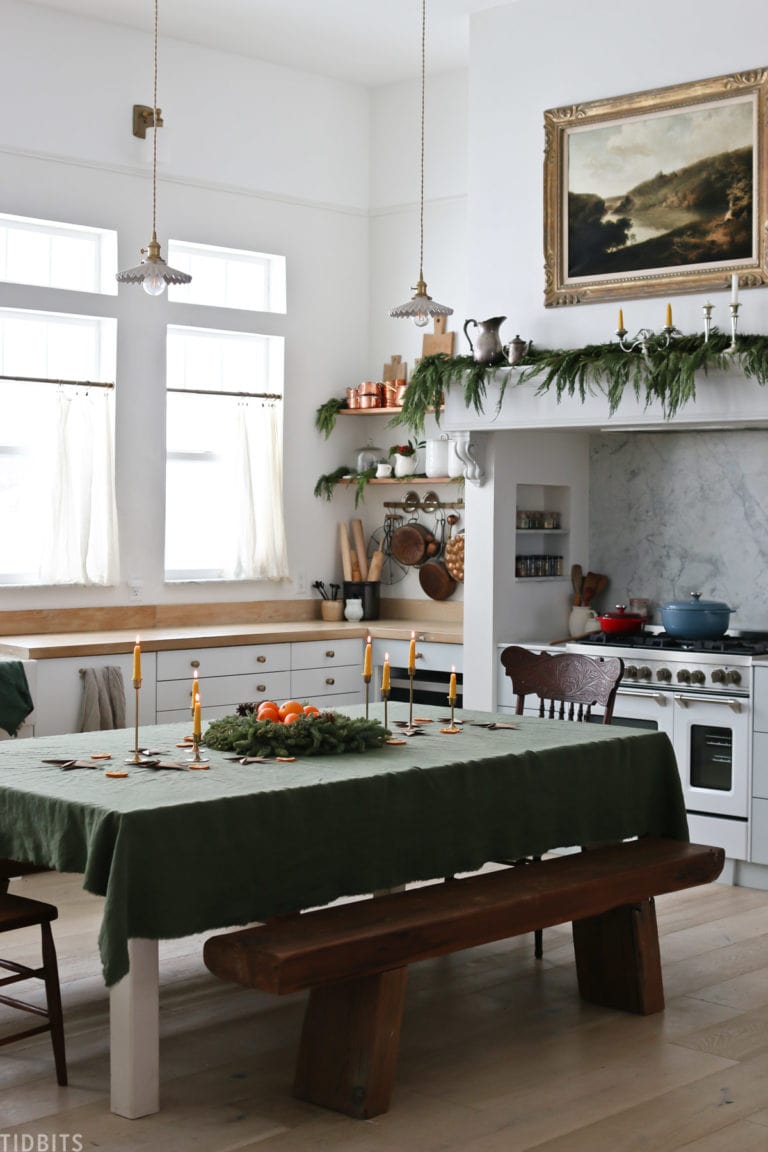
You will get to see more of the dining area, as soon as we wrap up a few projects in there.
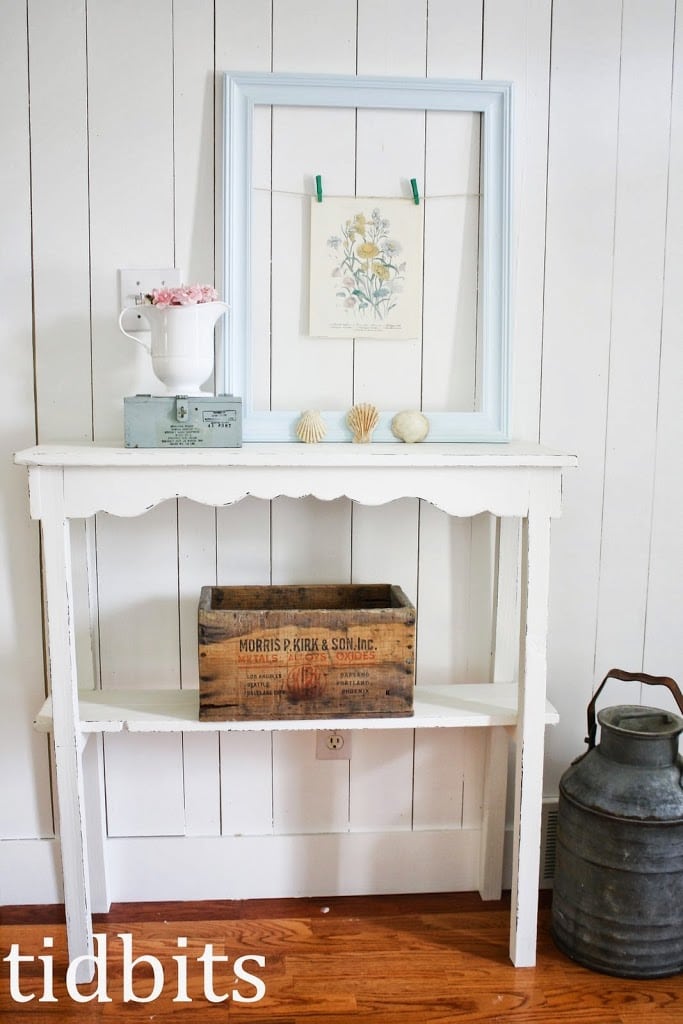
My favorite part is the slim entry table my husband made. I showed him some of my favorites from pinterest, and he came out with this. So in love. It cost less than $15 dollars in wood. I painted it chippy white so the colors of the items on it would really stand out. Matching it with the walls seems to make it take up even less visual space, which is nice in such a small area.
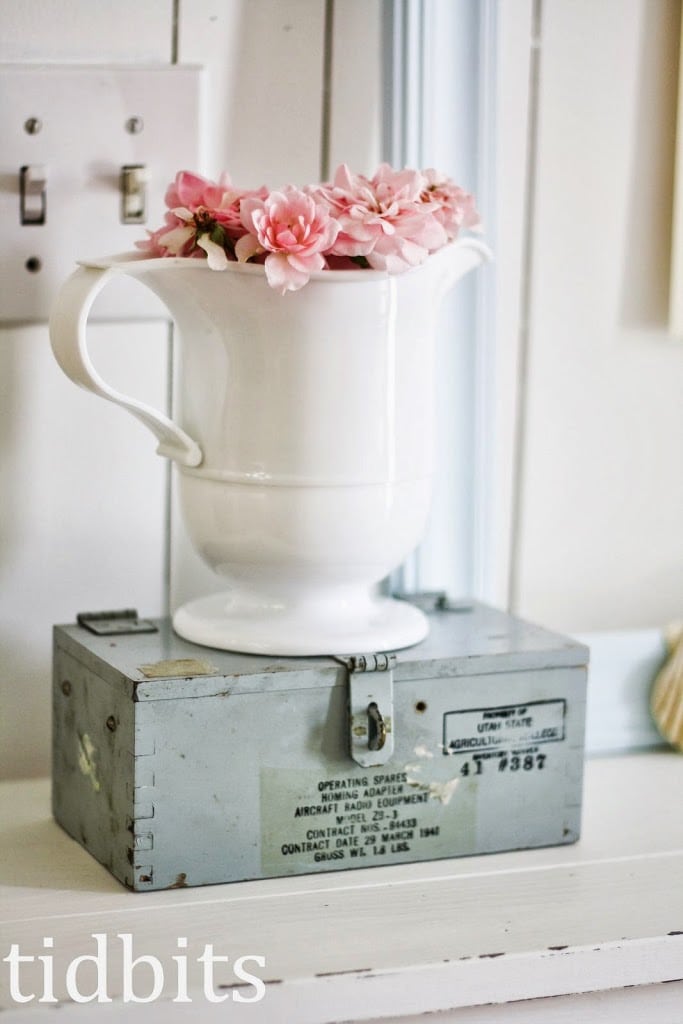
I found this little blue-gray wooden box in my grandpa’s junk yard. Score.
That is also where if found the old wooden box. It took some serious elbow grease to remove the years of mechanics grease on it, and then the beauty really came out.The frame came from the thrift store, as well as the floral print and vase. The vase is nice because it is actually plastic so I don’t have to worry about a soccer ball knocking it over and breaking all over the place.I couldn’t help but throw in some sea shells from our recent trip to Hawaii. Pure bliss, that place is.
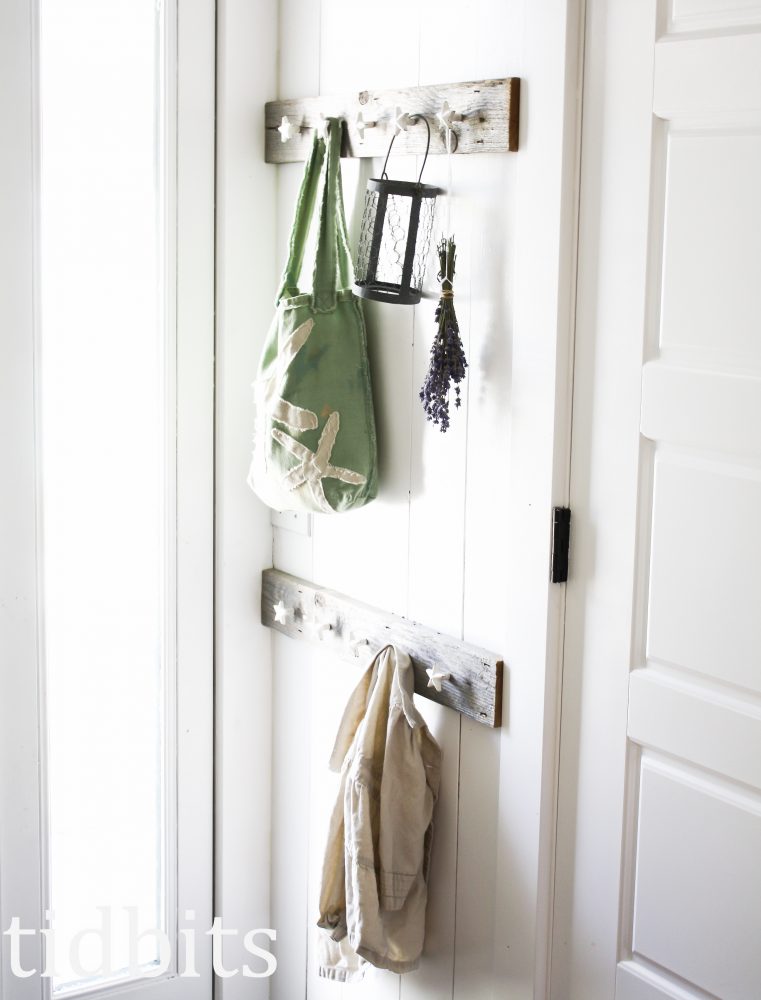
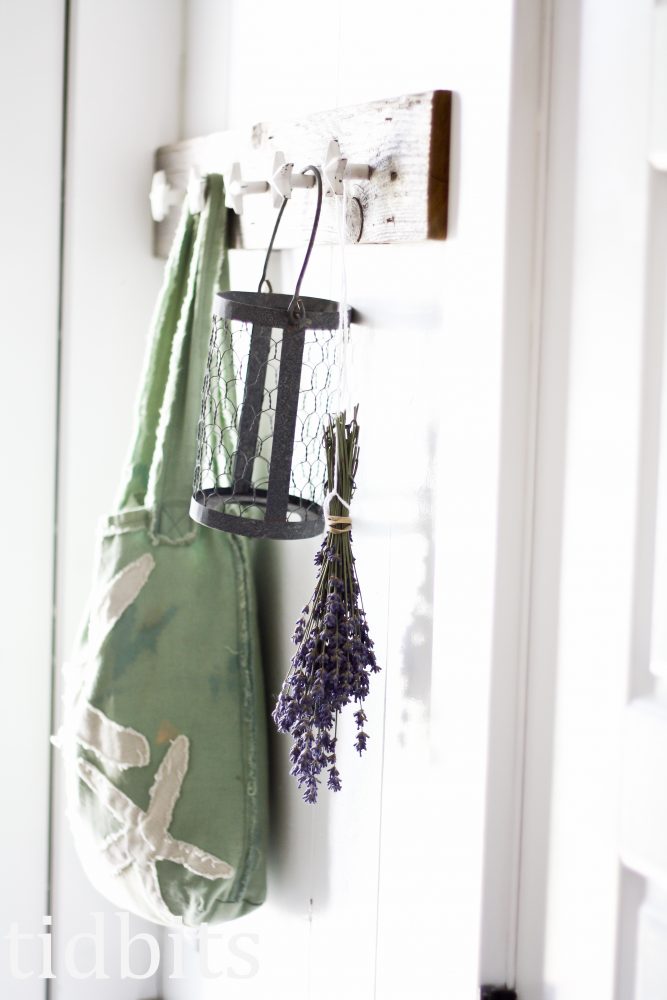
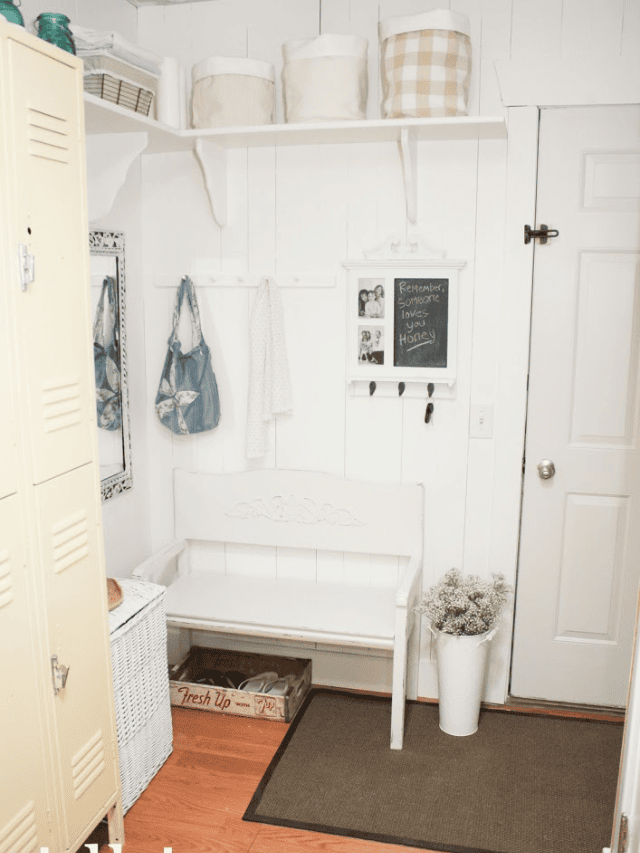
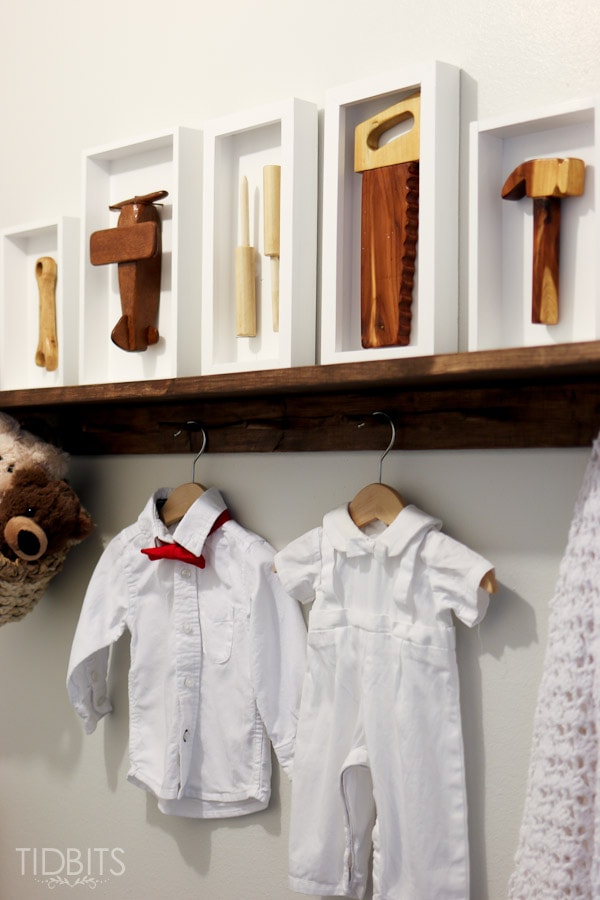
As we have discovered in the year we have lived here, and entry needs somewhere for guests to hang their belongings. I found some old wood from our backyard, and had him cut it to size. The star knobs were a hobby lobby find – and I just love them.
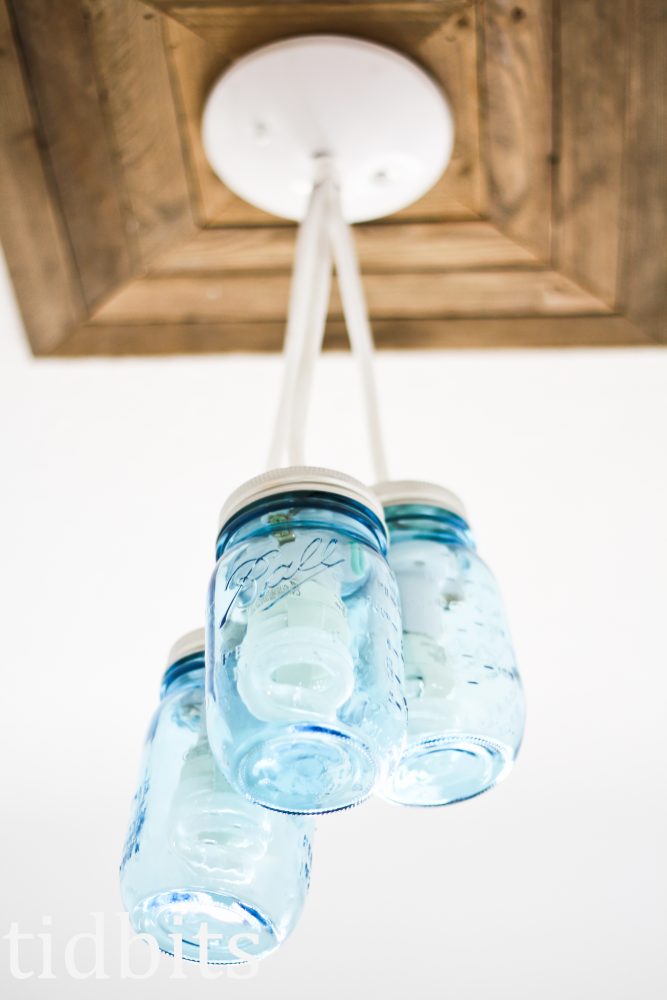
Scroll back up to the before picture, and notice the horrible light fixture. My husband didn’t think it needed to be replaced. I thought it was a must. But we all know, light fixtures can be pricey.
So, I found some blue canning jars at the local grocery store (a new item put out by Ball canning company), and hubby found a cheap way to put them up. I am not going to attempt a tutorial, because I can’t guarantee his methods, but he simply cut a extension cord in pieces, bought the needed attachments online for a few bucks, and strung it up. I saw some old greasy wood fencing stacked in his garage, and asked if he could cut it up and make a wooden frame for the light fixture, similar to our mantel piece here. He delivered. I love the splash of blue the fixture adds to the space.
And finally, the milk jug was given to us by my husbands twin brother, and the rug is from Ikea. I love how this rug grabs the dirt before the kids come in. These rugs vacuum up nicely as well.What a difference such a small space can make when it is prettied up. I was about to hit publish, when I decided every post needs some faces. So here is a picture that is sure to melt your heart.
At least it does mine. I know none of my home dreams could ever be possible without such a kind husband who so willingly submits to my crazy ideas.
I’m Cami. Welcome to The Keeper of the Home. If you love all things home, you are in good company! Follow along as I share inspiration for homemaking and healthy living.
I'm over from Better After and girl, you won my heart! I GOTTA be a copy cat and do my entry area with board and lovely white! I LERV what you did! Heart be still!
It's beautiful! I agree with beautifying the entry way, it sets the tone. Ours is SO, SO, tiny, almost non-existent haha. And it doubles as our "office" due to the size of our home. I really dislike this combo. I've been racking my brain on HOW to make a better presentation of the area. You both did an amazing job.
Someone pinned something of yours on Pinterest, with the comment that the blog was great. Soooooo. . . . That person was right! Love the picture of your husband and daughter. Pictures like that have to be grabbed–no way to pose them! Betty Spaulding in Chattanooga
I am a new follower of yours, and really love your entry way. Your husband is great for making that gorgeous entry table, and also for letting you use your imagination and creating the gorgeous light fitting. I noticed the little floral print in the frame – my mum has that in a shabby chic frame (can't remember where she got it from), and we're in Australia!
<br />CAMI! Fantastic!!!! I have been looking and looking to see if you've done anything new. It looks fabulous! Golly we have the same taste! My entry way got put on hold with all the drama I had the summer, but I did manage to do our bedroom. Yay for something. LOL! Summers are always crazy, even without drama, so good for you for spending some time with those pretty girls of yours.
I've been checking back on and off figuring you would have to post again sooner or later. Was excited to see a new post tonight. I LOVE looking at your fabulous ideas:) The girls are adorable too:)
Get all my new content sent straight to your inbox.
We use cookies to ensure that we give you the best experience on our website. If you continue to use this site we will assume that you are happy with it.


I'm over from Better After and girl, you won my heart! I GOTTA be a copy cat and do my entry area with board and lovely white! I LERV what you did! Heart be still!
It's beautiful! I agree with beautifying the entry way, it sets the tone. Ours is SO, SO, tiny, almost non-existent haha. And it doubles as our "office" due to the size of our home. I really dislike this combo. I've been racking my brain on HOW to make a better presentation of the area. You both did an amazing job.
Someone pinned something of yours on Pinterest, with the comment that the blog was great. Soooooo. . . . That person was right! Love the picture of your husband and daughter. Pictures like that have to be grabbed–no way to pose them! Betty Spaulding in Chattanooga
Loving it! Your husband is awesome! Glad to see some of your fun projects! Keep them coming!
the entry is gorgeous and I love that picture 🙂
I am a new follower of yours, and really love your entry way. Your husband is great for making that gorgeous entry table, and also for letting you use your imagination and creating the gorgeous light fitting. I noticed the little floral print in the frame – my mum has that in a shabby chic frame (can't remember where she got it from), and we're in Australia!
<br />CAMI! Fantastic!!!! I have been looking and looking to see if you've done anything new. It looks fabulous! Golly we have the same taste! My entry way got put on hold with all the drama I had the summer, but I did manage to do our bedroom. Yay for something. LOL! Summers are always crazy, even without drama, so good for you for spending some time with those pretty girls of yours.
I've been checking back on and off figuring you would have to post again sooner or later. Was excited to see a new post tonight. I LOVE looking at your fabulous ideas:) The girls are adorable too:)