This post may contain affiliate links, which means I get a small percentage of the sale at no extra cost to you. I only recommend items I love and have had a positive experience with. Thank you!
On super rare occasions, my style of home decor and kids crafts go hand-in-hand.
And let me tell you – when those stars align – everybody is happy.
Today I’m going to show you how easy it is to make some hanging clay stars, to place around your home for the upcoming Holiday season. And how joyous it can be to let a little one help you make them.
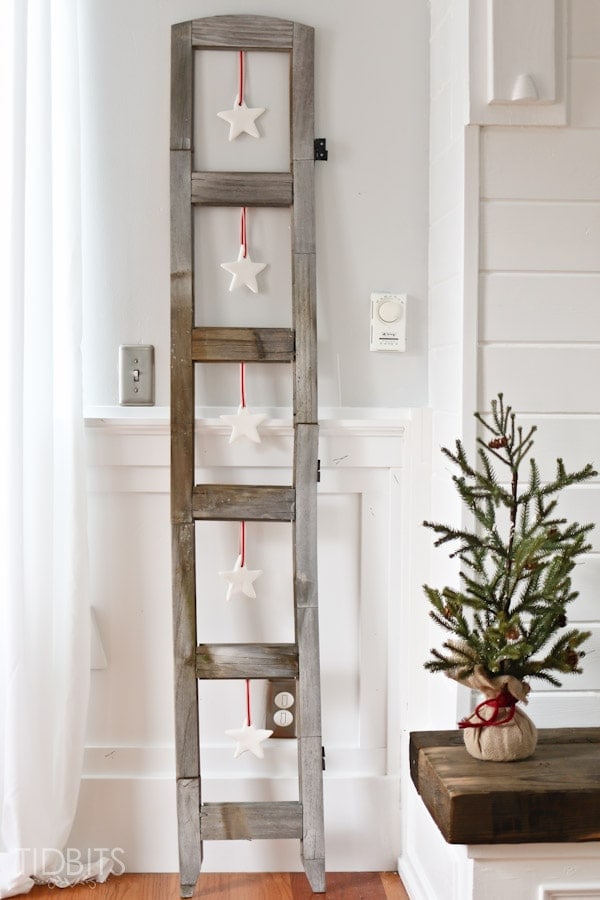
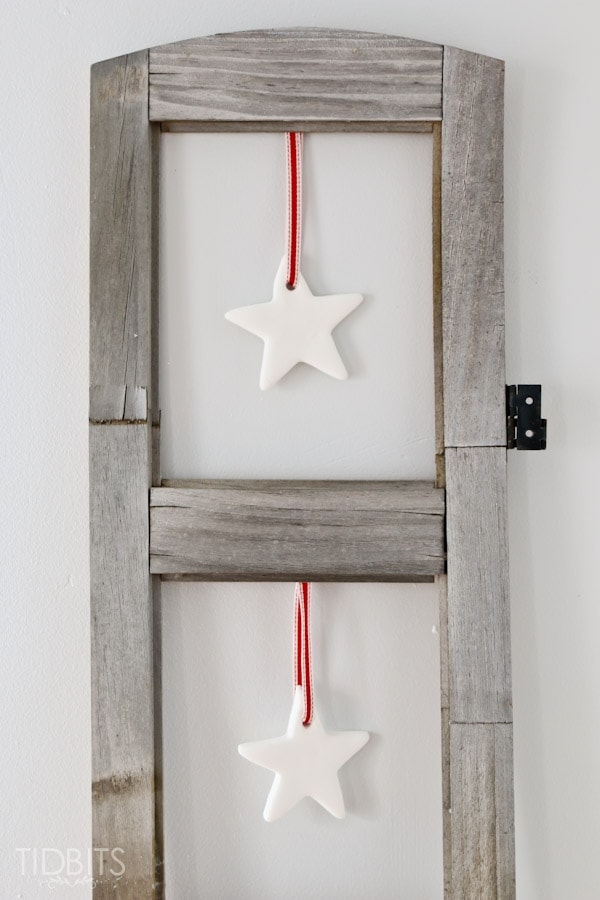
If you’ll remember from my last post, I showed our countdown ladder and bags on one side of the fireplace mantel. I needed something to balance the other side and remembered this old window I rescued from a burn pile in my mothers gravel pit. I knew it would come in handy at some point – and I was determined to prove this to my mothers and husbands rolling eyes.
Can you believe someone wanted to throw that old, rusty, rotted window away!?
Ya, me either.

I knew right away I wanted something to dangle in the open spaces. So when I realized my little preschooler was feeling a little left out of all the Christmas decor fun – I found the solution to appease us all.
And now, my little assistant (who was still in her pajamas, and refused to change because she didn’t have preschool that day) will show you how to make some hanging clay stars.

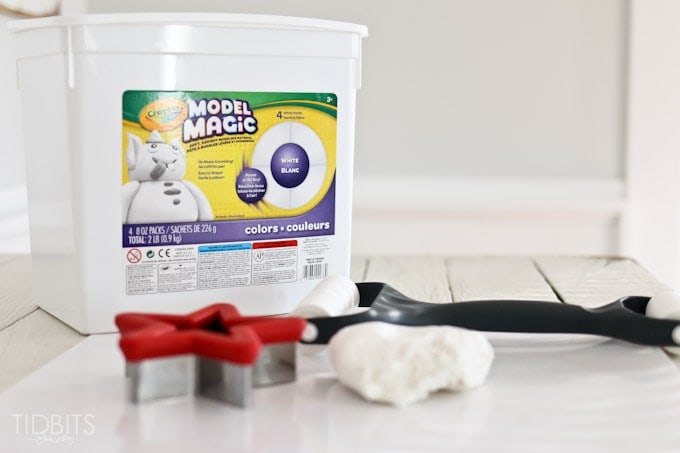
Supplies:
- Model Magic
- I bought a big container at Hobby Lobby with my coupon because I knew all my kids would want to try. I might mention, you can make your only clay if you search on pinterest for clay recipes. I opted to buy this Model Magic because I have tried 2 or 3 times to make my own clay. It usually works okay, but generally cracks a bit and looks dry. I really really love this stuff because it stays so smooth and air dries and always looks just as smooth as right after you cut it. I’ve even used this with my cub scouts and it worked very well. Or you can purchase on Amazon, HERE.
- Star Cookie Cutter
- Or any shape of course
- Rolling Pin
- Smooth surface
- Ribbon
- I bought my ribbon from THIS etsy shop. Not an affiliate, but she does have some great ribbon I couldn’t find anywhere else.
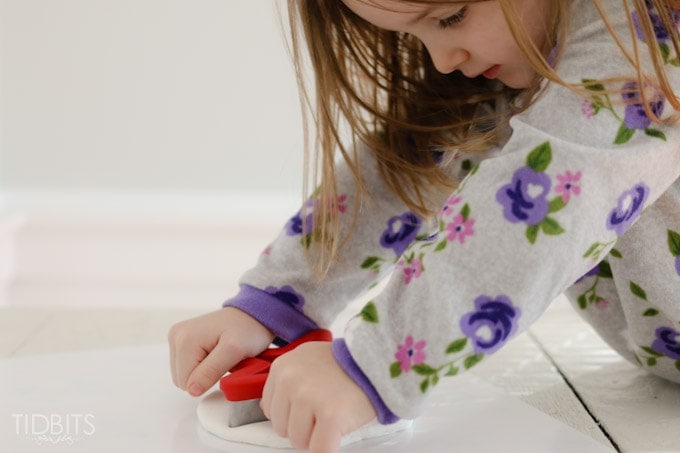
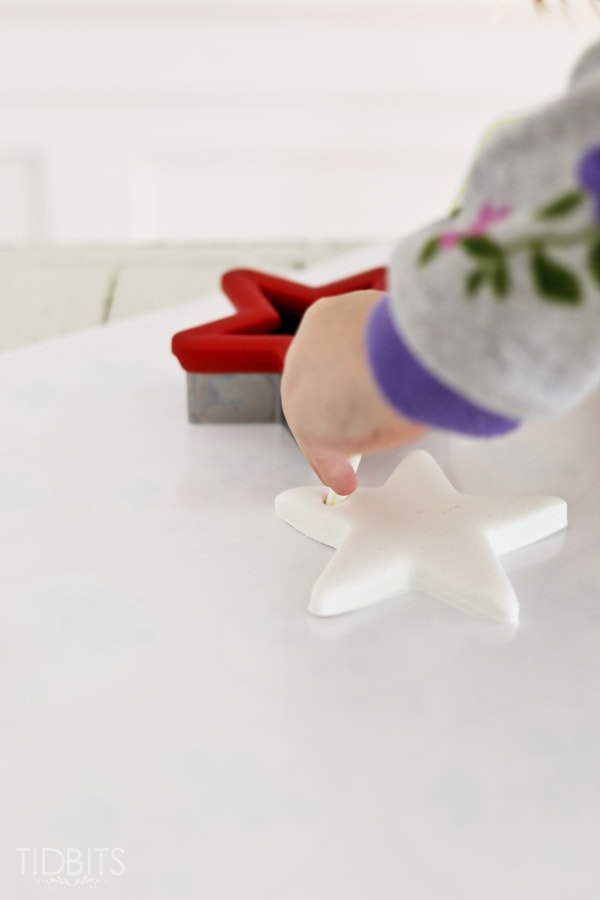
First, you need to roll out your dough until smooth and as thick as you want it. (Little ones may need a little help with this part).
Then line the cookie cutter up where you would like.

Press firmly, wiggling a bit if needed to get the cutter all the way through.
Leaving the cutter in place, remove the excess dough out the outside.
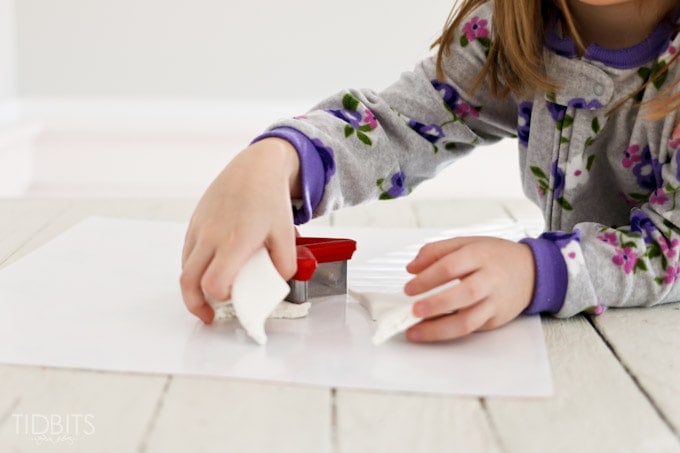
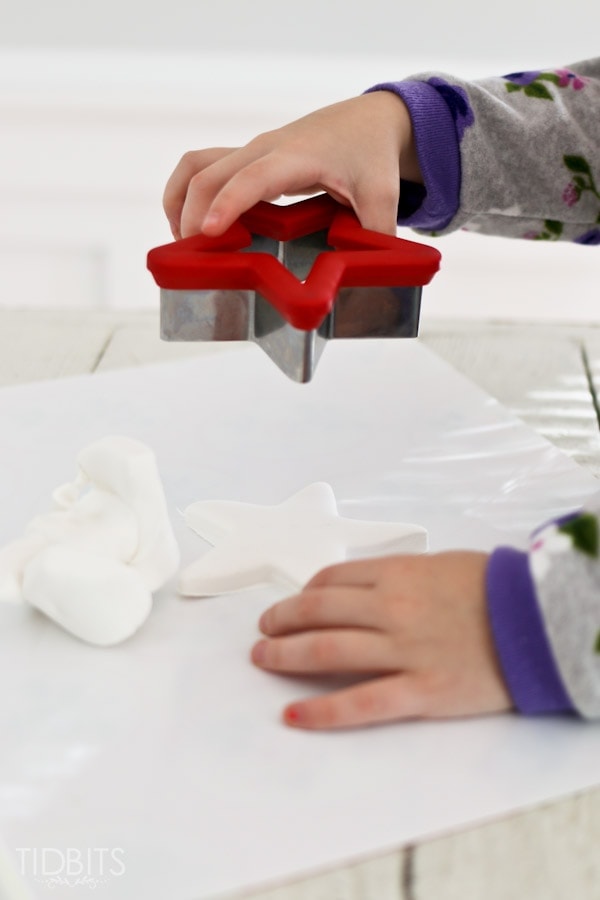
Lift up the cookie cutter. If the dough is stuck inside, carefully push it out.
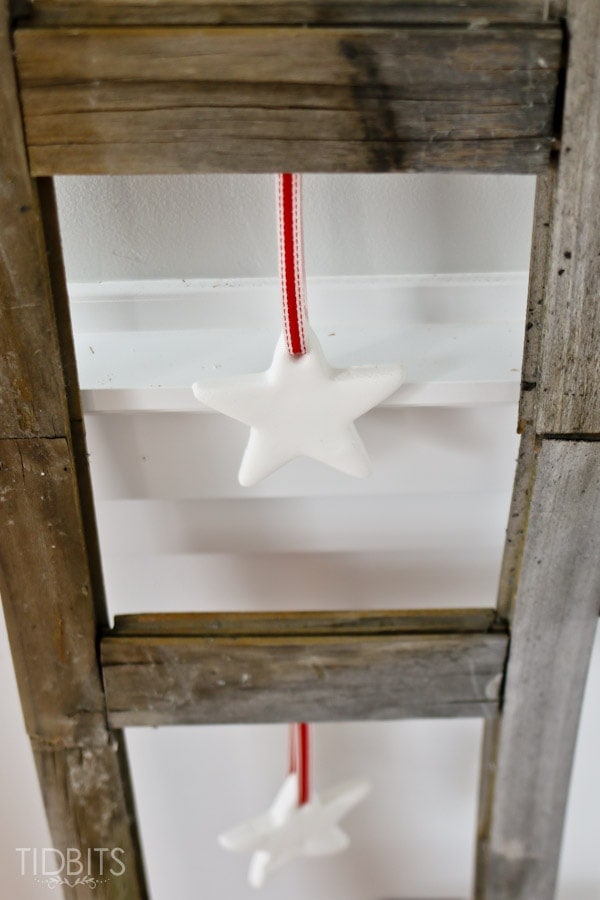
Poke a whole into the spot where you want it to hang. The end of a straw works great for this.
Allow 1 or 2 days to air dry, and you are ready to hang on a tree, on door handles, on a clipboard . . .

Or even rusty old windows.

Hope you’ll enjoy some time making! But I mostly hope you get to enjoy some time making with kids.
It will make you happy 😉

*Linking up to these parties, HERE.
*This post contains affiliate links. Rest assured, I only recommend products I use and love.


Thank you very much! Things are best simple with little children around, and I always try to find ways to make it suit our lifestyle right now. Thanks for coming by!
Your little assistant is adorable in her pj’s 🙂 Love the stars.
Thank you much! Some days are just better as jammy days 😉
So cute! My kids would love to do something like that… And so easy too! Thanks for sharing.
Also where did you get that little tree that’s pictured next to window? Is it real?
Thanks for all your inspiration, what you do is amazing!