This post may contain affiliate links, which means I get a small percentage of the sale at no extra cost to you. I only recommend items I love and have had a positive experience with. Thank you!
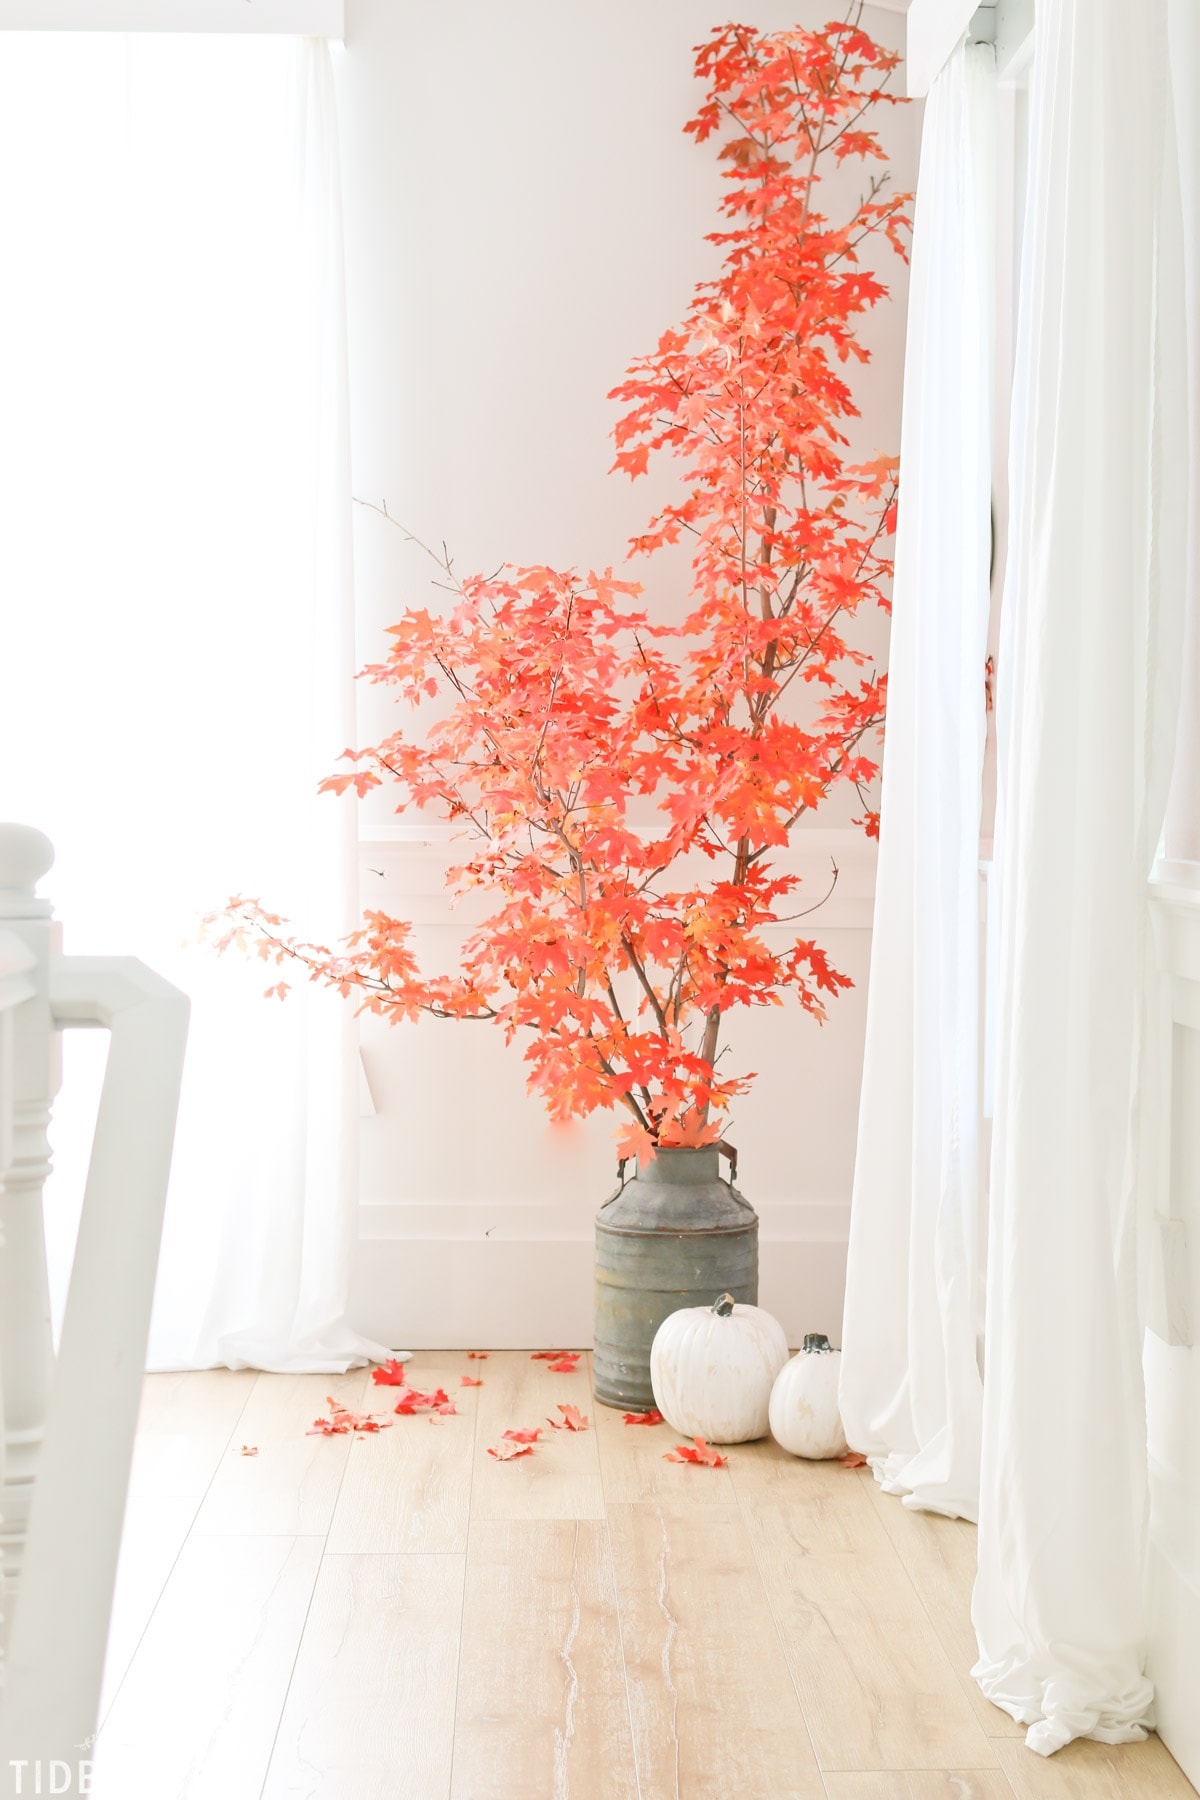
Seems a bit off to be putting a Christmas Countdown up and ready – when the actual 25 day countdown won’t start for weeks. But it did dump some snow on us, so it finally feels okay to embrace a festive November. 😉
If you missed my last announcement – I am re-decorating our Christmas which means I wanted a good jump start on it so December could just be enjoyed rather than be crazy busy. {Our Cottage Christmas inspiration was posted, HERE.} I also wanted to provided as many tutorials as I could, just in case you wanted to join me!
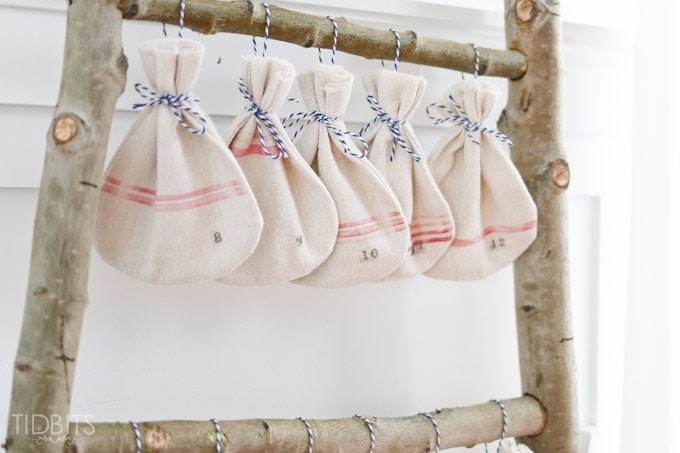
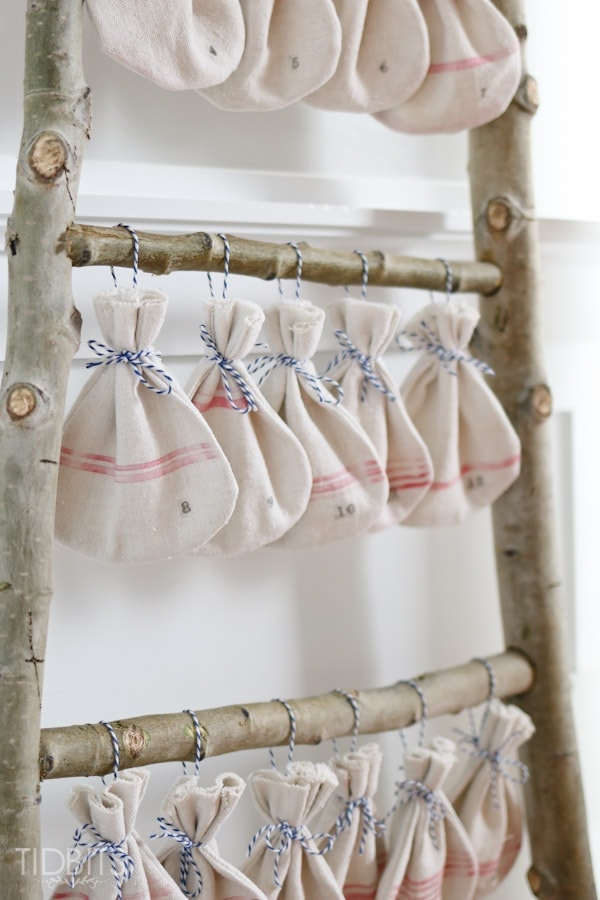
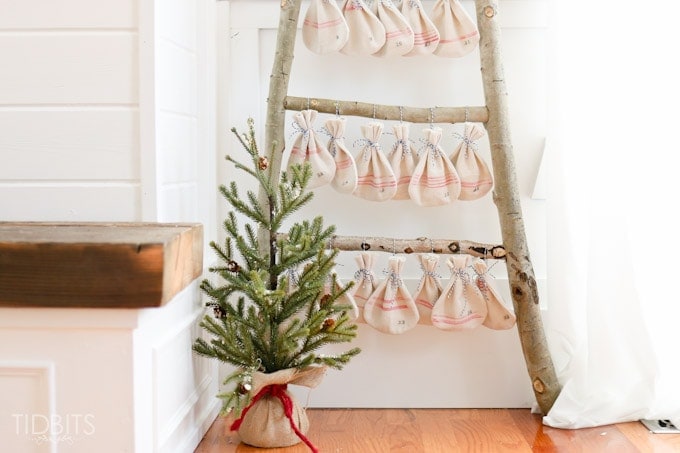
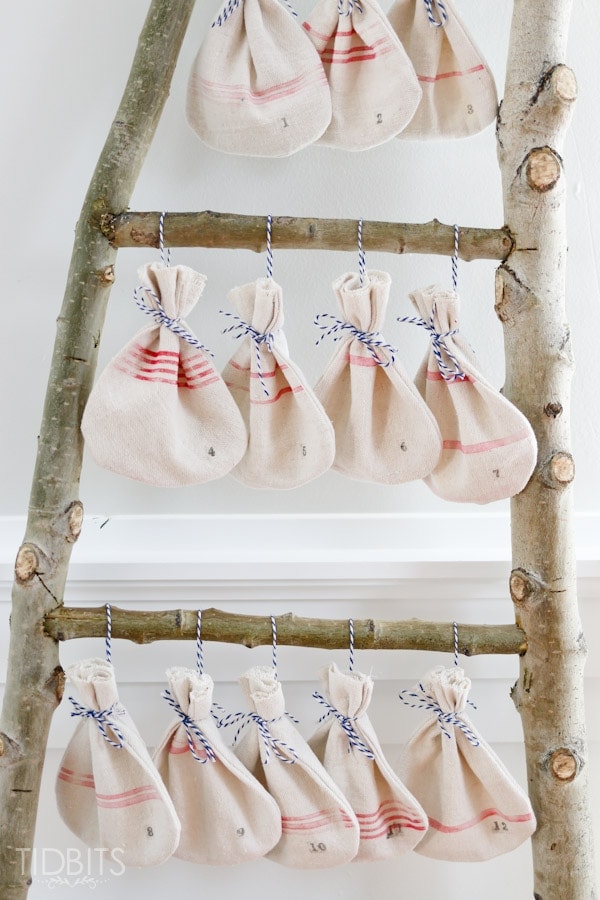
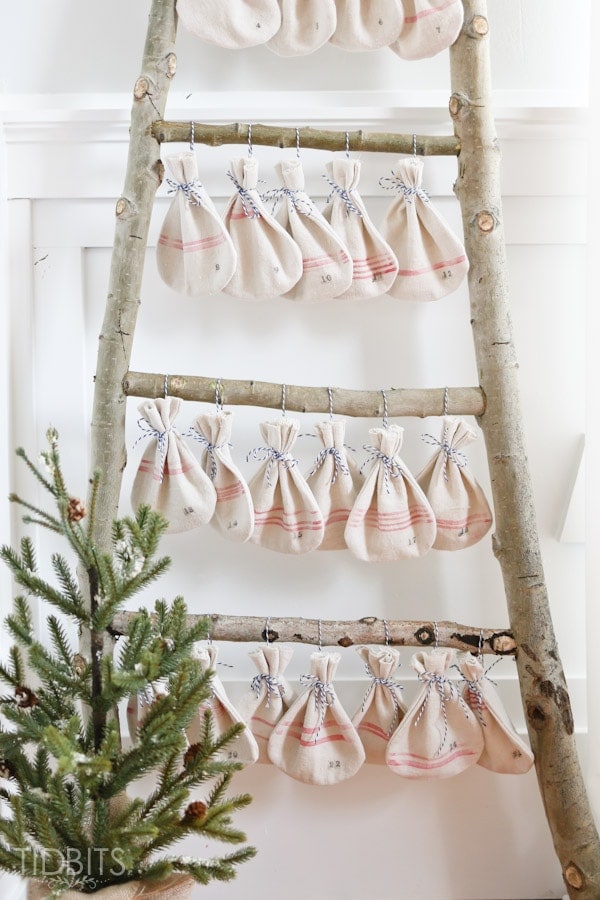
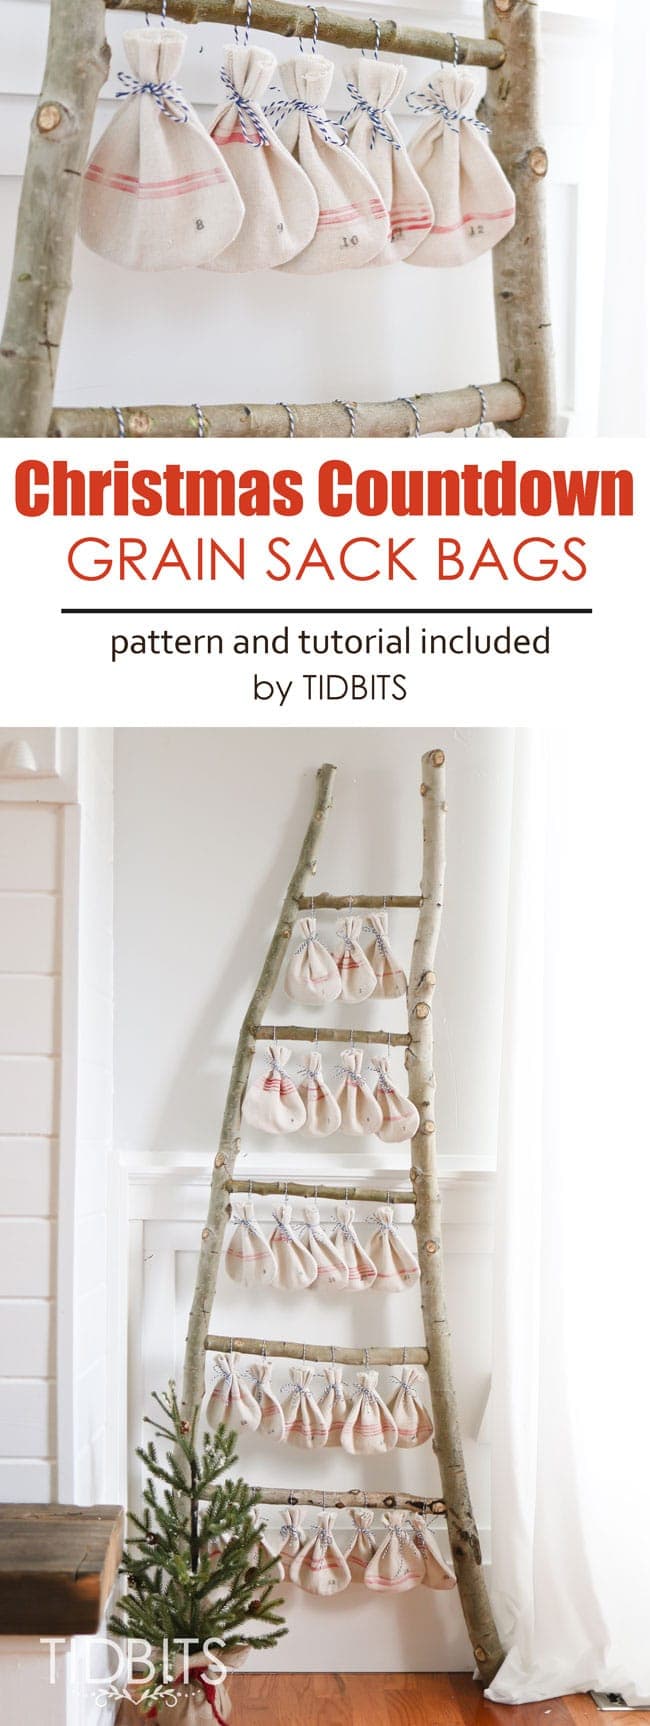
This year, our family Christmas Countdown will include these little numbered bags quickly made from bleached drop cloth, and grain sack stamped using my rolling pin and some elastic. Be sure to see the tutorial below to see how easy this was done. It is very similar to my DIY Grain Sack stamp, HERE, but so much easier.
I plan to fill the bags with some meaningful Christmas items, which I will share more of soon (with printables).

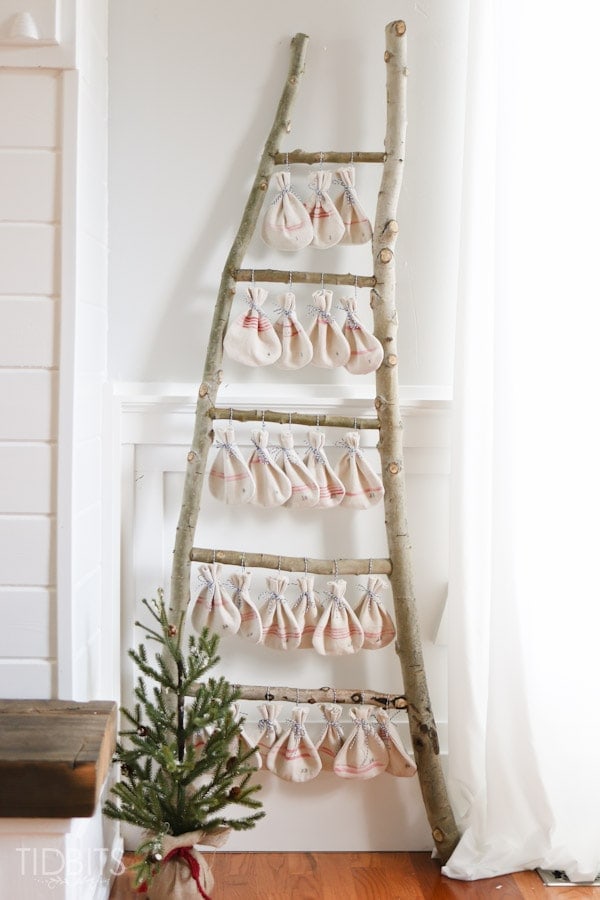
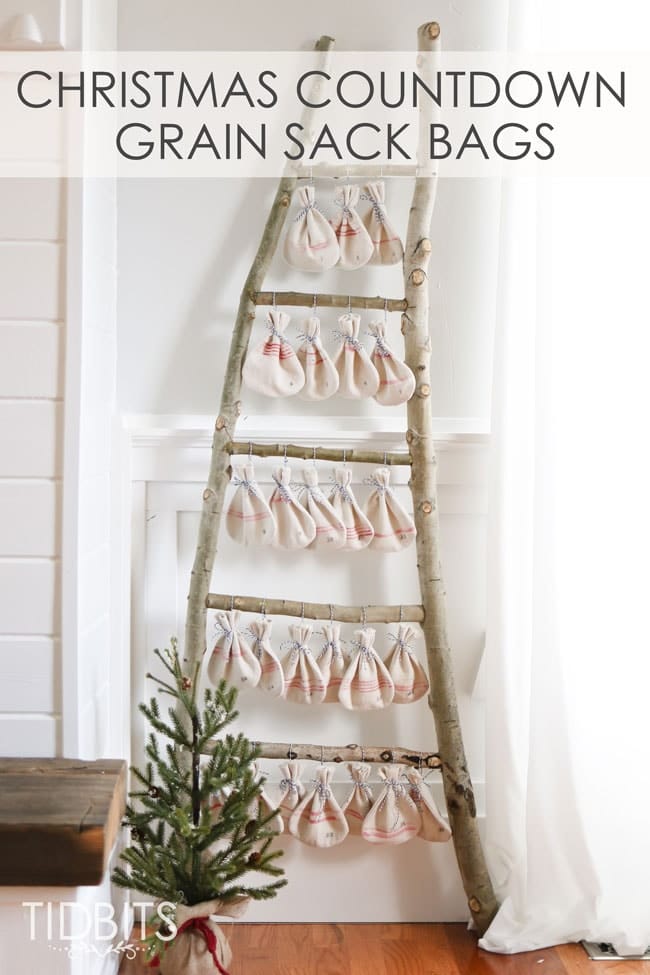
My husband made this fun, quirky ladder from a tree that was tearing up concrete in our yard and had to come down. I absolutely love it and knew it would be perfect to hang my Christmas Countdown bags.
I wanted to be sure you were aware of my inspiration for this project. Usually, I like to take images or projects that I am inspired by – and re-create them as originally as I can. However, when I discovered this lovely image from Dreamy Whites – I felt the urge to duplicate it’s perfection as much as I could.

I believe her grain sacks are genuine grain sacks, where as I didn’t have access to that so I DIY’ed my stripes. Her ladder is chippy perfection – where I was going for free. 😉
I’ll admit – it doesn’t carry the same charm – but I am still very excited to have something similar.
If you would like to duplicate this look too, or would even like to make a countdown with bags of any type of fabric – follow along and I’ll show you how I did it all. I’ve even provided a downloadable PDF printable of the pattern I used to cut my bags.
Supplies:
- Fabric for bags
- I used my stash of bleached drop cloth to make this super inexpensive, and to have a woven texture close to actual grain sacks. You’ll need enough to cut 2 layers of 25 bags.
- Fabric Ink Pad
- I used a red fabric ink pad (sold at Hobby Lobby) to do my stripes. You could also use fabric paint.
- Rolling Pin
- Elastic/rubber bands of varying widths
- Number Stamps
- Bakers Twine
- PDF Downloadable pattern
- Click link for your download.
- Christmas Countdown Bag
Instructions:
With my fabric folded, I cut out 25 bag shapes from my pattern. Essentially, 50 pieces all together.
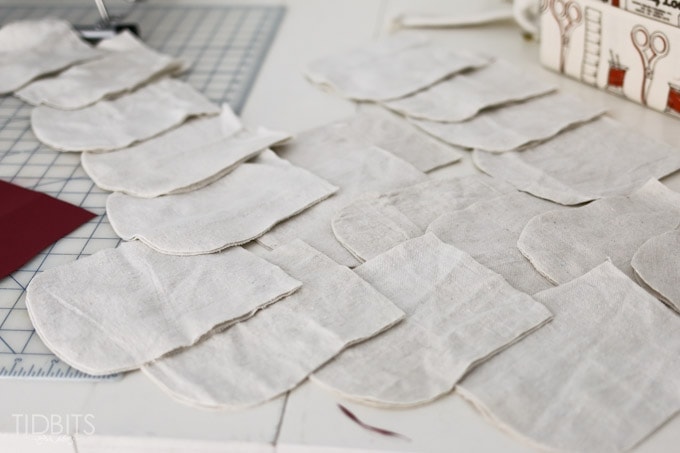
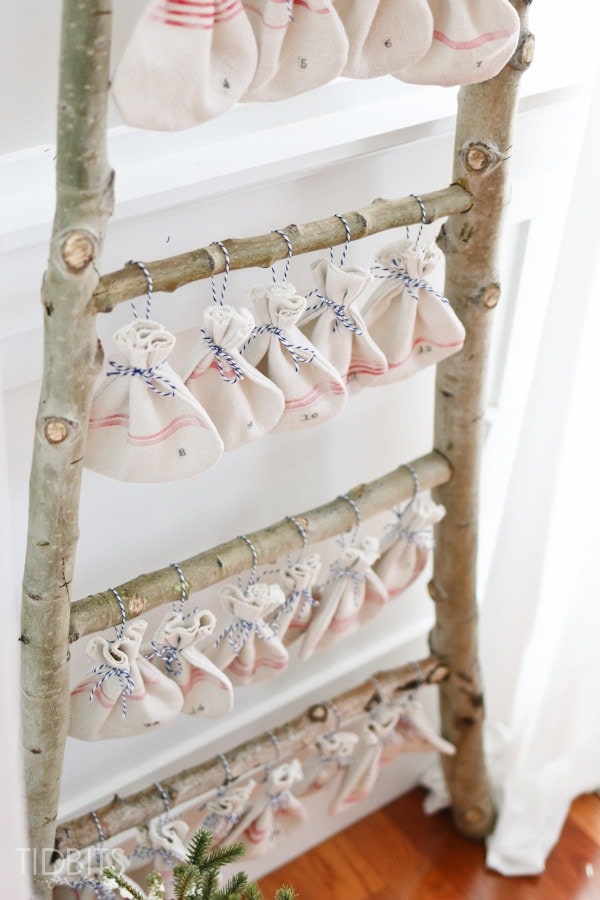
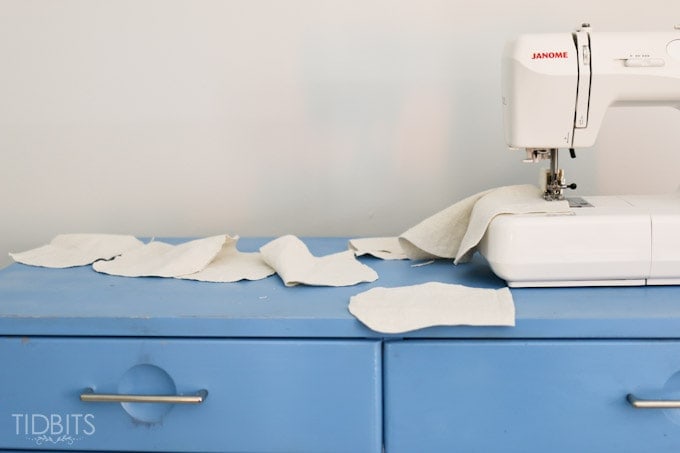
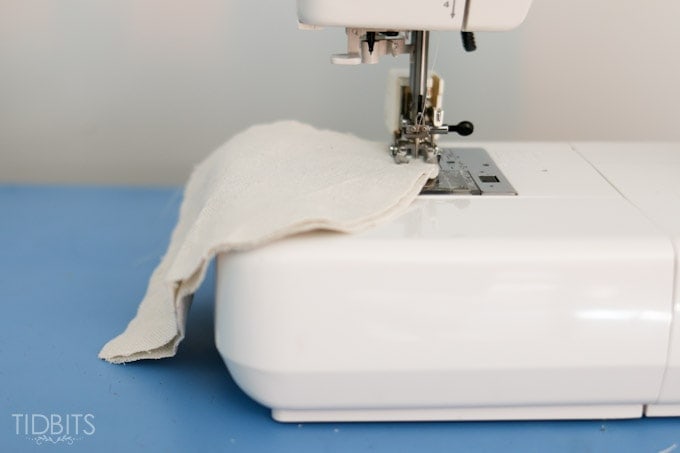
I wanted the top to fray a bit, rather than to look hemmed. But I knew if I didn’t add some stitching, it would fray too much. So I quickly did a stitch 1/4 inch away from the top flat edge on all the pieces. I just fed one into my machine after the other and ended up with a really long train. It was quick and easy to cut them apart without any thread tails. You could also hem the tops if you want a more finished look.
Then I grabbed 2 pieces and with right sides together and using 1/4 inch seam allowance, I sewed them together along the curve, leaving the top flat edge open.

Then I simply turned them right side out and pressed the seams.
And that is really how easy it was to make the bags.
To add the grain sack stripe, I covered a rolling pin with cardstock for protection. (Be sure to read my other tutorial on making a grain sack stamp if you need more details on how to do this).
Then I grabbed the elastic (or rubber bands) I wanted to use for my pattern, and spaced it evenly around my rolling pin.
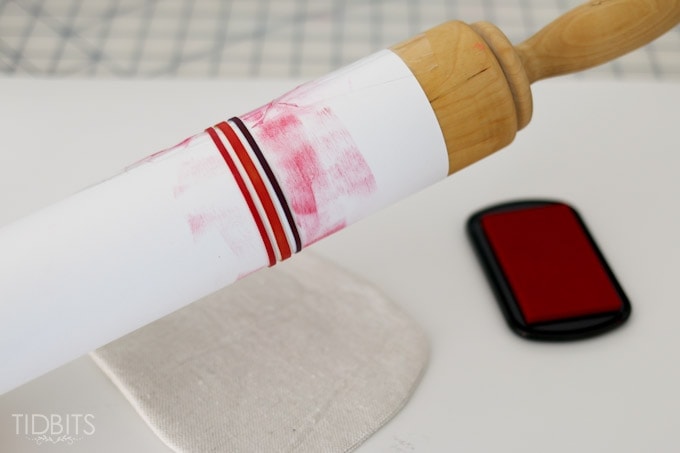
I carefully spread my fabric ink pad around the rubber bands, so they all had a coat of ink on them. It should be just fine if the ink gets on the paper underneath. It should still leave a nice clean line where the rubber bands are.
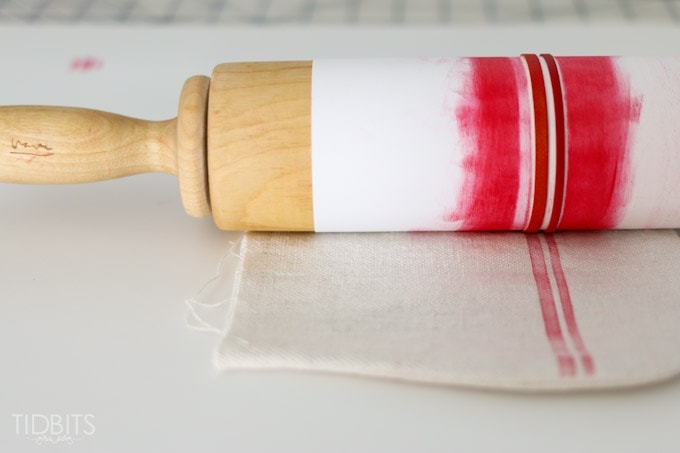
Then I rolled the lines wherever I wanted them on the bags. I did a variety of places and stripes to fake my way to real grain sacks.
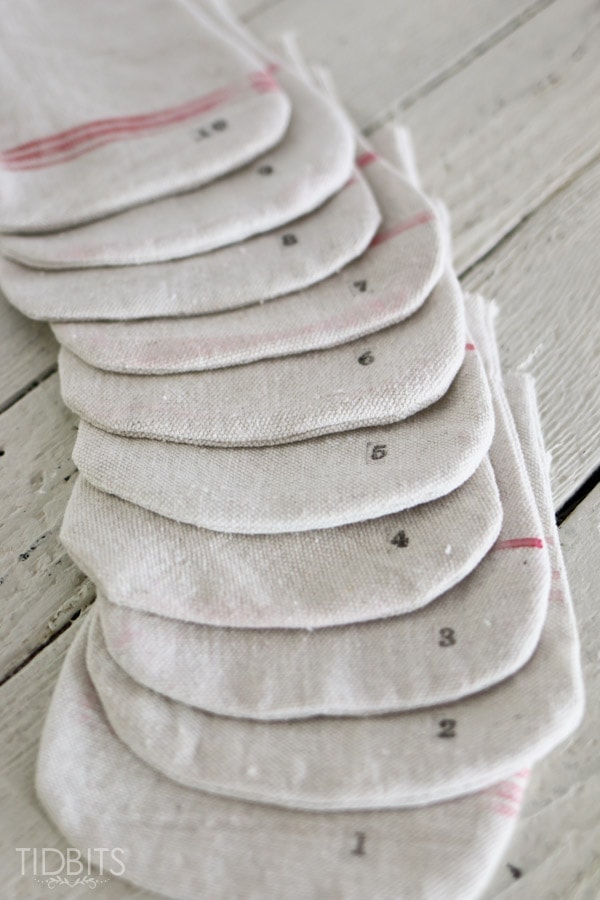
Then I took some number stamps I found at hobby lobby and stamped small numbers on the bottom of my bags, so my kids will know which ones to open come December.
I used bakers twine to hang them on the ladder, and that was that.
Be sure to come back to see what I fill them with. Feel free to subscribe to my email updates below, if you are not already.
Thanks for reading!

Friendly Social Sharing images below. Thank you!
*Linking up with these parties, HERE.


Love this project! the rubber band idea for the design was genius!
Your welcome, and thank you for your sweet words!
Thank you! What sweet comments and I appreciate you taking the time to let me know your thoughts.
Cami these are darling as can be!
Thank you very much Pamela!
You said yours isn’t as charming, but I disagree! I prefer your take on the idea! Quite lovely 🙂
What a flattering comment! I will take it and run 😉
Super cute! I think it’s equally, if not more, charming than the Dreamy Whites version. I love the faded stripes and stamped numbers.
That is so very sweet of you to say! I am quite humbled. Hugs!
Thank you Cami for sharing. I think it is cute and fits great in your home. The décor fits right in. I think if there is some way to add a star to the top between the wood at the top would be so cute. Just my option. Over all such a cute idea. You a so cute. I love your ideas too.
Thanks and stay warm,
Cindi
Great suggestions! Thank you for stopping by and I’m glad you like it!