
This post may contain affiliate links, which means I get a small percentage of the sale at no extra cost to you. I only recommend items I love and have had a positive experience with. Thank you!
I have a whole slew of Christmas ideas for you today. Frankly, I’m pleased with myself for already having them done. I’m on a roll this year. Last Christmas I was 9 months pregnant, and I don’t recall being near as on top of things.
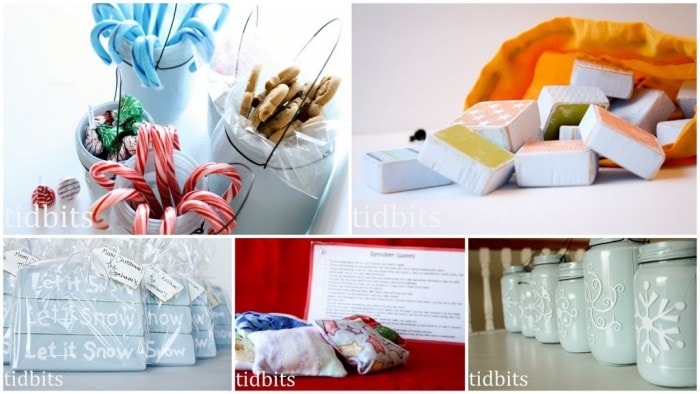
First I’ll show you what we have planned for neighbor gifts. It can be a challenge when making them yourself to find something unique and inexpensive.
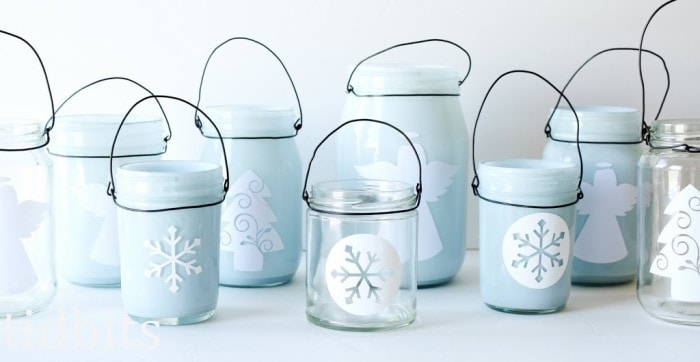
I liked the jars I made like this for Halloween (found here) so much, I decided to do a Christmas twist on them. I used the Silhouette to cut all my vinyl. How I love that machine, and their designs.
It came together very cheap because we scrounged for all our unused jars and cleaned out our fridge and pantry (and my moms) of all jams jars and such. I now have a lot of containers of all the food we emptied out to obtain those jars. Hey, ya do what ya gotta do to save money this time of year.
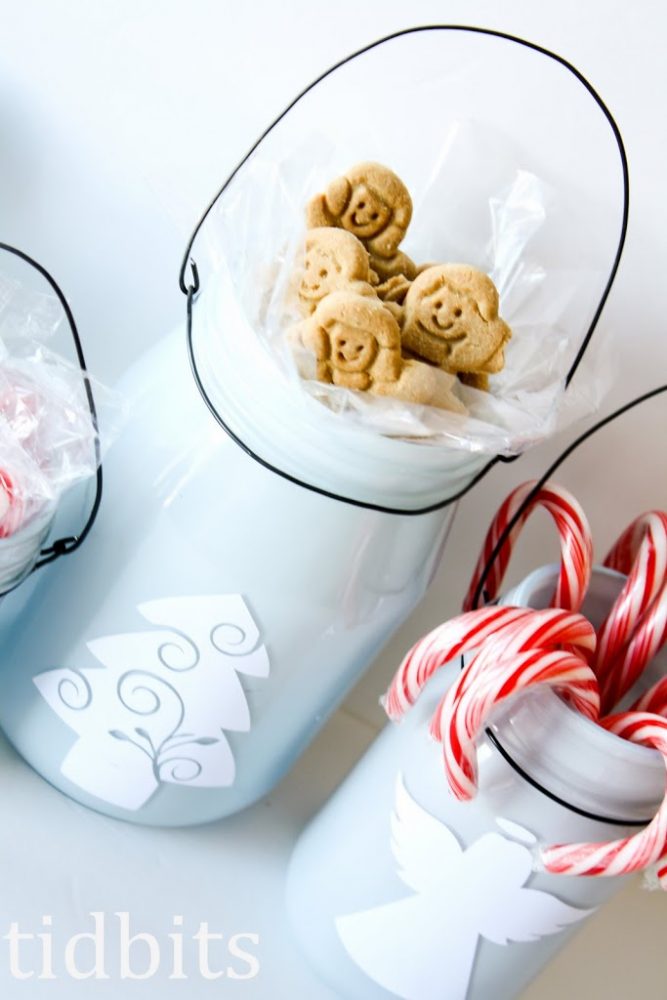
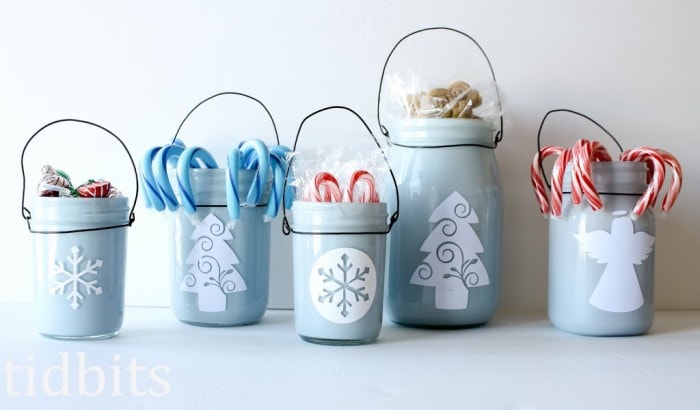
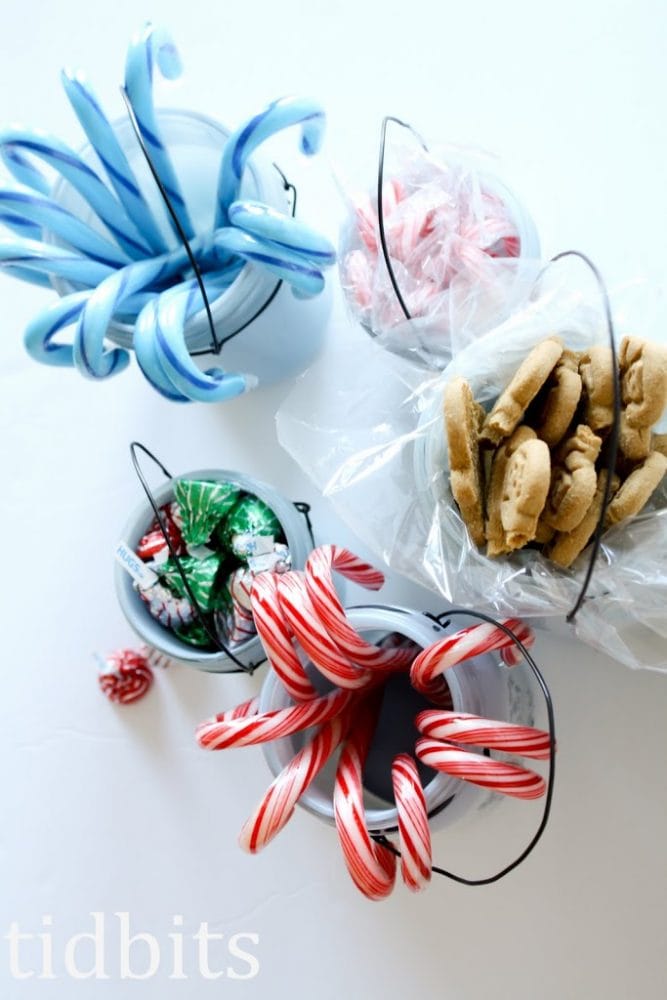
The jars are perfect for filling with candy or home-baked goods. To fill a jar with any treat that is not in a package, I first filled it with cellophane wrap. That way your goodies won’t taste like paint.

Or you can leave them empty I suppose. They are cute like that too. It’s a cute decoration which you can only hope other people will like.
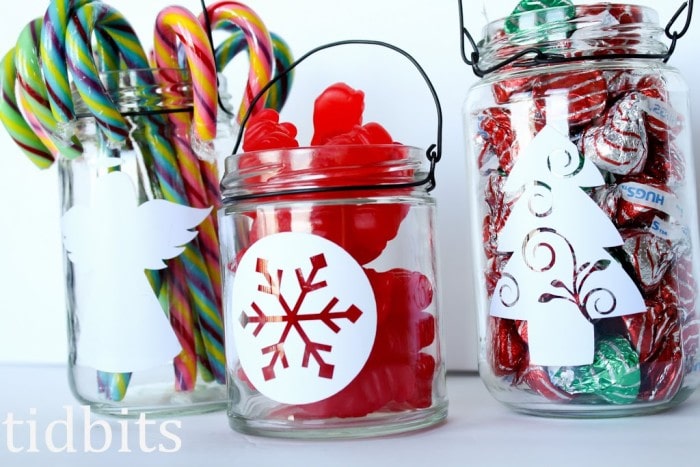
I opted not to paint a few of the jars. I like how you can fill them with colorful candy.
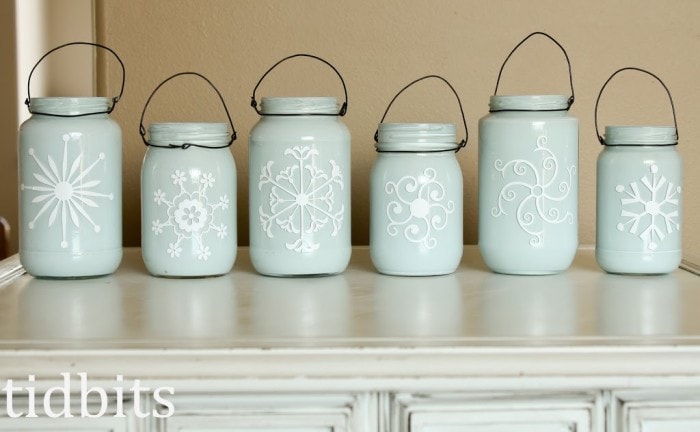
I also experimented with a lot of designs. Mostly because I’m indecisive. But I love them all. Follow this link for detailed instructions on how to make these.
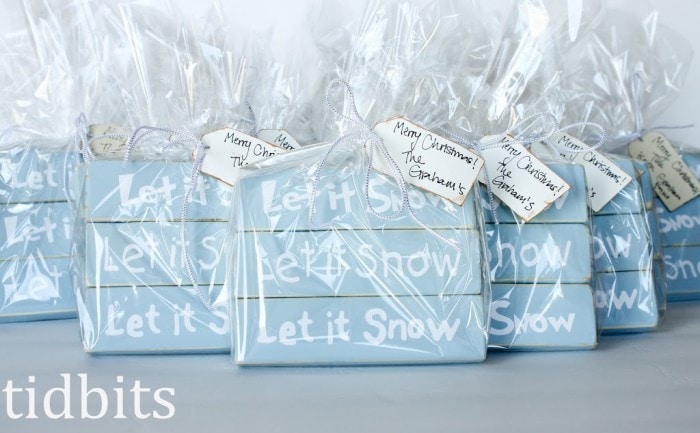
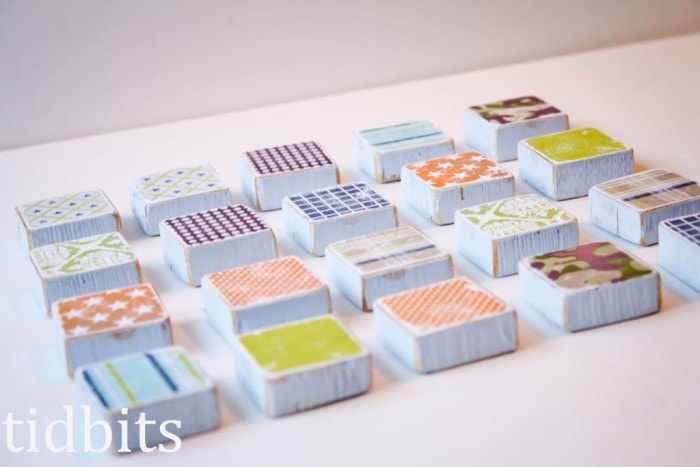
The next idea I have for you, are these wooden lettered blocks. Great for friends and family. I hope so anyway. Conveniently, my husband is a wood hoarder, so these came out virtually free for us also, using everything we had on hand.
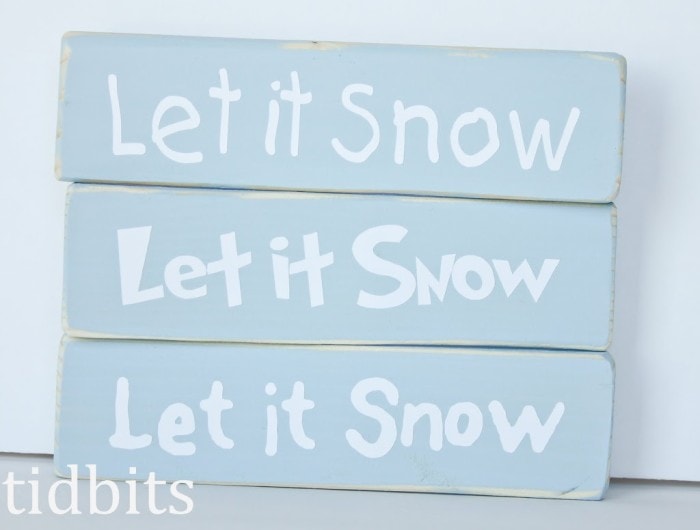
Here are the easy steps to make these.
1. Cut your wood. Ours measured 5 1/2 x 1 1/4.
2. Paint.
3. Sand the edges.
4. Cut your vinyl lettering using 3 different fonts on your Silhouette. Because everyone has one of those, right? Oh, you don’t. Hmmmm. Find someone who does.
5. Apply vinyl.
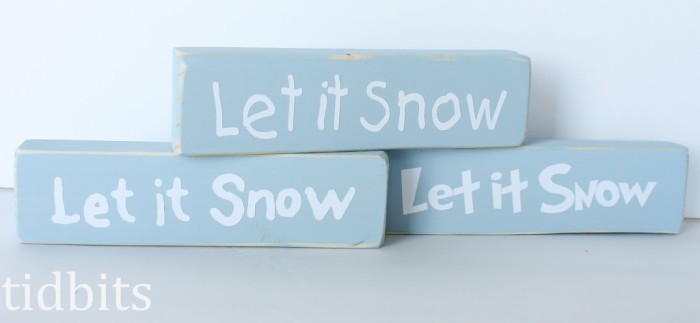
Quick and easy. Unless you’re making 16 sets of them. Then you will be up all night, trust me.
My next couple of ideas are handmade gifts for the kids in your life.
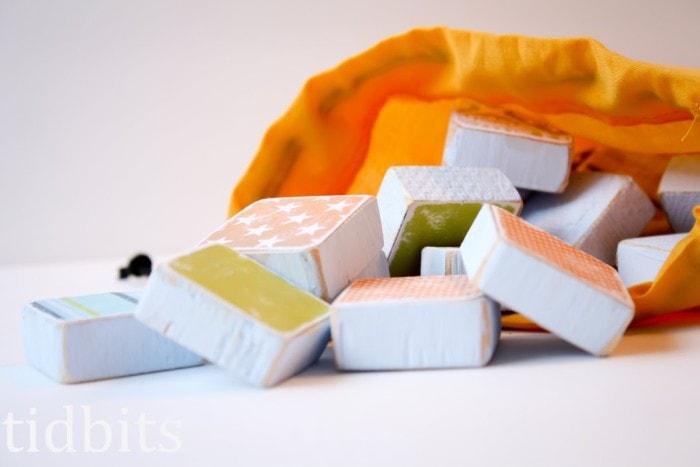
I’m sure you’ve seen these wooden matching games. I mini-sized them so they would be perfect for travel or church.
And if you have a stash of scrapbook paper and wood, cheap cheap cheap.

To make:
1. Cut wood.
2. Paint wood.
3. Sand edges and corners.
4. Apply fitted paper to one side of each block. I use modge podge to adhere it to the block.
5. Once dry, sand the edges and surface of the paper. Weird, but it gives it a really cool ruffed up look.
Tip/Advice:
I know a lot of people love modge podge over their projects. It does seal it up nice. But I have yet to apply it to a finished project and like the results. It’s probably due much to my lack of ability, but it always ends up streaky, and I tend to run into more problems with it than it’s worth. So, needless to say, I did not modge podge the surface of my blocks.
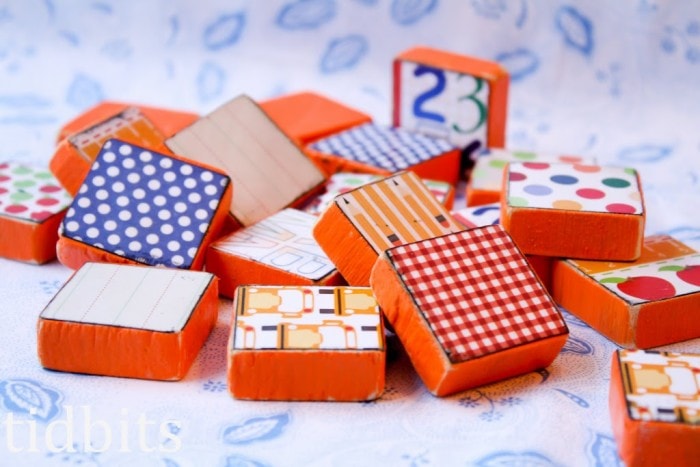
For this set I did modge podge, and inked the edges. I don’t love the look as much, but they work. The kids will still love them.
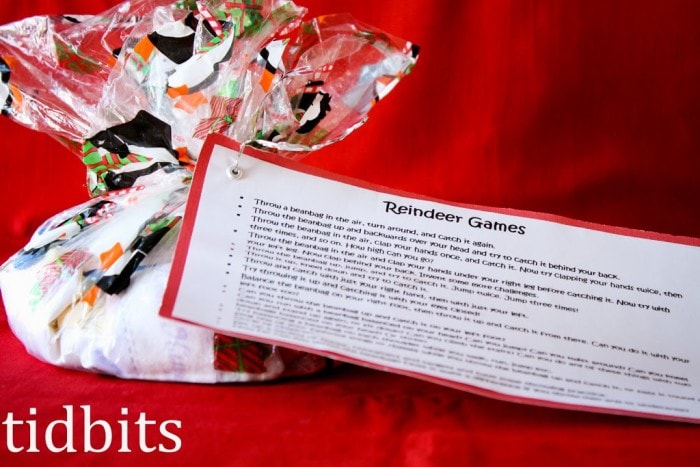
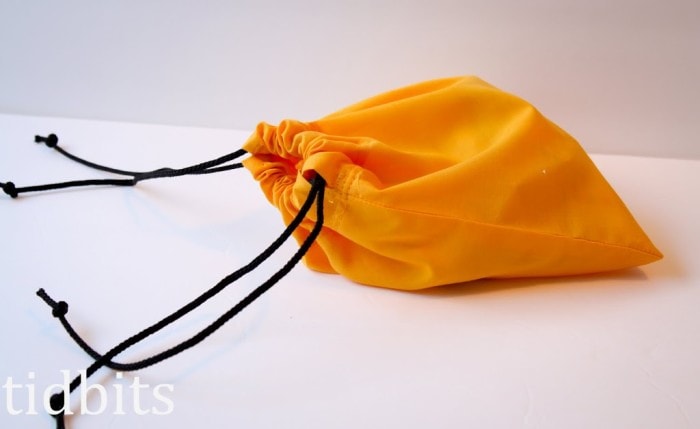
Lastly, a kids bean bag game. Reindeer Games to be exact. I’m sure some Reindeer somewhere play with bean bags.
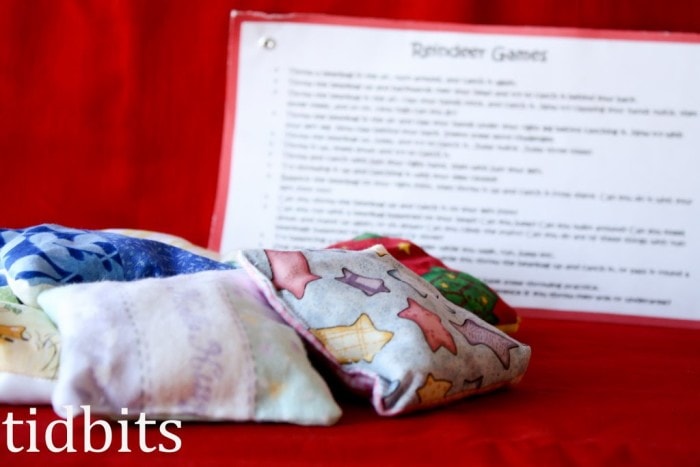
These can also use your resources wisely. I dug through my fabric stash and found coordinating scraps. Here’s how I threw them together in no time.
1. Cut 2 squares any size you would like.
2. With right sides together, sew around all four sides, leaving a gap along one side. Doesn’t have to be too big.
3. Turn right side out.
4. Using a funnel, fill your bag with beans. I actually use rice instead. Doesn’t hurt as bad when the kids smack you in the face with them.
5. Fold the raw edges in the gap and sew it up.
I hope some of my ideas inspired you to look around and use up the resources you already have around to make some thrifty (but cute, right?) gifts for the ones you love. It can be very rewarding.


love those beautiful little jars. Your neighbors must love you ;-)<br /><br />Kimmie<br />mama to 8<br />one homemade and 7 adopted
I also love the reindeer games too. Did you make up the printed game directions or did you find that somewhere? I would love a copy of it.
If inrofmation were soccer, this would be a goooooal!
AKAIK you’ve got the answer in one!
LOVE THE REINDEER GAMES!!! We have a fmaily Christmas on the 10th…and we have9 kiddos 6 & under…I AM MAKING THIS!!!! 🙂 Thank you!
Great ideas here. I especially love the jars but I'm one of the lame ones with no Sillouette. Sigh… 😉 I'll have to find a way around that!