• Skip to primary navigation
  • Skip to main content
  • Skip to primary sidebar
  • Skip to footer

Tidbits

Inspiration for the Keeper of the Home

  • Home
  • About
    • About Me
    • Work with me
    • Media Kit
    • FAQ
    • Disclosure and Policy
  • Project Index
    • All
    • Decorating
    • DIY
    • Homesteading
    • Printables
    • Sewing
    • Crafts
    • Holidays
    • Recipes
    • Woodworking
    • Photography
    • Crafting with Kids
    • Other
  • Home Tours
  • Seasonal
    • Winter
    • Spring
    • Summer
    • Fall
  • Shop
  • Contact
You are at Home and DIY
Home and DIY
Food and recipes

You are here: Home / Sewing / DIY Lace Pillowcase

DIY Lace Pillowcase

September 28, 2015 • Sewing

372 shares
DIY Lace PIllowcase | Add some vintage charm to a pre-made basic pillowcase.

Good day, lovely reader.

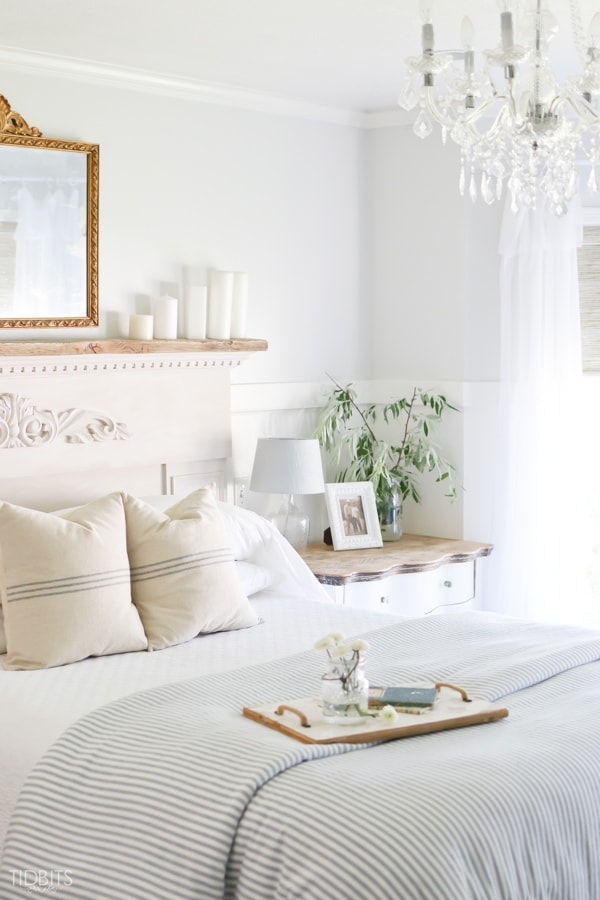
I’m here again, showing you some close up details of our master bedroom makeover while my husband and I work on finishing it all up.  This post was first seen on Ella Claire, the site where I contribute to every once in awhile.  After I share a post over there, I re-post it over here a bit later.

Today I have a simple tutorial for adding some charm to a basic white pillowcase.

All you need is a pre-made pillowcase (any color or type) and some lace – and a few stitches later you have a lace pillowcase!

DIY Lace PIllowcase | Add some vintage charm to a pre-made basic pillowcase.

I’ve always admired those pillowcases with hand crochet edgings, and the touch of vintage charm it adds to a bed.  However, I have yet to learn the trade of crocheting (and I don’t think I will any time soon), so I tried to think of other ways I could add something special to our bedding.

DIY Lace PIllowcase | Add some vintage charm to a pre-made basic pillowcase.

I headed to hobby lobby and saw they had a beautiful selection of lace trims, and knew it would be a super quick and easy thing to stitch them to some pre-made white pillowcases we already had.

DIY Lace PIllowcase | Add some vintage charm to a pre-made basic pillowcase.

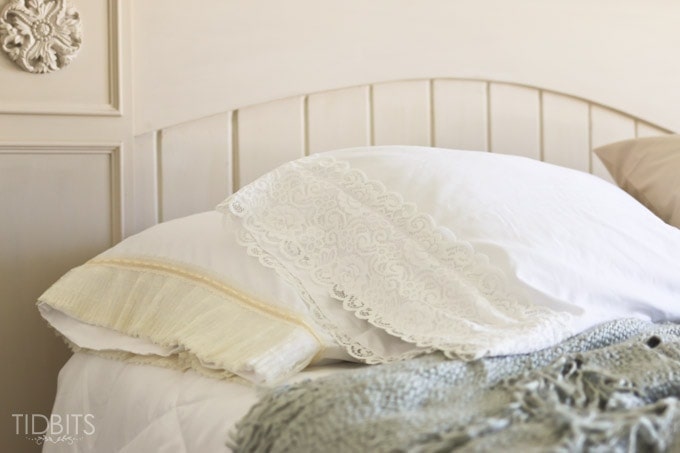
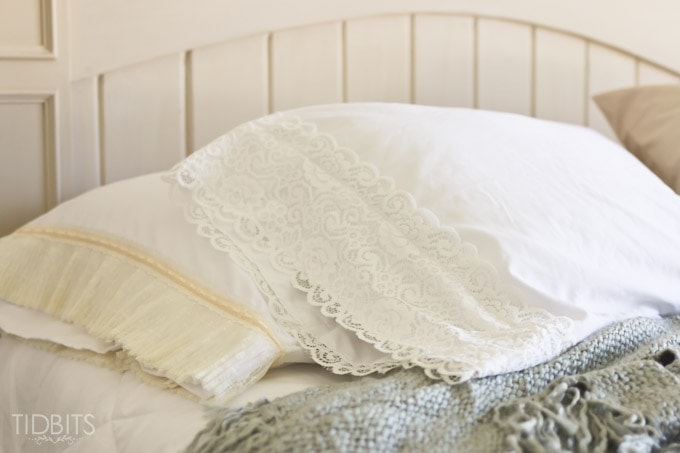
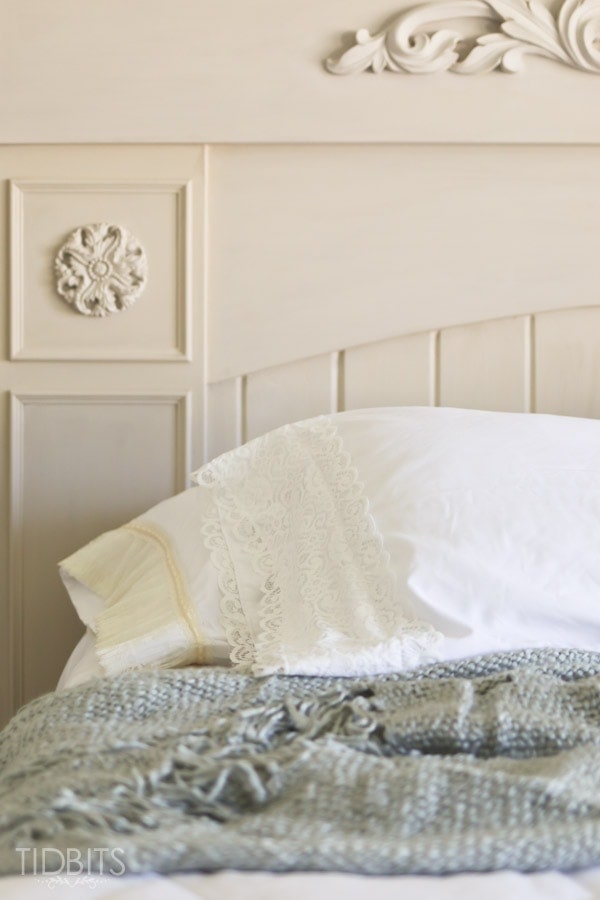
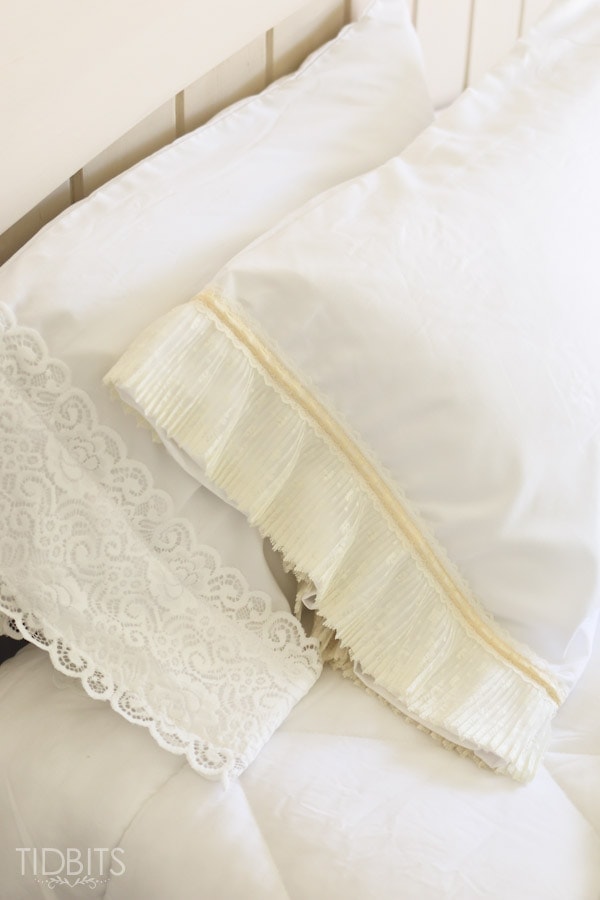
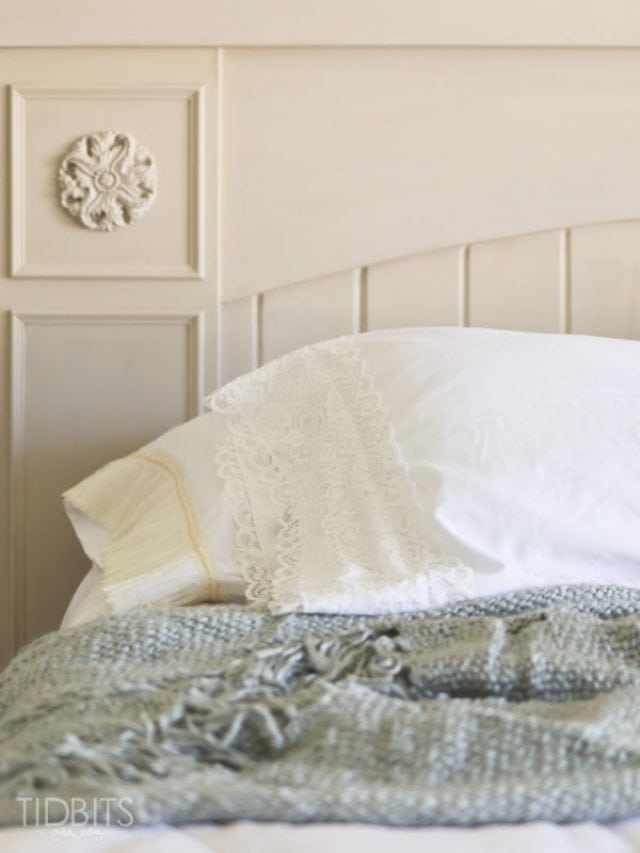
My husband just finished building our mantel headboard, which turned out so lovely that I knew a plain white pillowcase would feel out of place.  (FYI – throw blanket from Carmel Decor)

DIY Lace PIllowcase | Add some vintage charm to a pre-made basic pillowcase.

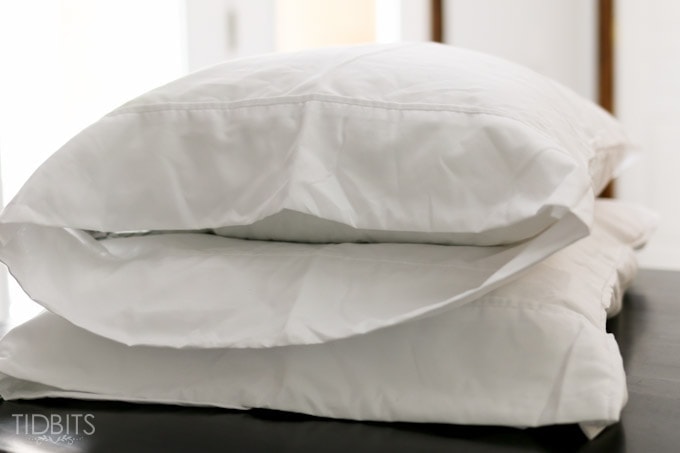
First, be sure you have a pillowcase that has a little hang on the edging after the pillow is inserted.

DIY Lace PIllowcase | Add some vintage charm to a pre-made basic pillowcase.

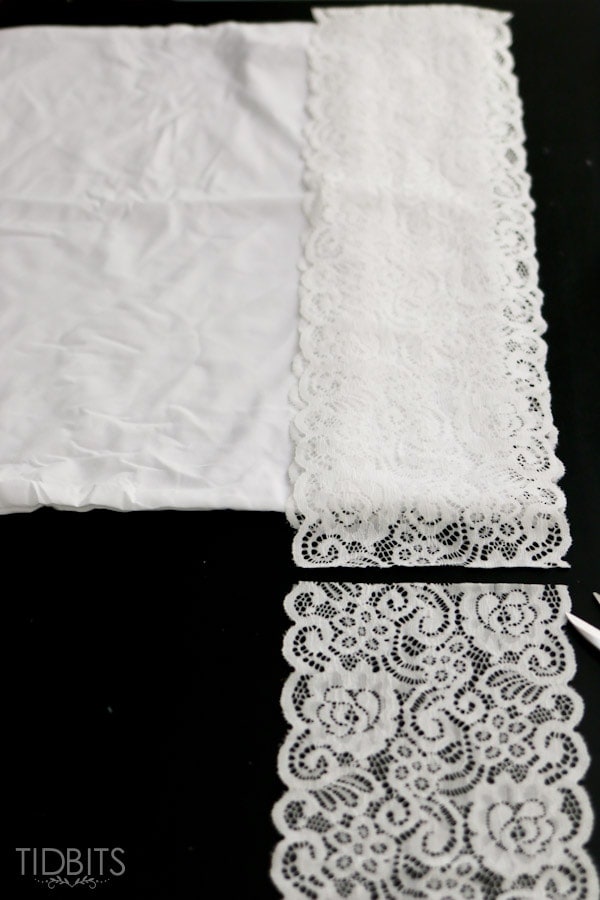
You will need about 1.5 yards of lace for a standard size pillowcase.  It will leave you with a little extra lace, but 1 1/4 might not be enough.

DIY Lace PIllowcase | Add some vintage charm to a pre-made basic pillowcase.

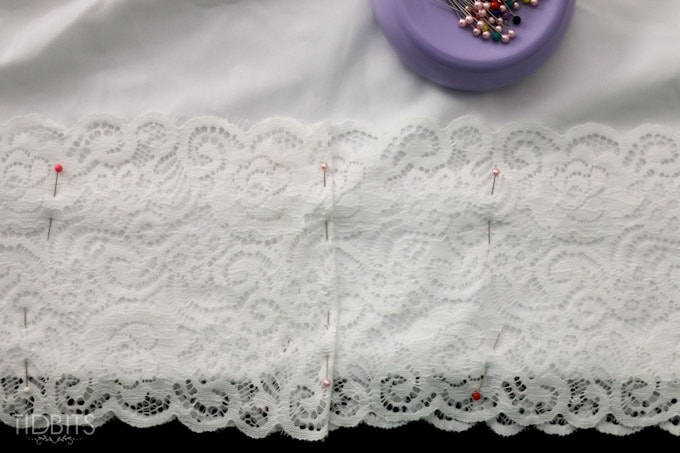
Figure the exact amount of lace you will need by laying the lace on the pillowcase edging with about an inch extra of overhang.

DIY Lace PIllowcase | Add some vintage charm to a pre-made basic pillowcase.

Next, you will pin the lace exactly in place where you want it stitched down.  You can really start your lace edge any where, just be sure to fold the raw edge of your lace over once and pin it down so you have a nice clean edge.

DIY Lace PIllowcase | Add some vintage charm to a pre-made basic pillowcase.

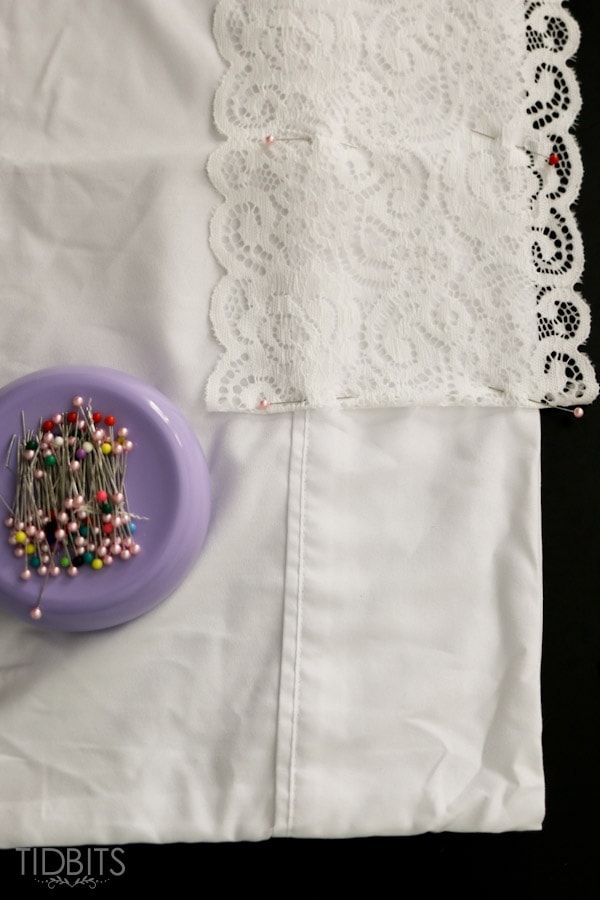
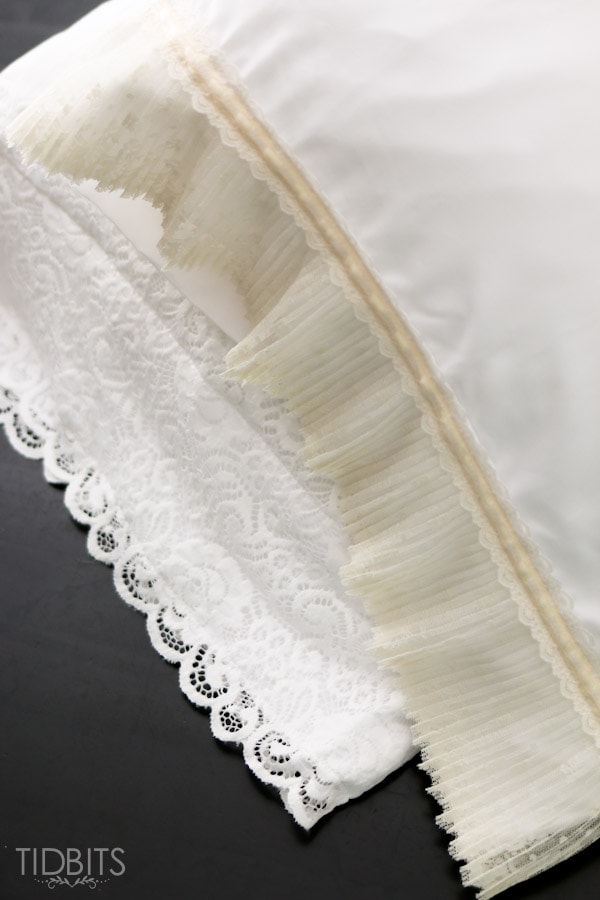
Once the other end of the lace meets up with the previous end you pinned down, fold the raw edge of the lace down again and pin it over the other edge.  Hopefully the picture below helps to show that step clearly.

DIY Lace PIllowcase | Add some vintage charm to a pre-made basic pillowcase.

Finally, you will be stitching your lace to the pillowcase.  The type of lace you bought really determines how you will stitch it down and where you want it secured.  Simply start at your lace folds and sew all the way around.

DIY Lace PIllowcase | Add some vintage charm to a pre-made basic pillowcase.

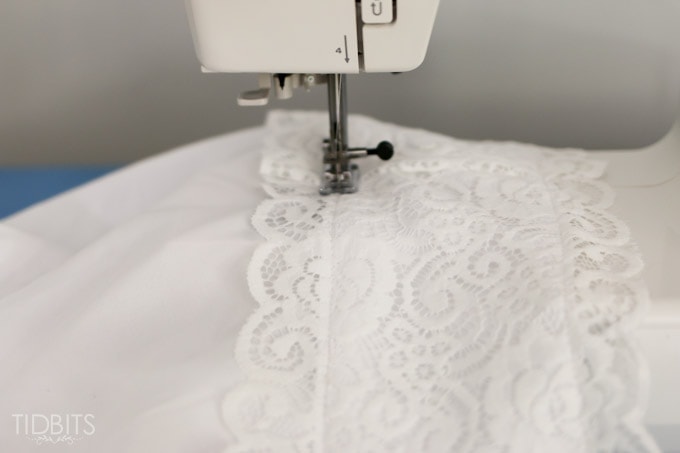
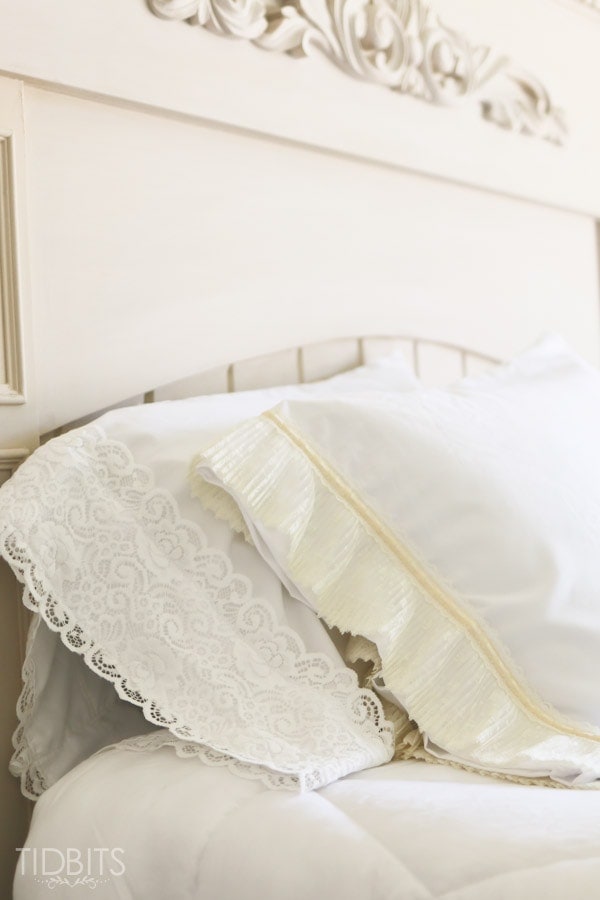
It really is as easy as that!  You may run into the lace shifting or bunching, but remember that pinning as much as possible can really helps with that.  Or perhaps you can try not pinning at all and just place your lace down as you sew.  That worked best for the pleated lace below.

DIY Lace PIllowcase | Add some vintage charm to a pre-made basic pillowcase.

I hope you have enjoyed this tutorial, and feel free to follow me along as I sew more bedding pieces and finish up our master bedroom!

Here are some other bedrooms we have finished in our home so far.

Getting our kids rooms completed was apparently more important than our own 😉

Here is the space where our 2 youngest girls sleep and play.  See all the details on this post, HERE.

Next was our oldest daughters bedroom, where we turned what should be a formal living room into her bedroom.  It is probably my favorite room in the house so far.

All the details, HERE.

Or you can just take a glance at all the fixed up spaces in our home by clicking HERE.

Can’t wait to add the master bedroom to the line up!  It has been a long time coming.

DIY Lace Pillowcase | Add charm to plain white pillowcase.


Thanks for reading!


*Linking up to these parties, HERE.

DIY LACE PILLOWCASE STORY

I’m Cami! Welcome to my blog TIDBITS. Follow me along for beautiful home decor ideas and inspiration for do-it-yourself living
Thank you for Subscribing to TIDBITS! Talk to you soon.

There was an error submitting your subscription. Please try again.

372 shares

Tags: Bedding, DIY, Lace, Master Bedroom, Sewing
Leave a Comment

You might also like

  • How to Make a Reversible Duvet CoverHow to Make a Reversible Duvet Cover
  • Fall Flannel Quilted PillowFall Flannel Quilted Pillow
  • DIY Bath Mat PillowDIY Bath Mat Pillow
  • French Cottage Girls Bedroom MakeoverFrench Cottage Girls Bedroom Makeover

Reader Interactions

Comments

  1. Linda Green says

    October 17, 2015

    what a great idea. Love thinking out of the box How creative are you. I used my printer to add some Paris decor to a set of pillowcases.

    Reply
  2. Pamela Lee says

    September 28, 2015

    Makes me want to nappie.

    Reply
  3. Karen says

    September 28, 2015

    This is a darling idea and so easy! I would add that hopefully the lace won’t shrink, so if it is cotton, maybe washing it first would be recommended. Your girls’ rooms are absolutely lovely! Will you decorate my bedroom?

    Reply

Trackbacks

  1. Authentic Blog says:
    July 10, 2016 at 1:34 pm

    Add Some Style And Lace

    […] to use 1 or 2 images on your own webpages, provided a link back to my blog is cl […]

    Reply

Leave a Comment Cancel reply

Your email address will not be published. Required fields are marked *

CommentLuv badgeShow more posts

This site uses Akismet to reduce spam. Learn how your comment data is processed.

Primary Sidebar

Hi! I am Cami. My passion is to help you, as the keeper of your home, to feel inspired to create a home you love and to learn the homemaking skills to help you do so.


About Cami

My product lines

TIDBITS Planners
TIDBITS Linen

Our books

Front cover of 'Master The Electric Pressure Cooker' cookbook

Hot off the press
tidbits.
Right to your inbox.

Sign up to get post updates, monthly subscriber only content, and inspiration for do-it-yourself living
Thank you for Subscribing to TIDBITS! Talk to you soon.

There was an error submitting your subscription. Please try again.

Archives

Follow on Facebook

Footer

Welcome to my blog, TIDBITS! I am a homeschool Mom to 4 and a fanatical DIY'er. I absolutely love home - and I love to inspire others as the keeper of their homes!

Subscribe

Thank you for Subscribing to TIDBITS! Talk to you soon.

There was an error submitting your subscription. Please try again.

Privacy

Copyright

I love sharing my ideas and tutorials! I ask that you respect my work and follow these guidelines. 1. All images are property of Tidbits blog. 2. Feel free to use 1 or 2 images on your own webpages, provided a link back to my blog is clearly available. 3. Do not remove any watermark or crop/edit my images in any way, unless given written consent by myself. 4. All tutorials/ideas/designs are for personal use only and are not to be copied and distributed in any way. 5. Sharing and pinning through social media is always welcome!

An elite Cafemedia Home/DIY Publisher
Branding + Website By Coded Creative

372 shares