This post may contain affiliate links, which means I get a small percentage of the sale at no extra cost to you. I only recommend items I love and have had a positive experience with. Thank you!
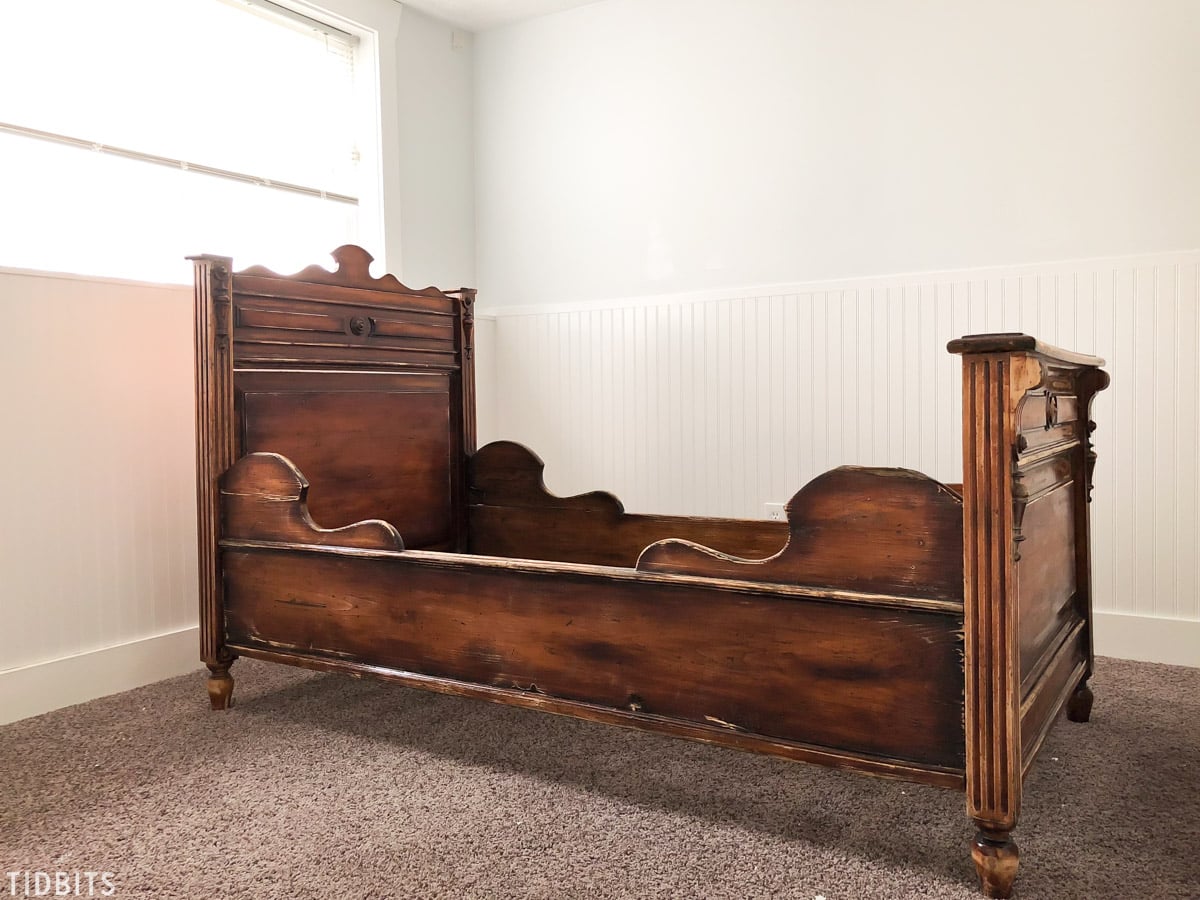
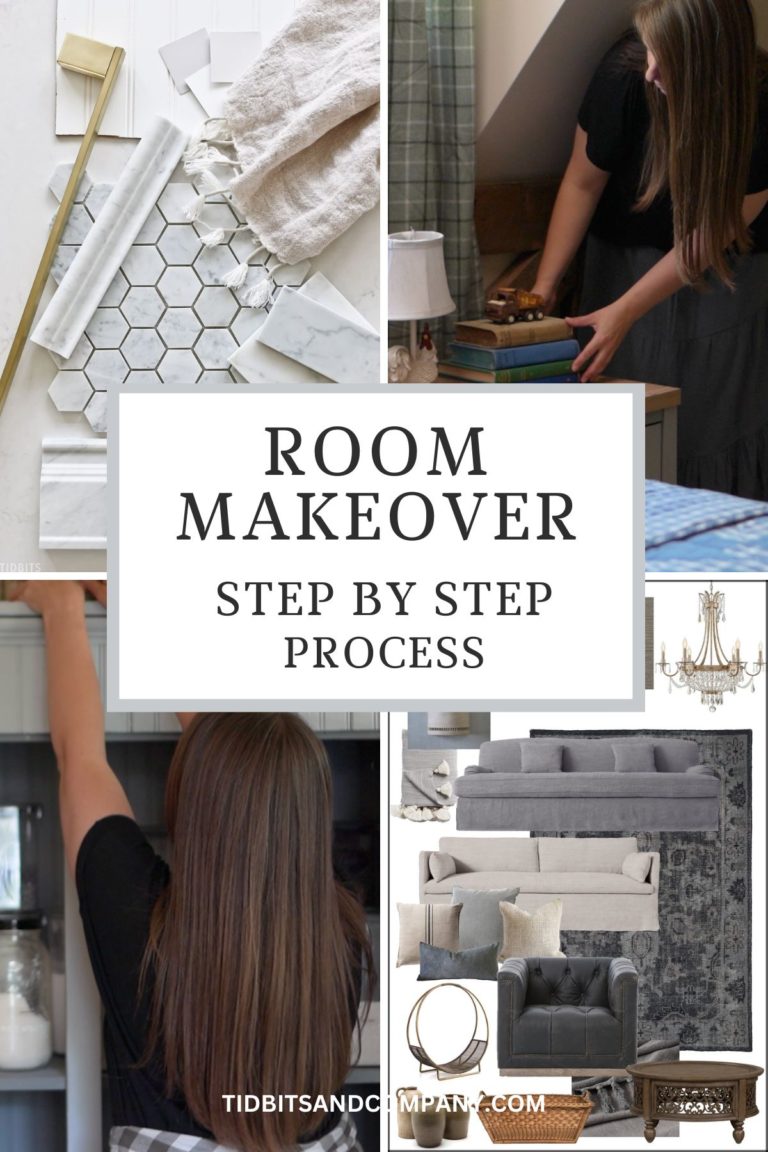
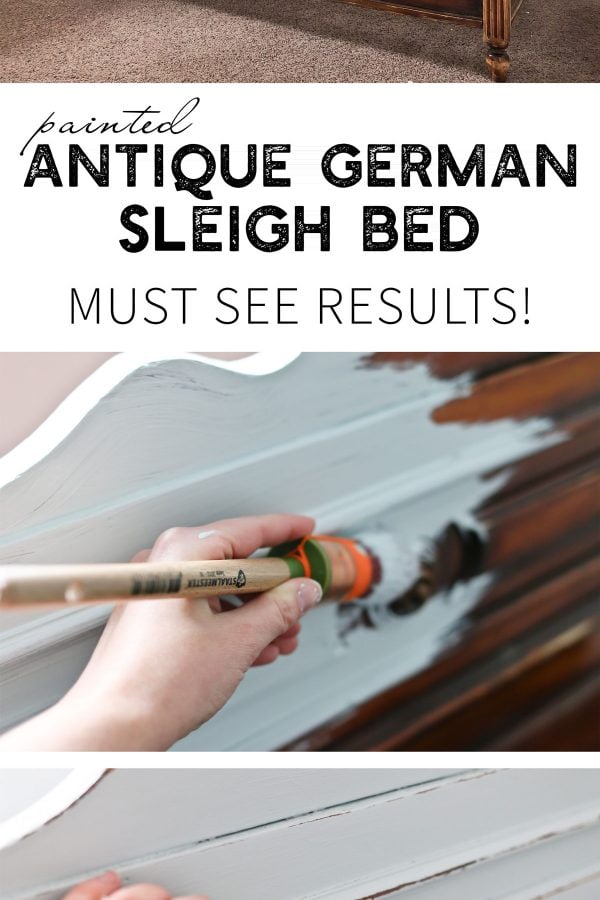
I’ve always known paint can transform a furniture piece, but to end up this good – even I was shocked! Let me show you my process and results from working with Fusion Mineral Paint for the first time on our DIY Painted Antique German Sleigh Bed and talk about how I decide if a piece is best painted or left alone.
The great debate when coming upon a unique piece of furniture is – to paint, or not to paint.
Let me take you through the thoughts that run through my head that help me decide if a piece would be best painted or left alone in whatever state I found it, then I’ll show you my painting process.
*This post is in partnership with Fusion Mineral Paint. All opinions are always my own. Affiliate links are included.
Here is how we found this old and unique Antique German Sleigh Bed for sale on Facebook Marketplace for only $80!!!
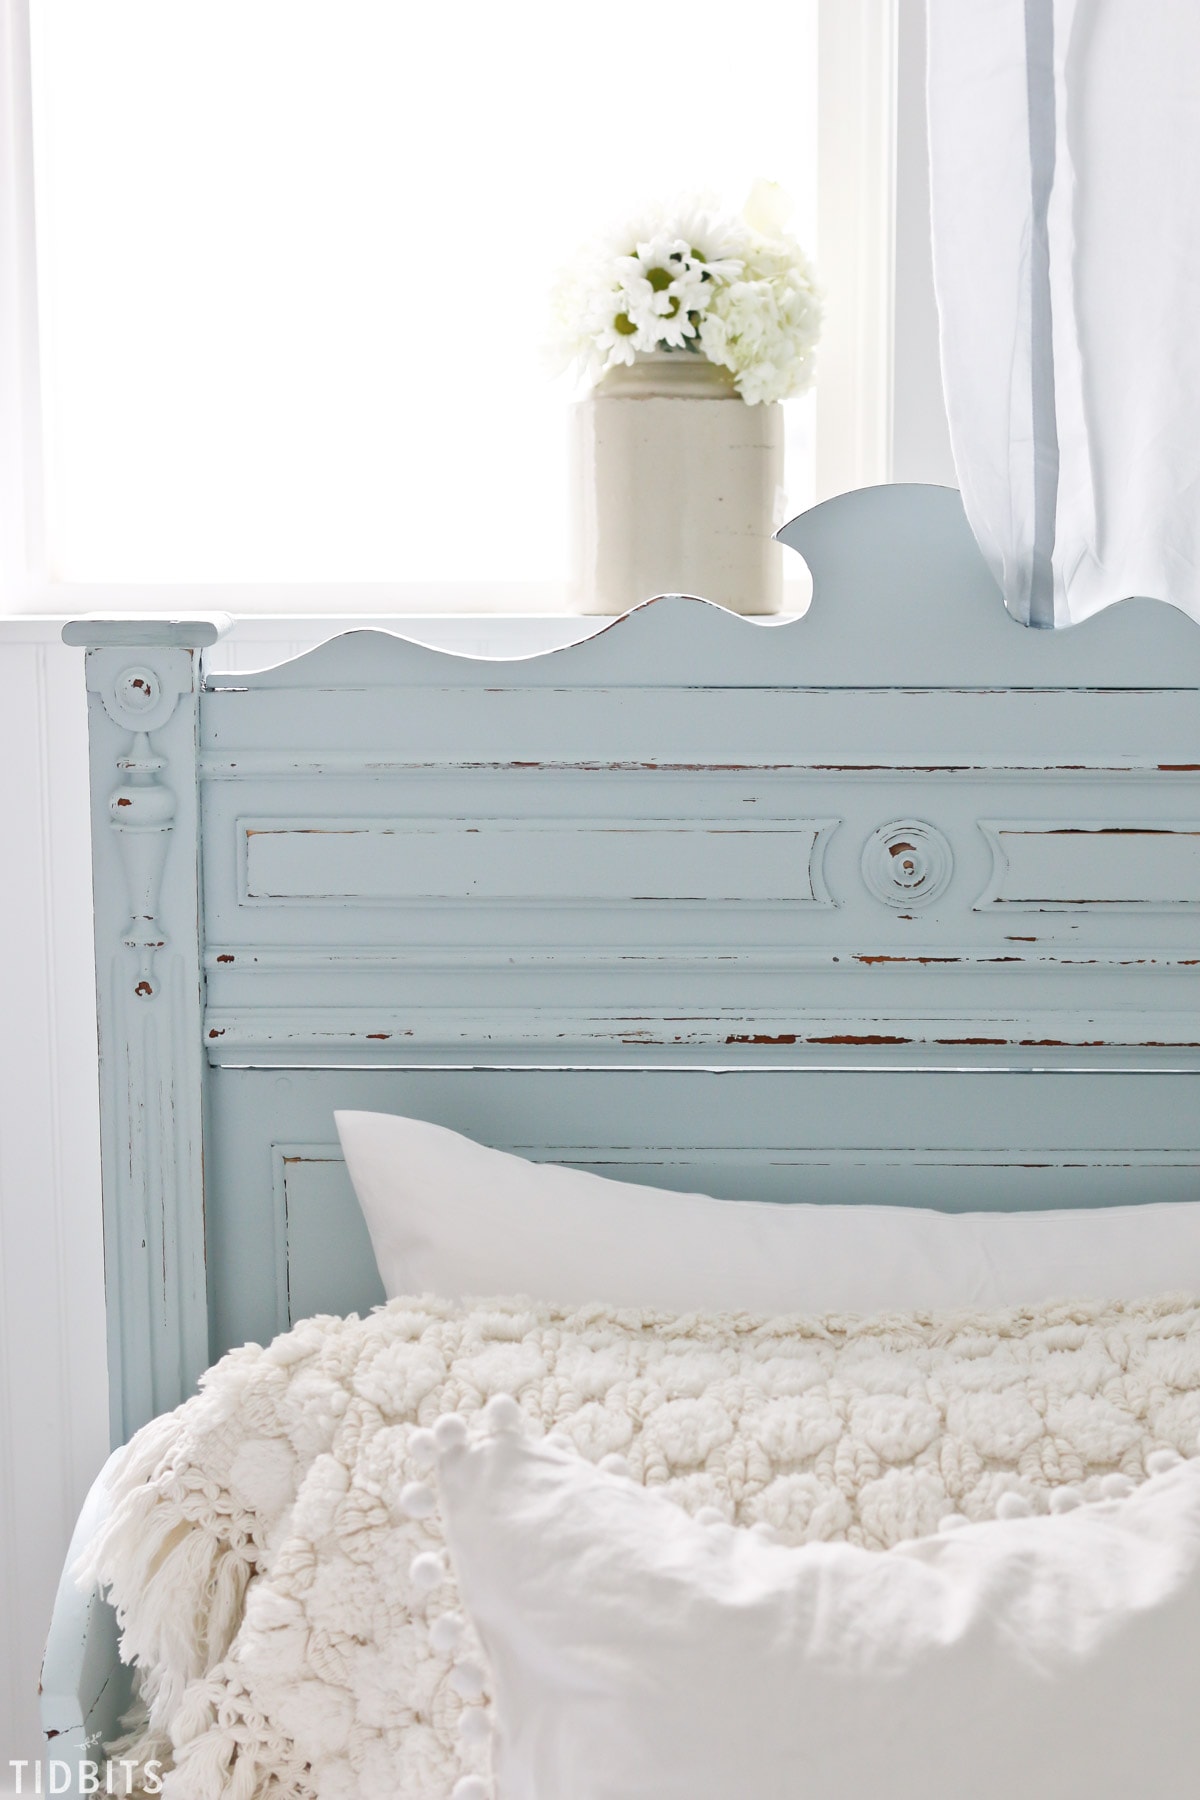
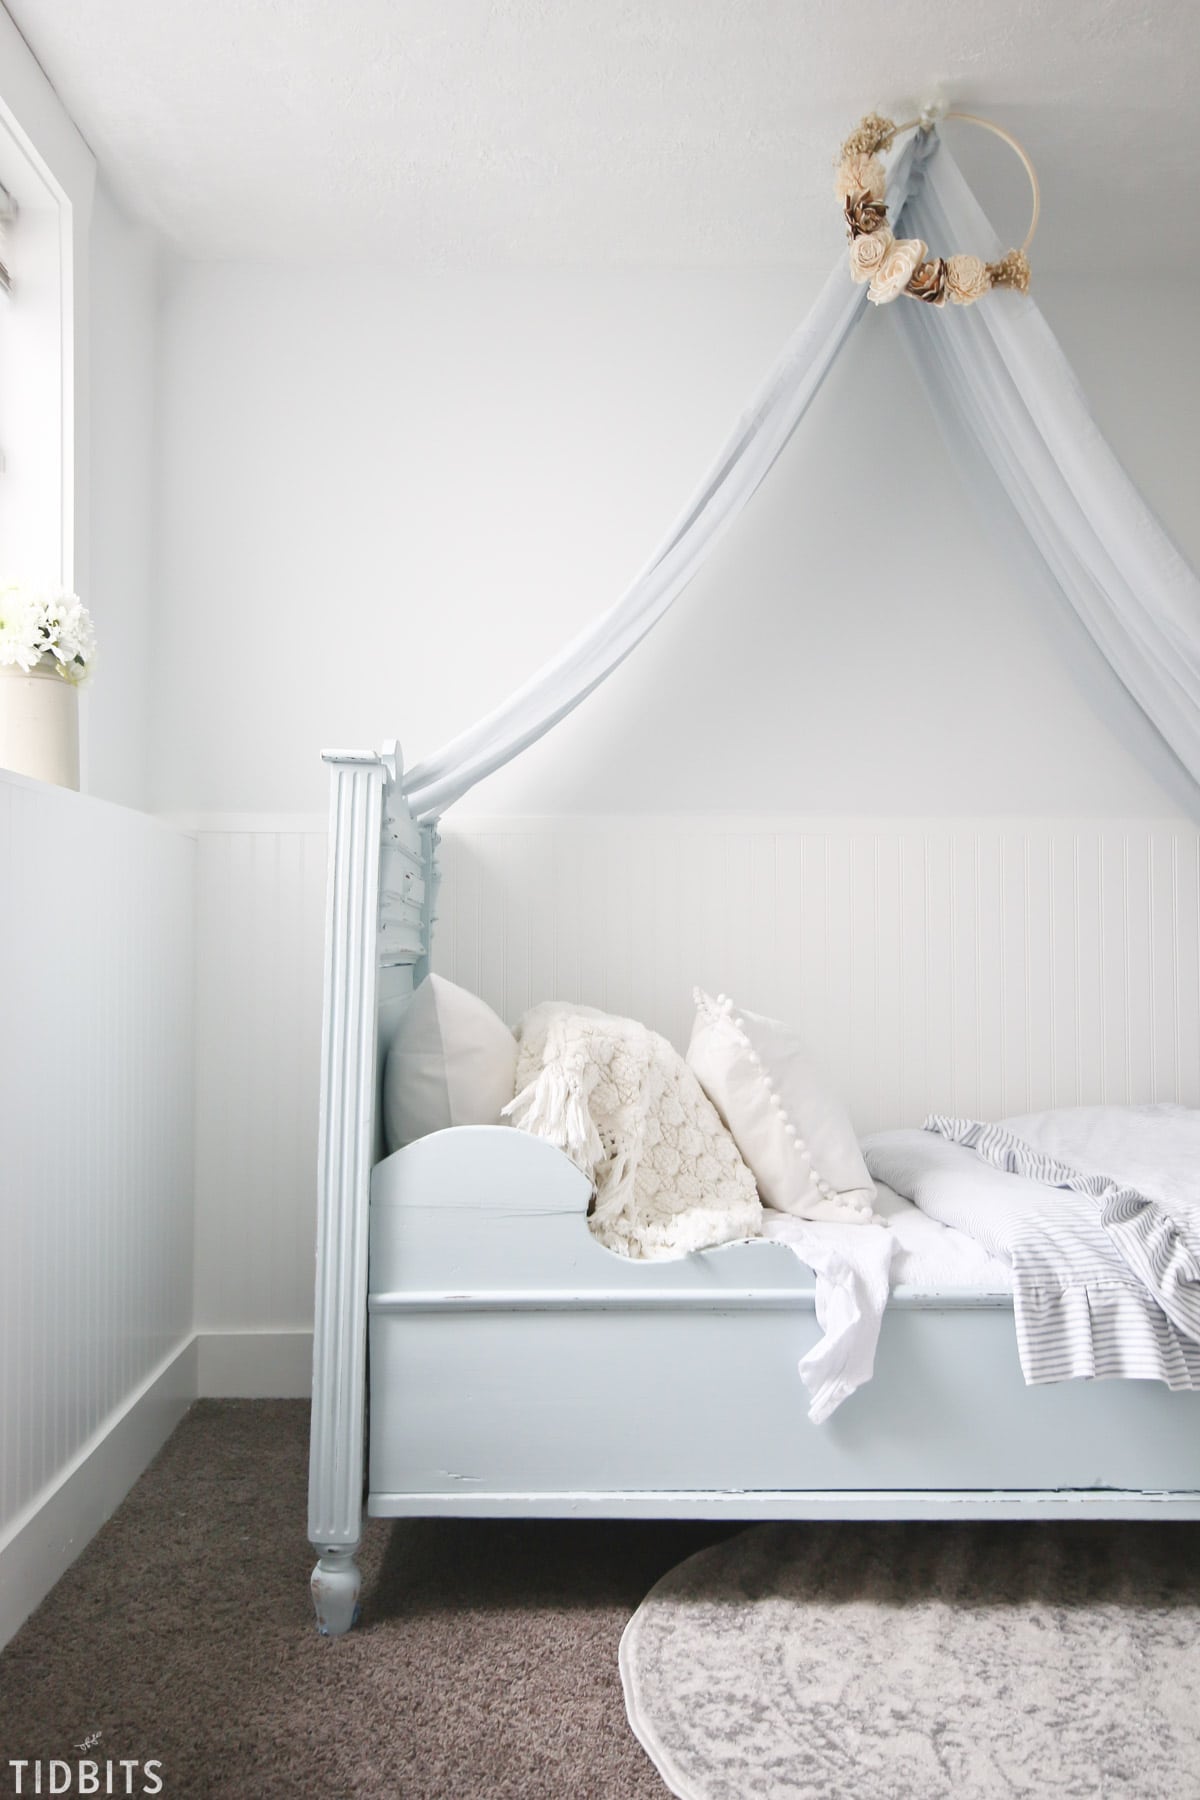
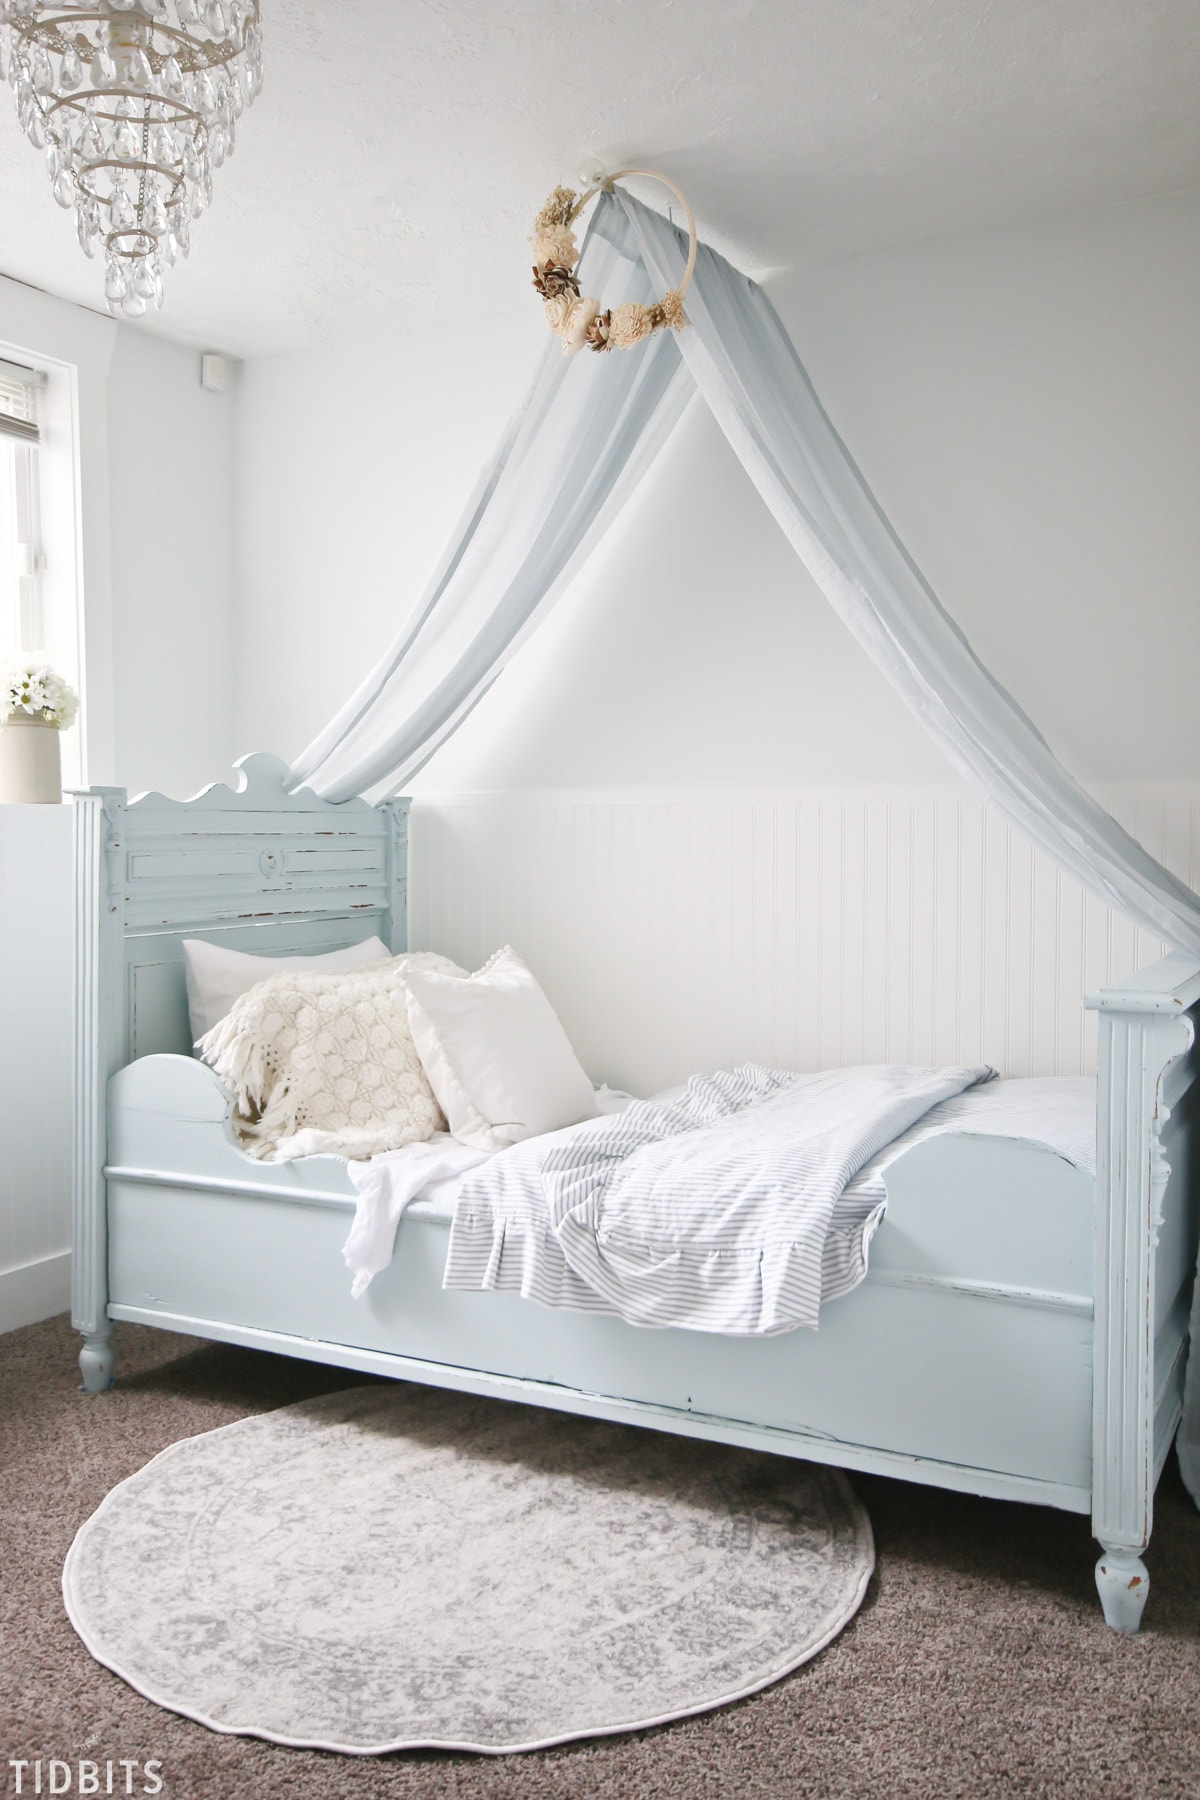
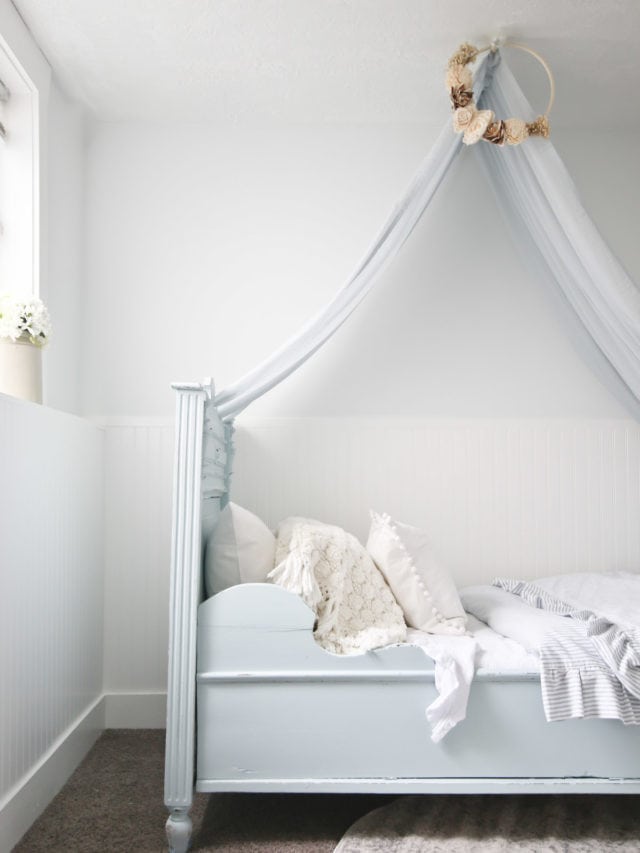
Here is the “AFTER” in all her light blue glory. For full details on this space, please visit my post on my daughters bedroom makeover.
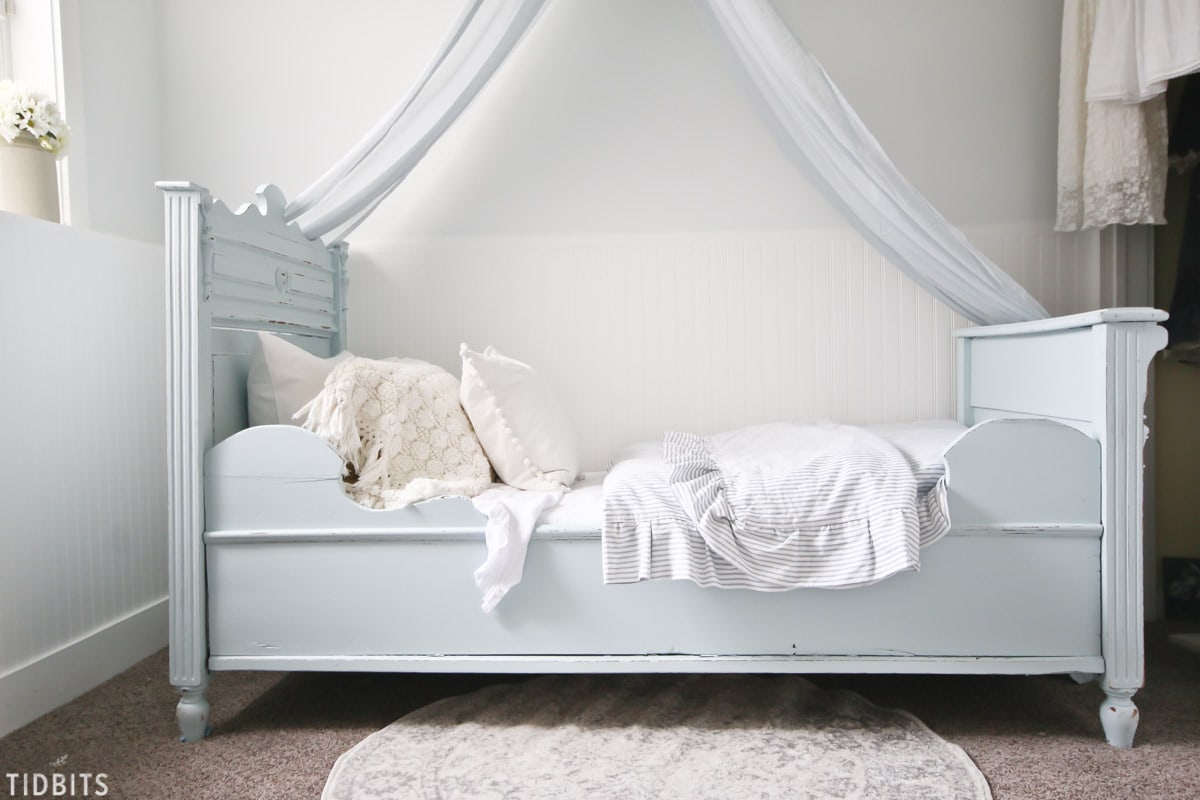
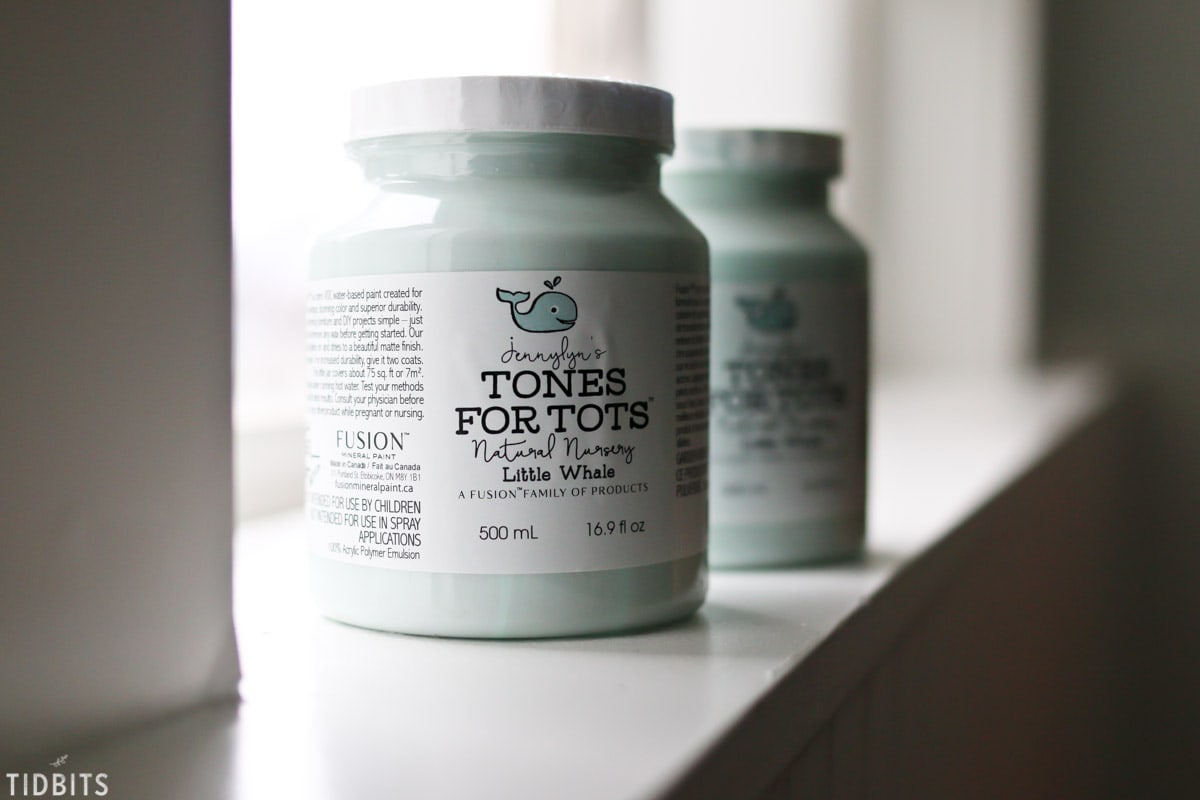
I selected the color “Little Whale” from the TONES FOR TOTS line from Fusion Mineral Paint, which is a lovely soft light blue color, at its best.
In deciding if I should paint this piece, here are the questions I asked myself . . .
1 – Could the curves and detail be accentuated with paint, or would it make them less noticeable?
My censuses was that paint and a light sanding/chipping would do the details wonder.
2 – Is the current wood color/tones beautiful and well stained?
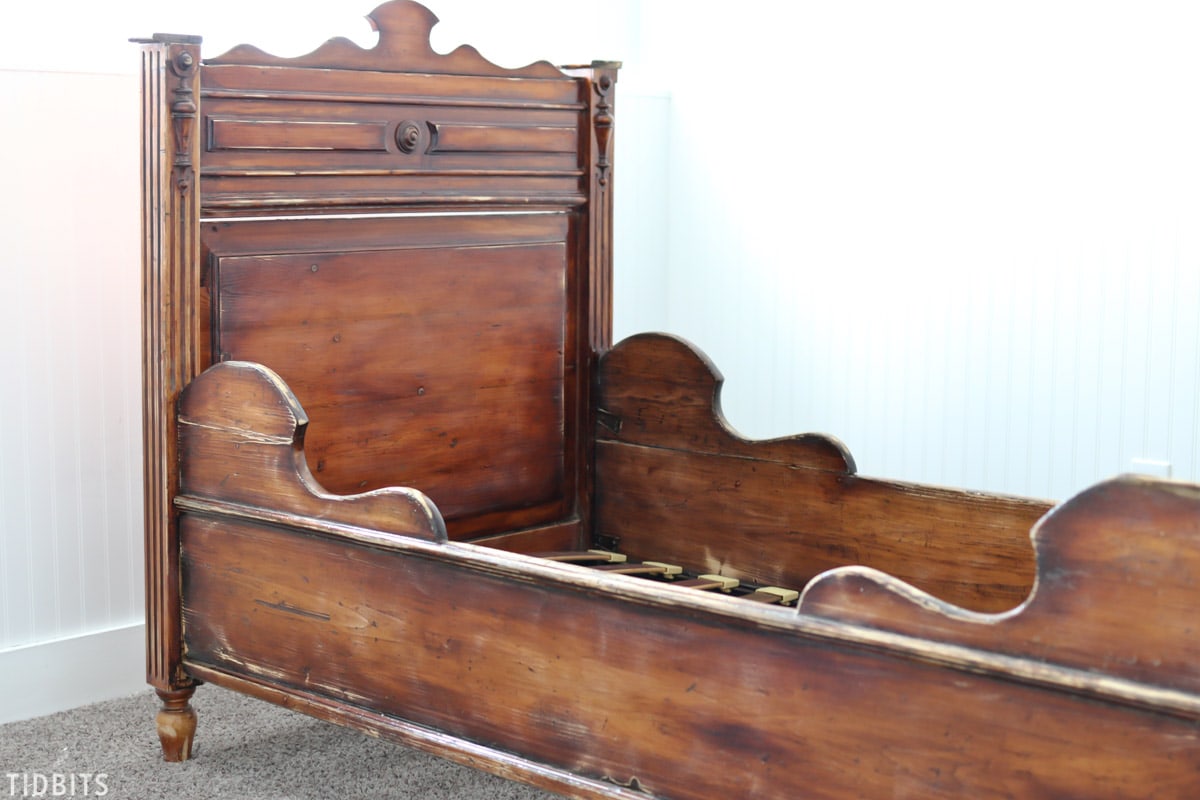
I thought the wood finish was in horrid condition. It was stained unevenly, as the previous owner was trying to save it with a thick uneven lacquered finish, and I absolutely despised the wood tones.
3 – What is the overall look and feel I want for this space, and will painting help me achieve that?
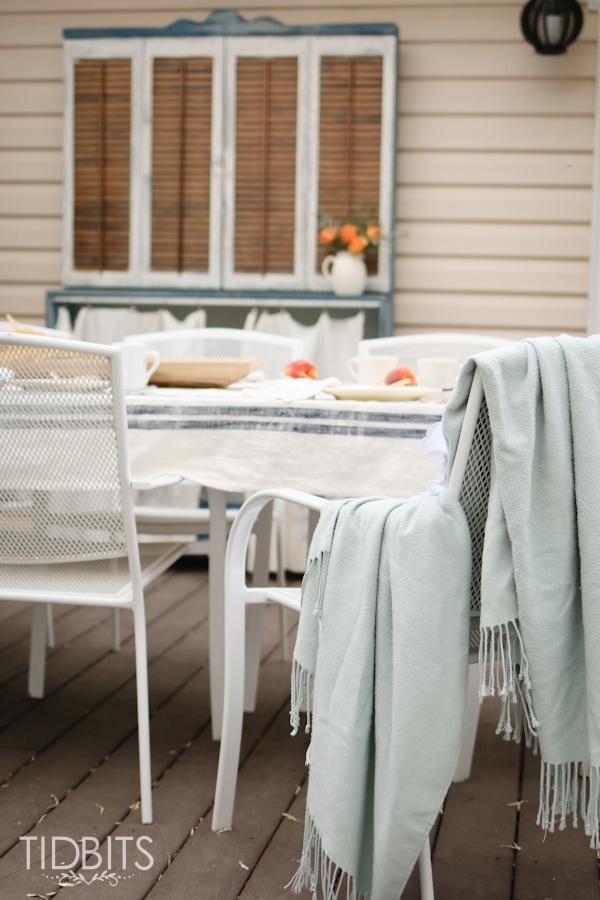
My daughter and myself wanted a light and bright room, with an overall cottage style. A painted chippy piece of furniture was a sure fire way to get a light and bright cottage style space.
4 – What is the history of the piece, and would painting it destroy its value?
Perhaps the most important question, for us people who value “the story” of an item. As the owner selling the piece shared with us, it was a very old piece, brought to the US from Germany by her Grandmother. She had used it with her boys, and said that they had “beat it to pieces” through the years. Parts had been broken and glued back on, it came with nicks and dents and a few layers of stain/varnish. I felt it had already been altered from it’s precious original state many times, and in such rough condition, that painting it could only add beauty and another layer of history to the piece, rather than taking away from it. I knew I wanted to sand and chip it up, to actually accentuate its age and imperfections. Doing these things would make it something perfectly imperfect, and nothing like anything you could find in a store.
5 – Which would be more work, painting it or stripping it?
With all the layers of stain and varnish, stripping it would be a phenomenal amount of work, with toxic chemicals as a necessity. Rather, a light sanding and a couple coats of paint would leave me with a simple afternoon project, with all the results I wanted.
After considering all those questions, painting it was a no brainer for me! What do you think? Would your answers to those questions have been similar? Would you have painted this Antique German Sleigh Bed? I’d love to know your thoughts!
Now armed with my paint and supplies, I got to work! Having never used Fusion Mineral Paint before, I didn’t quite know what to expect and was a little nervous it would deliver the results I hoped for. I had tried several milk paints and several chalk paints, but never before tried this mineral paint.

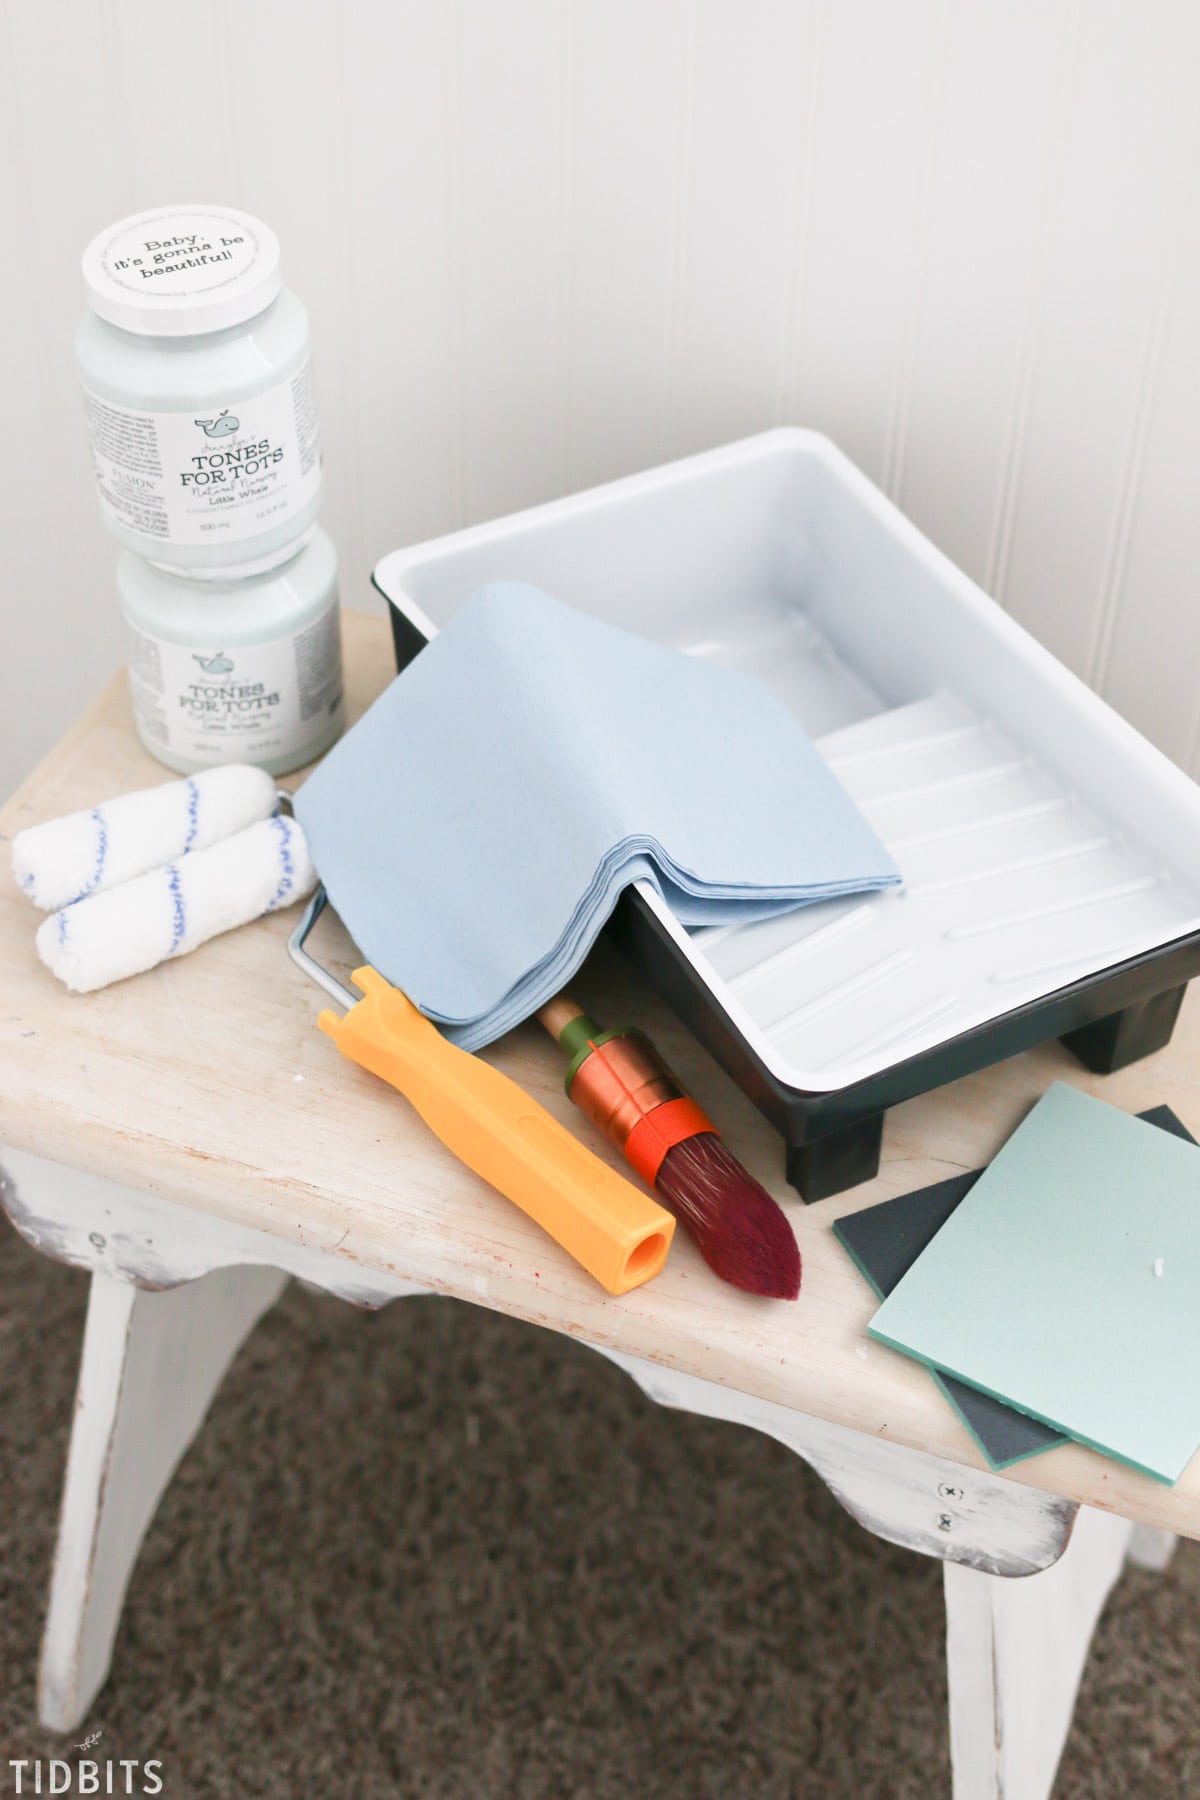
SUPPLIES
I was grateful Fusion Mineral Paint sent some basic painting guides along with their paint and this kit that included a tray, sandpapers, cleaning cloths, and they sent me their Staalmeester brush. It also had a roller bush handy for the long flat parts. I also discovered on their pamphlets that come with the paint and from information on their website, that the paint basically has a built in finish coat, which means I didn’t need to worry about any polycoats or waxes – which was nice!
PREP WORK
The guide said if my piece had a varnish finish, to give it a light sanding first, which is what we did.
The microfiber cloths from the kit were great for wiping the dust and dirt off the piece before painting.

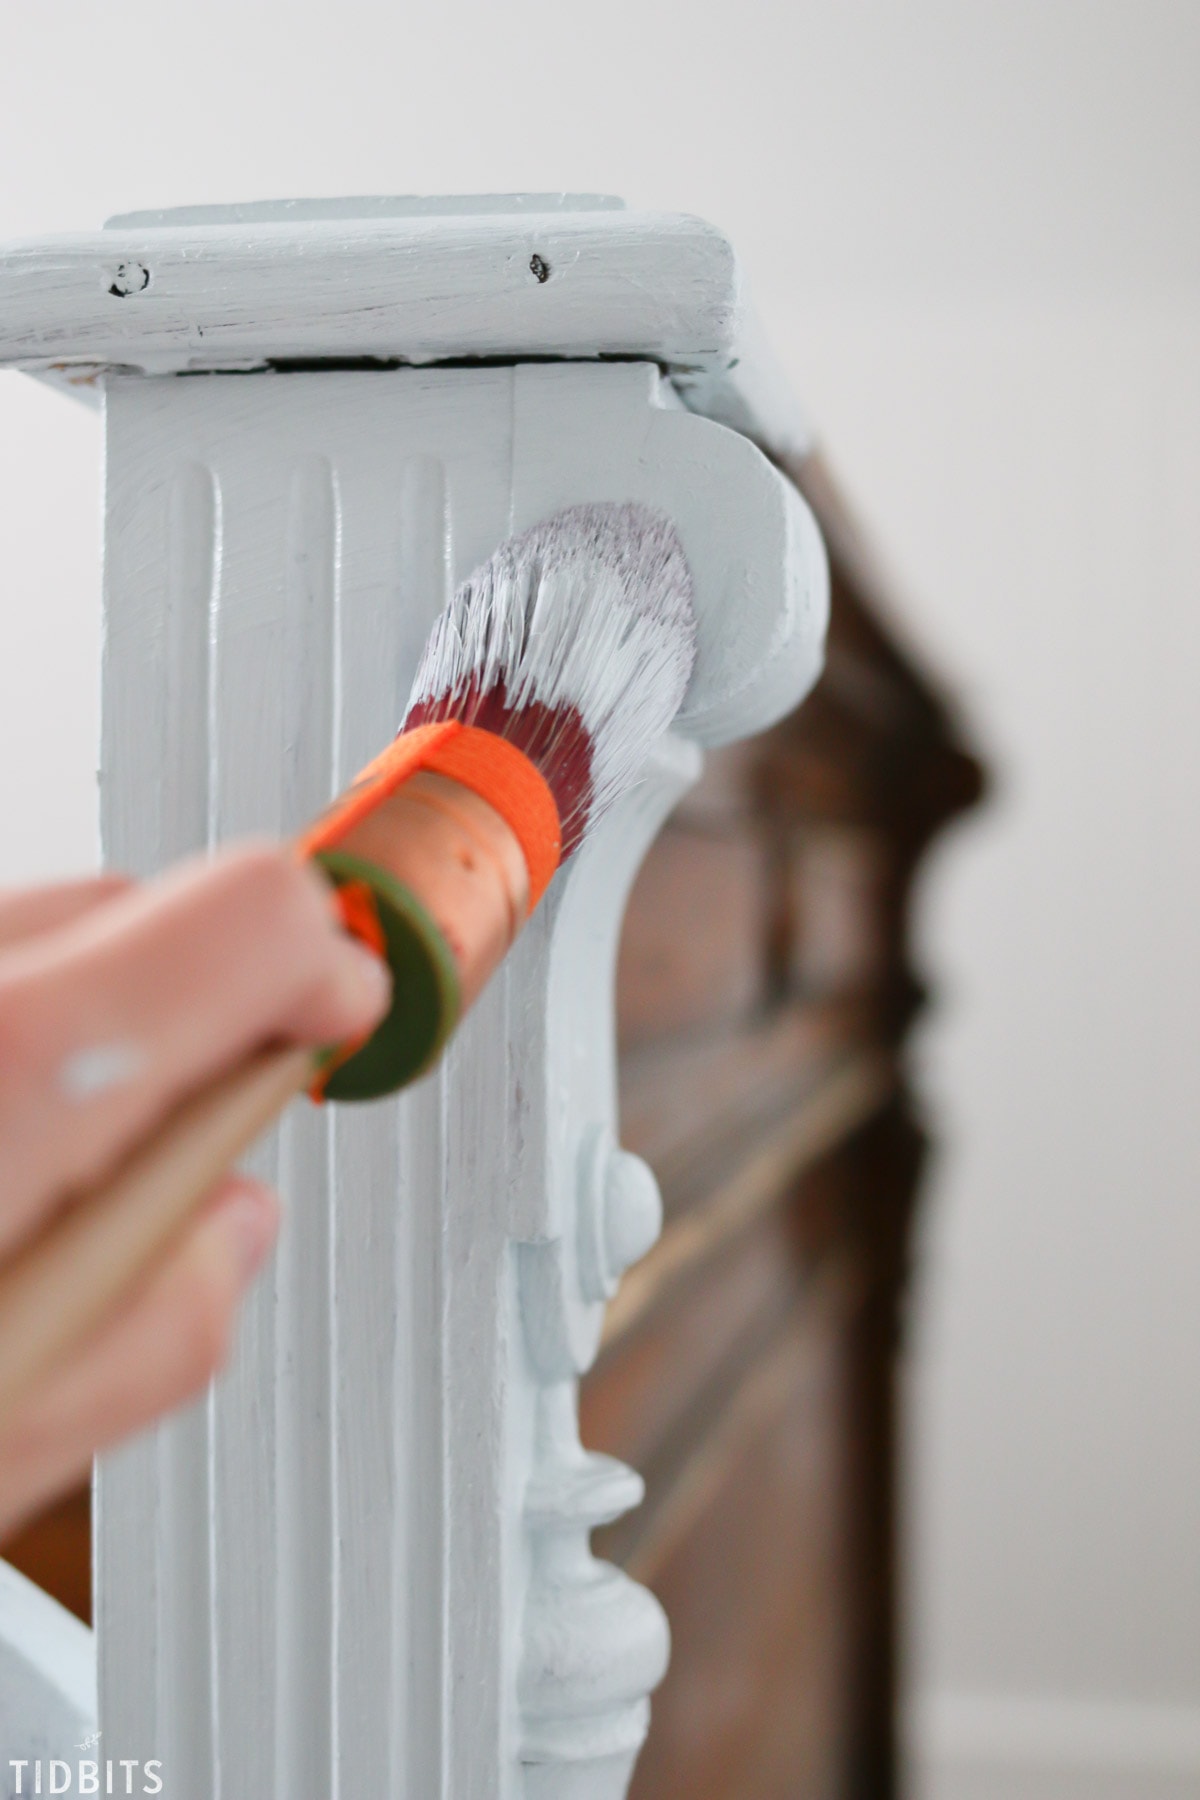
PAINTING
I mostly used the Staalmeester brush, which did such a good job at getting the paint inside the detail and crevices. On the long sides I used the roller brush.
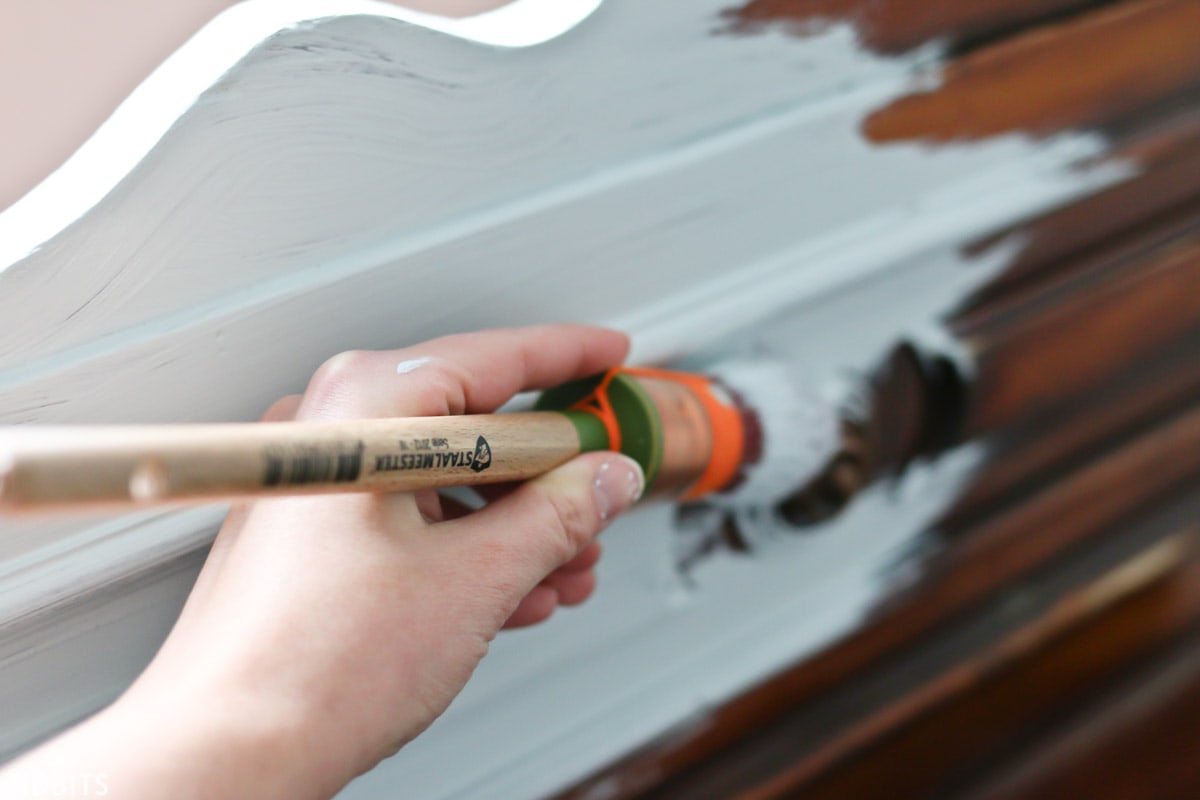
I was delighted that all I needed was 2 coats of this paint and it was completely covered. This bed took almost the entire two 16 oz bottles of paint, the fumes were hardly noticeable, and it went on silky smooth.
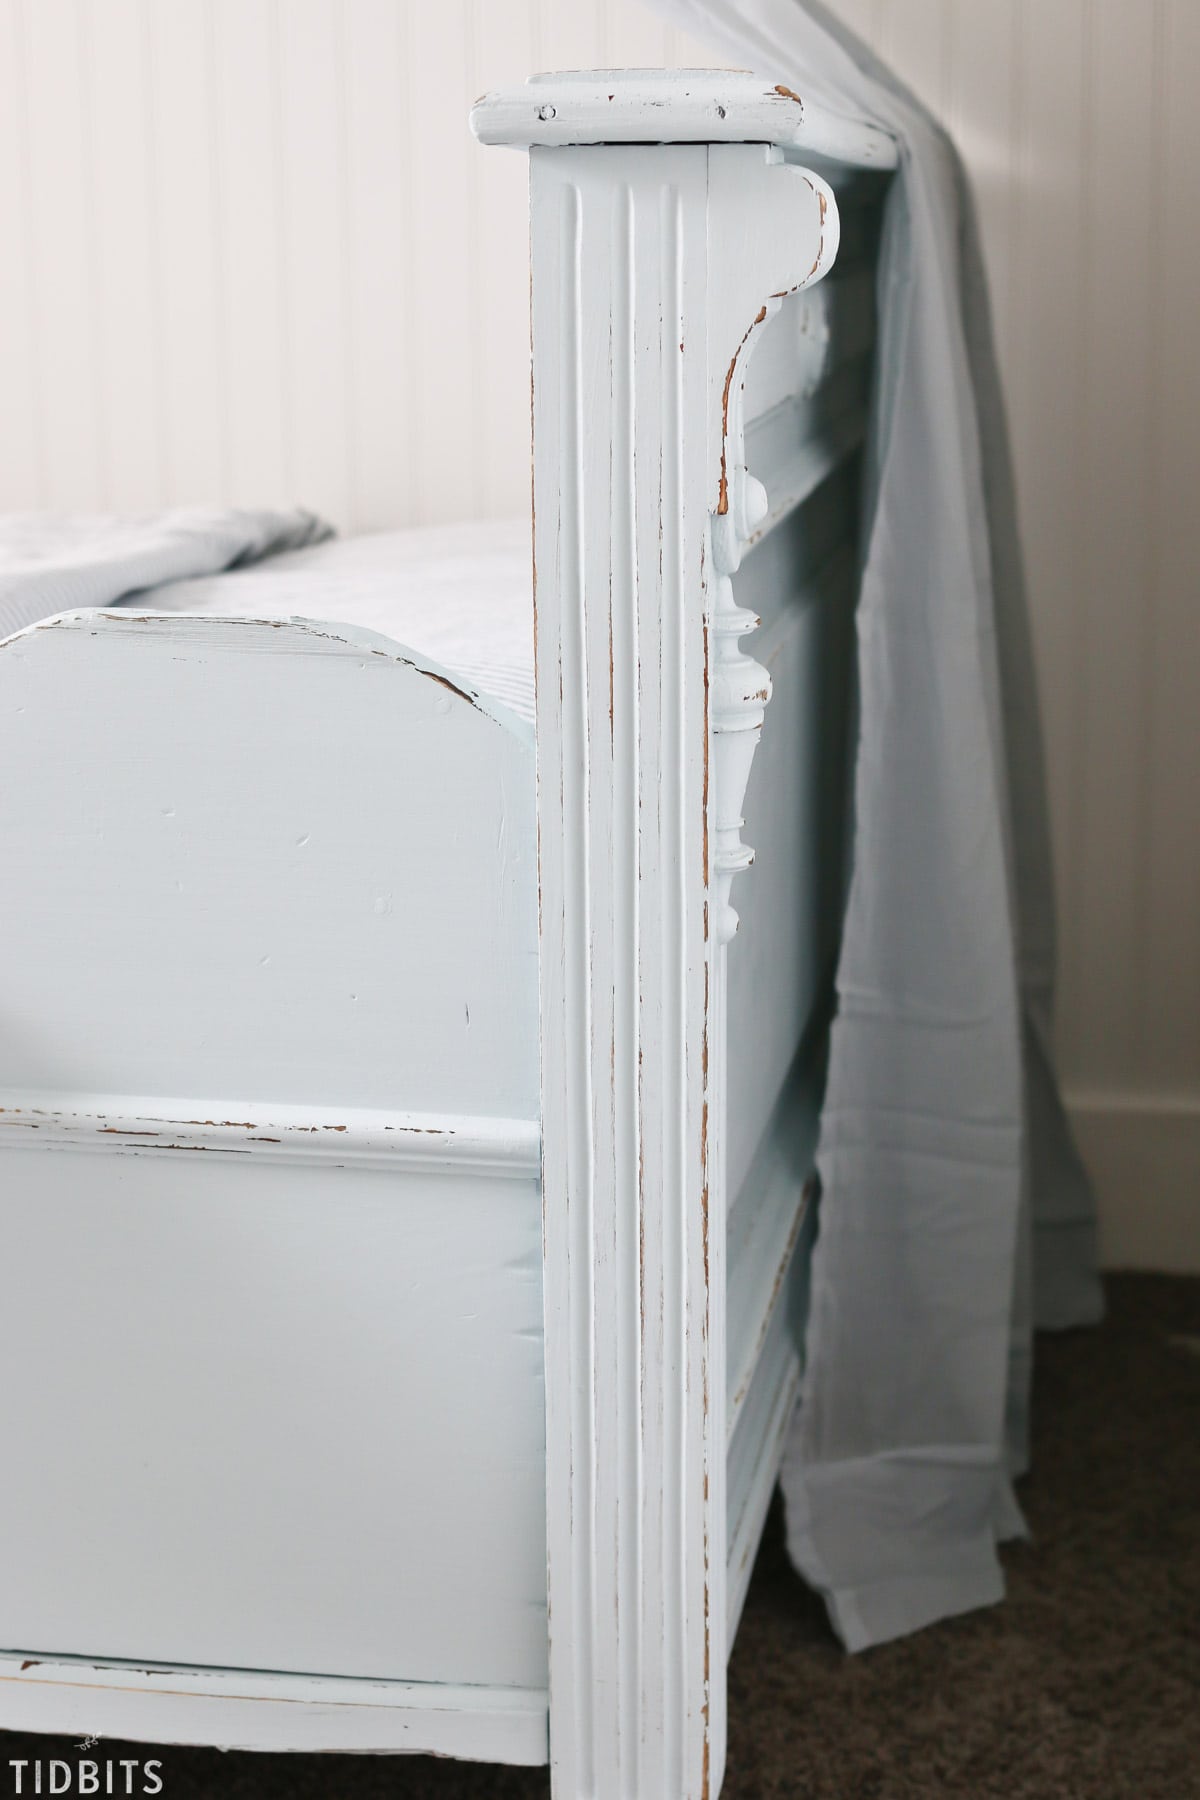
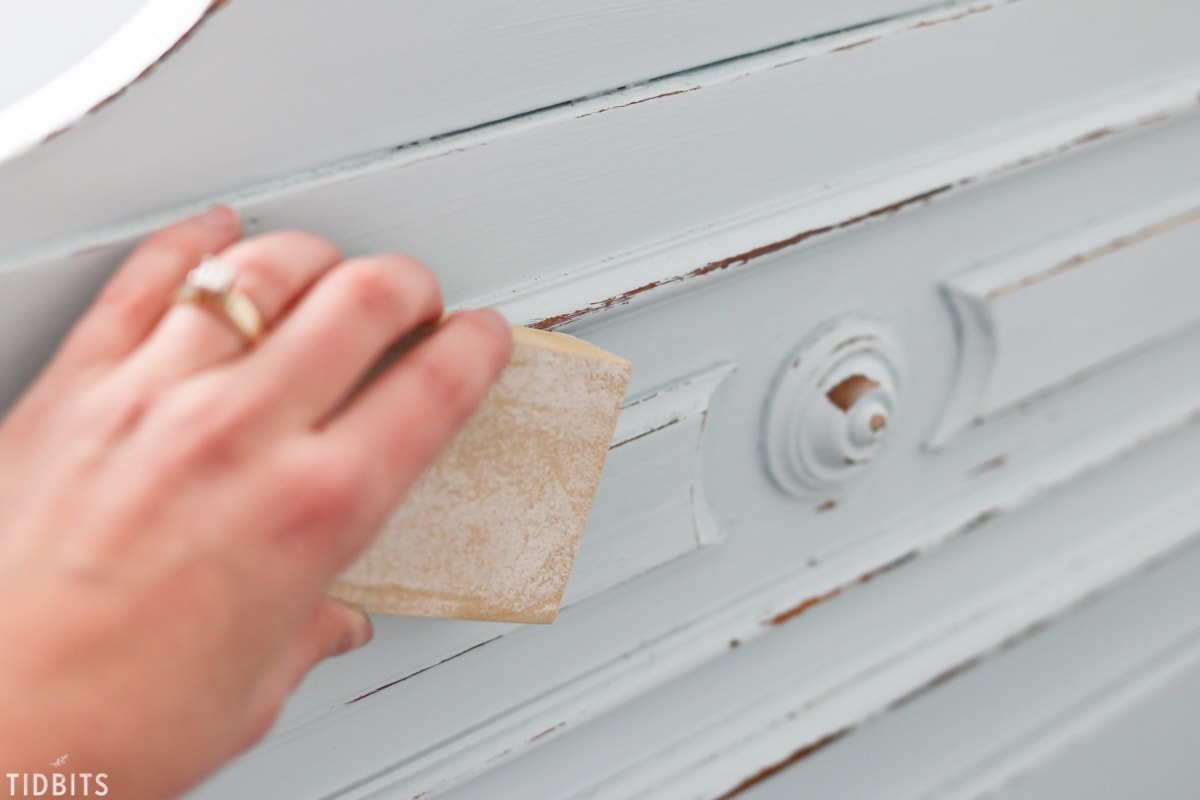
SANDING AND CHIPPING
I found for the sanding and chipping part, I needed a stronger grit of sandpaper than the soft grit that came with the kit. I dug through the garage to find a variety of grit to play with.
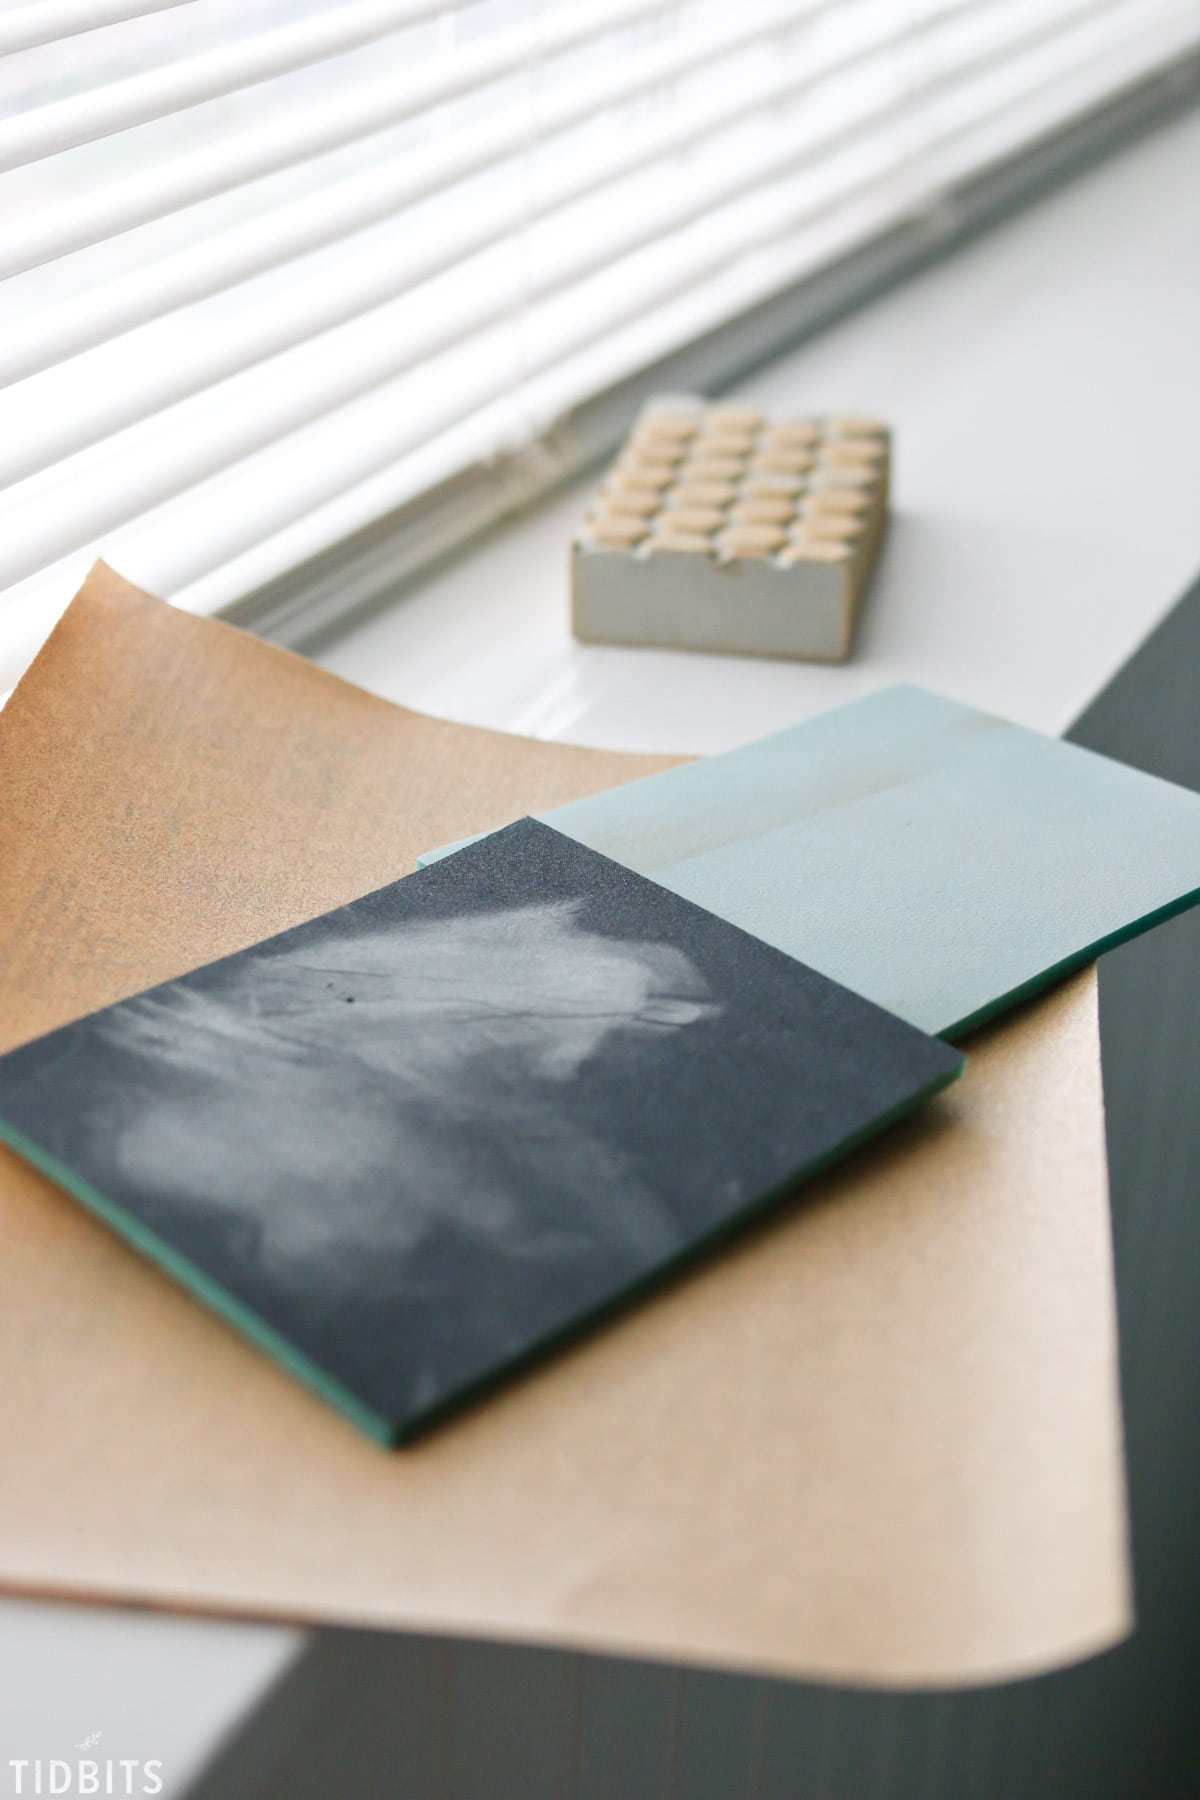
The more gritty sandpaper did a great job at chipping the details and edges just how I wanted. I went along all the parts that I felt would naturally chip over years of use, and any parts where I wanted the detail to shine a bit more.
Then I took the less gritty sandpaper that came with the kit, and ran it lightly over the entire painted surface. It left the paint finish so buttery smooth and soft to touch.

After clean up, I was giddy with the results!
MY OVERALL THOUGHTS ON FUSION MINERAL PAINT
Having tried so many different kinds of chalk paint and milk paint, I felt like Fusion mineral paint was the perfect mix between the two. It didn’t have the unpredictable flaking like I’ve so often experienced with milk paint, but it chipped and sanded down easier than I’ve experienced with chalk paint which almost adheres too good. It dried to a very nice matte finish, but not quite as matte and chalky as chalk paint . . . in my opinion.
Of course, you must consider the type of finish you are painting over, which will determine how the paint will react. Having painted over a lightly sanded varnished piece, the adhesion was way better than I expected. After having played with it, I can imagine this paint would just soak into raw or unfinished wood, leaving you with a beautiful full coverage. I can also imagine it would paint over an already painted piece just as well. Knowing now how it behaves, I think you would have both the options to choose a chippy look or complete coverage with Fusion Mineral Paint.
If you are curious about their colors or want to see other pieces painted with Fusion, their website has some great examples and so many beautiful colors. I’m also loving their Instagram feed, especially the live IG stories where they share many techniques and results. It’s so fun to see the actual creator of Fusion, Jennylyn, using the paints and sharing her techniques. She is so sweet and helpful!

HOW DO I BUY FUSION MINERAL PAINT
Let me quickly address this frequently asked question. There are a few ways to purchase Fusion Mineral paint.
Probably the best option (if it is available for you) is to go to the Fusion website and search your area to see if there is a retail store or online supplier near you. You would then visit the store and see the colors first hand, or have it shipped to you if that retailer ships. I don’t have that luxury of having a retailer near me, so I feel the other best option is to buy on Etsy or Amazon.
The problem with buying on Amazon here, is I’m not currently seeing a lot of colors and options in my searches. There are a few, but they even look more expensive.
SO CHECK OUT ETSY for retailers there who appear to stock more variety with better prices.
I hope seeing my process and hearing my thoughts on Fusion Mineral Paint have been helpful. What questions do you have for me? What other paints have you tried on furniture and loved? I really enjoy discovering new ones and would love to hear your thoughts!
OTHER SOURCES FOR THIS ROOM


This is absolutely gorgeous. I’m glad you painted it. It’s perfect. I LOVE the color. (This is my first time on your site. )
Hi! Beautiful piece. Love how it turned out. What is the Fusion Color called?
Thanks,
Hey I love love love this transformation. Just wondering if you ever experienced bleed through without priming with this Paint? And how has it withstood without any topcoat?
This turned out beautiful! The bed itself is amazing. I’m gonna try and freshen up my Ikea furniture (I know there is nothing like real wood but I have to play with what I’ve got ;)). What base coat and paint would you recommend for laminate so it does stick to the surface? Would you sand it a bit or is that not necessary?
Love love the bed! You picked the perfect color for it!
I would have serious stress about painting an antique, but sometimes it is the best way to honor it! You definately made the right choice. The bed turned out perfect!
Just lovely, Cami. I especially like the distressing and chipping you did… really lends to the vintage look of the piece (well, it is vintage now, isn’t it? 🙂 ) Thanks for sharing!
I think you made the right choice to paint the bed, it turned out so very lovely for a girls room and i love the color. Thanks for all the information, there’s so many different kinds out there, have a great day.
It turned out beautifully! Love the color choice too. Thanks for sharing.
What an amazing find. I love it and the color. I could see myself cuddle in it reading a book.
I still need to give ASCP a good try. I’ve only used it on a small craft project. I’ve made lots of my own chalk paint too, and it totally works! I think Miss Mustard seed has been my favorite milk paint so far, but then again . . . so many brands to try! Thanks for coming by again Cecilia! I just love you!!!
Definitely “To Paint!” Some voices get hung up on saving a wood piece, in it’s original state, no matter what! I feel there are many reasons to paint, including personal choice. If painting a piece makes, even a family heirloom, fit ones style, then “Just Do It!” “To each his/her own,” is my motto! Your work on this piece is gorgeous!
Amen sister!! Preaching to the choir here 😉 . Taking into consideration the style of the space I’m trying to create is basically my number one factor. I can forget the rest pretty quickly. Loved your thoughts! Thanks!
I too have used many different chalk paint, milk paints, etc. I started using FMP on garden chairs my husband and I make mostly because of it’s tough built in top coat for outdoors. Plus no VOC so can sit in garden without anything leeching in to soil. I love it!! It is so smooth and goes on like a hot knife through butter. I love how your bed turned out. I can’t believe it was only $80! It will become a new heirloom for your daughters daughter someday. Join FB group called Paint it Beautiful for other FMP project transformations.
Yes, the no VOC is a definite perk I forgot to mention. I’d love to hear how you’ve felt the paint did outside in the elements. It definitely feels like a tough finish. And yes! Like butter! It was amazing to work with. And funny you should mention that. My 11 year old daughter has already claimed that no one else can use this bed because she is going to give it to her daughter some day. I can’t wait for that day! Off to check out those FB pages! Thanks!
You have created a stunning, beautiful bedroom vignette. Love, love, love it! Hope to create a similar special place for our granddaughter. Thanks for your inspiration!
Thank you Sharon! You have a lucky granddaughter! I loved sleeping over at grandma’s house. She made us feel so special.
I just adore these beds and the colour!!!! No one ever asks me my advice on painting anything…haha..I paint whatever! Life is too short to worry about that..It’s only paint! Now I’m wondering what I should paint around here after seeing these darling beds ?
Looks like I’ve found a painting soul sister 😉 . I love your thoughts on the matter! I’m also on the hunt to find something else to paint. Fusion has this pink color that I just gotta slap on something!! 😉
Absolutely gorgeous piece of furniture and the paint looks stunning. I don’t know if I could have brought myself to paint it though. I have a ton of antiques that could use some coats of paint, but from spending so many endless hours stripping furniture, covering it up with paint would be hard for me. But I do think it looks wonderful and you did an awesome job.
Haha! Nothing like having to strip furniture to make you never want to paint a piece. I feel the same way about wallpaper. I’ve spent so many hours scraping it off walls, no matter how cute they are these days, I can’t bring myself to plaster it on a wall! Maybe I need to strip more furniture . . . na! I’ll just keep painting 😉 . Thanks for coming by!
Your bed turned out great! How darling for a girl’s bedroom. Appreciate your review of the fusion paint. Will give it a try!
Glad you liked it! Fusion is honestly one of the best paints I’ve tried and I’m headed to the thrift stores this weekend to see if I can find another piece to play with this paint. I hope you give it a try someday!
Thank you for the tips on painting. It’s always a question to paint or not but I like your process better. And thank you for sharing the blog Boxwood Avenue. I started to go read everything and had to quit! I feel the same way about her blog as I do yours, I better have Plenty of time to go down that rabbit hole before I start! Lol! Thank you again! Have a blessed day!
I’m so so flattered by your comment!! But almost feel guilty for taking too much of your time 😉 . Boxwood Avenue has such gorgeous photography and lovely lifestyle posts. I say time well spent if you can leave feeling inspired. Thanks for coming by Ramona, and I’m glad you enjoyed hearing about my paint process!
Hi Cami,
The end result is really beautiful. I always struggle with painting the beautifully carved, hand-crafted, solid wood pieces but you’re right, it was in such bad shape that its beauty would not have been appreciated any other way. I have a beautiful mahogany desk that I rescued from someone’s trash but haven’t had the courage to take a paint brush to it! I think it’s time to give it a new life 🙂
Aime
I’m with you. Those details can be hard to paint over, but I’m really glad I did for this piece. And I say, if it came from a trash pile, what do you have to loose???!!! I’d love to see the transformation if you end up doing it.
A wonderful transformation! I love the colour chose for it 🙂
So glad to hear you liked it! Isn’t that color so soothing??! Thanks for coming by.