This post may contain affiliate links, which means I get a small percentage of the sale at no extra cost to you. I only recommend items I love and have had a positive experience with. Thank you!
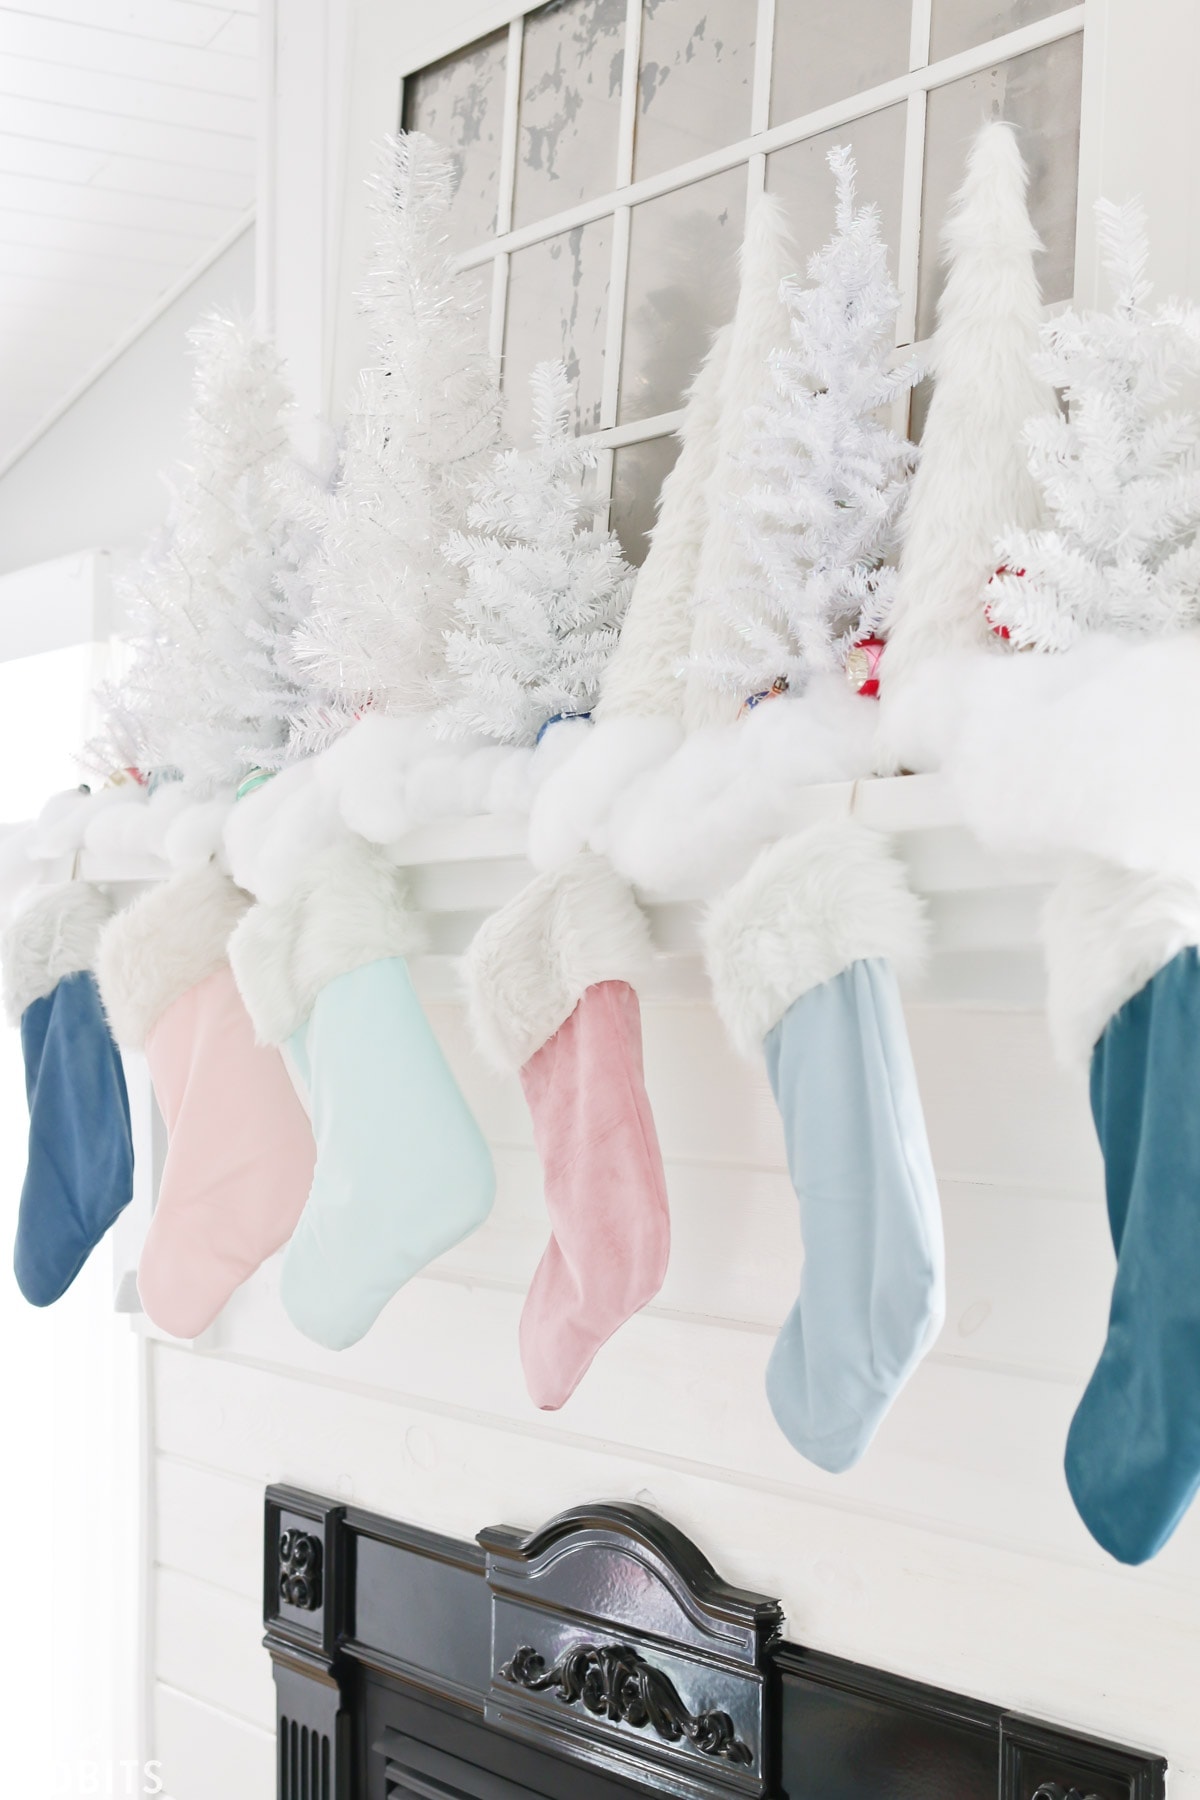
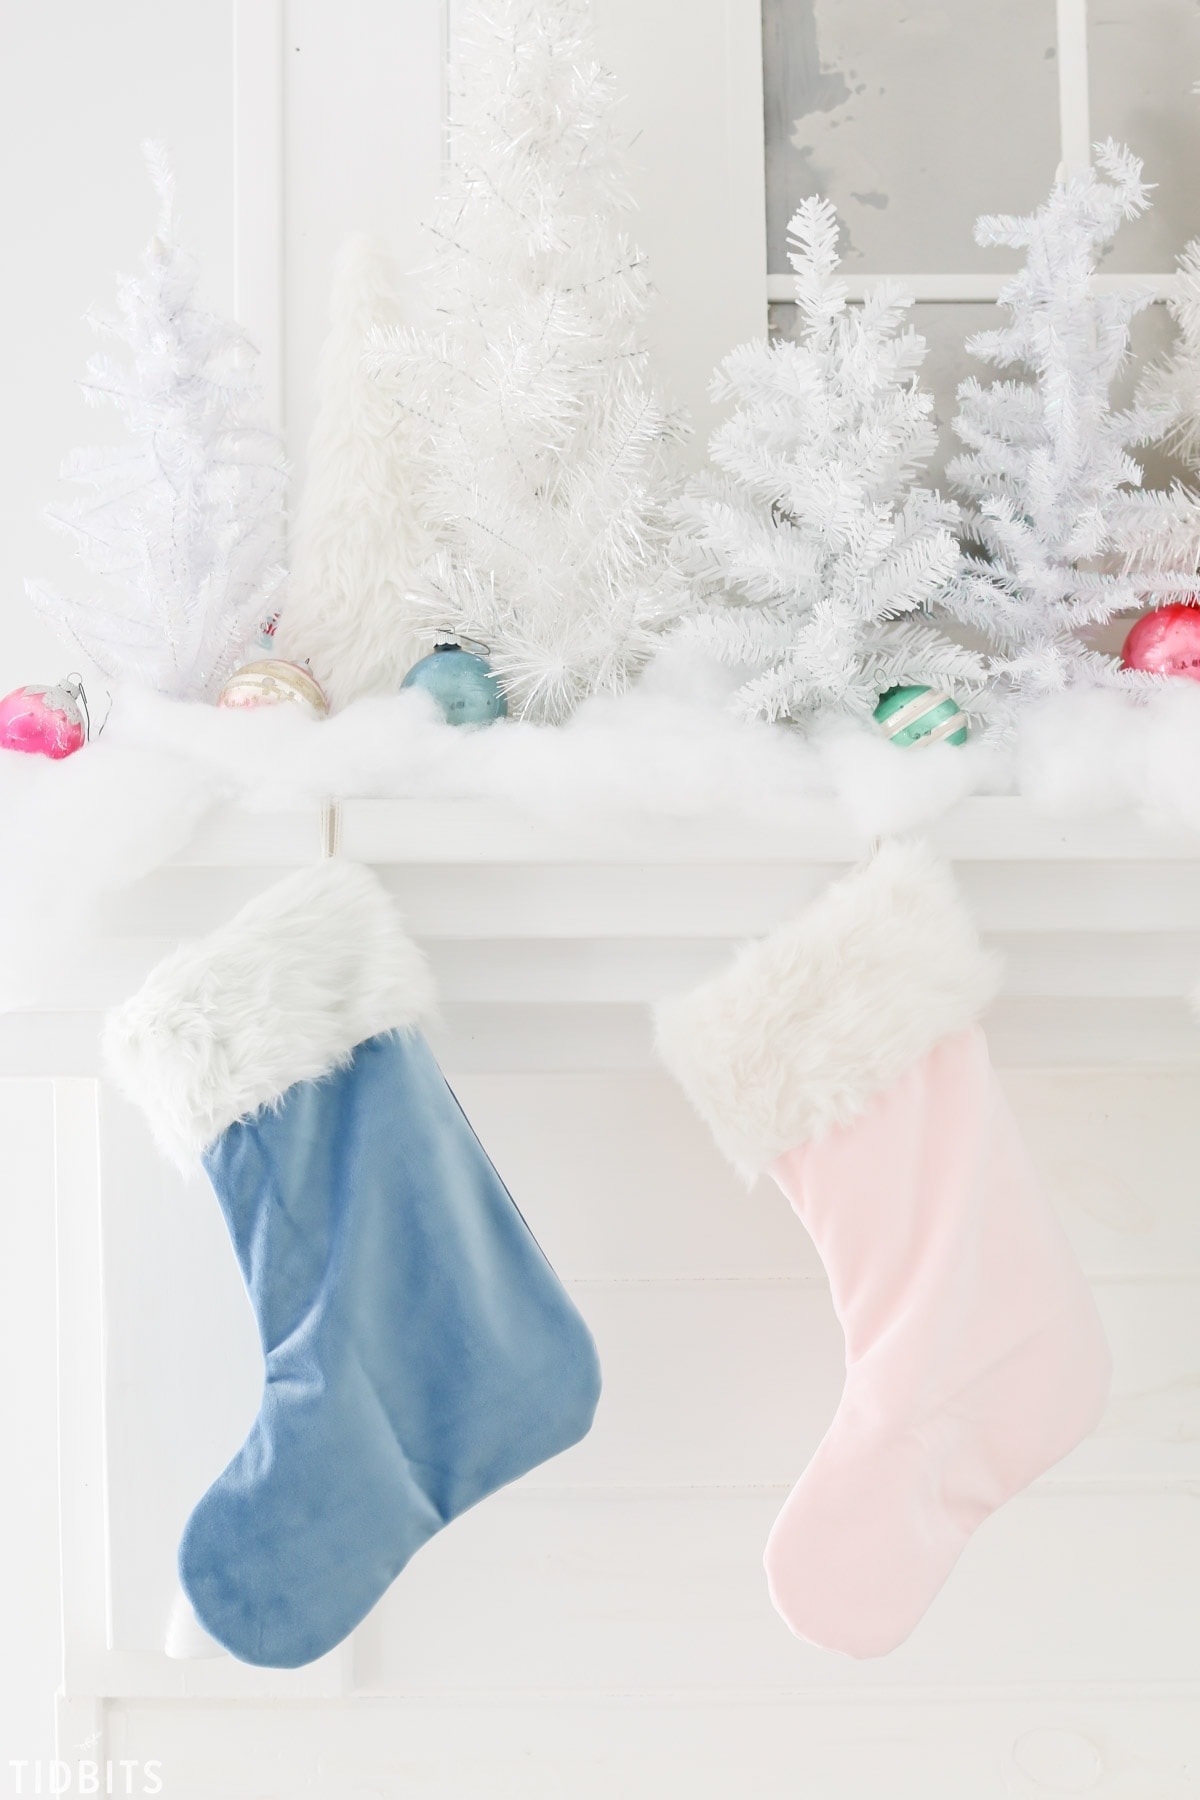
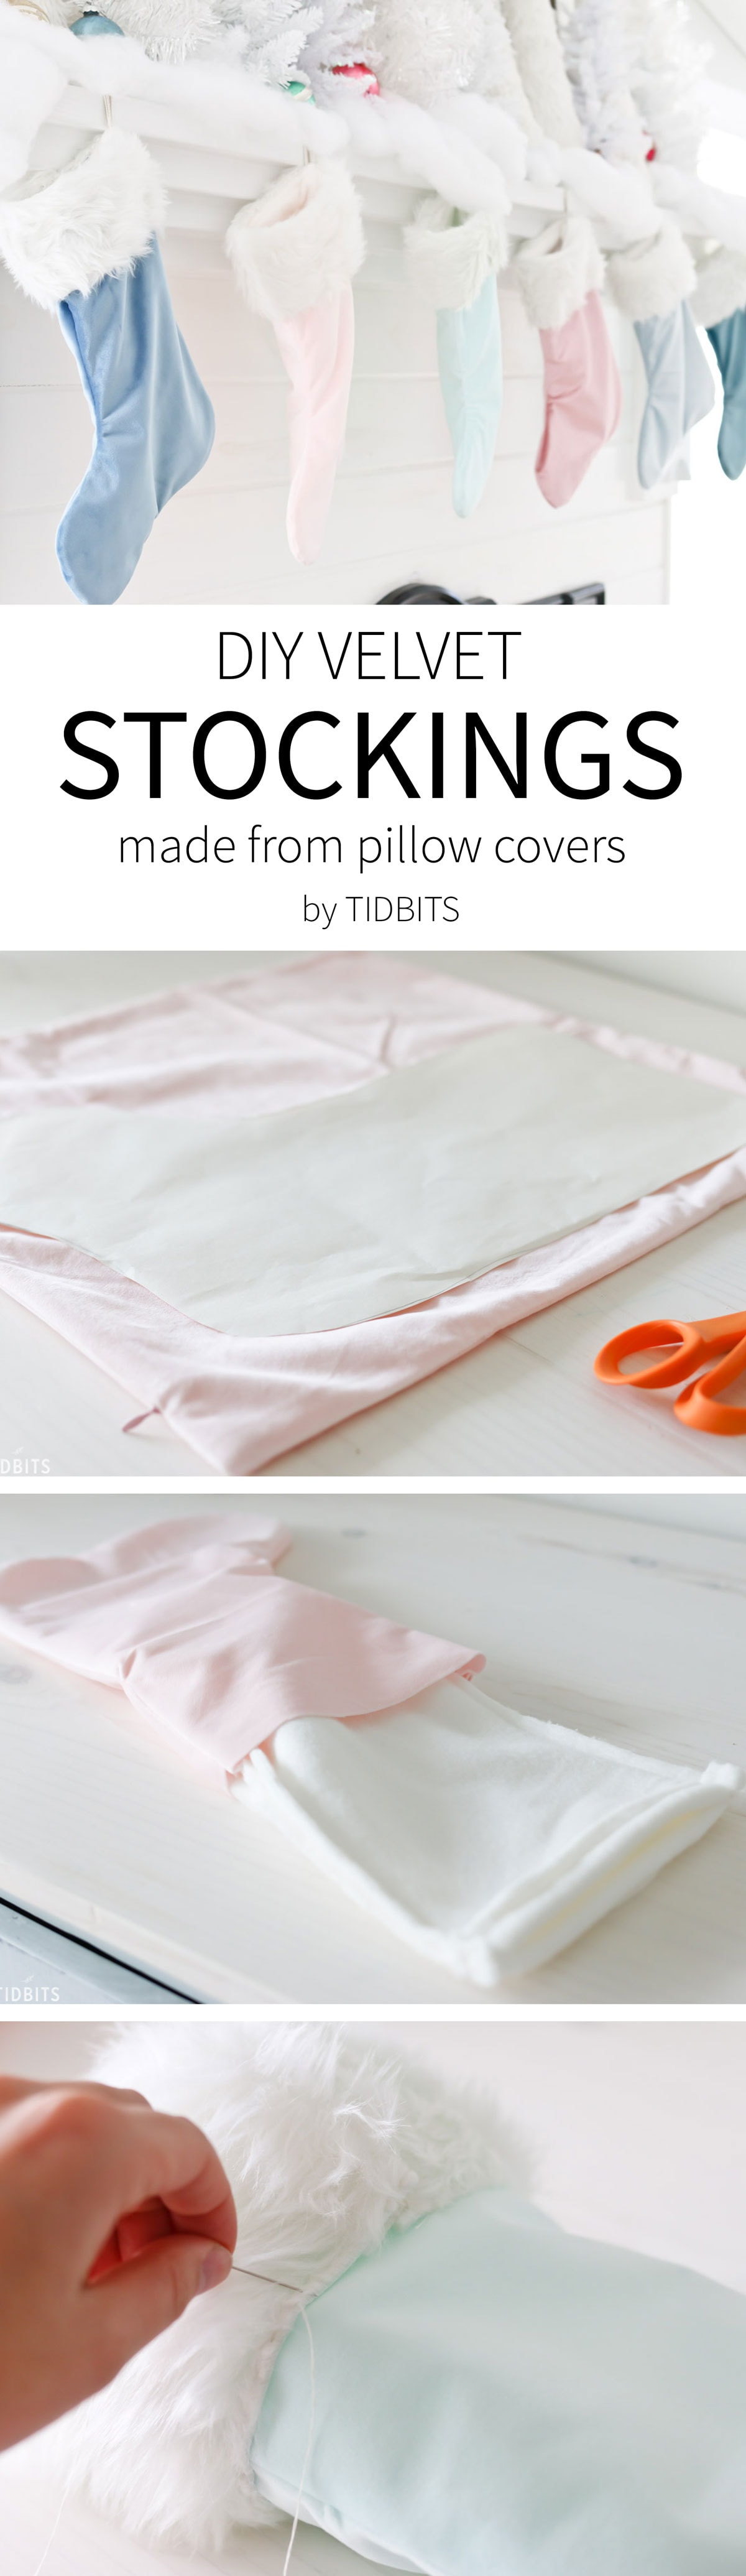
Can’t find it? Make it! Free tutorial for DIY velvet stockings made from pillow covers. Customize the look and color by making them yourself.
I’ve been making our stockings to go with our Christmas themes for the last 4 years, mostly for 2 reasons.
1 – Save money (family of 6, yo)
2 – Get the look I want
I know there are so many gorgeous stockings on the market these days, but what I have envisioned in this little head of mine is never available.
But perhaps there is a reason #3.
3 – It’s really fun and rewarding!
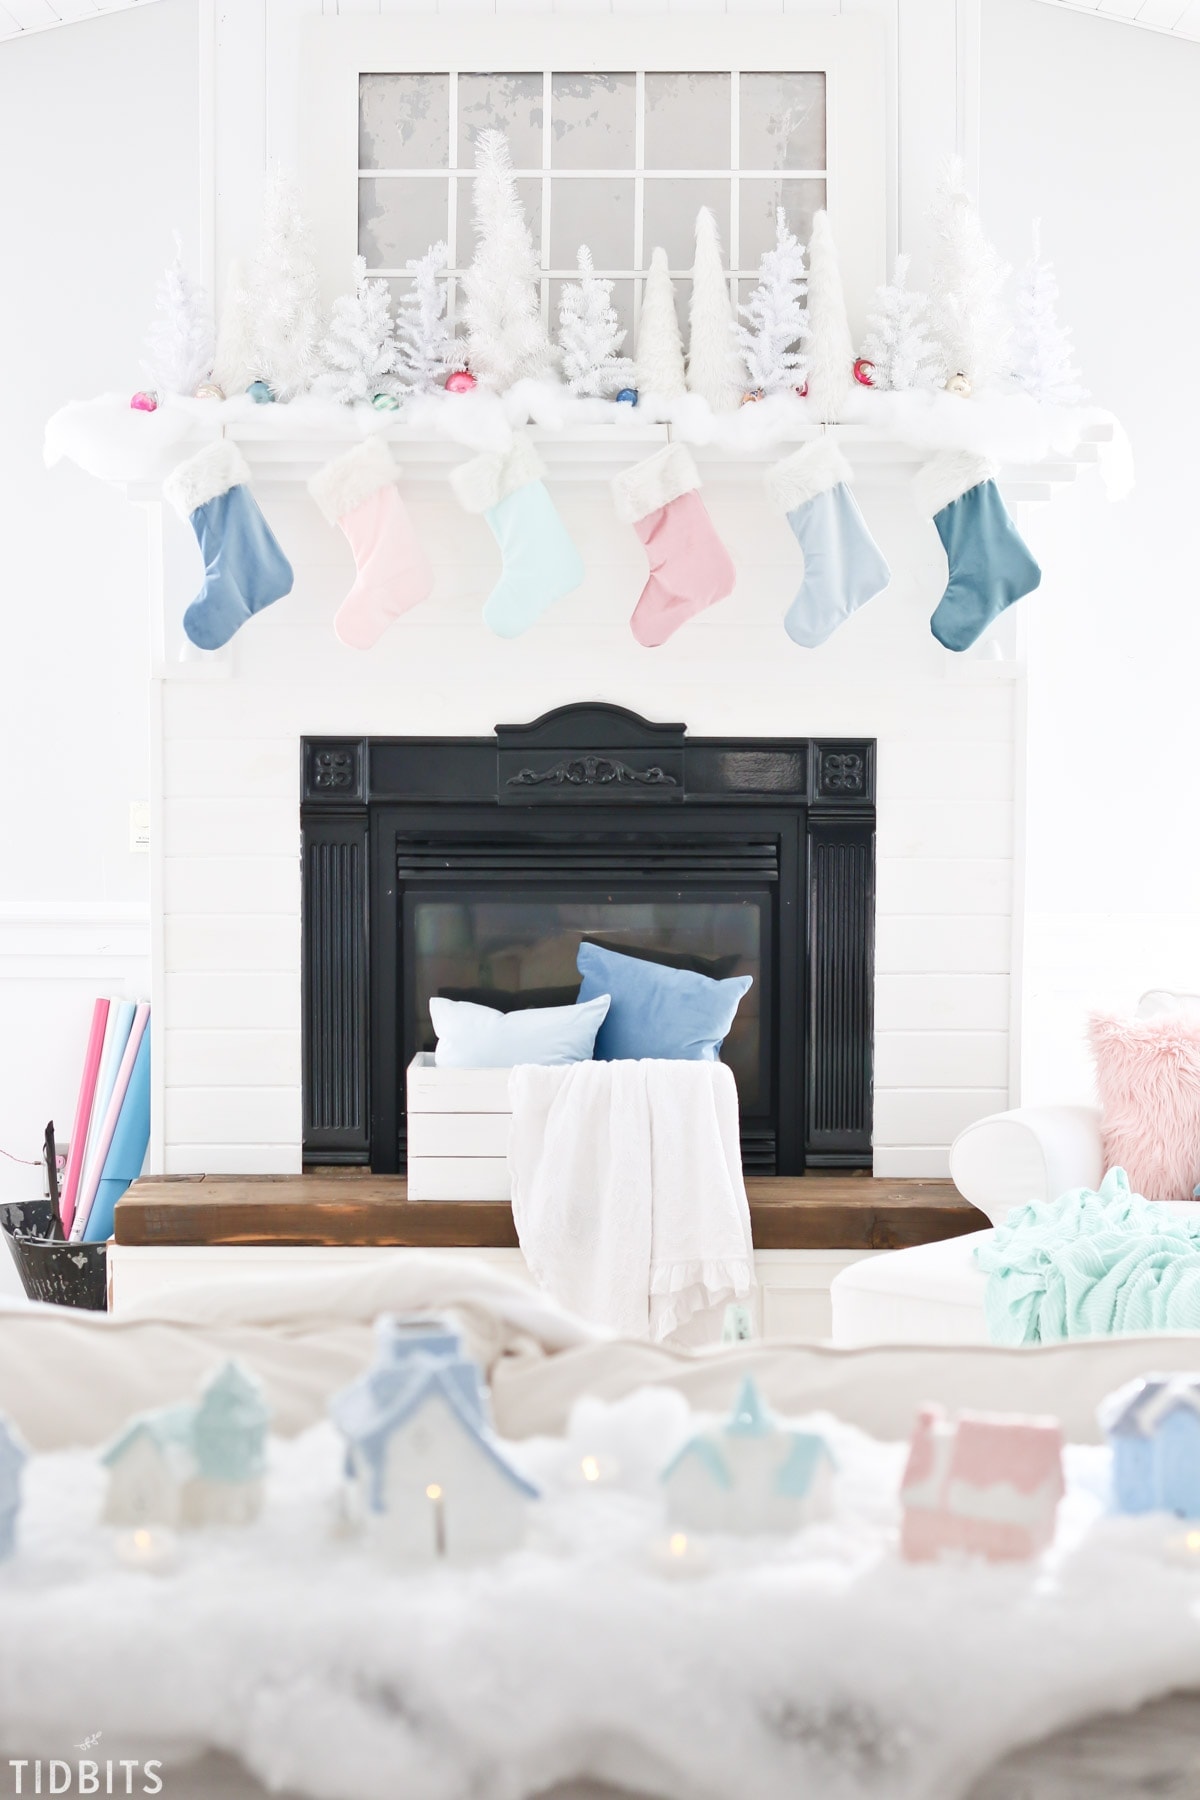
When I decided upon velvet colorful stockings this year, it didn’t take me long to realize the colors I wanted could not be found at a fabric store, and the cost of real velvet would break the bank. That’s when I started to look outside the box.
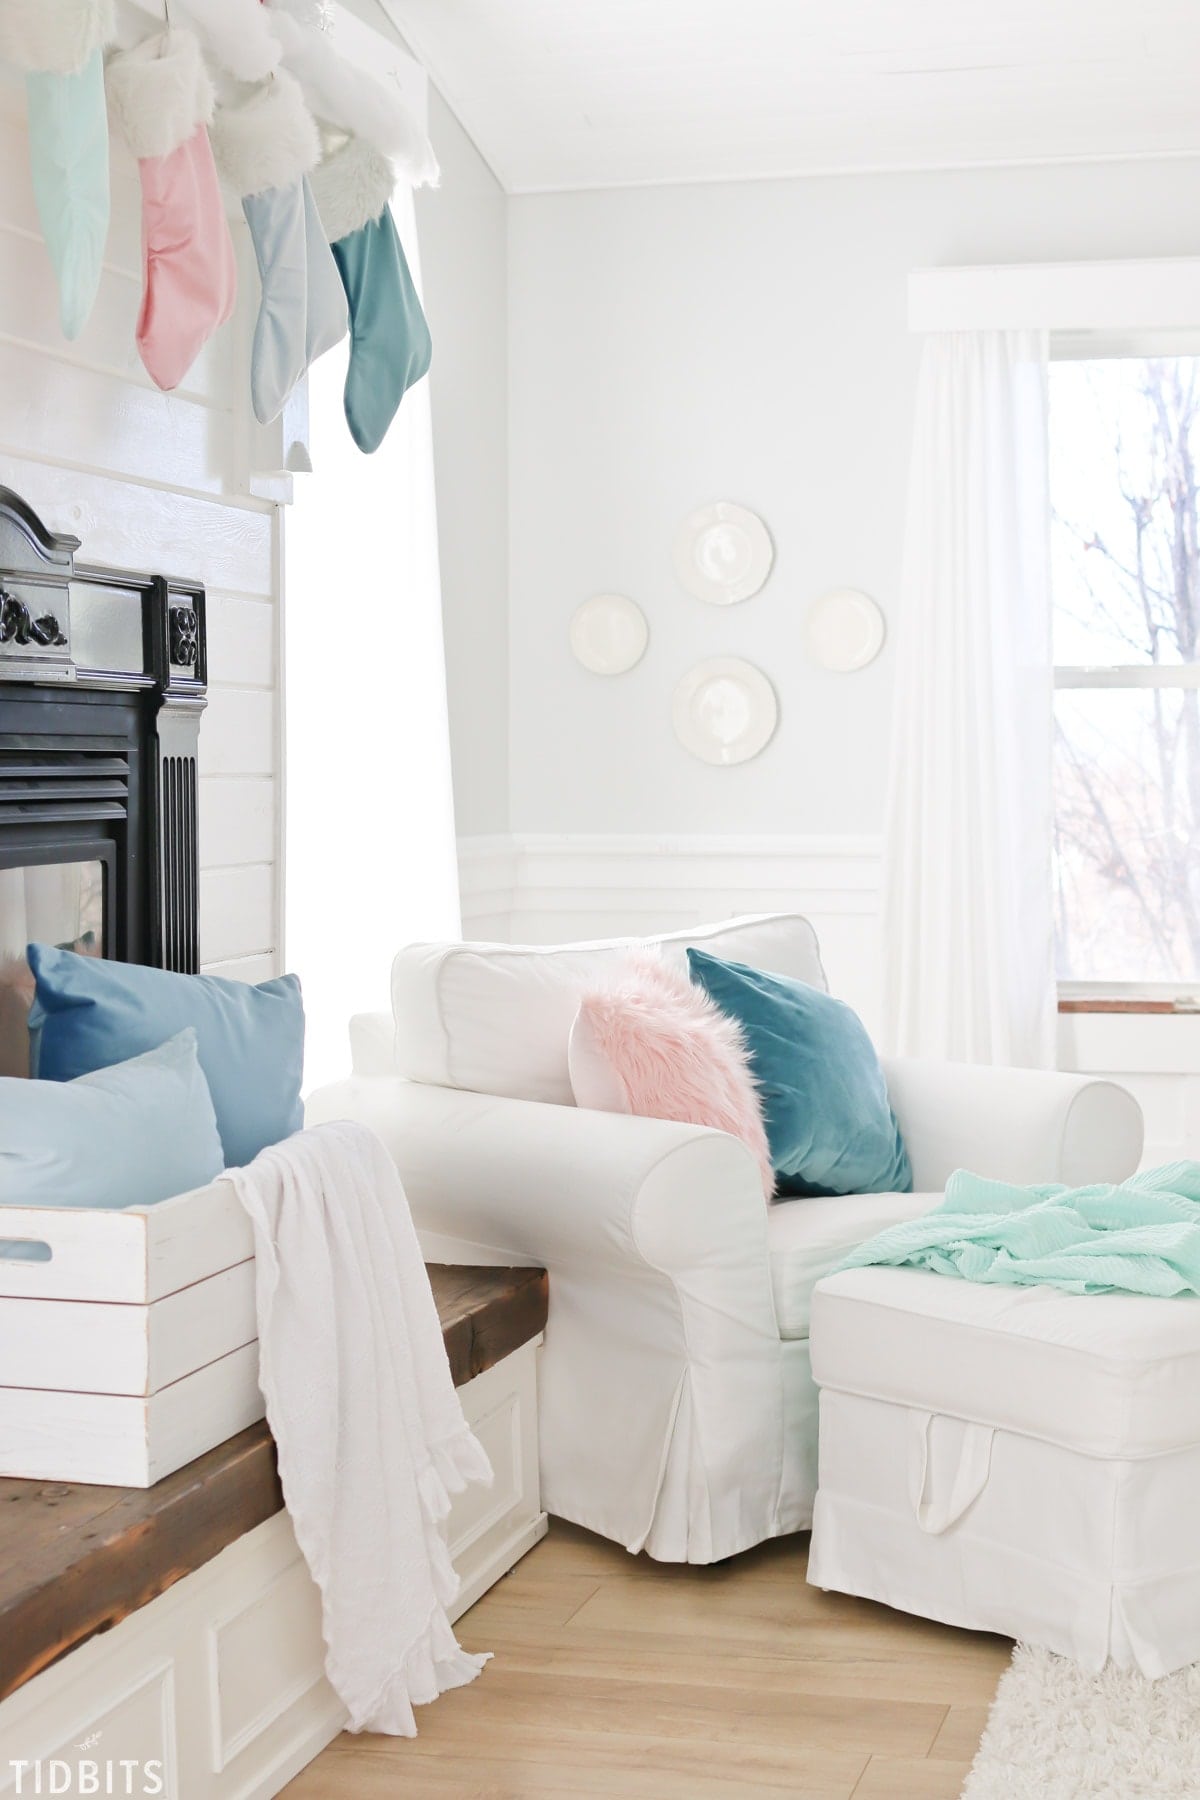
I discovered some very affordable velvet-like pillow covers on Amazon, in so many lovely colors. I knew the colors would be perfect for my sofa’s but also as stockings.
Here are the exact pillow covers I bought to do this project (affiliate links included):
SHOP THIS POST

I’m happy to share with you how I cut up the pillow covers and turned them into one of a kind stockings for our mantel. You might also be interested in an older tutorial I did on how to turn an old sweater into a stocking.
This project is great for beginner or intermediate sewers, and once you get the hang of it, you’ll whip them out so fast.
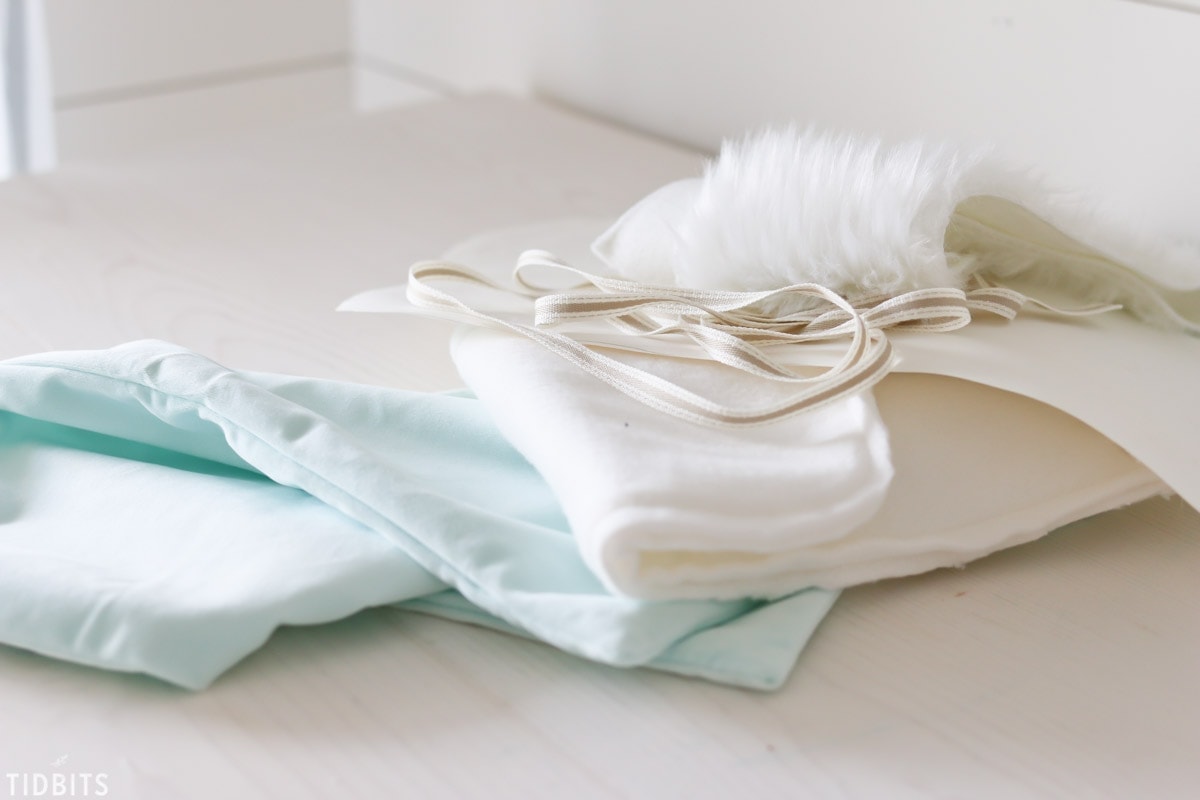
SUPPLIES:
- Pillow Cover
- Big enough for the size of stocking you want
- White fleece fabric
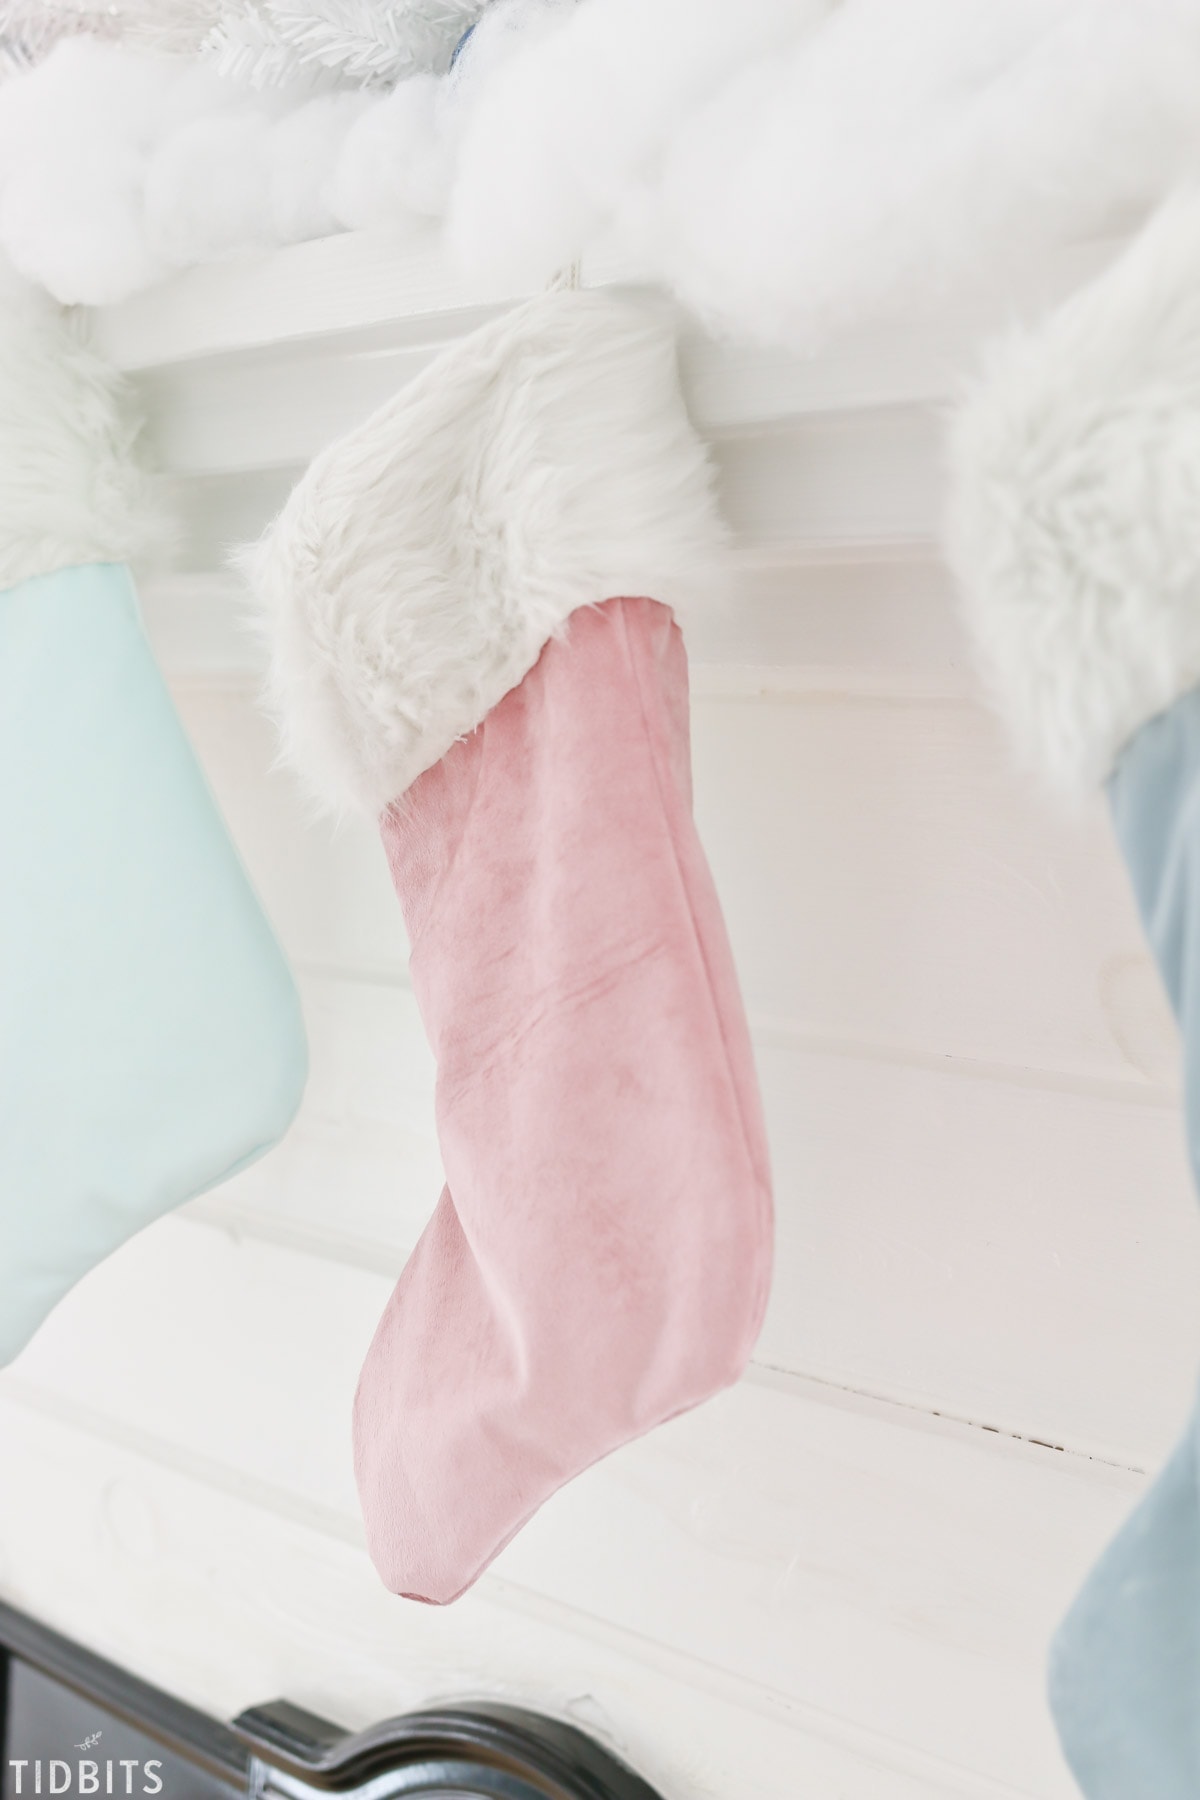
- Faux Fur
- Bought mine at Hobby Lobby in the Christmas ribbon sections
- Small piece of ribbon or string for hanging
- Old stocking to trace the shape
- Paper to make your pattern
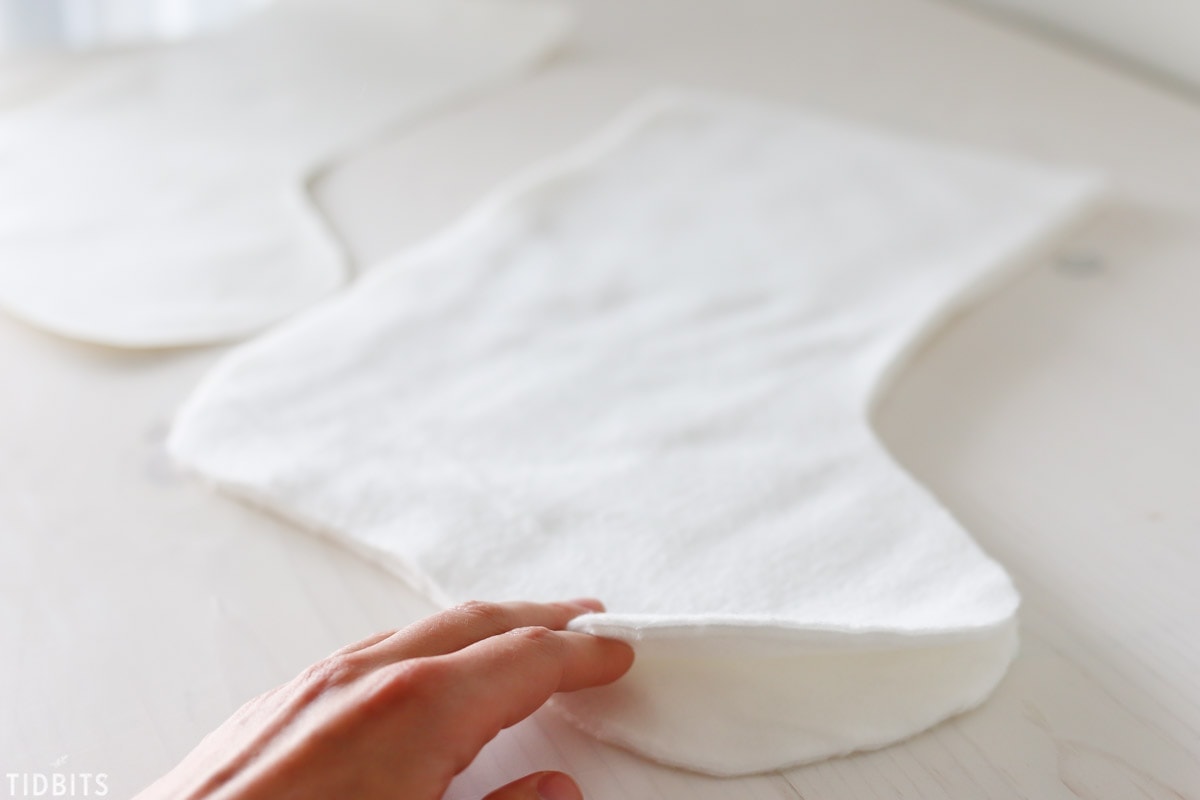
First make a paper pattern by taking an old stocking you might have and tracing the shape. Trace the edges about 1 inch wider than the stocking, to allow for seam allowance. Once you have your paper pattern made, you can cut the stocking shape out of your pillow covers.
Lay the pattern on top of the pillow cover or fabric, and be sure the nap is going the way you wish.
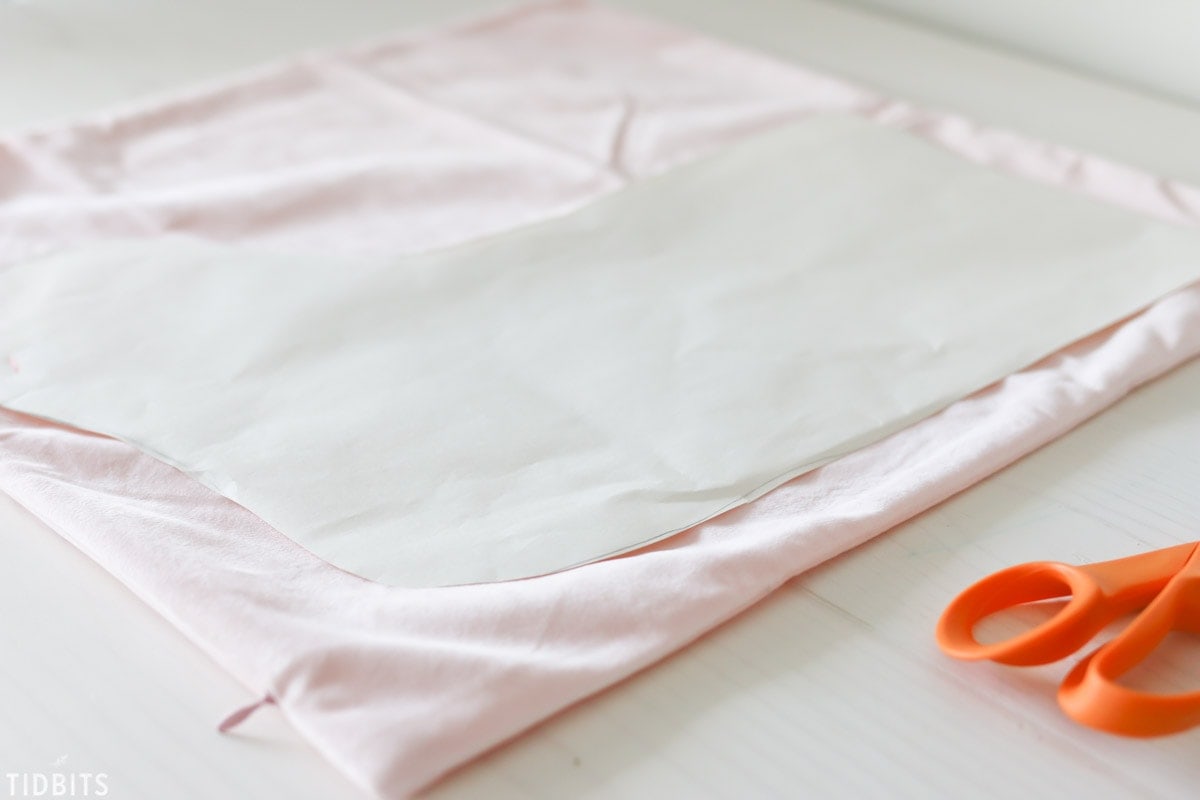
Cut the stocking shape through both layers of fabric.
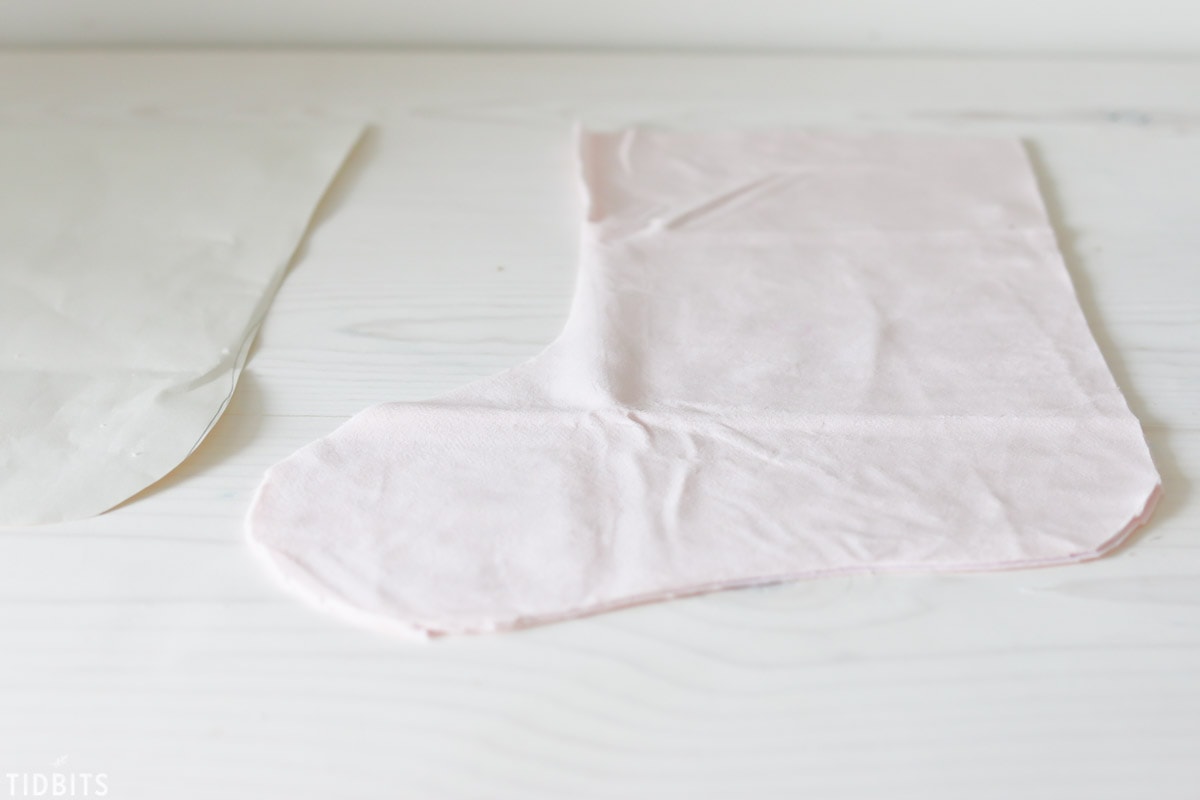
Do the same for the white fleece, which will serve to make your stocking fuller and help it keep its shape.
Putting right sides together (even though fleece typically doesn’t have a right or wrong side) sew around the edges of the fleece, with 5/8ths seam allowance. Leave the top open.
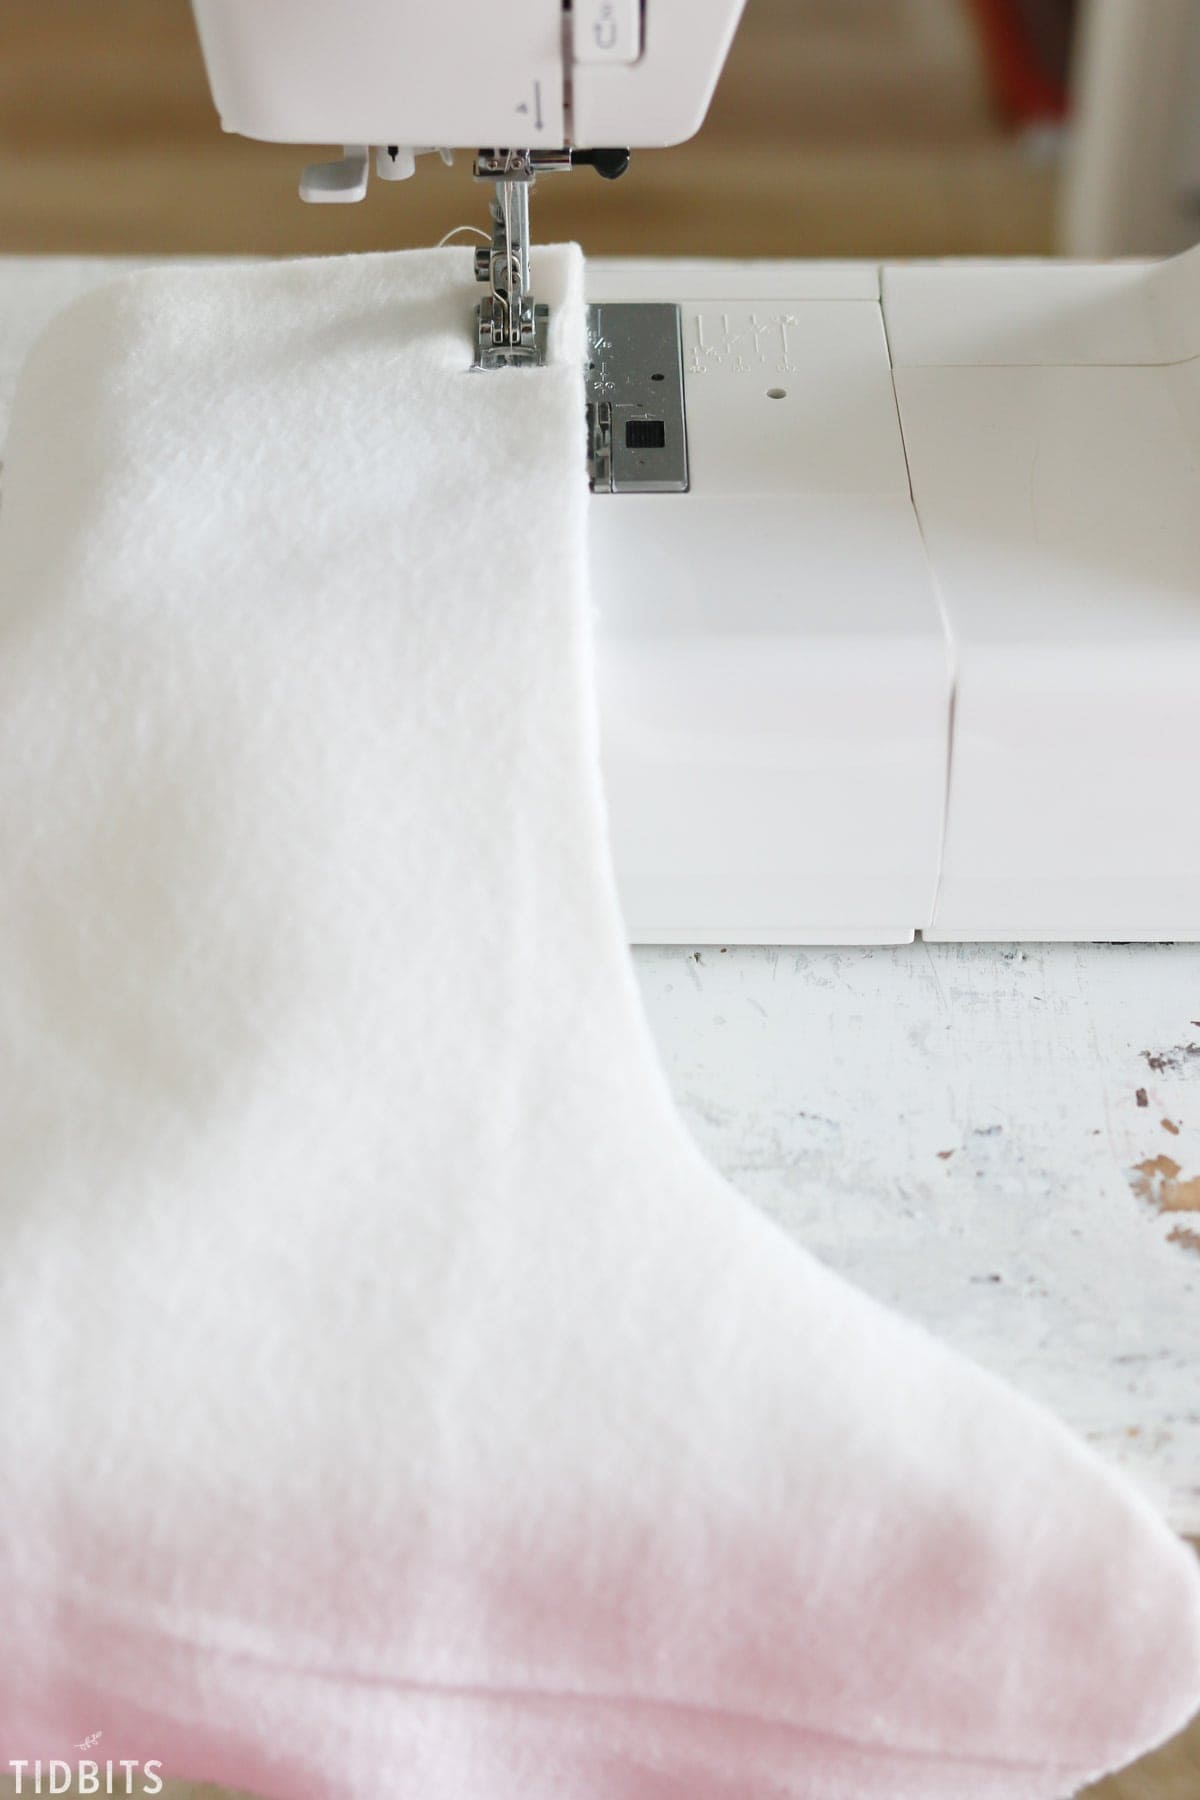
Do not turn right side out, but fold over the top edge of the fleece stocking about an inch and stitch around the opening.
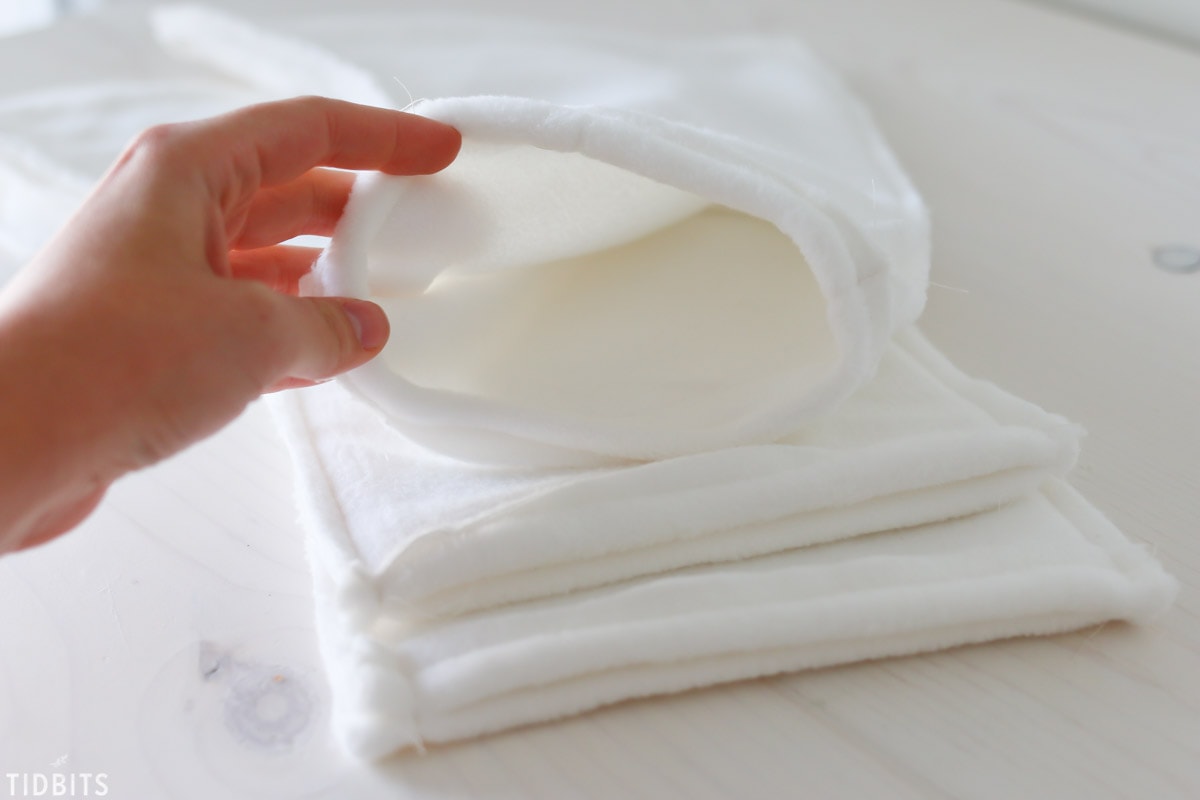
Next, with right sides together on the velvet stocking piece, sew around the edges with a 1/2 inch seam allowance, leaving the top open.
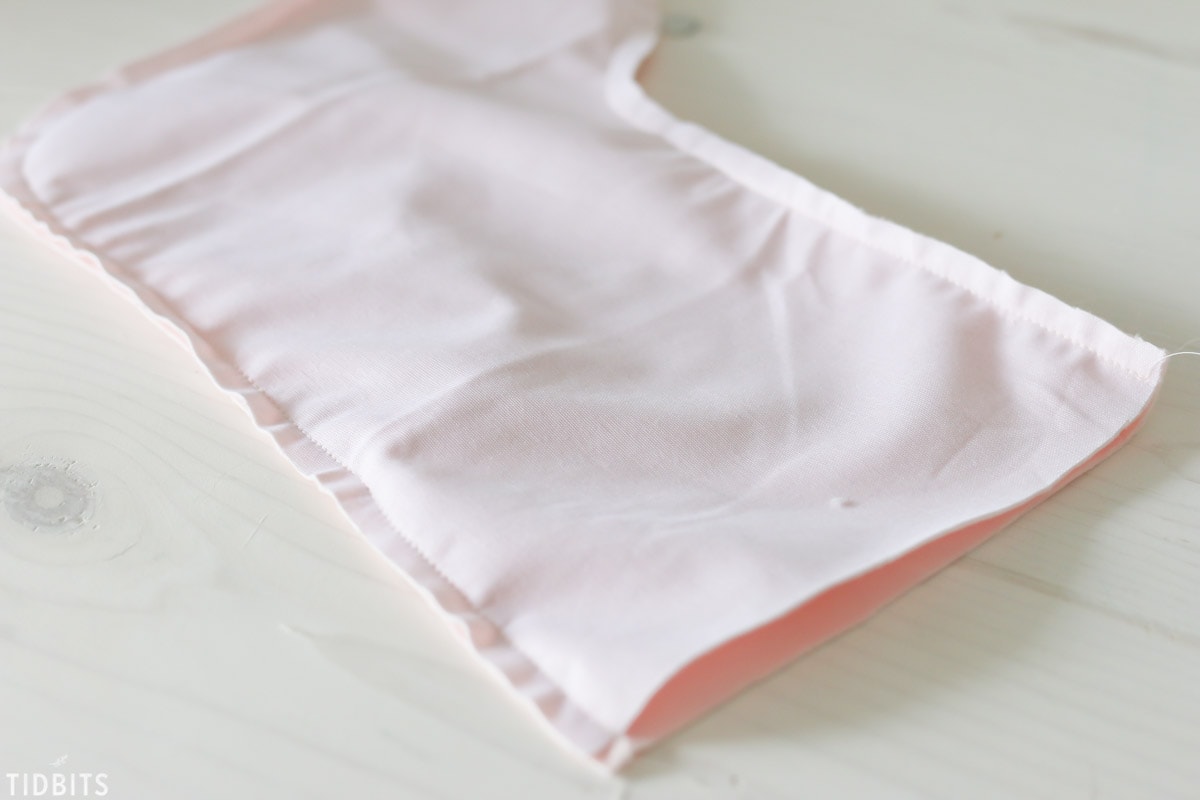
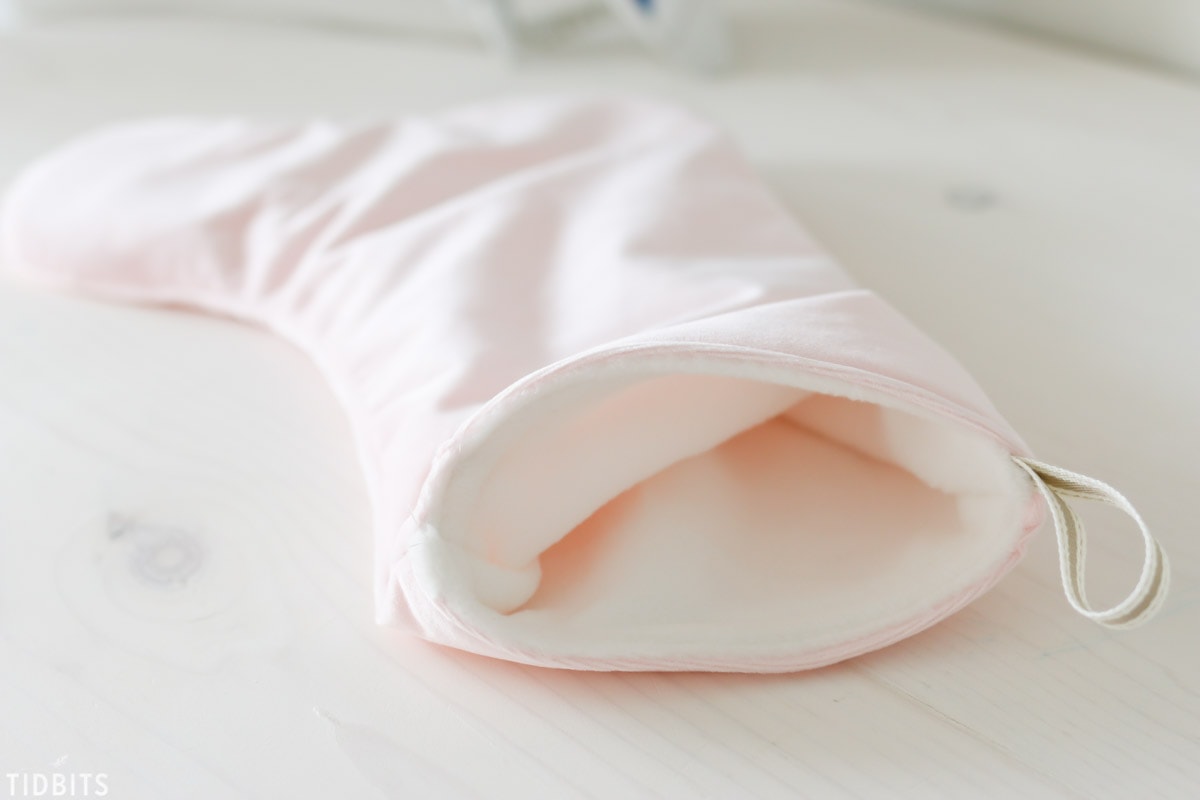
Turn the velvet stocking right sides out and press the seam edges so it lays nice and flat. Insert the fleece lining into the velvet stocking.
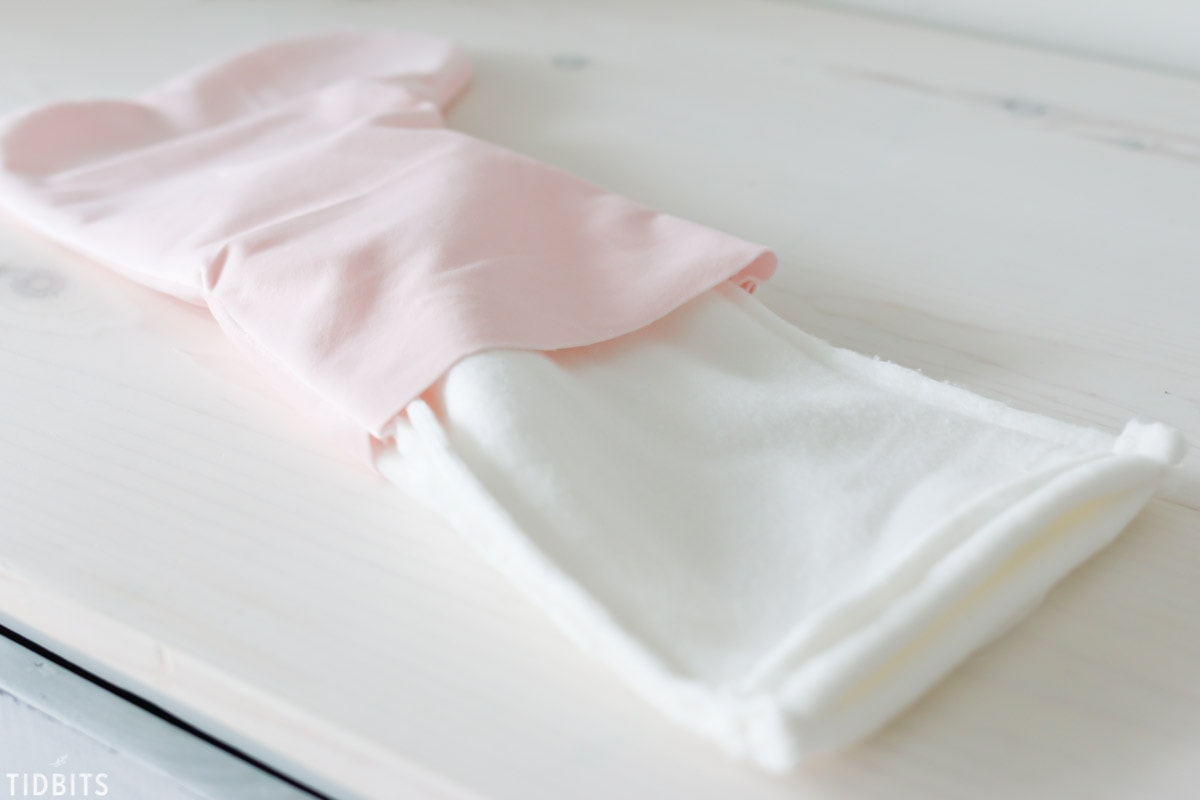
Smooth it out and press more if needed.
Cut a small loop of ribbon or string.
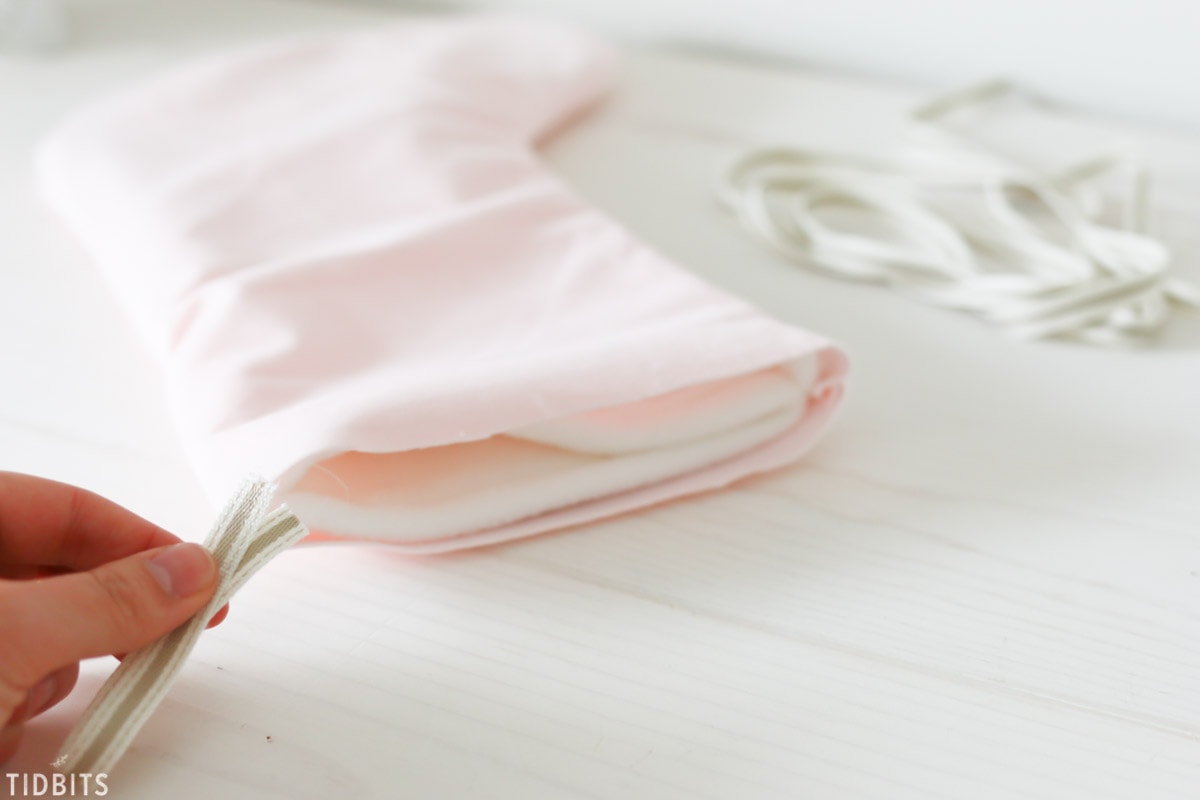
Pin in place between the fleece and velvet layers, where you would like the stocking to hang.
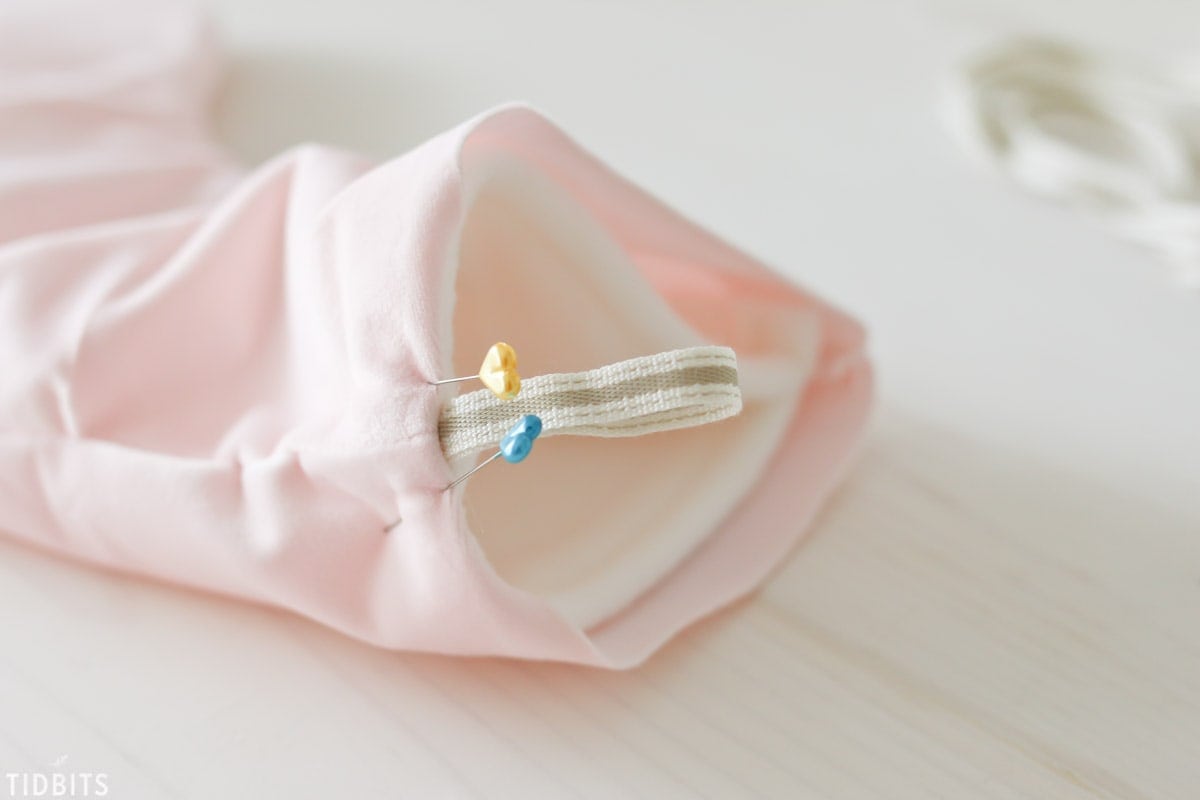
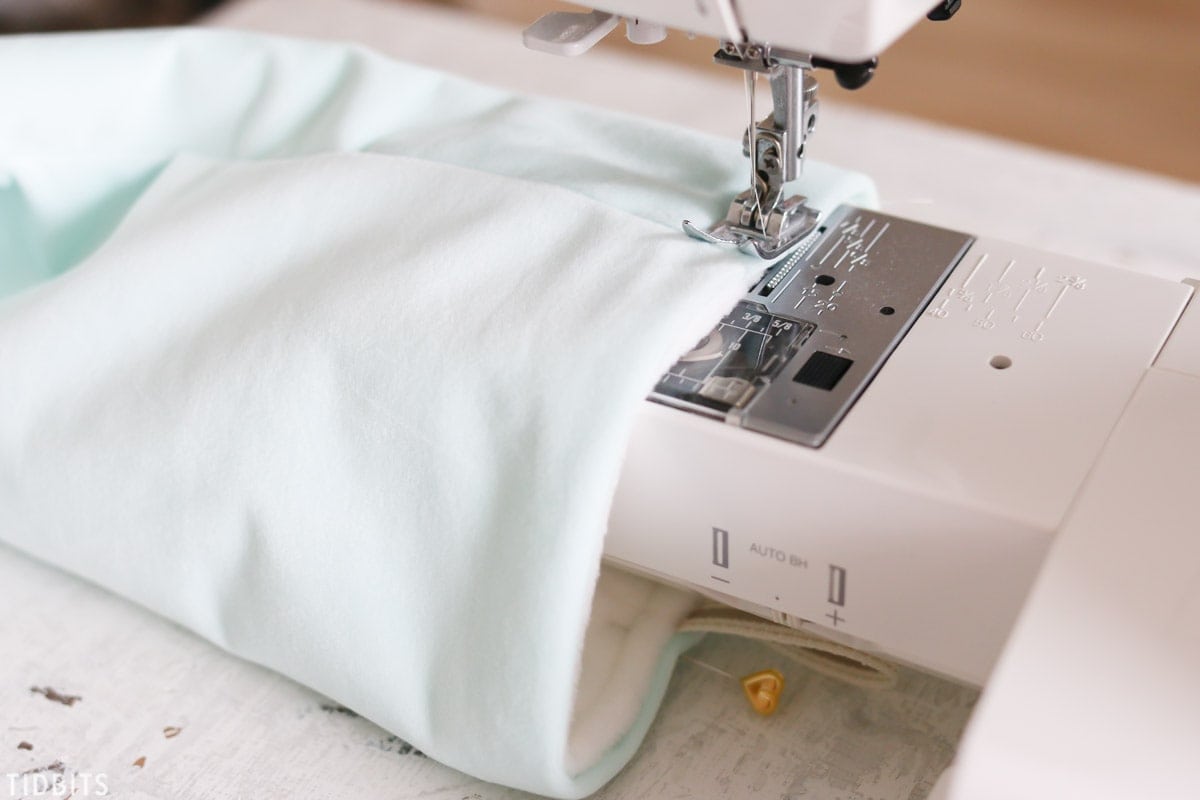
Continue by folding over the top edge of the velvet to line up with the top edge of the fleece. Pin generously around the opening so it does not shift while sewing. Be sure to match up the seams from the velvet and fleece layers.
Then sew around the entire opening, securing the ribbon and layers together.
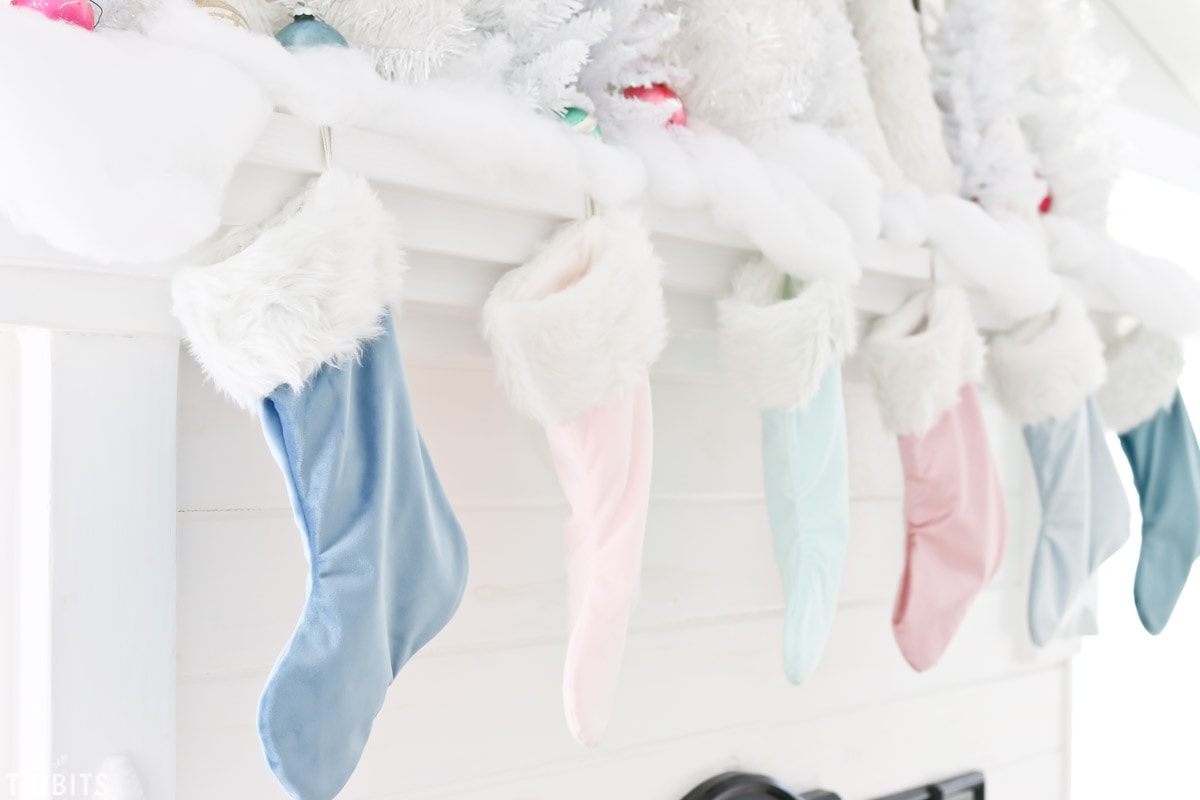
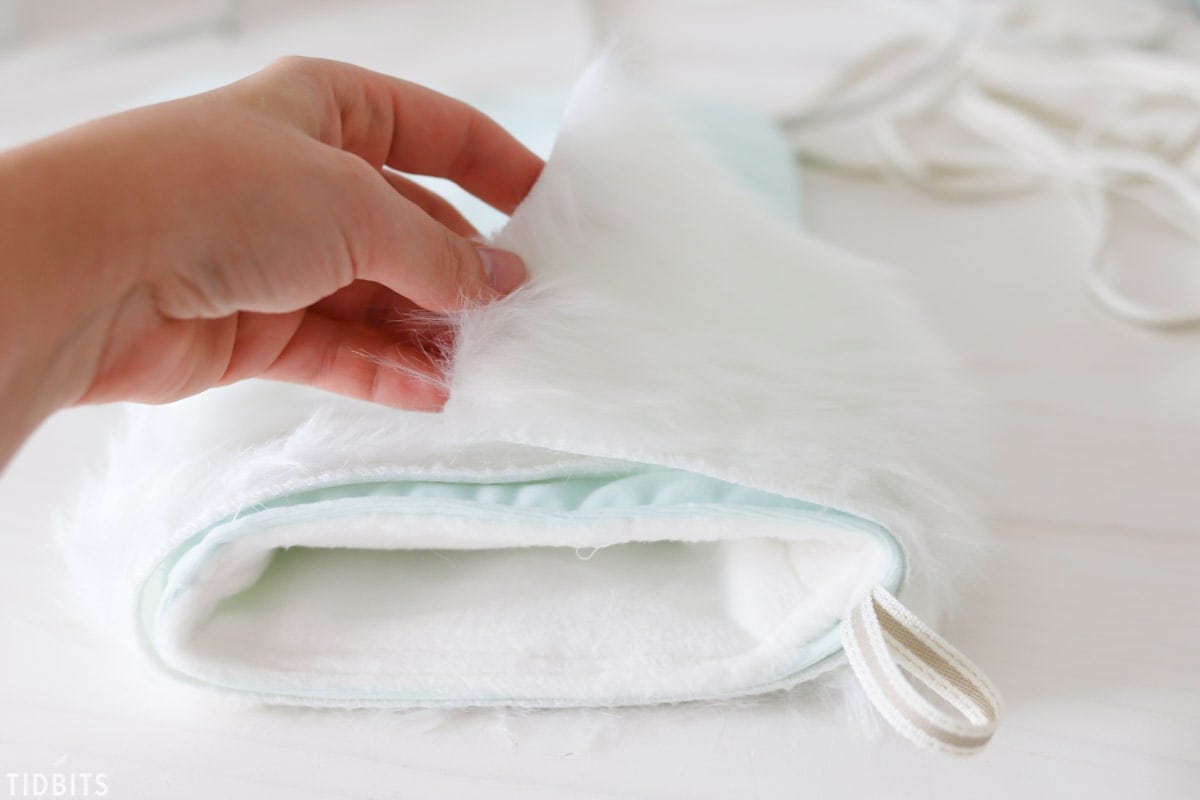
For the best appearance, you will need to hand stitch the faux fur trim top on.
Measure and cut a piece wide enough to go around the stocking.
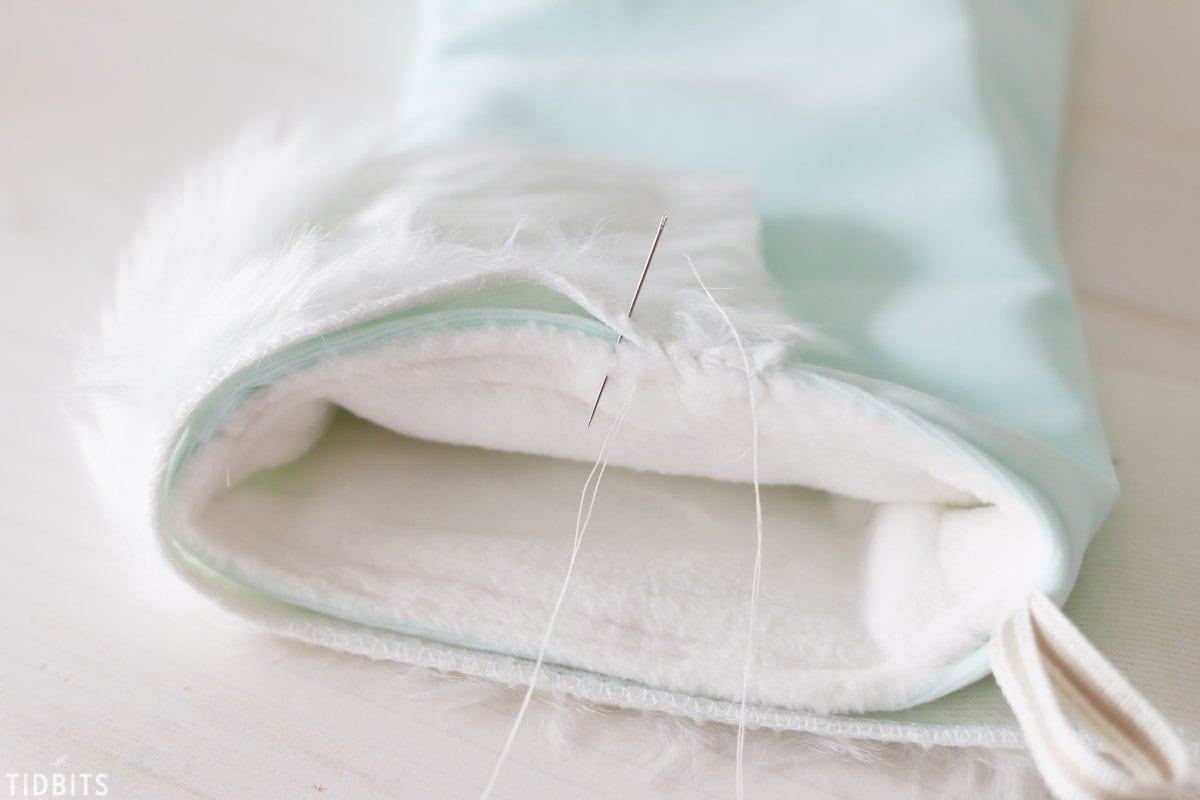
Begin with the top of the stocking and whipstitch around, securing it in place.
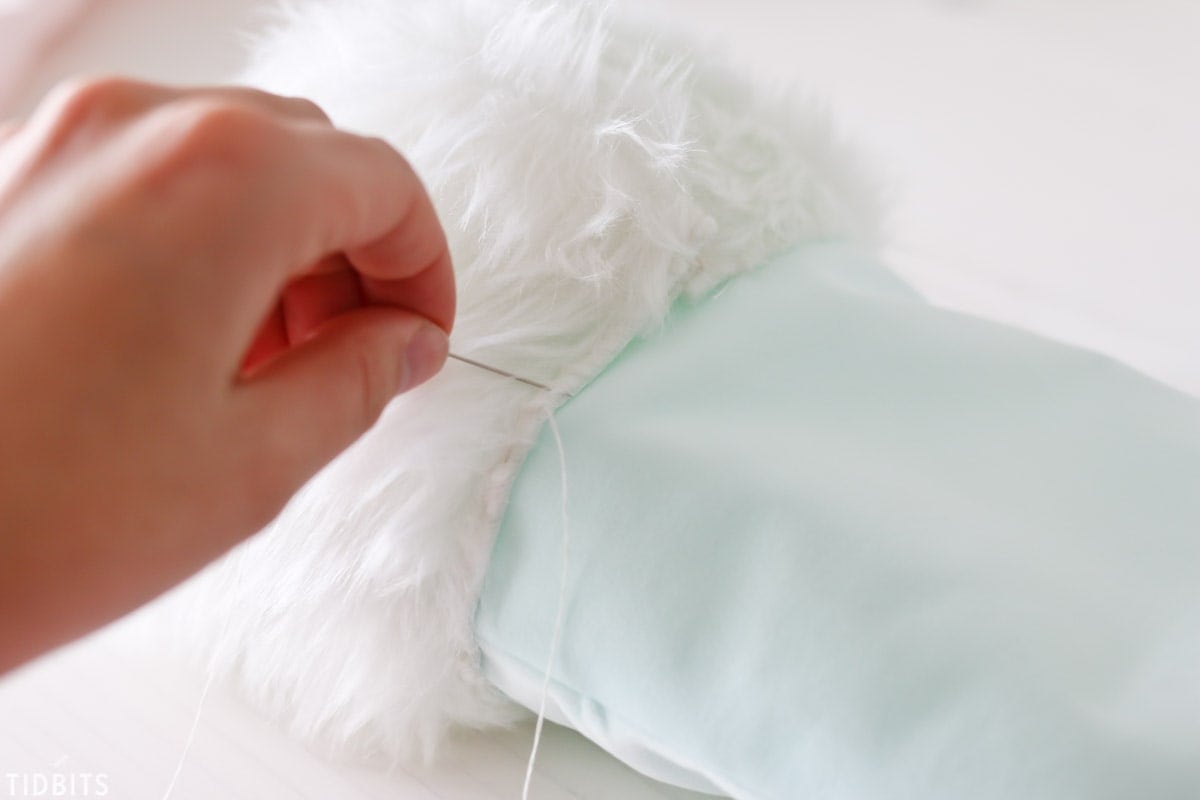
When you reach the other end, fold over the edge of the fur trim and continue the whipstitch.

Use a running stitch to hand sew the bottom of the trim onto the stocking.
Throw on some Christmas Netflix movies and sew until the stockings are done!
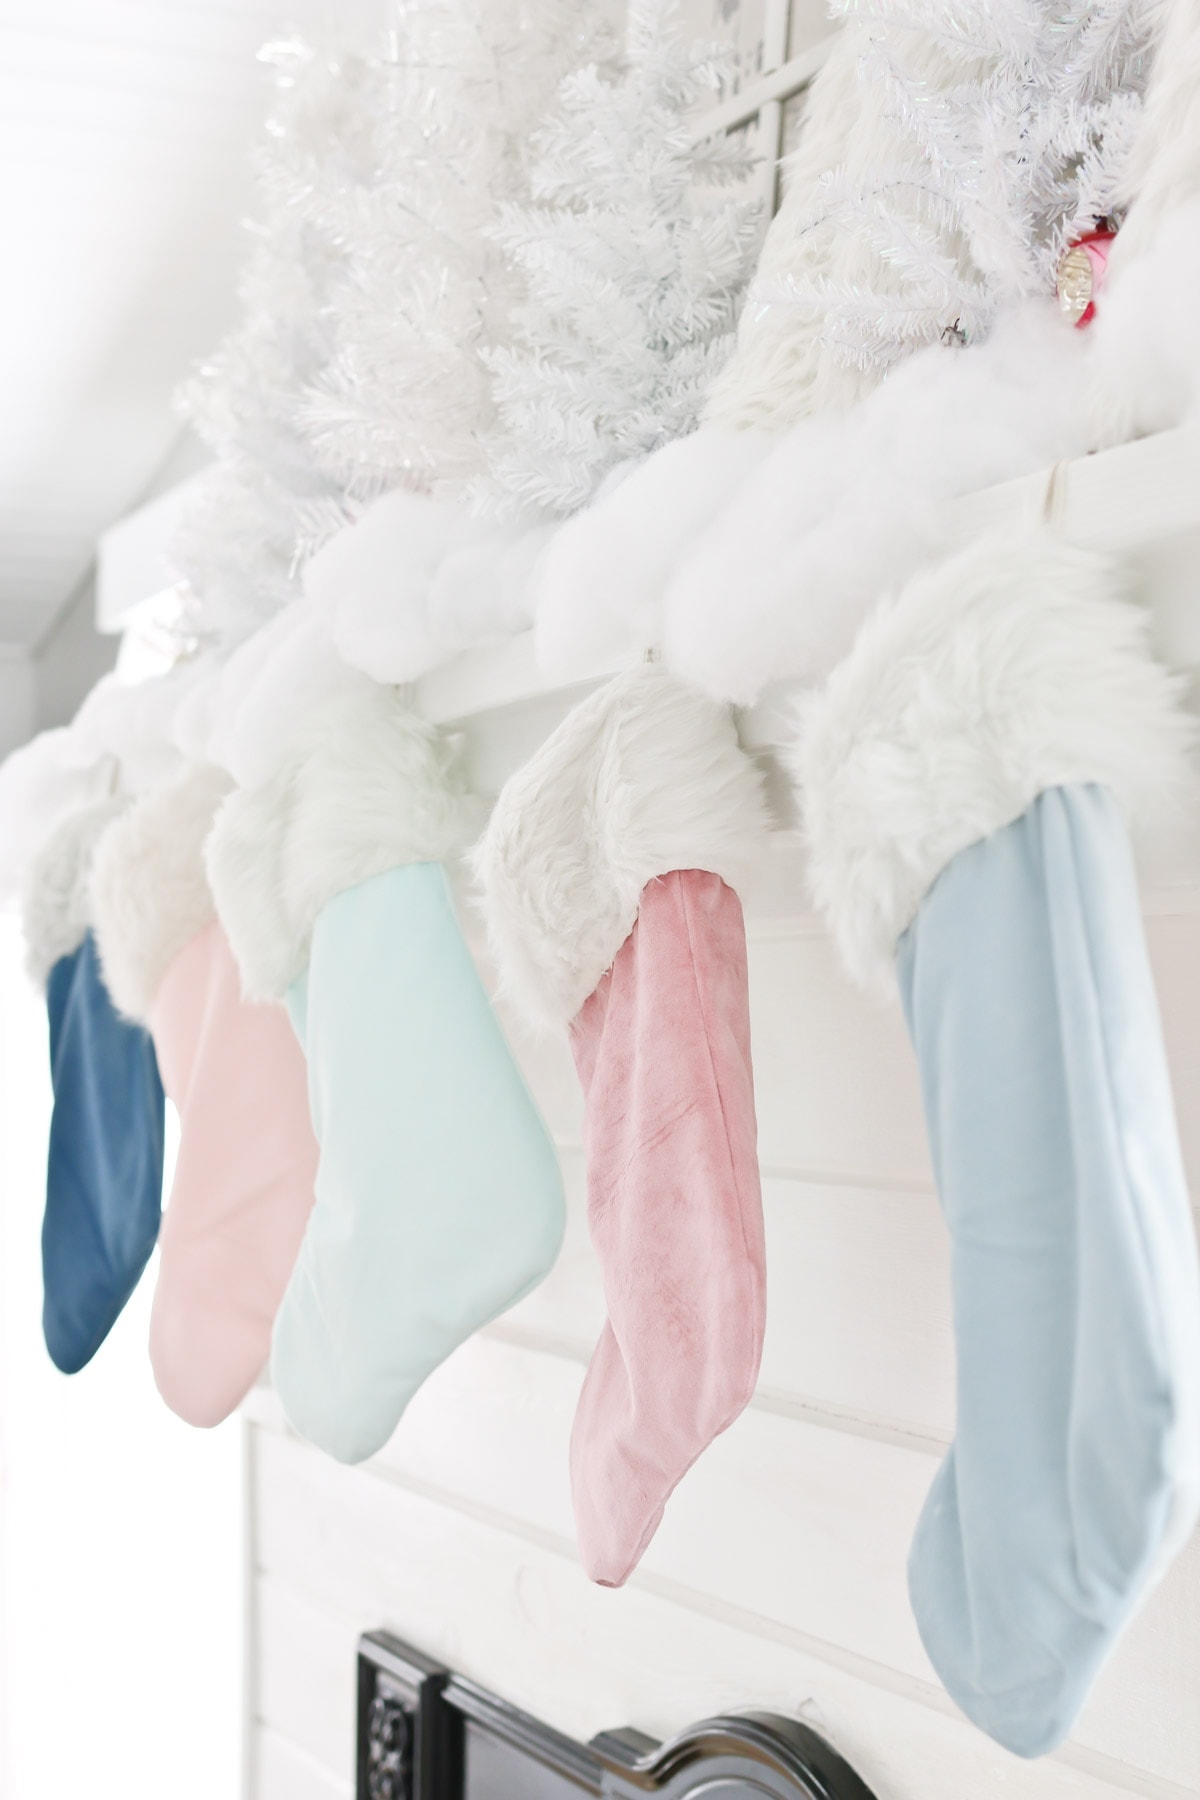
I secured the stockings with a push pin onto my mantel.
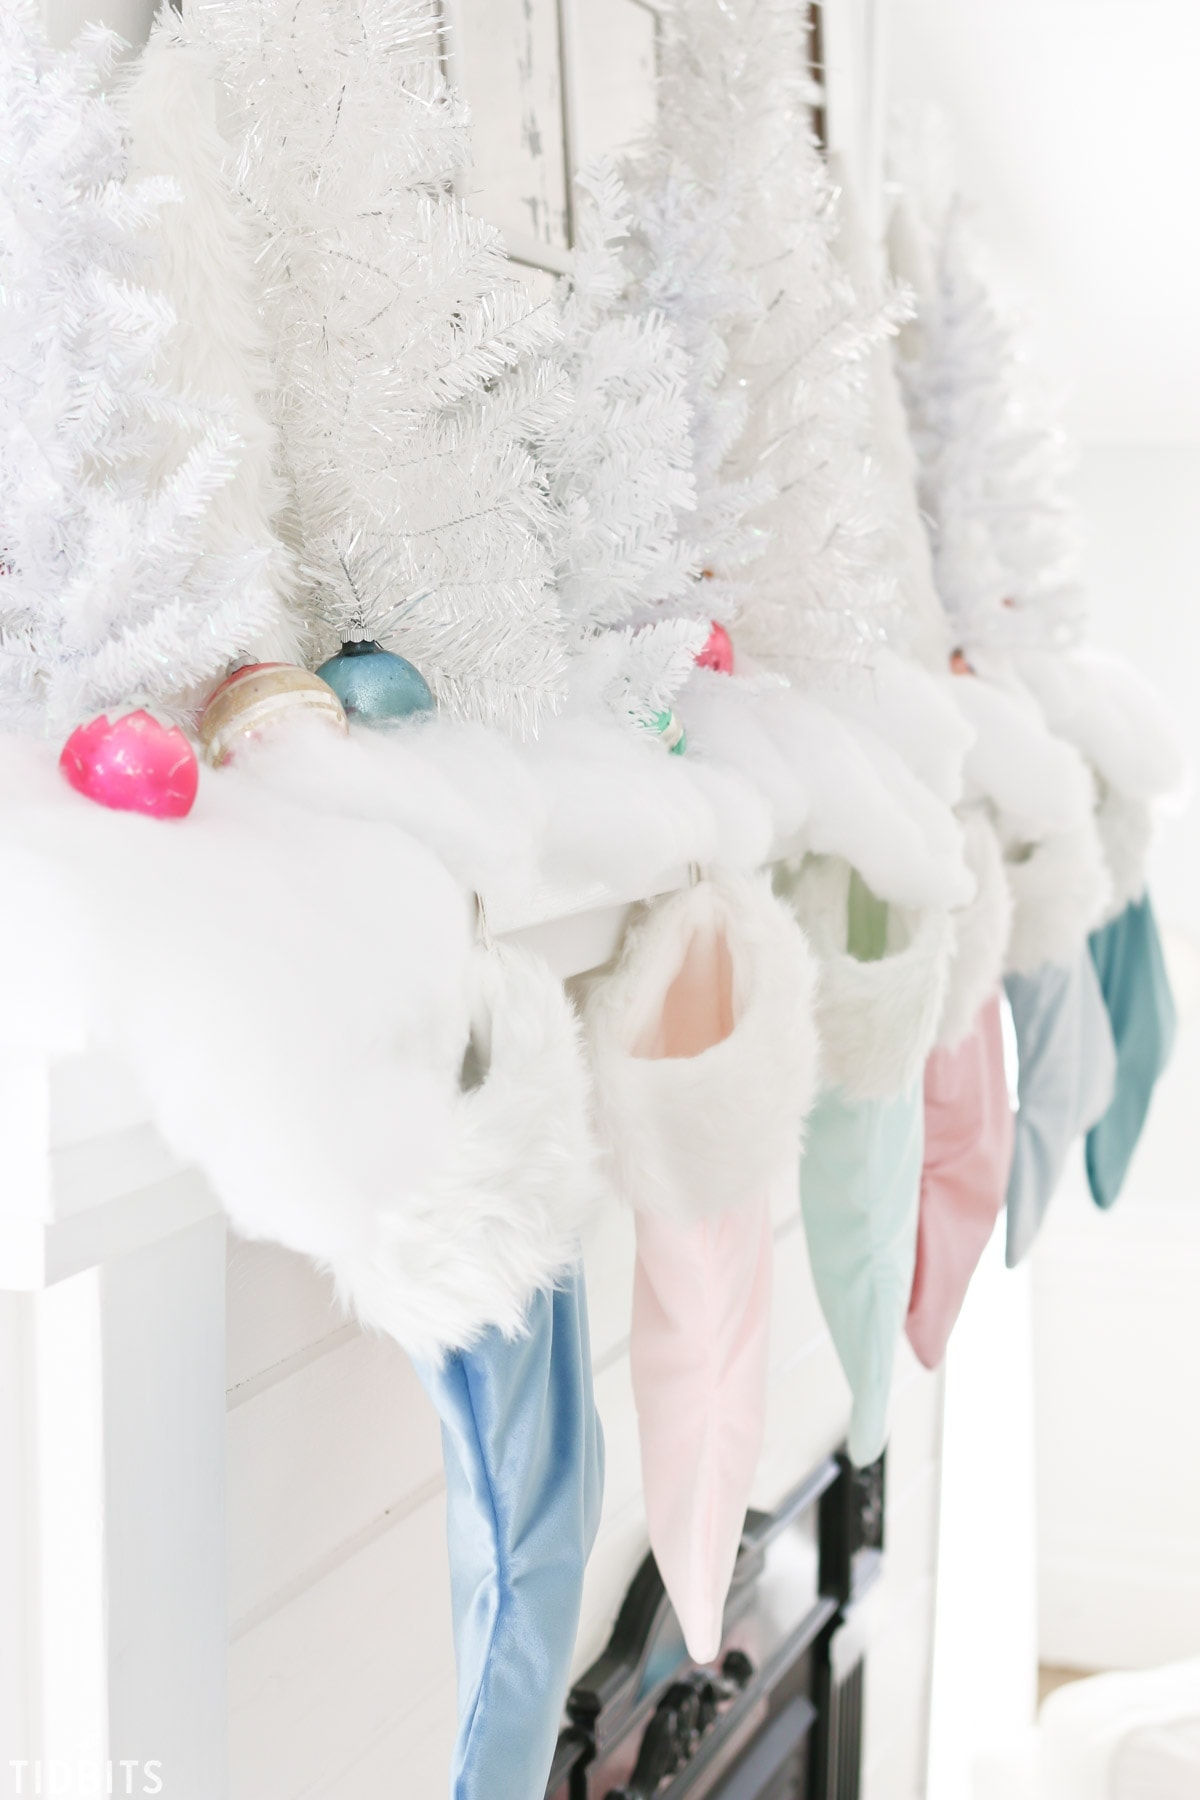
Enjoy your homemade beautiful stockings, to treasure for years to come!
I hope you enjoyed this tutorial! Feel free to let me know if you have any questions or need clarification, and be sure to pin this post so you don’t forget it!


Best Christmas post I have seen in a couple years. Just love the colors.
Adorable stockings thank you for sharing and the how to
love the stockings..