This post may contain affiliate links, which means I get a small percentage of the sale at no extra cost to you. I only recommend items I love and have had a positive experience with. Thank you!
Don’t overlook those thrift store or unwanted cushioned chairs or benches – the uglier the better! Let me show you how to sew a chair cushion slipcover to cover any undesirable upholstered chair or bench seat, for a whole new customizable look.
I think there is a natural inclination inside all of us to find joy in turning something ugly into something beautiful. Why else would I get so much gratification from doing so?
Whether it’s a room makeover or a small project, it feels so rewarding to make beautiful the not-so-beautiful.
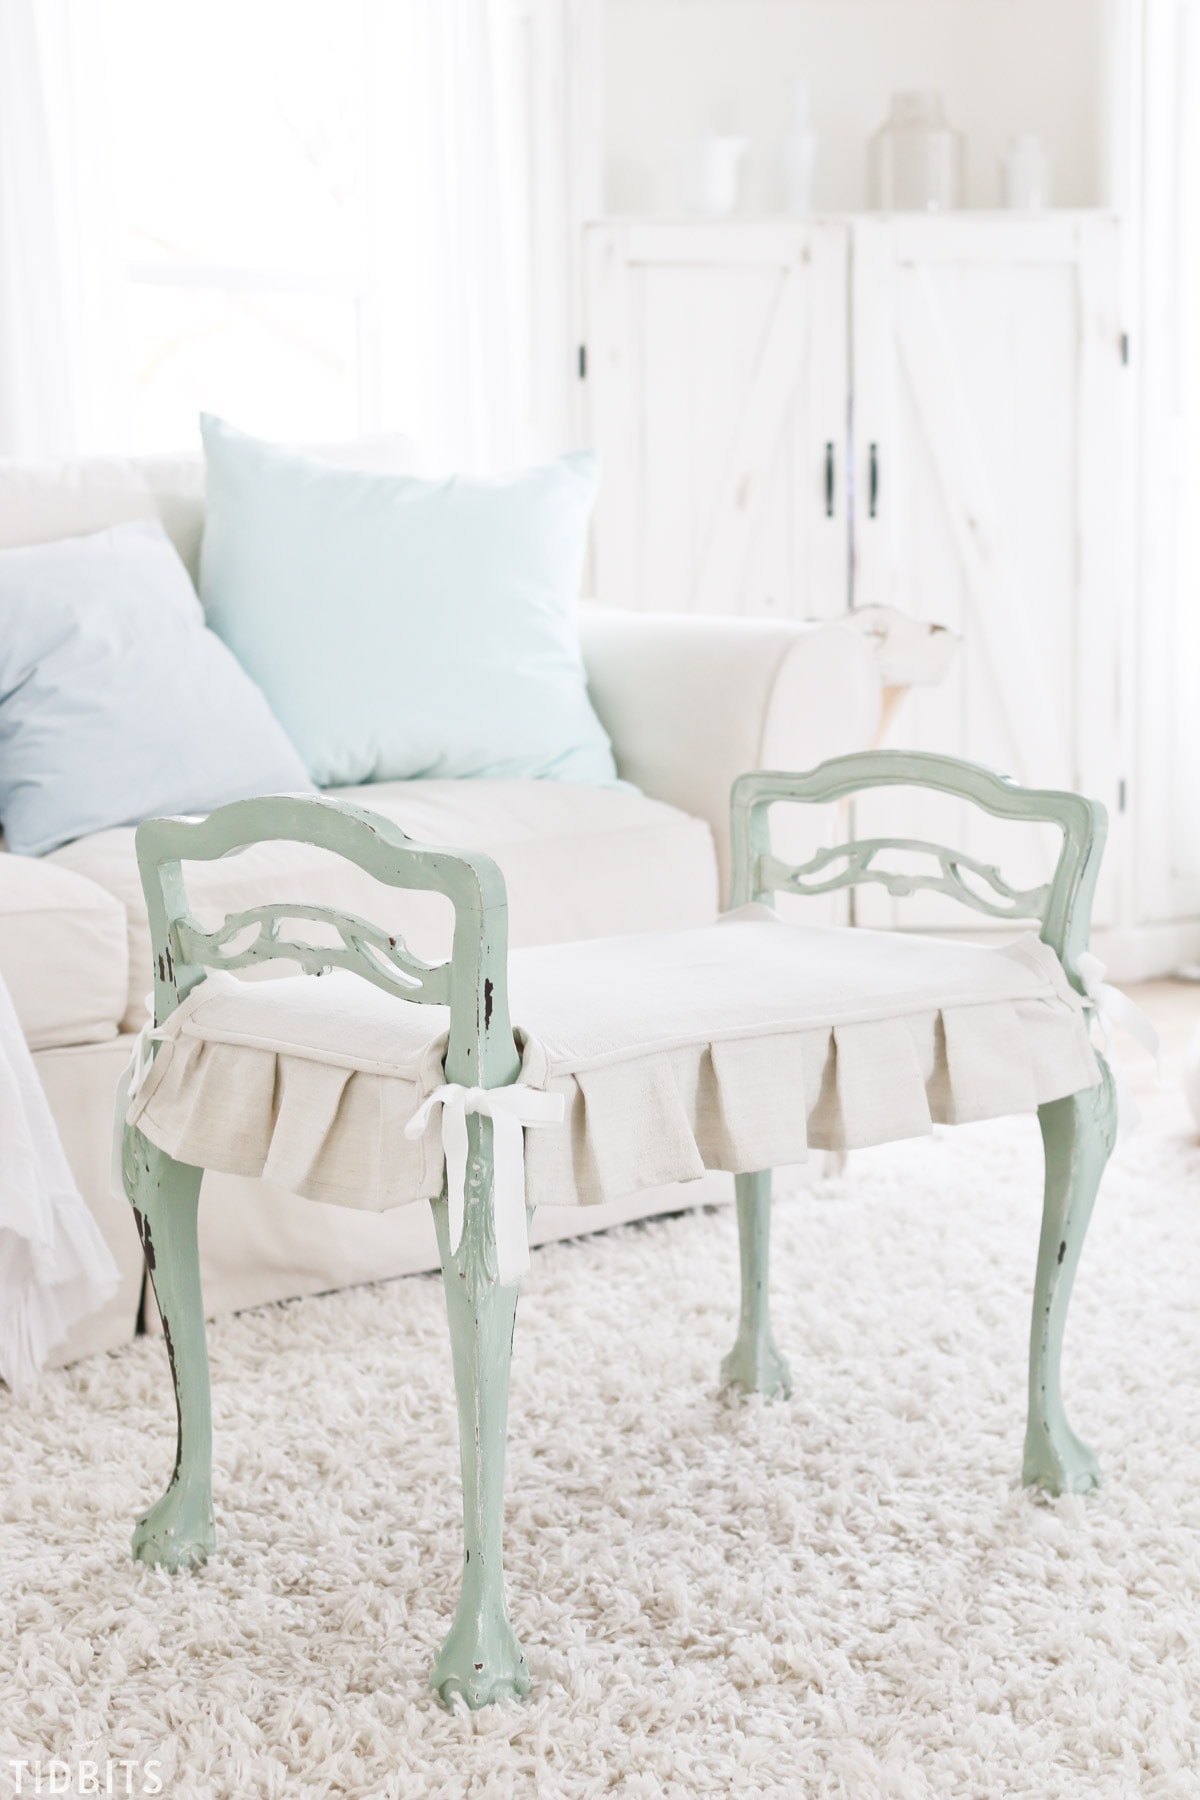
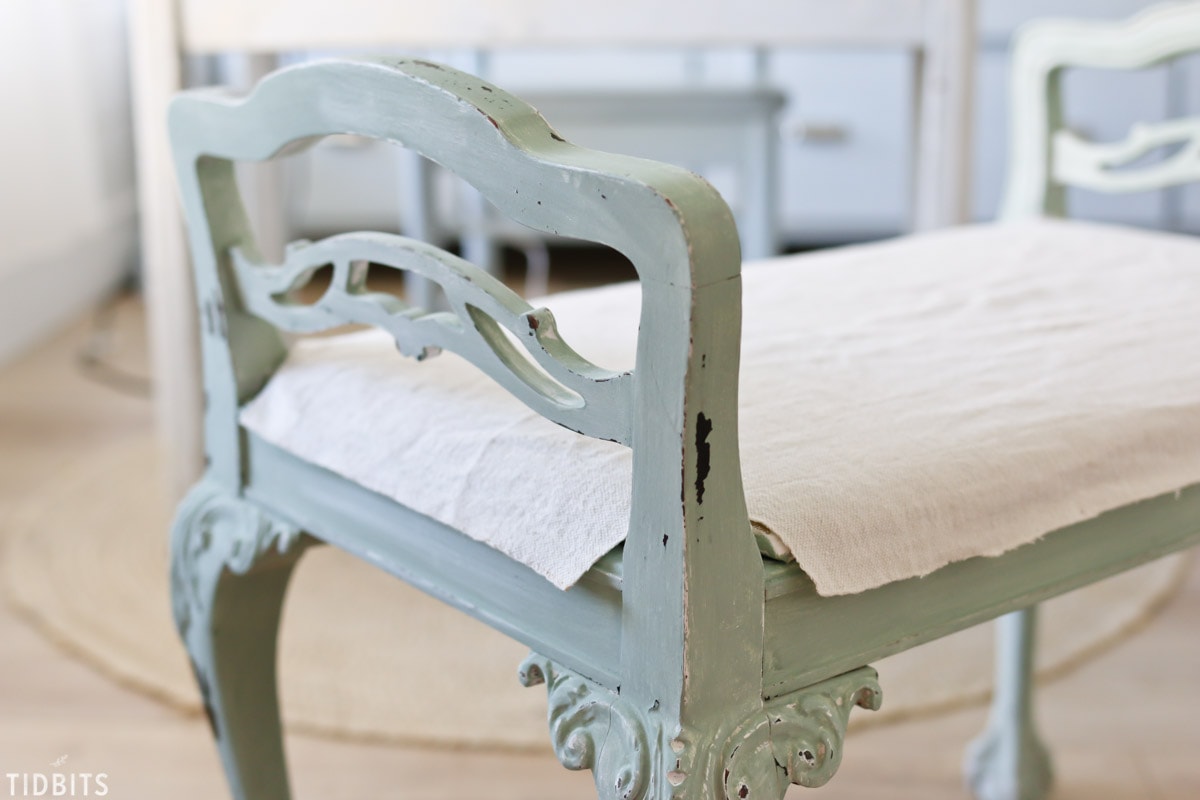
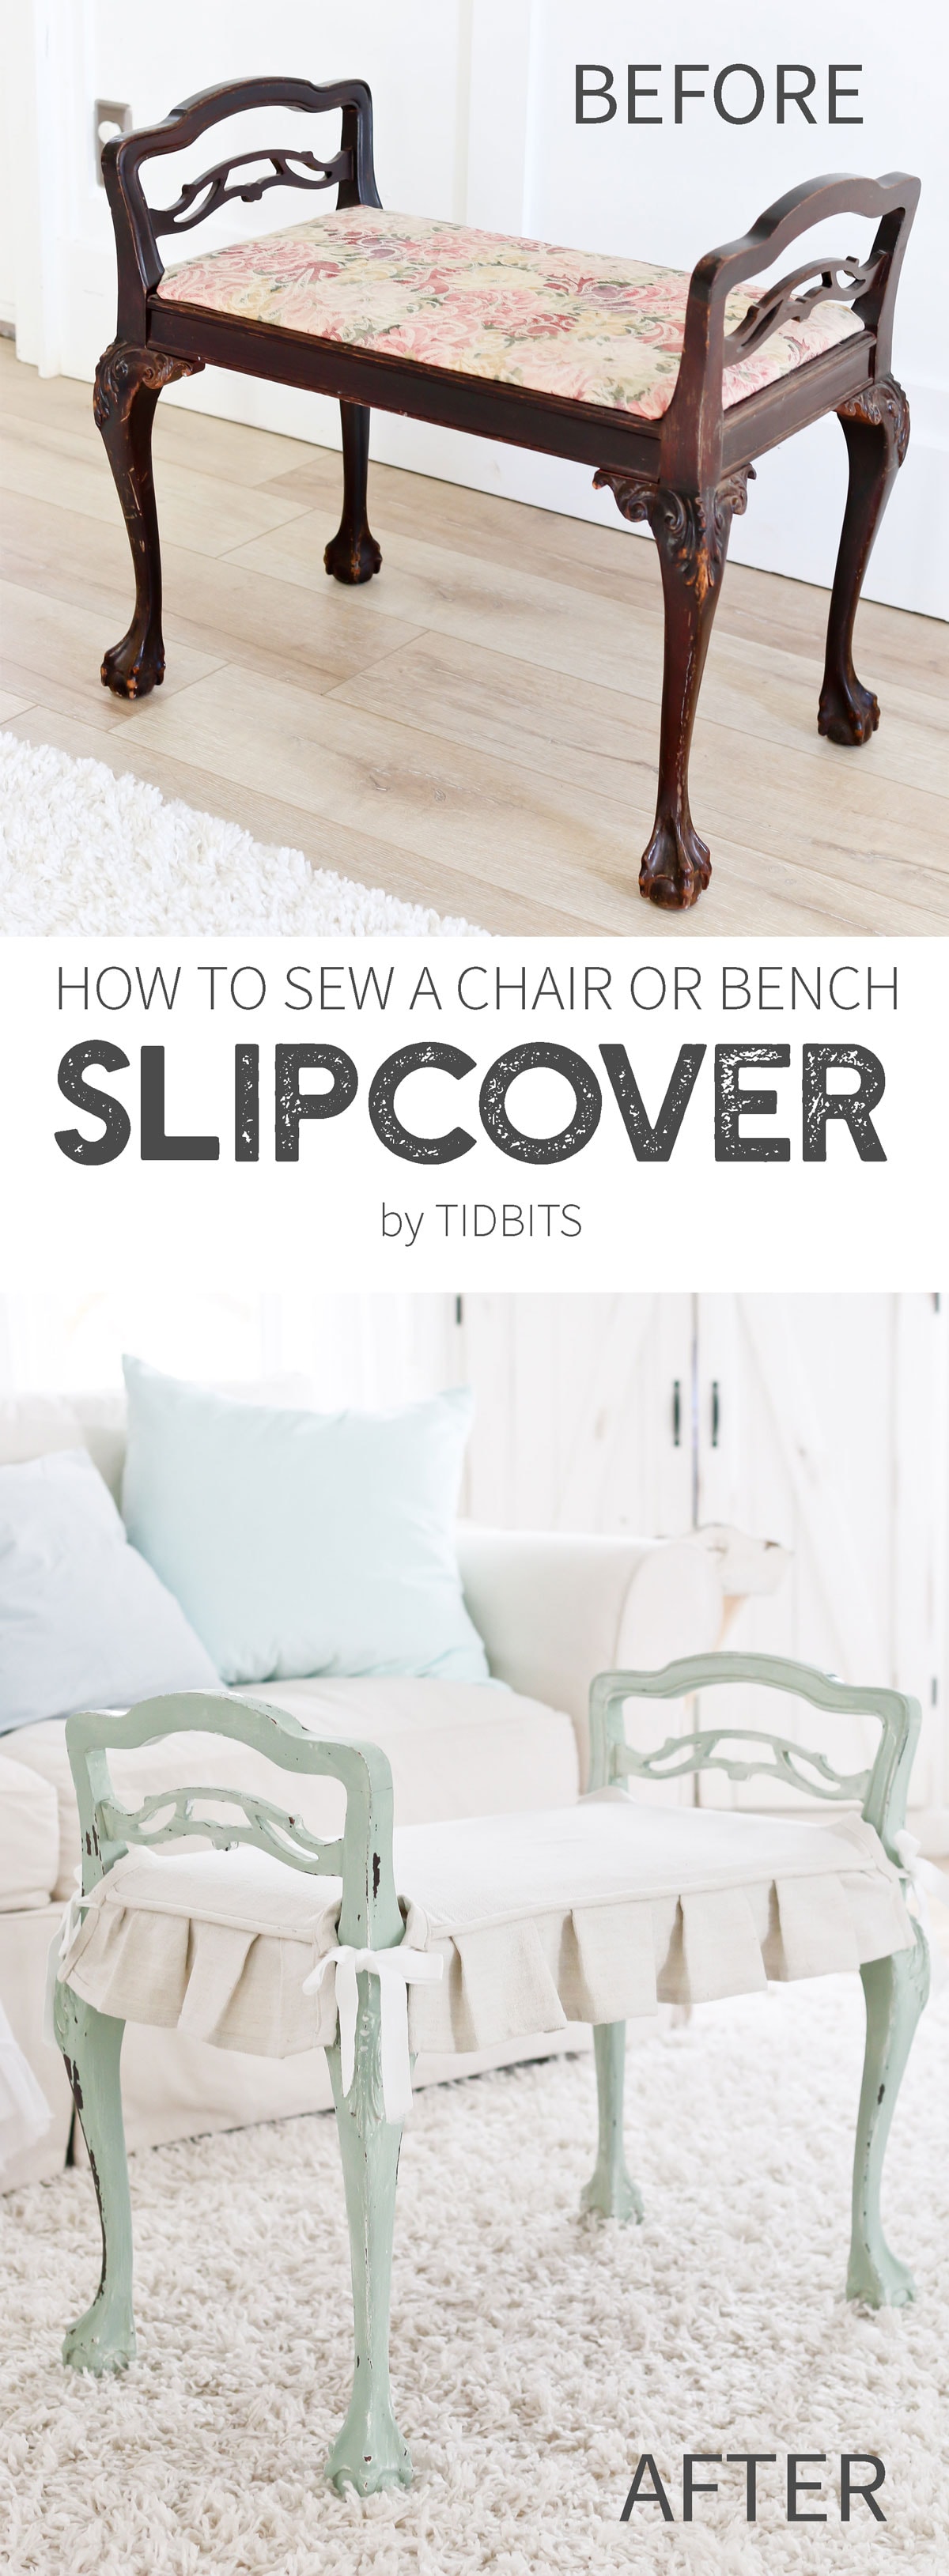
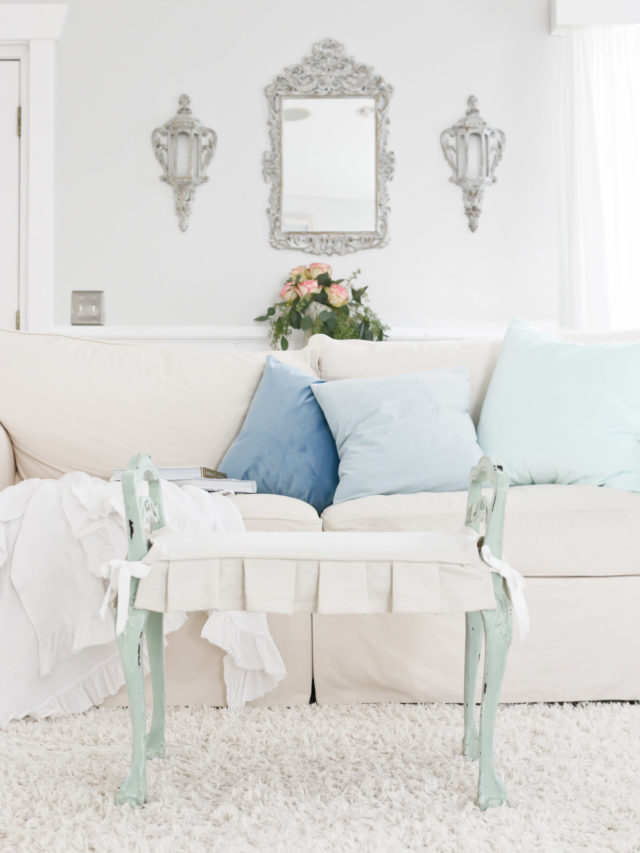
I found this darling little foot rest/bench at a thrift store recently, and it was love at first site. Even when it started as a $10 cast off with sad sad fabric, and its finish had seen better days.
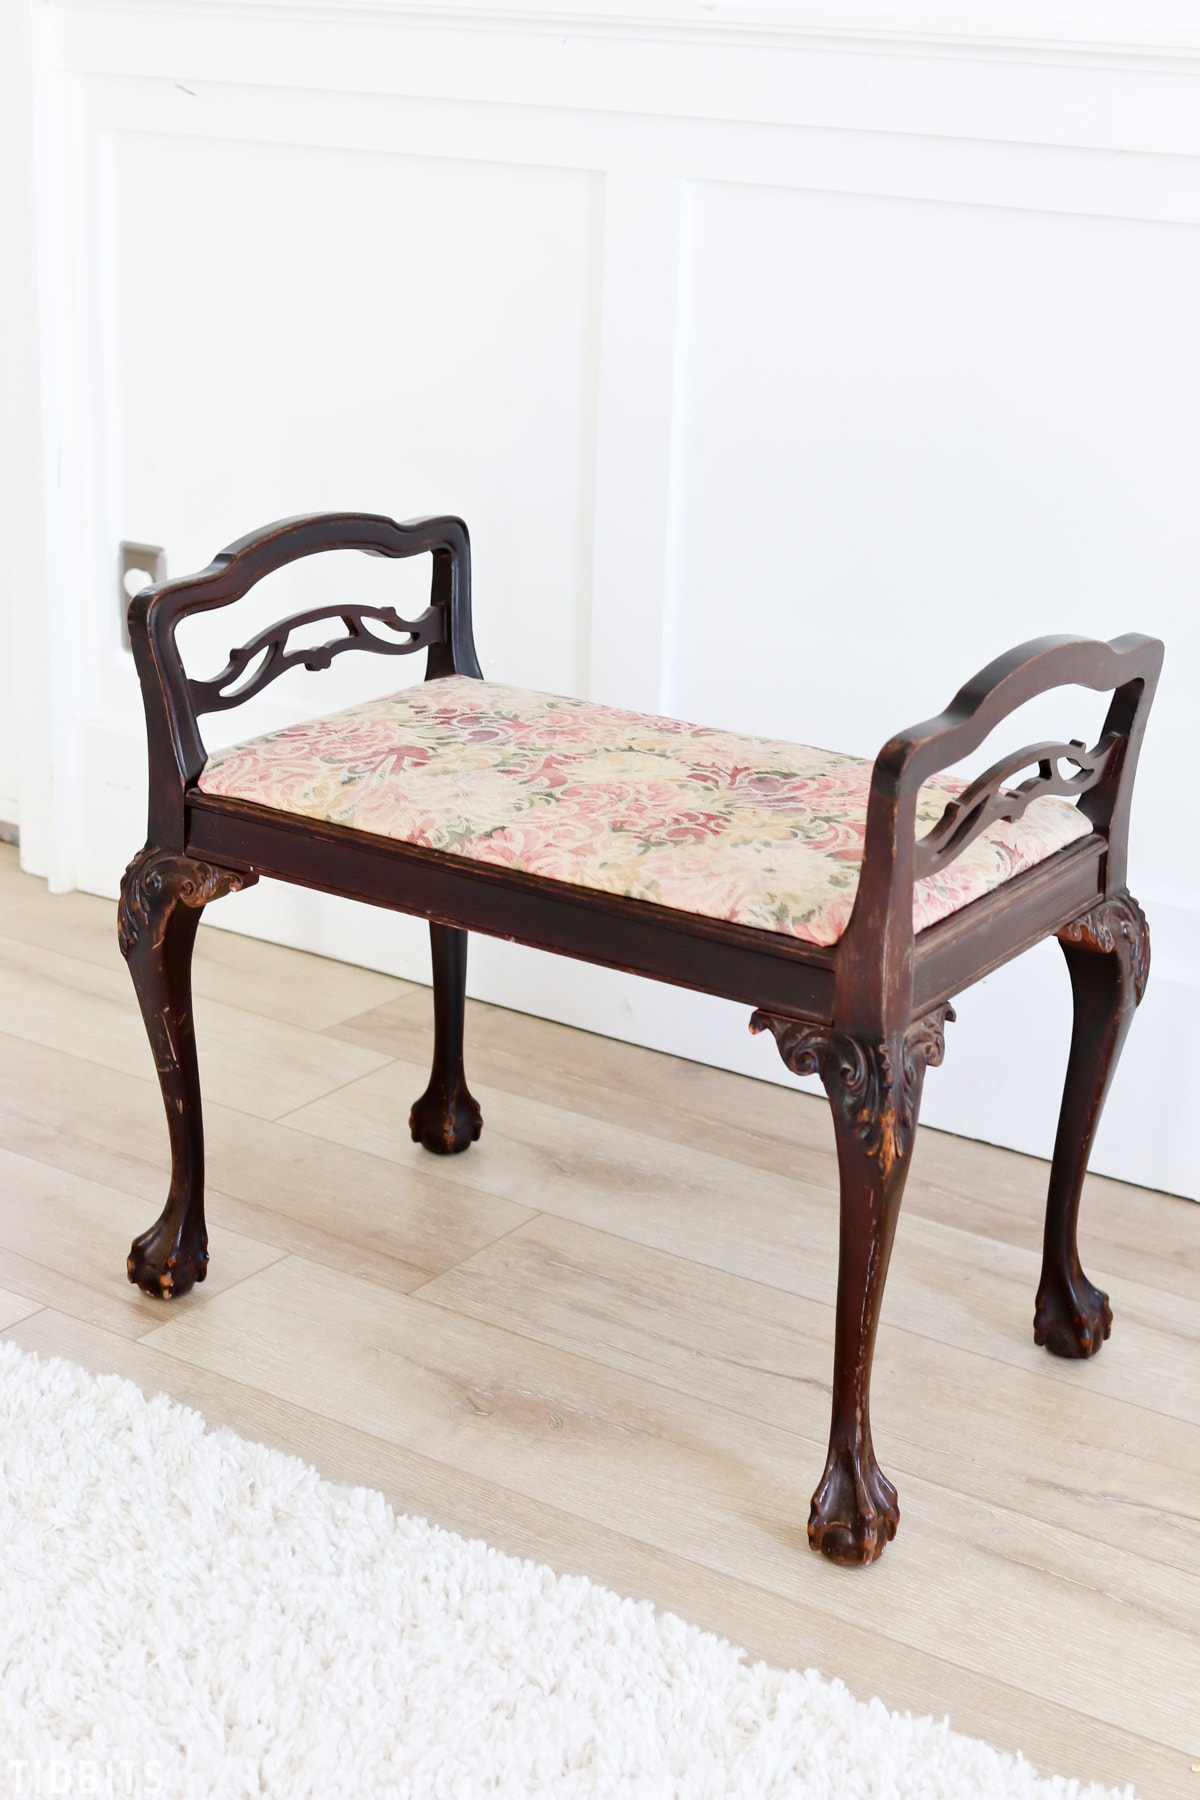
I could easily look past all that, because what I saw were some seriously sexy legs, and a massive amount of potential. She just needed a wee bit of help from me. 😉
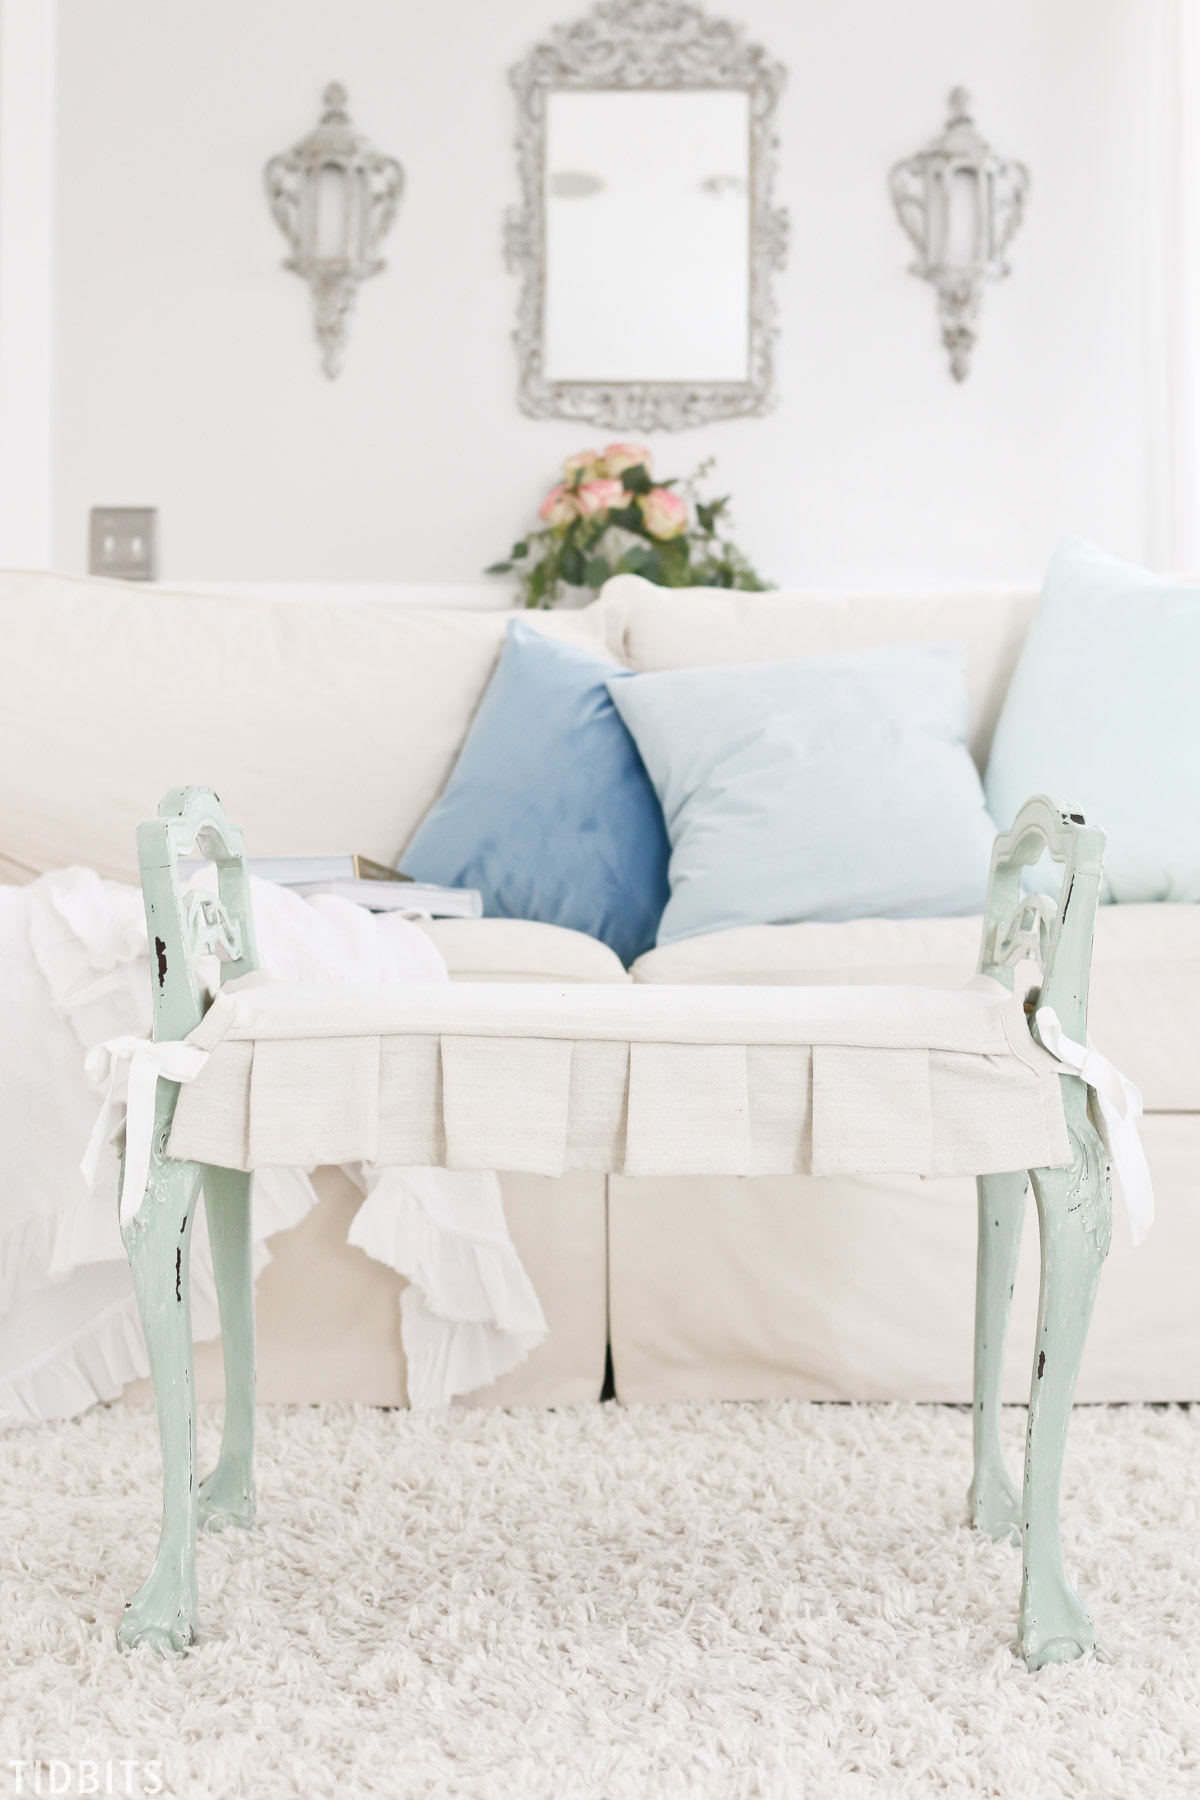
I knew some paint and a new pleated slipcover would transform it into a darling French Country bench, to look like she jumped straight out of a Jane Austin novel.
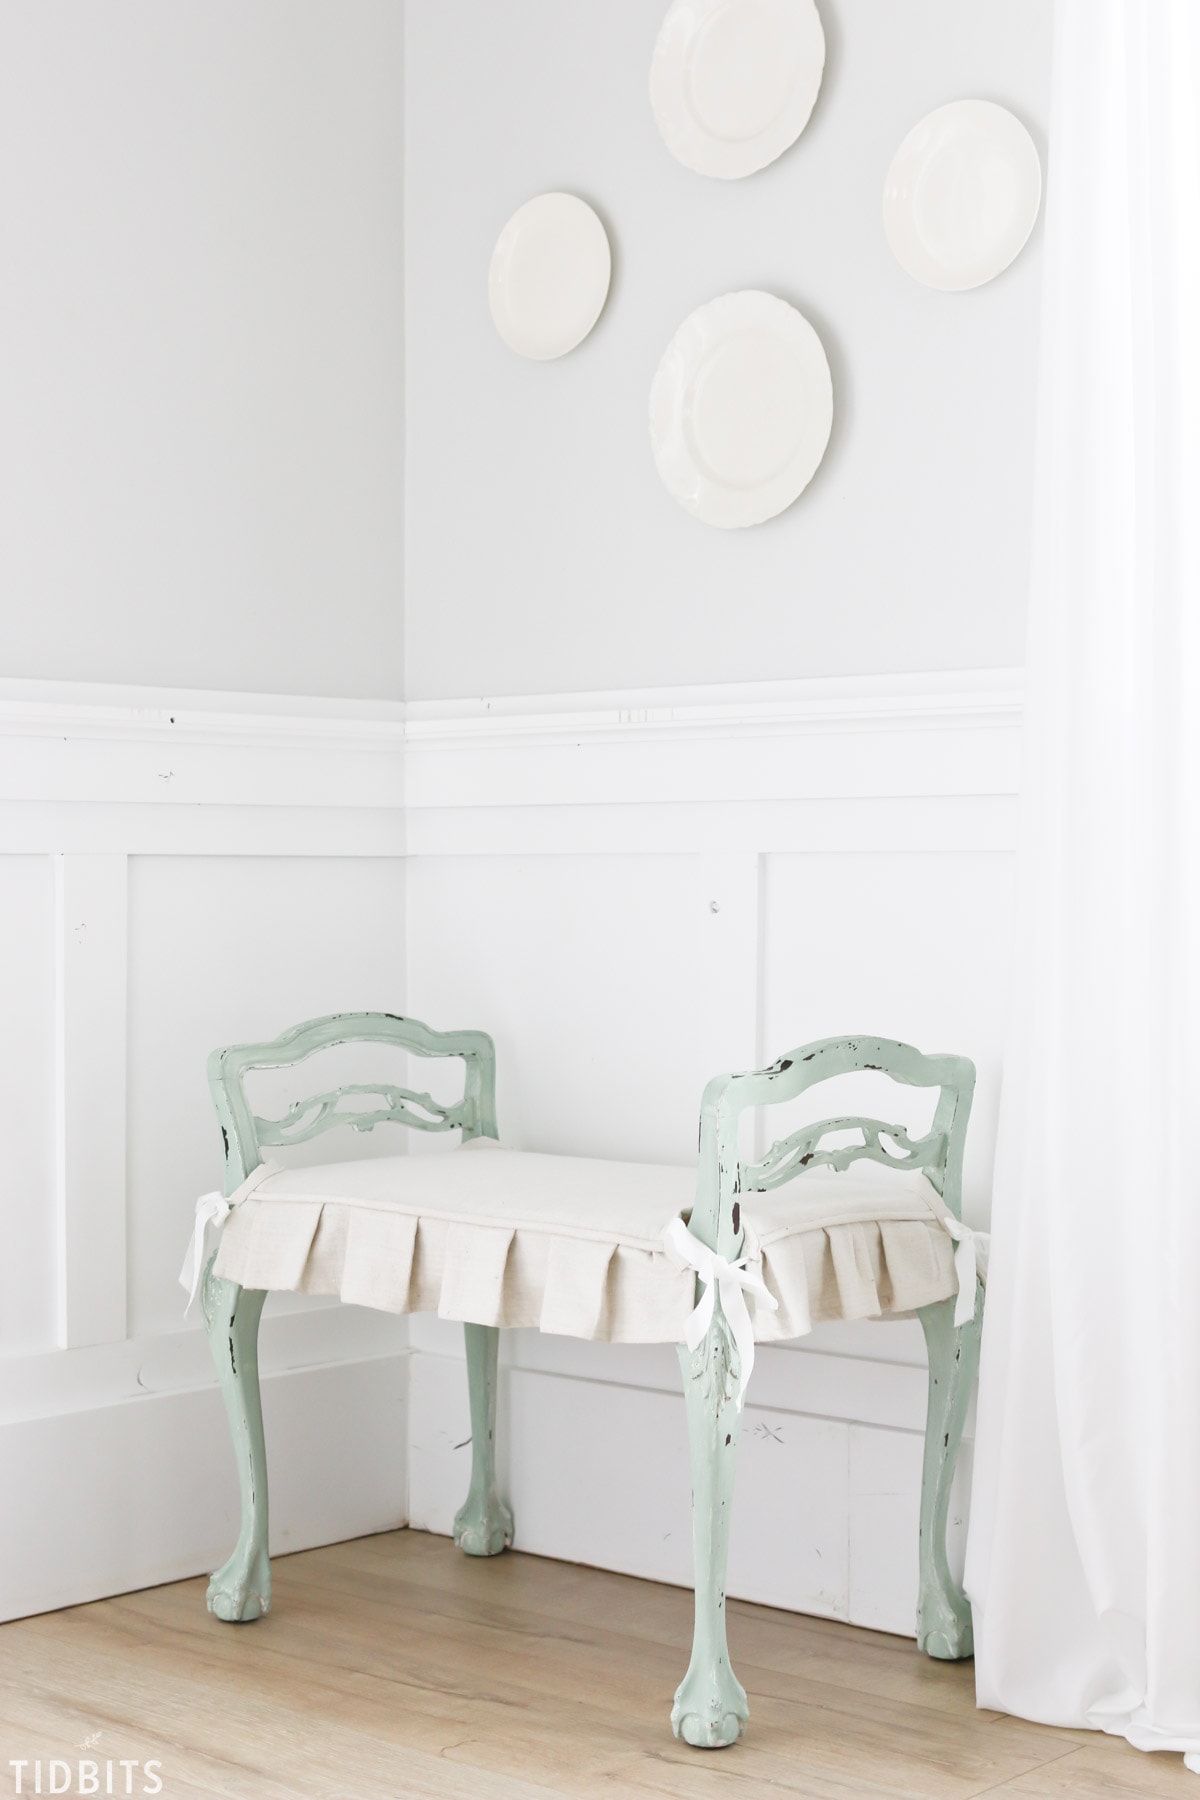
This post is more to show you how to sew the slipcover rather than paint furniture, but if it’s helpful, all I did to paint it was first sand it slightly then I covered it in white chalk paint, finished with 2 layers of a green milk paint. I love using this combo of milk over chalk and then sanding and chipping it to perfection. Any brand of milk and chalk paint will do the trick. I found some milk paint at an antique store and was excited to give it a try on this piece.

When it comes to covering the cushion, making a slipcover is often easier than reupholstering a piece, and yields a nice French Country look. Bonus that it is easily washable.
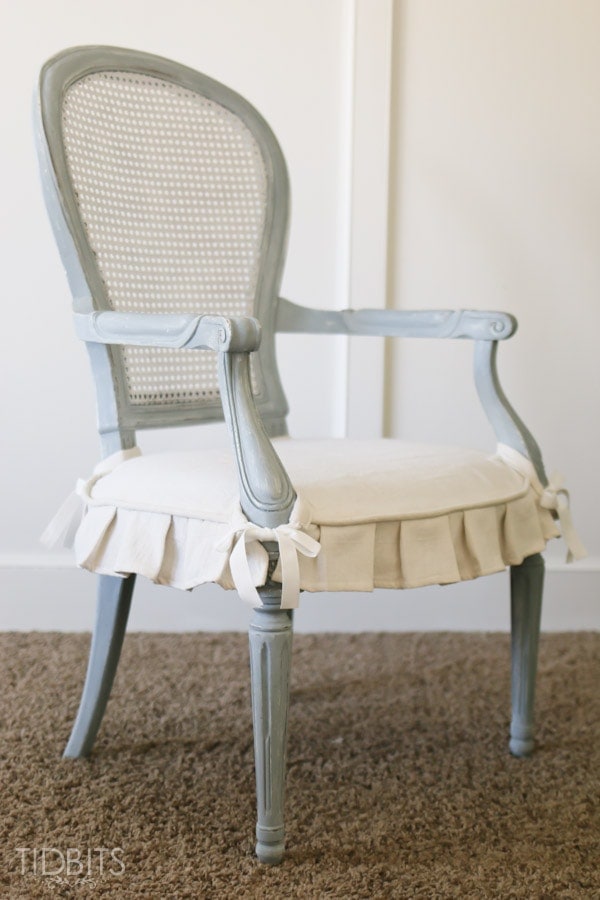
See how I used this same method to cover this $5 thrift store chair that we have loved for years.
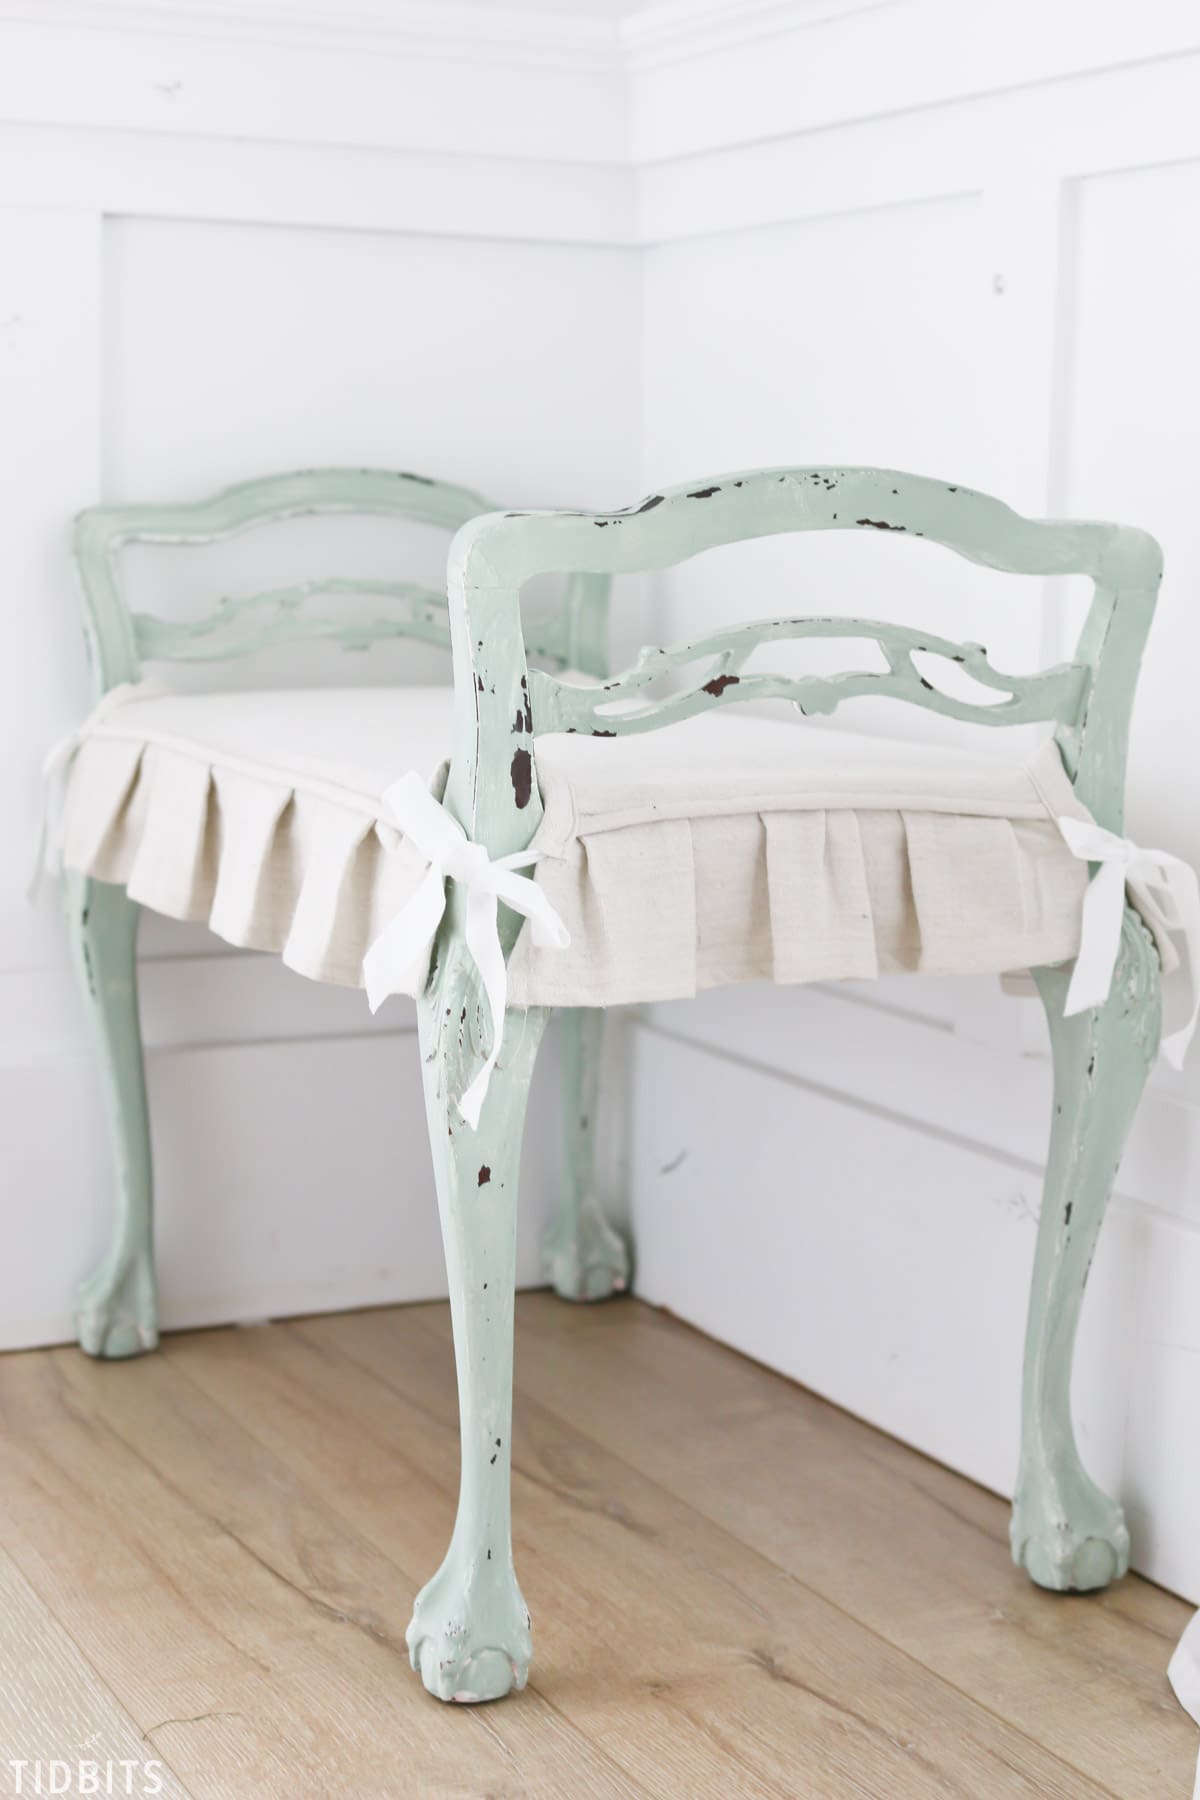
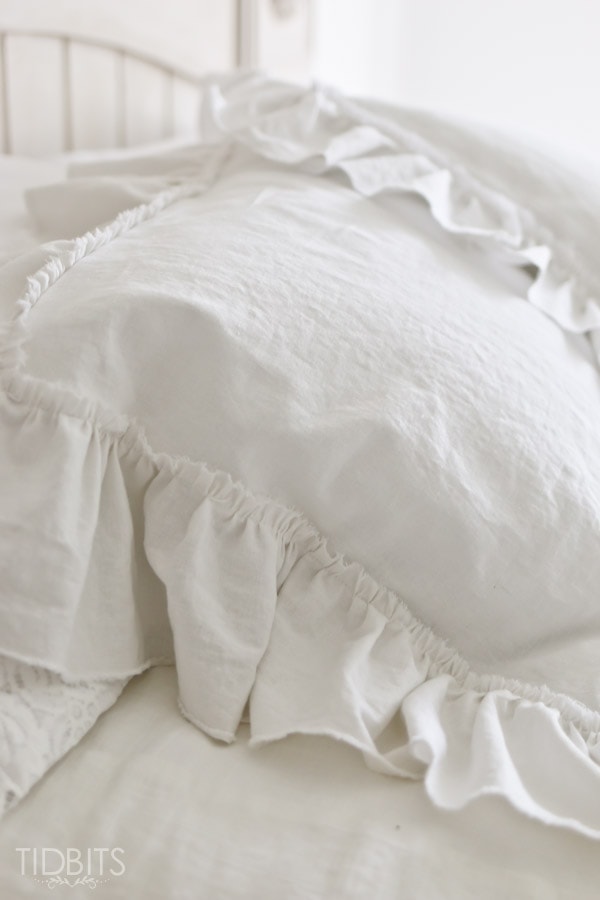
You can opt to pleat or ruffle the the overhang, depending on the look you want.
This project is good for the intermediate sewer, but not impossible for a beginner. I’ve taken plenty of step by step pictures to help you along the way.
So head to the thrift store and see if you can find a nasty old cushioned chair or bench and discover the joy of bringing beauty back to life.
Let me show you how!
SUPPLIES
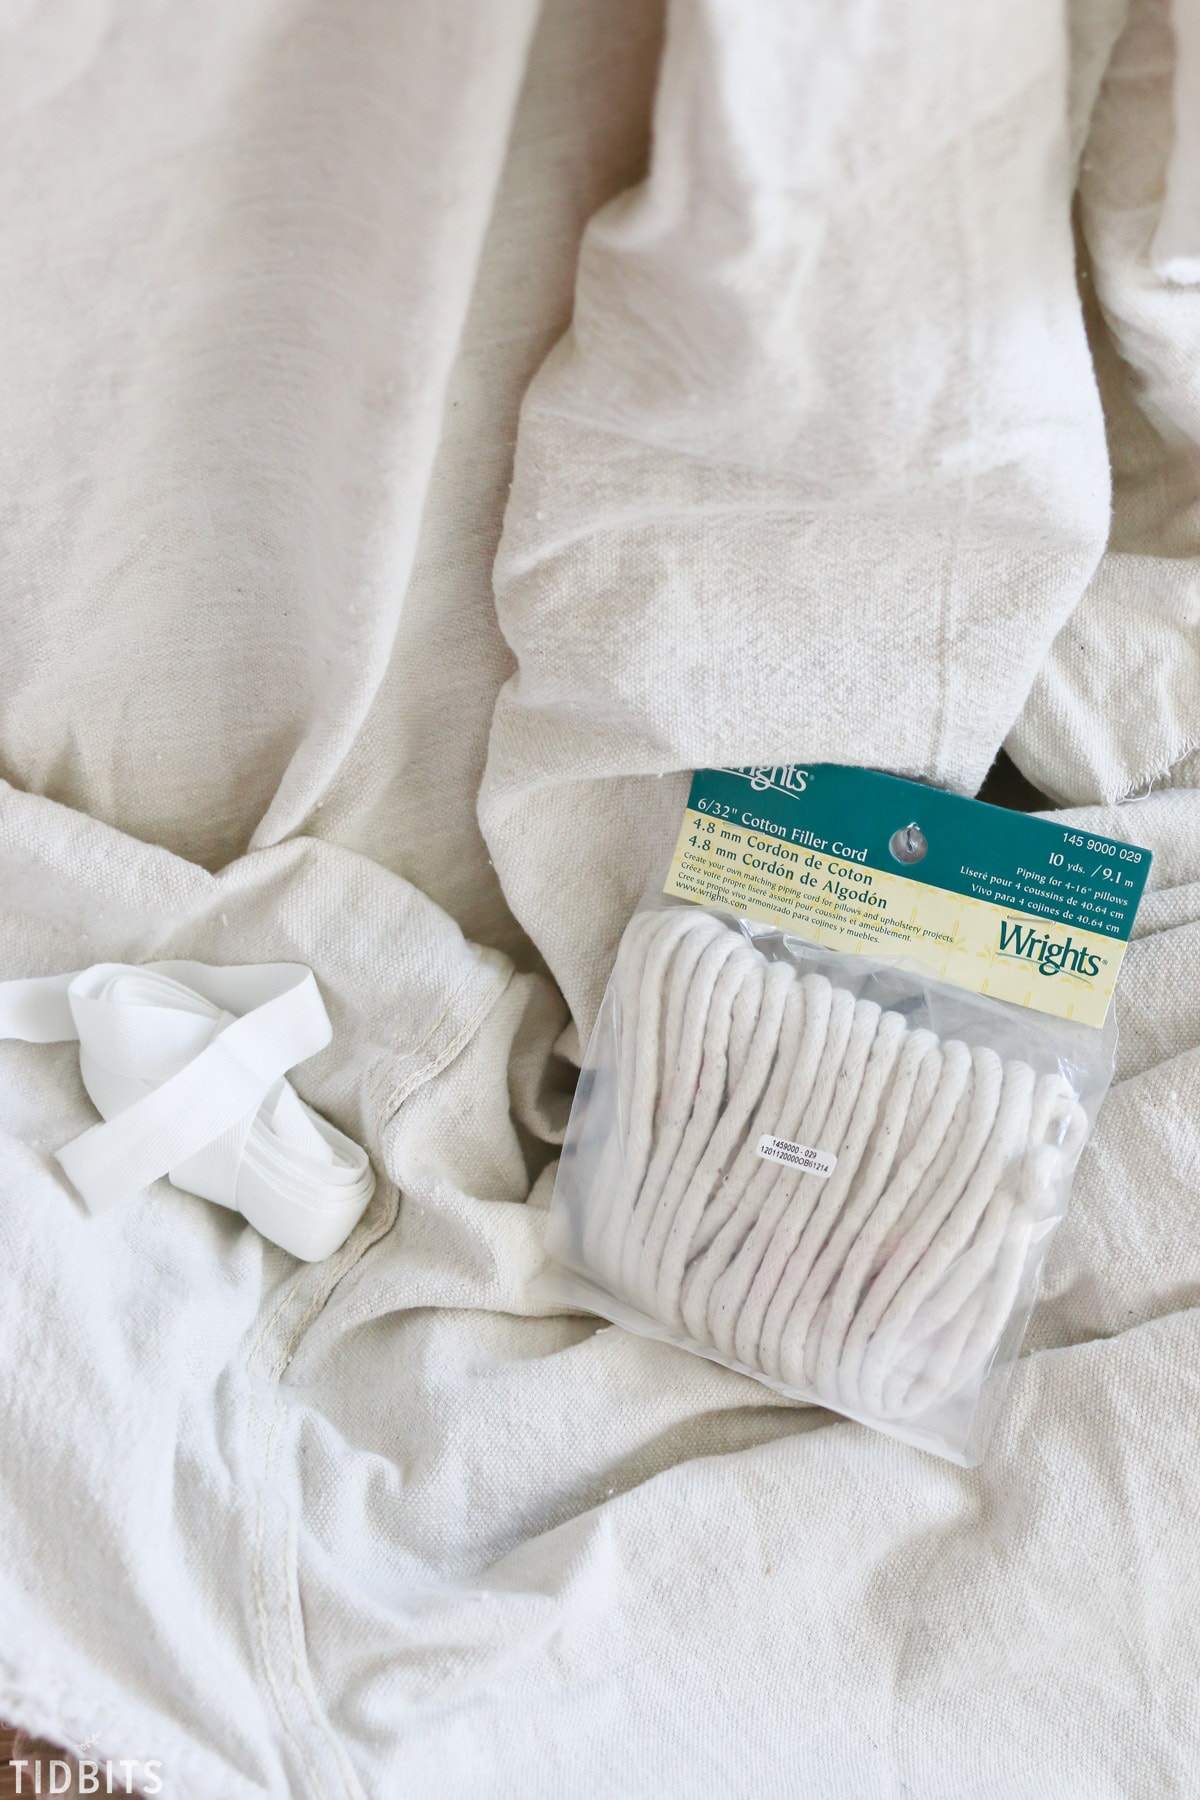
- Fabric
- I used some bleached drop cloth that I like to keep on hand. The amount you need depends on the size of your project. You’ll need enough to make piping, pleats or ruffles, and to cover the seat.
- Cord
- This is to make the piping
- Twill ribbon or some sort of ties
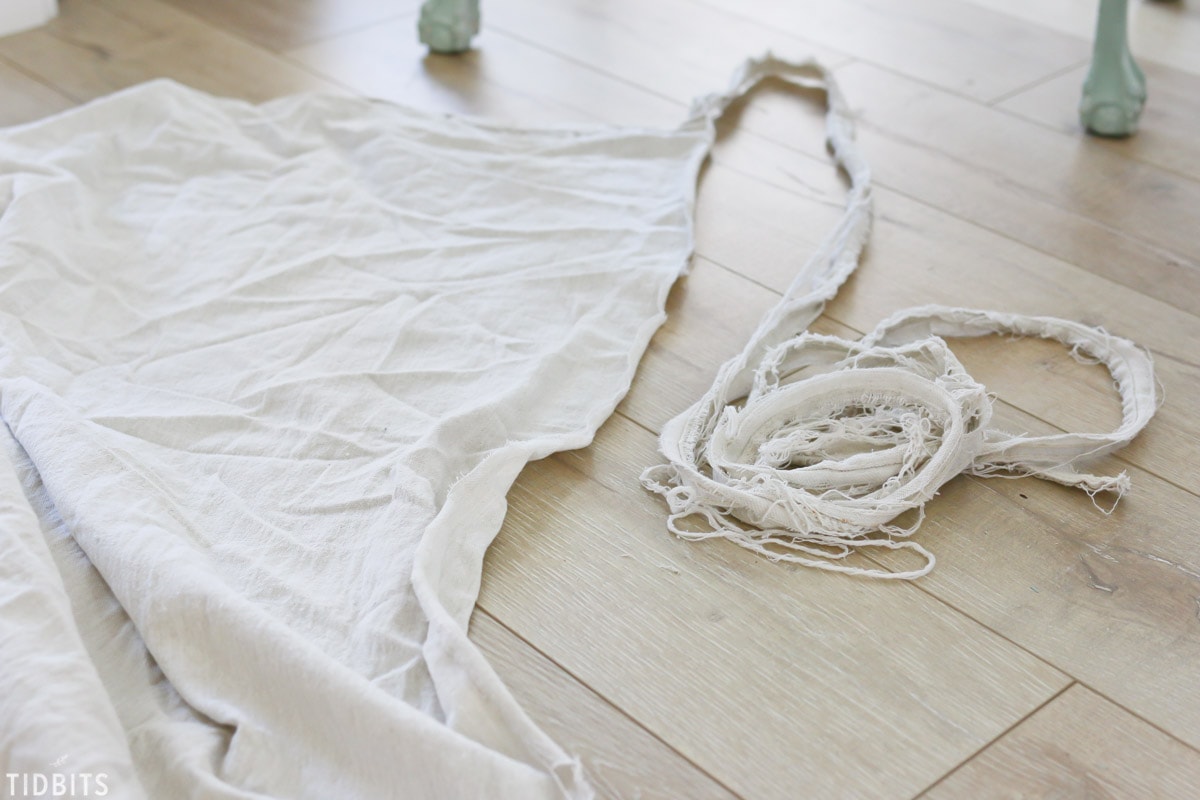
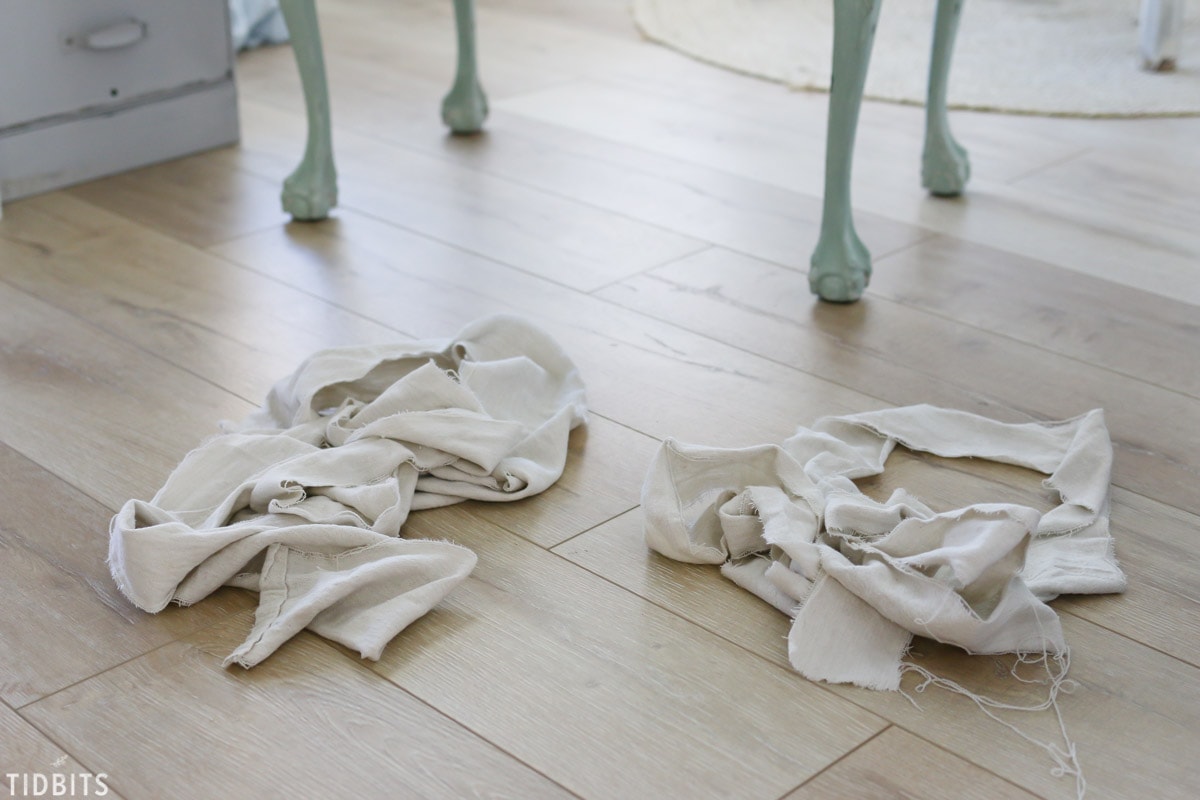
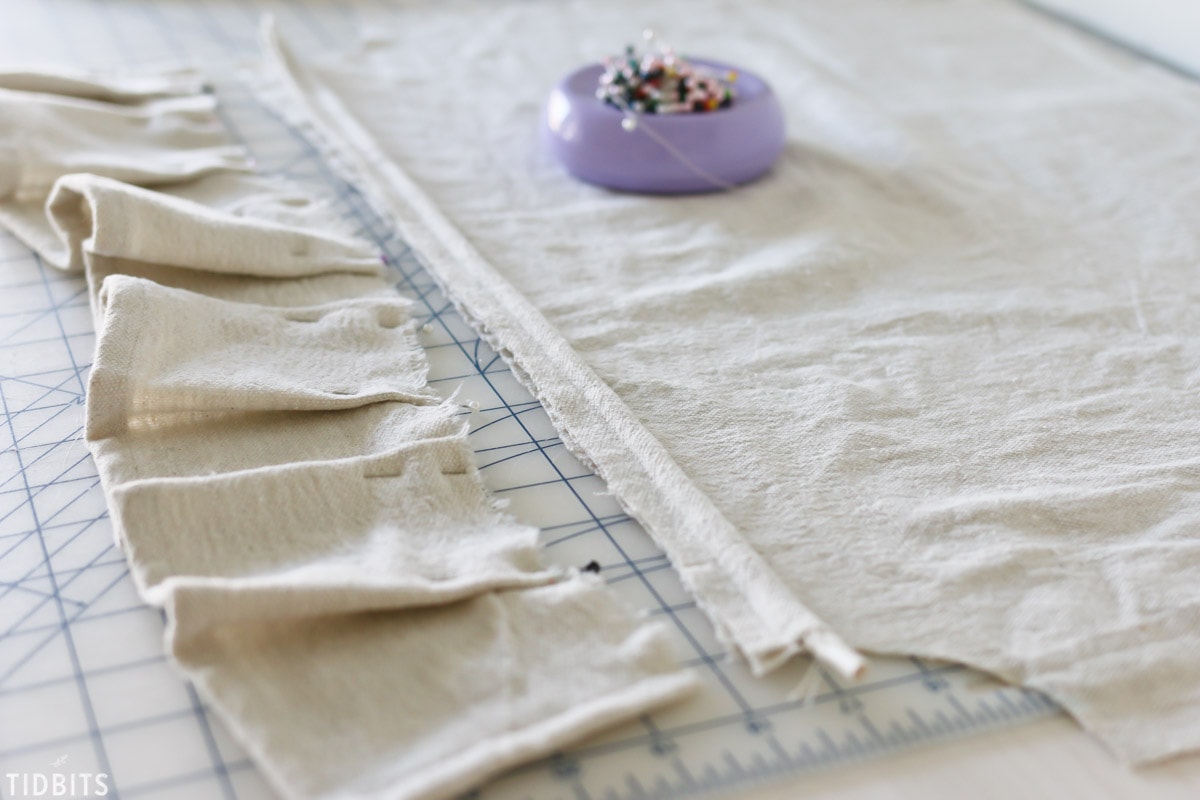
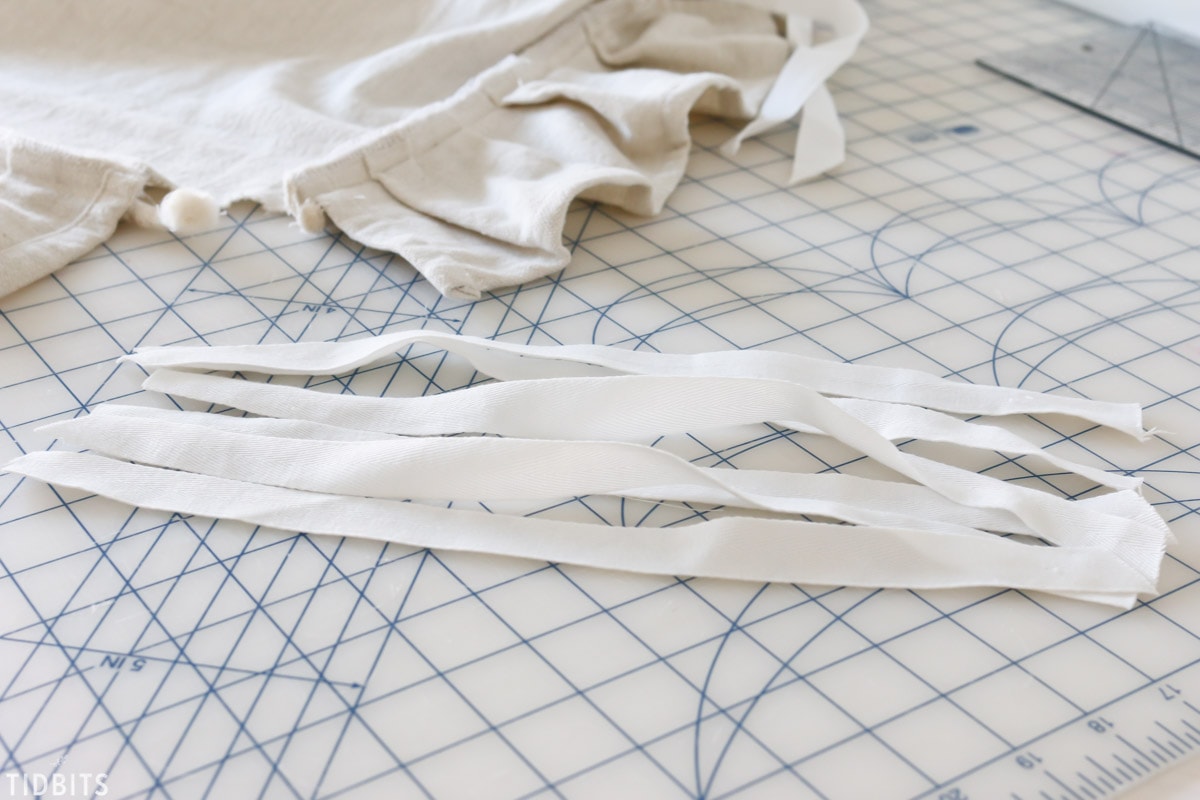
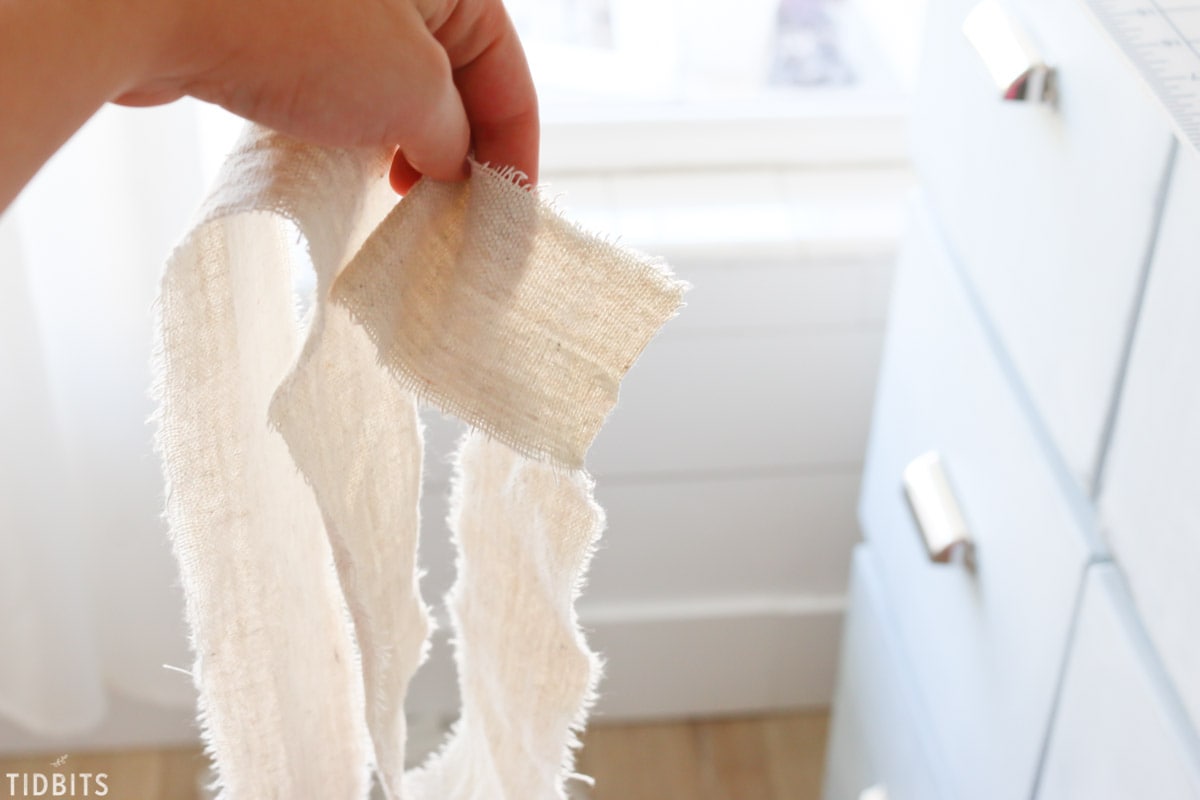
The first step is to rip an edge of your fabric so you get it on grain. Especially important if you are also using drop cloth like I did. Discard this piece you ripped off.
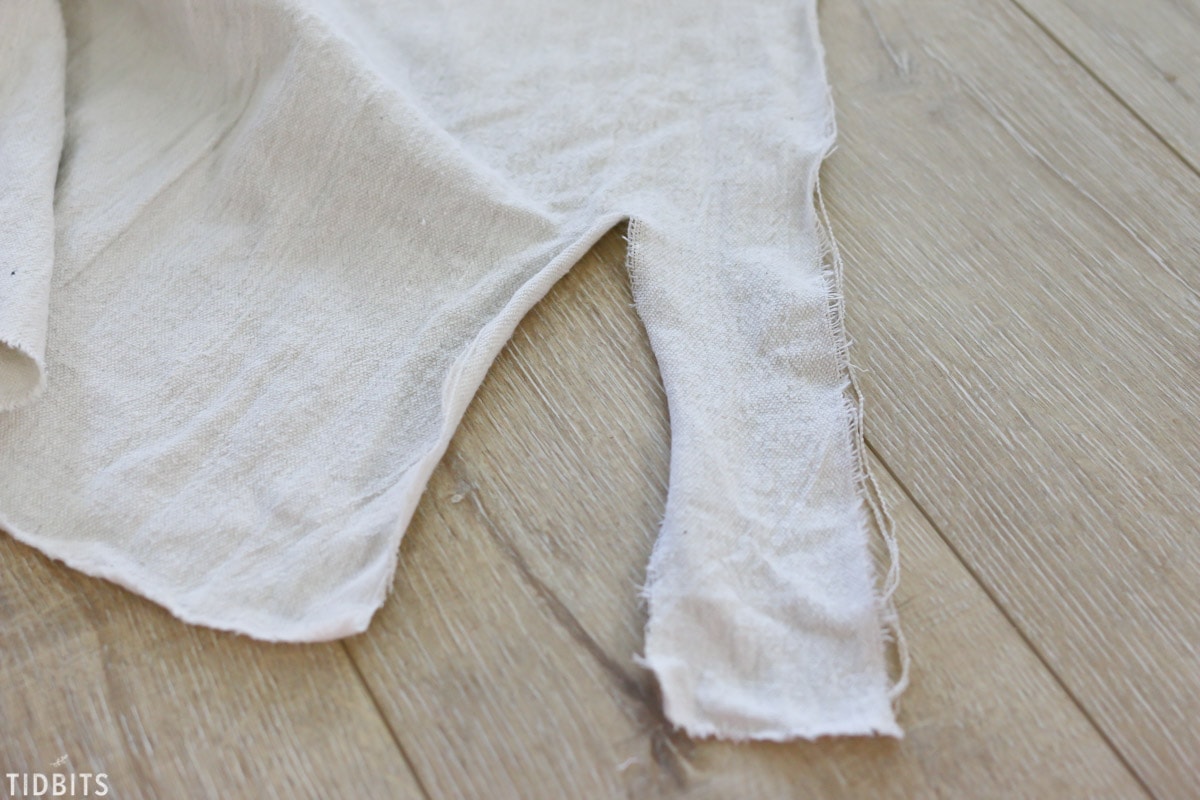
Next you will rip a piece to make the piping. Now generally, you use a bias (or on the angle) cut piece for piping, but I’ve found for these little projects, and edge piece works just fine. Make a small slit about 2-2.5 inches from the edge, and rip all the way down. Make sure you rip enough to cover all your piping edges.
If you are doing ruffles or pleats, you will also need to rip a piece for that. Figure out how long you want your ruffle/pleat to be, add 1.5 inch for the hem and seam allowance and rip another piece.
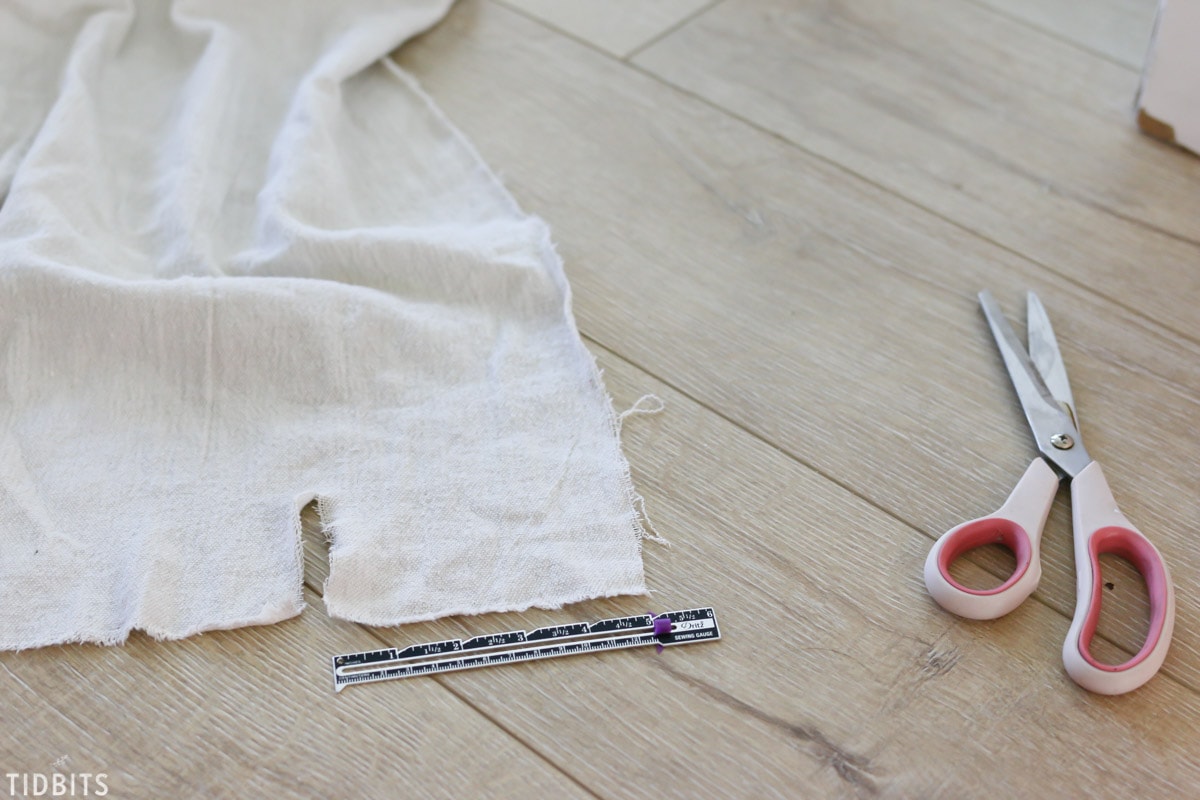
So you should end up with some ripped pieces for the pleat/ruffle and to make the piping.
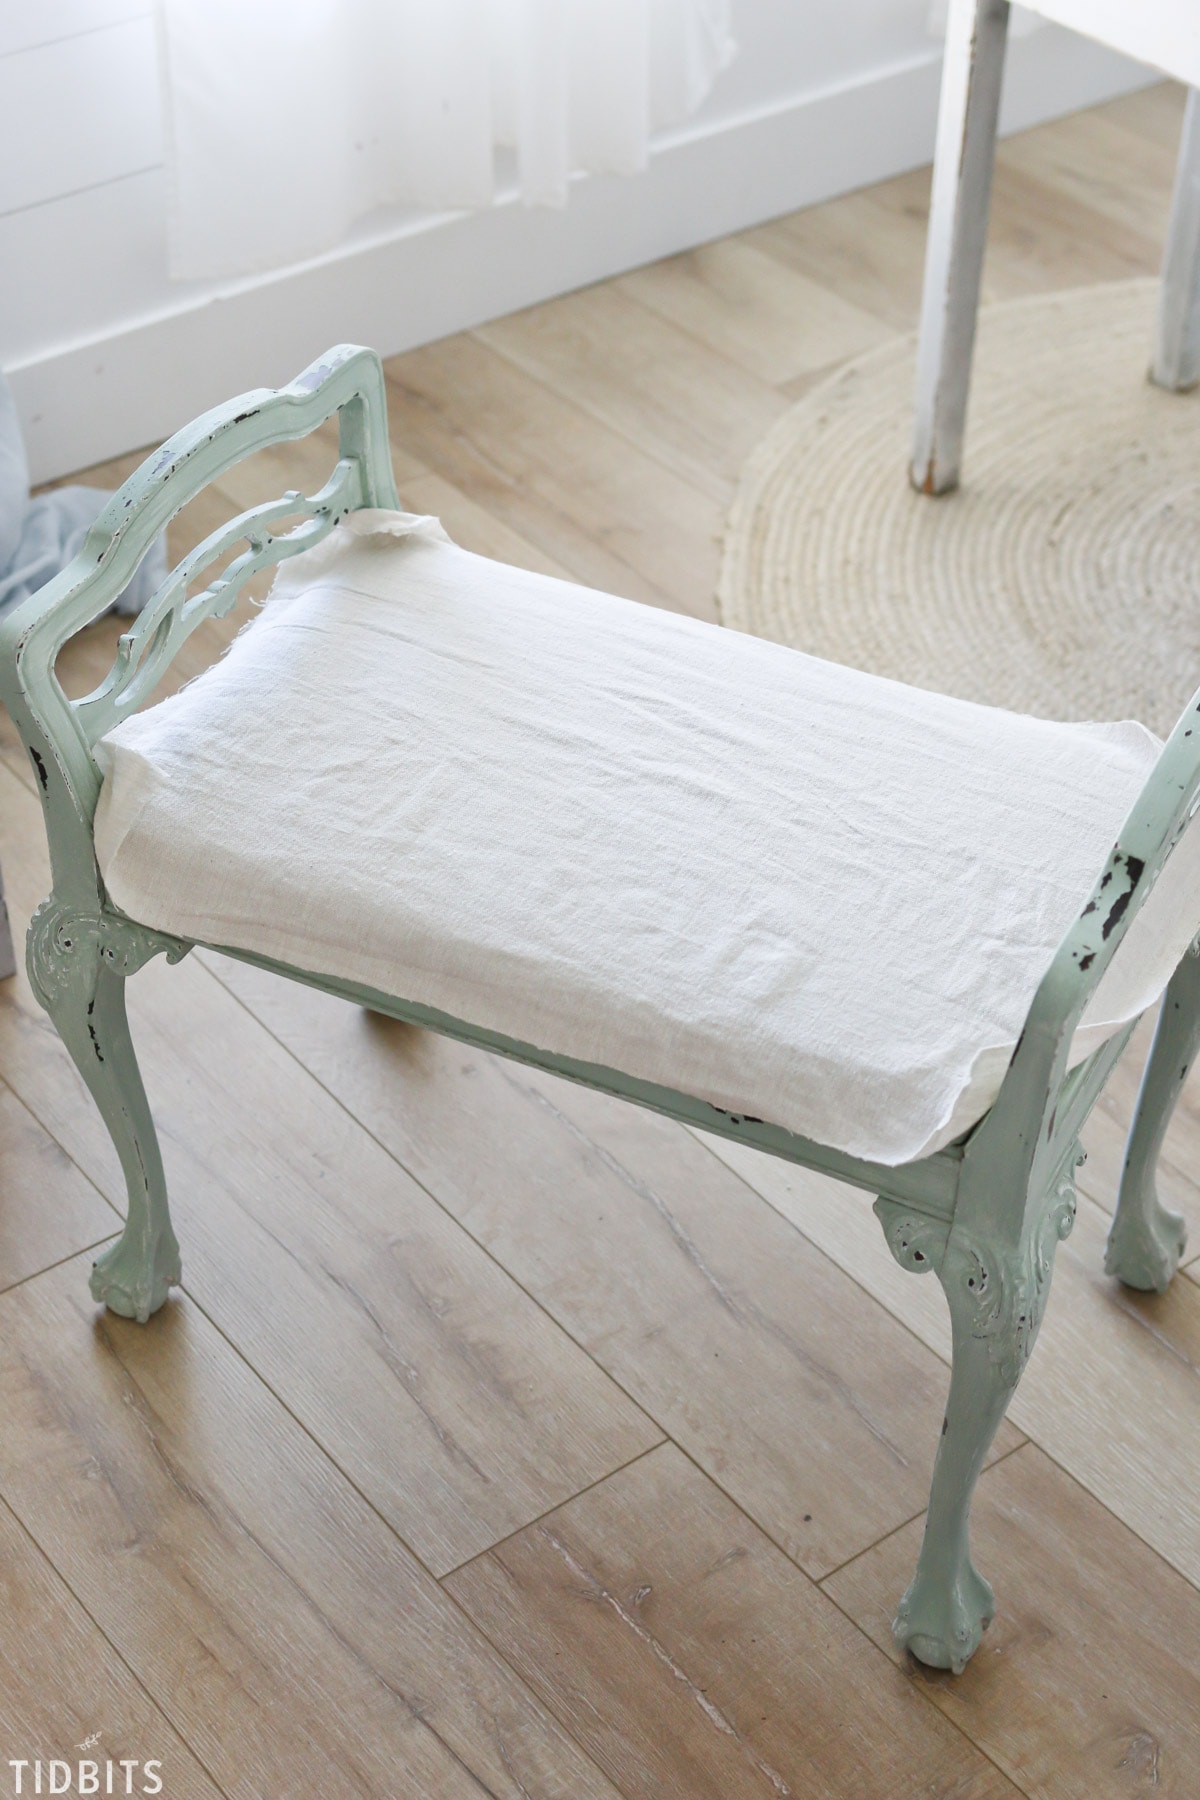
Put those aside for now and cut a piece of fabric to cover the chair cushion. Cut it the shape of your cushion and don’t worry about the corners for now. Give yourself at least an inch extra on all the edges to allow for the seams.
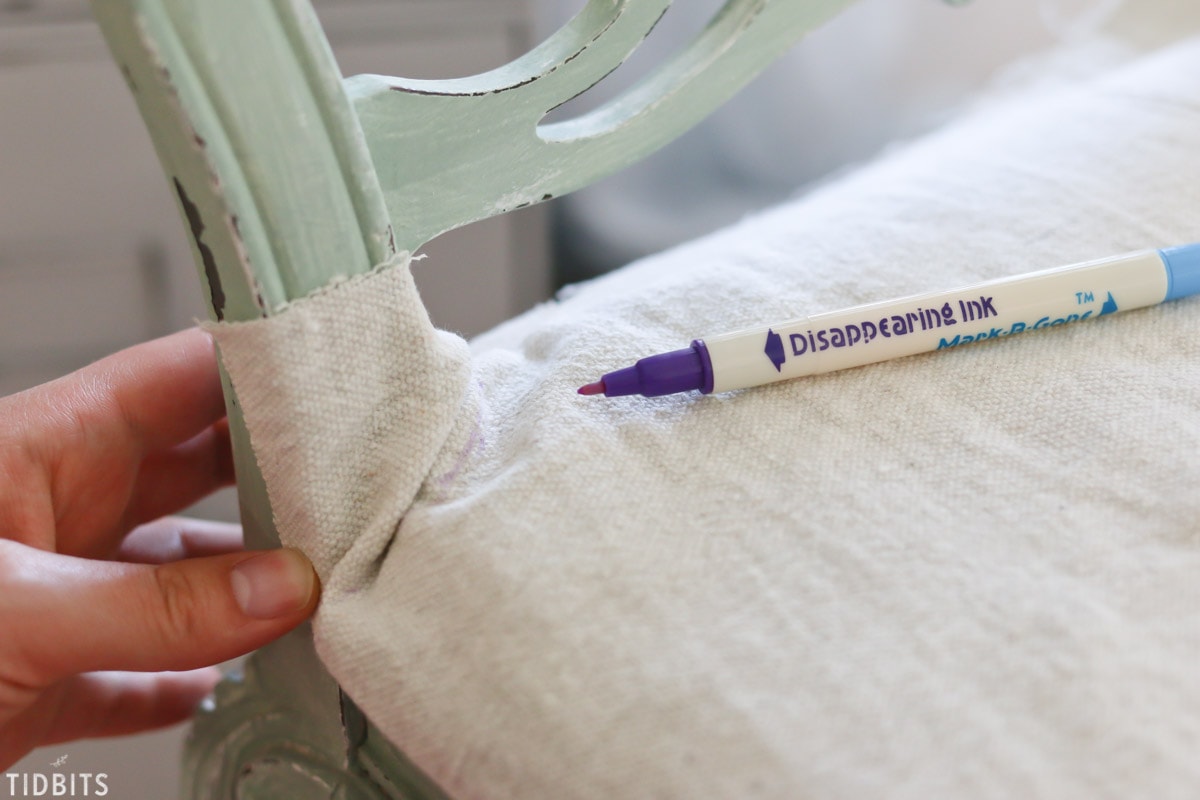
With some sort of fabric marker, roughly mark your corner cuts to go around the furniture legs/backs.
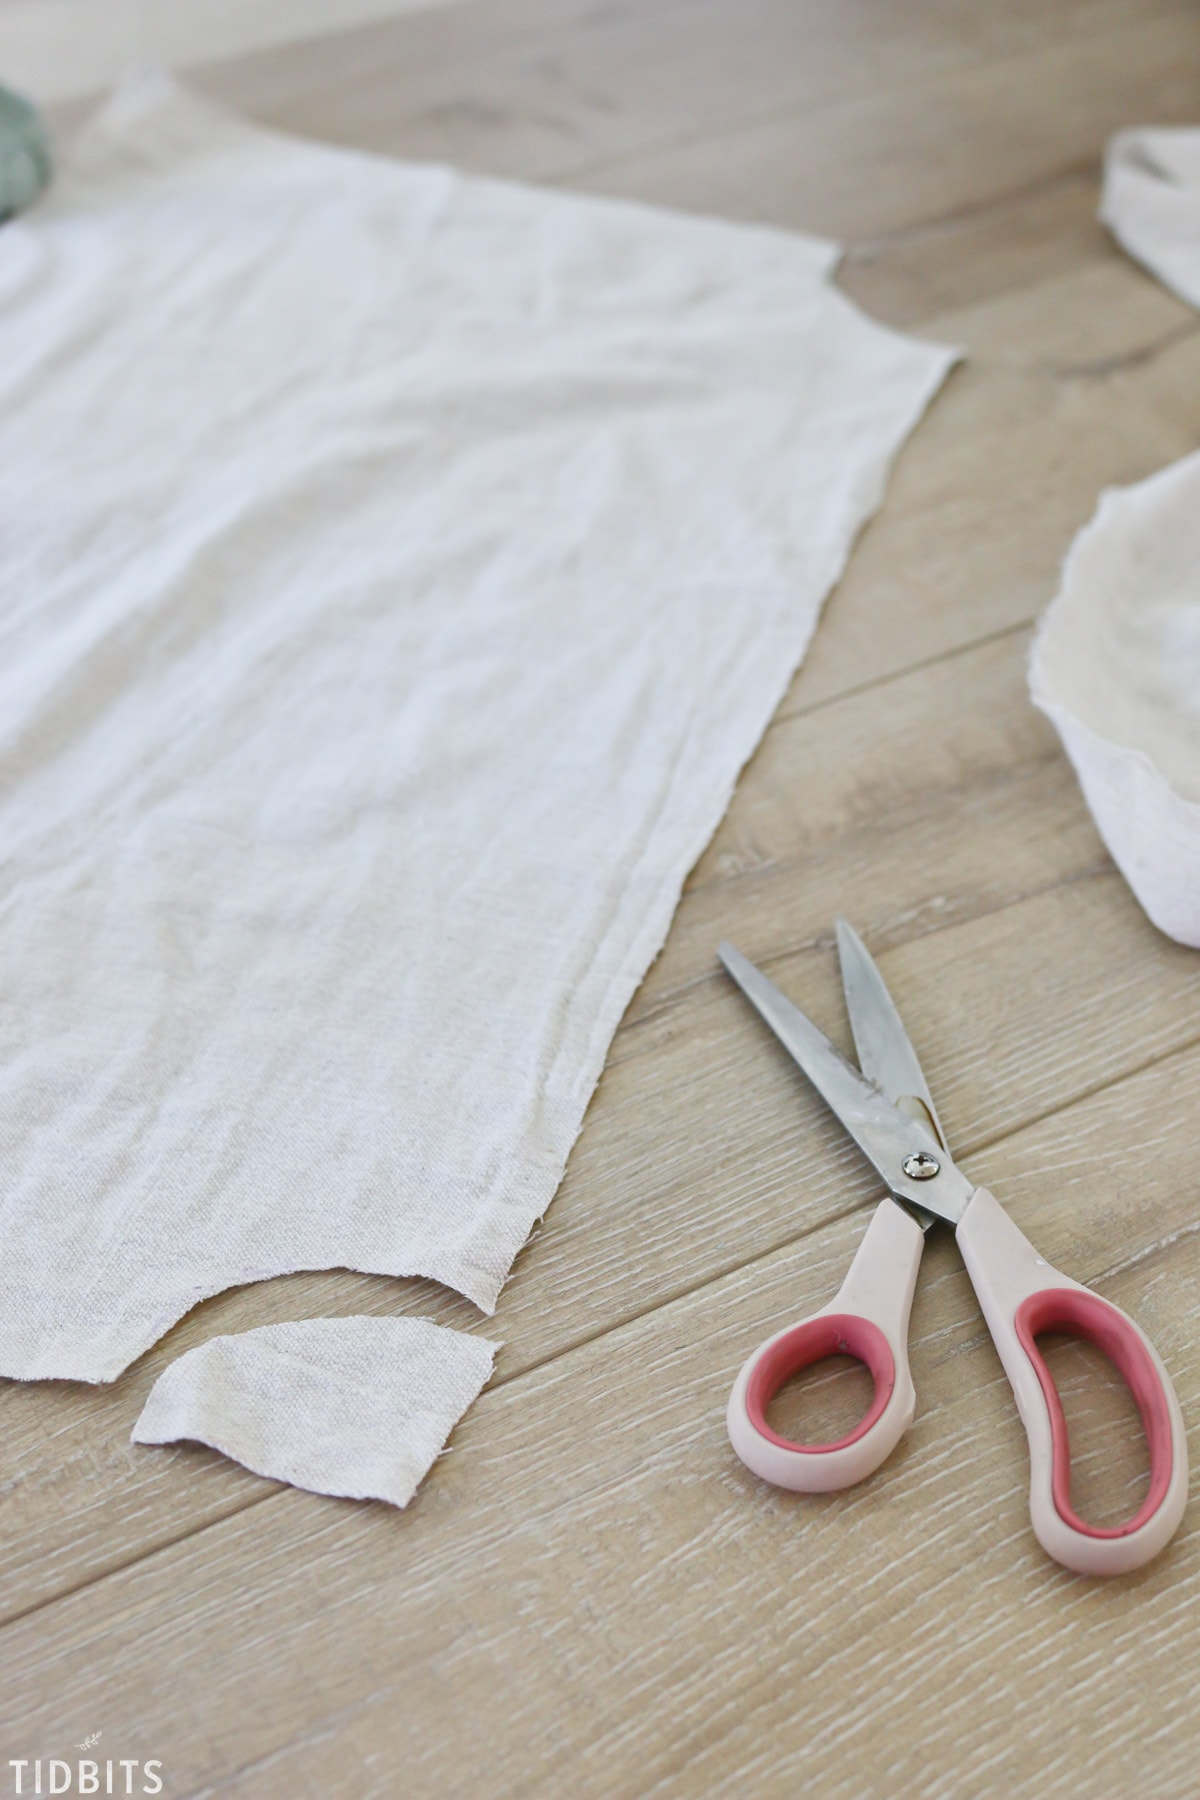
Then cut along those markings so the piece now fits nicely on top of the cushion shape.
With all the prep work done, it’s time to sew. First make your piping by inserting the cord in the middle the fabric piece, fold it over evenly and sew as tight as you can to the cording. A zipper foot comes in handy for this step.
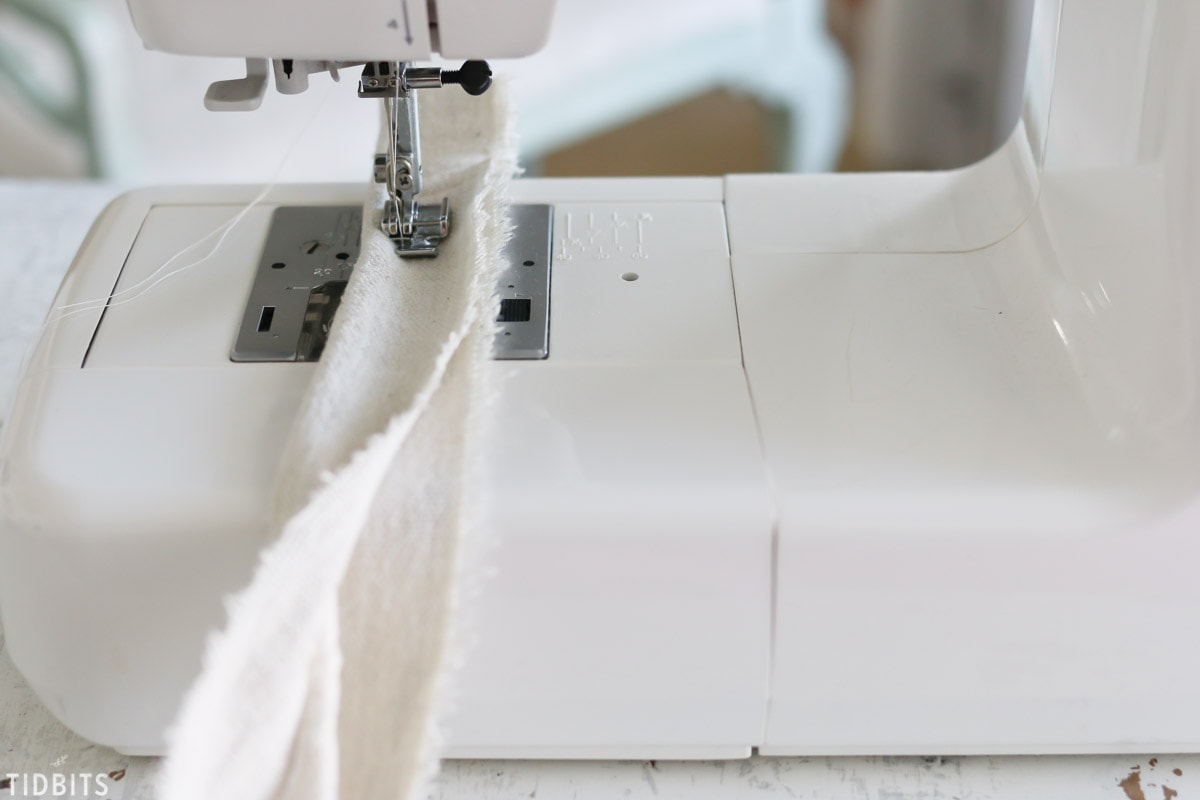
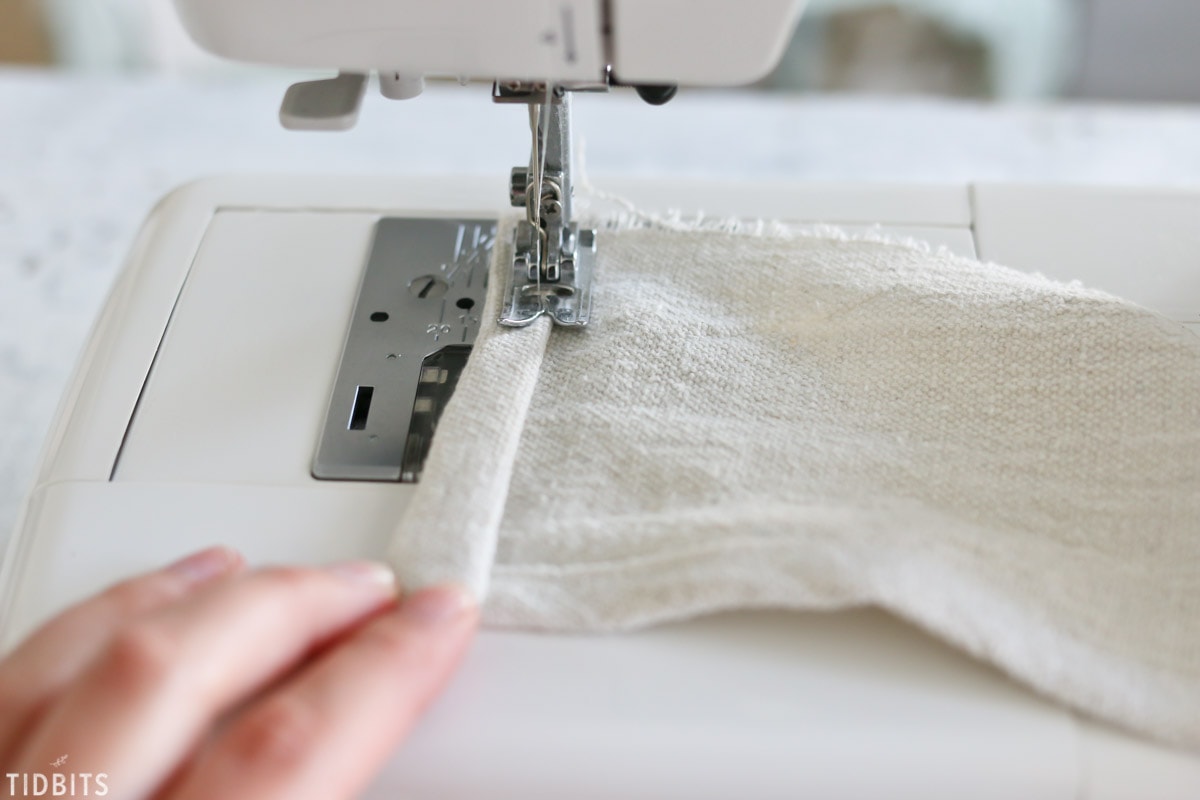
Prep your ruffle/pleat by hemming one edge of the fabric.

And hem or finish of the ends. You may need to figure out exactly how much you need for each edge of the seat cover before you hem the ends.
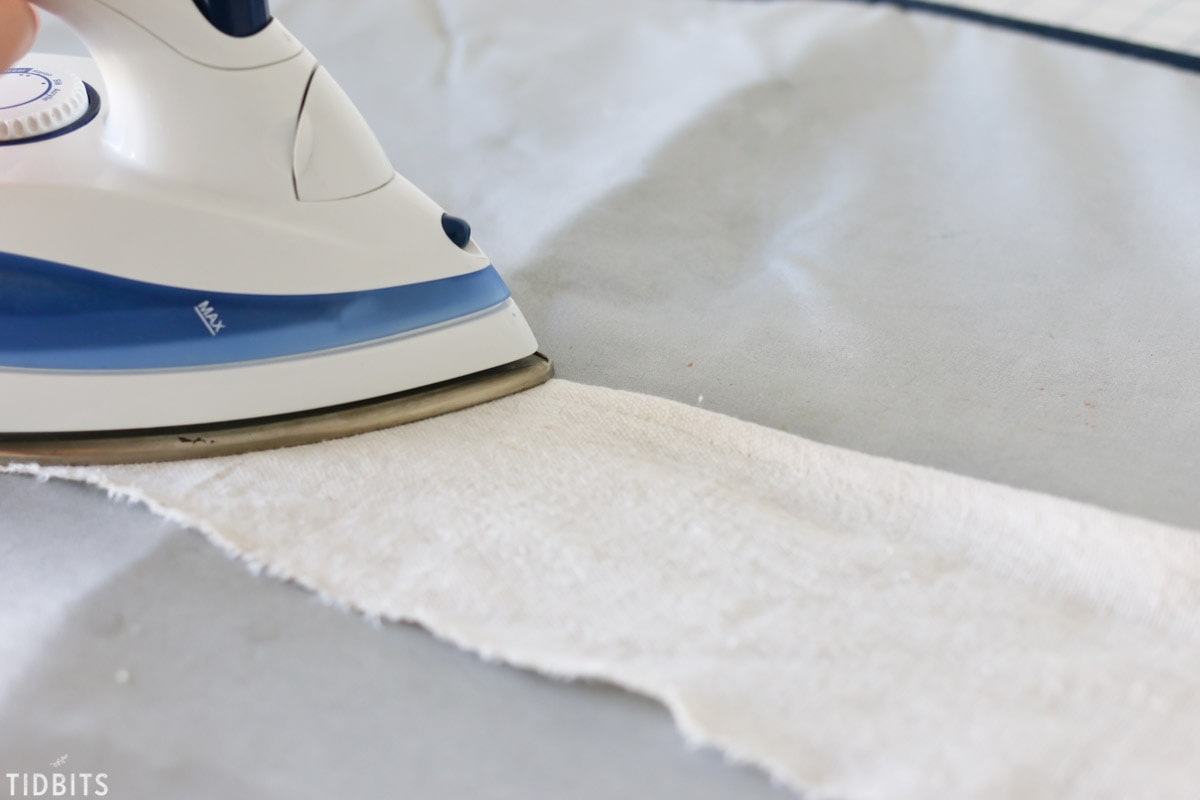
Be sure to always press your seams. This will make for much more professional results.
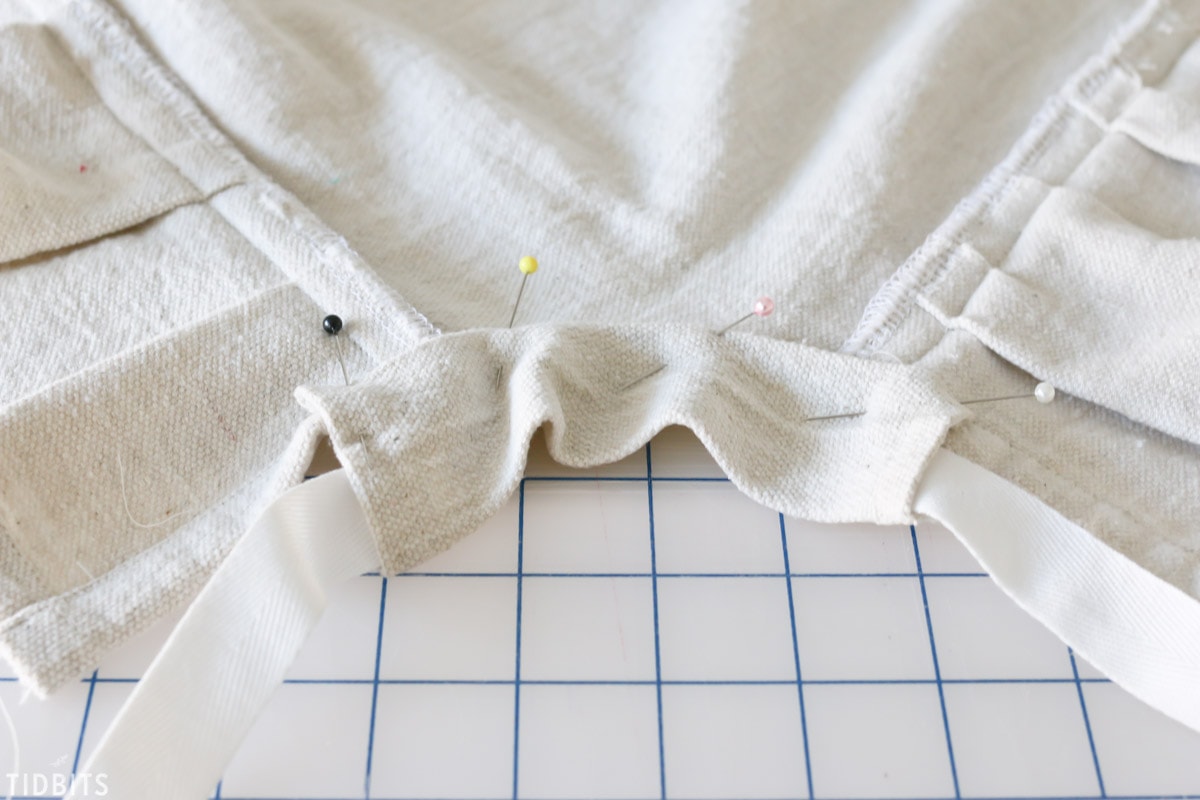
Pick which edge you want to pleat/ruffle first, measure and cut a piping strip to fit the edge (with a little over hang), and pleat/ruffle until you have enough to cover the whole edge of that seat cover side. Be sure you have the right side of the seat cover facing up and the wrong side against the table.
Sandwich the piping between the seat cover and the rough edge of the ruffle, right sides together. Pin generously and sew these layers together.
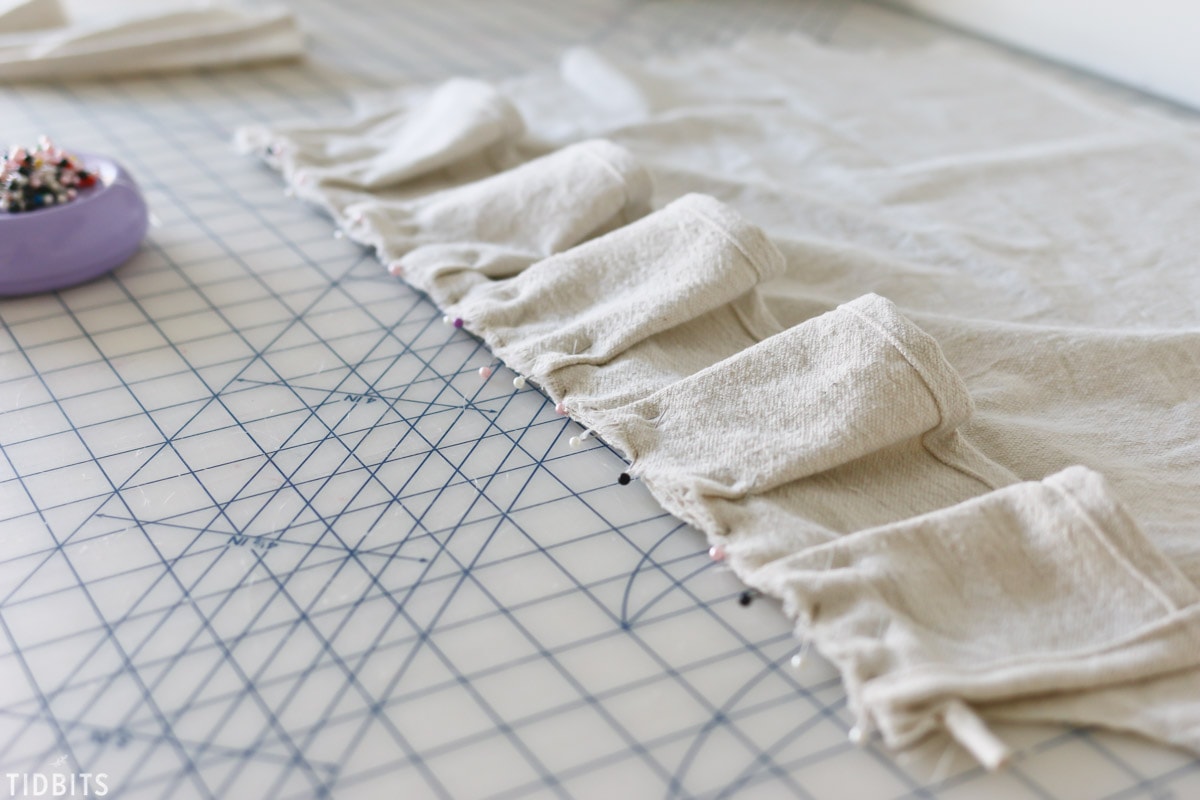
Hopefully these pictures help make sense of it all.
I like to keep my zipper foot on to stitch these sandwiched layers together, so I can get really close to that piping again.
Repeat these steps for all edges of the seat cover, and finish off your seam edges with a serger or a zig zag stitch to prevent fraying.
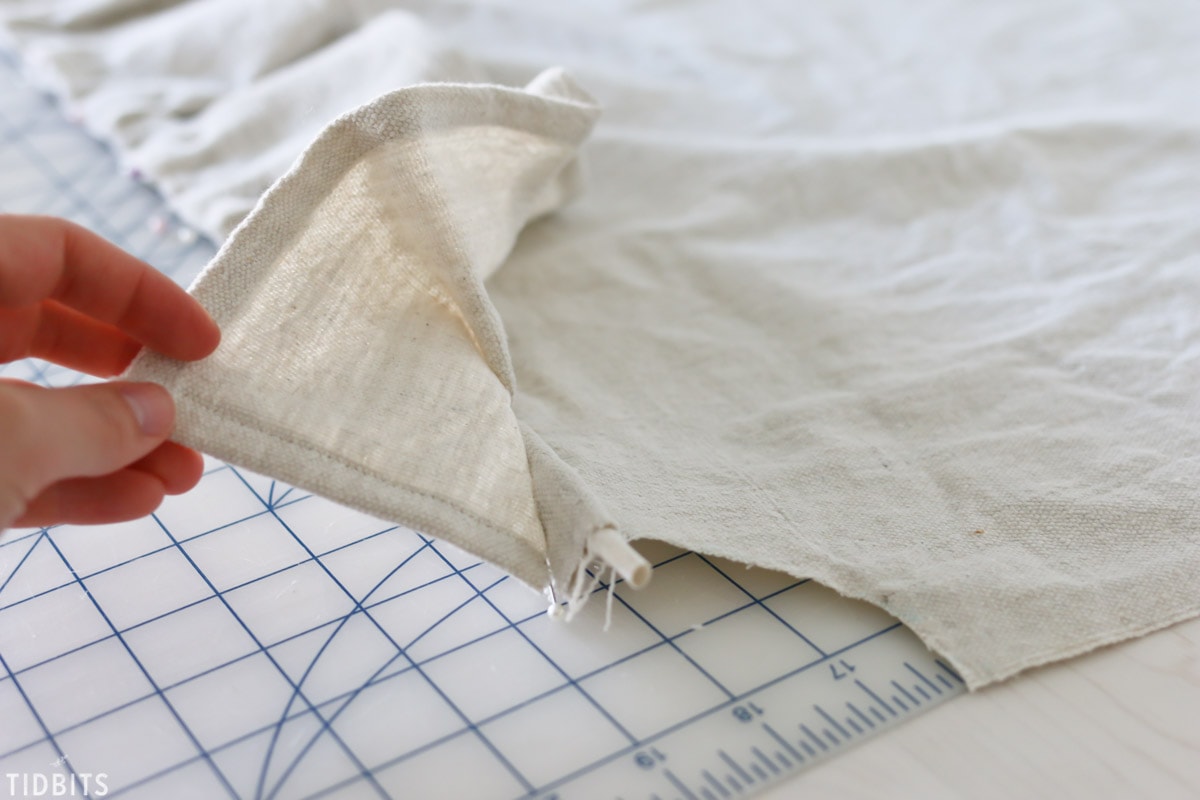
Next, prep your ties by cutting 2 for each corner.
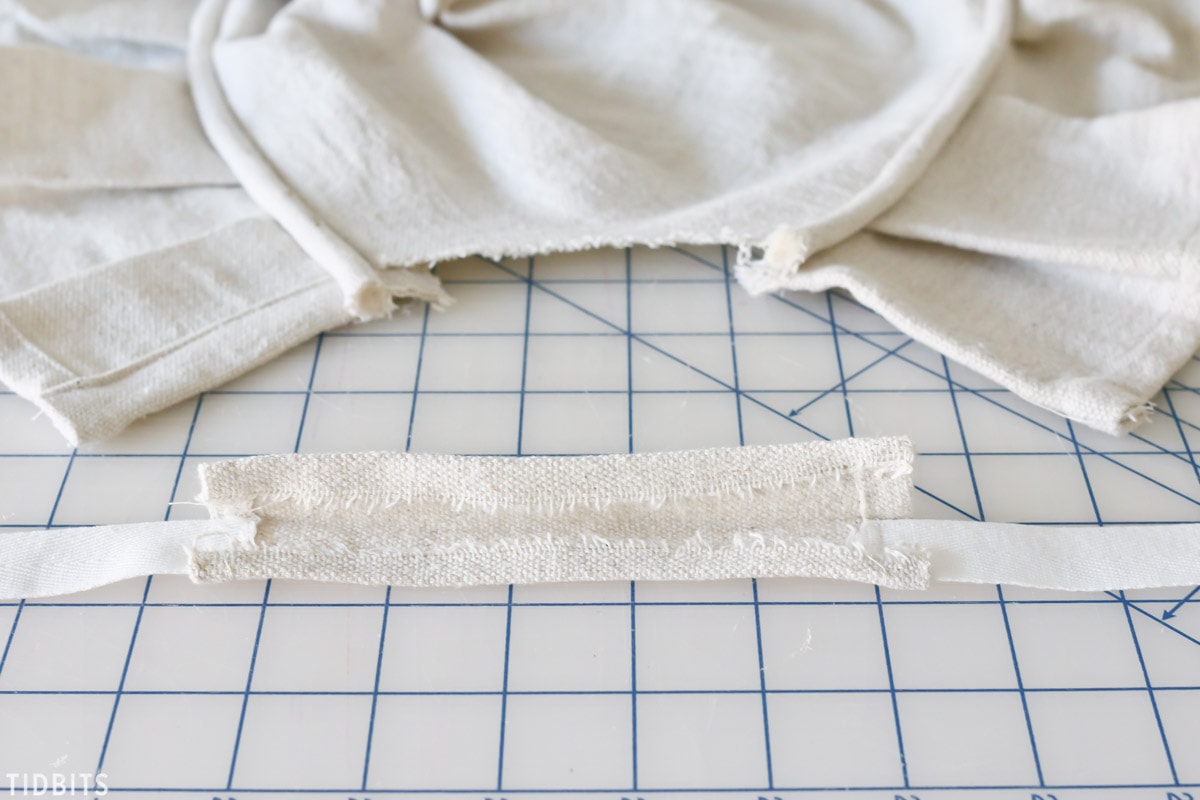
You’ll also need more fabric, about 2 inches wide and the length of your little rainbow shaped corners plus an inch overhang.
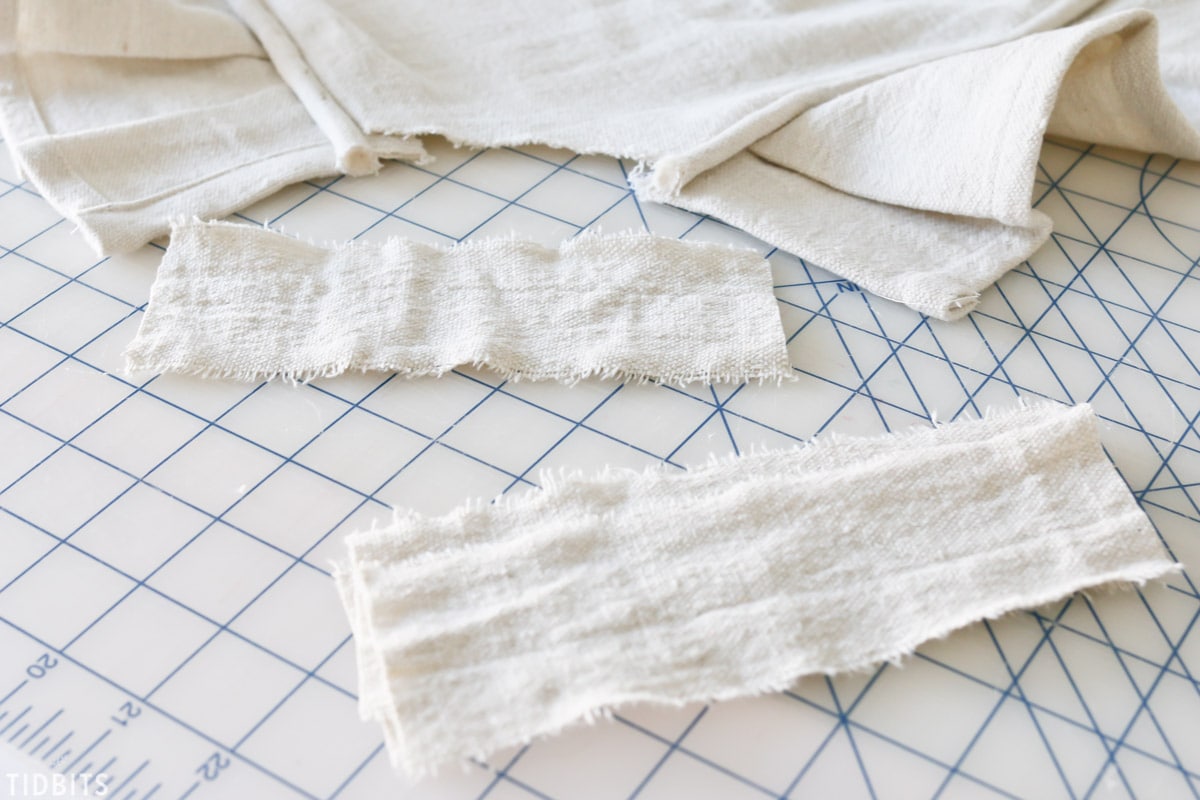
I like to sew the ties inside of this fabric piece so they don’t wiggle around and then press the raw edges towards the inside so I can make a clean tube of fabric, basically. I also like to press in half lengthwise so I know where the middle of this strip is. This is a little confusing, so refer to the images for guidance.
On the wrong side of the seat cover, pin the tie piece along the curve, wrong sides together. Stitch as close to the edge as possible along the curve. Make sure you are working on the opposite side of where the tie strips are sewn in.
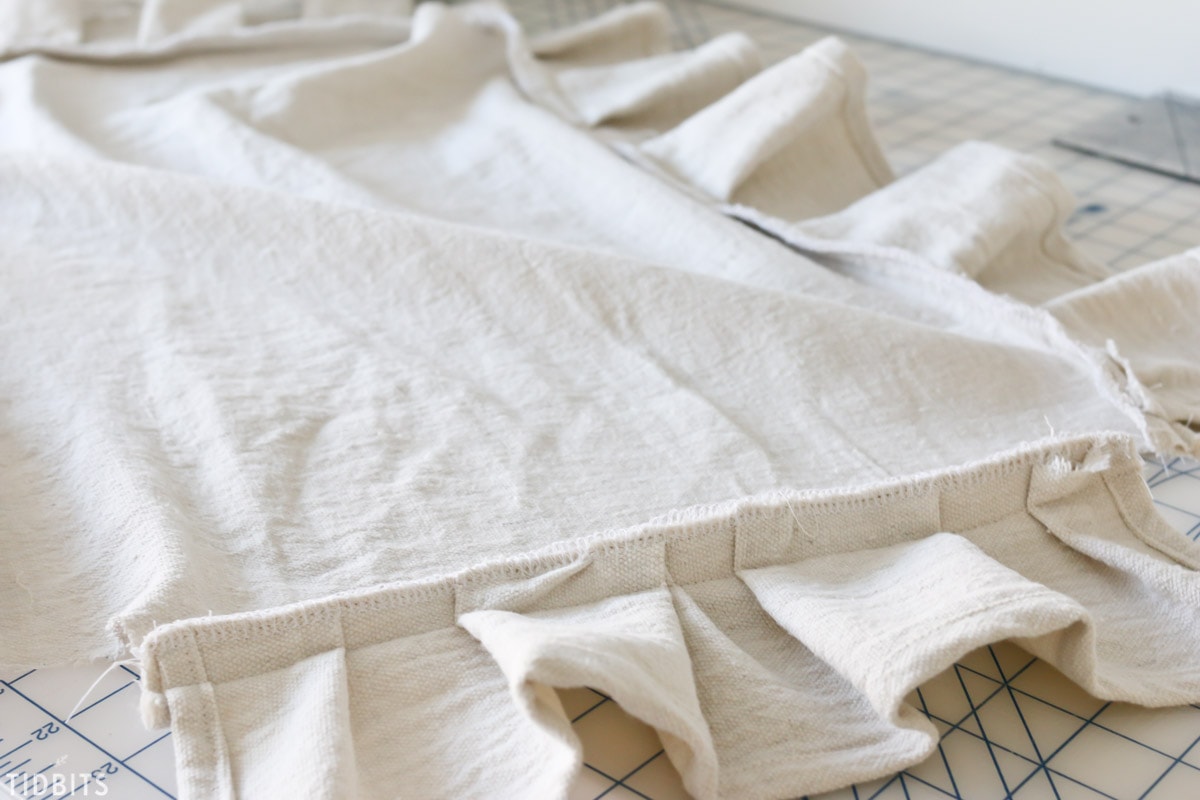
Flip the seat cover over to the right side, and carefully fold and shape the tie piece around the curve of the front of the seat cover. Do your best to cover the back side of the stitch you previously made, and pin it in place. Sew again close to the edge of the curve.
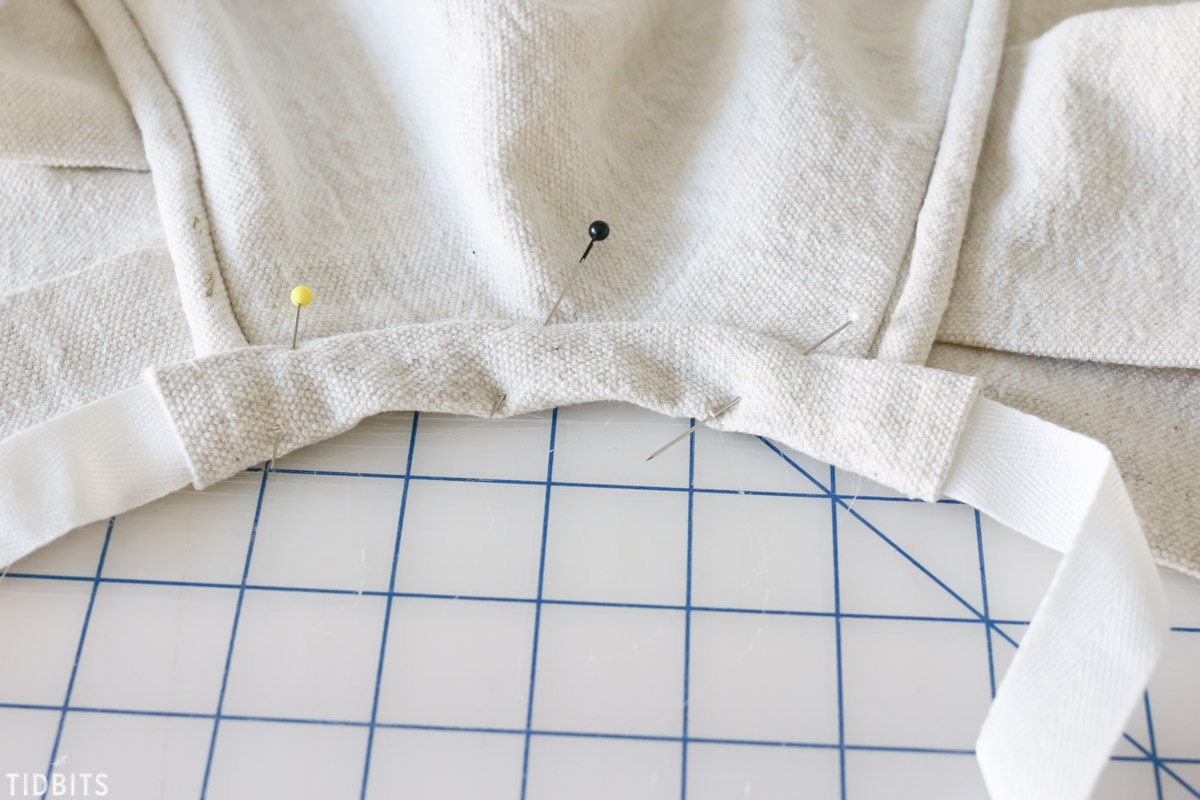
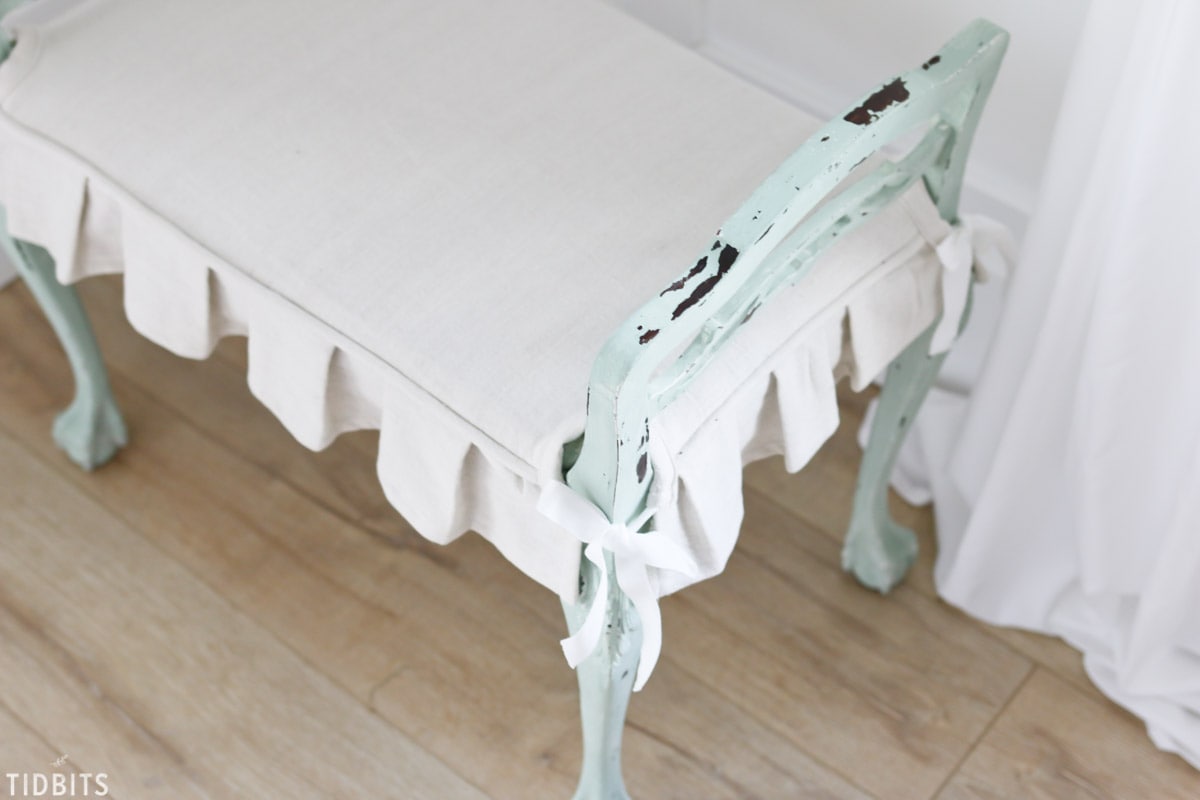
Do this to finish off all corners and you’ll have completed your cushion slipcover. Lay it nicely over your cushion and tie each corner.
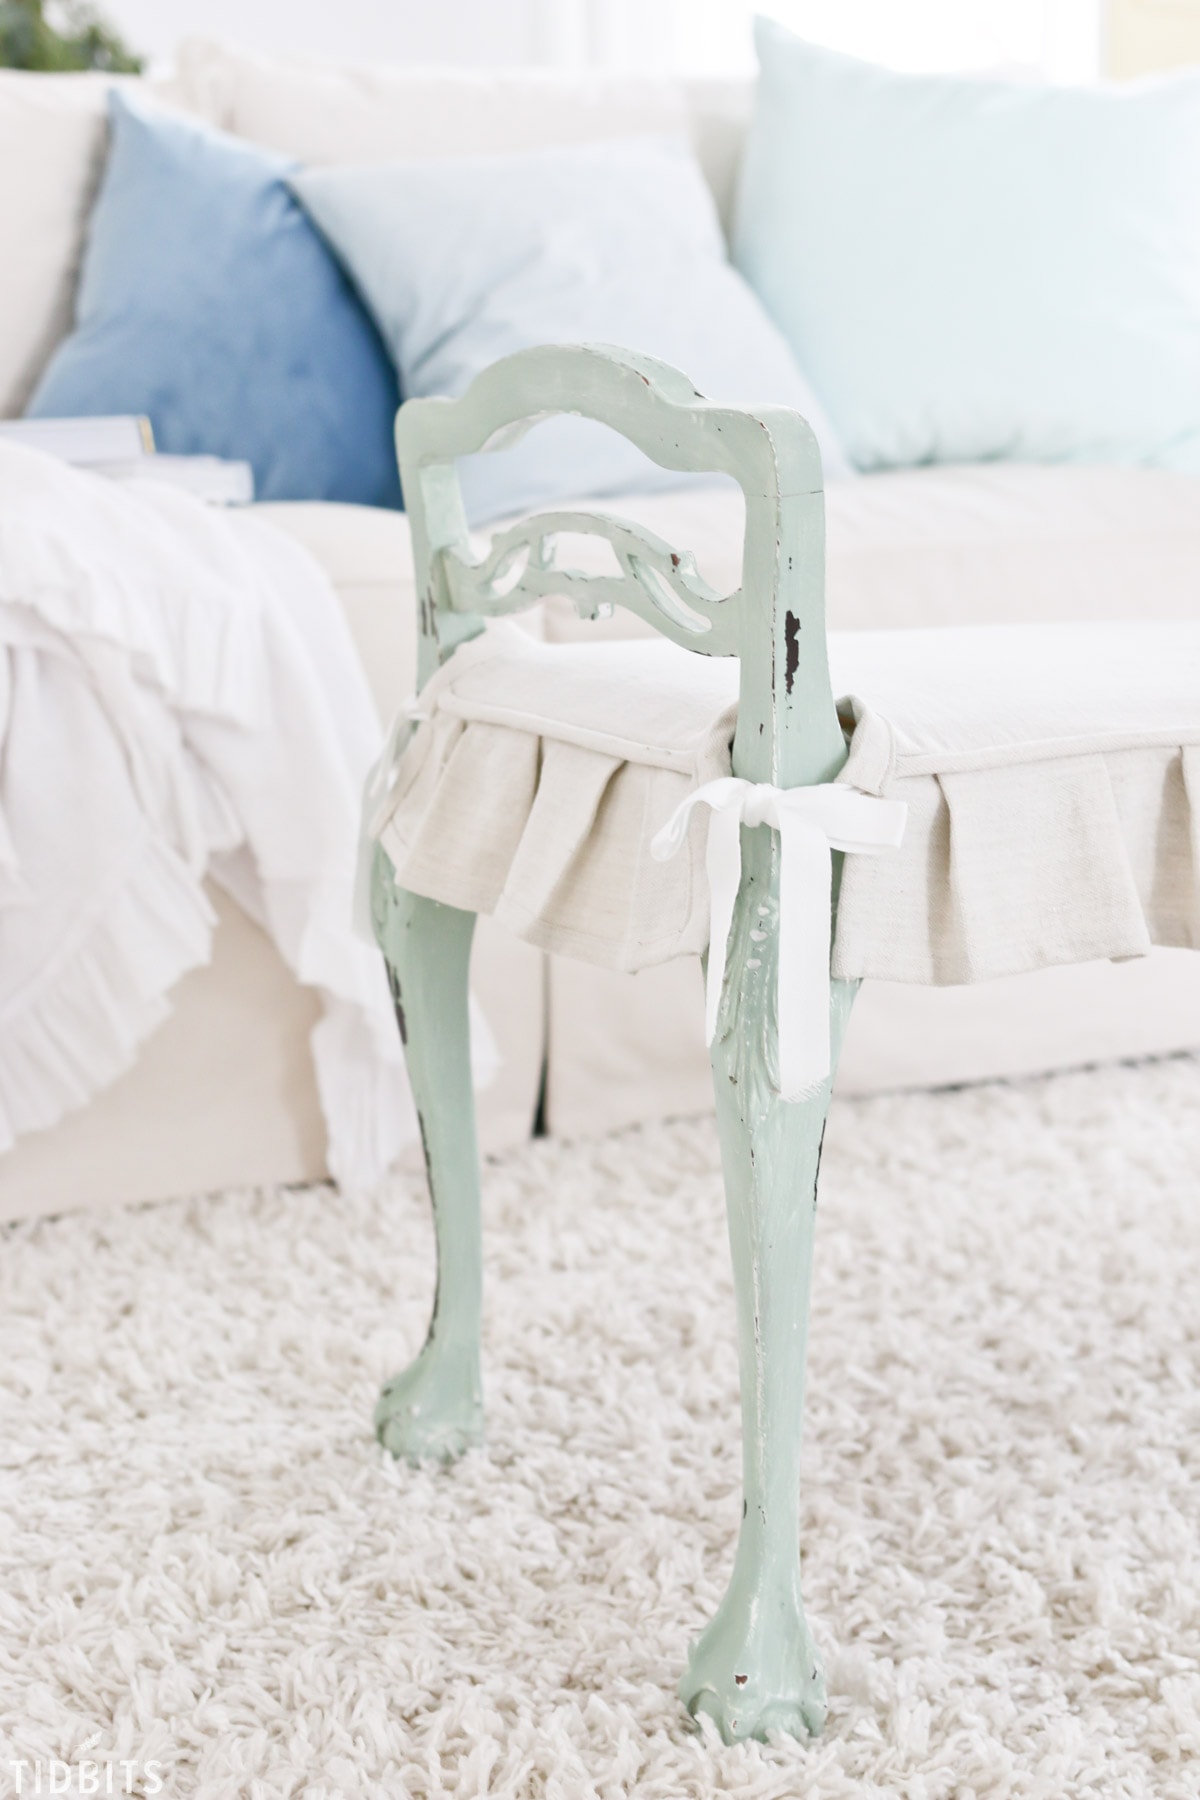
Sit back and enjoy your new beautiful creation.

I hope this has inspired you to look a little differently at otherwise unappealing furniture pieces, and empowers you with the knowledge to save an unwanted item. It is so rewarding and great on the budget!

Thank you for reading and let me know if you have any questions.


Awesome designs and very easy tips! Thank you for sharing.
Your instructions were well-written and make sense! I love your choice of materials – a painters drop cloth – pure genius! As a seamstress of many years (50+ years), I know I can do this! Thank you!
My question is – have you slip covered a chair and how do you go about doing so? I have an old wing back chair and ottoman that is an outdated mauve. A white slip cover would turn this chair from ugly to beautiful! Thanks for writing and sharing. I’m always inspired by you.
Your tutorial was one of the best, well-written and concise! AND the bench is beautiful!! However I am a traditionalist, and would have preferred to refinish that lovely Victorian mahogany ball-and-clawfoot bench, restoring it to its former glory. It would have been easy to replace the cover by removing the seat and replacing the fabric. But the “shabby” fix you accomplished was really pure genius ? ?
This project is absolutely beautiful! Now I think I need to learn how to sew.
Not only was the project great, the step-by-step instructions and the beautiful photography couldn’t have been any clearer. Great job!
Thank you! What a compliment!
Thanks for the great tutorial. I love your projects, they are so inspirational.
Thank you so much! I’m glad you can find inspiration here!
Great tutorial and beautiful bench Thank you for sharing
You are so welcome! Go hit the thrift stores!
This looks great. My guess is that it might have been a pair of chairs once upon a time based SOLEY on its height and those legs
I didn’t even think about that but you are probably right. Wish I had the other one! I keep thinking they would look so cute at the base of a couple of little girls beds too.
Lovely! I adore hunting for bargains such as these. Thank you for sharing.
Isn’t it so so fun! It’s all about the hunt!
I love the bench and slipcover, it looks wonderful. I don’t know how easy but the instructions looked thorough so hopefully i can do it. Thank you and have a great day.
I was sure trying to be thorough for you! I think once you start, it will make a whole lot more sense. Thanks for coming by!
10 $ and some love! What a beauty, I would have jumped on that opportunity as well!!
Yes! Great price and I know I’m going to love it for years! Thanks so much for coming by.
Really nice, Cami, and you gave great instructions for this project! You have such a good eye for design!
Thank you Karen! It’s hard to talk sewing instructions sometimes, but I hope it is still helpful. Glad you came by!
This is so beautiful! I really enjoy everything you post and feel a kindred spirit! I relate to everything you put on your blog, thanks for sharing!!
This makes me so so happy to hear! I need more kindred spirits in my life 😉 . Thank you so much for leaving those kind words and making my day.
Great tutorial! You made it beautiful, and made the process look so easy!
Ps. I’d love a few organizational posts…craft/sewing supplies, linens, clothing Hong, make-up etc! A whole series, but my favorite would be sewing/crafting. Thanks!
Thank you, and really?? I’m brainstorming hard trying to think of the most helpful way to bring in an organizing series and your input is so helpful. Thank you thank you!!