This post may contain affiliate links, which means I get a small percentage of the sale at no extra cost to you. I only recommend items I love and have had a positive experience with. Thank you!
Get your peach fix with this amazing fresh peach pie recipe. This delicious pie tastes like it came from your favorite local restaurant. Super easy and simple to make, it’s going to be your new favorite pie!
Among all the reasons I love Autumn, fresh peach pie hits the top. It’s sweetness and flavor are unbeatable. I crave peach pie all year long!
This is the only time of year when peaches in my area taste so heavenly, so I try to get my fill.
Tradition always begins with a drive to Brigham City, Utah for their Peach Days Festival.
We first stuff our faces with the most wonderful food found at the Maddox Ranch House. The best in the State of Utah, in my humble opinion.
Maddox serves up a mean fresh peach pie, and that is what gets the whole party started. I have to have more peaches!
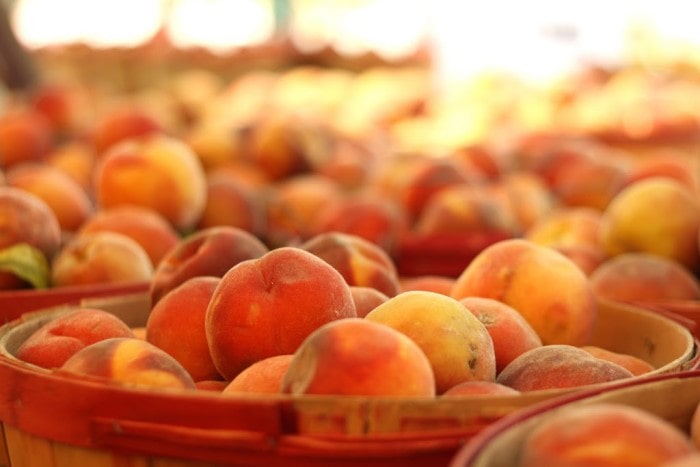
So, we drive across the street to a darling produce vendor called Paul’s Patch, which is filled with mostly locally grown produce, and peaches as far as the eye (or at least camera) can see.
I buy a bushel, or two, or three, because this peach pie recipe is really that good.
Have managed to convince you that you need to try a fresh peach pie for yourself? Let me show you how I make it. You’ll think you’ve died and gone to heaven!
Here is what you’re going to need to make this delicious pie.
Pie Ingredients
A pre-baked pie crust
6-7 peels and sliced peaches
Glaze Ingredients
2 cups warm water
5 tablespoons of corn starch
3/4 cup sugar
If your peaches are a little dull in flavor, you can add a few squeezes of lemon juice or 1/2 cup of fresh orange juice in place of some water. My peaches had so much flavor, I opted not to do this. It turned out great!
Note: This recipe makes enough glaze for 2 pies.
Whipped Cream
1 pint of heavy whipped cream
1/4 cup of powdered sugar (or more to taste
1 tsp. of vanilla
Put ingredients in a bowl that has been frozen for 1/2 hour, or longer. Mix with a mixer until thickened.
How to Make this Fresh Peach Pie
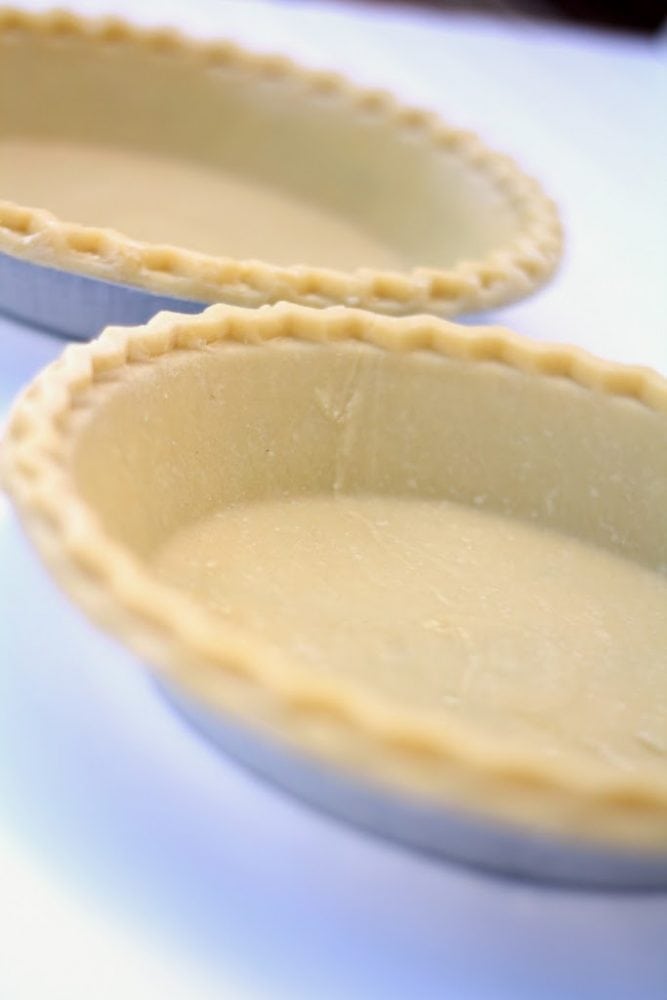
First, you need a crust that has been baked and cooled.
I was determined to make 10 peach pies, so I went ahead and bought Marie Calender’s frozen pie crusts to save time. It was still fabulous with a store-bought crust!
However, you can certainly be ambitious and make your own pie dough and bake it in a pie pan for an extra special treat. Just remember to let your homemade pie crust cool before assembling your pie.
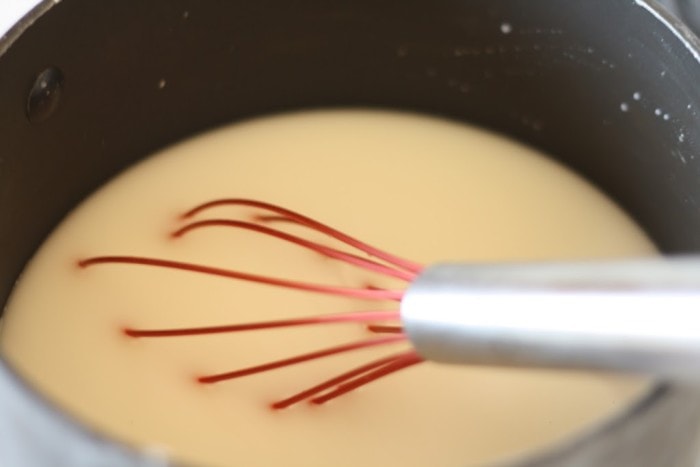
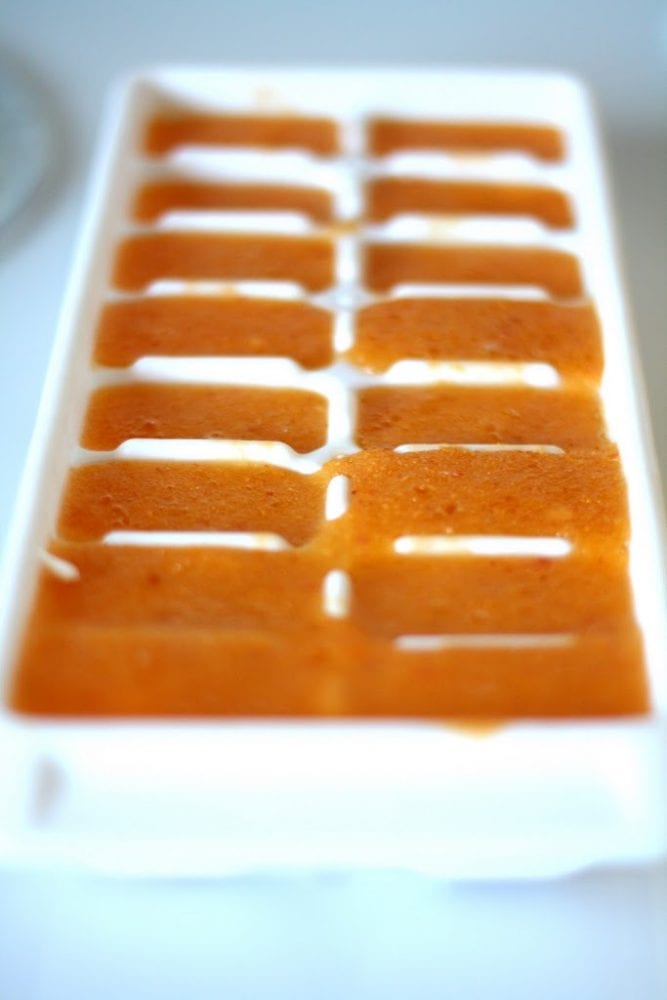
The next step is to make your glaze. Add the ingredients to a saucepan and heat on medium high heat, stirring continuously.
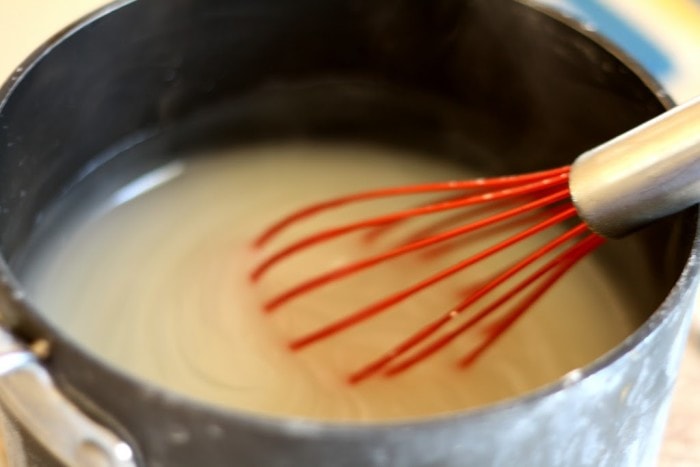
Heat the glaze until it just begins to thicken, then take it off the heat immediately.
I pour it into another bowl at this point so it will cool quicker. The glaze must be cooled before you mix it with the peaches. You don’t want to cook your fresh peaches!
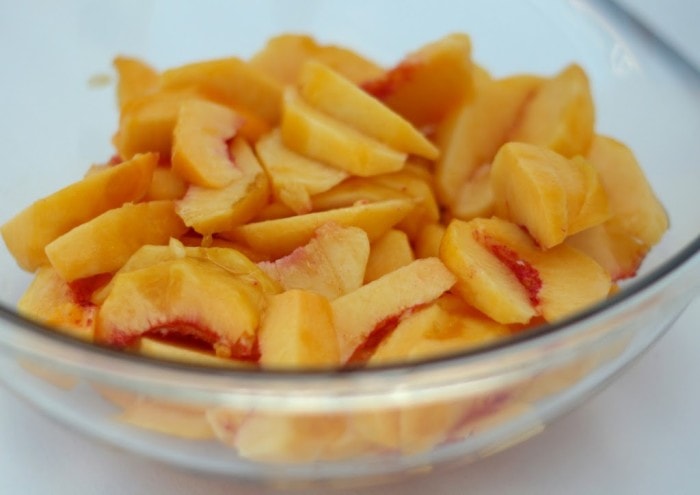
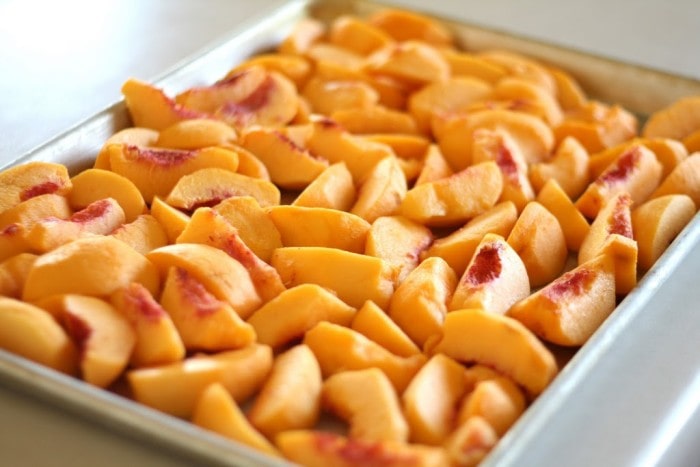
Then peel and slice up 6 or 7 peaches, depending on how full you want your pie. This recipe won’t have a top crust so feel free to pile those peaches high!
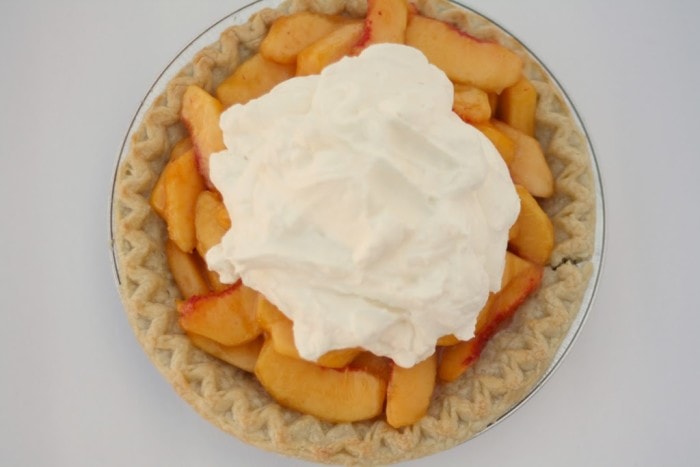
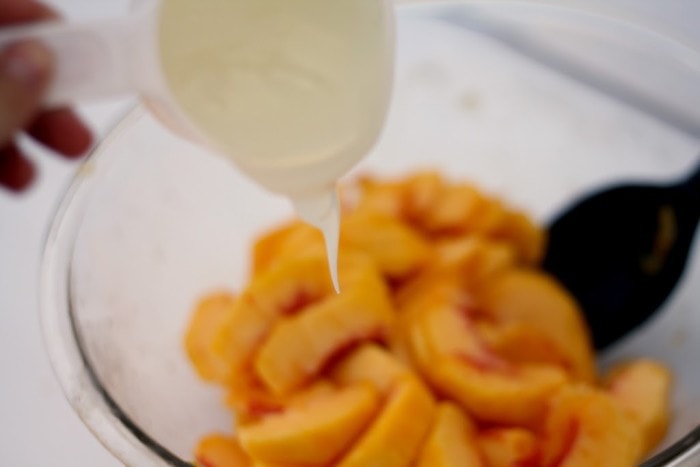
Add your cooled glaze to the peaches and mix until all the peaches are coated. Dump your peach pie filling into the pie crust.
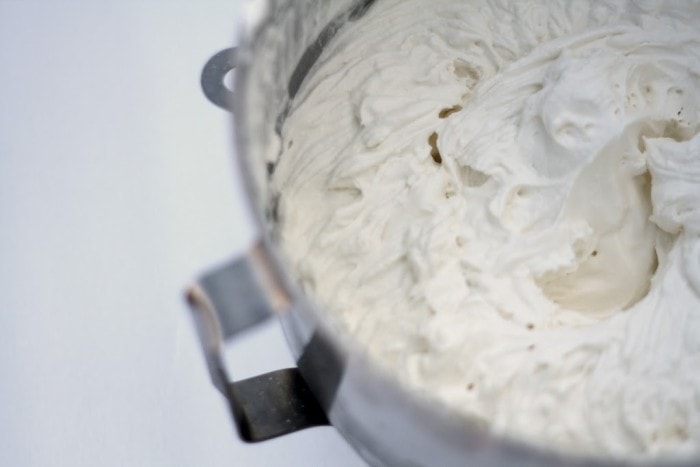
Now you need to make your topping.
Homemade whipped cream is a must for this pie. It makes a huge difference!
Whip that cream until you have the thickness you desire. I like it pretty thick, but certainly not to the point of butter.
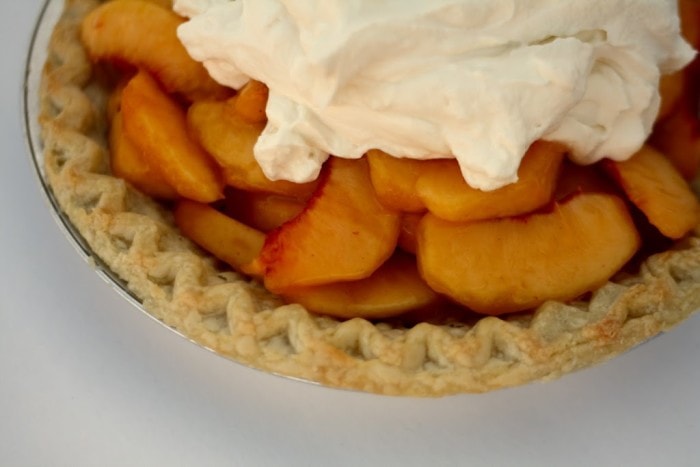
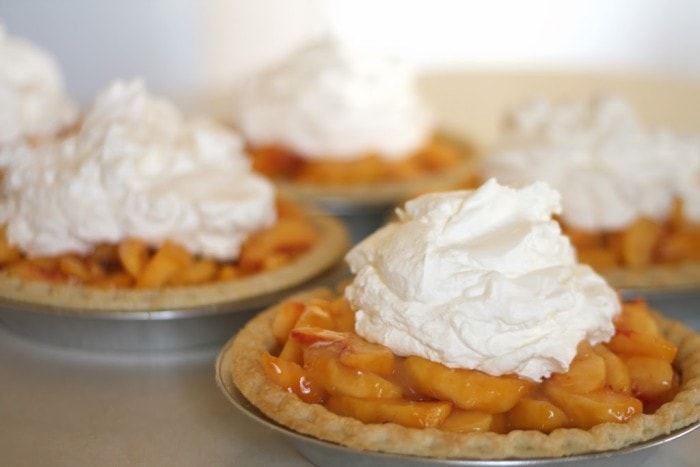
Top your pie with the creamy goodness and eat right away. Or stick it in the fridge if you have that kind of self-control. Be sure to make a few extra, because they are just too good not to share.
Enjoy the taste of Autumn with Fresh Peach Pie. This easy and delicious pie will leave you dreaming about it all year until the next peach season.
Ingredients
Pie
1pre-baked pie crust (either homemade or store bought)
6-7sliced and peeled peaches
Peach Pie Glaze
2cupswarm water
5Tbspcornstarch
3/4cupsugar
Whipped Cream Topping
1pint heavy whipping cream, chilled
1/4cup powdered sugar (or more to taste)
1tspvanilla
Instructions
For the Glaze
Add all of the glaze ingredients to a medium sauce pan.
Heat over medium high heat, stirring continuously.
When glaze starts to thicken, remove from heat and transfer to another bowl to cool. (Glaze should be cool before mixing with peaches.)
Once glaze is cool, slice up the peaches and toss with the glaze.
Add glazed peaches to your prepared pie crust
For the Whipped Cream
Place all whipped cream ingredients in a bowl that has been frozen 30+ minutes.
Beat with an electric mixer on high speed until thickened.
Top your peach pie with whipped topping when ready to serve.
Enjoy!
Notes
This glaze recipe makes enough for two pies.If your peaches lack flavor, you can add a few squeezes of lemon juice or a 1/2 cup of fresh orange juice in place of the water in the glaze.
Did you make this?
Make sure to follow The Keeper of the Home on Instagram and Pinterest for more creative ideas!
Other Ways to Use Fresh Peaches
And since I bought so many peaches, we can now enjoy them all year. Aside from this homemade peach pie recipe, I’m thinking peach cobbler, peaches and cream with a sprinkle of cinnamon, peach jam, peach smoothies or one of my new favorites – a healthier version of fresh peach pie. Basically all the peach things, that’s what I’m after!
Peaches are super easy to bottle.
And canned peaches taste delicious even eaten just on their own.
And of course, peaches are even easier to slice and freeze. They don’t need any sugar added when you freeze. I just flash freeze them on a cookie sheet so they don’t stick all together. Then I bag them and we enjoy frozen peaches in our favorite smoothie’s all year long.
Other Great Recipes to Try
And there you have it – an incredible peach pie made from fresh peaches. Try it for yourself! I would love to hear if you like it as much as I do.
If you need some more fantastic recipes to try, take a look at some of these:
I’m Cami. Welcome to The Keeper of the Home. If you love all things home, you are in good company! Follow along as I share inspiration for homemaking and healthy living.
My mother in law made this for a Sunday dinner, it was heavenly! And now I have to make one for me because two weeks later, I'm still thinking about it.
Great pictures, almost too great because I wanted some pie and I don't have any in my house. I LOVED your idea of freezing the peaches though. BRILLANT!!! I'm going to have to try that too. Do you know what other kinds of fruit that would work for?
I think your photography is great! The pictures are great and the pie looks delicious! My favourite pic is the second one (the one with the pie on the wood beam with the nails in it). 🙂
Get all my new content sent straight to your inbox.
We use cookies to ensure that we give you the best experience on our website. If you continue to use this site we will assume that you are happy with it.


My mother in law made this for a Sunday dinner, it was heavenly! And now I have to make one for me because two weeks later, I'm still thinking about it.
Great pictures, almost too great because I wanted some pie and I don't have any in my house. I LOVED your idea of freezing the peaches though. BRILLANT!!! I'm going to have to try that too. Do you know what other kinds of fruit that would work for?
Oh my goodness that peach pie looks delicious! Your pictures are lovely, they make me want to run out and get some peaches just to make this pie.
I think your photography is great! The pictures are great and the pie looks delicious! My favourite pic is the second one (the one with the pie on the wood beam with the nails in it). 🙂