This post may contain affiliate links, which means I get a small percentage of the sale at no extra cost to you. I only recommend items I love and have had a positive experience with. Thank you!
Need a neighbor gift idea? These DIY Christian Christmas tree ornaments are easy to mass produce and make the sweetest gift.
Based on what I’ve seen on Pinterest and blogs, it’s about that time in the holiday season when most of us are wondering what to get our neighbors, friends, family, and associates for Christmas.
That is, unless you are like me. Then you’ve been losing sleep over it for quite some time now.
We’ve always tried to make our “Neighbor Gifts” ourselves in an attempt to save some money and make it a special gift. (If you are a neighbor, friend, sibling, parent . . . you should probably not read the rest of this. If you do any way, act surprised when I give it to you. Thanks.)
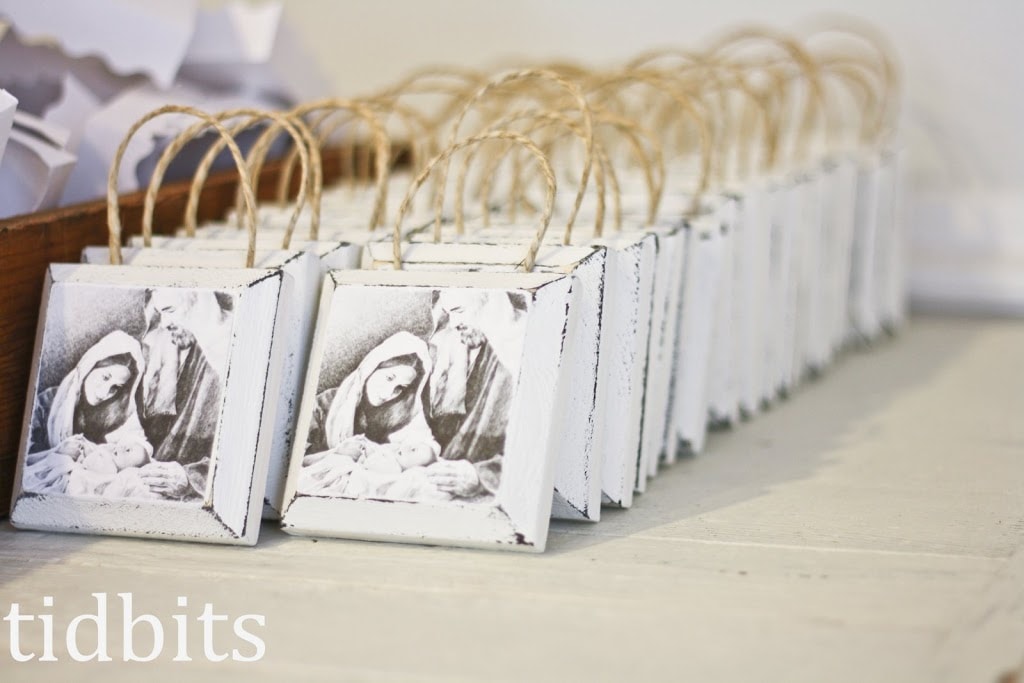
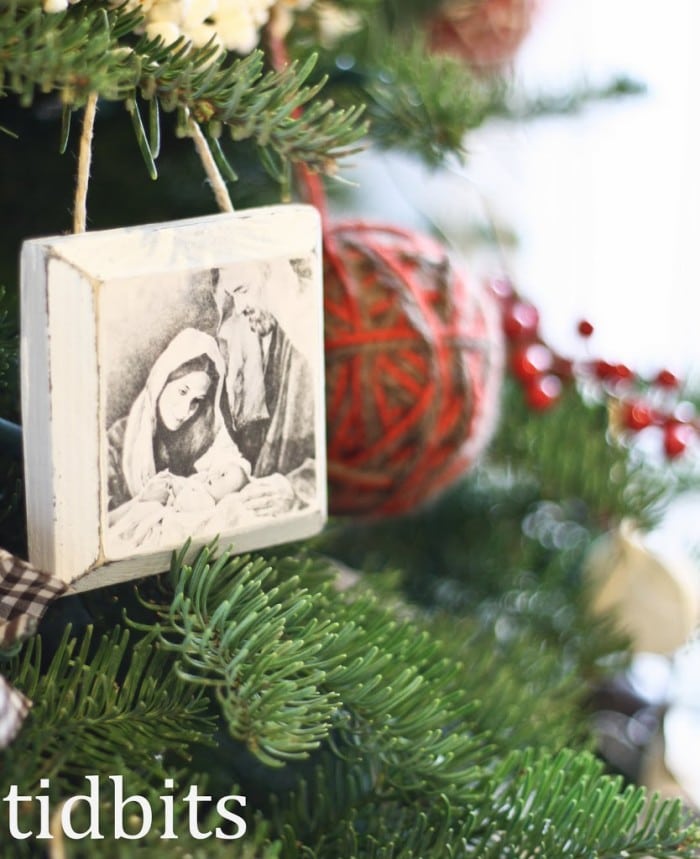
Here is what we’ve come up with this year. Christian Christmas ornaments to serve as a beautiful reminder of the true meaning of Christmas.
I took a picture of my all-time favorite nativity scene of Joseph, Mary and the Christ child and we made wooden ornaments out of it. Similar to my wooden plaque ornaments I made last year here.
I kept the colors more neutral in hopes that it would coordinate easier with holiday decorations. I know how particular some are about what they stick on their tree (I am no exception). The old-world Christmas vibes these religious ornaments give are perfect for the holiday season.
How to Make the Christmas Tree Ornaments
With 13 siblings between my husband and I, and our new and old friends and neighbors we just love – these ornaments were subjected to mass production.
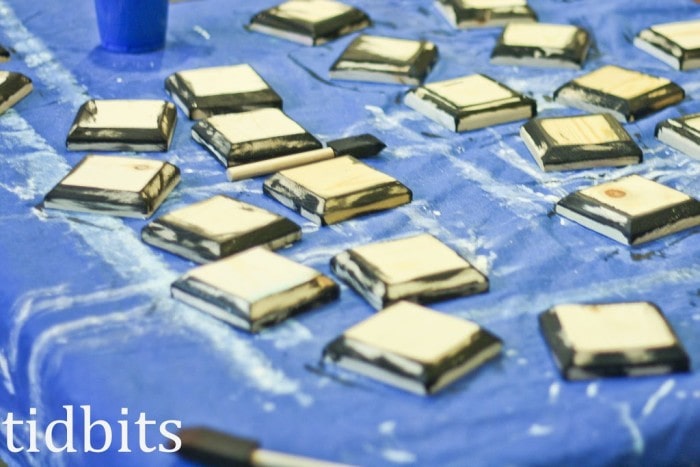
We painted, sanded, and glued 40 of these babies. My husband was able to use all wood he had hoarded before to cut these little wooden plaques.
We then painted black on the edges and corners so that when they were sanded and scuffed, black would show through. Then I gave them 2 coats of white paint.
(Tip: To make sanding easier and to give it the chipped paint look, run a candle on the corner and edges where you painted black. When you sand, it will rub off very easy and in clumps. I love this method!)
Next, I printed the picture off and Modge-Podged it down. I simply used Google Images to find the picture I used. Search “Mary and Joseph and the Christ Child” or go here.
To hang, I used a hot glue gun and some hemp.
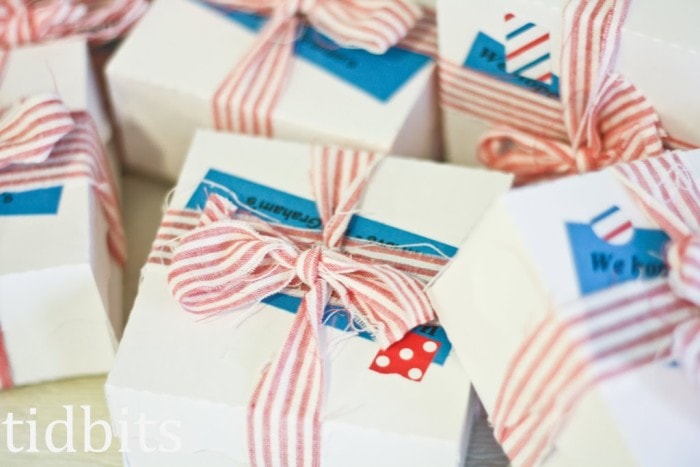
Then I mass produced the package – because that is just as important as what is inside, right?
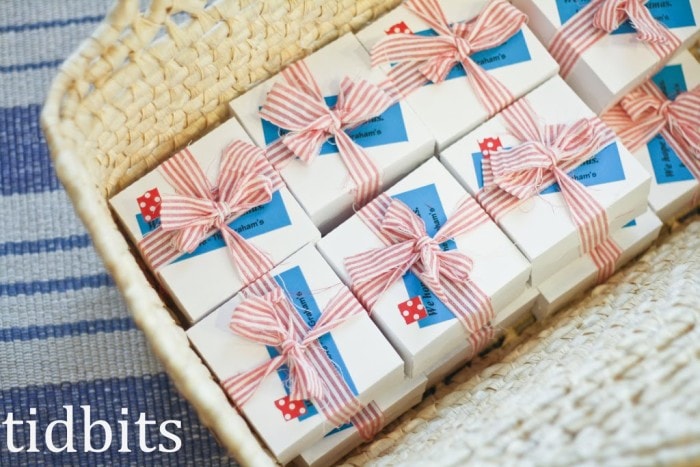
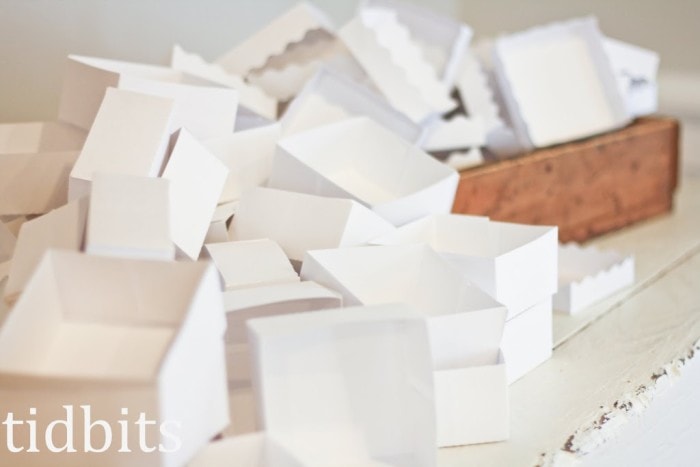
Packaging the Ornaments
I used white cardstock and my Silhouette SD and cut 40 top and bottom pieces for the box. That Silhouette is a goin’ machine.
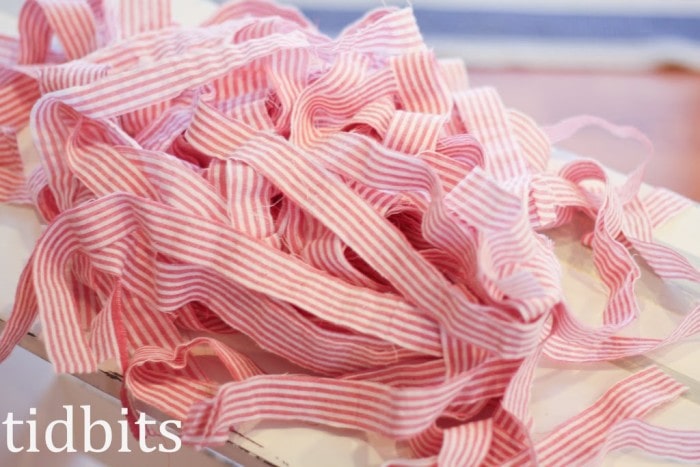
Then I cut a lot of seersucker fabric strips.
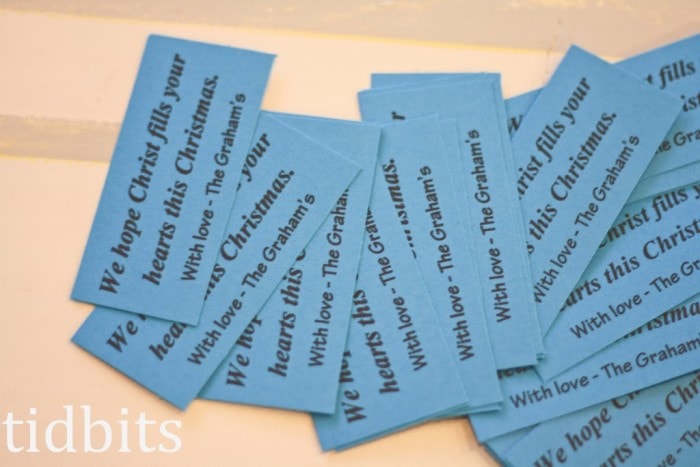
I made a lot of tags.
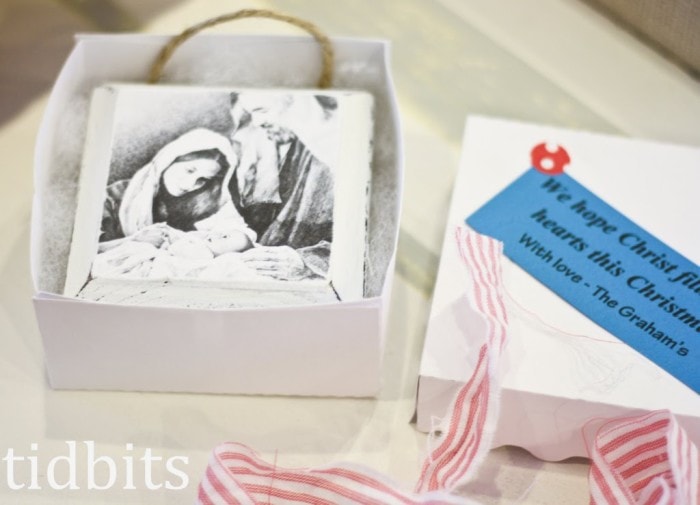
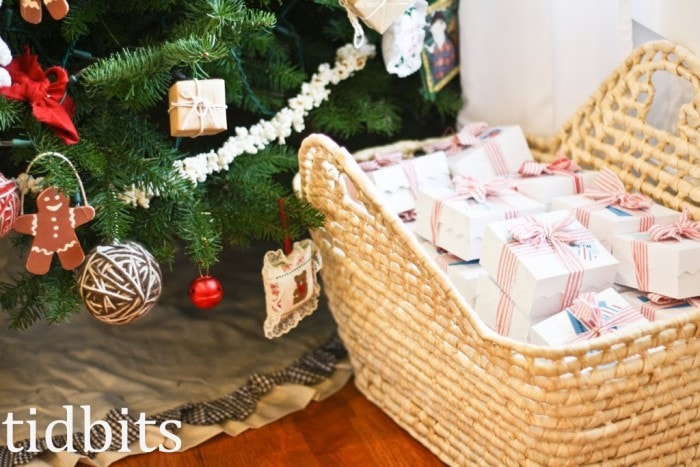
And filled each box with some soft batting and the beautiful Christian Christmas tree ornament.
I put it all together for 40 cute (and inexpensive) little packages.
And that was the most labor-intensive thing I will be doing this year for Christmas.
I am working really hard to simplify this Christmas and enjoy more quality time with my family rather than stressing about all the gifts I want to make.
And it is hard work.
I keep getting ideas for homemade gifts and have to shove them to the back of my head.
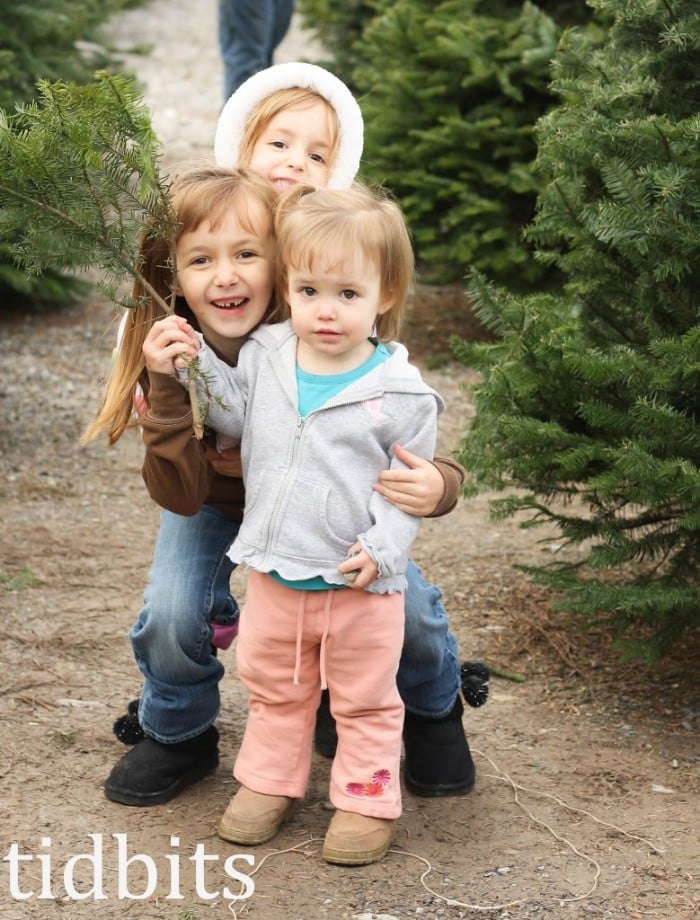
But the sweet times I’ve already had with my husband and kiddos make it all worth it.
I can’t remember a Christmas together when I have enjoyed myself so much, and it is only the beginning of December!
You may recall last year (click here) when I overdid myself with all the creativity. Though, we are certainly reaping all the rewards this year. I’ll have to show you the decorations in our new home. They look great. Til’ next time.
More Christmas Holiday Ideas
Thanks for being here to see these keepsake religious Christmas ornaments. I am excited to share them with friends and family as we celebrate the birth of Jesus Christ.
You might also enjoy reading one of these for more gift and holiday ideas!
I’m Cami. Welcome to The Keeper of the Home. If you love all things home, you are in good company! Follow along as I share inspiration for homemaking and healthy living.
Hi Cami, I make ornaments for my nieces, nephews and the great grandkids as well. I think I could do these if I got an early enough start. I know it’s been a while since you made them – but I’m wondering if you have any idea what size your board was. I’m assuming it’s a 1x from the looks of it. I would love it if you are able to help me out. Thanks! Vicki Cole
Can you answer a couple of questions on this ornament, which by the way is so cute and I can’t wait to work on this project for a holiday craft exchange party I am attending this year. What was the size of your block and did you rub the candle wax on before or after painting the black and/or white?
I am really unsure of the size of the block. Hobby Lobby or any craft store should carry pre-made blocks just like this. You can print your image to the size of the block. You rub the wax on top of the black where you want the white paint to chip off. It keeps the top layer paint from sticking and easily reveals the bottom color.
Was the picture just printed on regular paper or photo paper? And did you mod podge over the picture or just the block and stuck the picture on it? Love it and thanks for sharing!
I am wondering how and where you got that picture. Did you copy it online and print it at home? I would love to do something similar to this for some teachers in our church so I would need to keep it VERY inexpensive. Love your blog. Thanks!
I really love your ornaments and the packaging too! I'm always on the lookout for affordable Christmas gifts, thanks so much for sharing your idea! 🙂
Get all my new content sent straight to your inbox.
We use cookies to ensure that we give you the best experience on our website. If you continue to use this site we will assume that you are happy with it.


Hi Cami, I make ornaments for my nieces, nephews and the great grandkids as well. I think I could do these if I got an early enough start. I know it’s been a while since you made them – but I’m wondering if you have any idea what size your board was. I’m assuming it’s a 1x from the looks of it. I would love it if you are able to help me out. Thanks! Vicki Cole
Am also wondering about what kind of paper you printed on? Cardstock or regular?
I used regular paper. I felt like the cardstock would seem to thick where the regular just sits nice and flush with the wood.
Can you answer a couple of questions on this ornament, which by the way is so cute and I can’t wait to work on this project for a holiday craft exchange party I am attending this year. What was the size of your block and did you rub the candle wax on before or after painting the black and/or white?
Thank you for any help
I am really unsure of the size of the block. Hobby Lobby or any craft store should carry pre-made blocks just like this. You can print your image to the size of the block. You rub the wax on top of the black where you want the white paint to chip off. It keeps the top layer paint from sticking and easily reveals the bottom color.
Do you have a guesstimate on the size?
Did you print these on regular paper? We are going to attempt these for our primary kids. Thanks for the darling idea!
simple and beautiful, what are the dimensions?
What size is the block of wood? This is a lovely ornament and anyone would be pleased to receive it.
I am wondering if you can tell me where you got the picture from? Thanks!
Was the picture just printed on regular paper or photo paper? And did you mod podge over the picture or just the block and stuck the picture on it? Love it and thanks for sharing!
I am wondering how and where you got that picture. Did you copy it online and print it at home? I would love to do something similar to this for some teachers in our church so I would need to keep it VERY inexpensive. Love your blog. Thanks!
Do you rub the candle on the edges before painting with the white, or after painting with the white, just right before sanding? Thank you!!!
Hello Cami! I came across this post from Pinterest. May I ask what size wood blocks these are? Thanks tons! Lovely idea.
I really love your ornaments and the packaging too! I'm always on the lookout for affordable Christmas gifts, thanks so much for sharing your idea! 🙂
Nice article and very good topic .I really happy because your site is wonderful and very helpful site. Thanks such an amazing article great<br />
Cute! I am trying how to stress less at Christmas too!